Follow Us
PRODUCT INFO PAGES
Aquarella
Desktop Info | iPhone Info | iPad Info
Artista Haiku
Mac Info | iPhone Info | iPad Info
Artista Oil
Mac Info | iPhone Info | iPad Info
Artista Sketch
Mac Info | iPhone Info | iPad Info
Dramatic Black & White
Mac Info | iPhone Info | iPad Info
Grungetastic
Mac Info | iPhone Info | iPad Info
Hand Tint
Kyoobik Photo
Mac Info | iPhone Info | iPad Info
Moku Hanga - Wood Cut
Mac Info iPhone Info | iPad Info
NIR Color
Mac Info | iPhone Info | iPad Info
Pop Dot Comics
Mac Info | iPhone Info | iPad Info
Portrait Painter
Mac Info | iPhone Info | iPad Info
Rainy Daze
Mac Info | iPhone Info | iPad Info
Romantic Photo
Mac Info | iPhone Info | iPad Info
Simply HDR
Desktop Info | iPhone Info | iPad Info
Snow Daze
Mac Info | iPhone Info | iPad Info
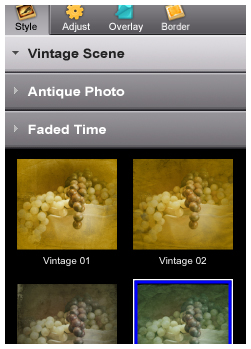
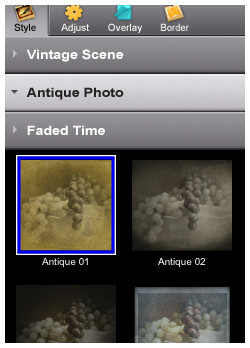
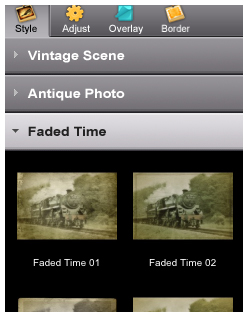
Vintage Scene
Mac Info | iPhone Info | iPad Info
Vintage Scene Video
VintageScene - Mac Info
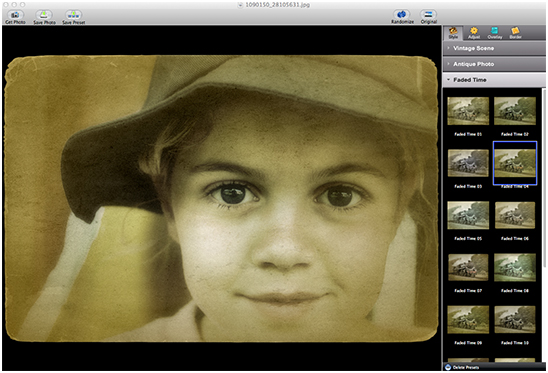
Vintage Scene quickly and easily creates compelling photos for graphic artists, photographers, & hobbyists.
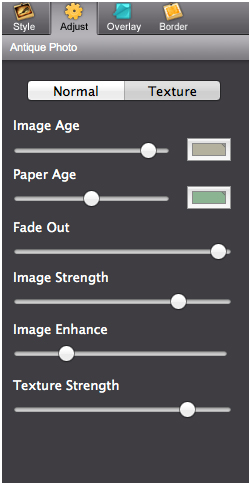
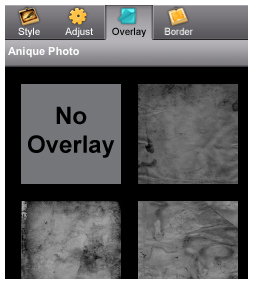
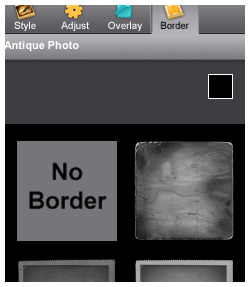
This unique algorithm automatically combines several classic effects: sepia tone, grain, darkened edges, distressed paper, along with the look of fade that with time has left behind an image with only bright blacks and darkening whites. Vintage Scene is easy to use but gives the user control to change each component for a unique look on each photo. |


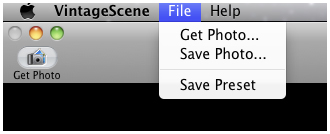
Top Bar ButtonsGet Photo: Loads a photo from your desktop or hard drive. Save Preset: Once you've created an effect you can use this option to save all the attributes and reuse them on another picture. Random Button: Randomizes the effect on the image. Original Button: Hold down to view the original image for a quick comparison. File MenuGet Photo: Loads a photo from your desktop or hard drive. Save Photo: Saves the image to your desktop or hard drive. Save Preset: Once you've created an effect you can use this option to save all the attributes and reuse them on another picture. Edit MenuUndo: Undo your last edit. Redo: Redo your last edit that was undone. |