PRODUCT INFO PAGES
Aquarella
Desktop Info | iPhone Info | iPad Info
Artista Haiku
Mac Info | iPhone Info | iPad Info
Artista Oil
Mac Info | iPhone Info | iPad Info
Artista Sketch
Mac Info | iPhone Info | iPad Info
Dramatic Black & White
Mac Info | iPhone Info | iPad Info
Grungetastic
Mac Info | iPhone Info | iPad Info
Hand Tint
Kyoobik Photo
Mac Info | iPhone Info | iPad Info
Moku Hanga - Wood Cut
Mac Info iPhone Info | iPad Info
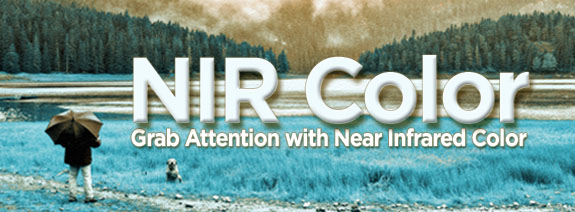
NIR Color
Mac Info | iPhone Info | iPad Info
Pop Dot Comics
Mac Info | iPhone Info | iPad Info
Portrait Painter
Mac Info | iPhone Info | iPad Info
Rainy Daze
Mac Info | iPhone Info | iPad Info
Romantic Photo
Mac Info | iPhone Info | iPad Info
Simply HDR
Desktop Info | iPhone Info | iPad Info
Snow Daze
Mac Info | iPhone Info | iPad Info
Vintage Scene
Mac Info | iPhone Info | iPad Info
Vintage Scene Video
NIR Color - Mac Info
|
|
Top Bar Buttons Get Photo: Loads a photo from your desktop or hard drive. Save Preset: Once you've created a HDR scene you can use this option to save all the attributes and reuse them on another picture. Random Button: Randomizes the Rain effect on the image Original Button: Hold down to view the original image for a quick comparison File MenuGet Photo: Loads a photo from your desktop or hard drive. Save Photo: Saves the image to your desktop or hard drive. Save Preset: Once you've created a HDR scene you can use this option to save all the attributes and reuse them on another picture. |

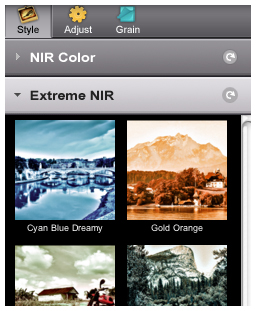
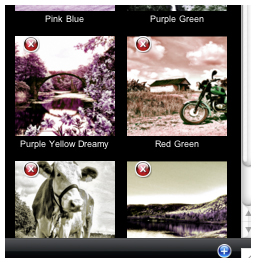
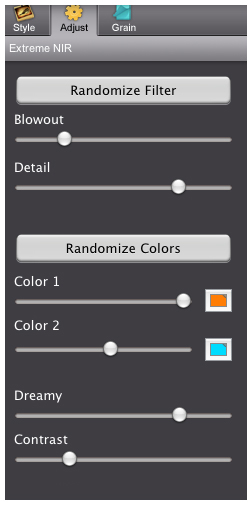
Randomize FilterRandomizes the custome color filter drastically changing your image Blowout SliderBlows out the highlights to make them brighter and more apparent Detail SliderMove left to add sharpness to your image. Randomize ColorsRandomizes the two colors listed below Color 1 and Color 2Choose the two colors to overlay your image, use the sliders to change the opacity of the colors. Dreamy SliderGives the image a soft dreamy effect. Contrast SliderDeepens the dark areas in the image.
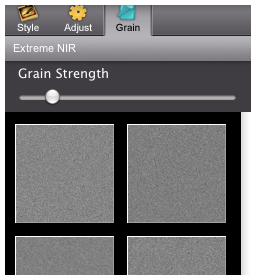 Grain Strength SliderChanges the opacity of the grain effect selected Grain ThumbnailsChoose the grain effect used to overlay the image
|