Grungetastic styles are creative madness or clearer visions of reality, whatever it is, they go to an artistic place few ever get. You can't get a cooler, hotter photo anywhere.
Grungetastic - Info Page iPhone & iPad
Buttons
Top Bar Buttons

- Undo - Undo the last edit
- Randomize - Randomizes the effect on the image.
Bottom Bar Buttons
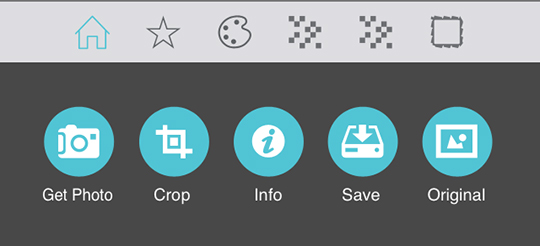
- Get Photo - Load a photo from your Camera Roll
- Crop - Cut out an area of your image hiding the rest
- Info - Brings you to this page
- Save - Save your image or preset, email or print your image and upload to Facebook and Twitter
- Original - Hold down to view the original image for a quick comparison
Adjustments
Grungetastic includes four/five tabs which you can use to customize your image. The tabs will change depending on which preset style is chosen.
Color Detail when using Pop Grunge Style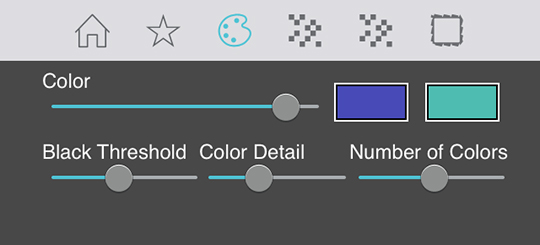
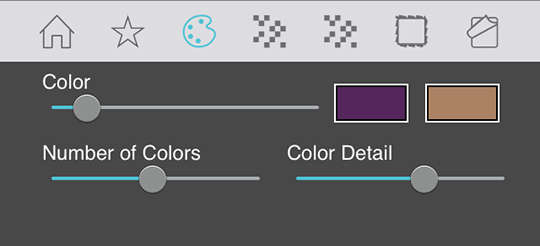
- Color - Moving this slider right increases the strength of the tone globally. To change the color (tone) of the image, tap on the color boxes to get to the color picker.
- Black Threshold - This slider darkens the shadows in the image.
- Color Detail - Move the slider right to add detail to your image.
- Number of Colors - Adds in more colors creating smoother color blending.
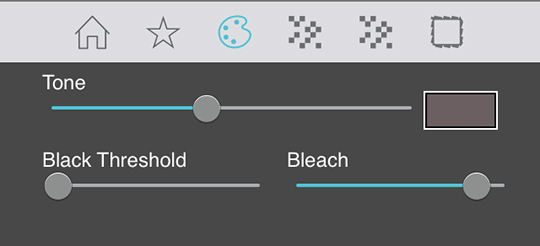
- Tone - Moving this slider right increases the strength of the tone globally. To change the color (tone) of the image, tap on the color box to get to the color picker.
- Black Threshold - This slider darkens the shadows in the image.
- Bleach - Washes the color out of the image.
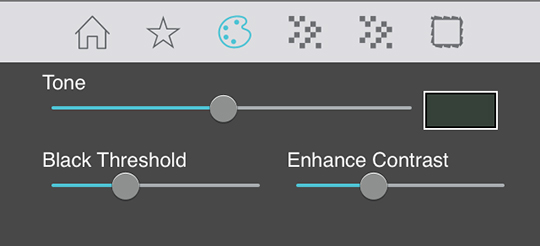
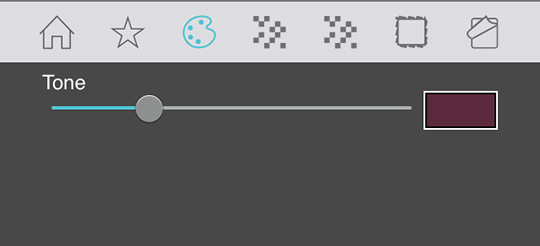
- Tone - Moving this slider right increases the strength of the tone globally. To change the color (tone) of the image, tap on the color box to get to the color picker.
- Black Threshold - This slider darkens the shadows in the image.
- Enhance Contrast - Increase the ambiant light and brightness in the image. Move slider right to increase strength.
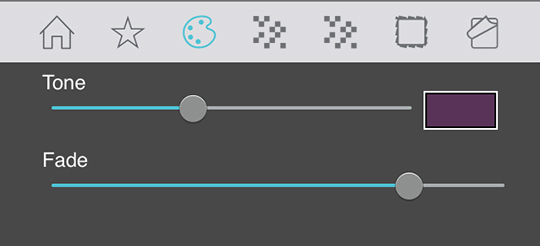
- Tone - Moving this slider right increases the strength of the tone globally. To change the color (tone) of the image, tap on the color box to get to the color picker.
- Fade - Move slider right to fade color from the image.
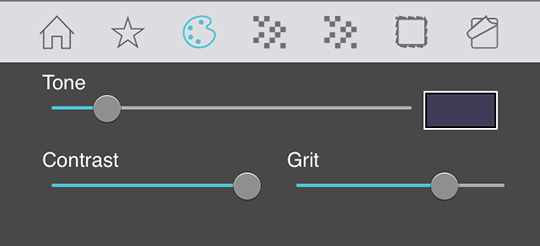
- Tone - Moving this slider right increases the strength of the tone globally. To change the color (tone) of the image, tap on the color box to get to the color picker.
- Contrast - Increase the ambient light and brightness in the image. Move the slider right to increase contrast strength.
- Grit - Move the slider right to add grit to the image.
- Tone - Moving this slider right increases the strength of the tone globally. To change the color (tone) of the image, tap on the color box to get to the color picker.
- Color - Moving this slider right increases the strength of the tone globally. To change the color (tone) of the image, tap on the color boxes to get to the color picker.
- Number of Colors - Adds in more colors creating smoother color blending.
- Color Detail - Move the slider right to add detail to your image.
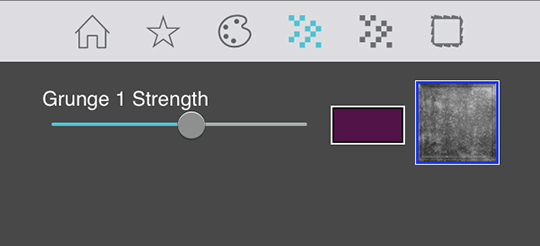
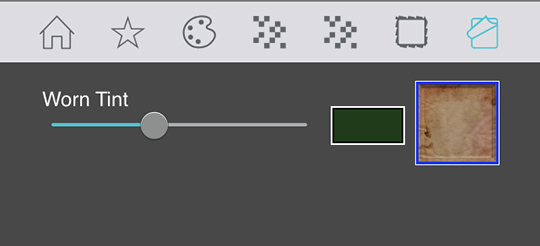
- Grunge 1 - Choose a color and texture for Grunge 1 and use the slider to adjust color strength. (Color box not available when using Worn or Pop Worn)
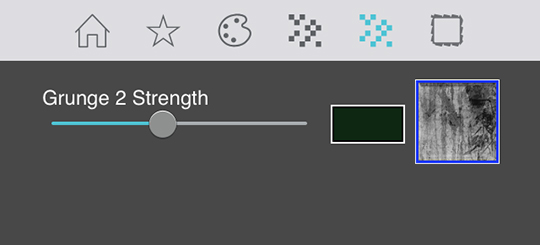
- Grunge 2 - Choose a color and texture for Grunge 2 and use the slider to adjust color strength. (Color box not available when using Worn or Pop Worn)
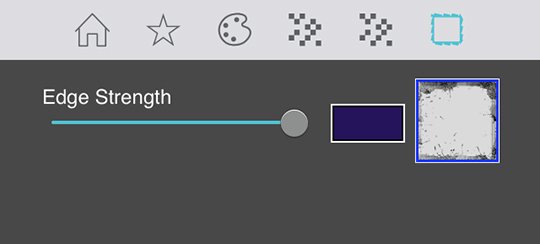
- Edge Strength - Choose a color and edge and use the slider to adjust the edge's strength.
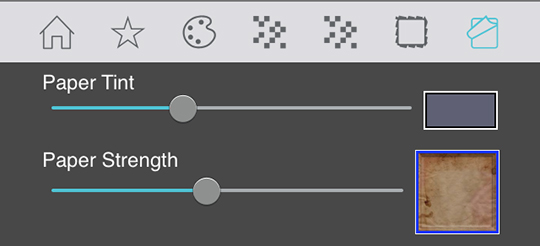
- Paper Tint - Tint the paper by choosing a color and use the slider to increase the tint's strength.
- Paper Strength - Increase the amount of paper seen through the grunge texture and edge. Use the thumbnail to choose a paper.
Saving
Click on the Save Button to open a variety of different ways to save and share your image.
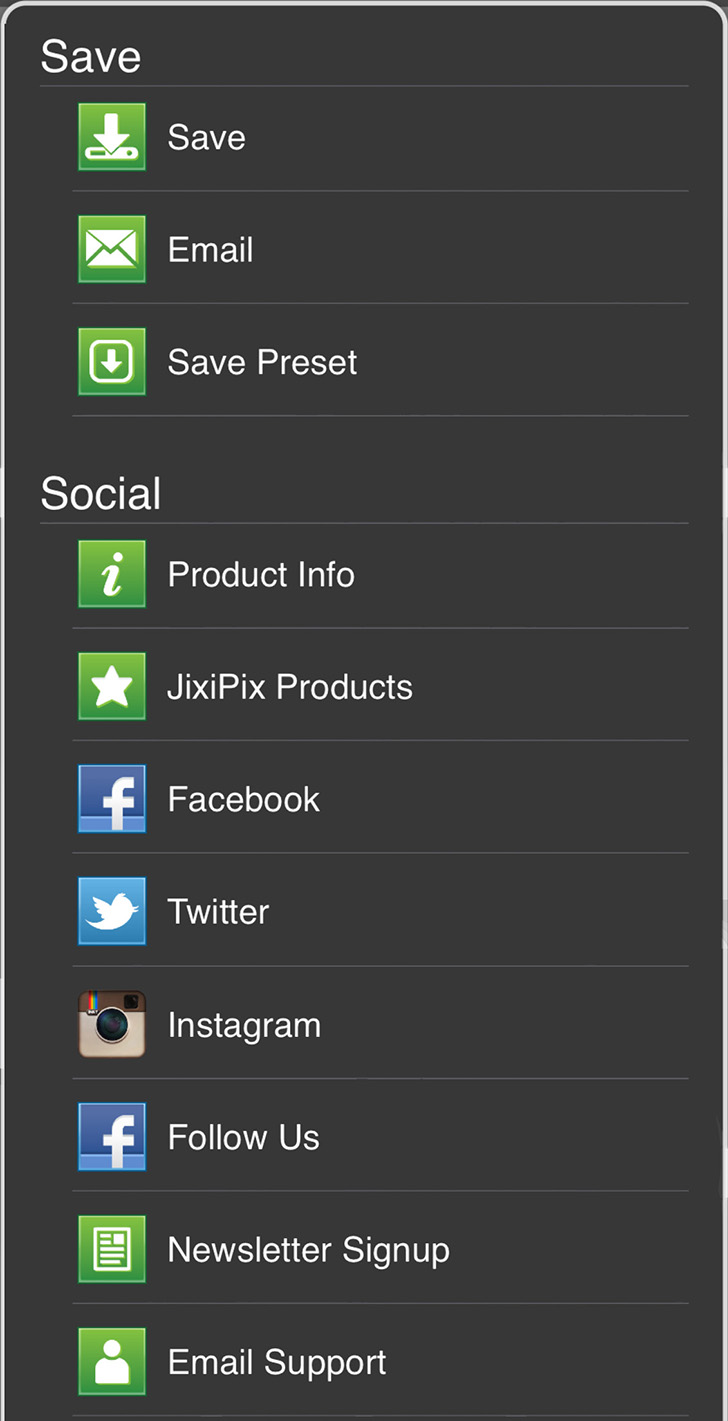
- Save - Saves the image to your camera roll.
- Email - Opens up your email so you can share your photo with friends and family.
- Save Preset - Save your adjustments as a preset to use later.
- Product Info - Brings you to this page.
- Jixipix Products - Takes you to the Itunes App Store where you can view all our Apps.
- Facebook - Opens Facebook's login screen, once logged in you can share your image on facebook.
- Twitter - Opens Twitter's login screen, once logged in you can share your image on Twitter.
- Instagram - Opens Instagram where you can upload your image. (Requires Instagram and being logged into your Instagram account.)
- Follow Us on Facebook - Opens up our Facebook page where you can like us to get info on our latest apps and updates.
- Newsletter Signup - Enter your email to be the first to here about our upcoming apps and updates.
- Email Support - Send us a support email using one of your email apps
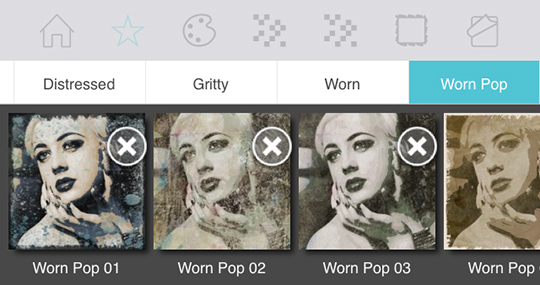
Presets
Saving and Deleting Presets
Once you have applied a preset and modified it using the adjust tabs, you can save your own custom preset by using the "Share" button on the main screen and choosing "Save Preset" off the menu. To delete a preset, press down on a thumbnail and hold until a red "X" appears, then tap to delete it.