promotions

Quick Links

Kyoobik Photo - Mac Info


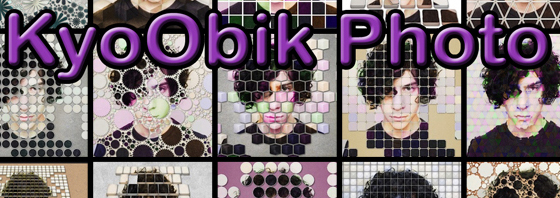
The exploration into photo editing has led you to Kyoobik Photo (cubic), the photo app that turns your mundane photo into a geometric gridded image. Gridded image? Sounds straight to the point, but the amazing turns and slides you can take with this app will not only turn your photo into a custom work of art but also can take you back to the 1960's with its pop-art attitude.
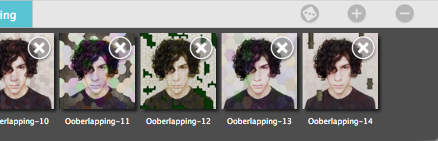

Buttons

Top Bar Buttons

Get Photo: Loads a photo from your desktop or hard drive.

Save Photo: Saves the image to your desktop or hard drive.

Save Preset: Once you've created an effect you can use this option to save all the attributes and reuse them on another picture.

Erase/ Add: Toggle between adding and removing tiles.

Reset Tiles: Adds back all the tiles that had been removed.

Random Button: Randomizes the effect on the image.

Original Button: Hold down to view the original image for a quick comparison.

File Menu

Get Photo: Loads a photo from your desktop or hard drive.

Save Photo: Saves the image to your desktop or hard drive.

Save Preset: Once you've created an effect you can use this option to save all the attributes and reuse them on another picture.

Edit Menu

Undo: Undo your last edit.

Redo: Redo your last edit that was undone.


Presets

Use the Styles Tab to view our different presets

Kyoobik Photo comes with five different style types.

Kyoobik Photo

Oobik Shapes

Kyoobert 3D

Kyoobik Plane

Ooberlapping

Saving and Deleting Presets

Once you have applied a preset and modified it using the adjust tab, you can save your own custom preset by going to the file menu and selecting save preset. To delete a preset click the blue- in the bottom corner which will make red Xs appear next to the preset thumbnails tap them to delete. To retrieve the built in presets go to the preferences in the drop down menu and select Rebuild Default Presets.


Customize

Adding/ Erasing Tiles

Use the Add/ Erase button to switch between adding and deleting tiles.
Adding tiles is as easy as clicking the tile. To erase a tile just click where you want the tile to appear. You can also drag through the tiles to delete the tiles or drag where no tiles are to add tiles.

Adjustments

There are two tabs which you can use to customize your picture.


Randomize Button

Randomizes the position of the different size shapes and also how many shapes have the color tone overlay.

Shape Size

Change the size of the selected shape.

Gutter

Change the spacing between the shapes revealing the background paper.  ( Not available when an Ooberlapping style is selected.)

Overlap

Change how far the shapes overlap each other. ( Only available when an Ooberlapping style is selected.)

Border Size

Change the size of the border surrounding the shapes. Use the color box to change the border color. ( Only Available when a Kyoobik Photo style is selected.)

Shape Buttons

Select between the different shapes. There is a different amount of shapes available per style.

Edge Gradient

Adds a gradient around the edge of the shapes to give them a more 3-dimensional look. ( Not available when an Oobik Shapes style is selected.)

Contrast Variation

Choose how much the contrast changes per shape.

Tint / Kaleidoscope

Switch between using one or five tones to overlay your shapes. Use the color boxes to change the colors.

Tint Strength

Change the opacity of the colors overlaying your shapes.

Image Shift

Changes how much the image shifts in each shape.

Shadow Strength

Change the opacity of the shadows of the individual shapes.

Shadow Height

Choose how high the shapes appear away from the background paper.


Paper Tint

Changes the opacity of the selected color overlaying the paper style. Choose the color with the color box.

Paper Thumbnails

Choose the background of the image.

Custom Paper

The Mac version also comes with the option of using a custom image as your background.


QUESTIONS

Please contact us using the form on the CONTACT PAGE.


Quick Links