Surreal Snow Scene
Introduction
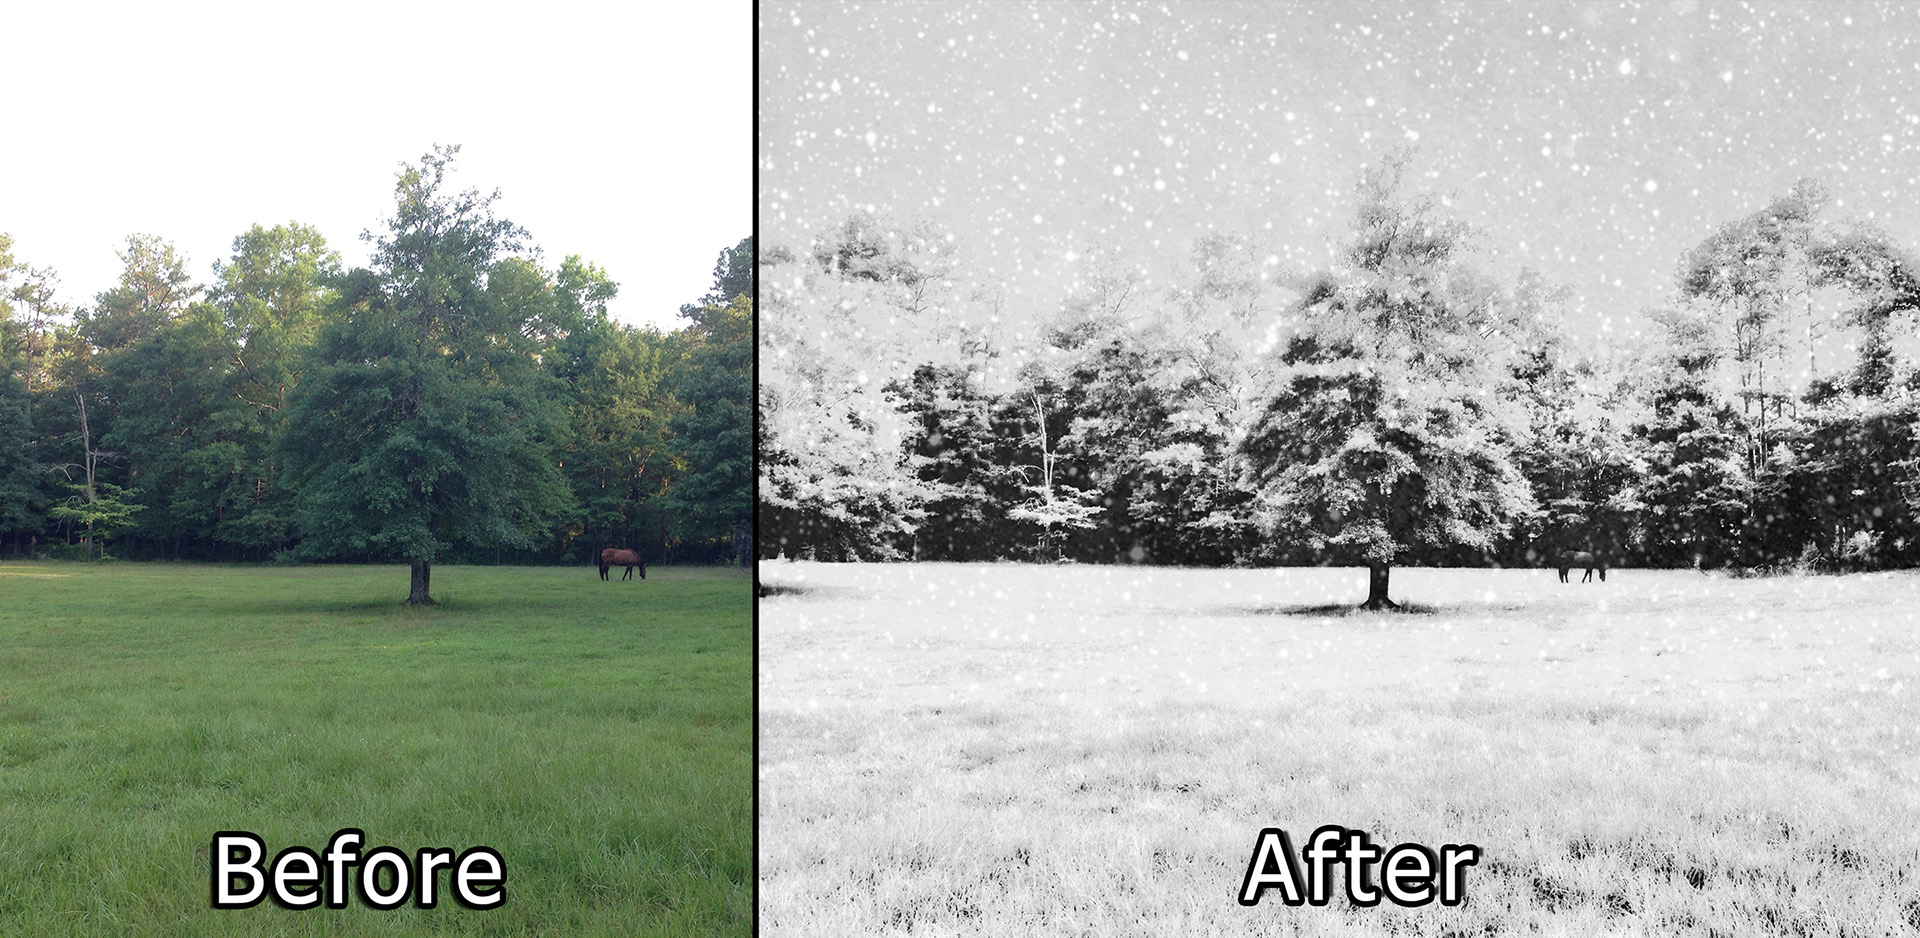
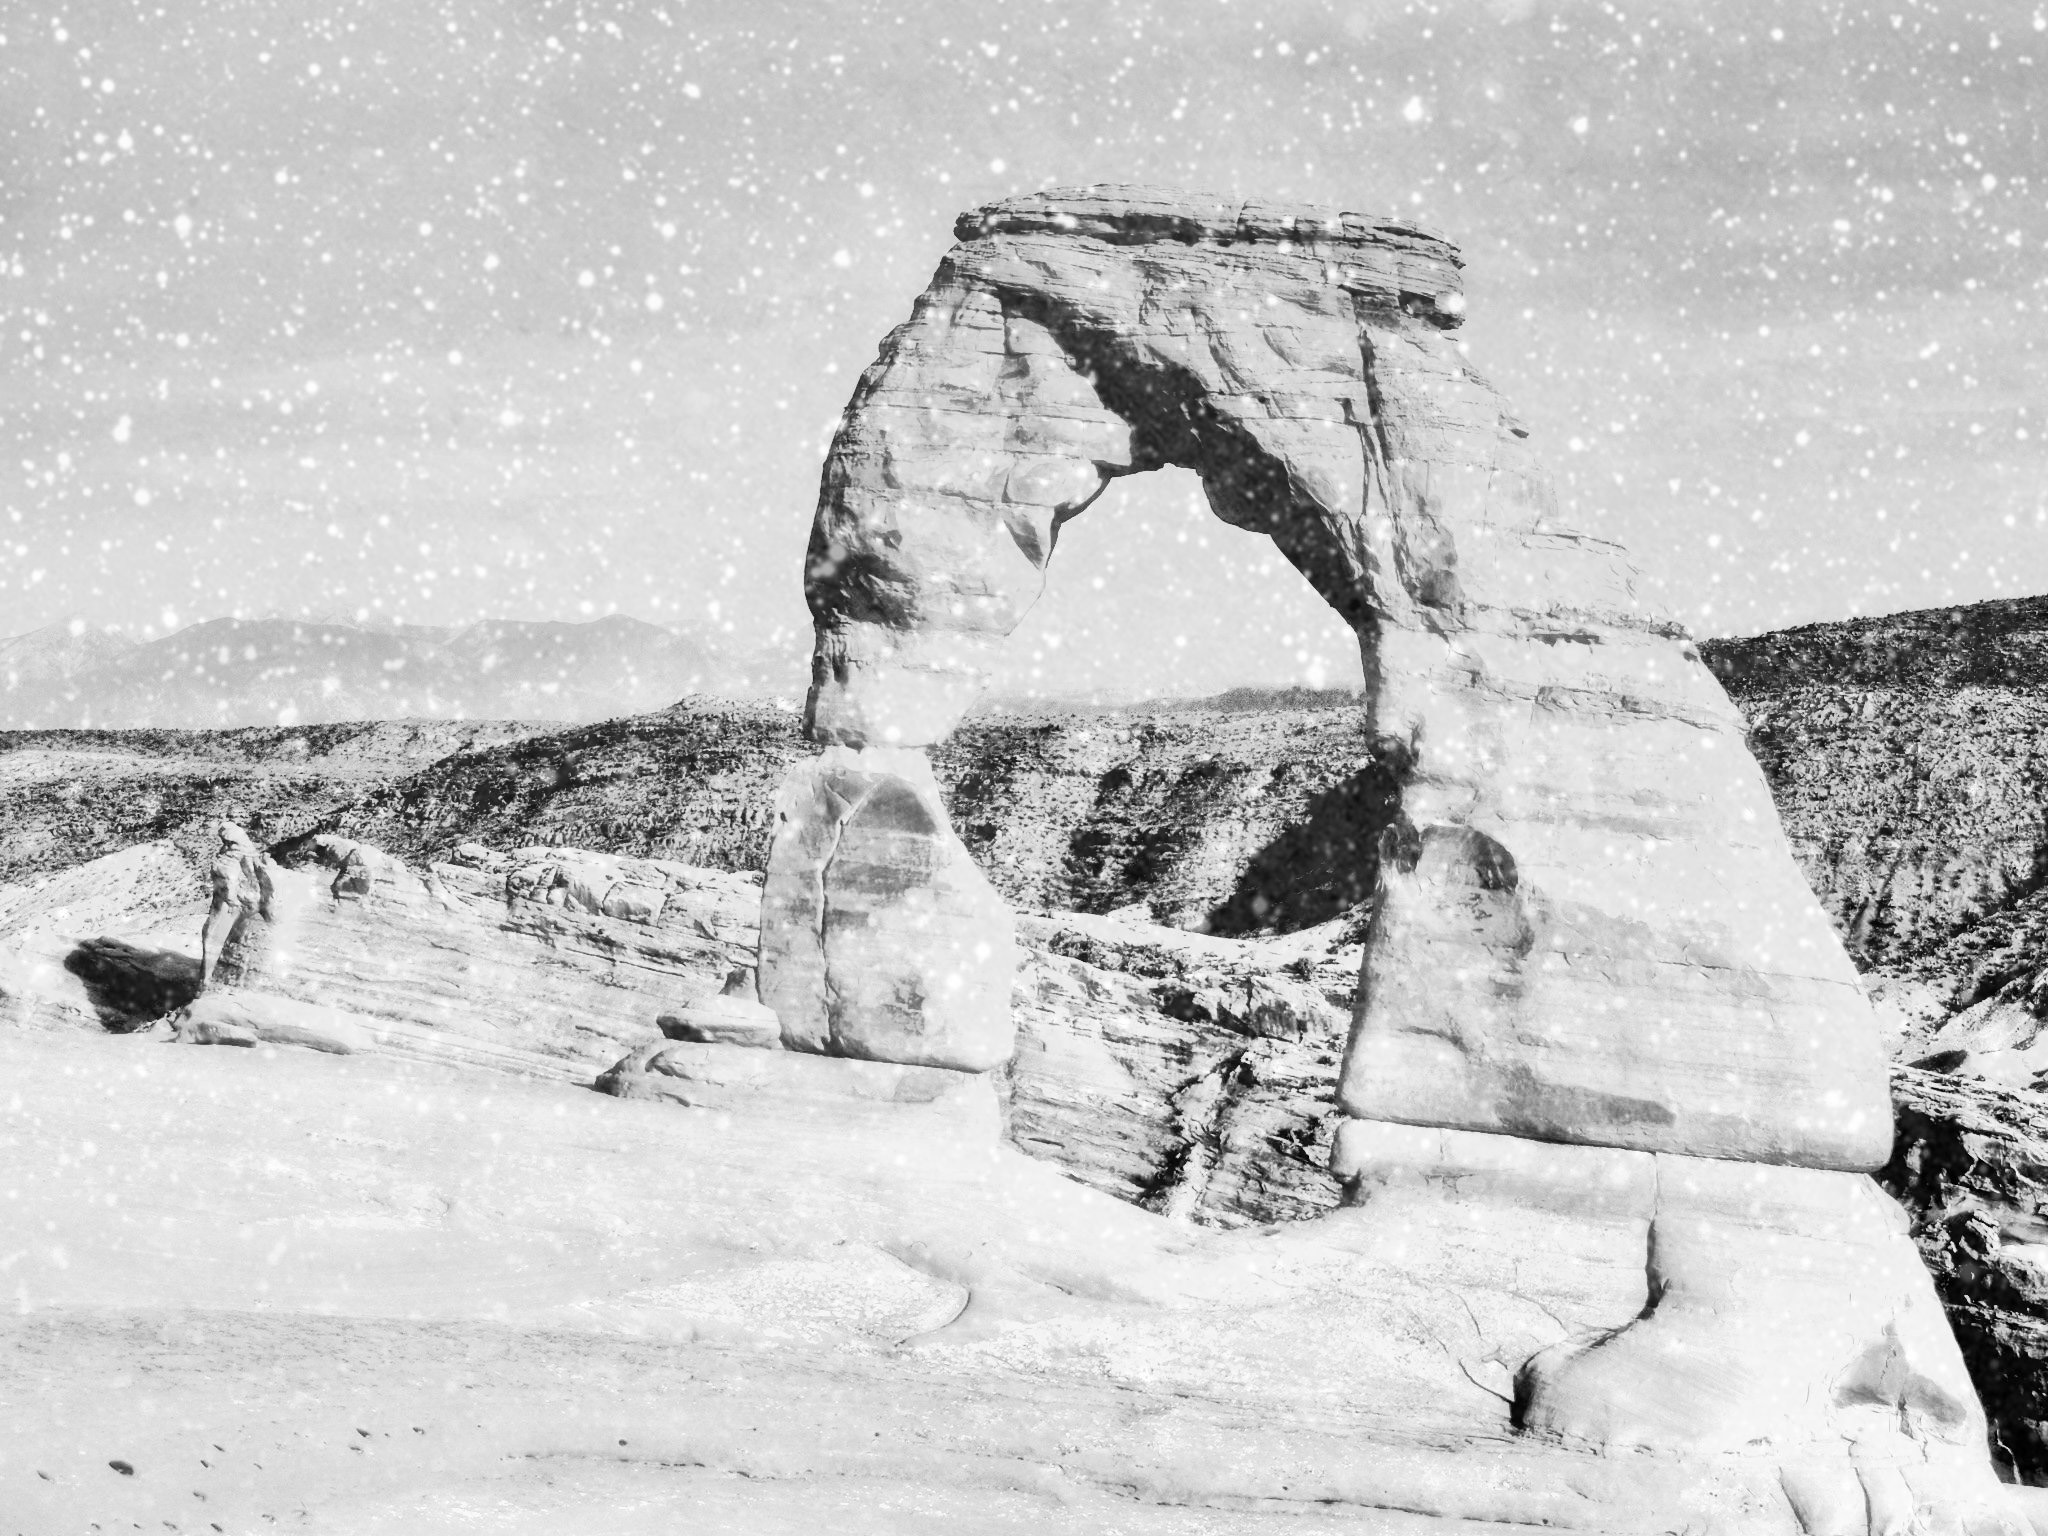
Welcome to our second tutorial. This tutorial will teach you how to create a Surreal Snow Scene using NIR Color and Snow Daze. This tutorial is for Mac or Windows but can also be done on the iPhone and iPad. If you get lost there is a video at the end of the tutorial going through all the steps. Remember you can save your Presets to use on different images later.
Step 1 - NIR Color
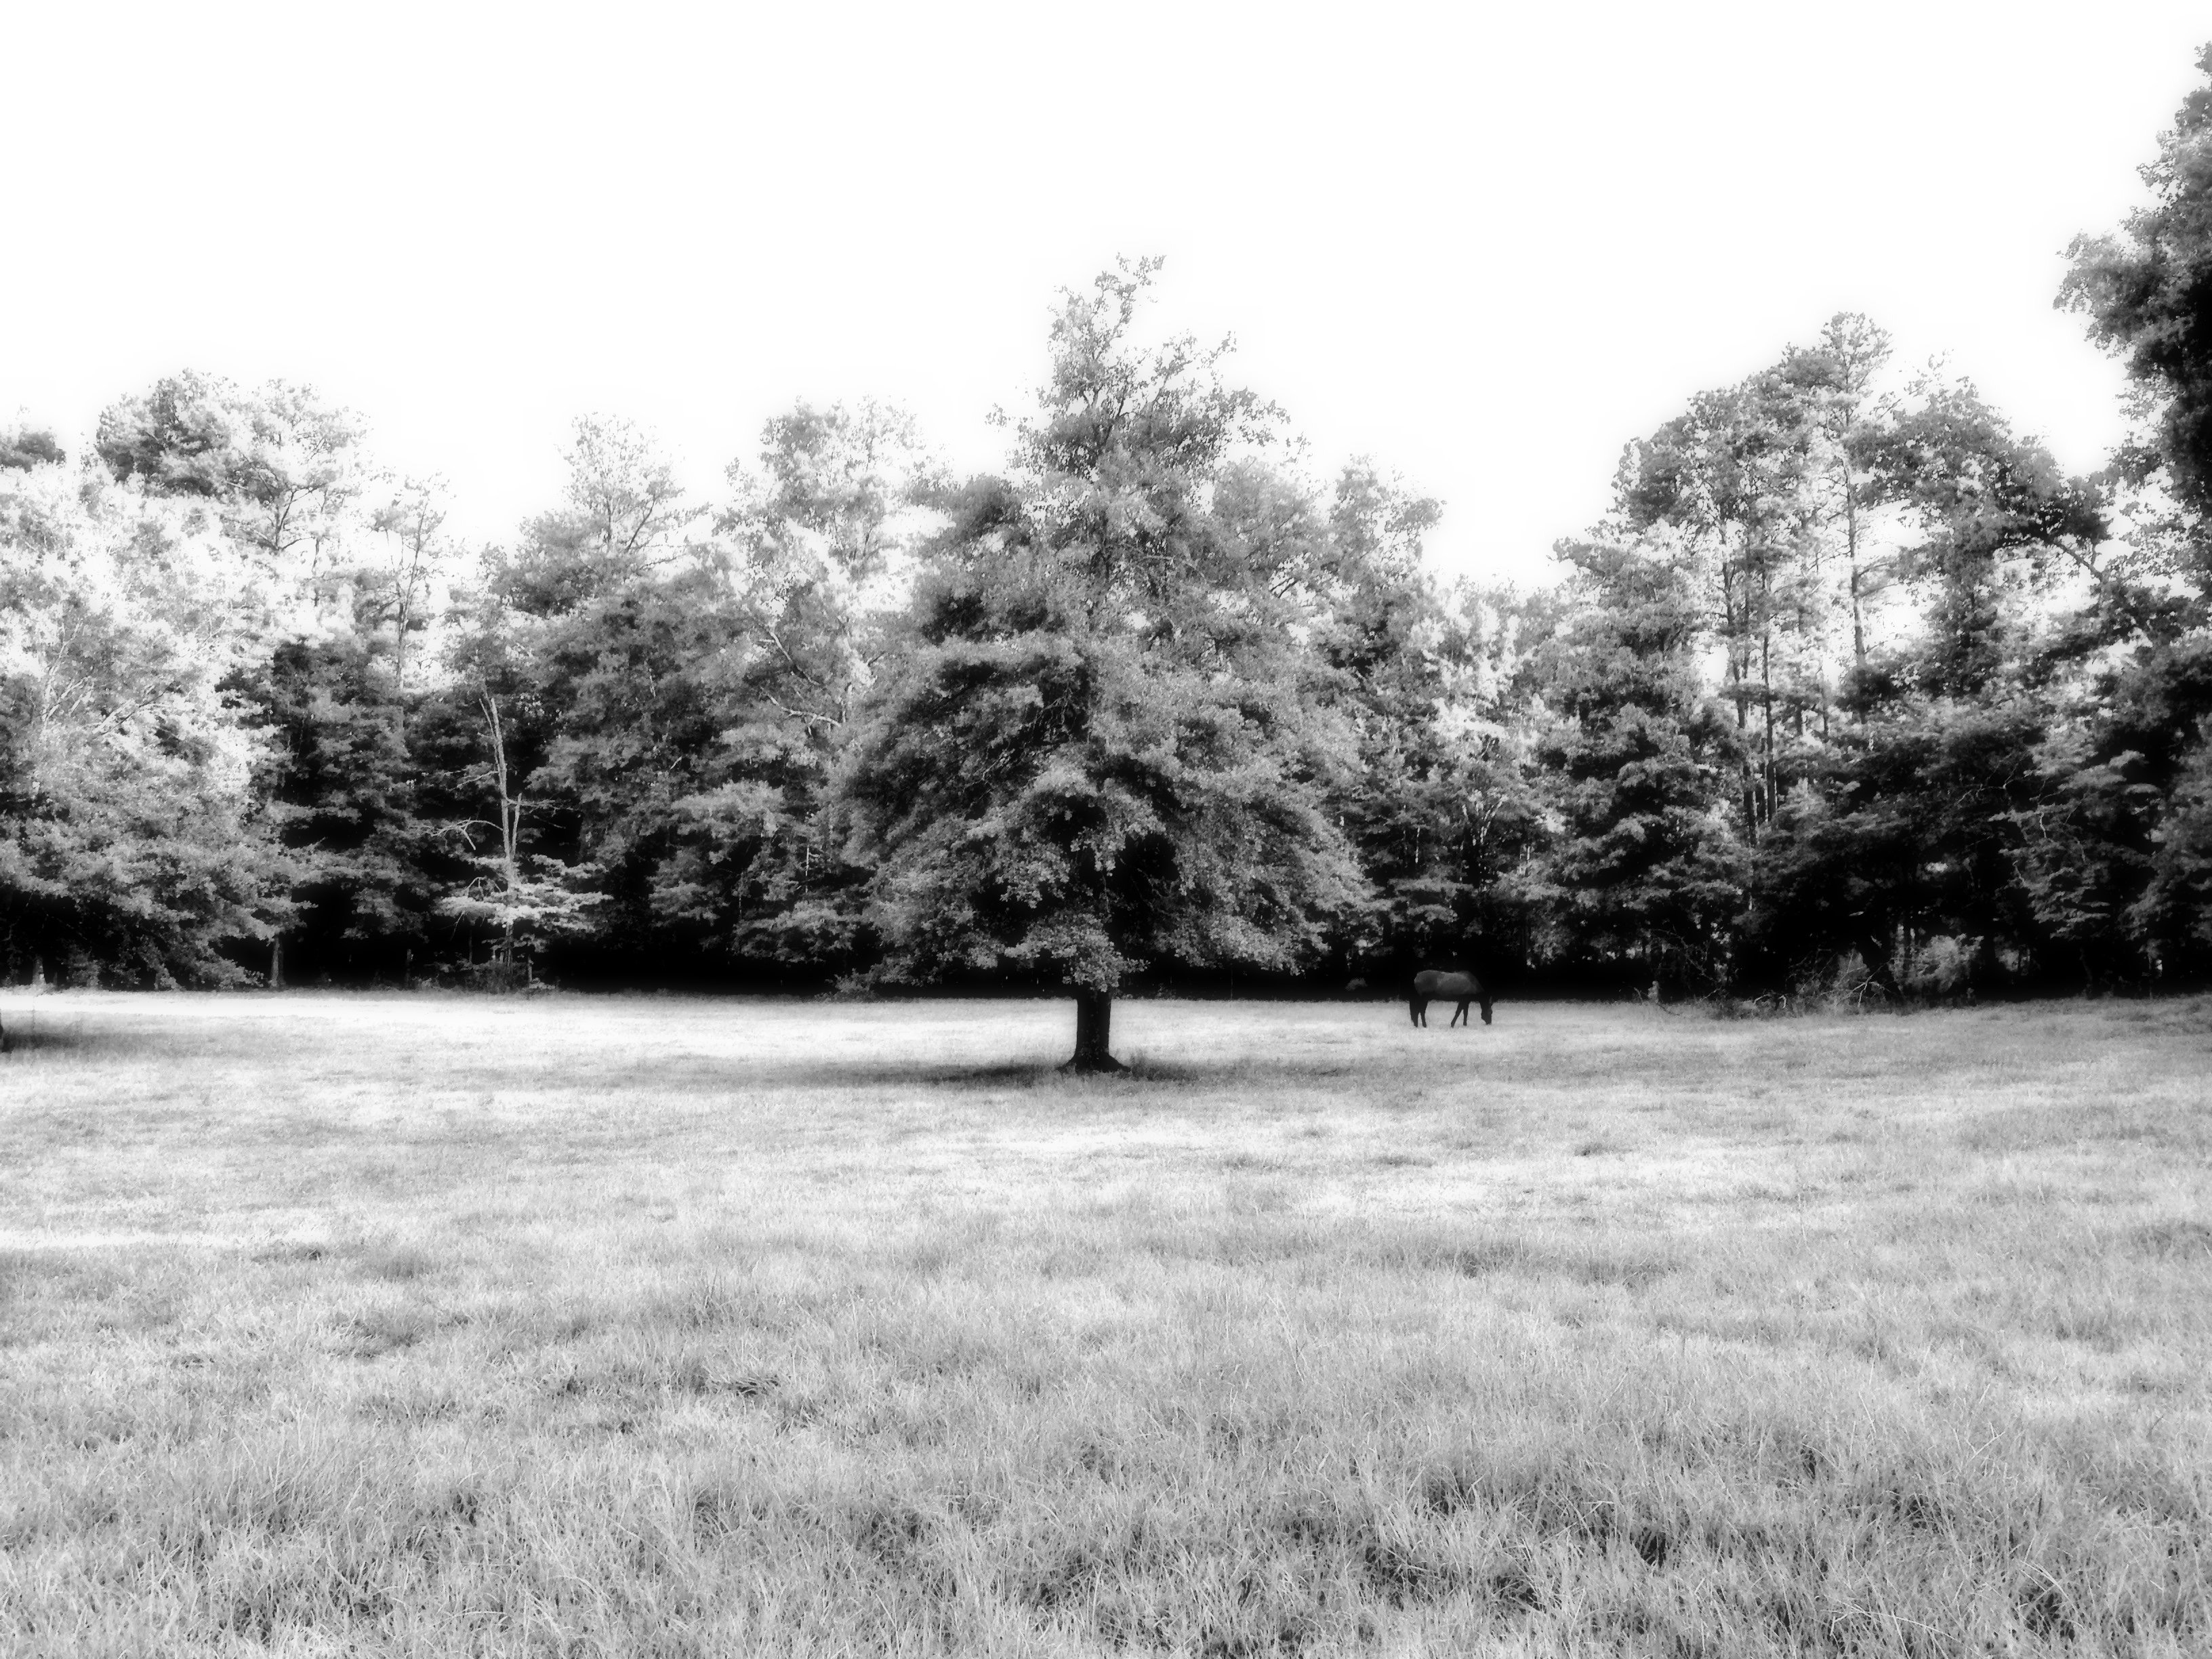
To get started you will need to first open your image in NIR Color. This tutorial will work best with similiar landscape images like the one we are using. Since every image looks different in NIR Color this will be more of a guideline than instructions so feel free to use any settings you like but if you want to get the same look use settings similiar to the ones below.
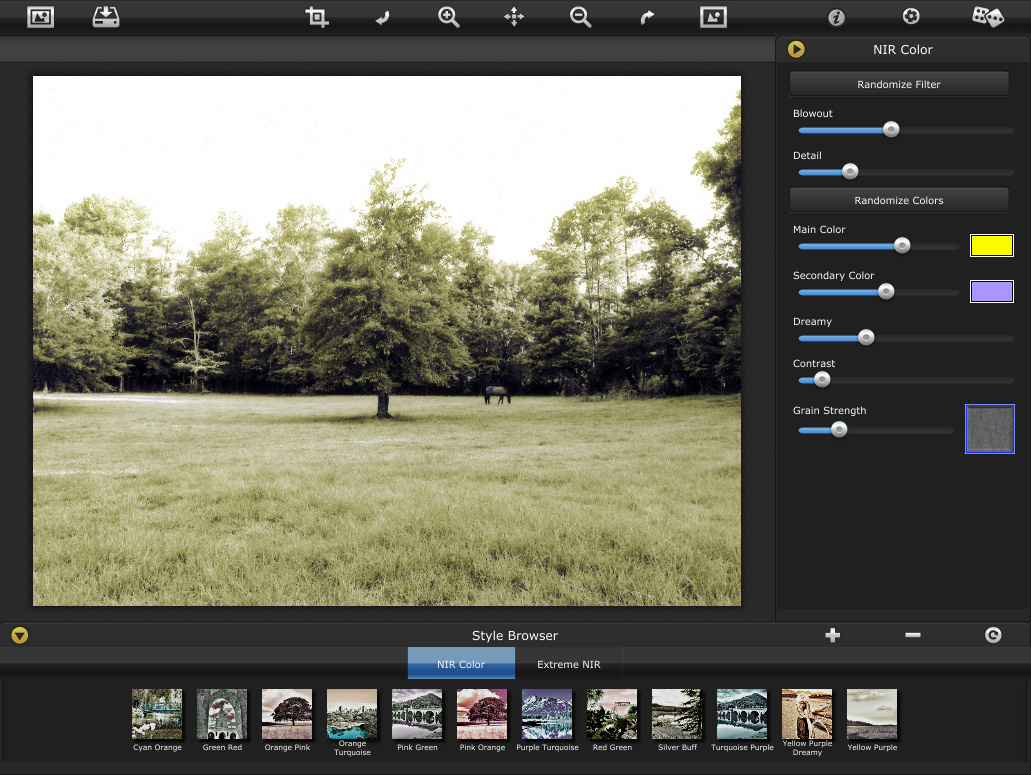
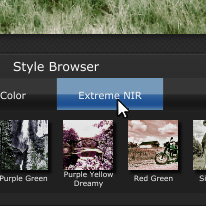
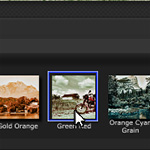
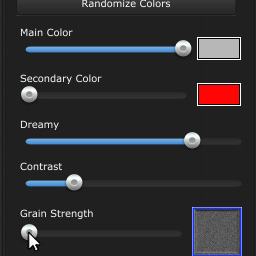
Once the image has loaded up you will need to switch the style to Extreme NIR and choose the preset named "Green Red ". Next change the first color to a light grey I used 183, 183, 183 and put its slider all the way up then turn the Secondary Color all the way down to make your image black and white. Feel free to play around with different colors.

The filter on your image should look good but if it doesn't look right try using the " Randomize Filter " button to get a good combination of contrast and brightness for your image with mostly everything in your image being light grey. The best way to do this is to just randomize it a couple times until you get something you like (remember you can always use the undo button to go back). After choosing a nice filter you will want to start tweaking the adjustments. First turn the Blowout slider down to around 30% to get rid of any white areas and then turn the Contrast slider down to around 25% but still high enough so that you to can still differentiate all the different objects in your image.
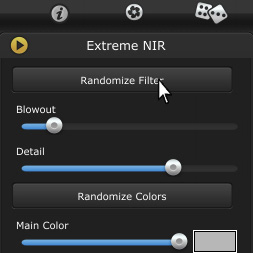


After that move the Details slider to get the details to how you like, I used 63%) and turn the Dreamy slider up to around 75% to give your image a soft dreamy look. The grain is not needed so just turn that all the way down.


After that you will want to save your image and get ready to open it in Snow Daze. You will want to end up with an image that is not to dark or to light, we will lighten it up and add more contrast later using Snow Daze.
Step 2 - Snow Daze
Once you have finished editing your image in NIR Color open the saved image in Snow Daze.

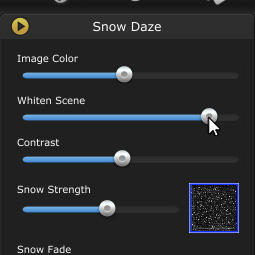
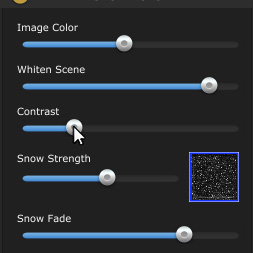
After your image has been loaded up you will want to start tweeking the settings. Use White Scene to frost up your image I took mine up to 88% and contrast to darken areas I used 23%. You can leave Image Color alone since our image is black and white already.

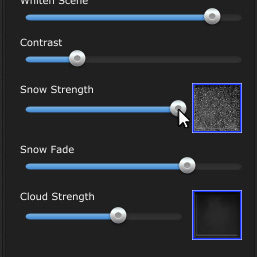
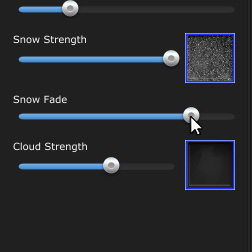
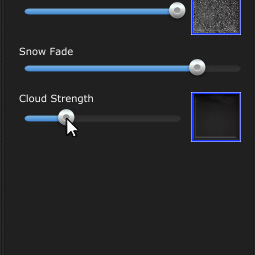
Next use the Snow Thumbnail to choose the best snow for your image, I used Snow 2. Then turn Snow Strength all the way up and Snow Fade to just right below were the snow hits the ground in your image I used 81%. For the Clouds its best to try them all out and pick one that blends in with the sky the best and turn down the Cloud Strength to 25%-50%, I used Cloud 1.
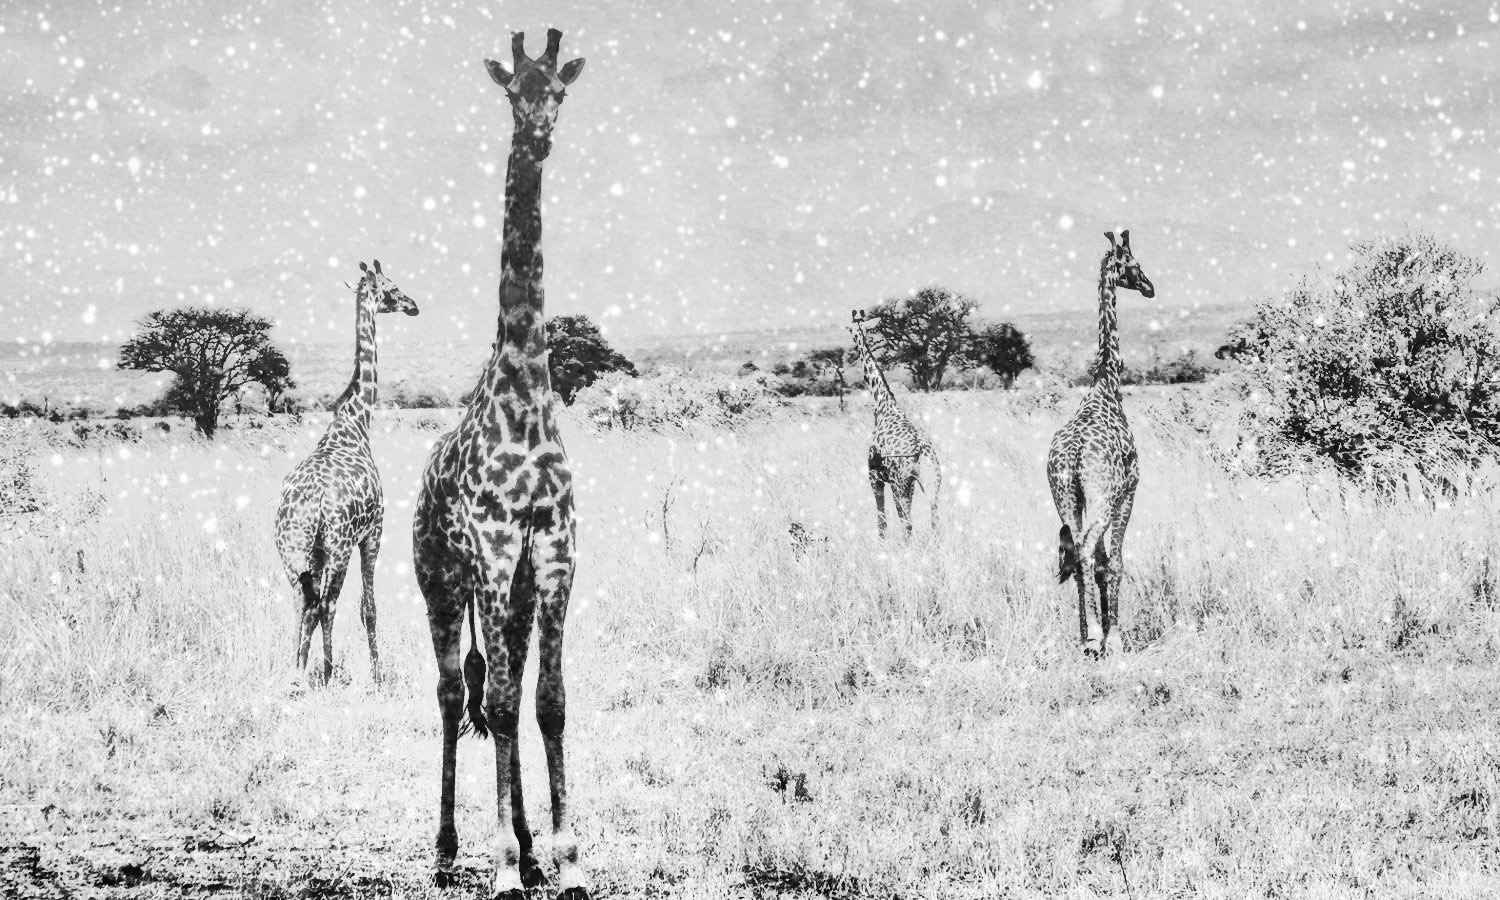
And that's it you should now have a beautiful surreal snow scene.

I hope you enjoyed our tutorial and learned something about combining apps. You can use these steps to combine any of our apps to create all kinds of different art. More tutorials will be coming soon which will dive deeper into combining Jixipix Apps. Scroll down for a video going through all the steps.
Feedback
What do you guys think? Have any app or plugin combinations you like? Any tutorials that you would like to see in later posts? Show us your creations on our Facebook and Flickr.
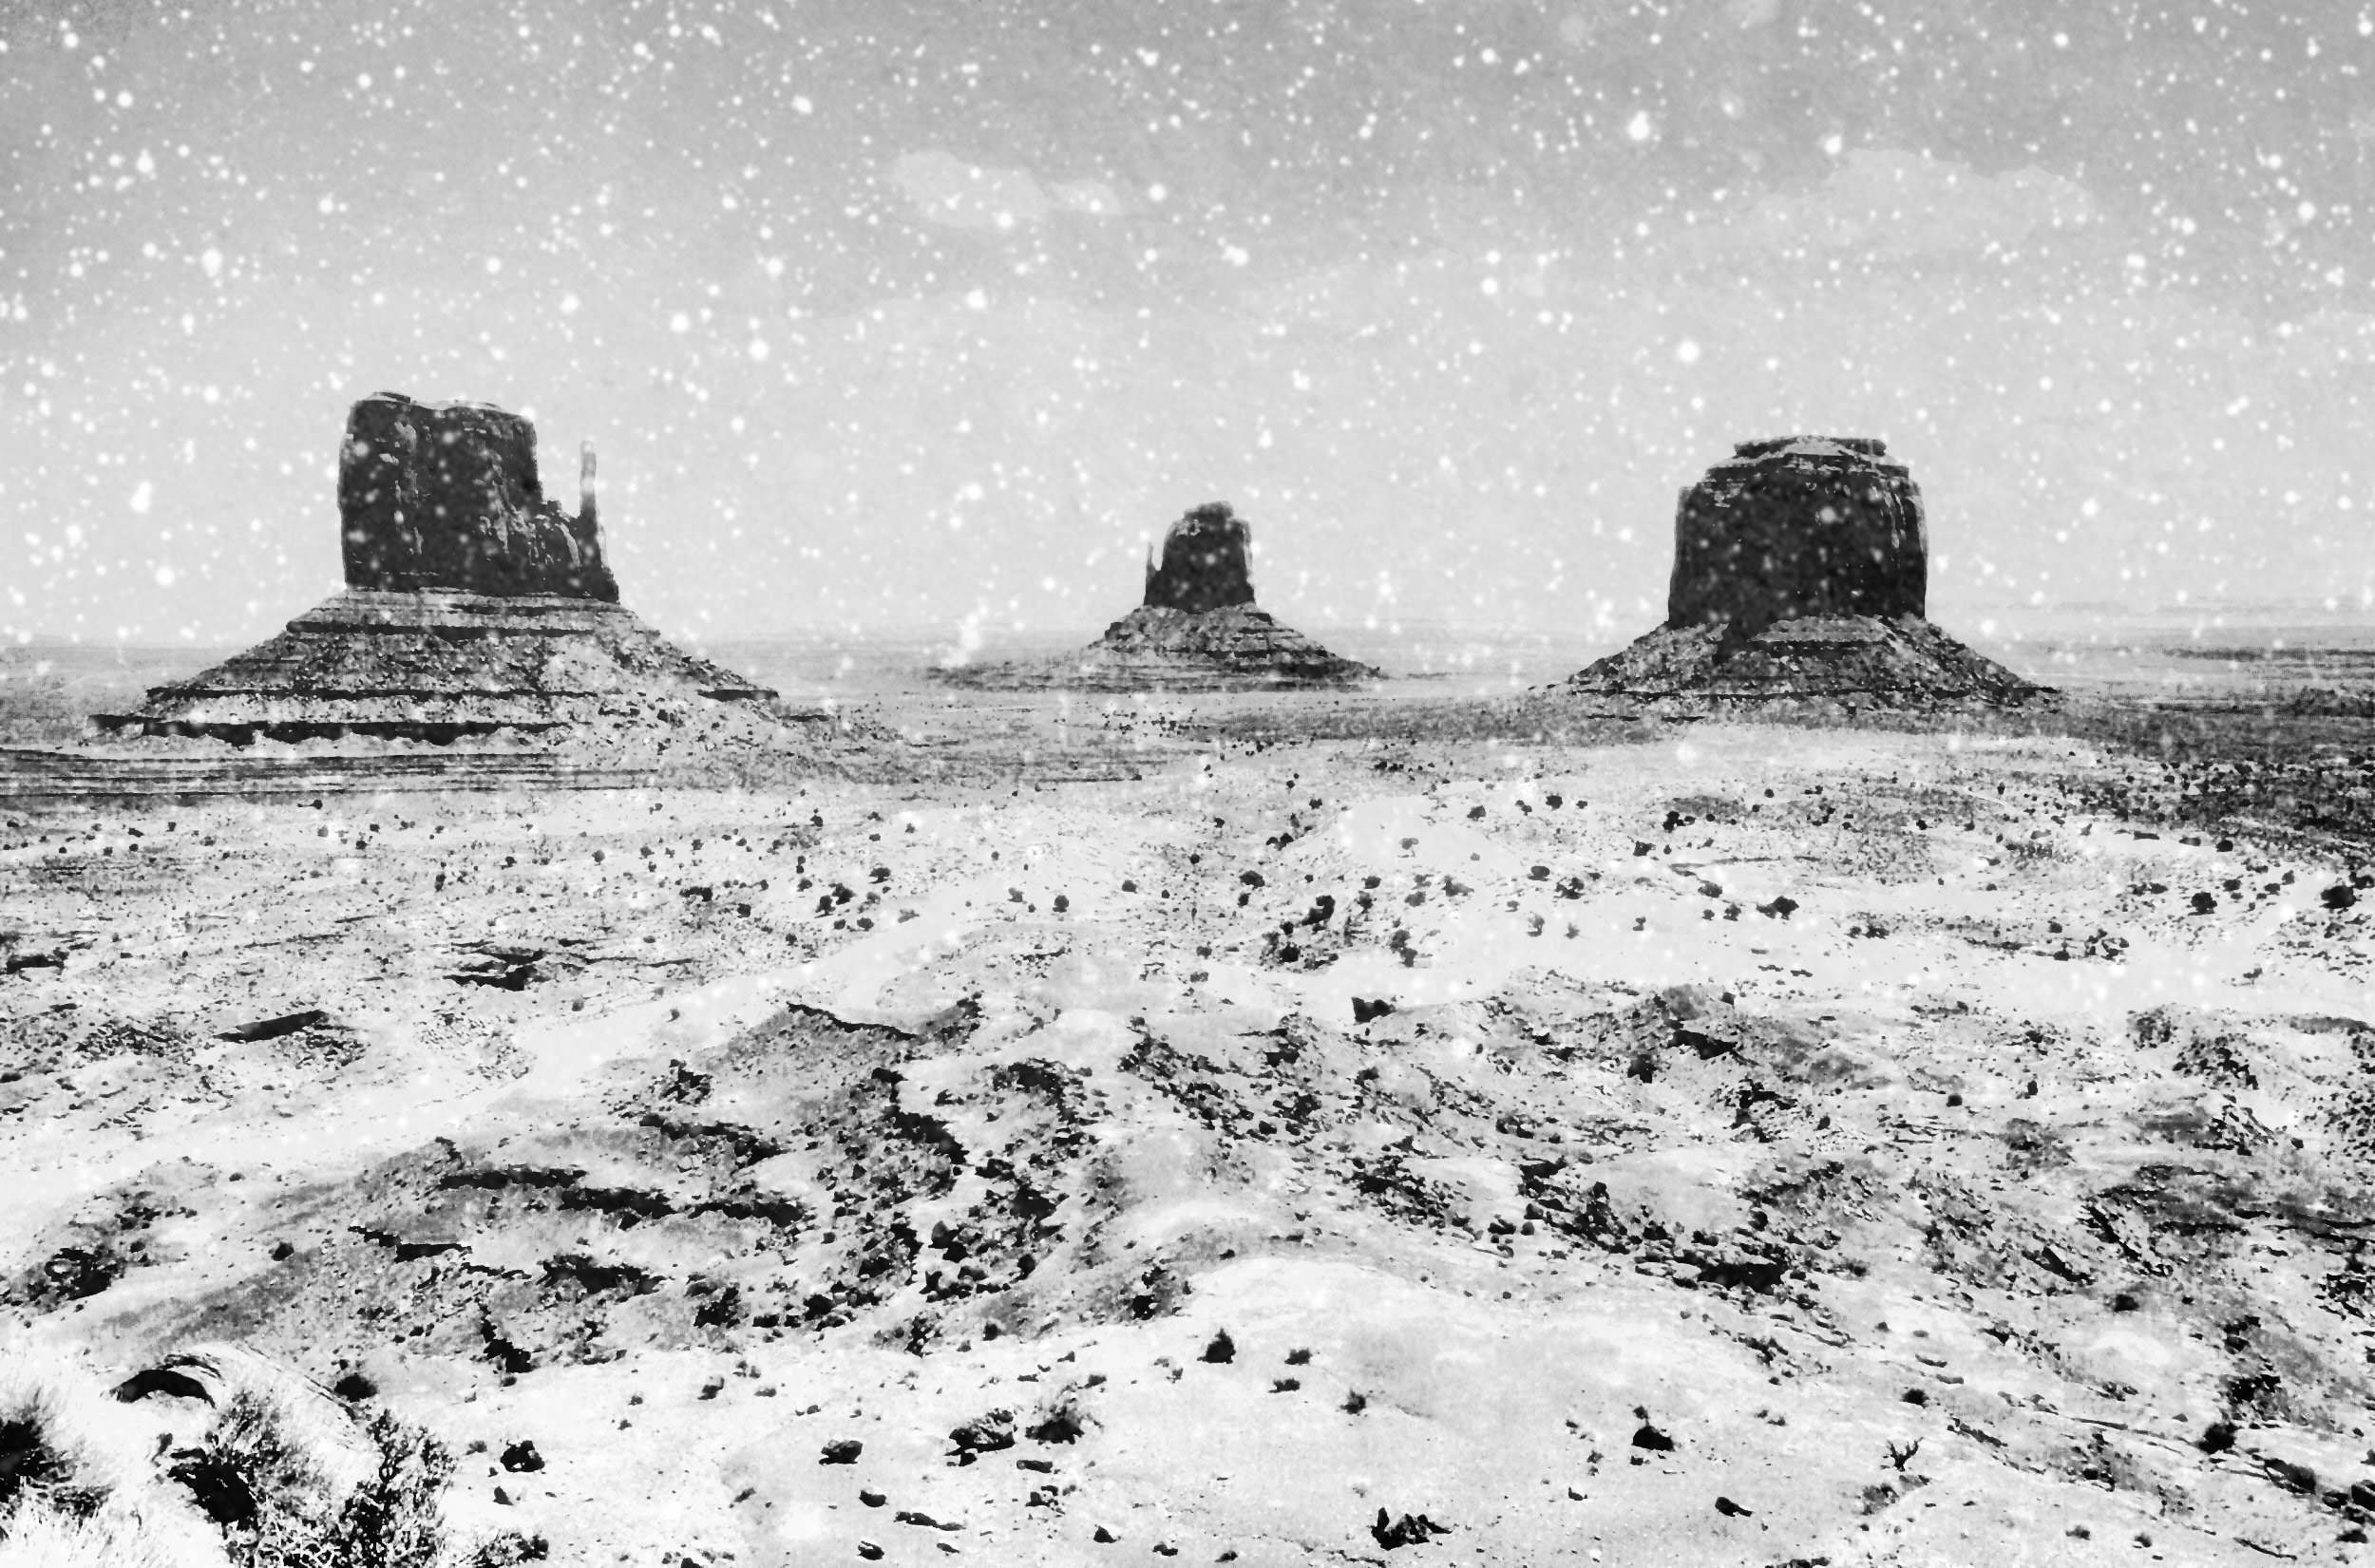
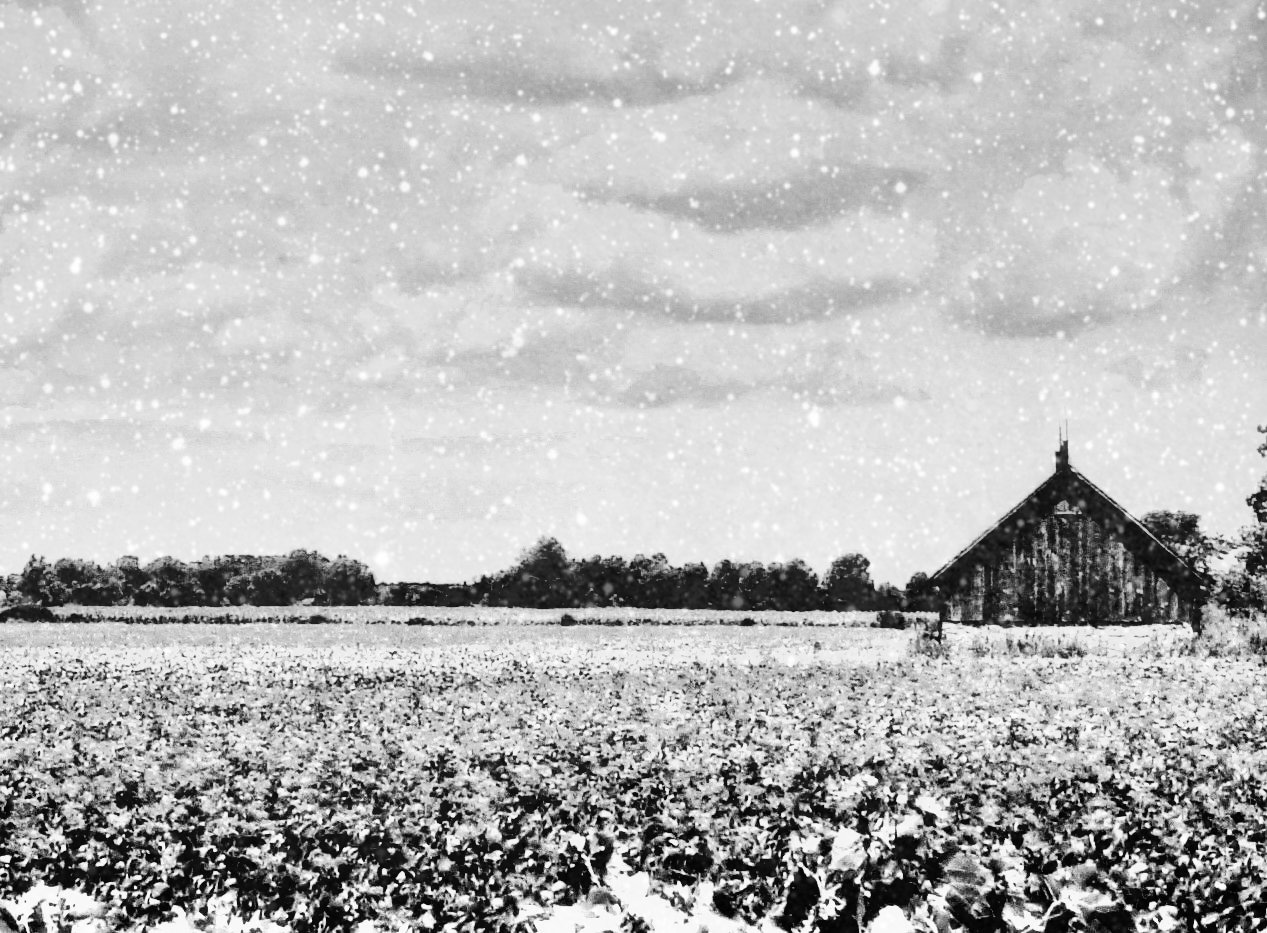
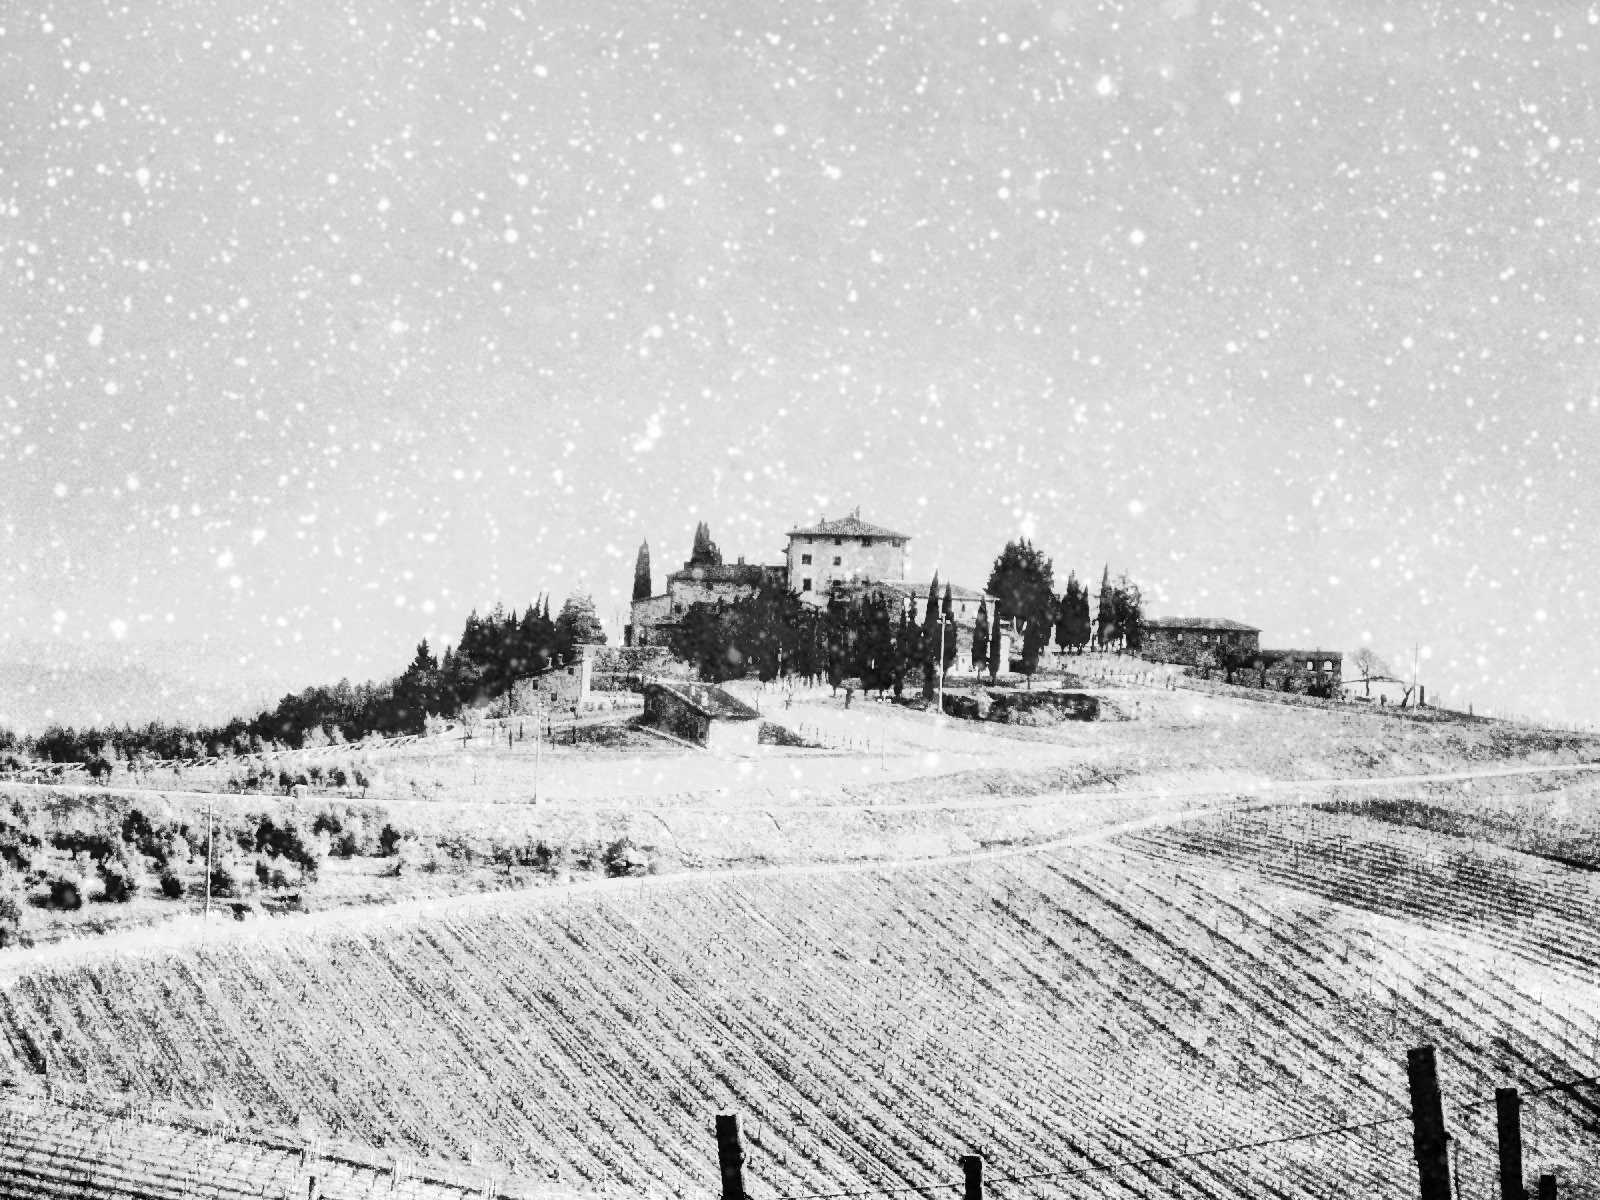
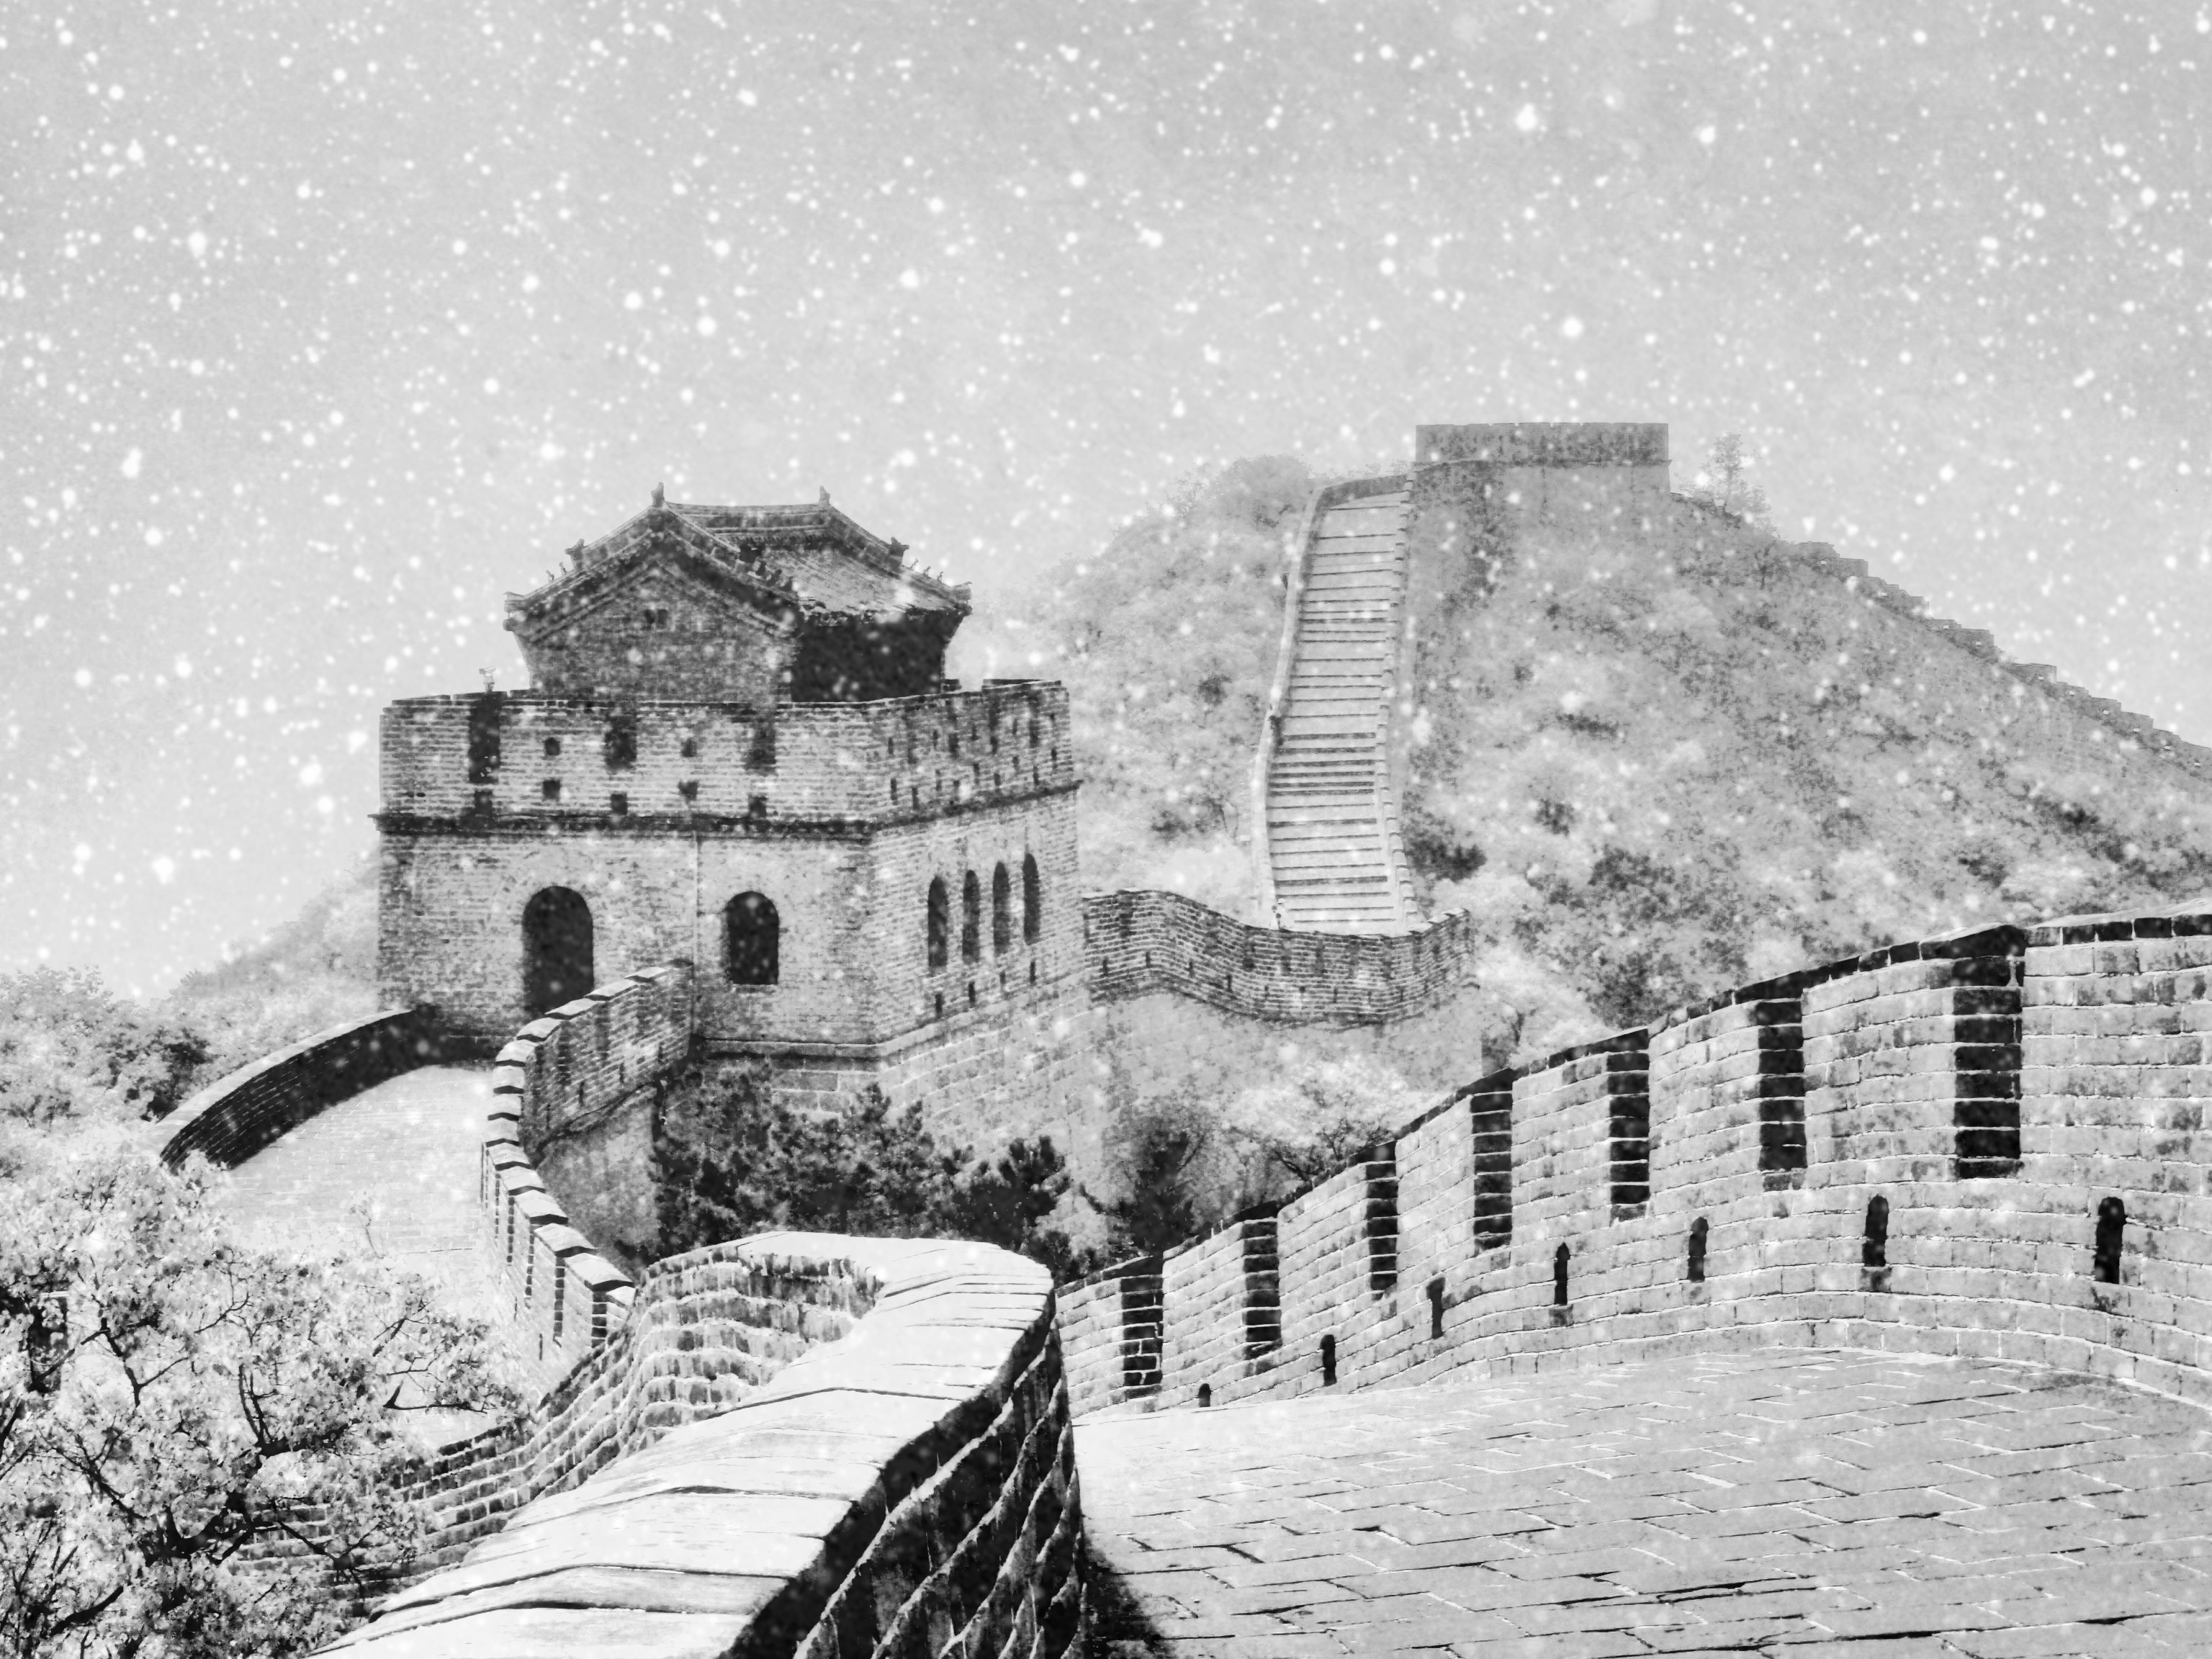
More Examples
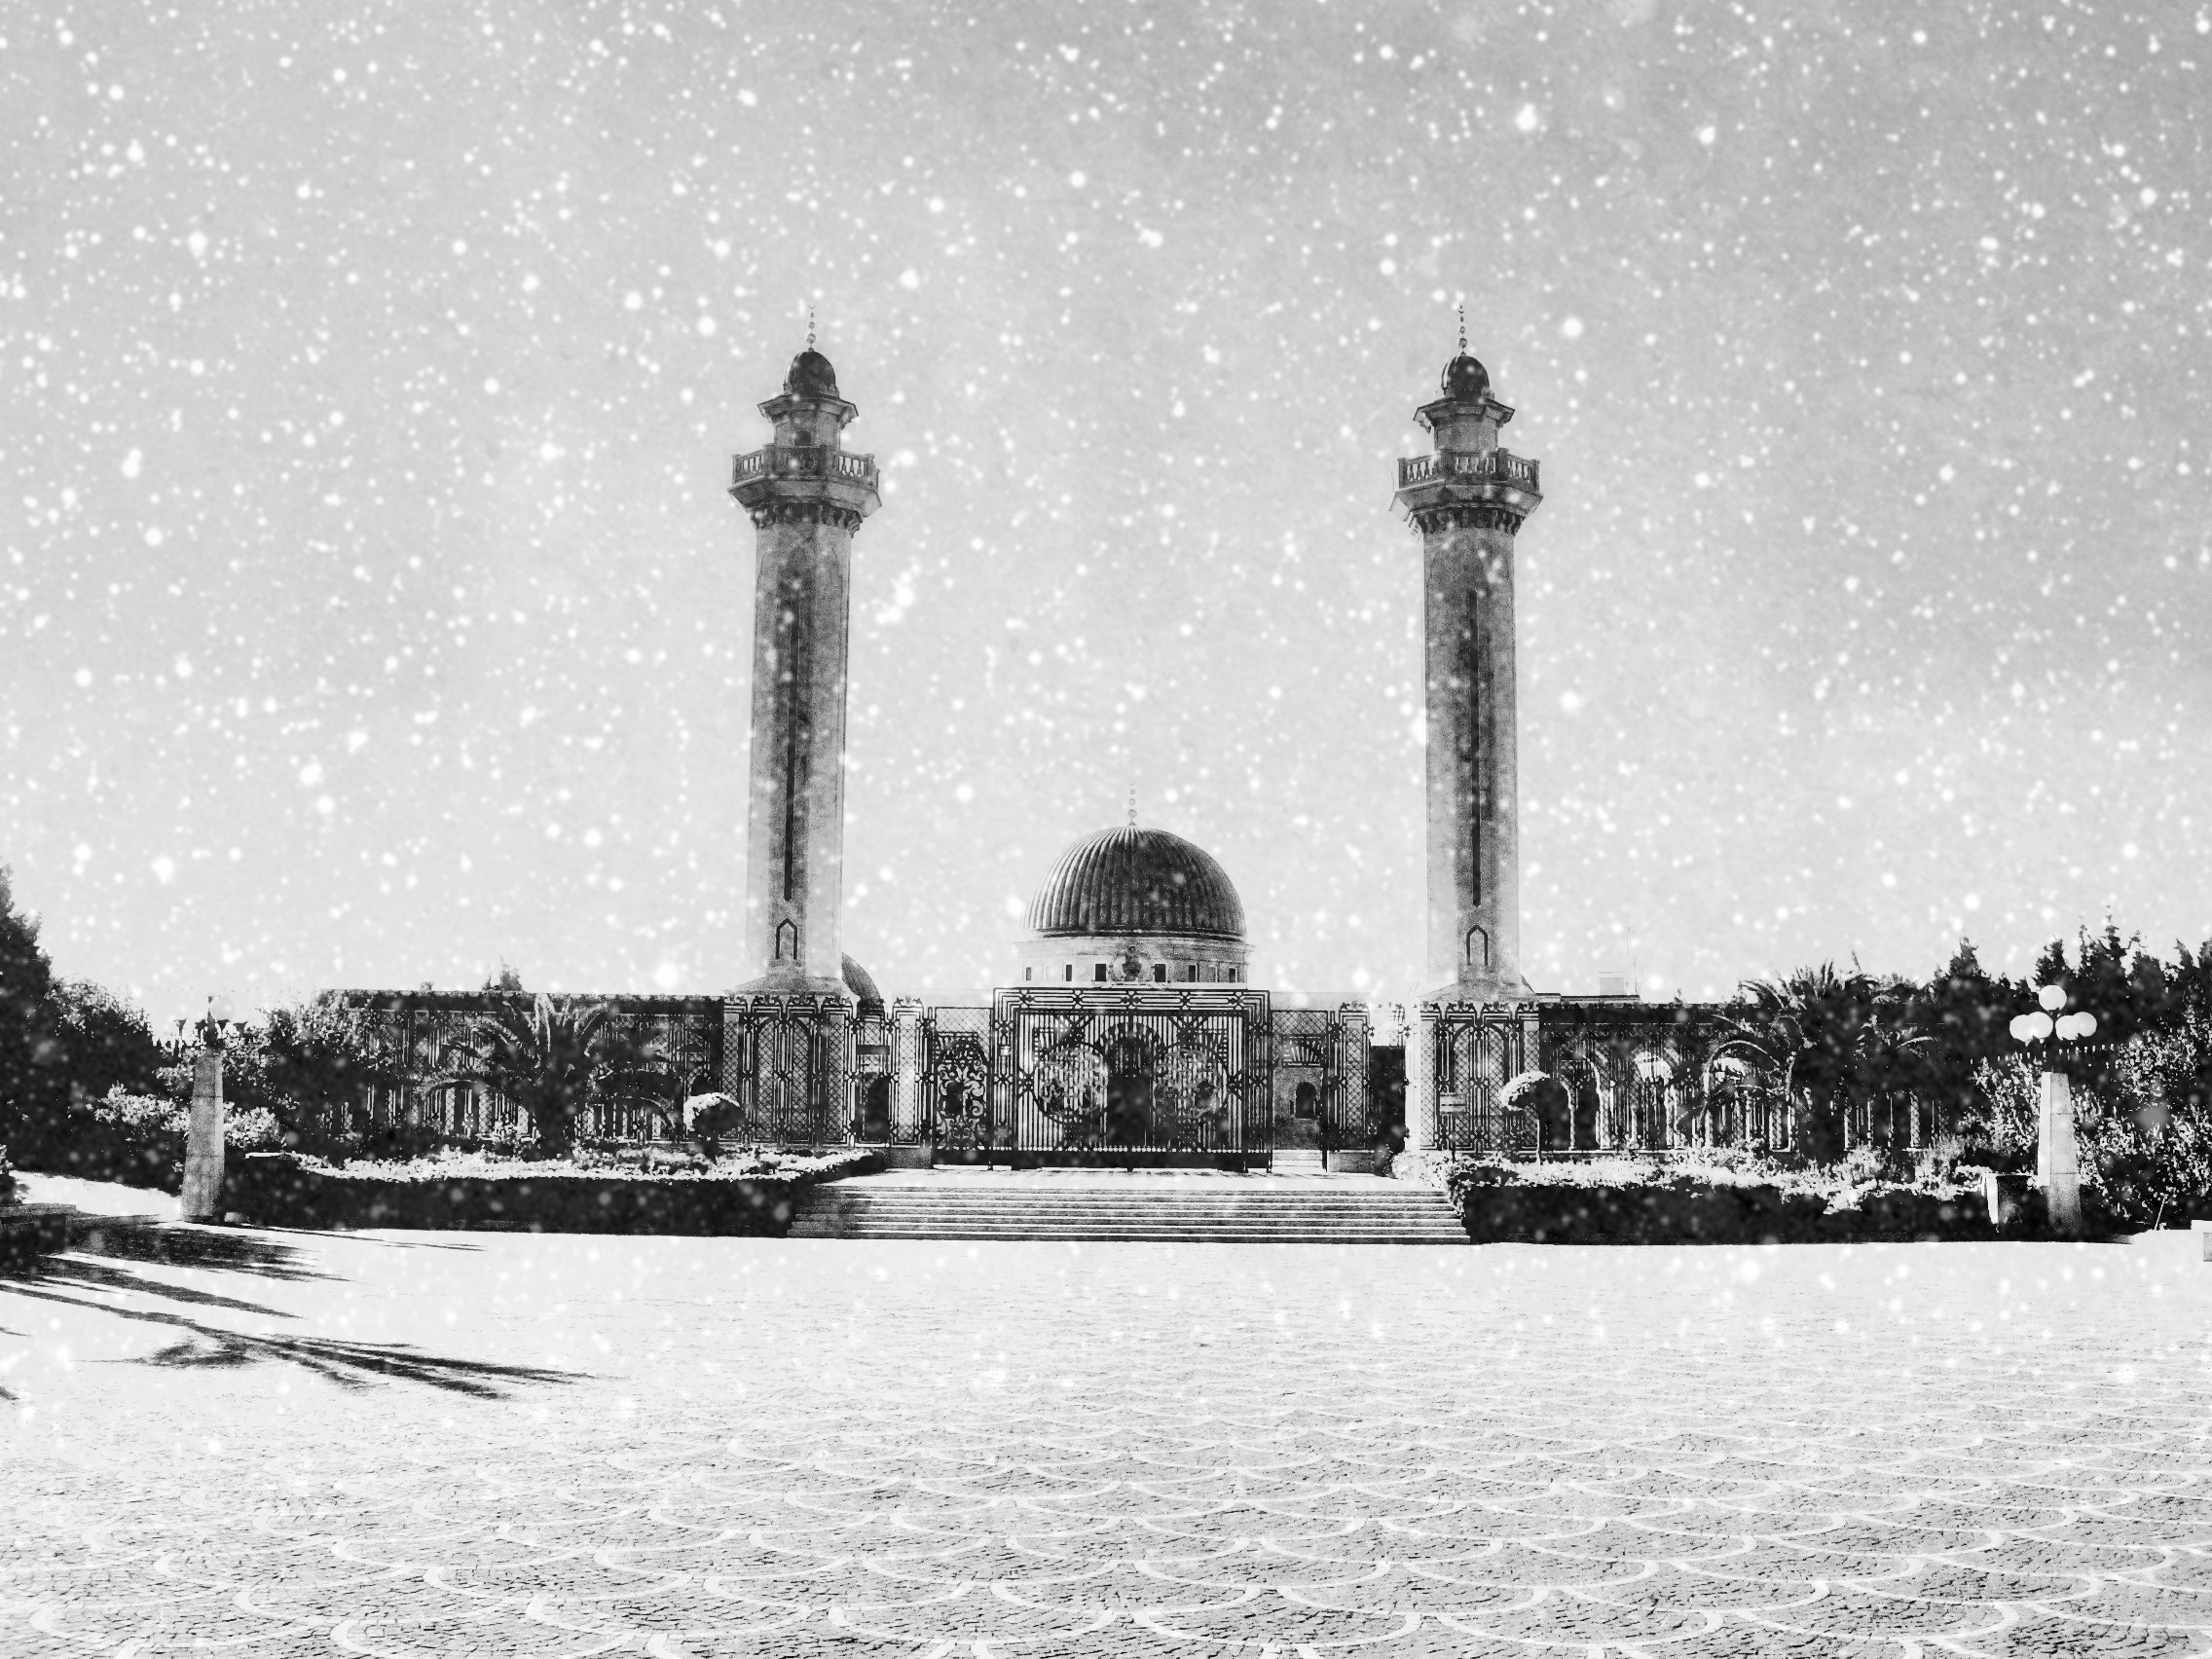
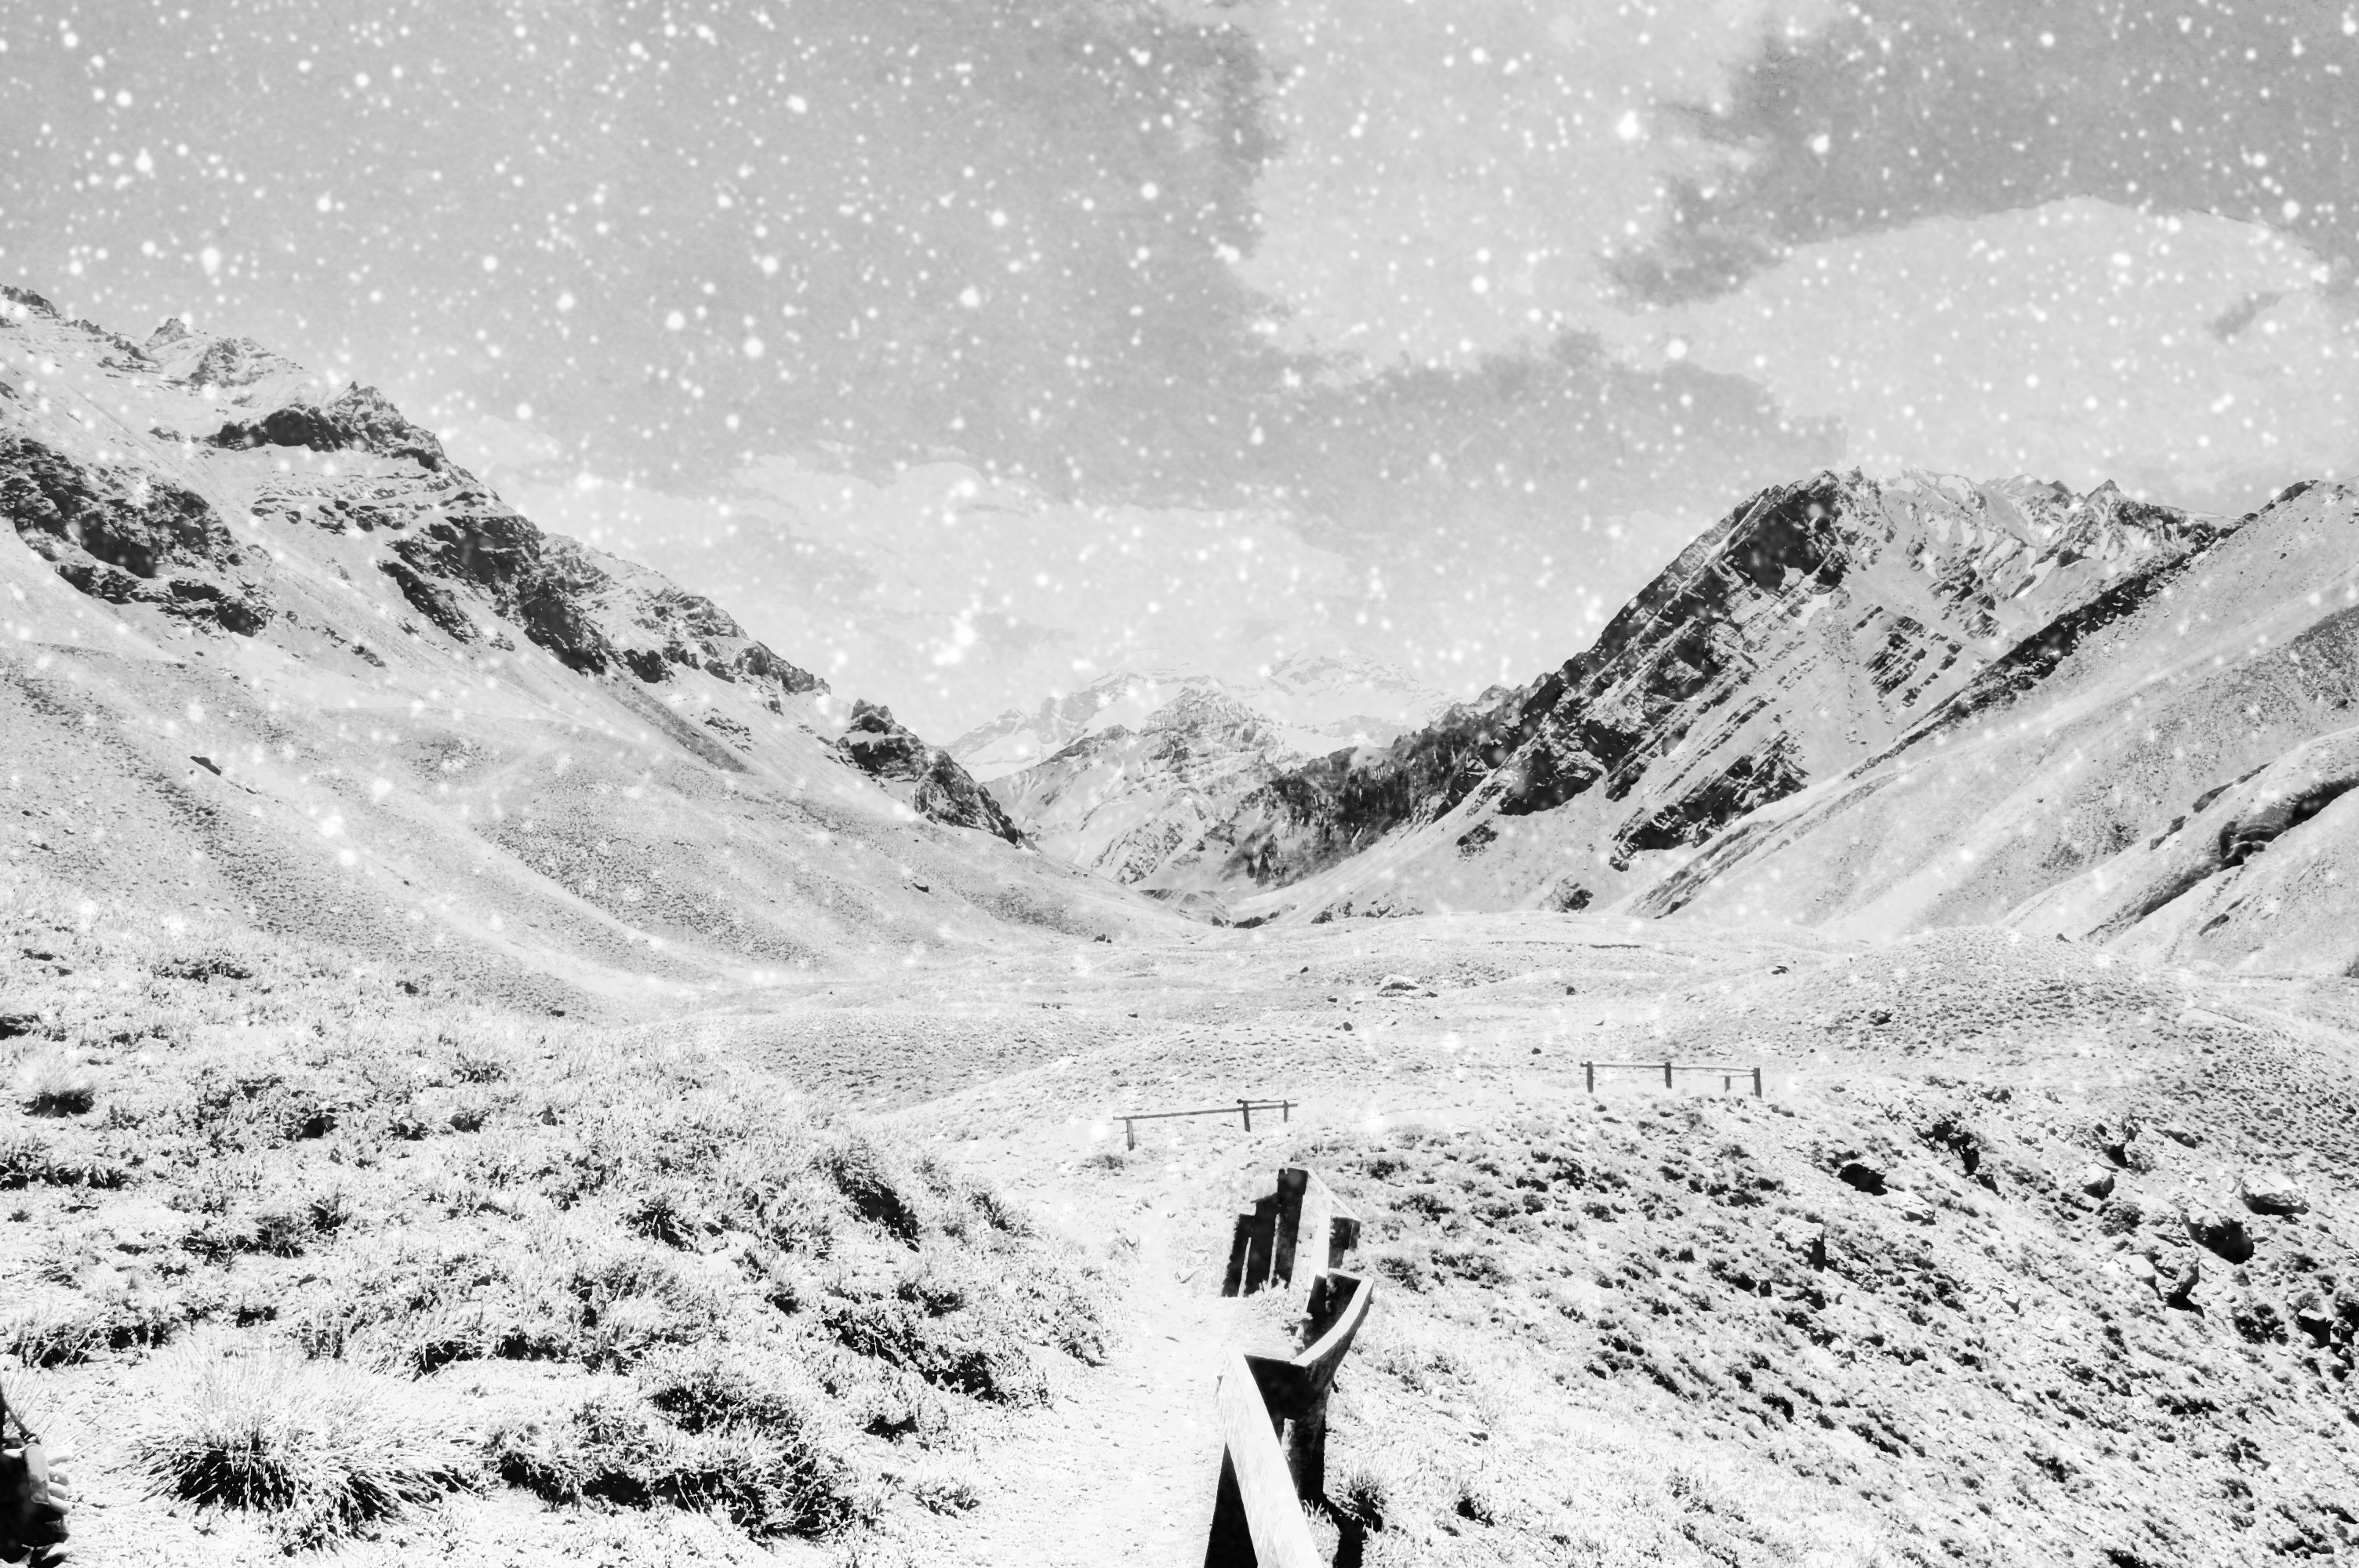
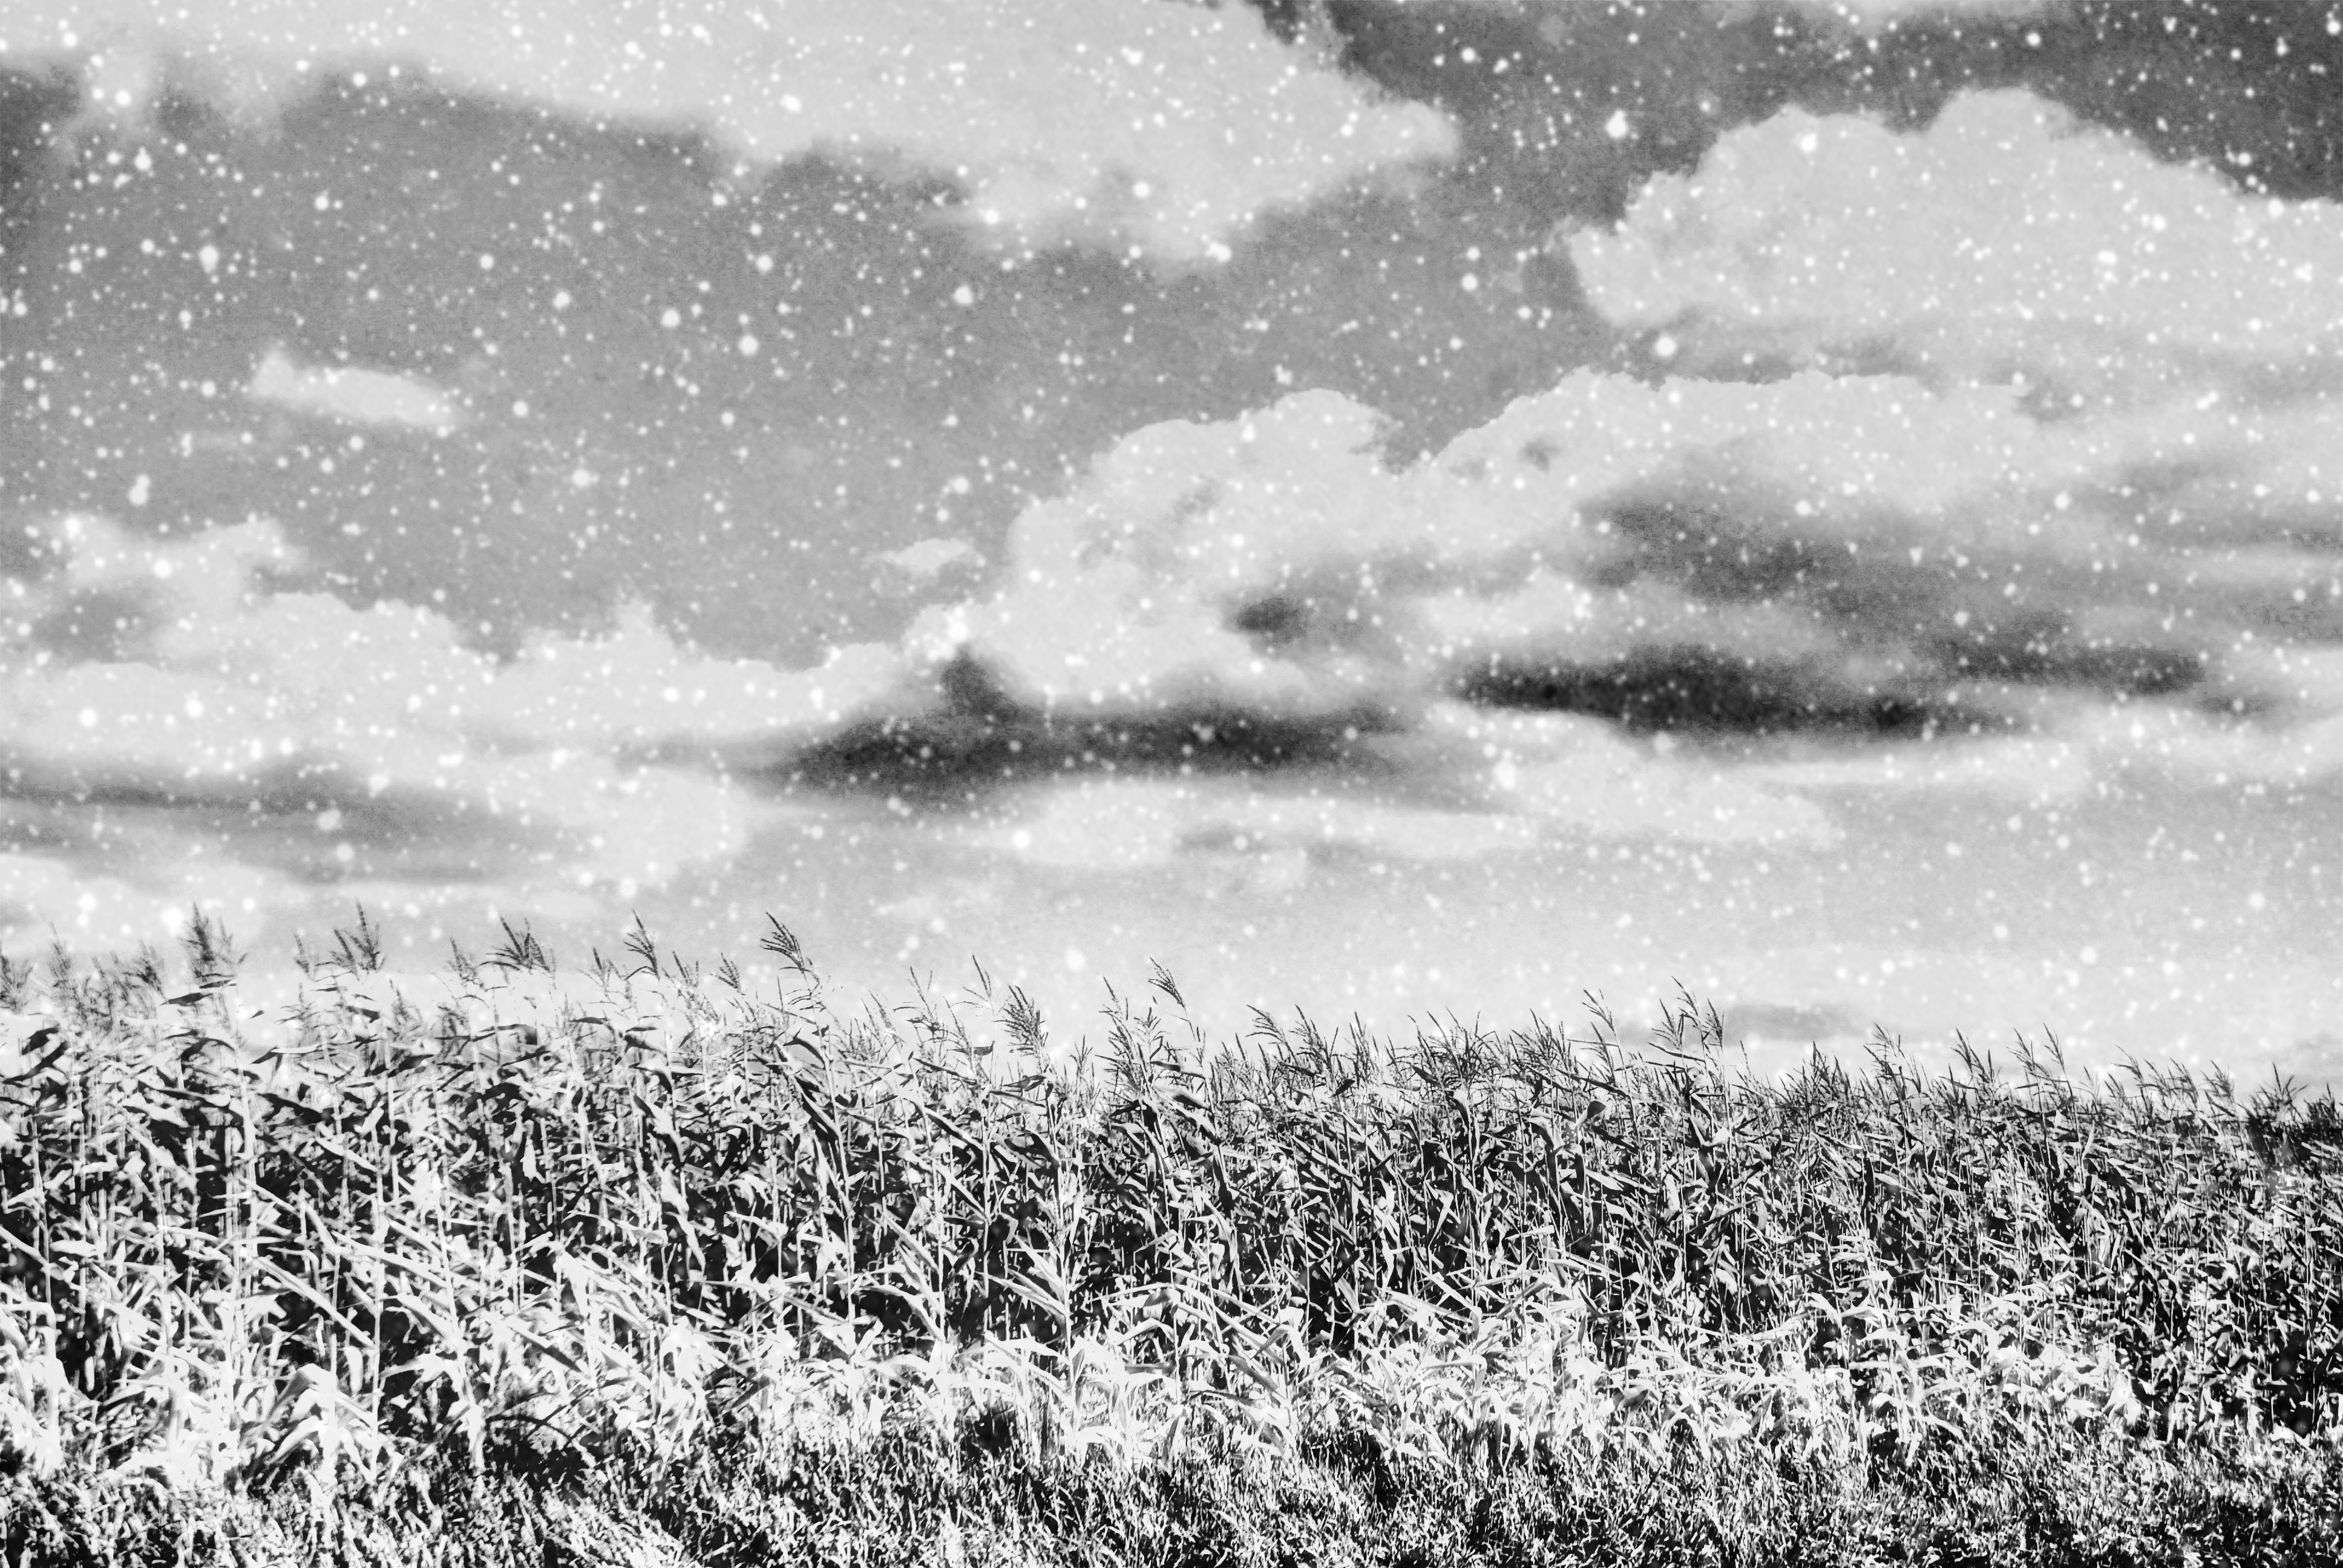
These examples were created using almost the exact same settings as the tutorial above.