Detailed instructions below explains everything happening in this video. Download a demo version of Hand Tint Pro: ![]() Mac |
Mac | ![]() Windows
Windows
Download the tutorial image here
Intro | Step 1 | Step 2 | Step 3 | Step 4 | Step 5 | Video | Keyboard Shortcuts

This Tutorial will teach you how to create a Vintage Photo in Hand Tint Pro while also teaching you how to use Hand Tint Pro's various features
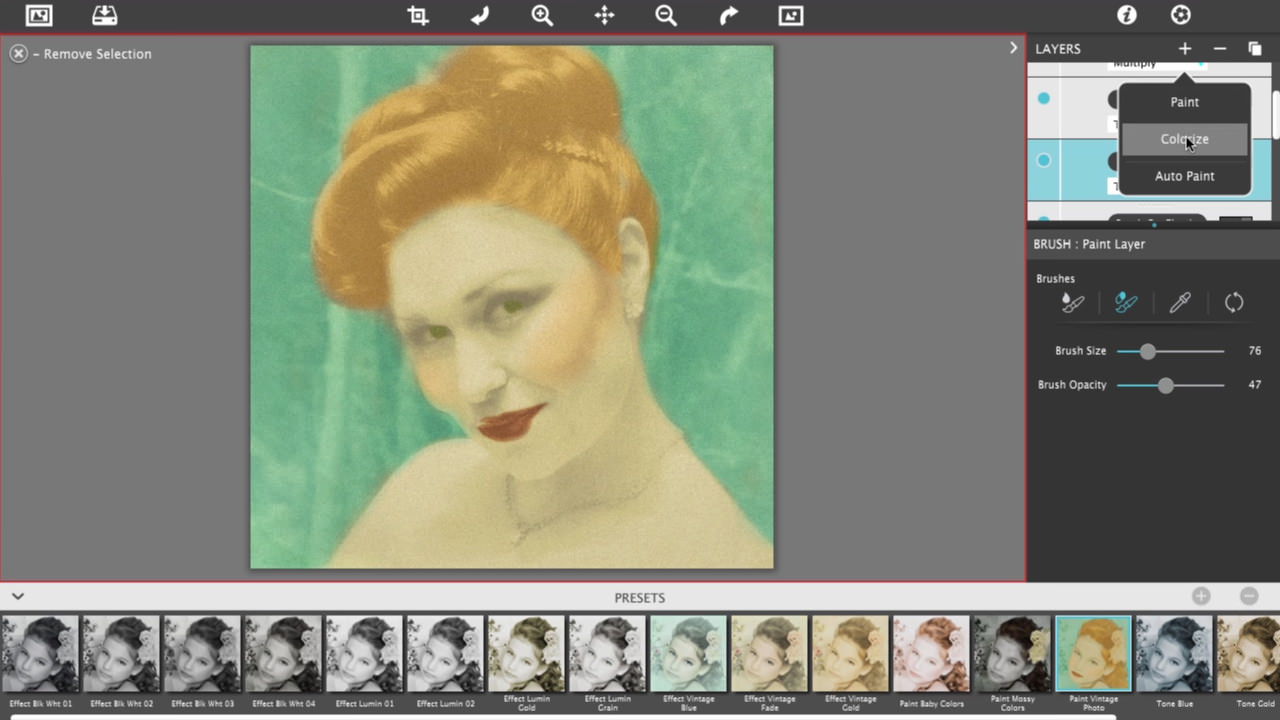
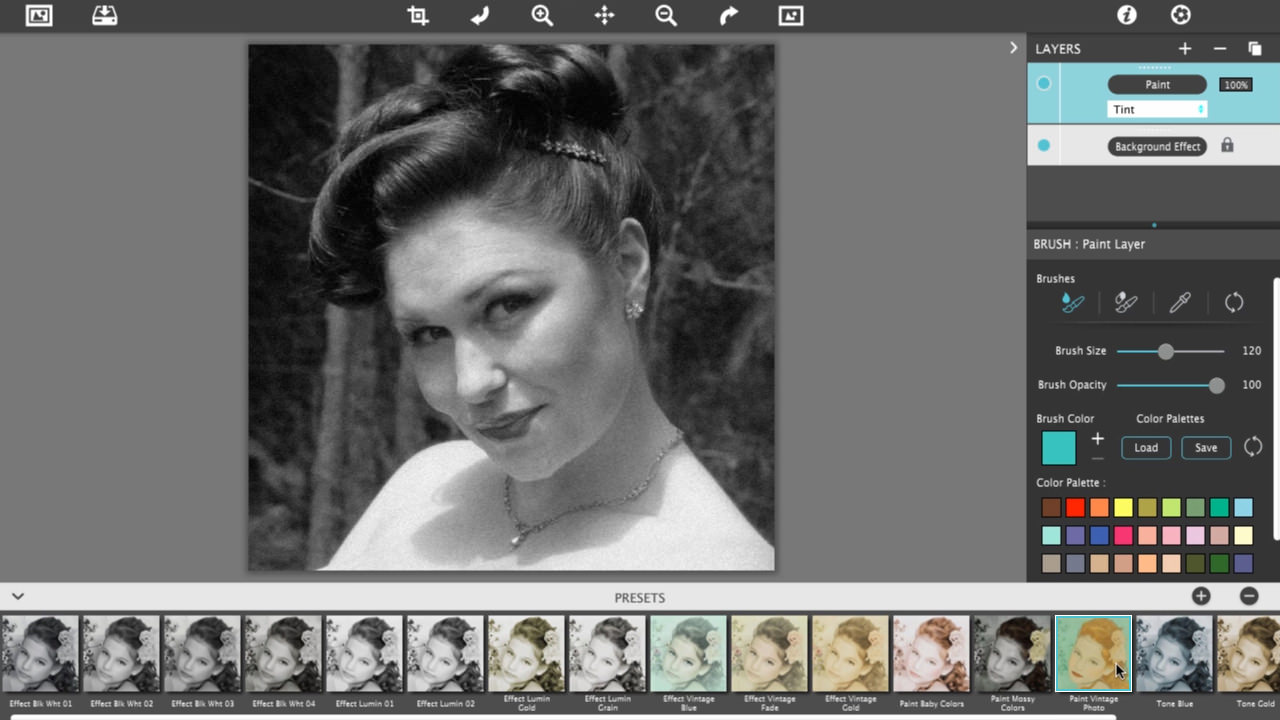
To get started download the tutorial photo here. Load in this image, or one of your own, and choose the preset Paint Vintage Photo. (Photo courtesy of FreeImages.com).
In the Layer viewer select the ‘Brush On Bkgnd’ layer. Using a large ‘Brush Size’ and setting the ‘Brush Opacity’ to 100% roughly paint the in the background around the lady’s profile with the pre-chosen turquoise color.
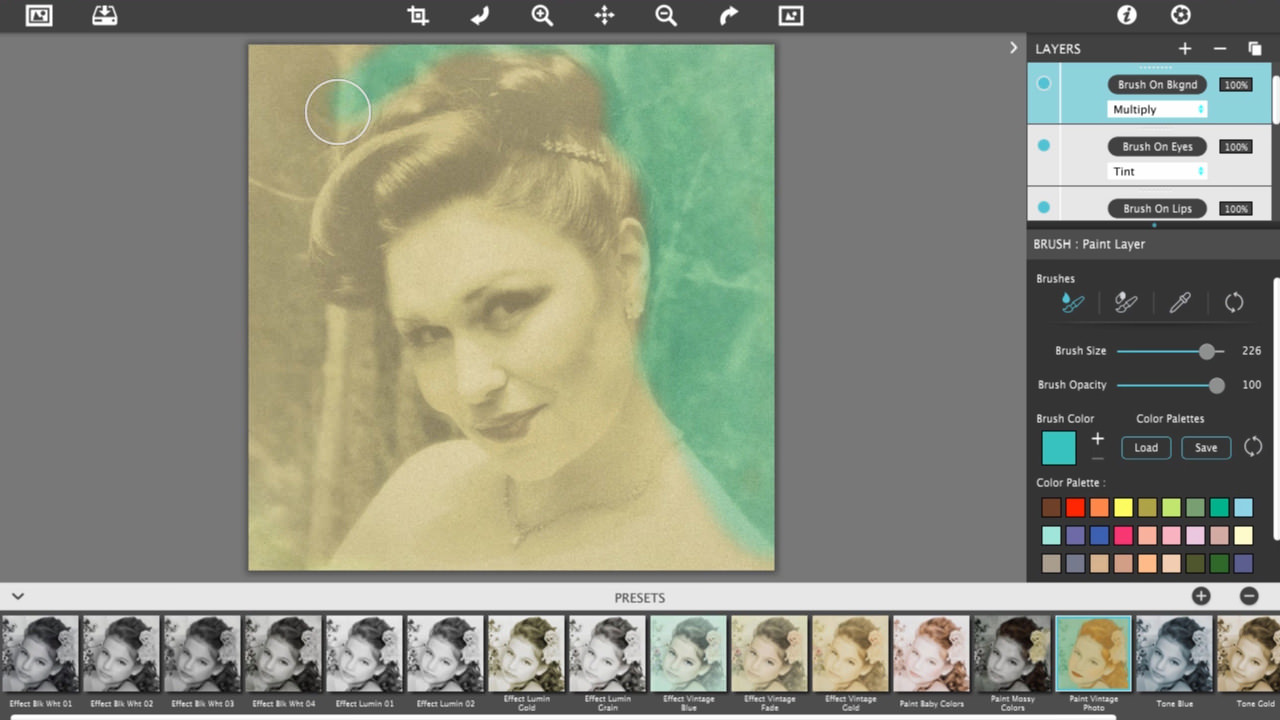
TIP: When brushing on colors use the ‘brush-on brush-off’ technique. Once the color is roughly painted use the ‘Erase’ brush to remove the paint in unwanted areas. Also, when brushing do it all at once without letting up on the mouse. This keeps the paint one consistent color. If you need to adjust the brush size you can do it without letting up by using the bracket keys on the keyboard. The left bracket ( [ ) decreases the brush size and the right ( ] ) increases it.

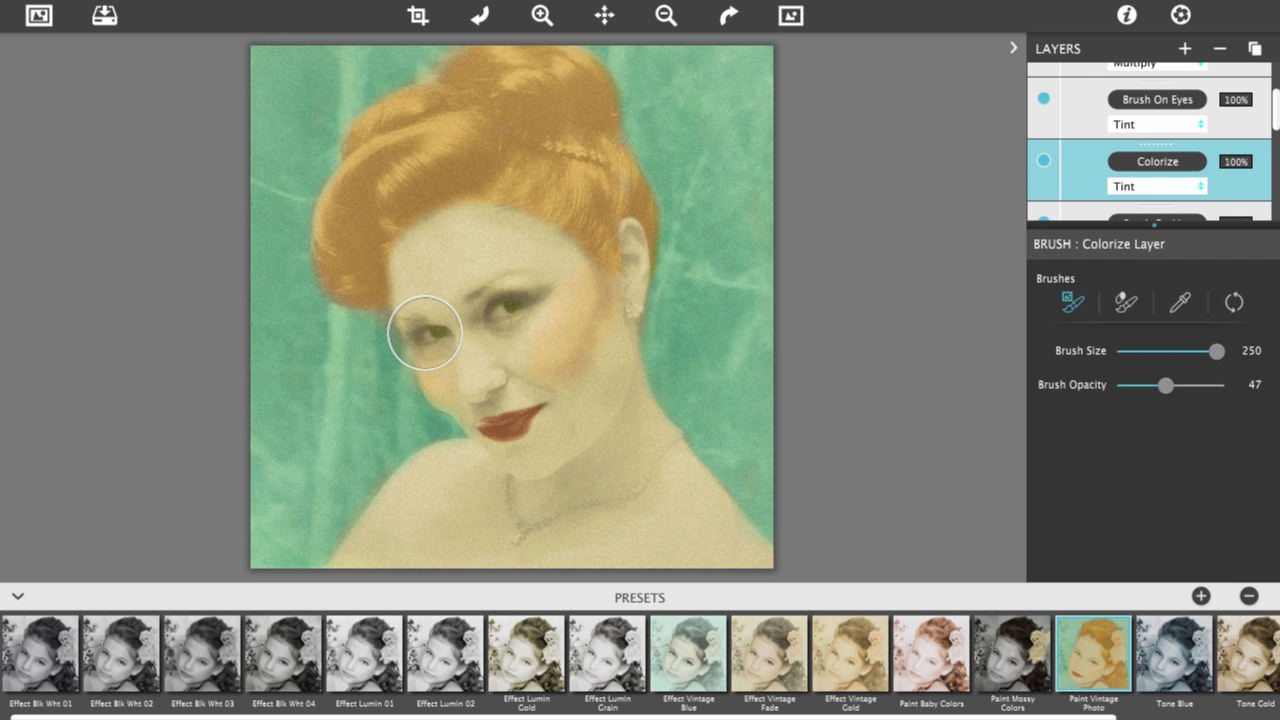
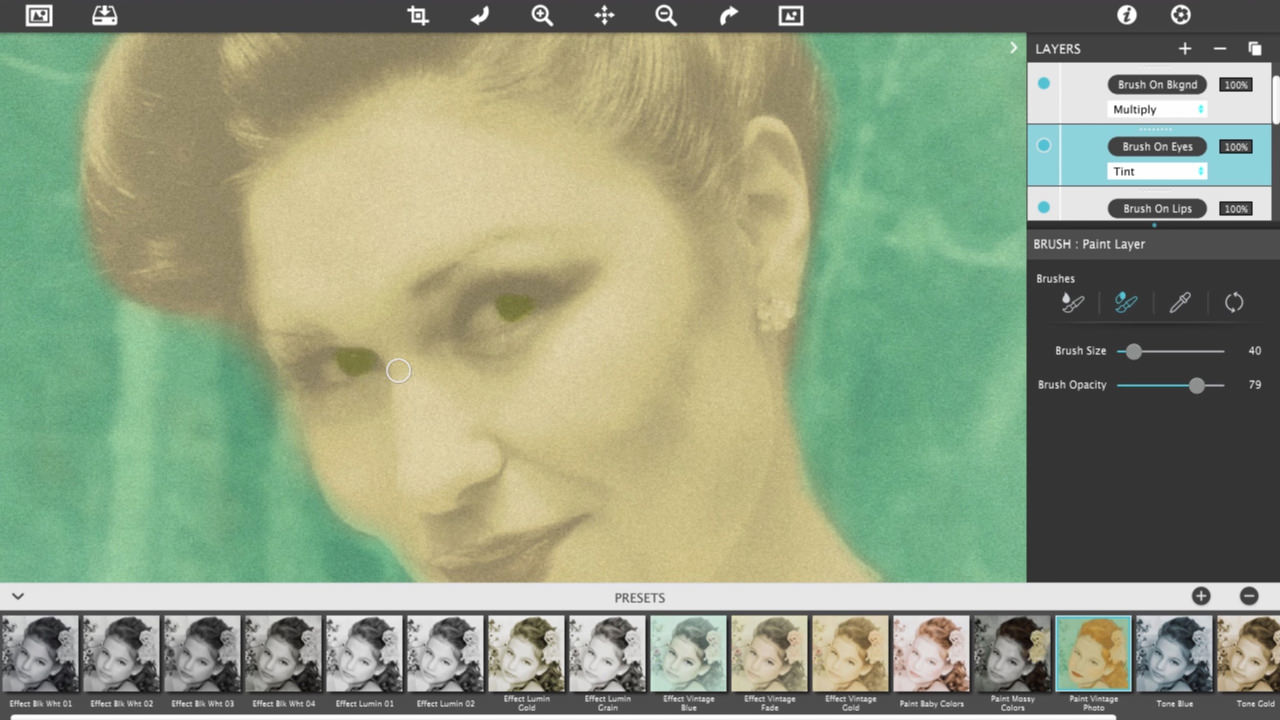
Tint Eyes: Click on the layer labeled ‘Brush-on Eyes’. Zoom in ( + ) and adjust brush size to a smaller diameter. Again, brush-on in the eye area and brush-off any over paint. If the green painted eyes are too strong adjust the layer ‘Opacity’ to the desired color.
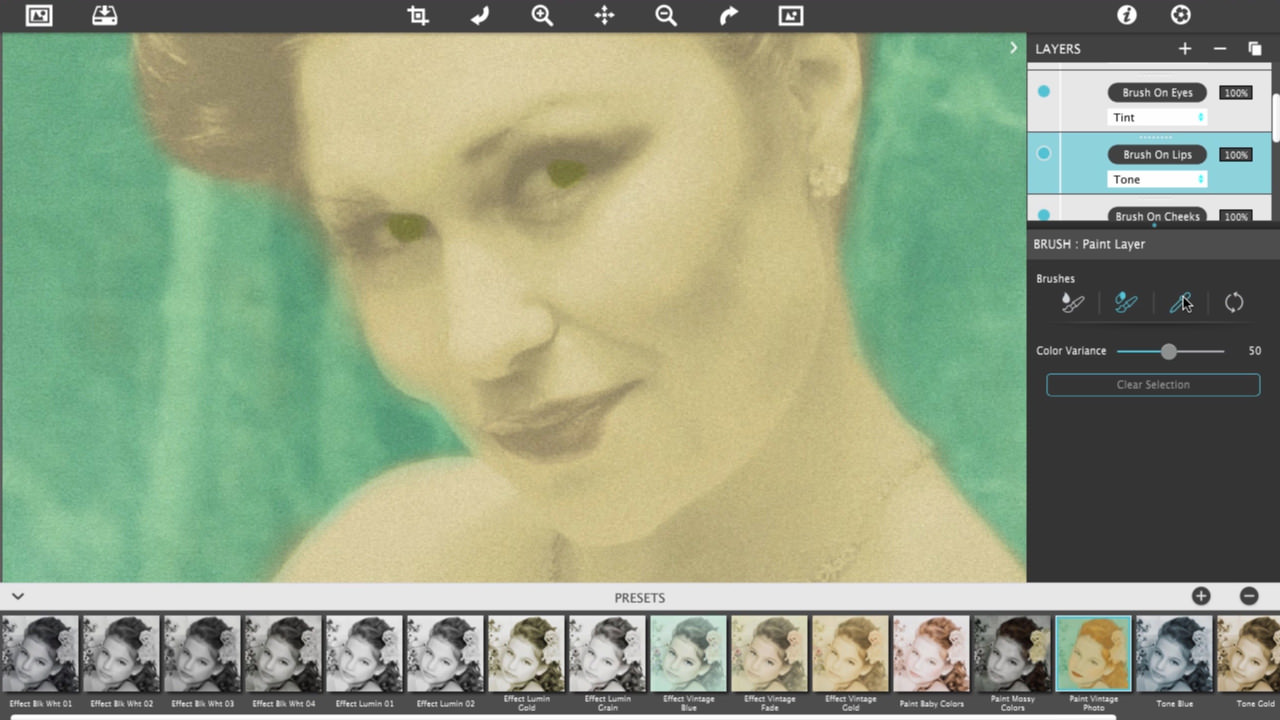
Tint Lips: Select the layer ‘Brush On Lips’. In this example I’ll show you how to use the ‘Color Selection’ tool. Find the tool that looks like an eye dropper, then hover over the image above the lips and click to select red. When selecting color all the red areas in the image are masked.
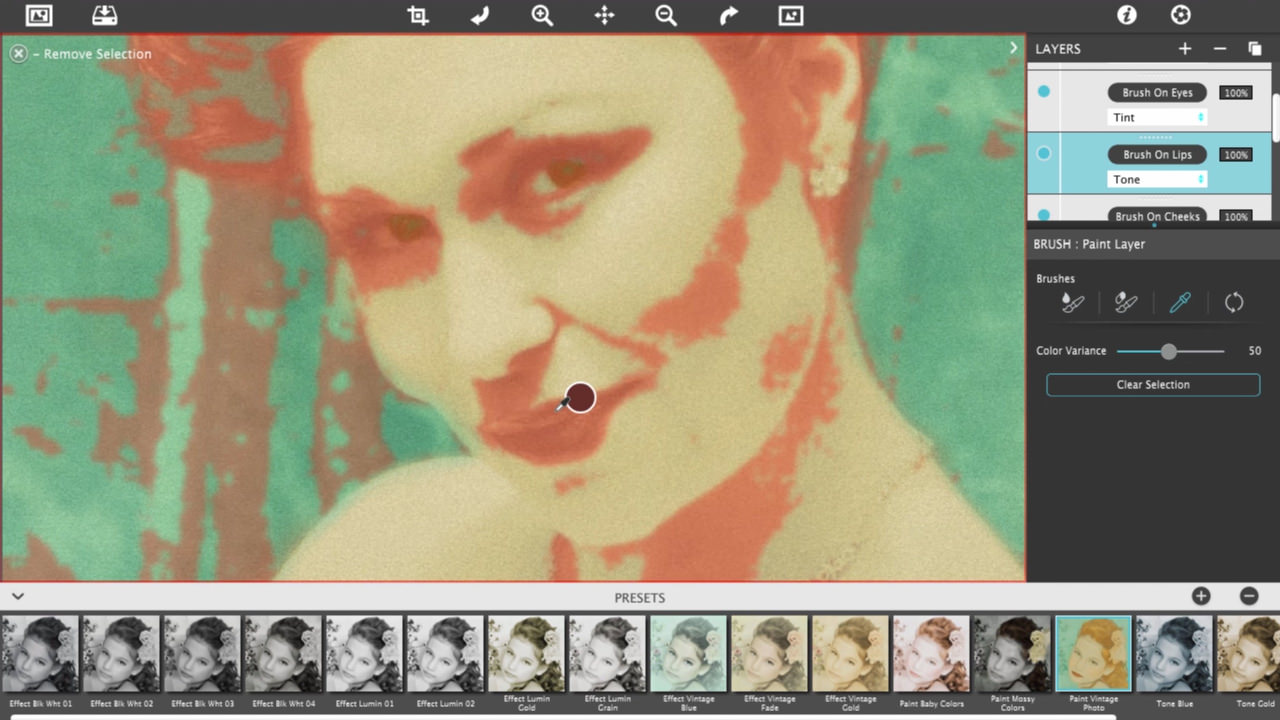
Use the color variance slider to adjust these areas by growing and reducing them.

Now you can brush on color using the brush tool. On this image there was a little patch of red above the lip so using the ‘Erase’ brush I’ll quickly remove it.

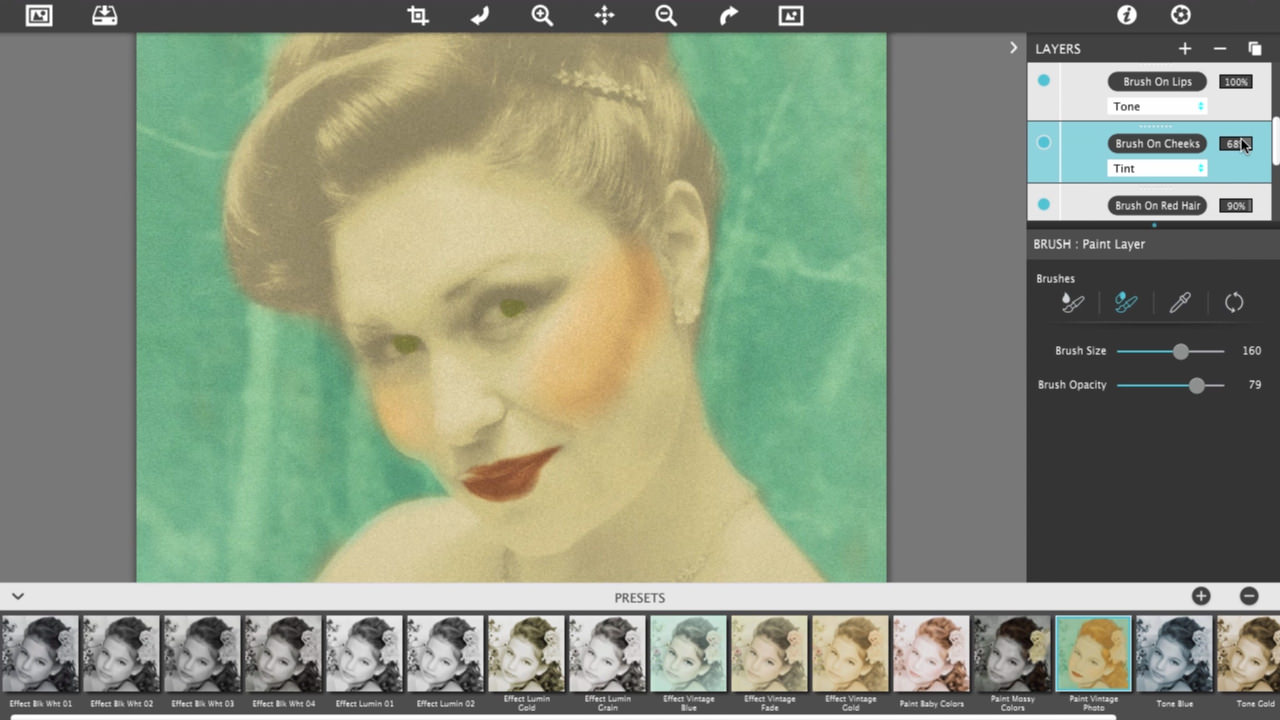
Tint Cheeks: Select the Layer ‘Brush On Cheeks’. Once selected decrease ‘Brush Opacity’ for a lighter color, then paint. Erase-off the over paint. Turn down the layer opacity if the color is too strong.
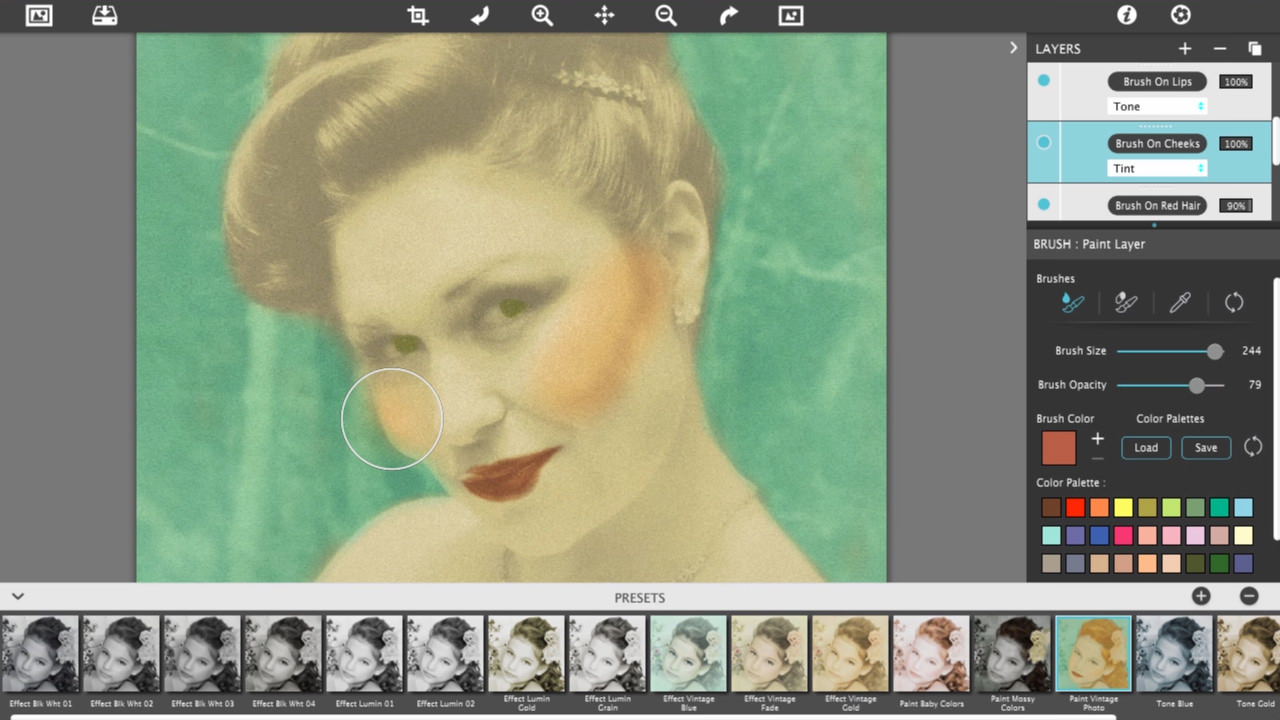
Tint Hair: Select the 'Brush on Red Hair' layer and use the pre-chosen gold color to quickly paint-on the hair color then brush-off the over paint. If the gold paint is too light or dark adjust the ‘Brush Opacity’ for the desired hair color.
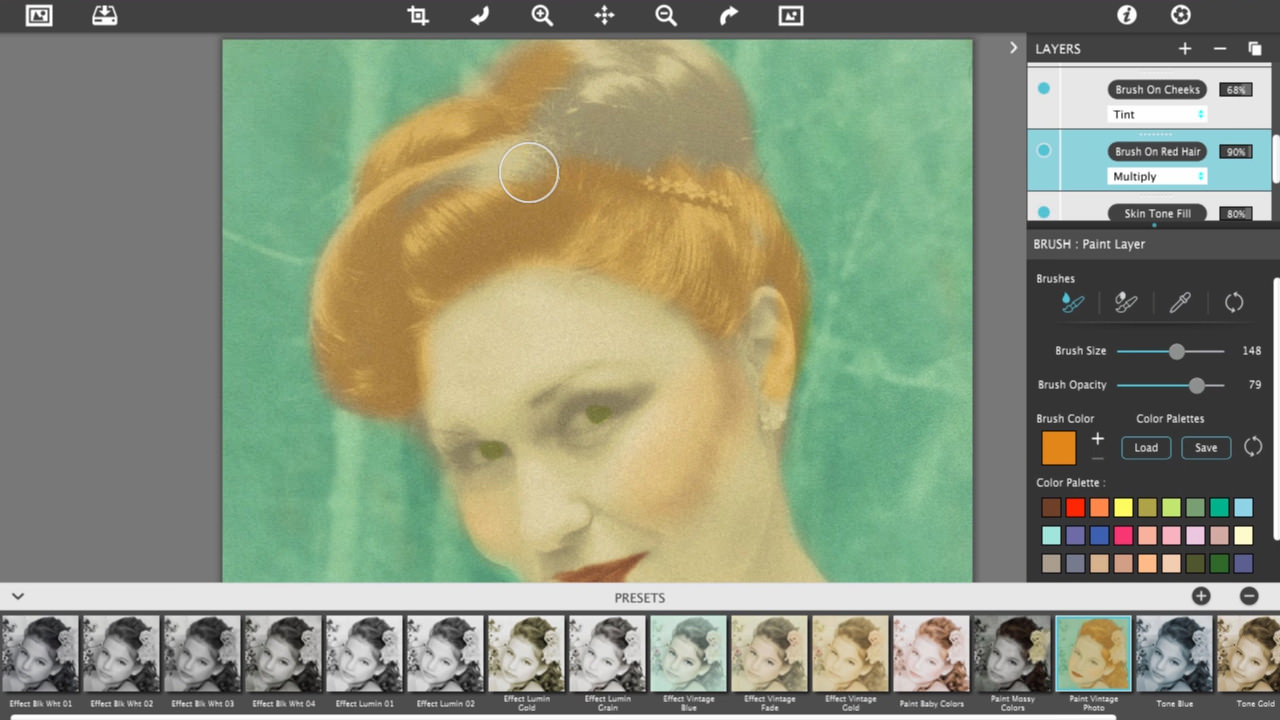
TIP: On hair I suggest always setting the ‘Erase Brush’ value to 50% or 60% before brushing-off. By using a semi transparent erase brush this helps to blend the hairline onto the face and hair strands into the background. By changing the ‘Paint Style’ you can change the look of the paint without redoing it. (This is the drop down menu found on the layer. Choose between Color, Tint, Tone, Multiply, Soft Paint & Paint)
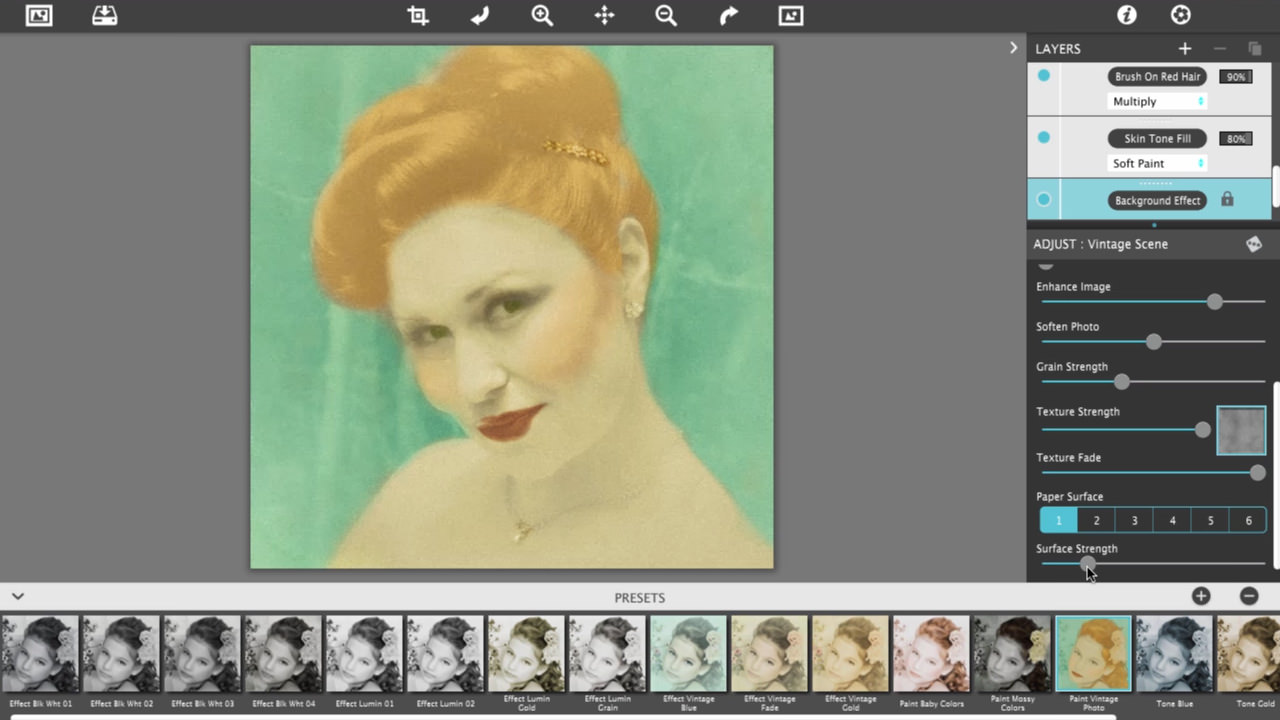
Select the Background Effect layer to adjust the ‘Vintage’ effect. To fade the background around the edges use the ‘Fade Out’ slider. Adjust it to the desired amount. A strong grain combined with the vintage effect gives the image an old-timey quality, so adjust the ‘Grain Strength’ to the desired amount.
And that's it you should now have a vintage style photo.
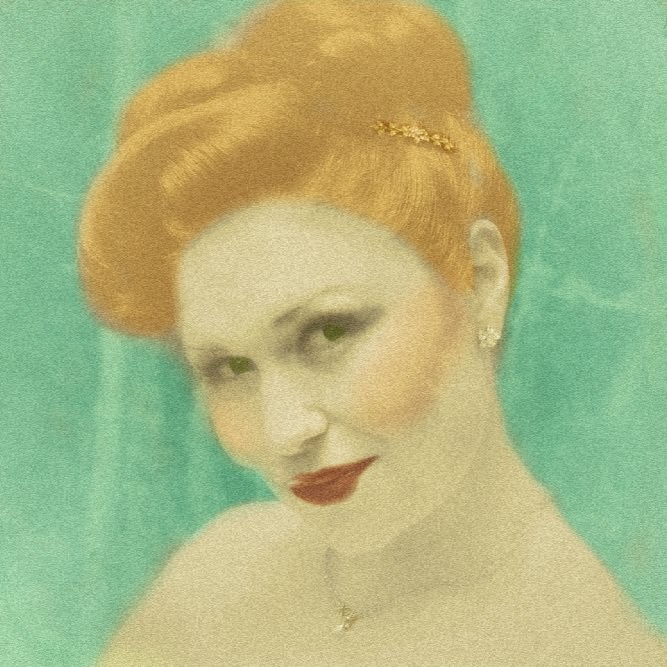
I hope you enjoyed our tutorial and have a better understanding of how Hand Tint Pro works.
Feedback
What do you guys think? Have any tutorials you would like to see in later posts? Feel free to tell us and show us your creations on Facebook or our other social accounts.
In this tutorial we use a lot of keyboard shortcuts, here is a list of the keyboard shortcuts included in Hand Tint Pro:
 to add more colors to the selection mask