Welcome to Impresso Pro.
In this video you will learn how to create a painting using the Alla Prima paint style.
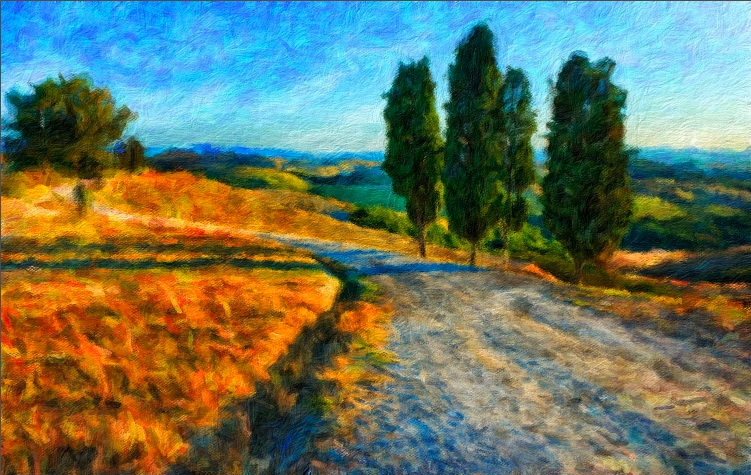
This spontaneous wet-on-wet style fills your photo with an abundance of soft blended brushstrokes that flows through the scene as if painted by hand. Alla Prima also features a library of artistic finishes which compliments this style by adding light, color and movement to the painting for an impressionism filled with richness and depth.
Download a demo version of Impresso Pro: ![]() Mac |
Mac | ![]() Windows
Windows
Impresso Pro Tutorial
Create A Painting Using Alla Prima
Getting Started
To start a painting, add a photo to Impresso Pro by getting one from your photo library then drop it on the open application.

Every photo placed in Impresso Pro is automatically transformed into a painting using the Alla Prima paint style. We do this to give you a head start, then allow you to customize your style and fine tune the painting with settings that give you full control. As you develop the painting use the Original button to see the before photo, as you progress.
When a painting is rendered in Impresso Pro it creates a minimum of two smart layers: the first one is the Alla Prima layer which we call the ‘paint’ layer, and the other is Canvas layer which is the foundation of the painting.
Alla Prima Layer - Brush Strokes
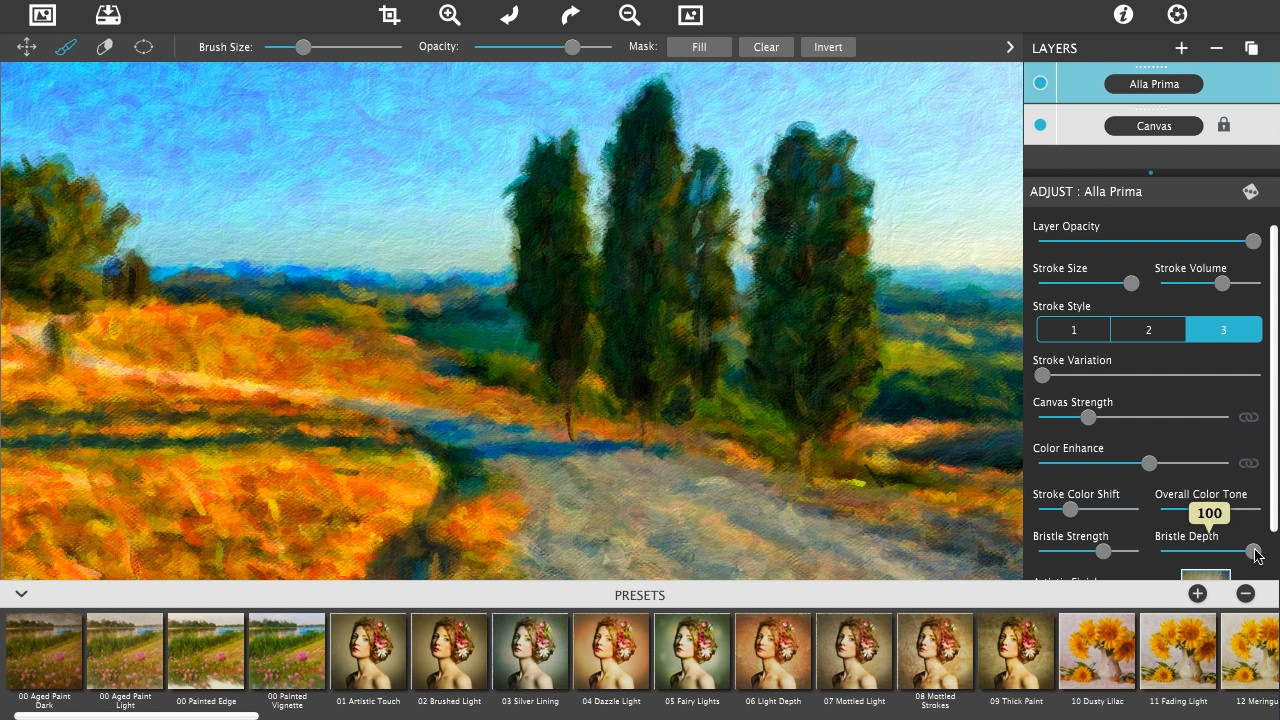
To customize the painting, select the Alla Prima paint layer to get to the settings below on the Adjust panel.
Zoom In
To see the brush strokes use the zoom tool for a closer look. For those of you who like to use keyboard commands to Zoom in use ⌘= on Mac and Ctrl = on Windows or use the magnifying icon at the top.

Stroke Size
To customize or adjust the paint strokes use Stroke Size to give the painting the appearance of big sweeping brush strokes, or small tight controlled ones.
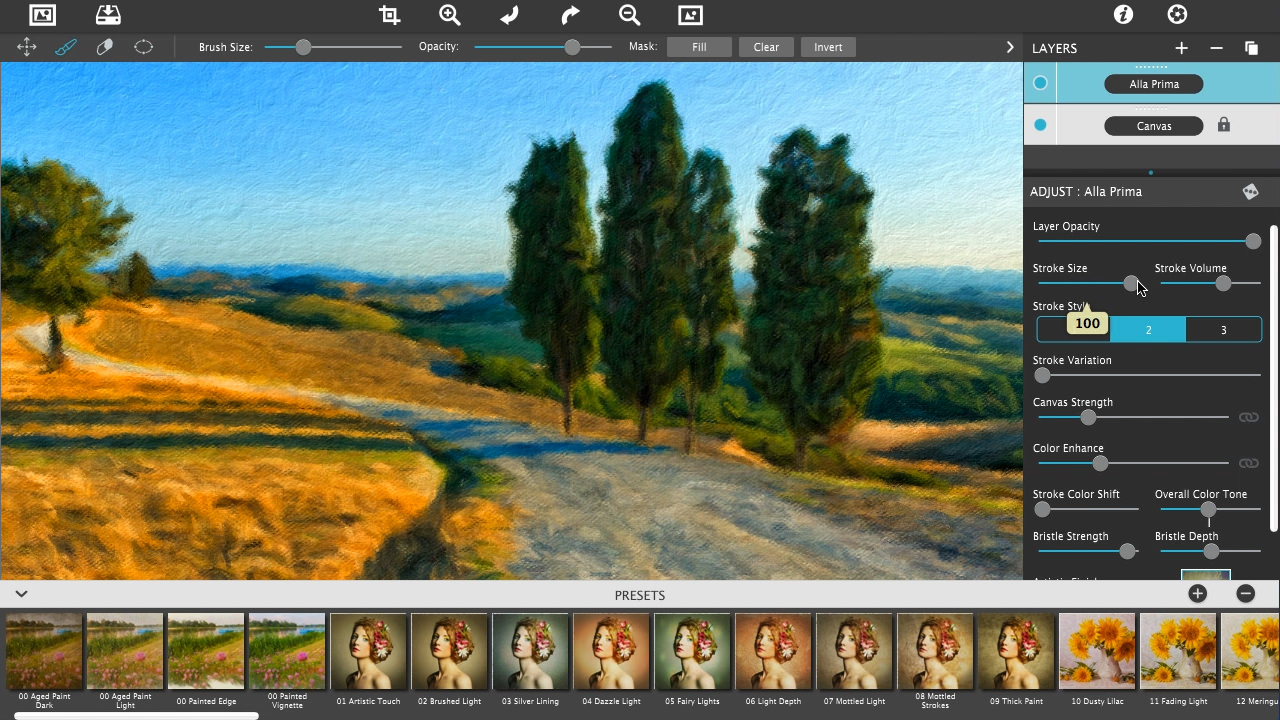
Stroke Volume
The Stroke Volume can be adjusted to loosen sparse strokes or ones that are completely filled in.
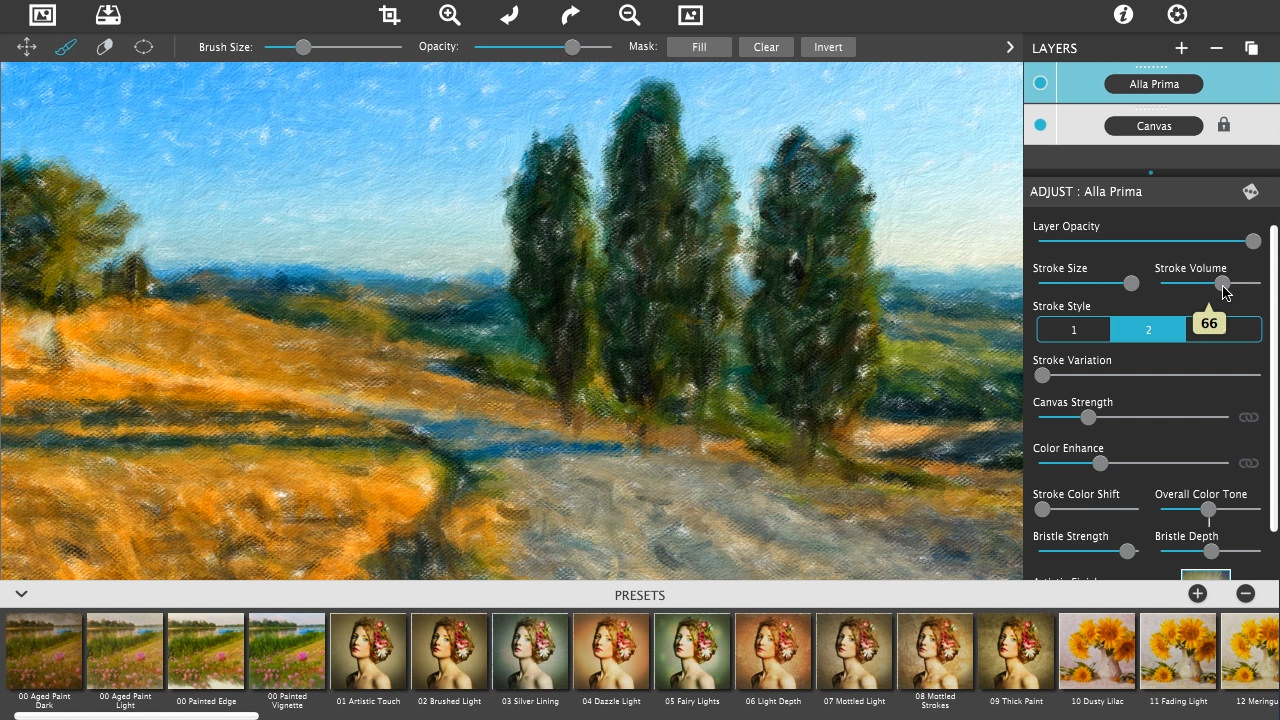
Stroke Style & Stroke Variation
Stroke Style is the shape of the brush stroke. You can choose strokes that are straight, a combination of straight and curved, or abstract then use Stroke Variation to move the strokes around in the scene — by doing this no two paintings will every brushed the same.

Alla Prima Layer - Color Palette
As you can see the painting is using a natural paint palette derived from the original colors from your photo. The next section of sliders will increase the overall vibrancy in the palette as well as introduce dabs of bright pigment into the scene like those used by impressionist artists.
Color Enhance
The Color Enhance slider will make the overall paint color bright and colorful
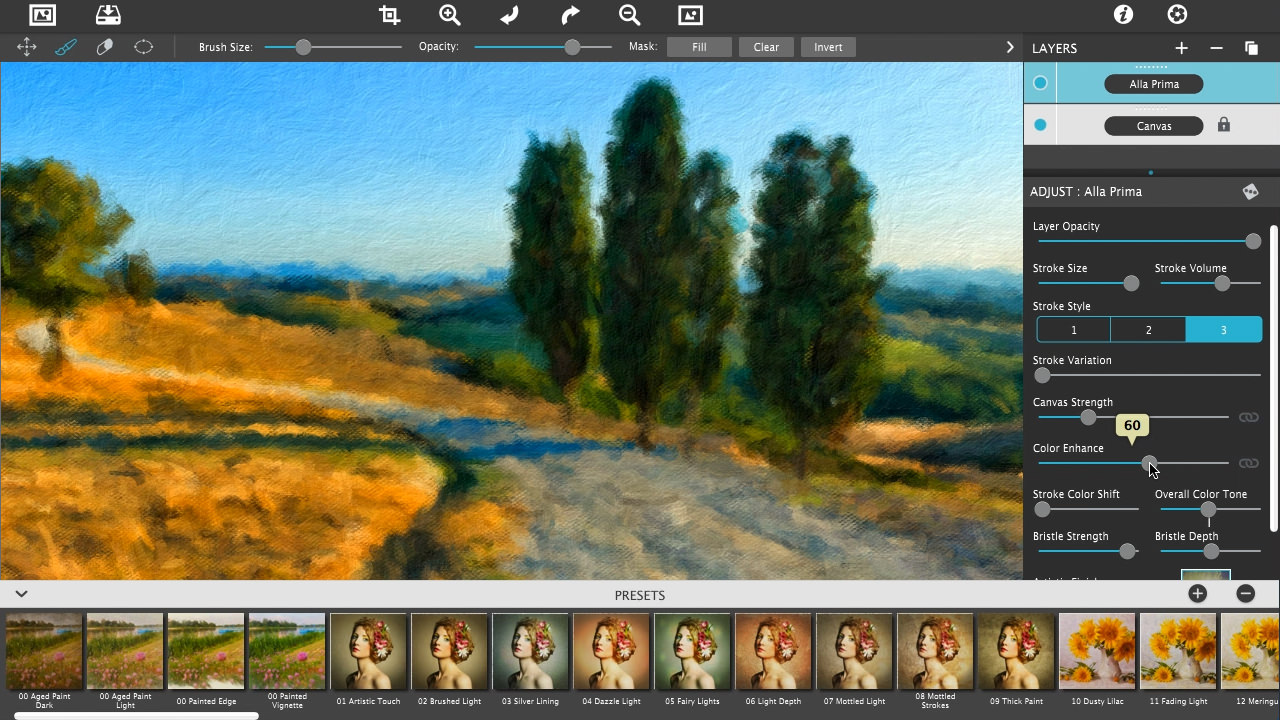
Stroke Color Shift & Overall Color Tone
While the Stroke Color Shift and Overall Color Tone sliders turn the painting into an expressive color palette similar to those found in a classic impressionism.

Alla Prima Layer - Bristle Texture
Bristle Strength
To add texture adjust the amount of bristle seen in the paint by moving the Bristle Strength slider, decreasing the slider gives the strokes definition and increasing it softens and blends the strokes

Bristle Depth
You can also add dimension to the bristle using Bristle Depth to give the painting a thick appearance like you get when paintbrush is dragged through heavy paint.
Alla Prima Layer - Artistic Finish
The Alla Prima paint style also features a library of Artistic Finishes. The finishes add a mottled quality to the painting using light, color contrast, brightness and intensity. These fill the impressionism with movement, mood and emotional rhythm.
To choose an Artistic Finish select the box to get to the library. Moving the slider up will integrate the finish into the painting.

And now you have a colorful impressionism painting filled with movement and loose visible brush strokes.
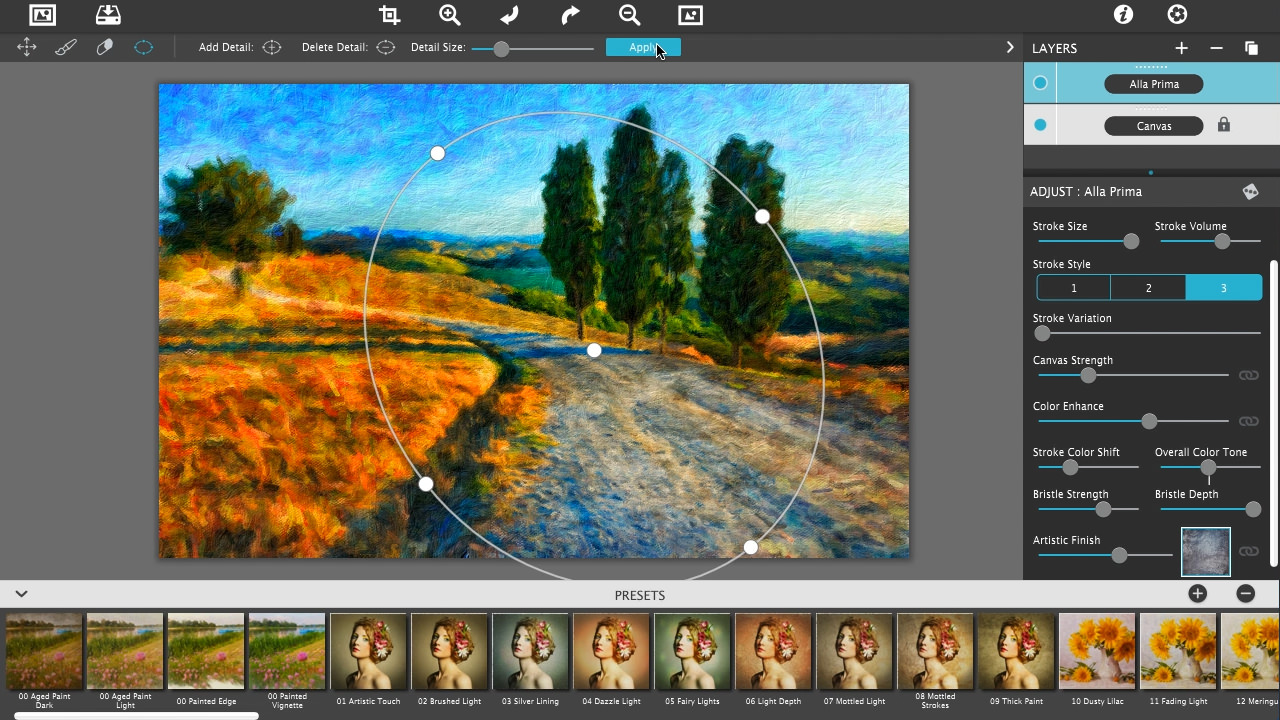
Add More Detail
If more detail is desired, you can add it in the form of a focal point using the Detail Ellipse tool. To do this, select the tool then choose Add Detail. When the ellipse appears on the painting use the dots to shape and move the ellipse over the area where more detail is needed, then Apply. You can fine tune the detail with the Detail Size slider but remember to Apply after to see the adjustments.
Tip
Every time you finish a painting it’s a good idea to save the painting as a preset. This allows you retrieve the settings from the preset browser below and modify the preset if you want to continue to evolve the painting, or apply it to future photos.
Feedback
We hope you enjoyed this tutorial. Have any tutorials that you would like to see in later posts? Feel free to tell us and show us your creations on our Facebook and other social networks.