Send it as a digital card
Choose File → Save Photo…, then send the image with a personal note. Everything you need to make the card is in Woodcut Studio.
How to save your card Woodcut StudioA little imagination. A whole new dimension.
Digital displays & physical projects
Make holiday window clings, a framed papercut for a friend, or a digital display to share as a card. Start with one of 800+ ready-made designs or build from scratch. Import your own artwork, add editable text, and draw or arrange shapes.

 Mac
 Windows
Save a realistic box rendering or straight-on artwork with layered depth, lighting, and shadows.
Lightboxes · Image transfers · Magnets · Edge-lit acrylic signs · 3D papercuts · Stickers · Window clings
Give someone a little sunshine. Start with Here Comes the Sun and turn the same design into a digital card or a framed papercut.
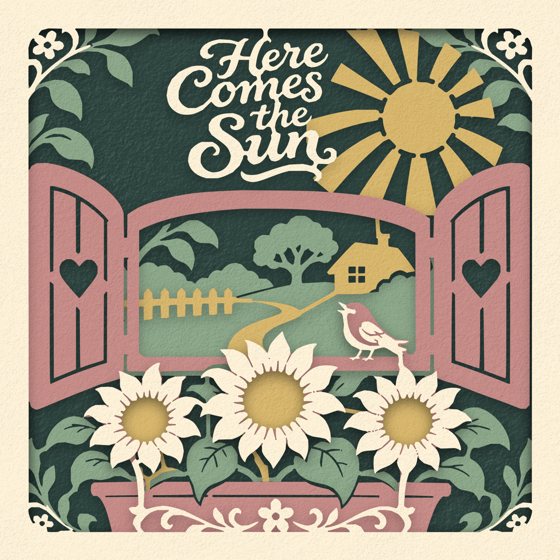
Choose Here Comes the Sun in the preset browser. To make it yours, open a layer in the Sheet Editor and try a favorite color.
Follow the first-scene guide
Choose File → Save Photo…, then send the image with a personal note. Everything you need to make the card is in Woodcut Studio.
How to save your card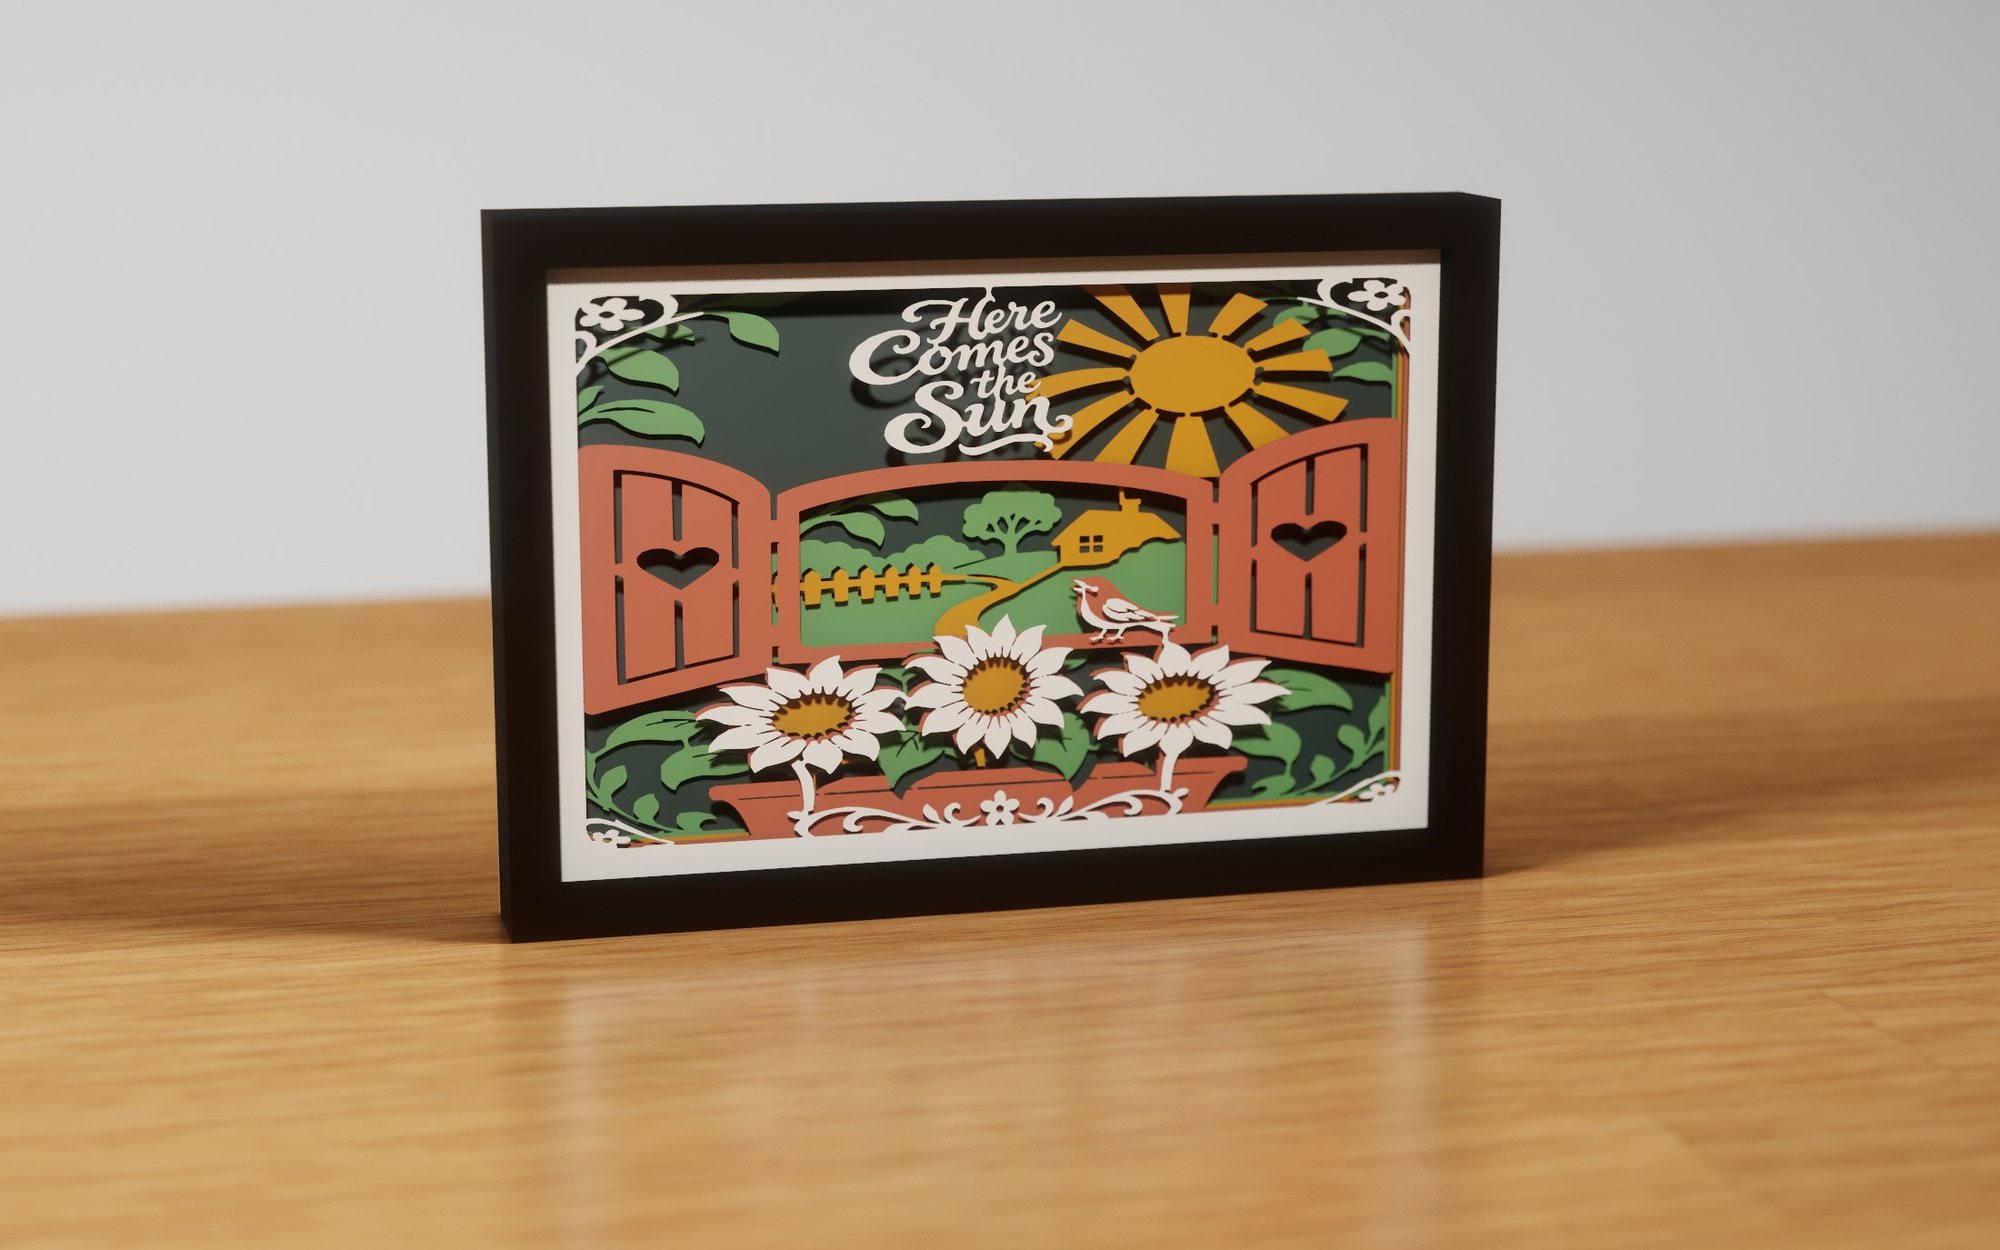
Choose File → Export Project… and select Papercut Layers (Cricut) for cutting files and assembly instructions. Cut the cardstock with your Cricut, then stack the layers with foam spacers in a shadow-box frame.
How to export and assembleEvery scene. Beautifully digital.
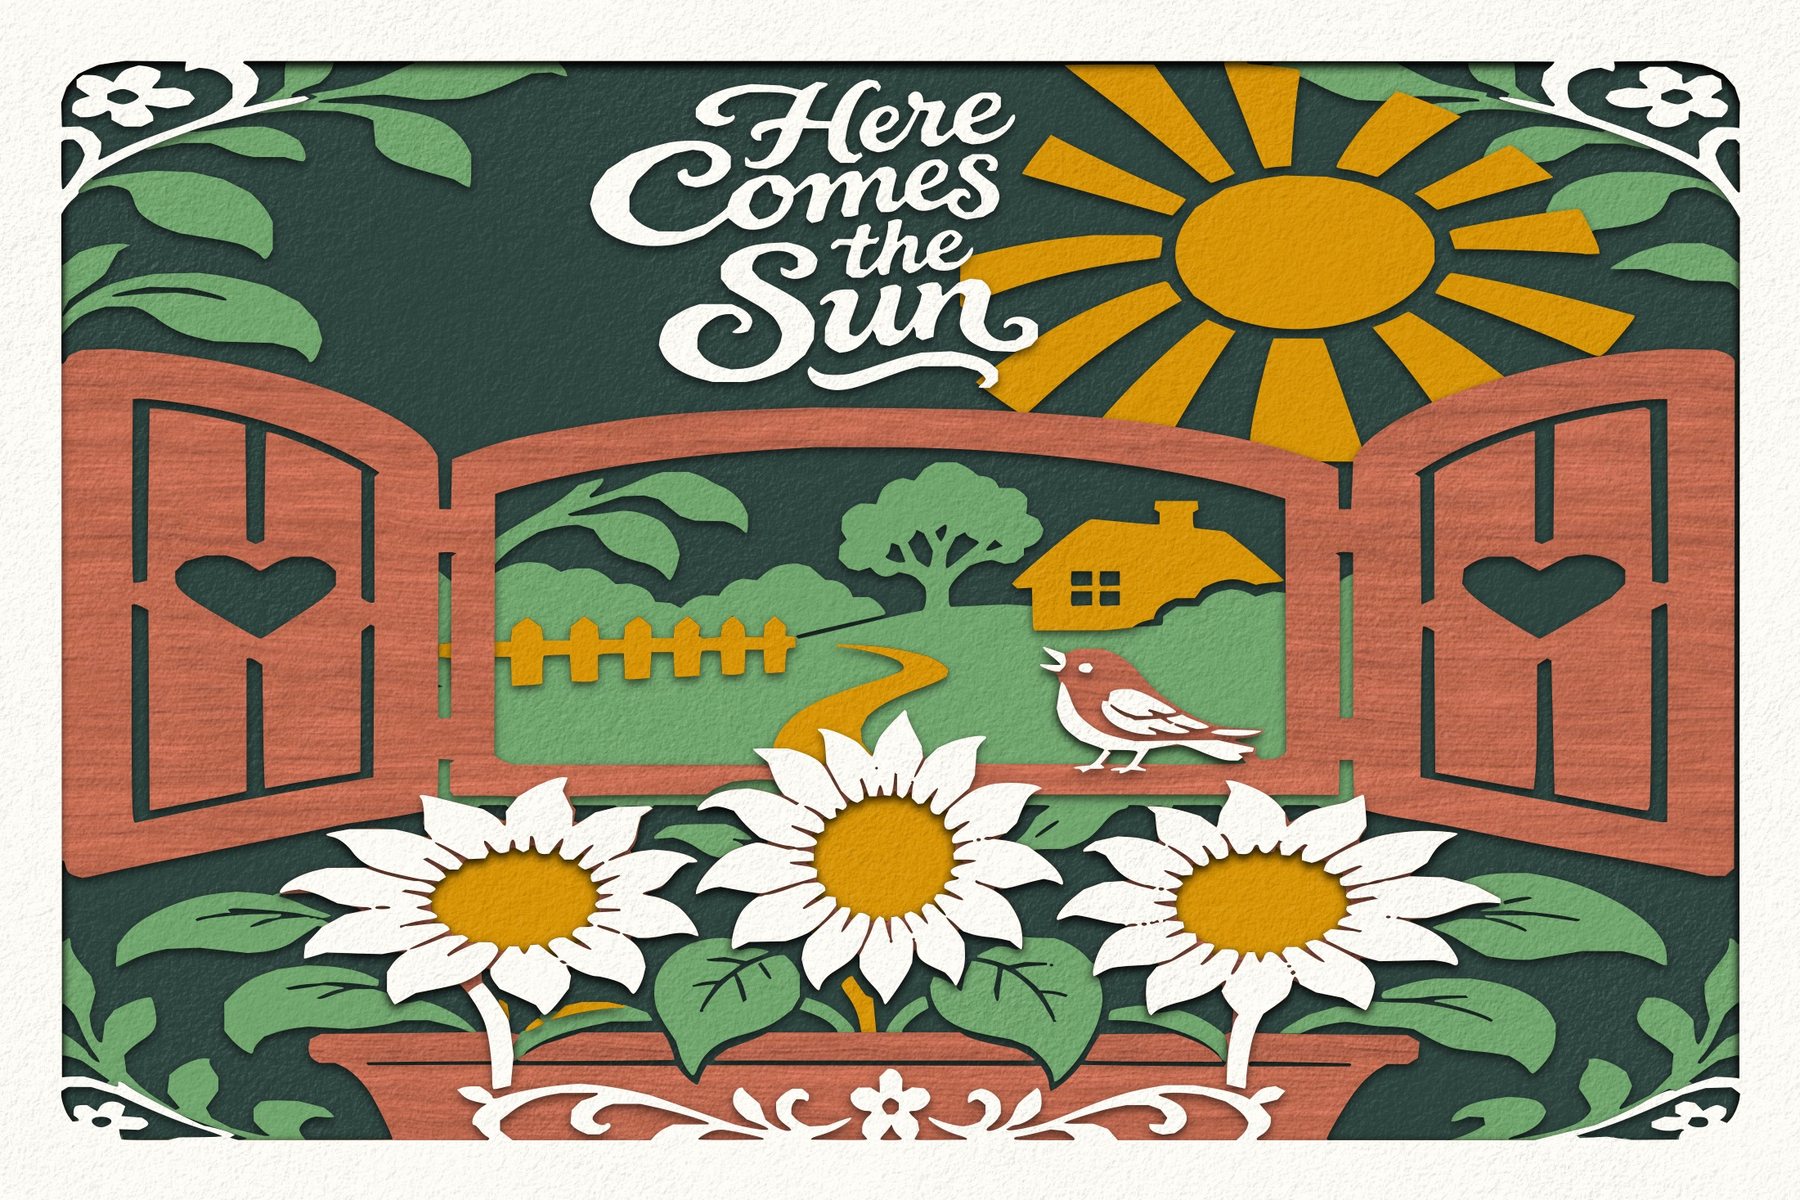
Create and render a digital display entirely in Woodcut Studio. Save a realistic box rendering or straight-on artwork with lighting, layered depth, and shadows. Use either version in a digital card, slideshow, or social post.
No laser cutter, cutting, or assembly required.
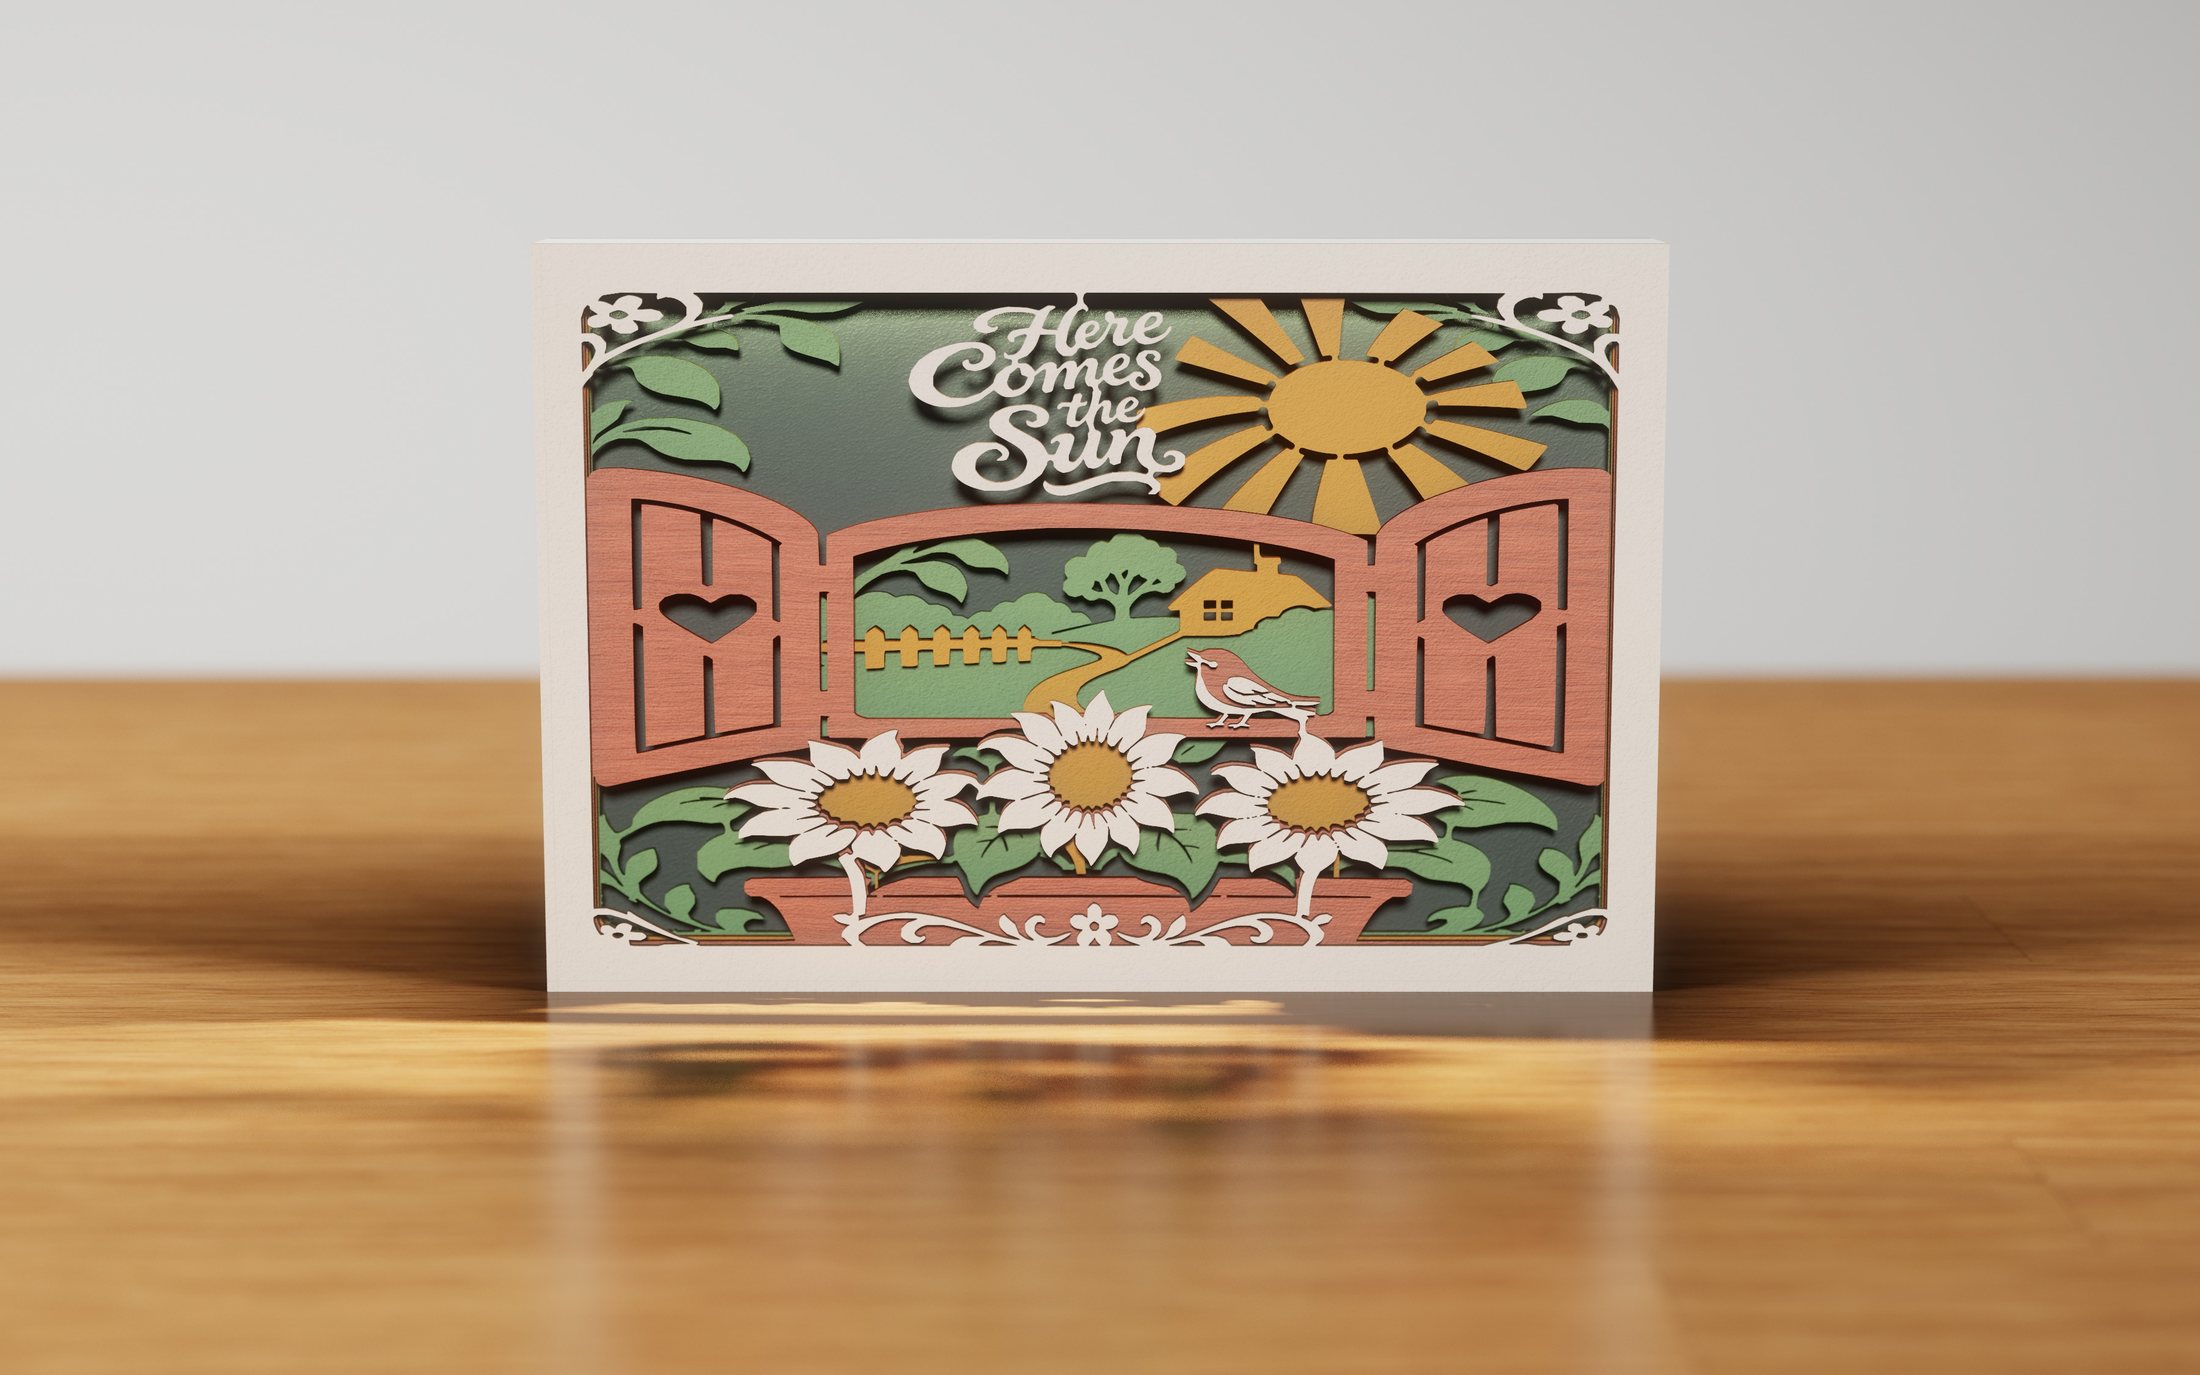
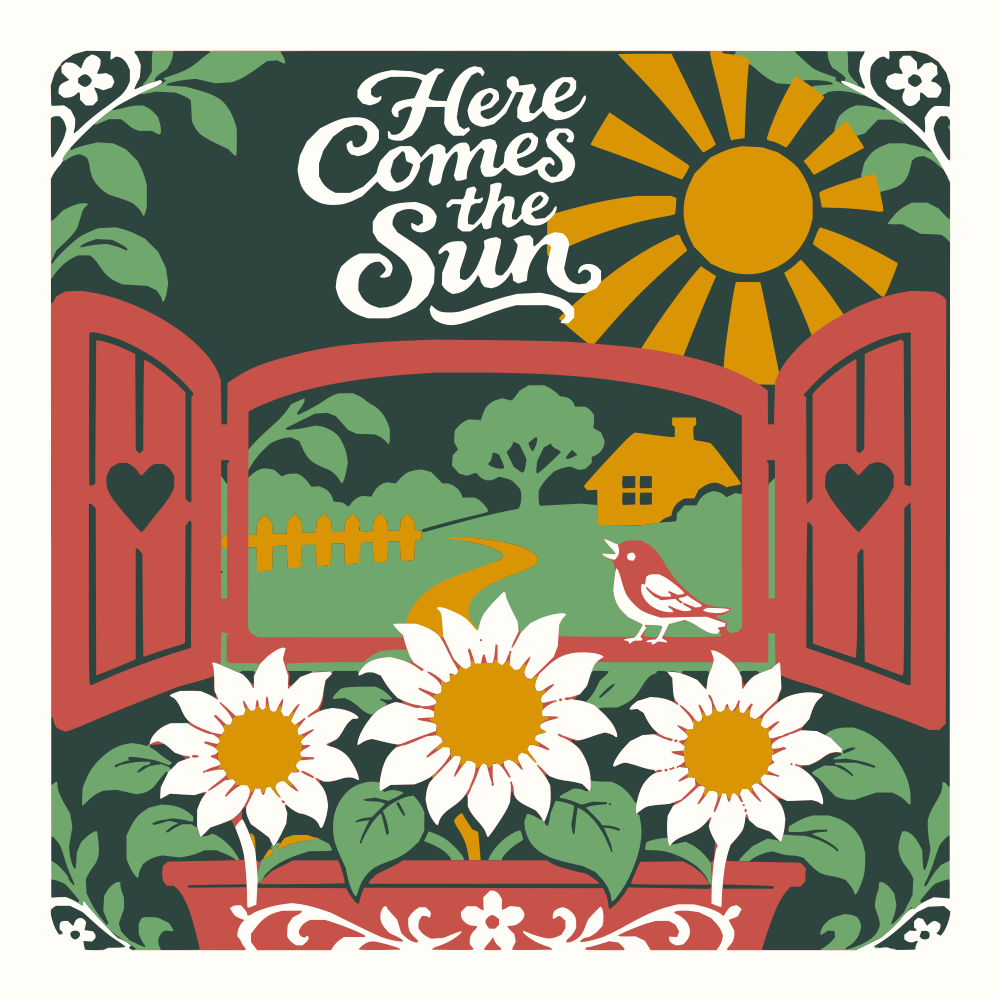
One scene. Two digital ways to share it. Click either image to explore.
Seven ways to bring your art into the real world
Design the artwork in Woodcut Studio, then choose the Project Style for what you want to make. From a glowing lightbox to a sticker you can hold, your layered scenes are made for real projects.
Cut layered sheets, add spacers and lighting, and assemble a dimensional scene in a physical lightbox.
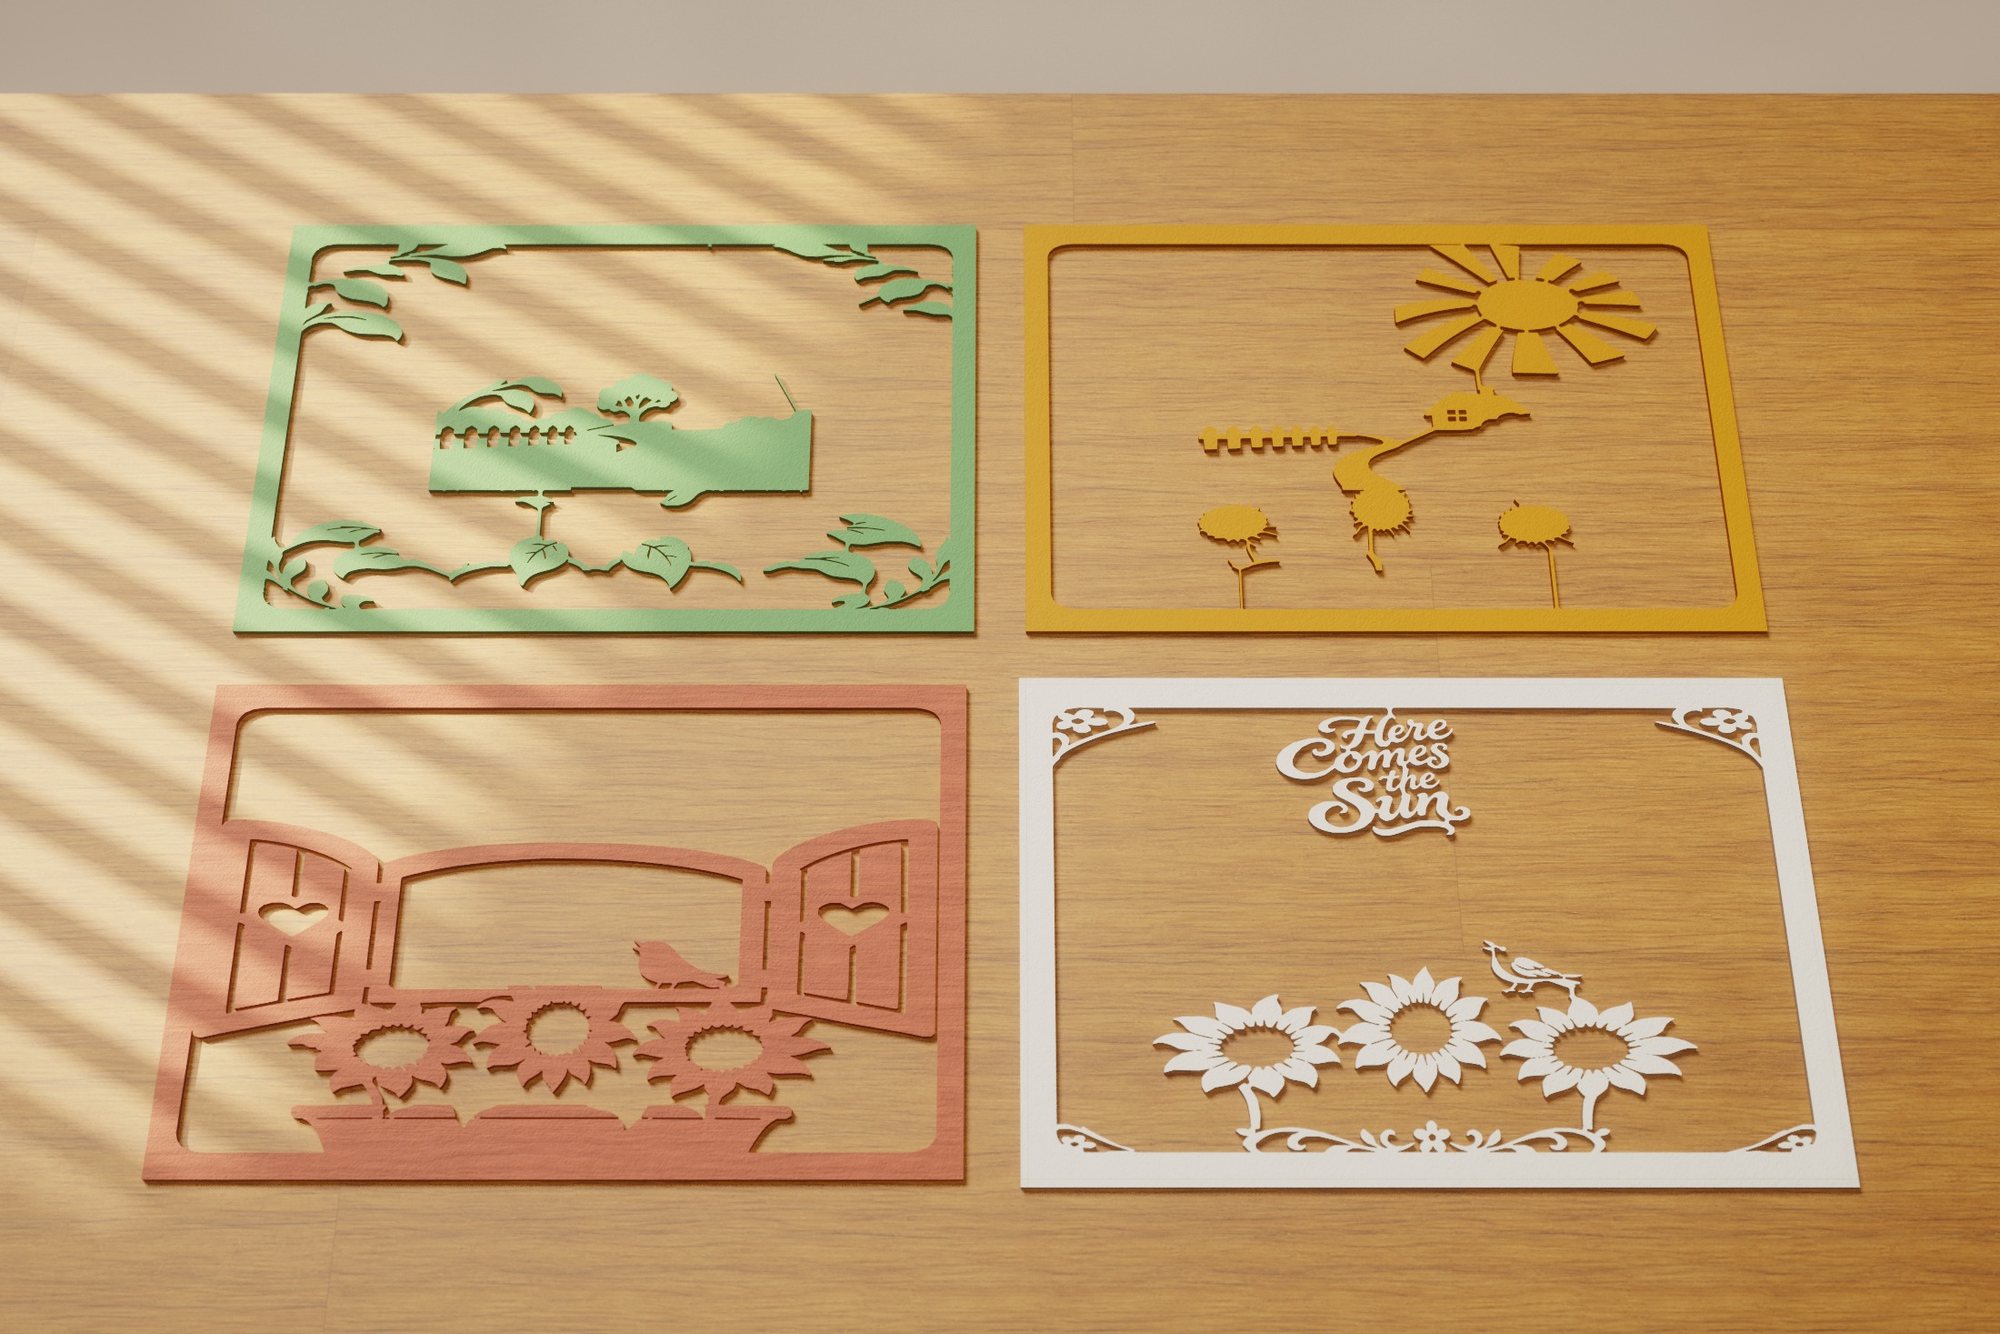
Laser Cut LightboxSee examplesCut colored cardstock layers and assemble them with foam spacers to create dimensional papercut artwork for a shadow box.
Papercut Layers (Cricut)See examplesPrint your design onto suitable magnet material, then cut the outline to create a small, personal piece of physical art.
Print, then cutSee examplesTurn your artwork into a physical sticker with a printable image and matching cut outline, ready for your print-and-cut workflow.
Custom print-and-cut designsSee examplesPrint and cut artwork for window-cling material. Mirror the design when applying it to the inside of a window.
Artwork for glassSee examplesCreate iron-on or sublimation artwork for T-shirts and other compatible blanks, with layered cutting files and a mirrored print.
Iron-on / SublimationSee examplesEngrave and cut clear acrylic panels, then illuminate the artwork from an LED base for a glowing dimensional sign.
Engraved acrylic panelsSee examplesSee the design become the project
Choose a scene, then switch styles to compare how the same design looks in seven physical projects. Enlarge the finished result, the front layer set aside, or the cut pieces when those views are available.
Physical project / Lightboxes
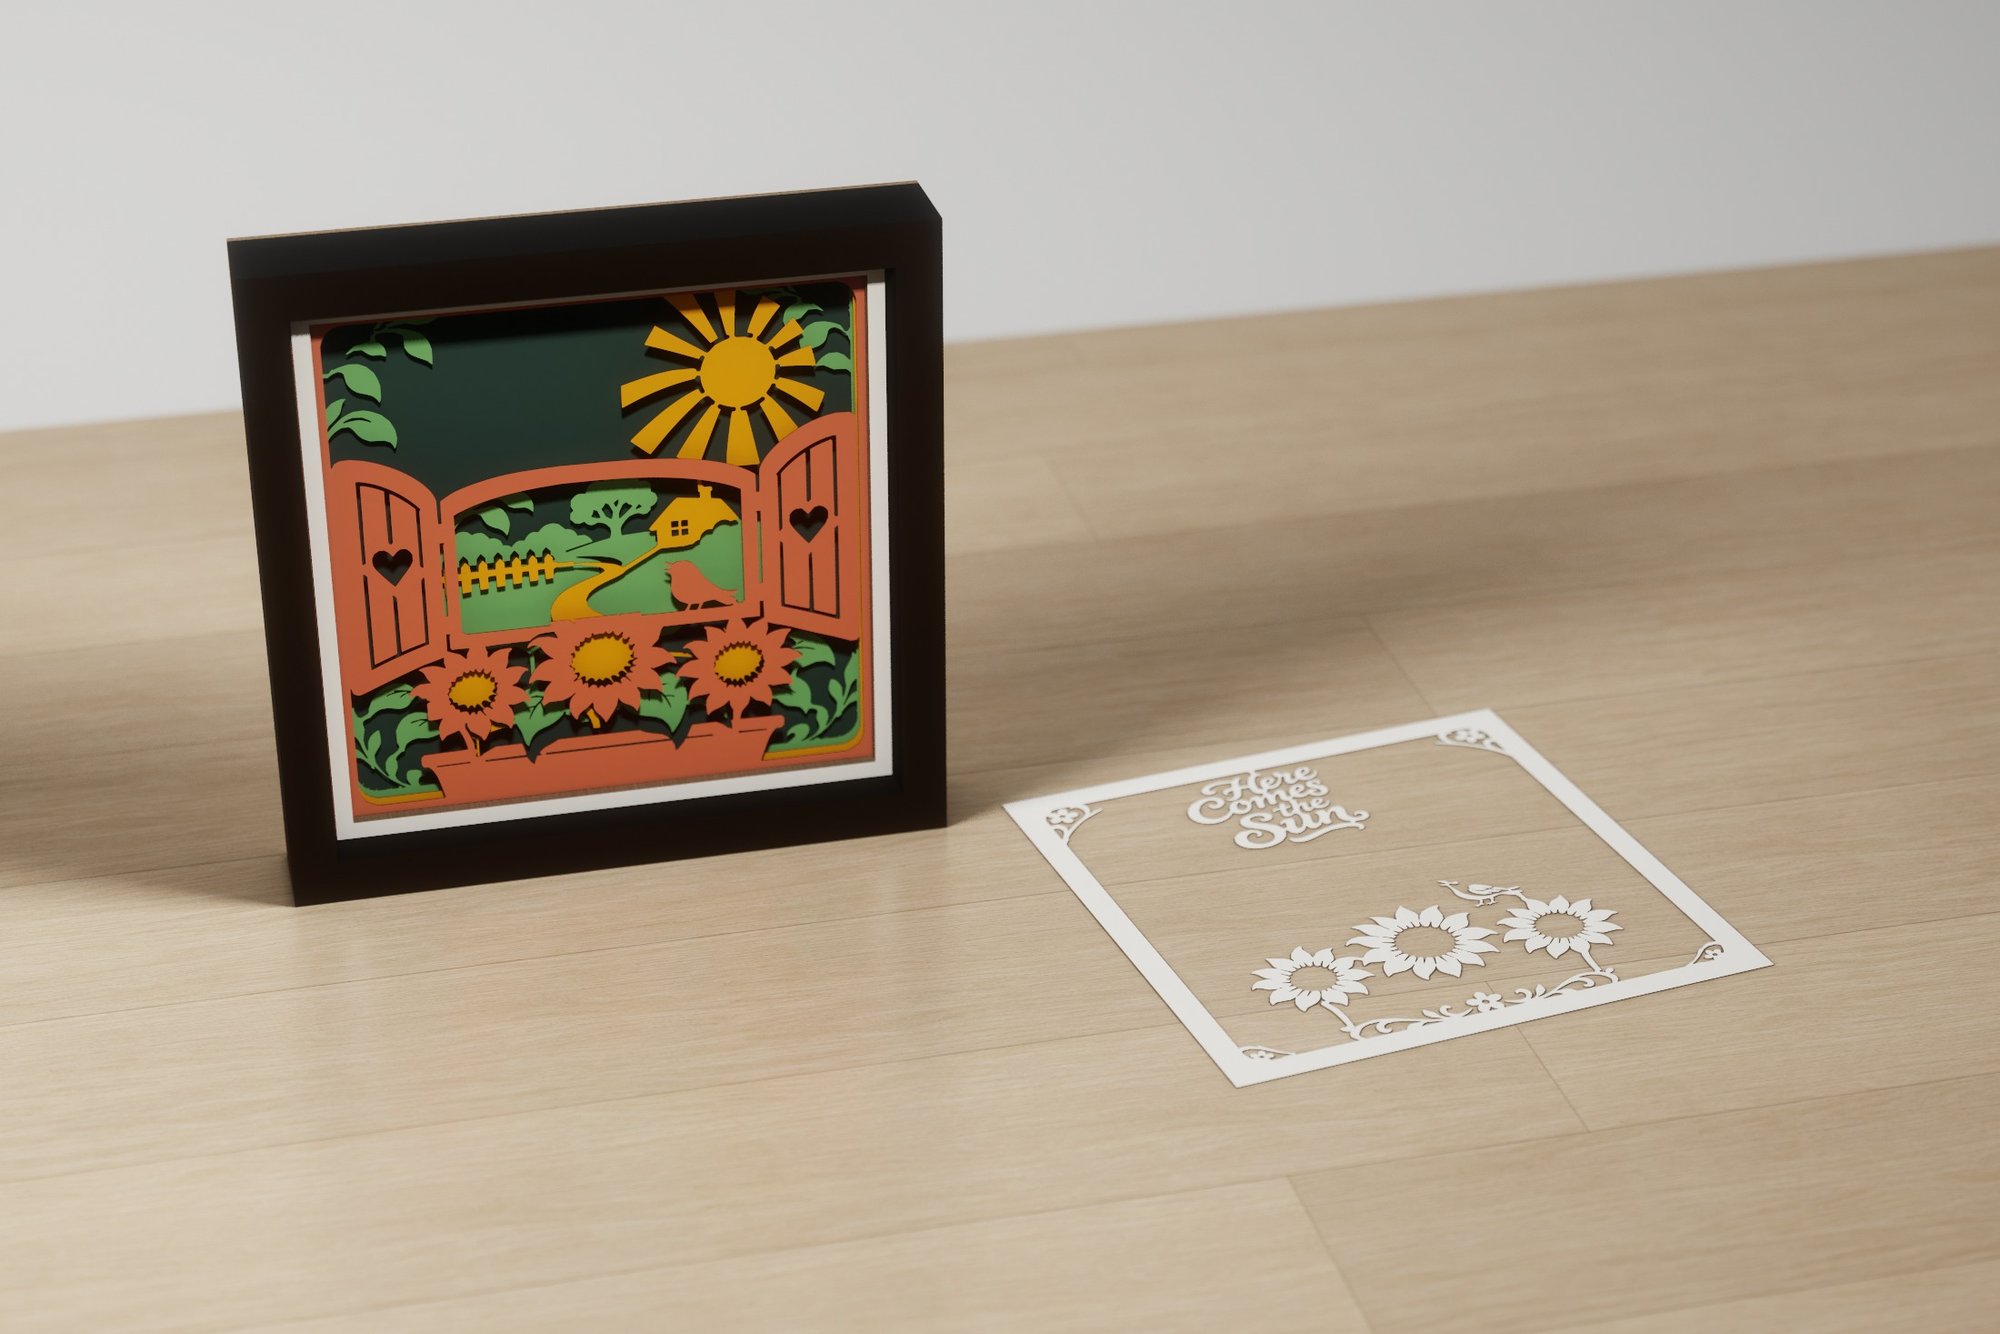
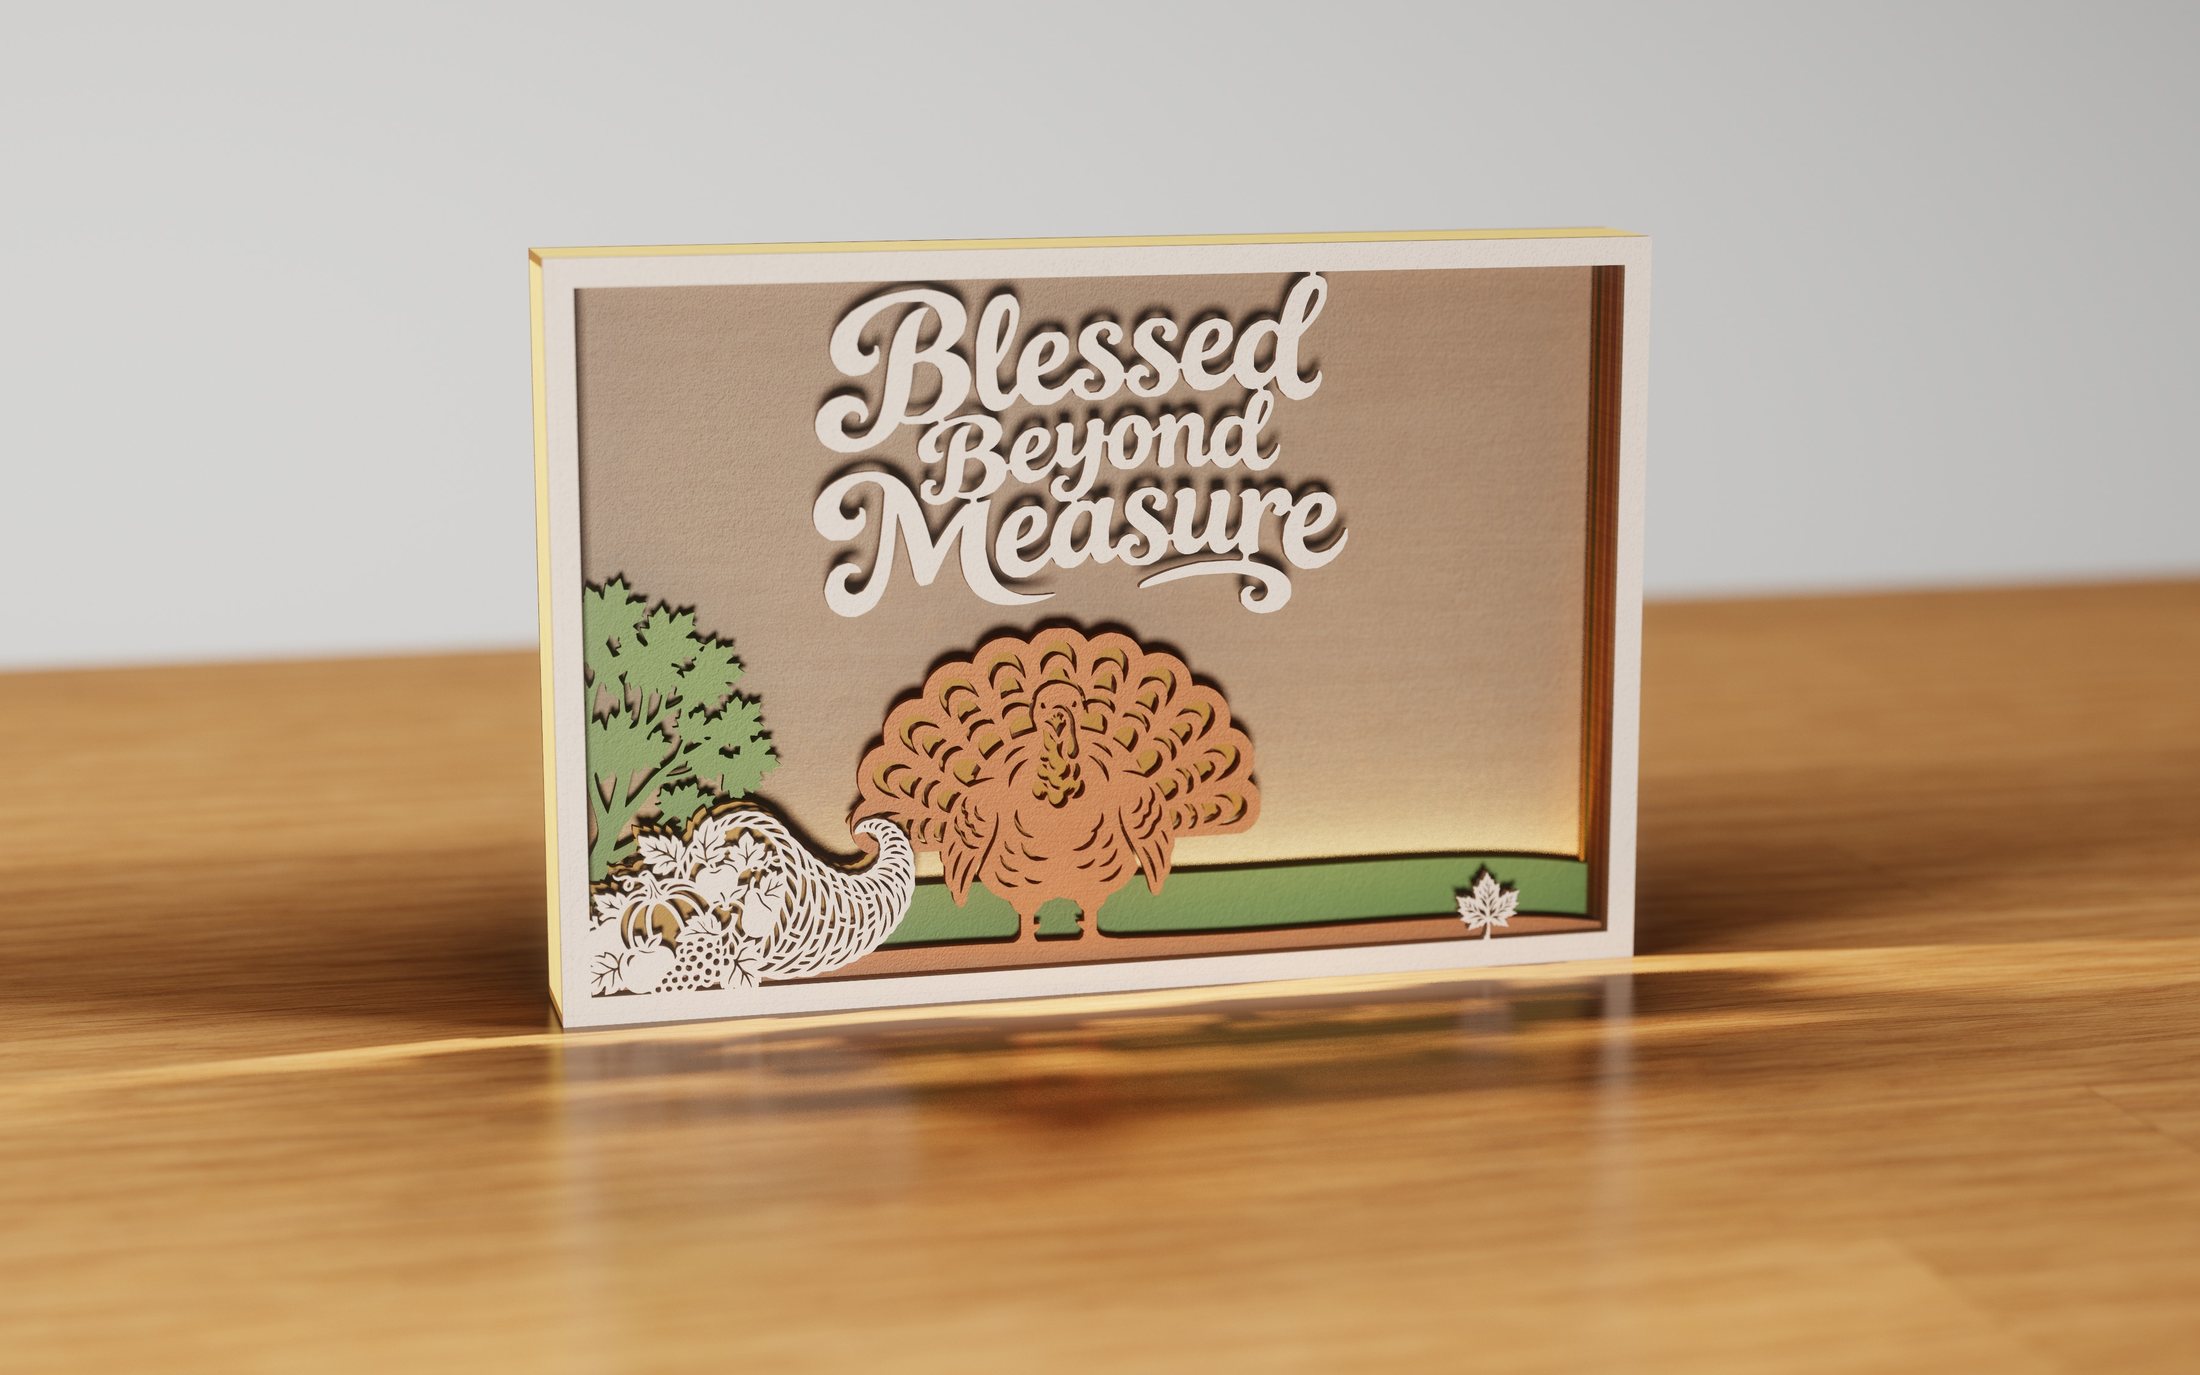
See the finished lightbox beside its cut layers. On selected designs, the front layer is set beside the box to reveal the layers behind it.
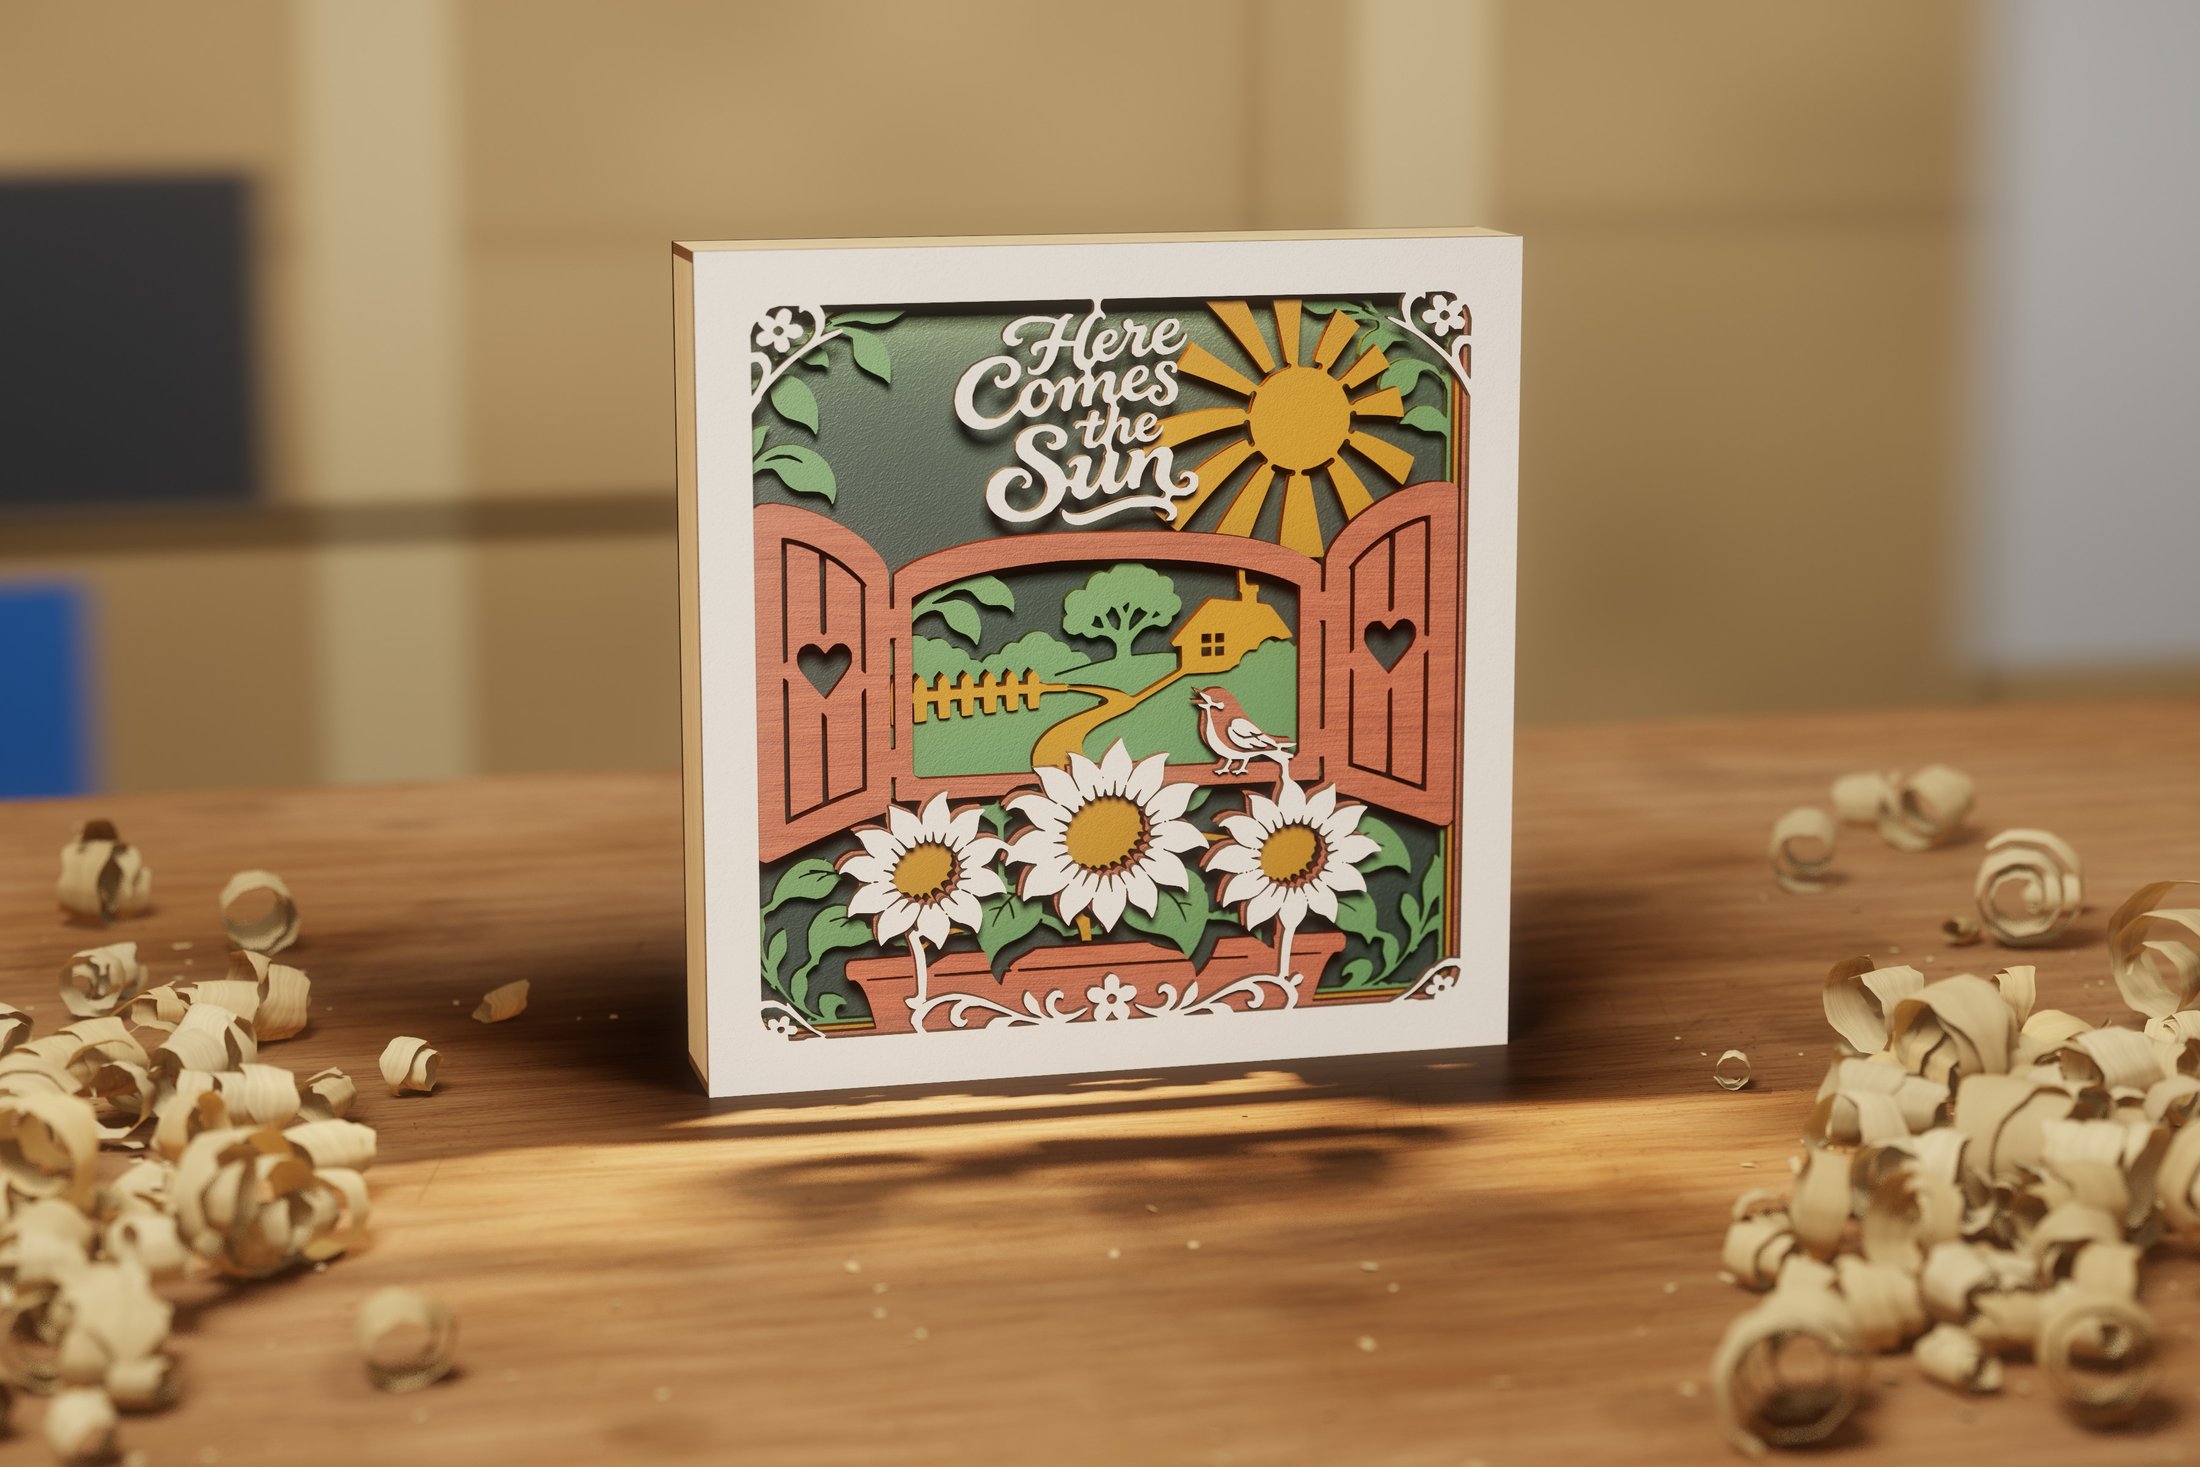 Here Comes the Sun
 Thanksgiving Bounty
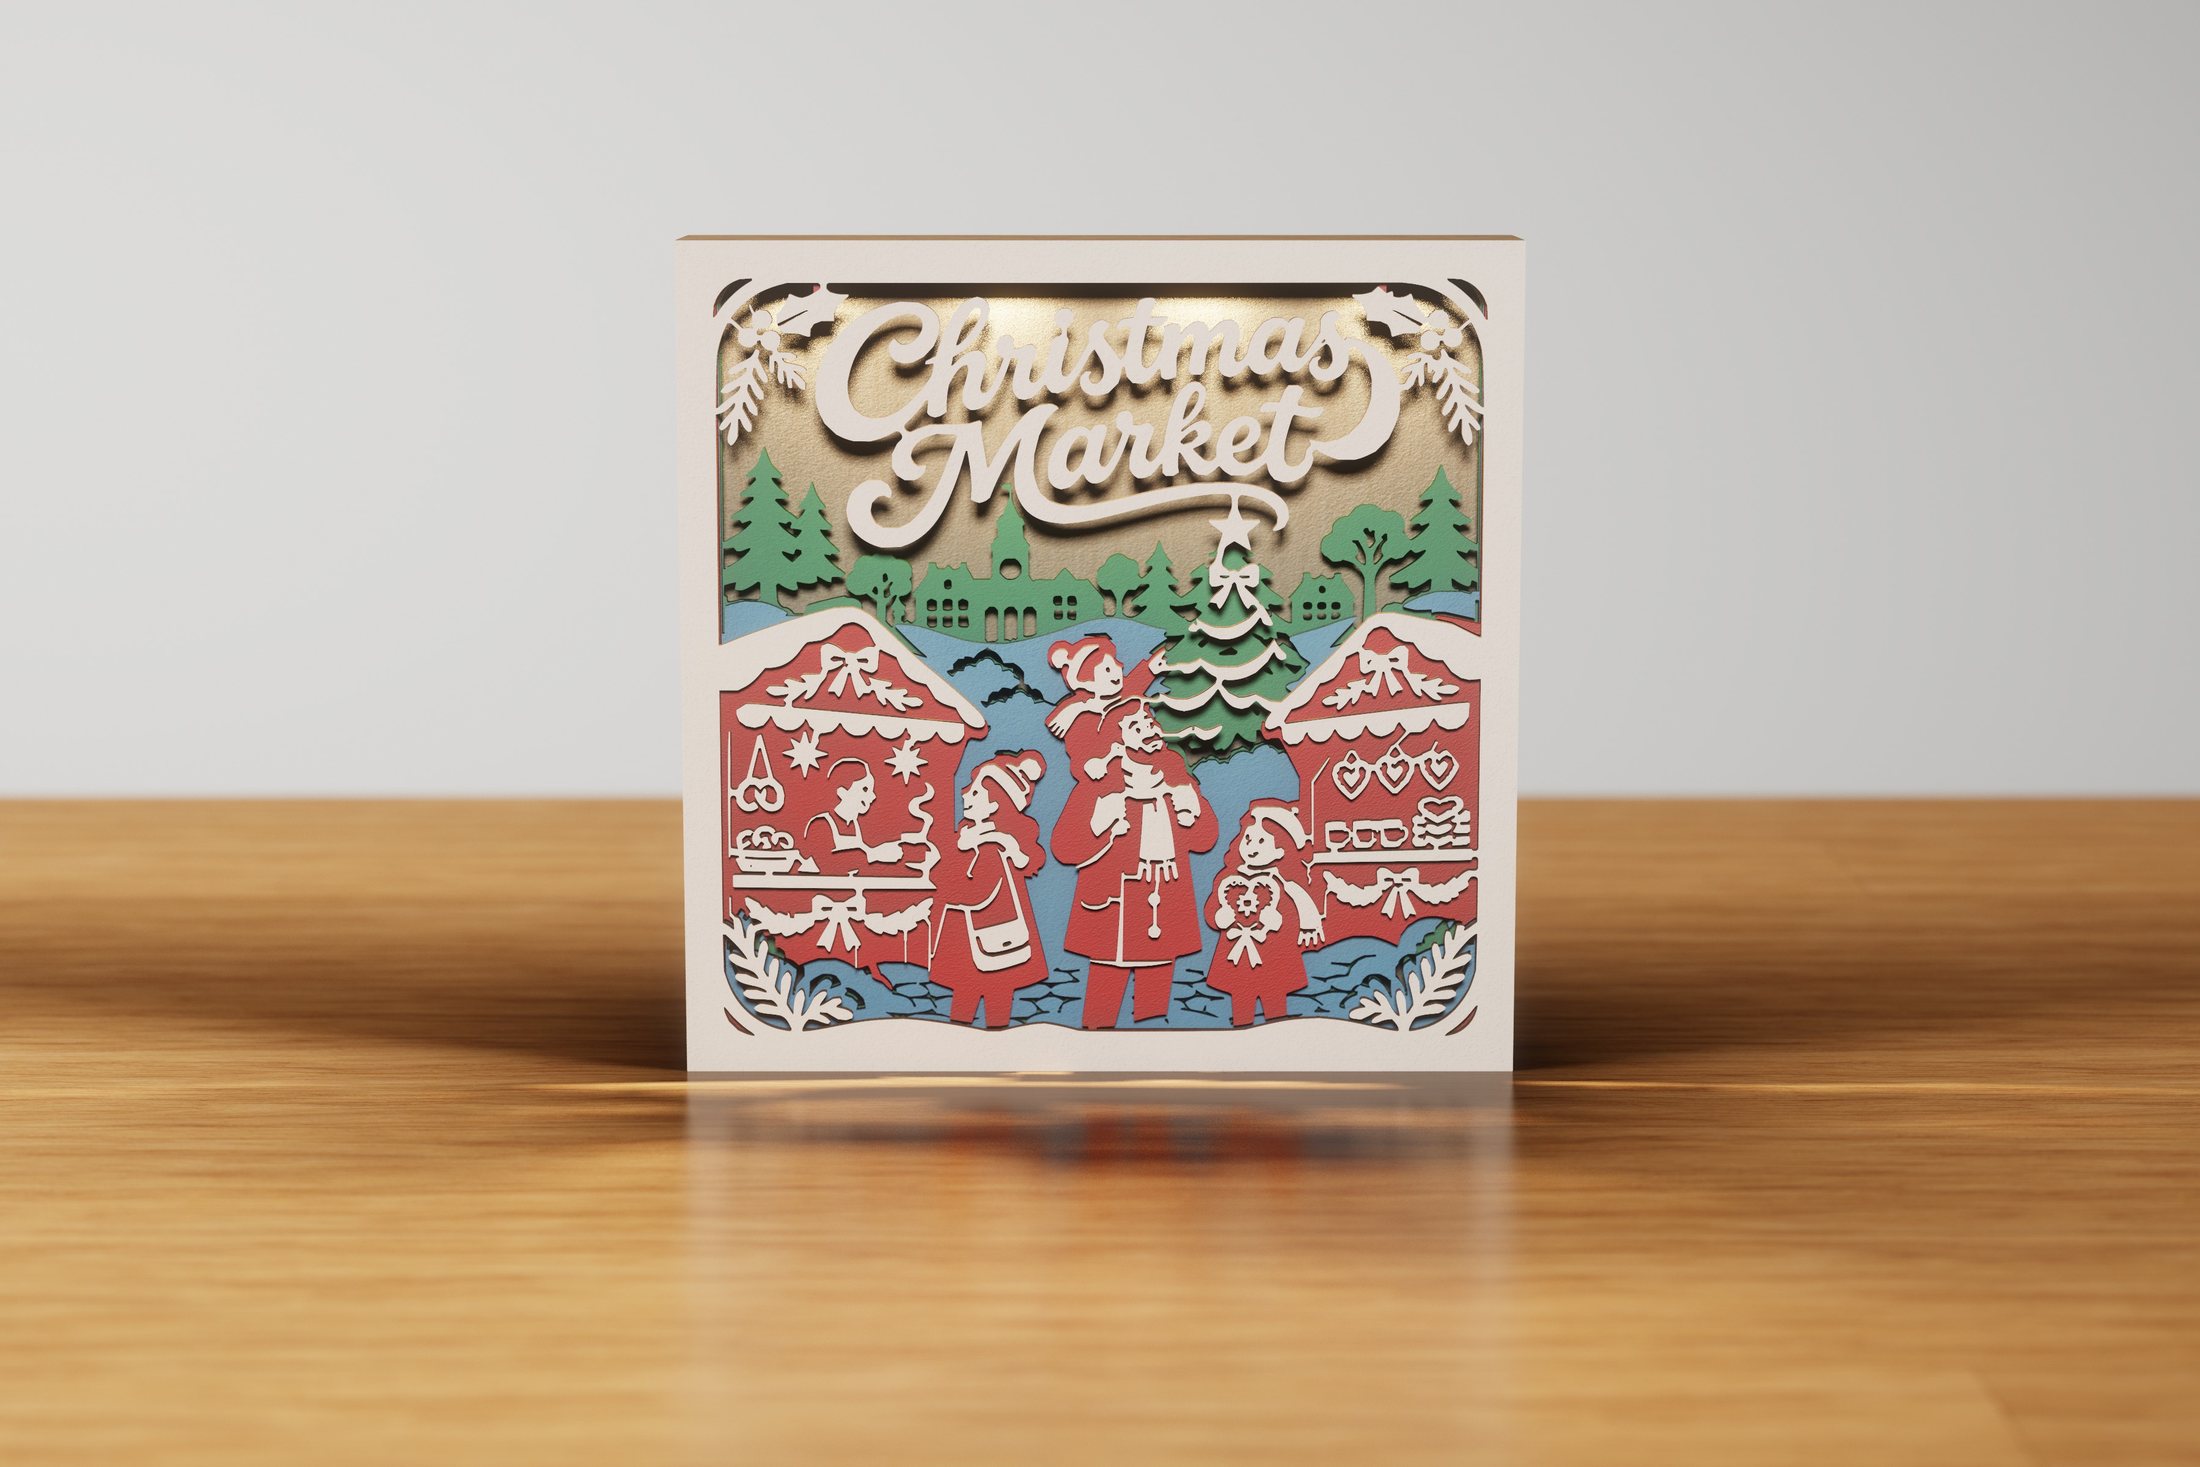 Christmas Market
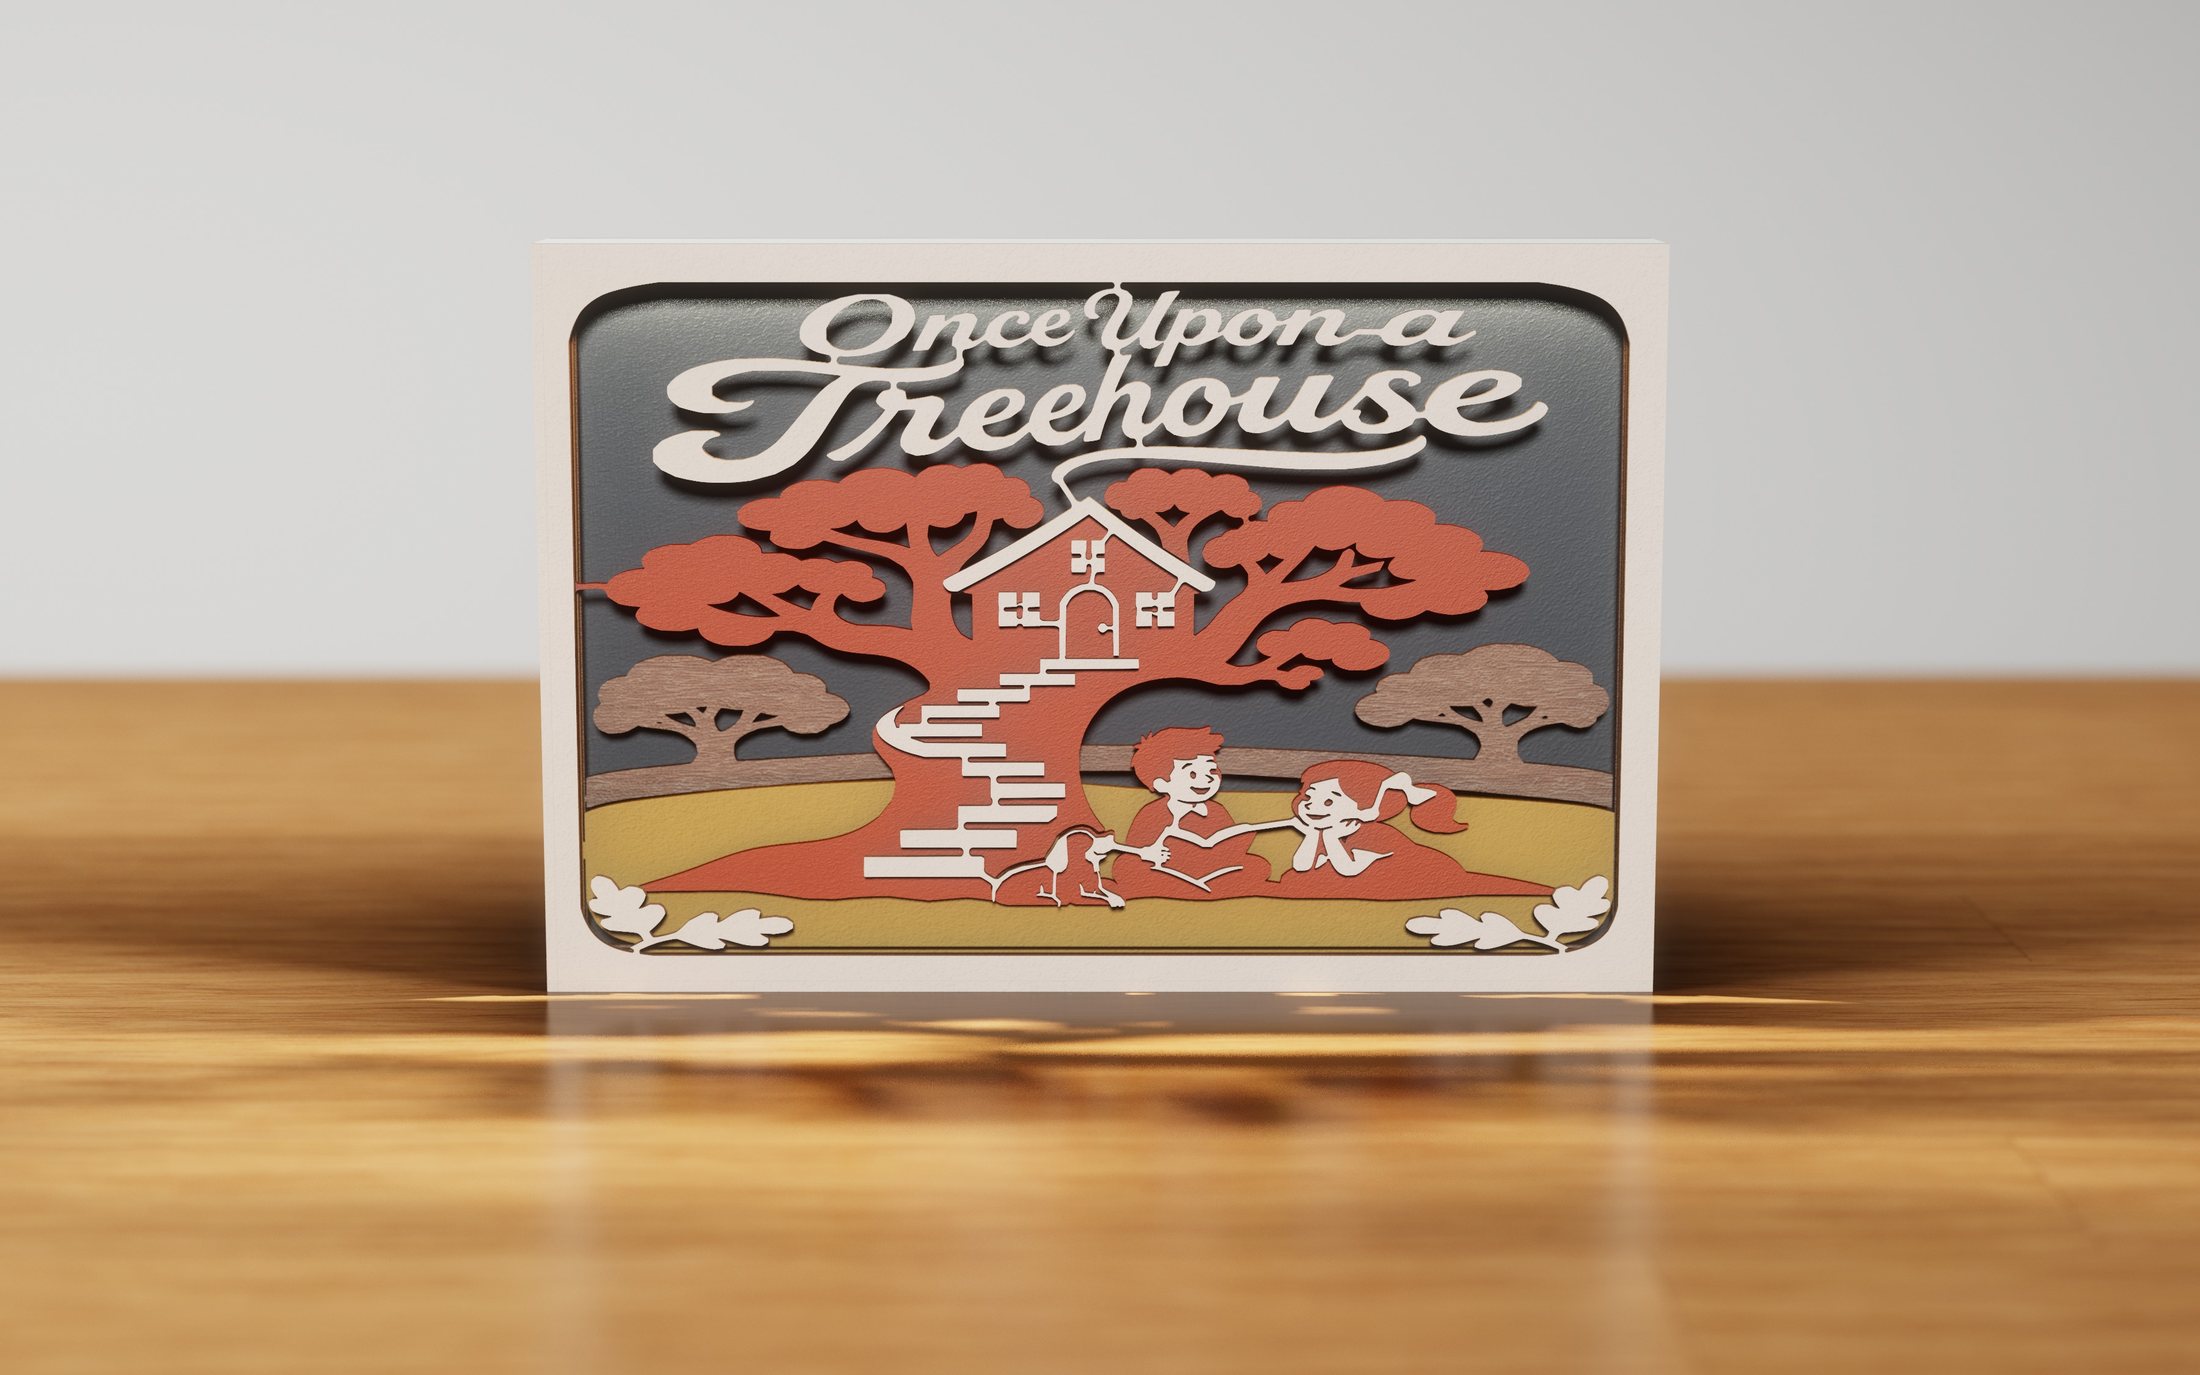 Once Upon a Treehouse
 Grateful Gathering
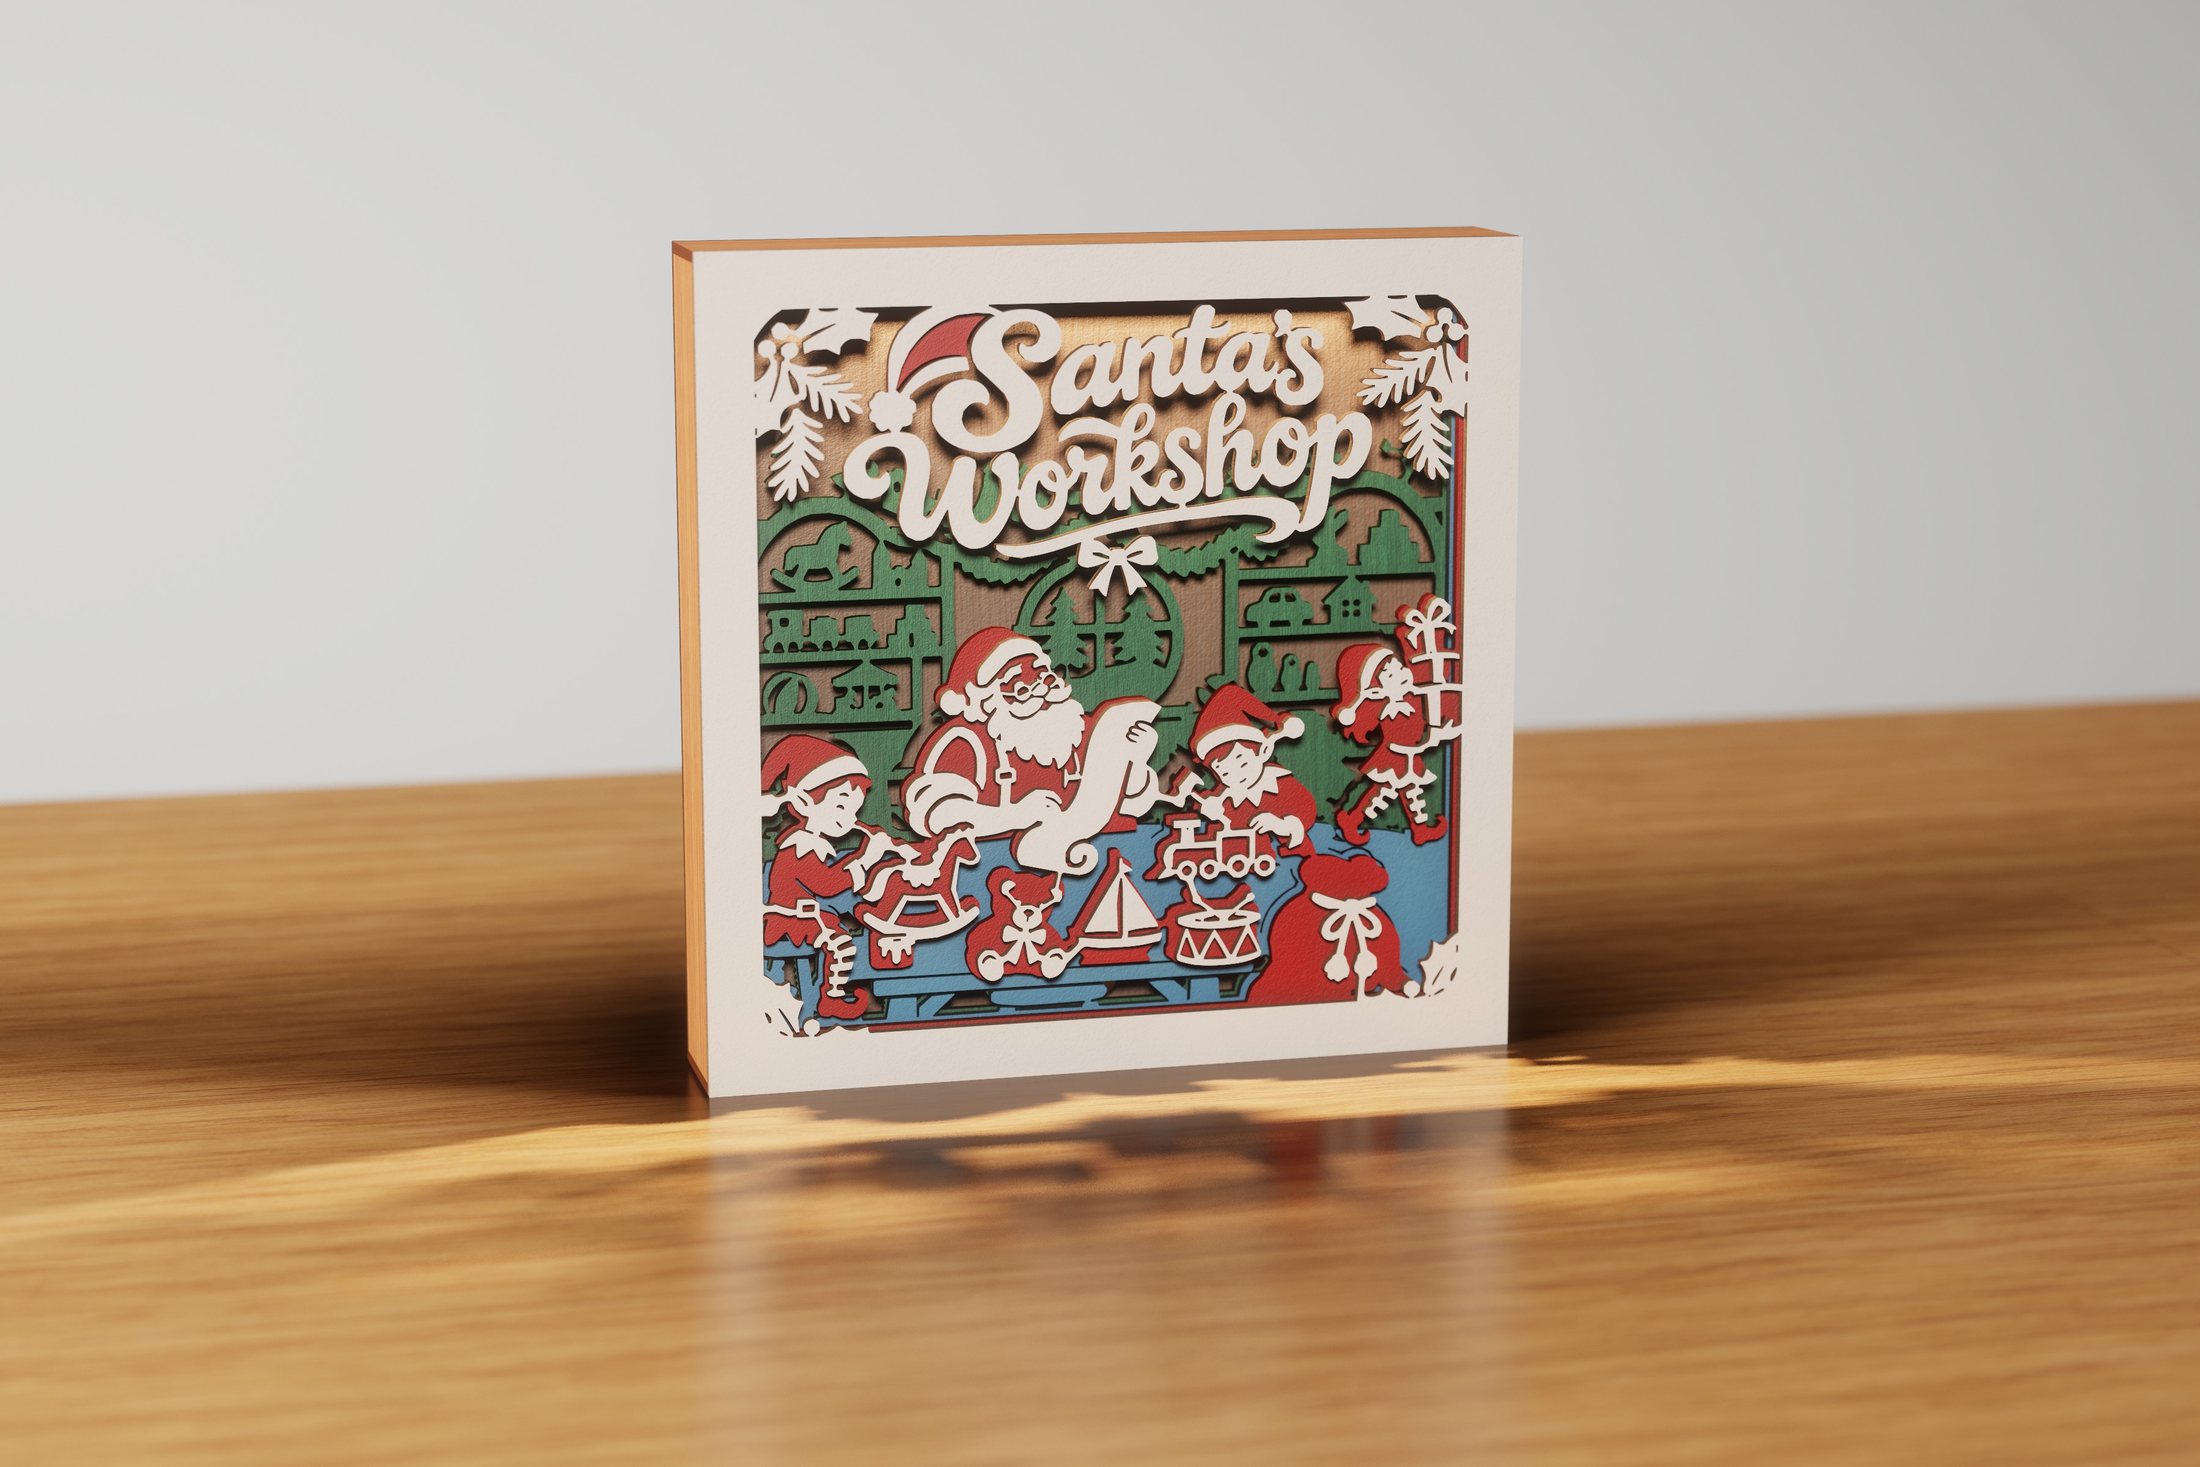 Santa's Workshop
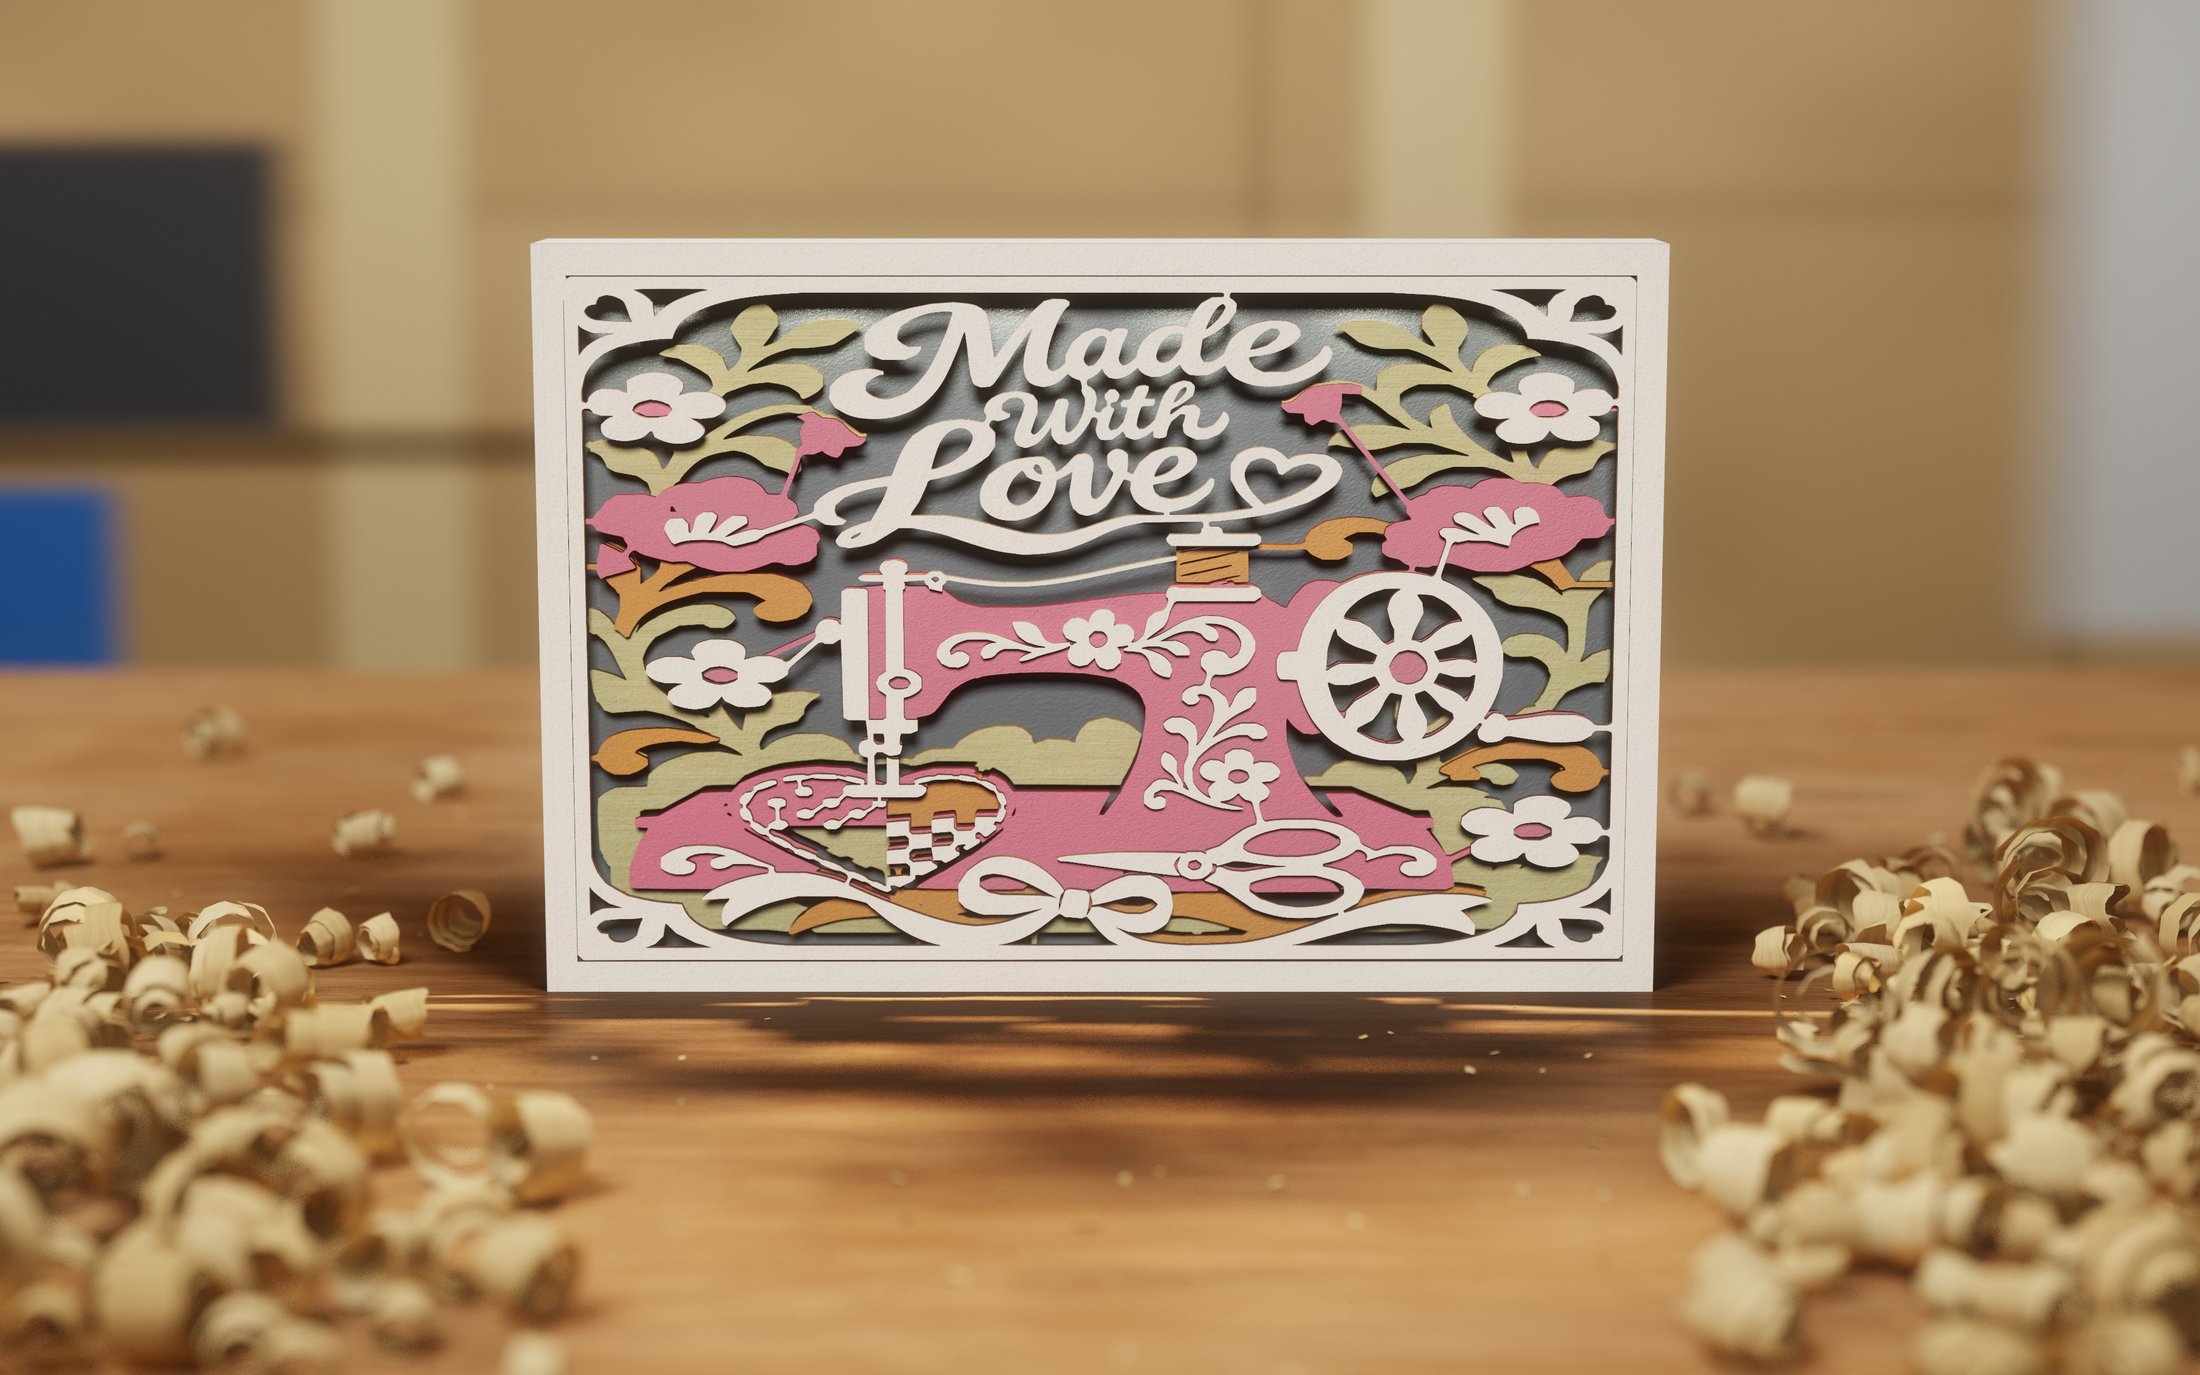 Made with Love 2
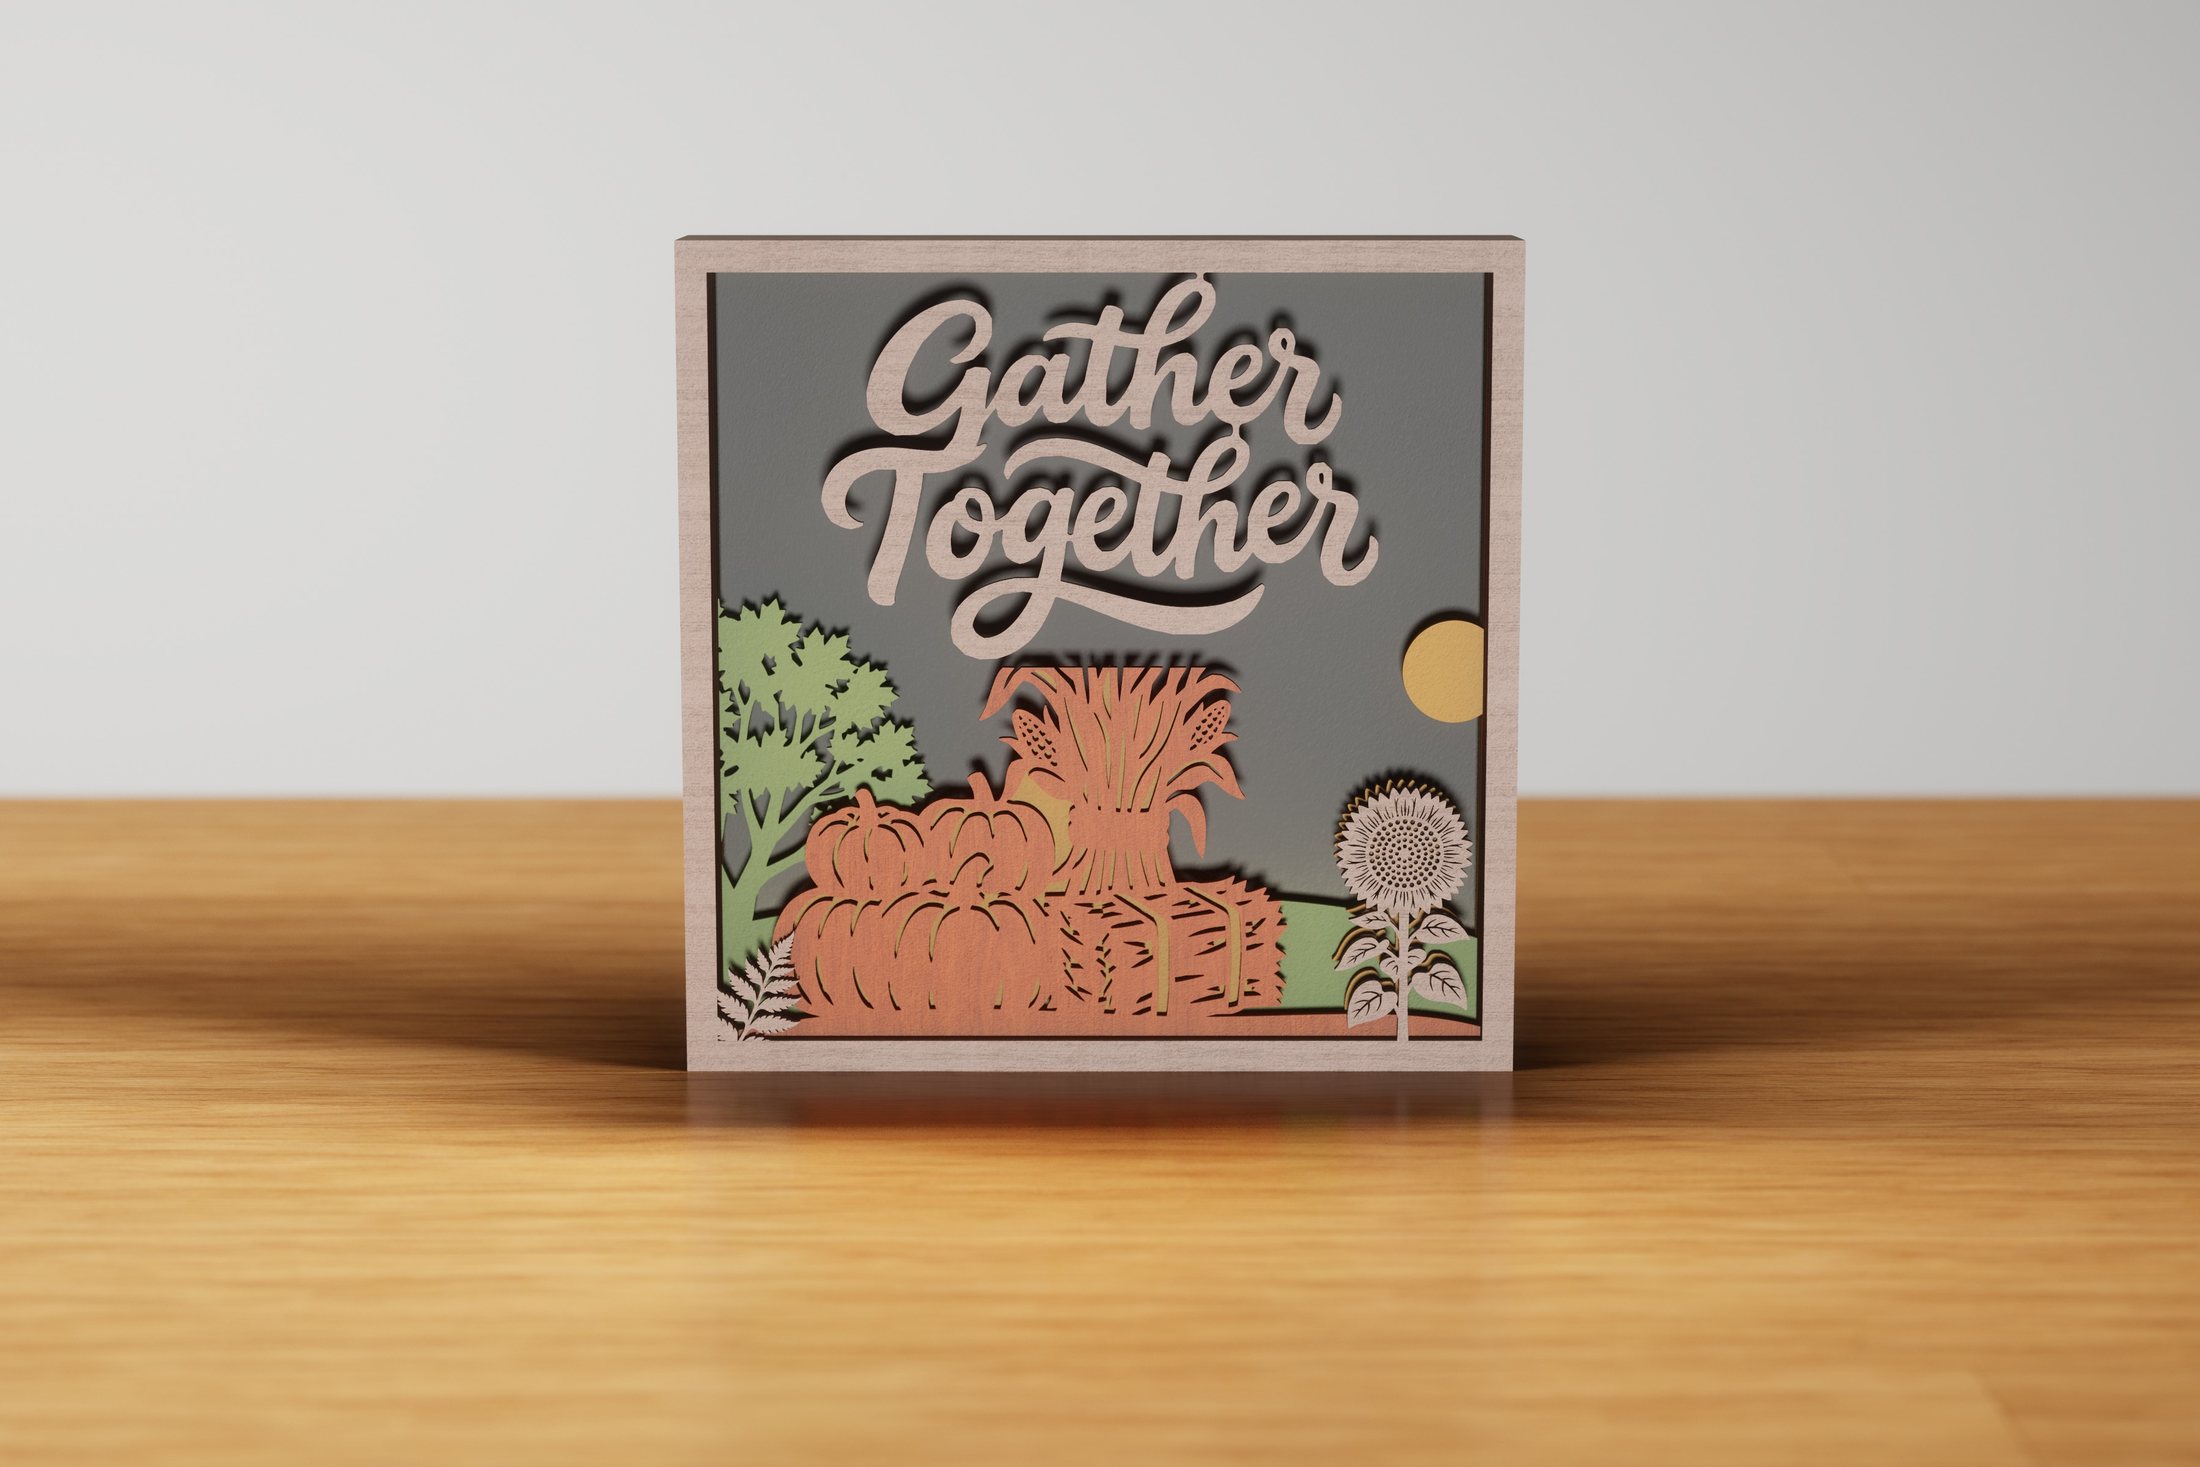
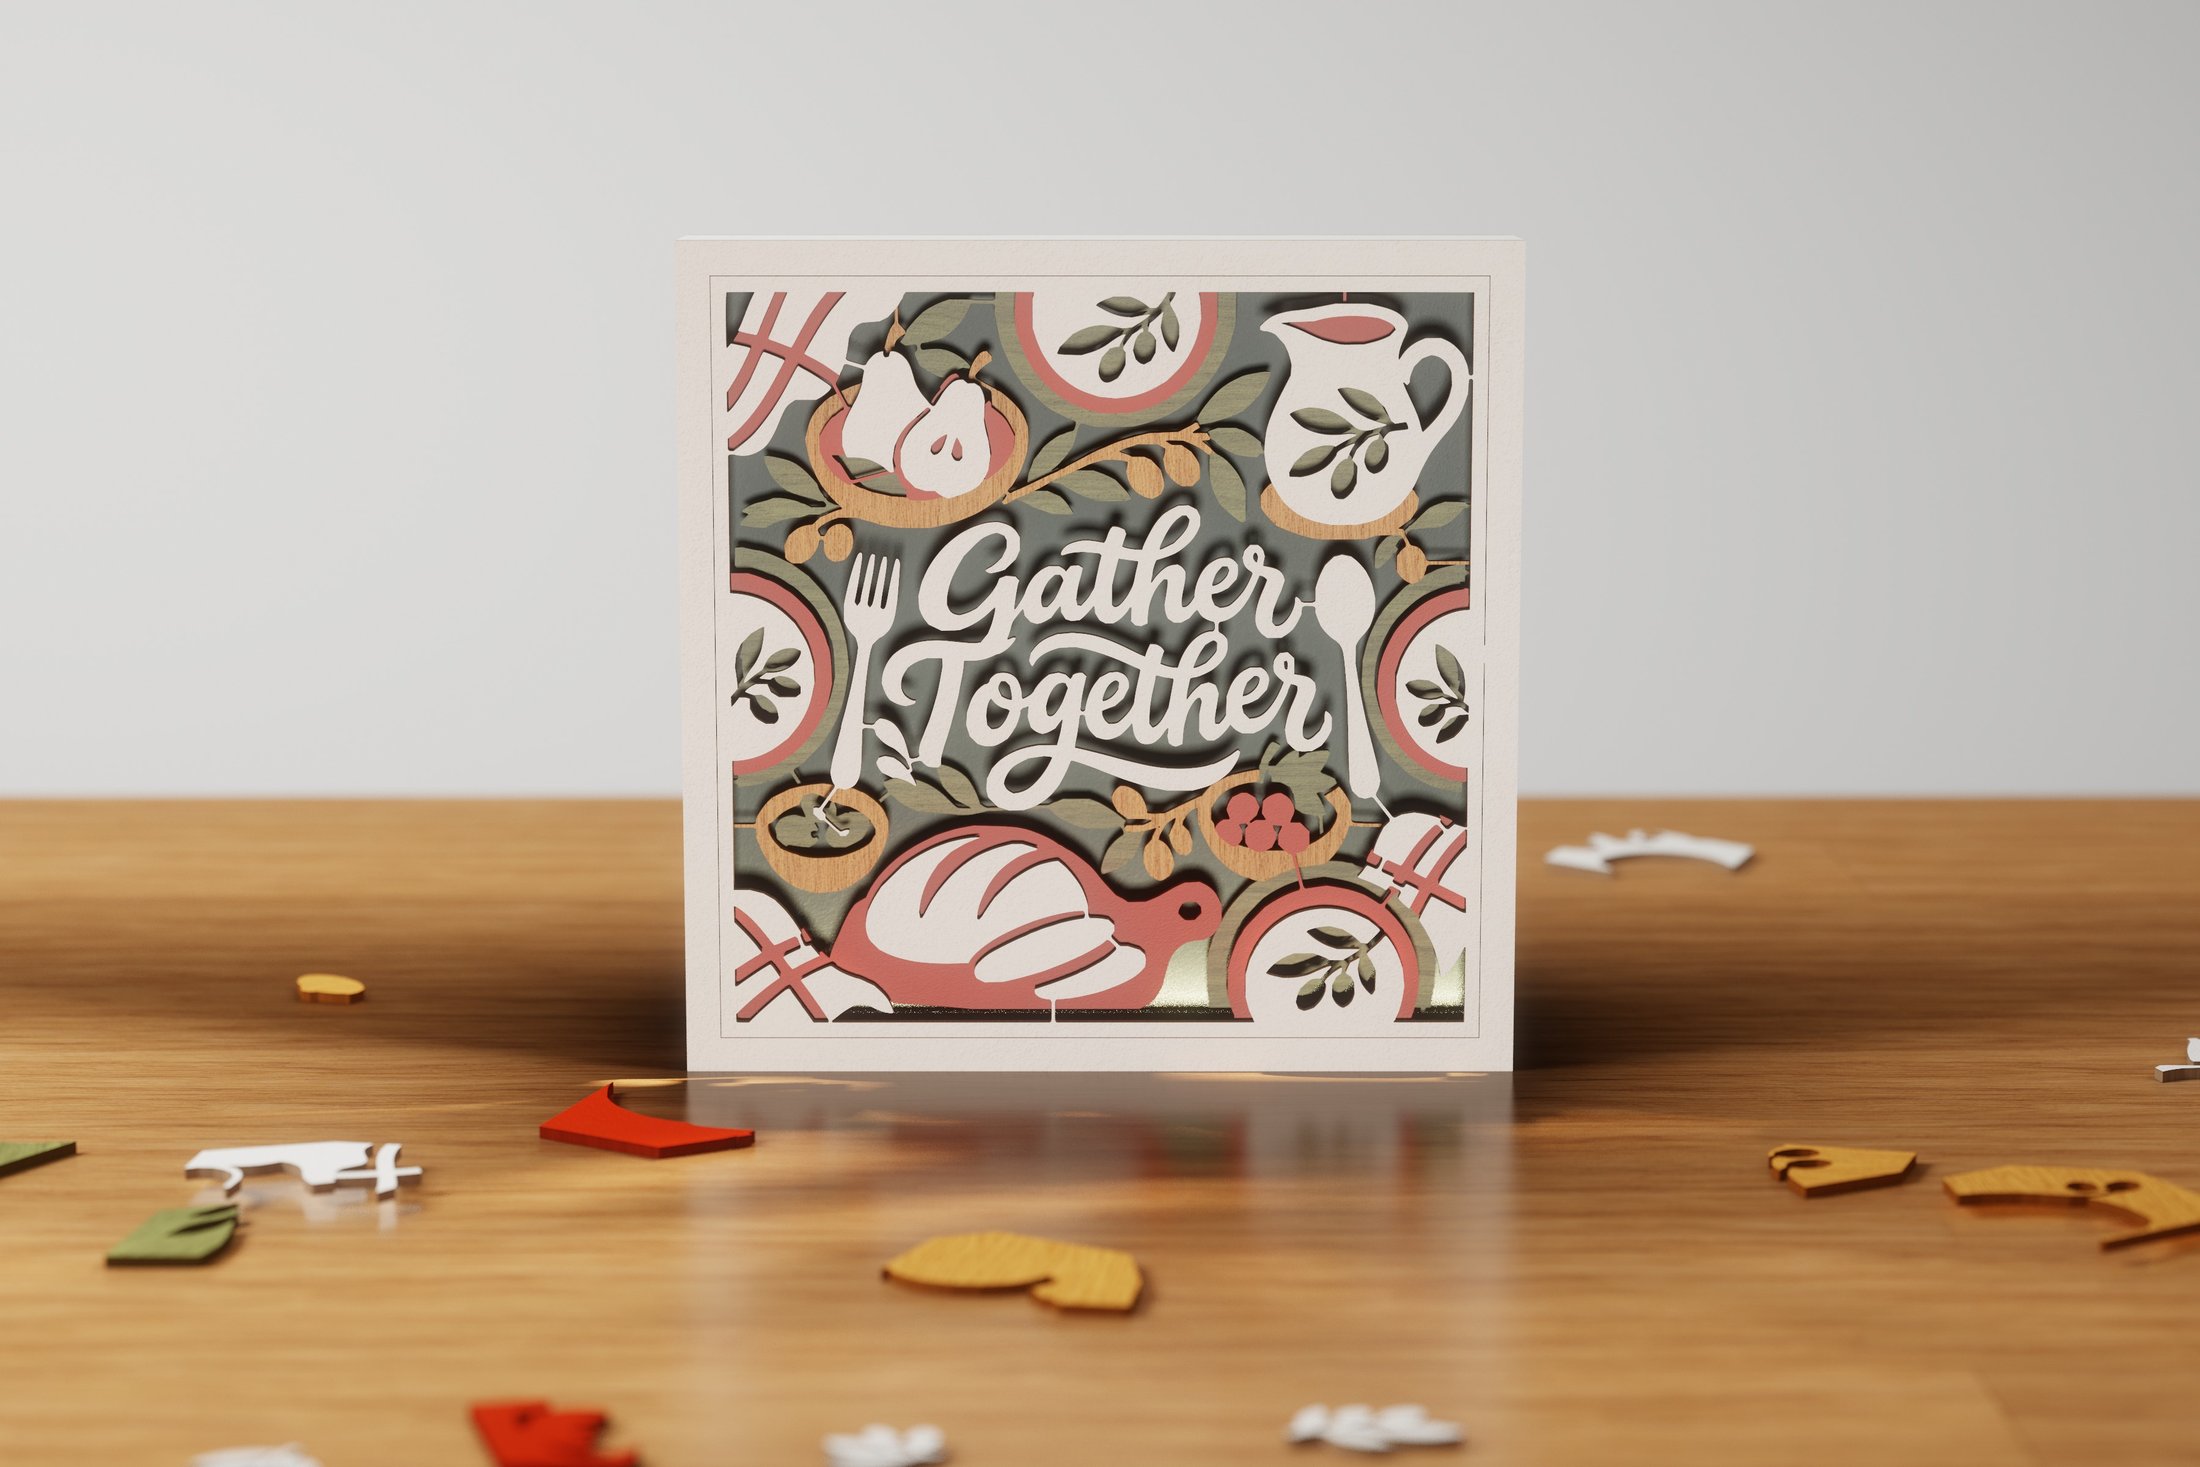 Gather Together
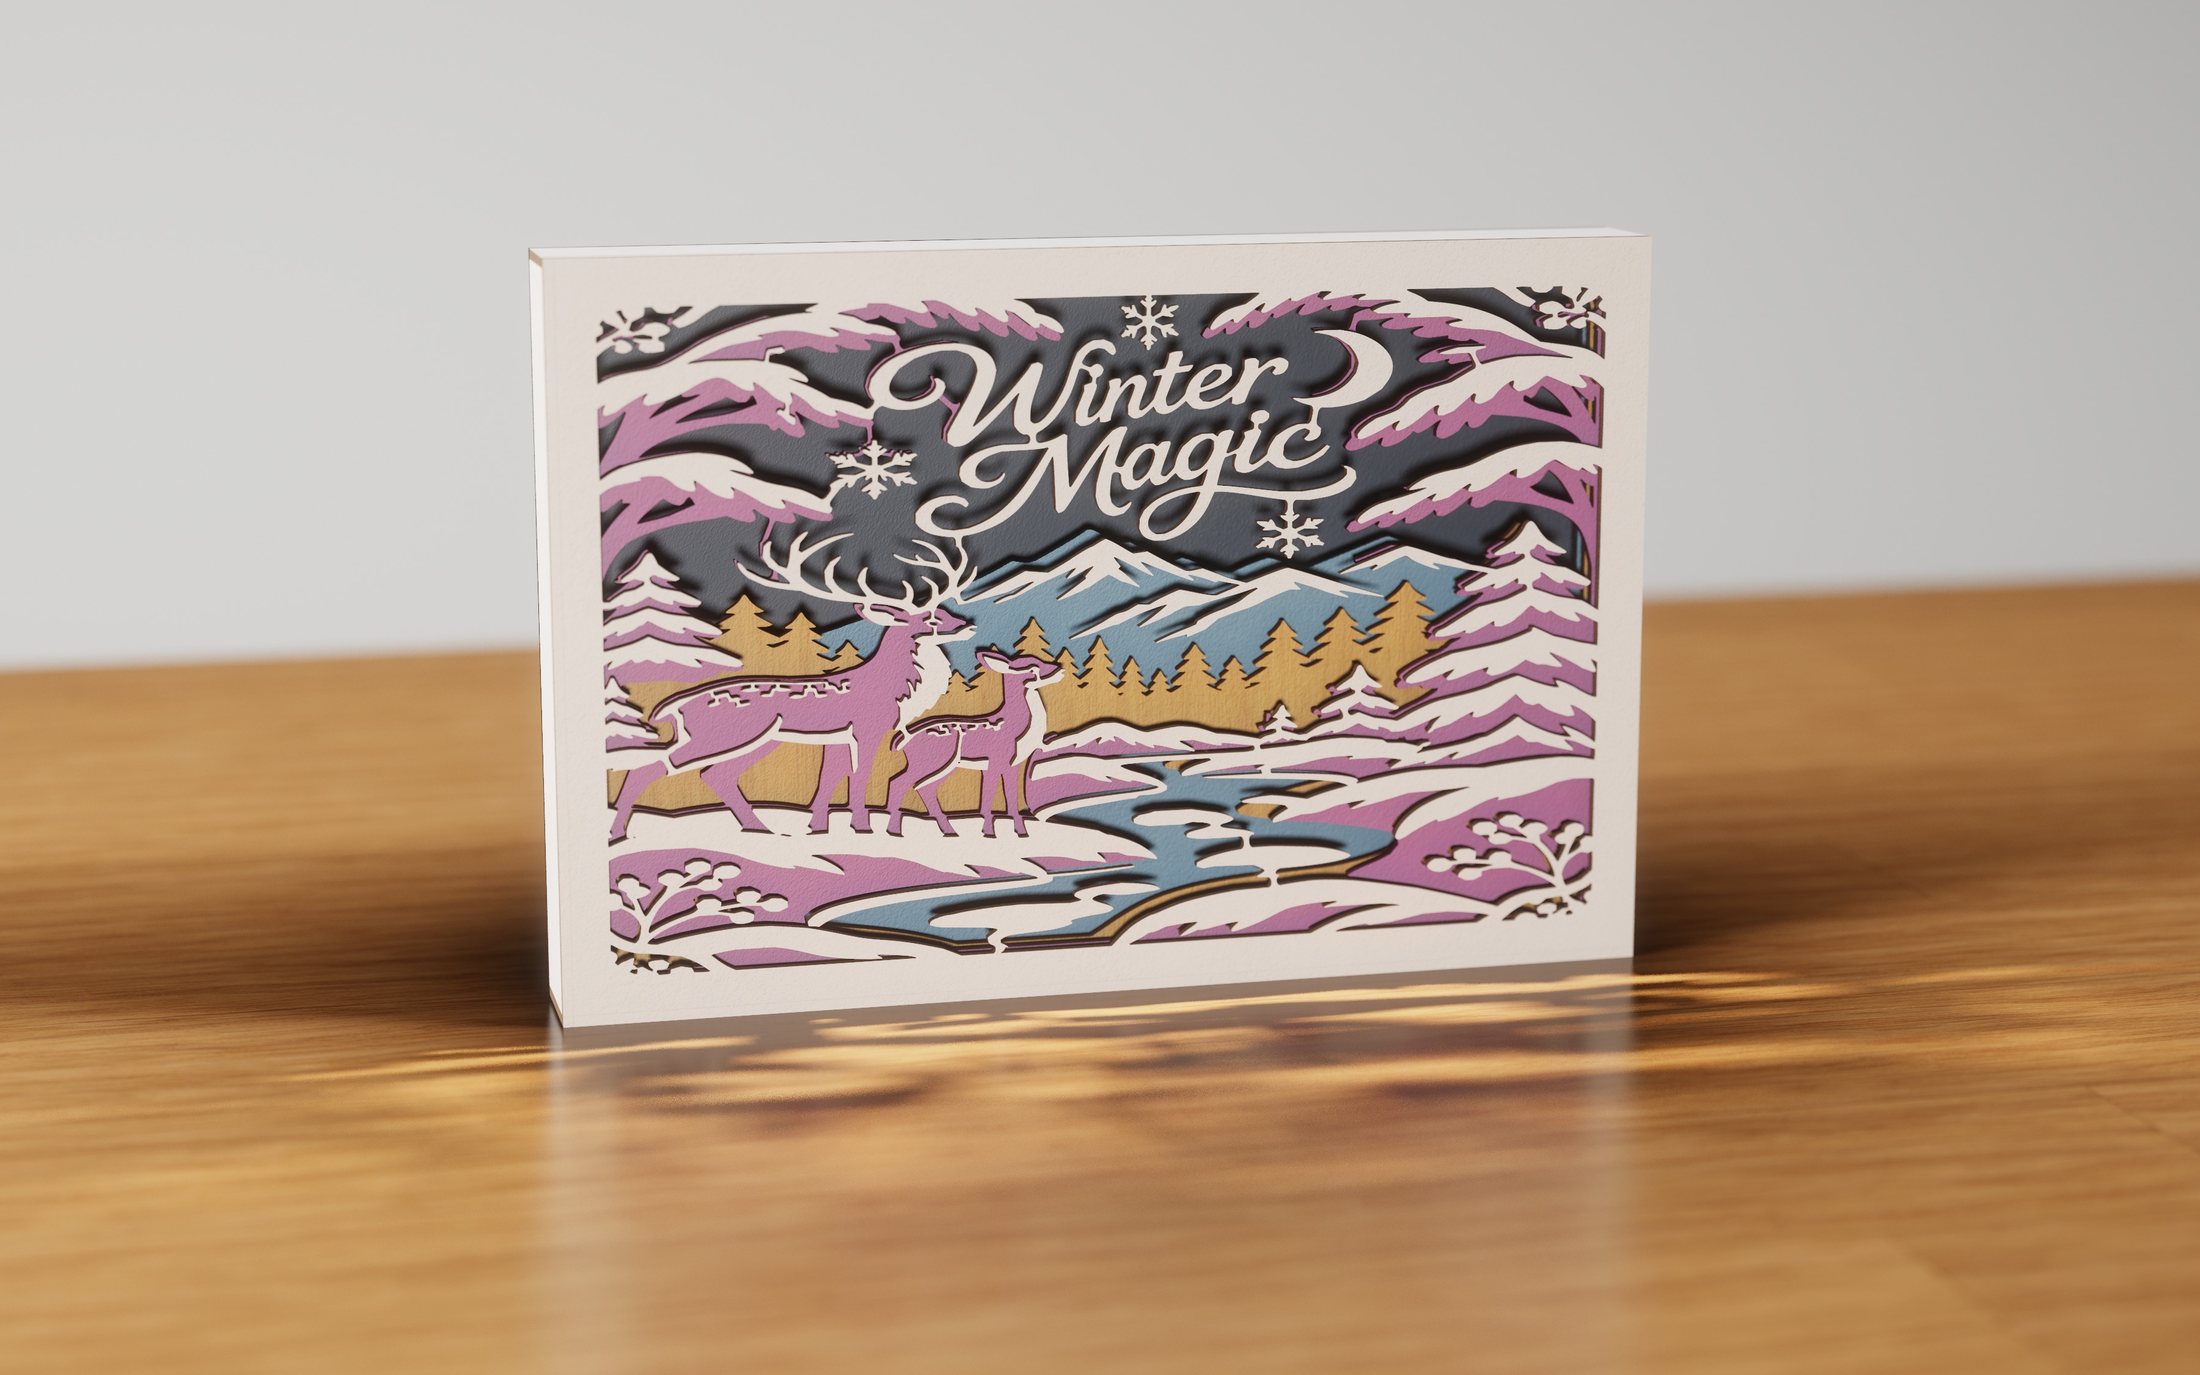 Winter Magic
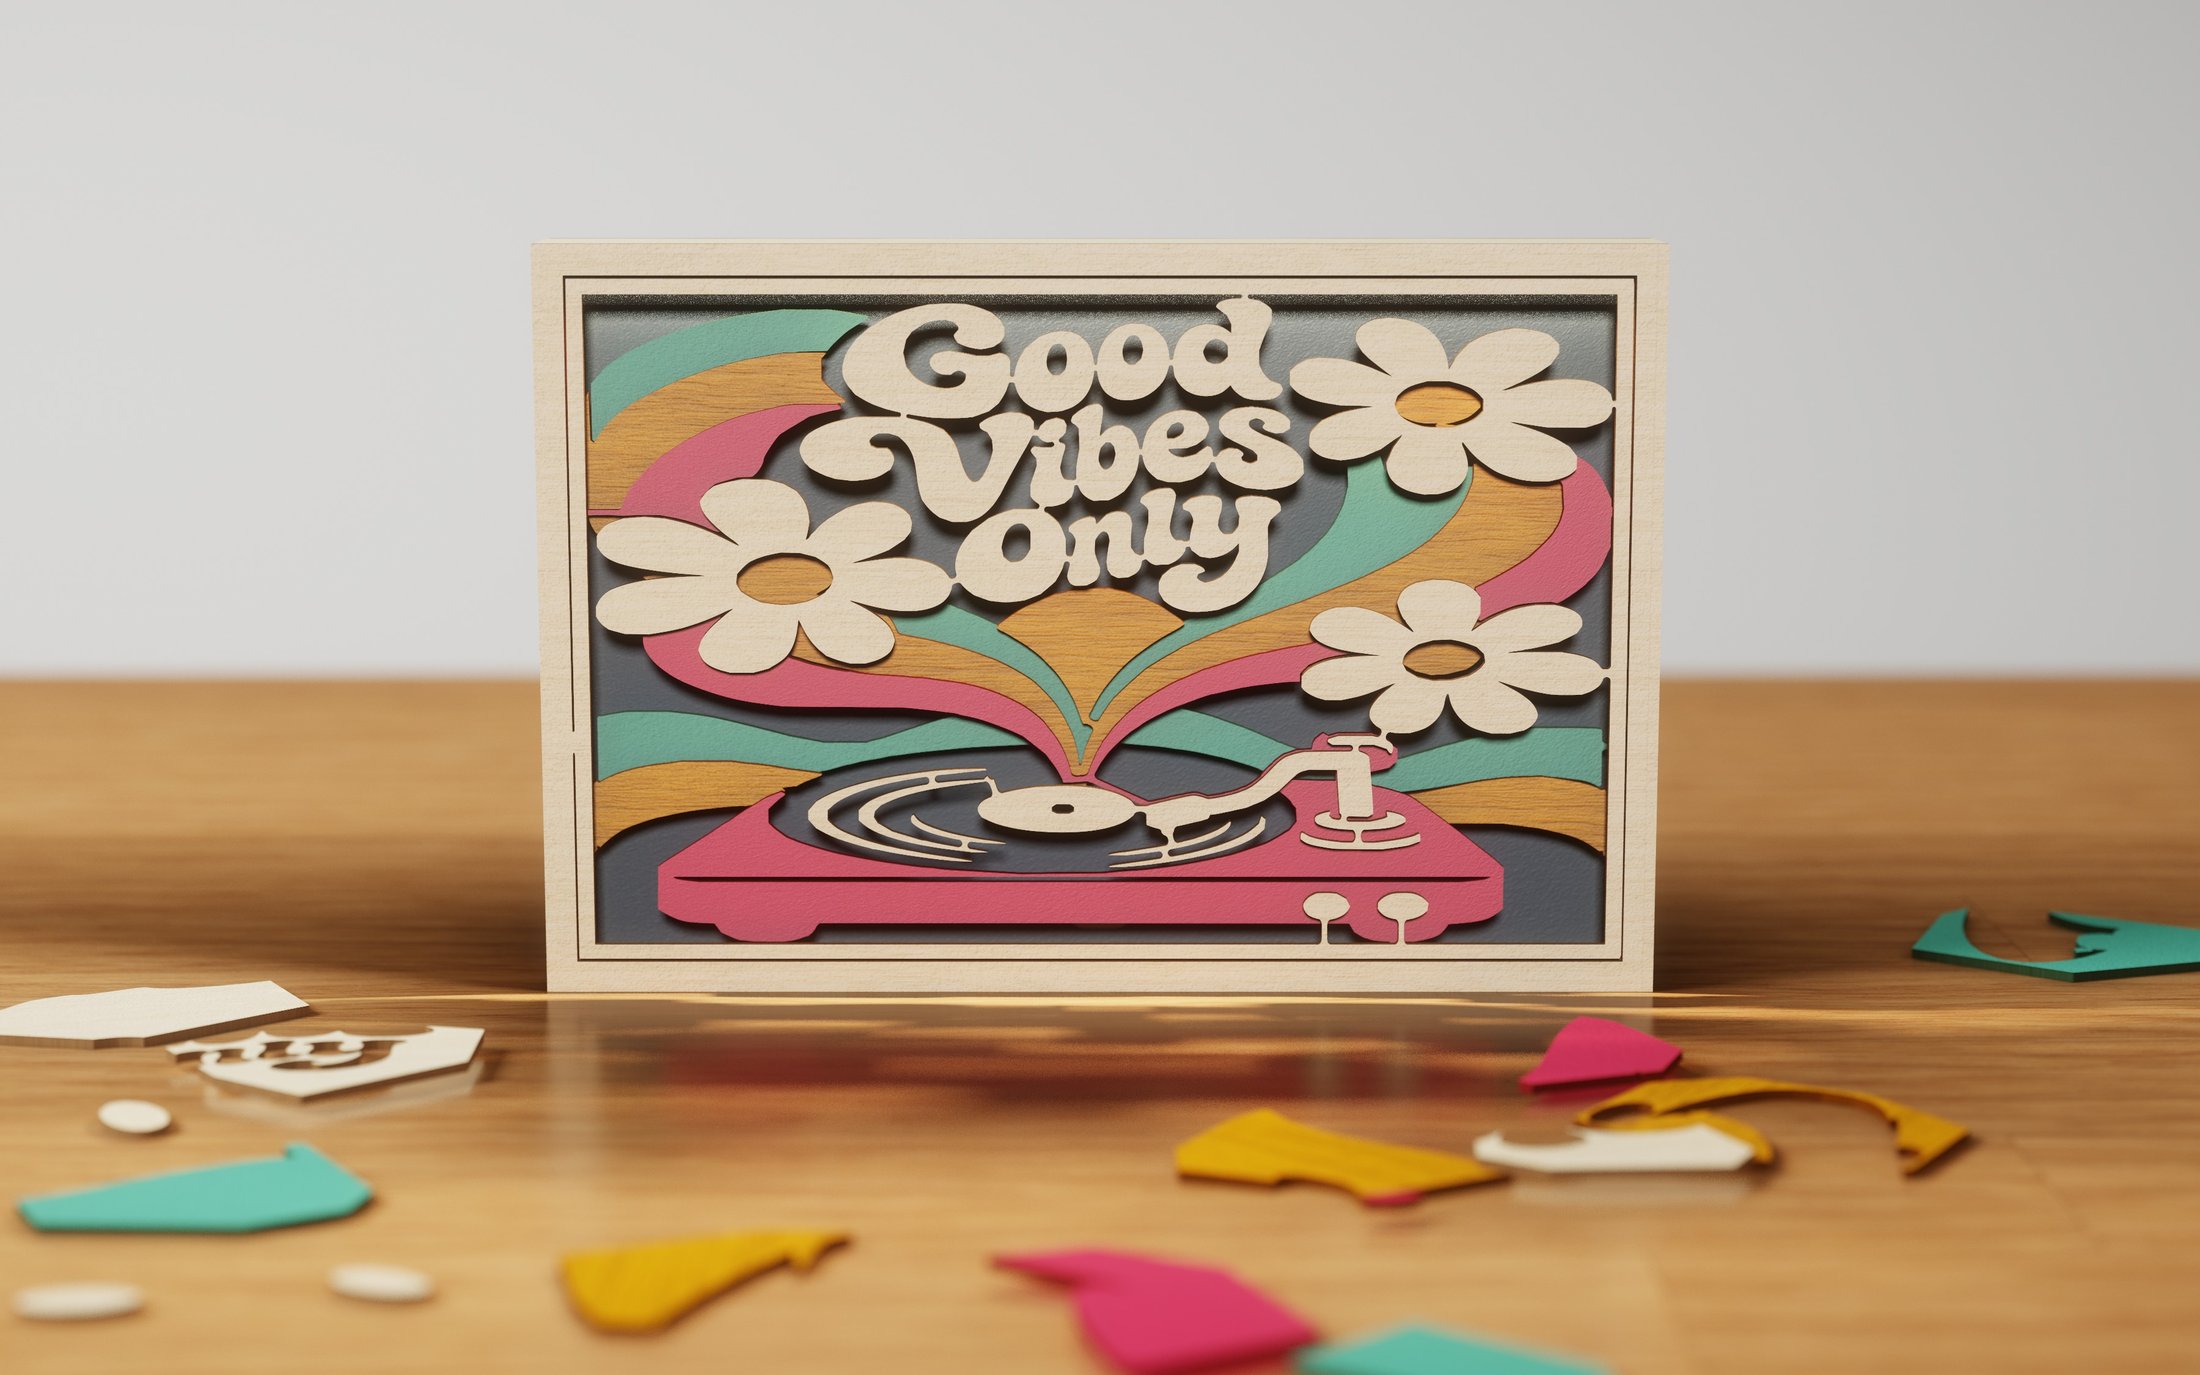 Good Vibes Only
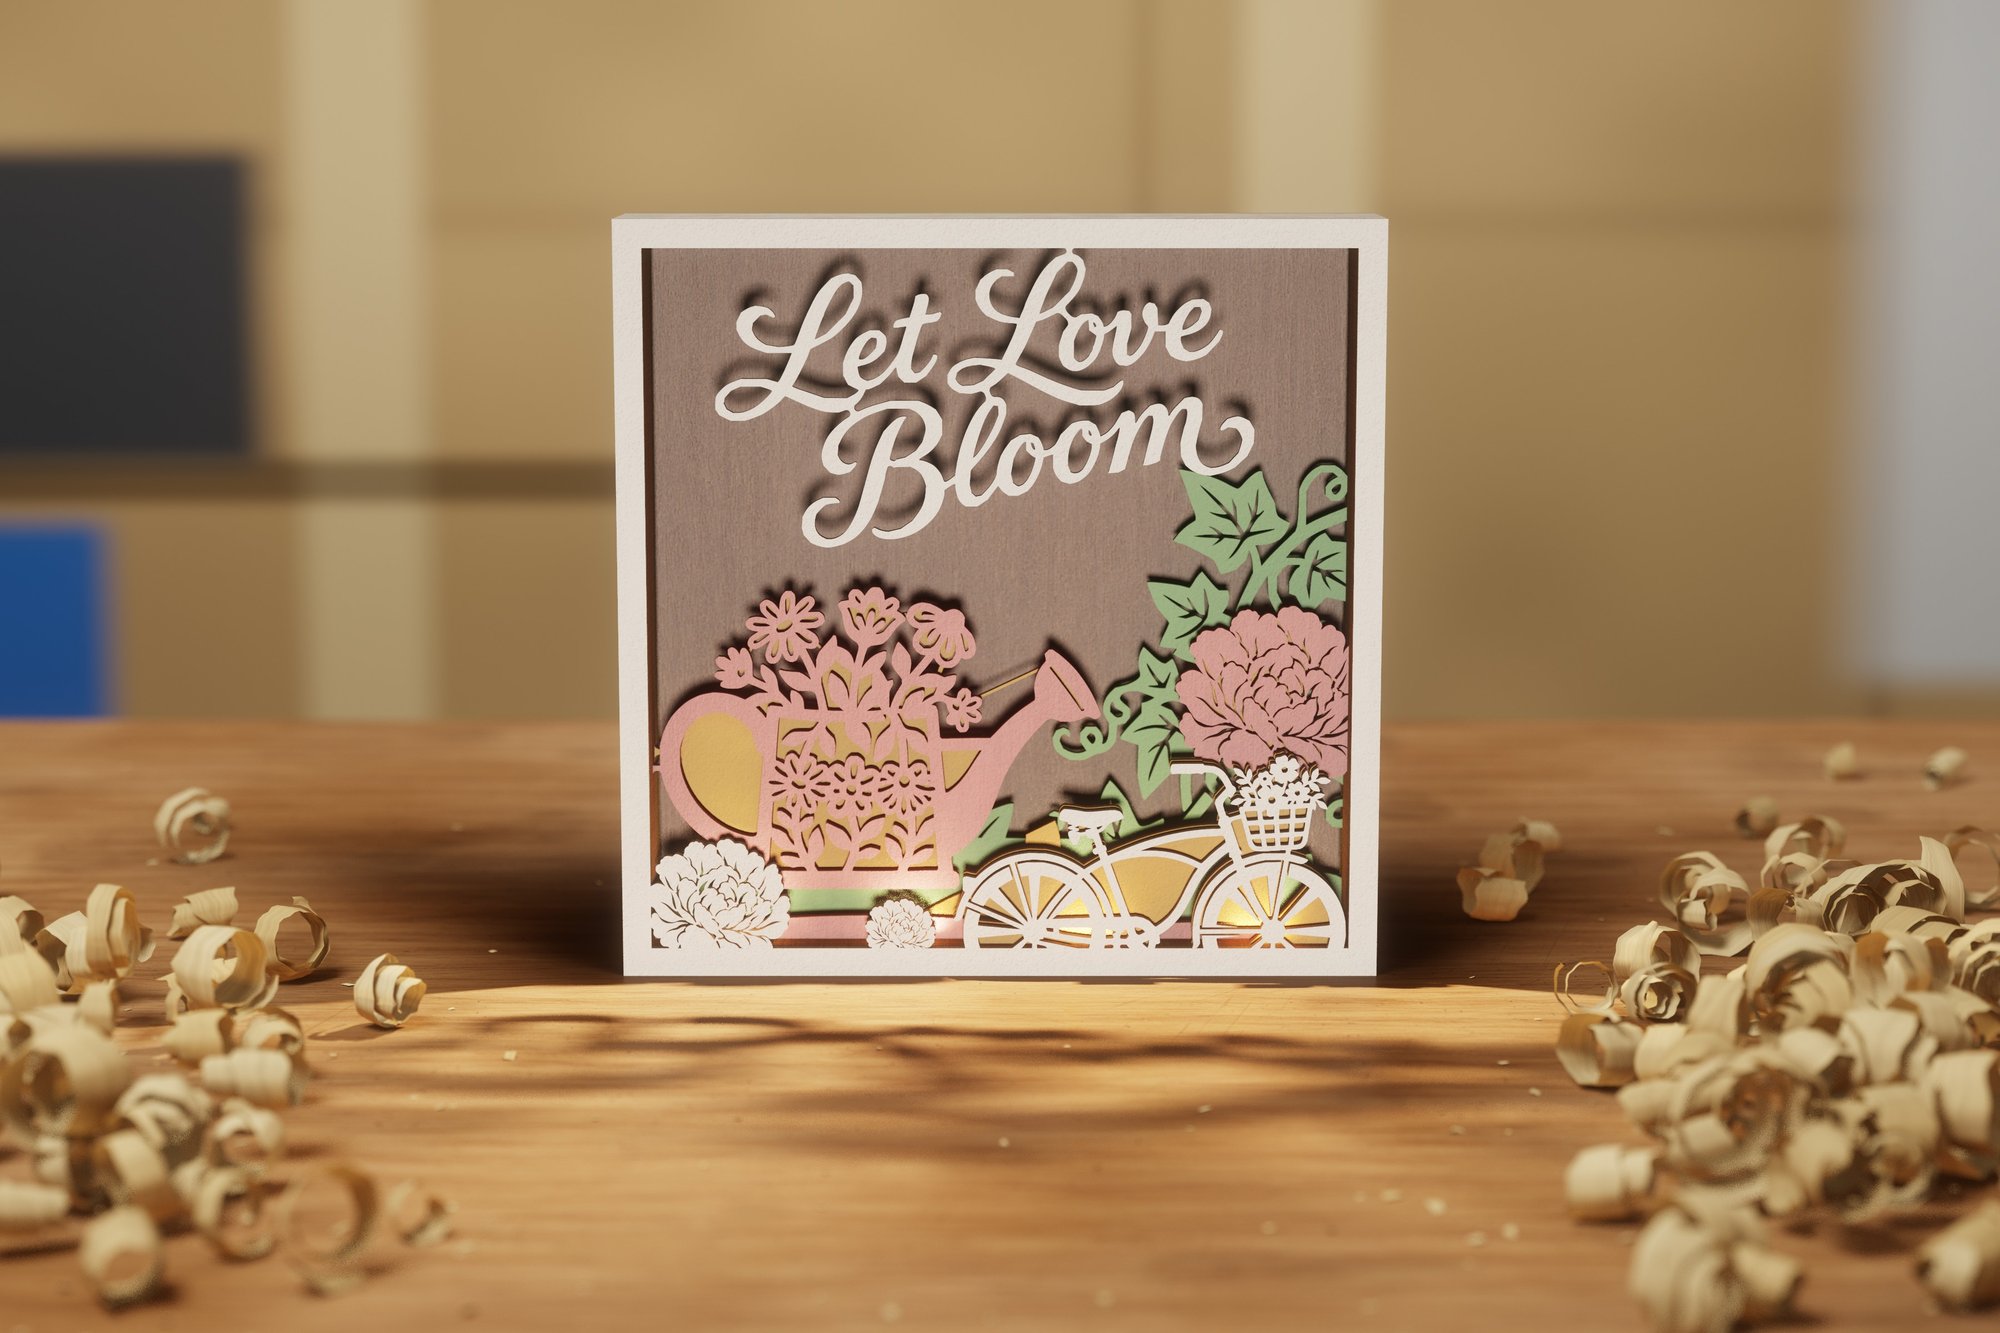 Blooming Joy
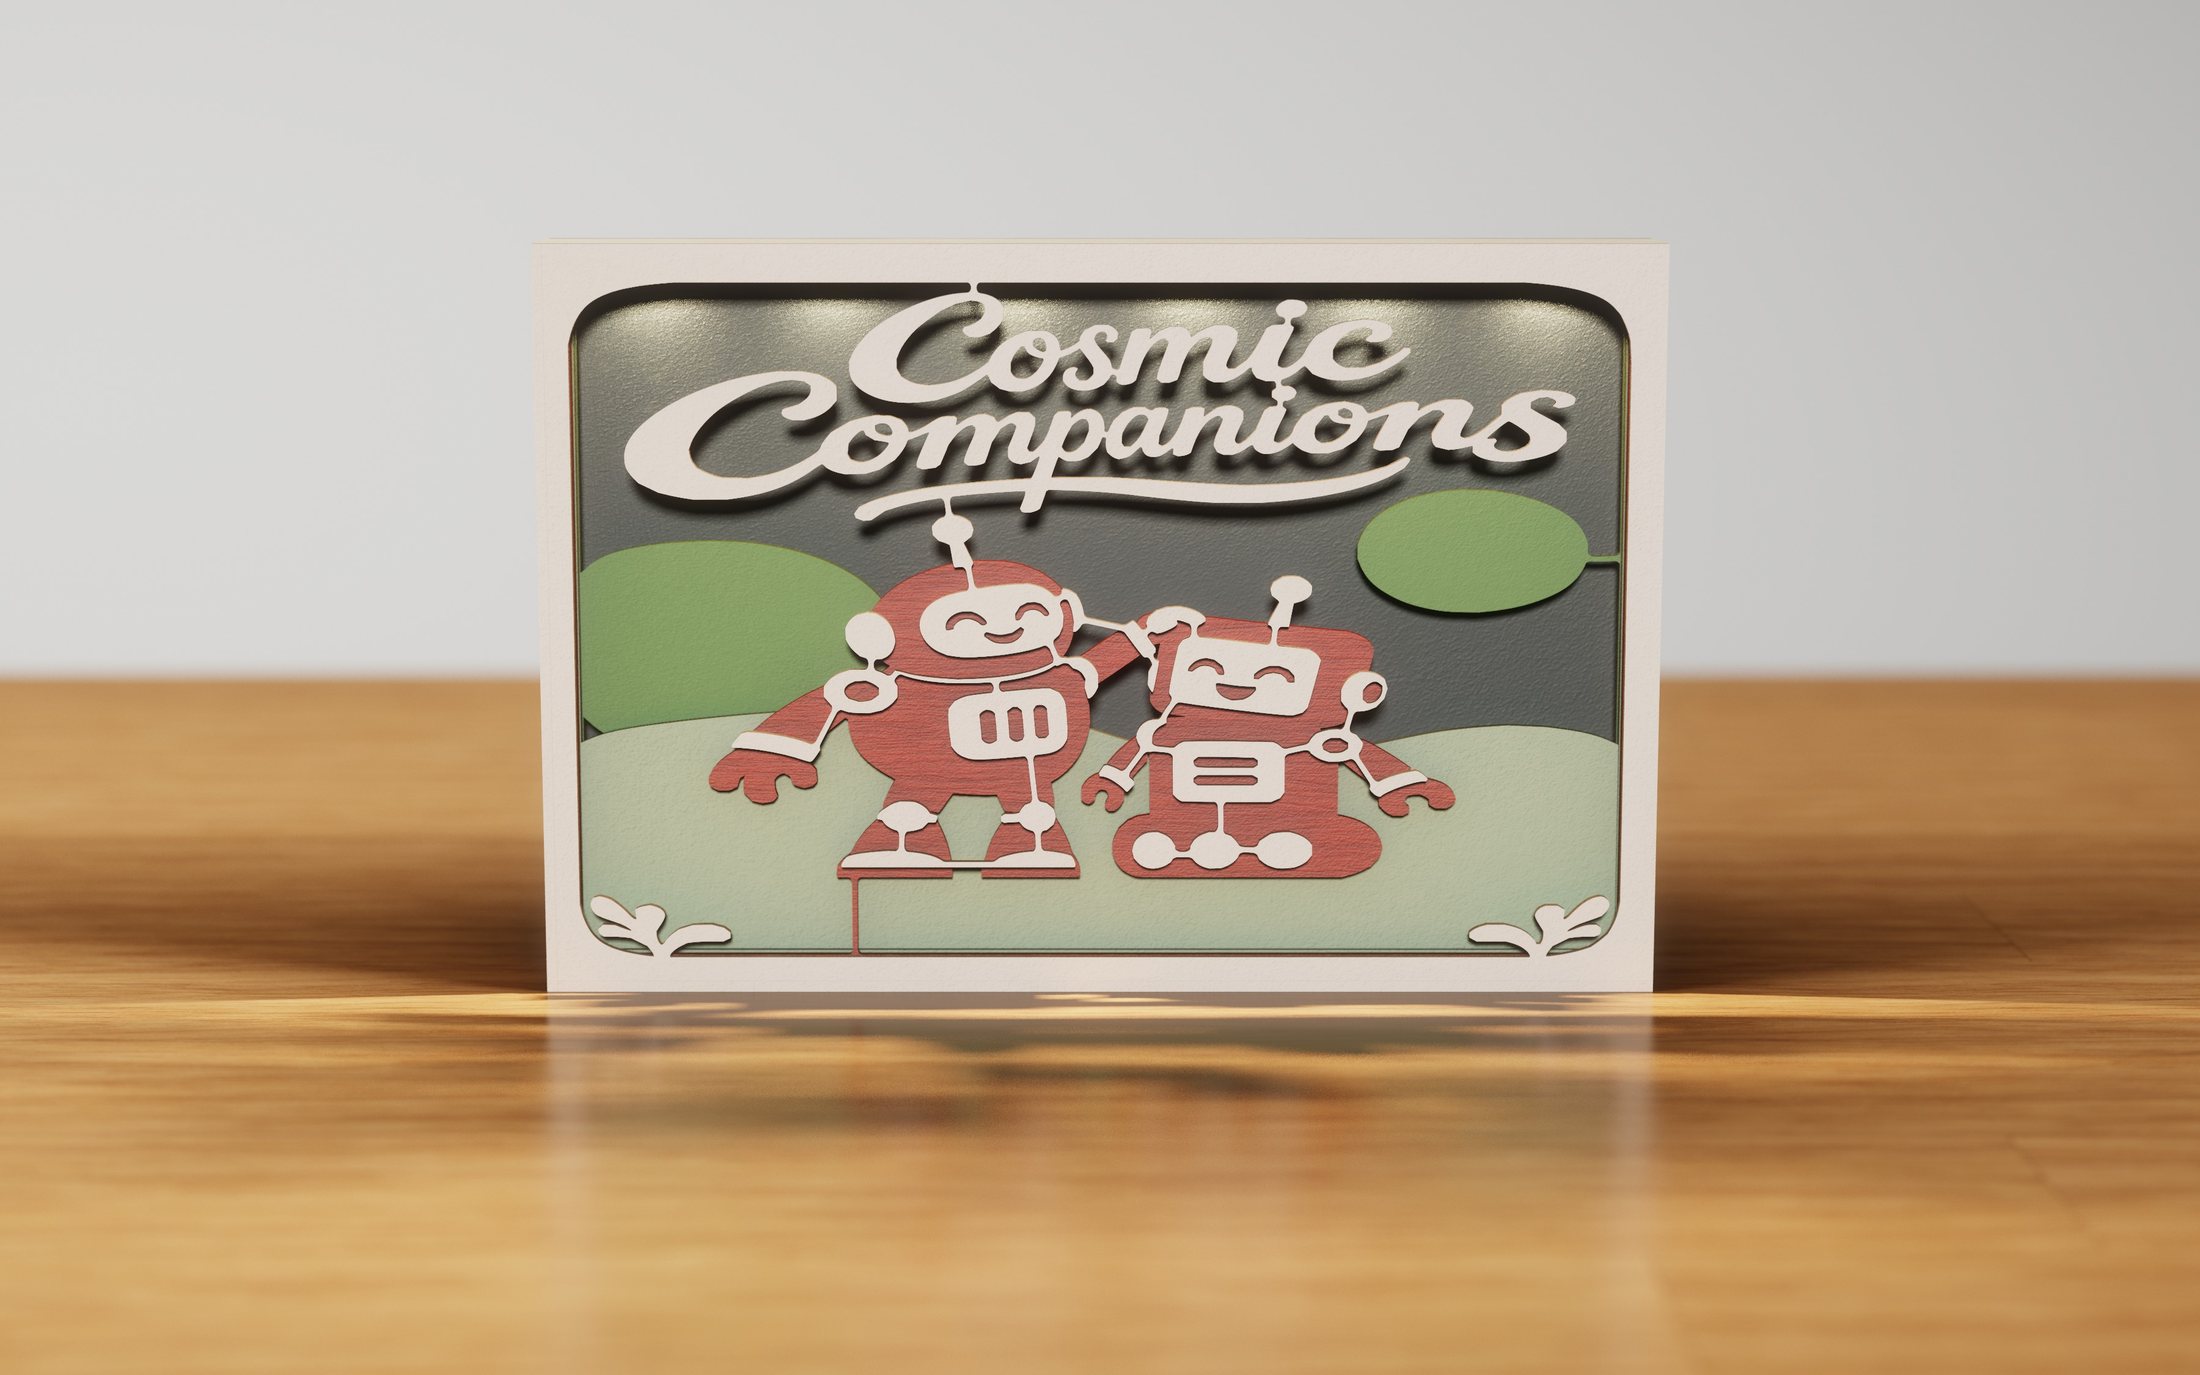 Cosmic Companions
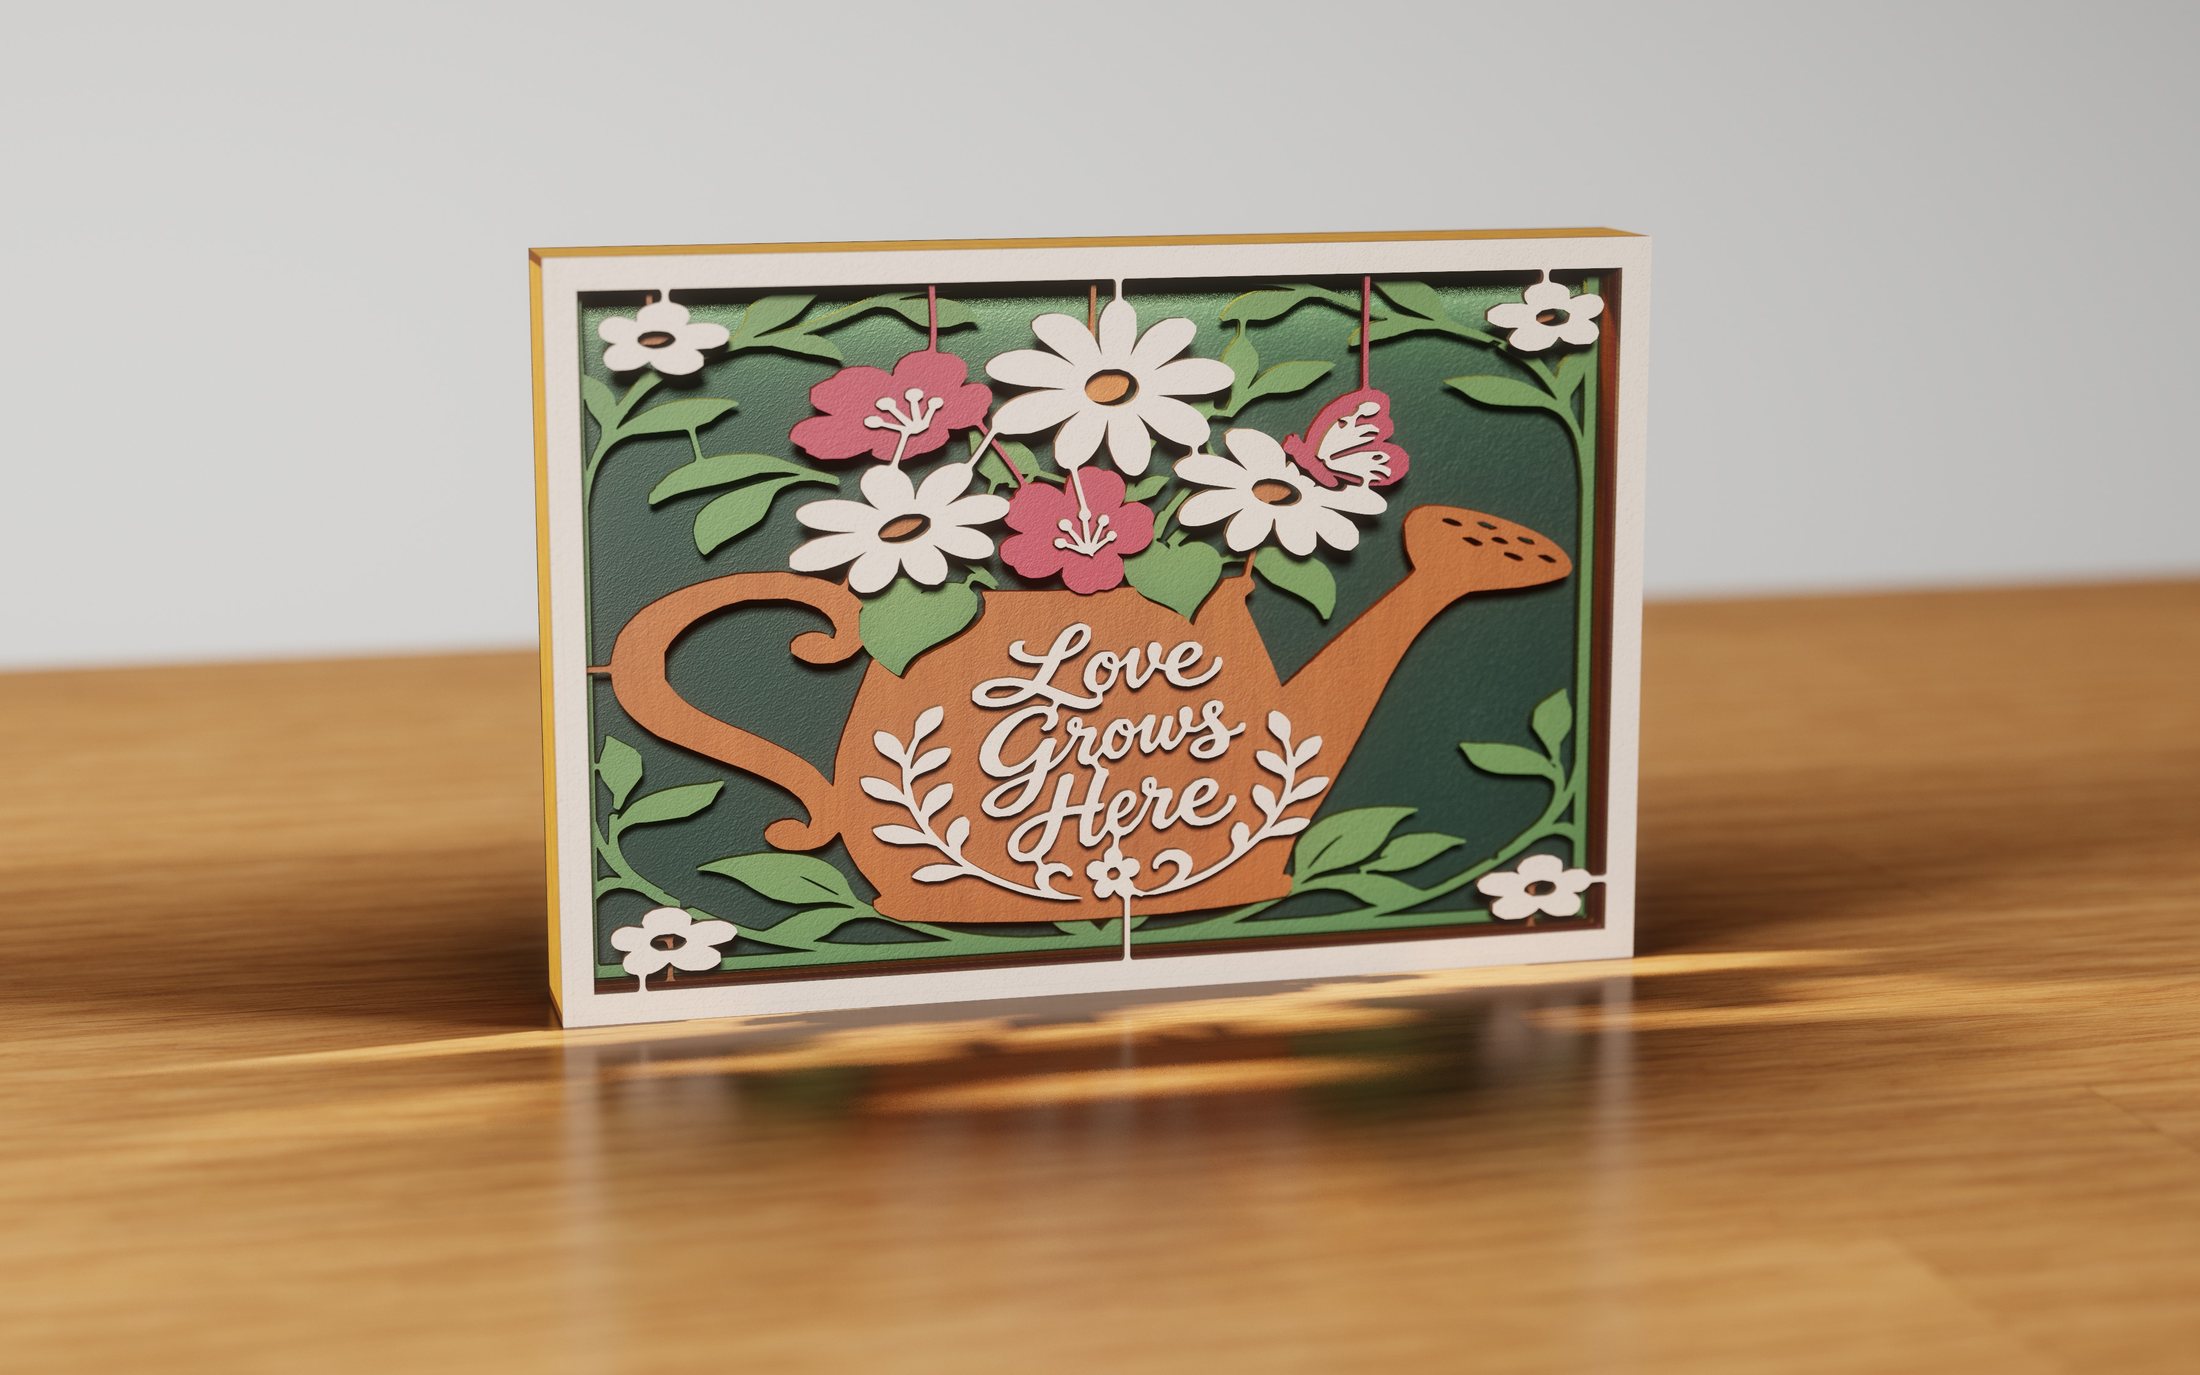 Love Grows Here
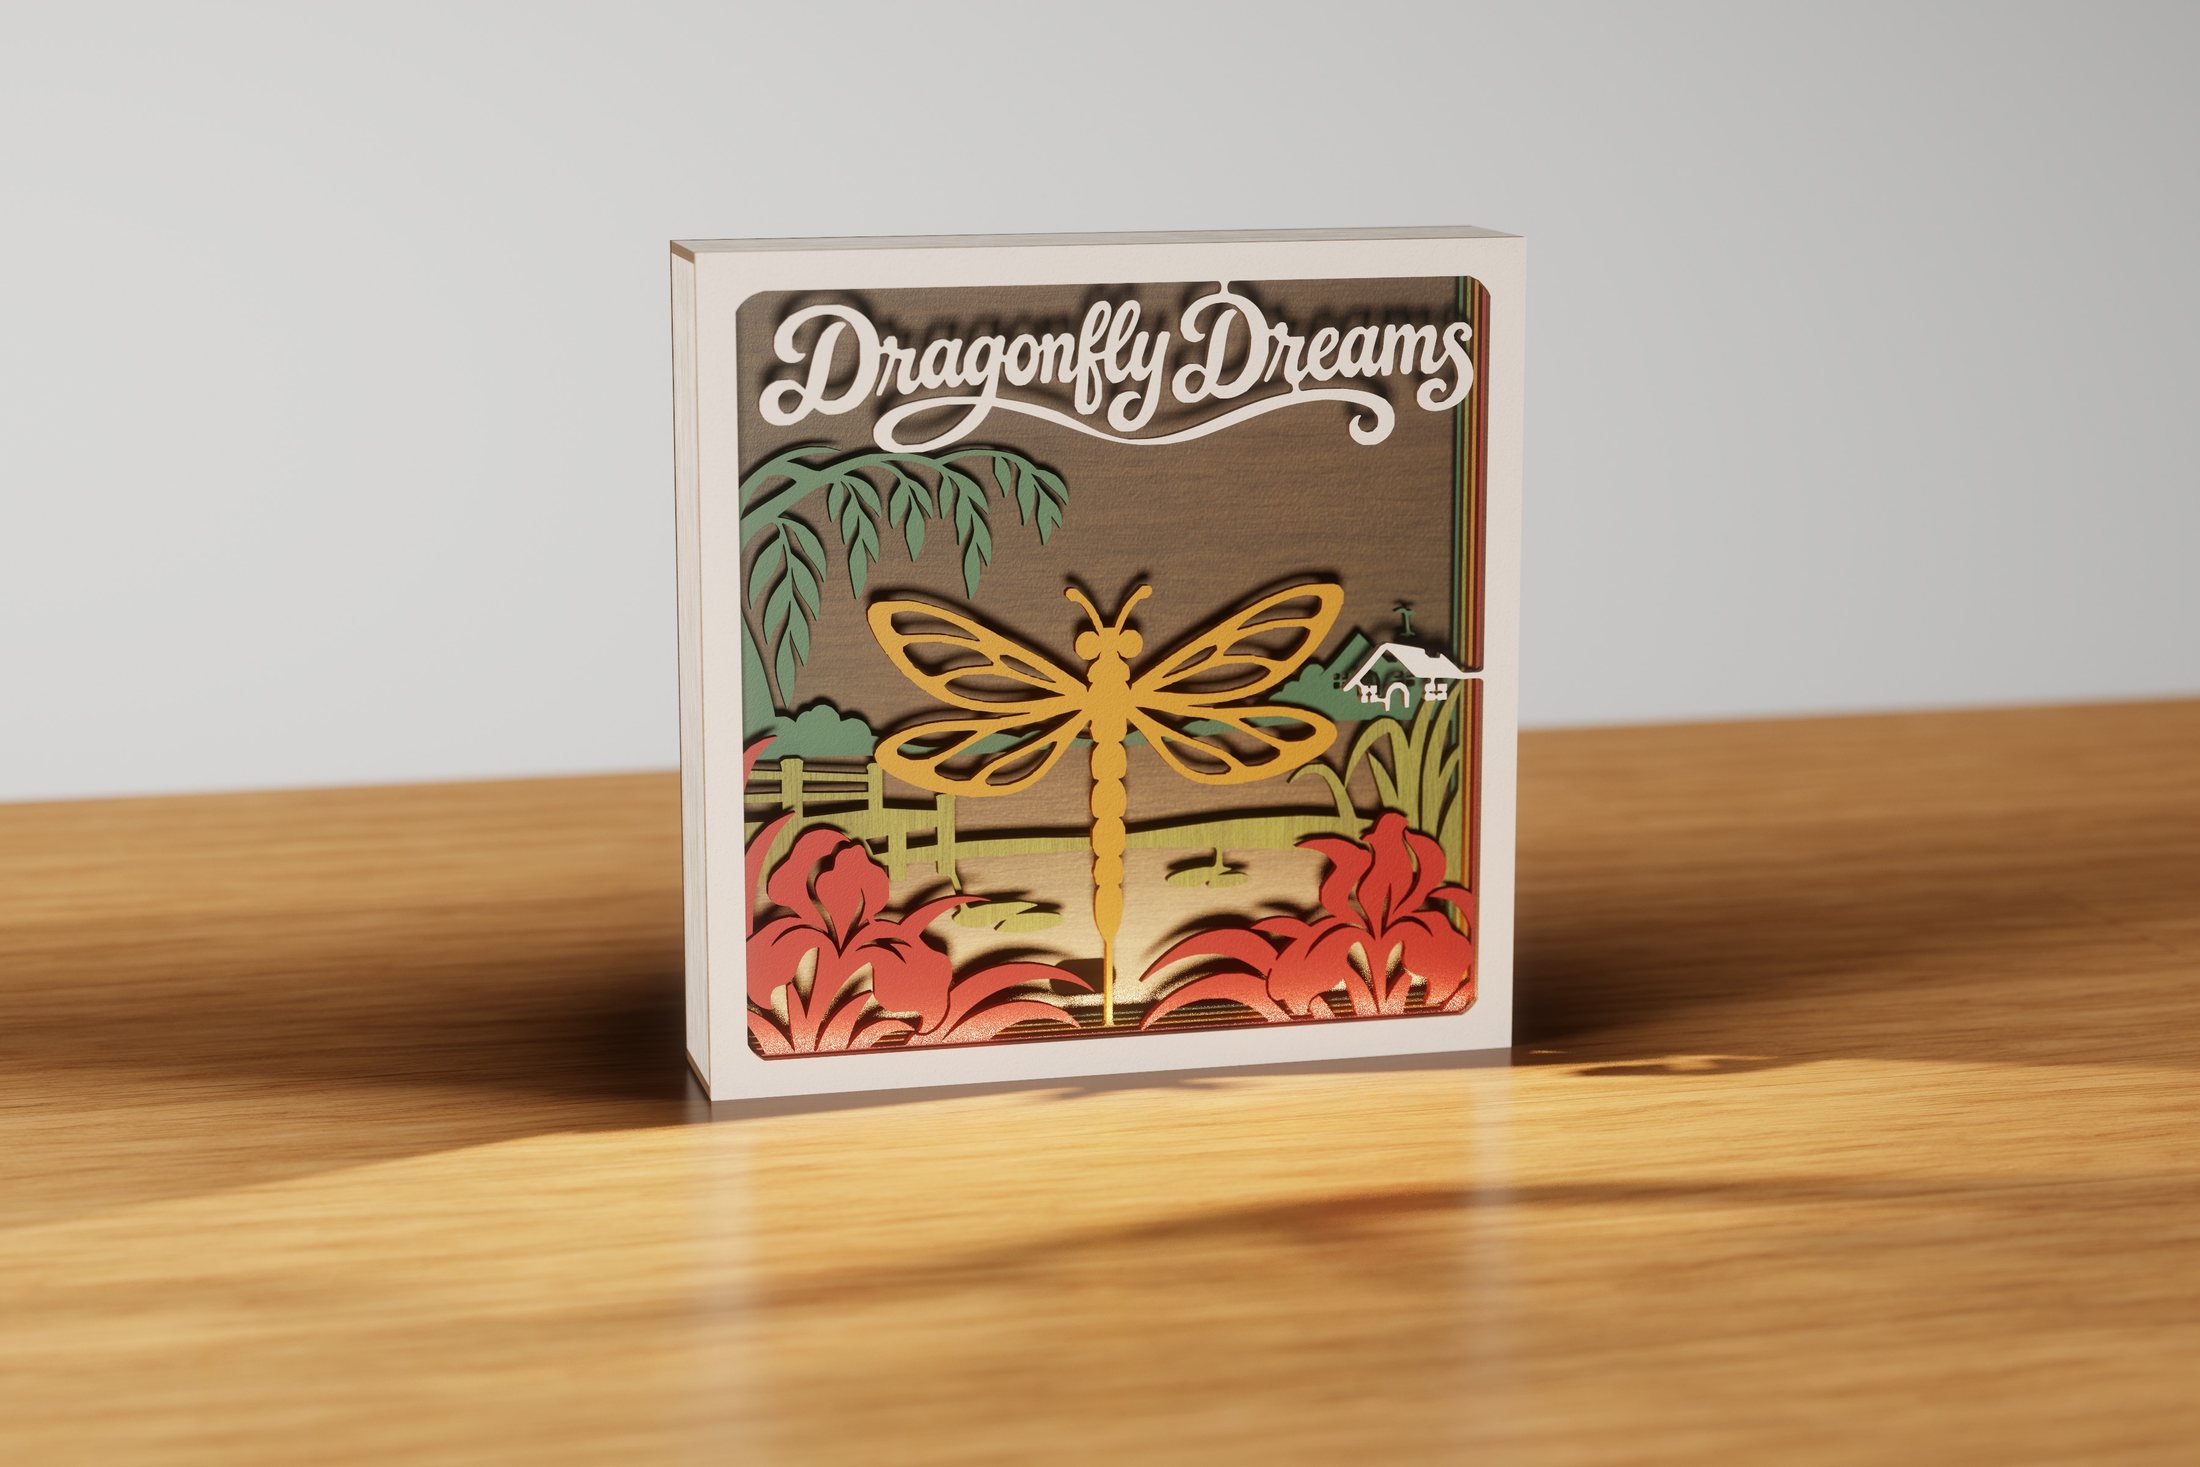 Dragonfly Dreams
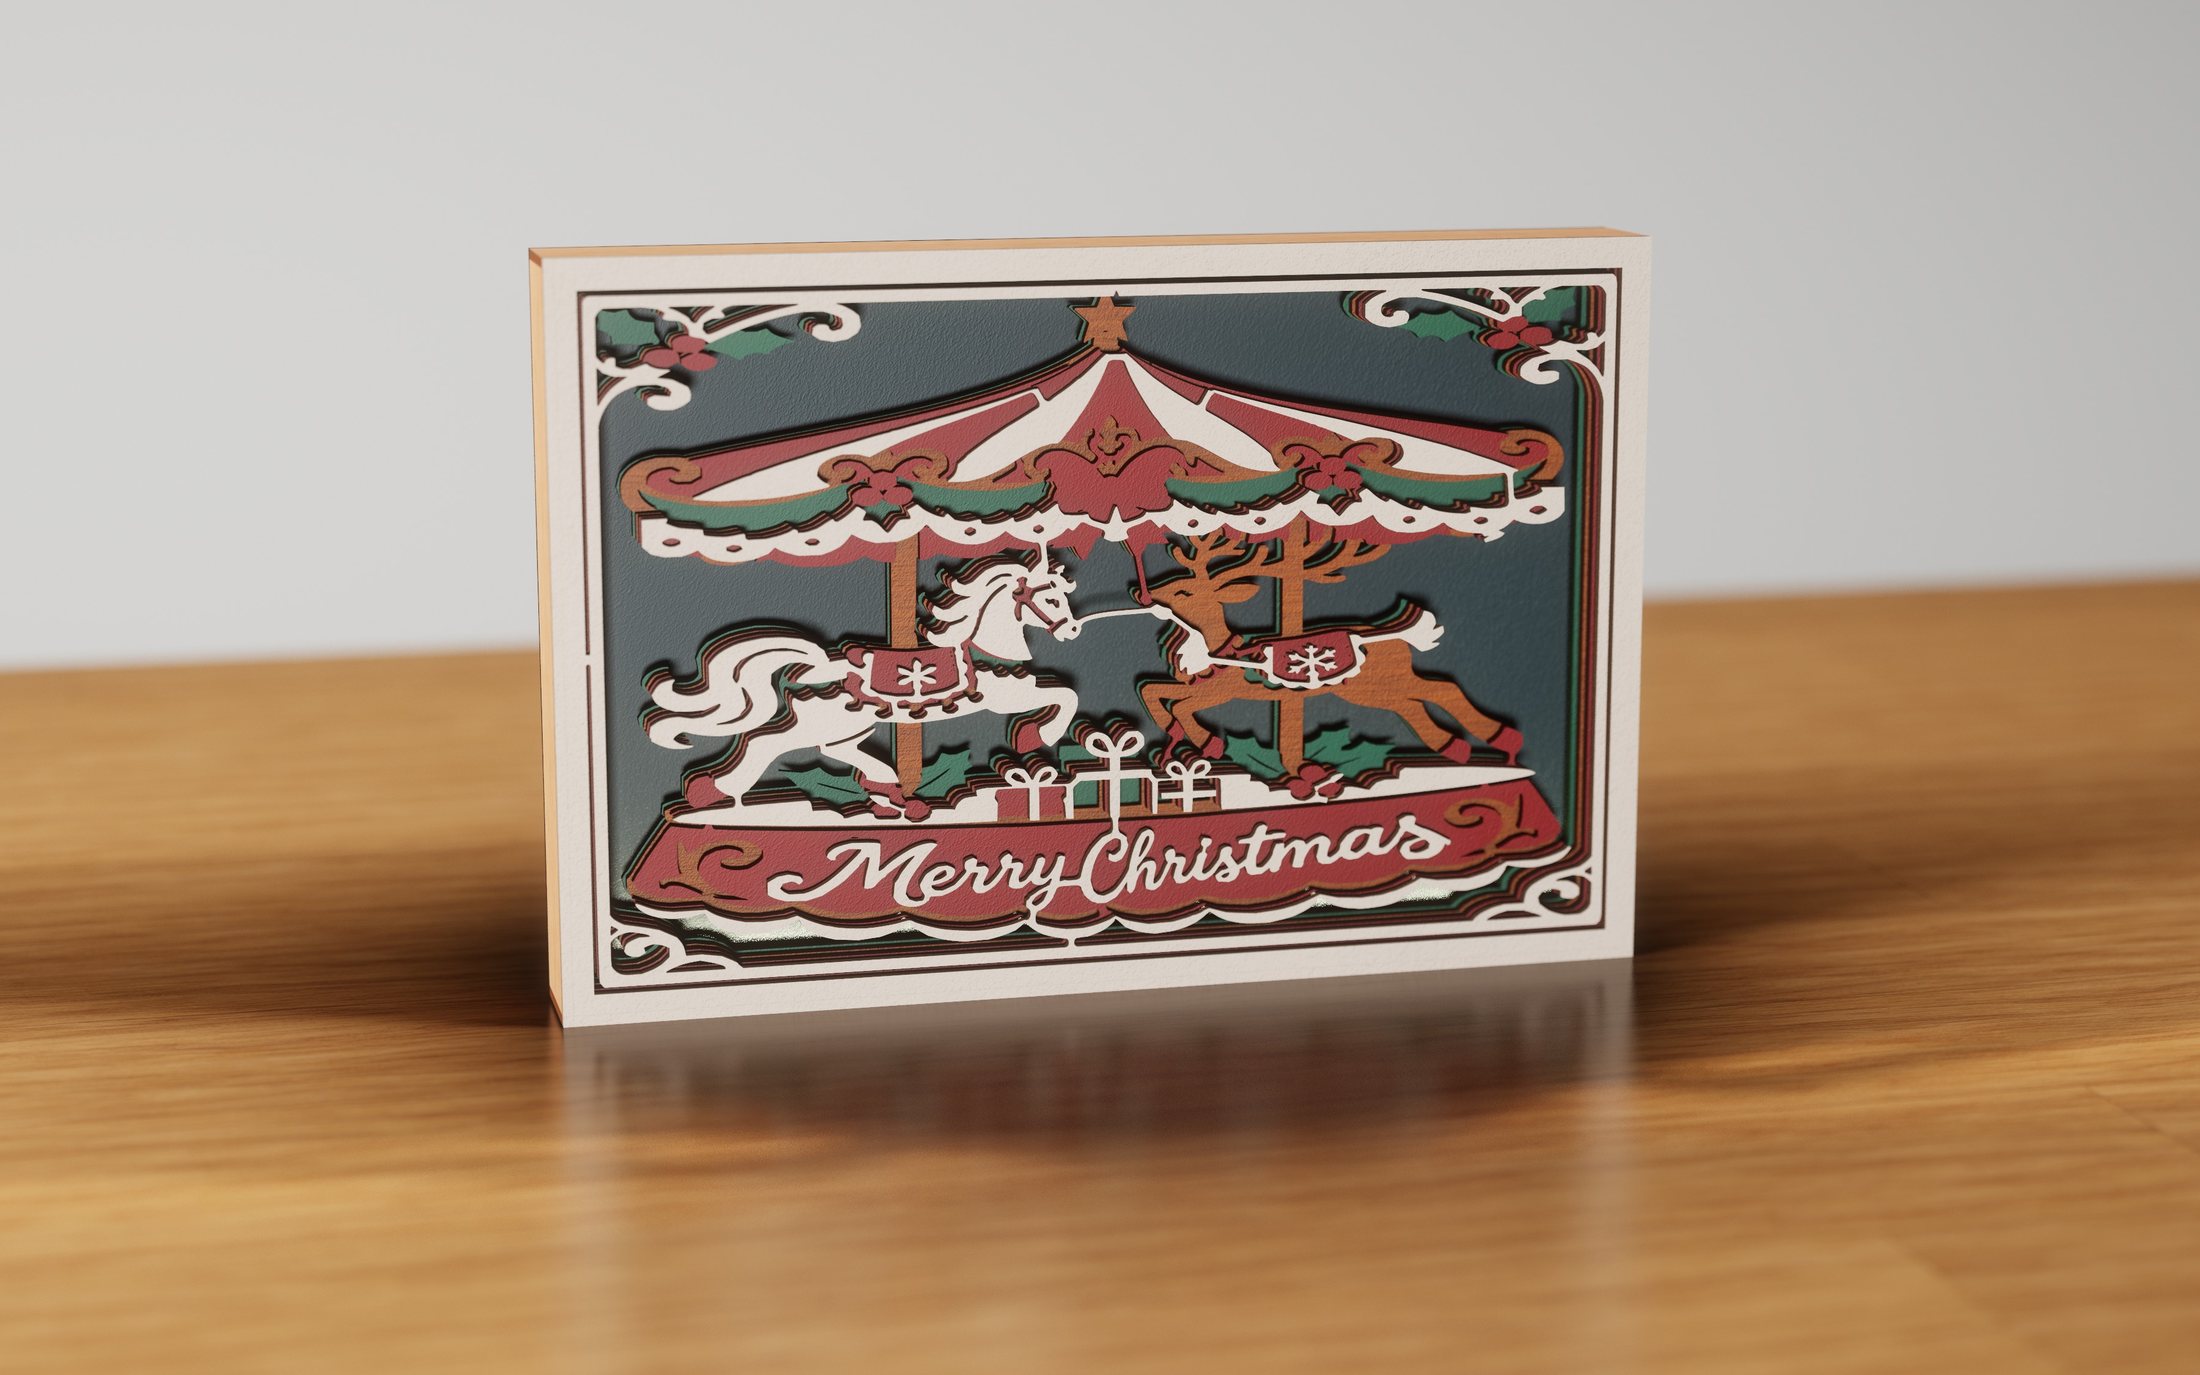 Christmas Carousel
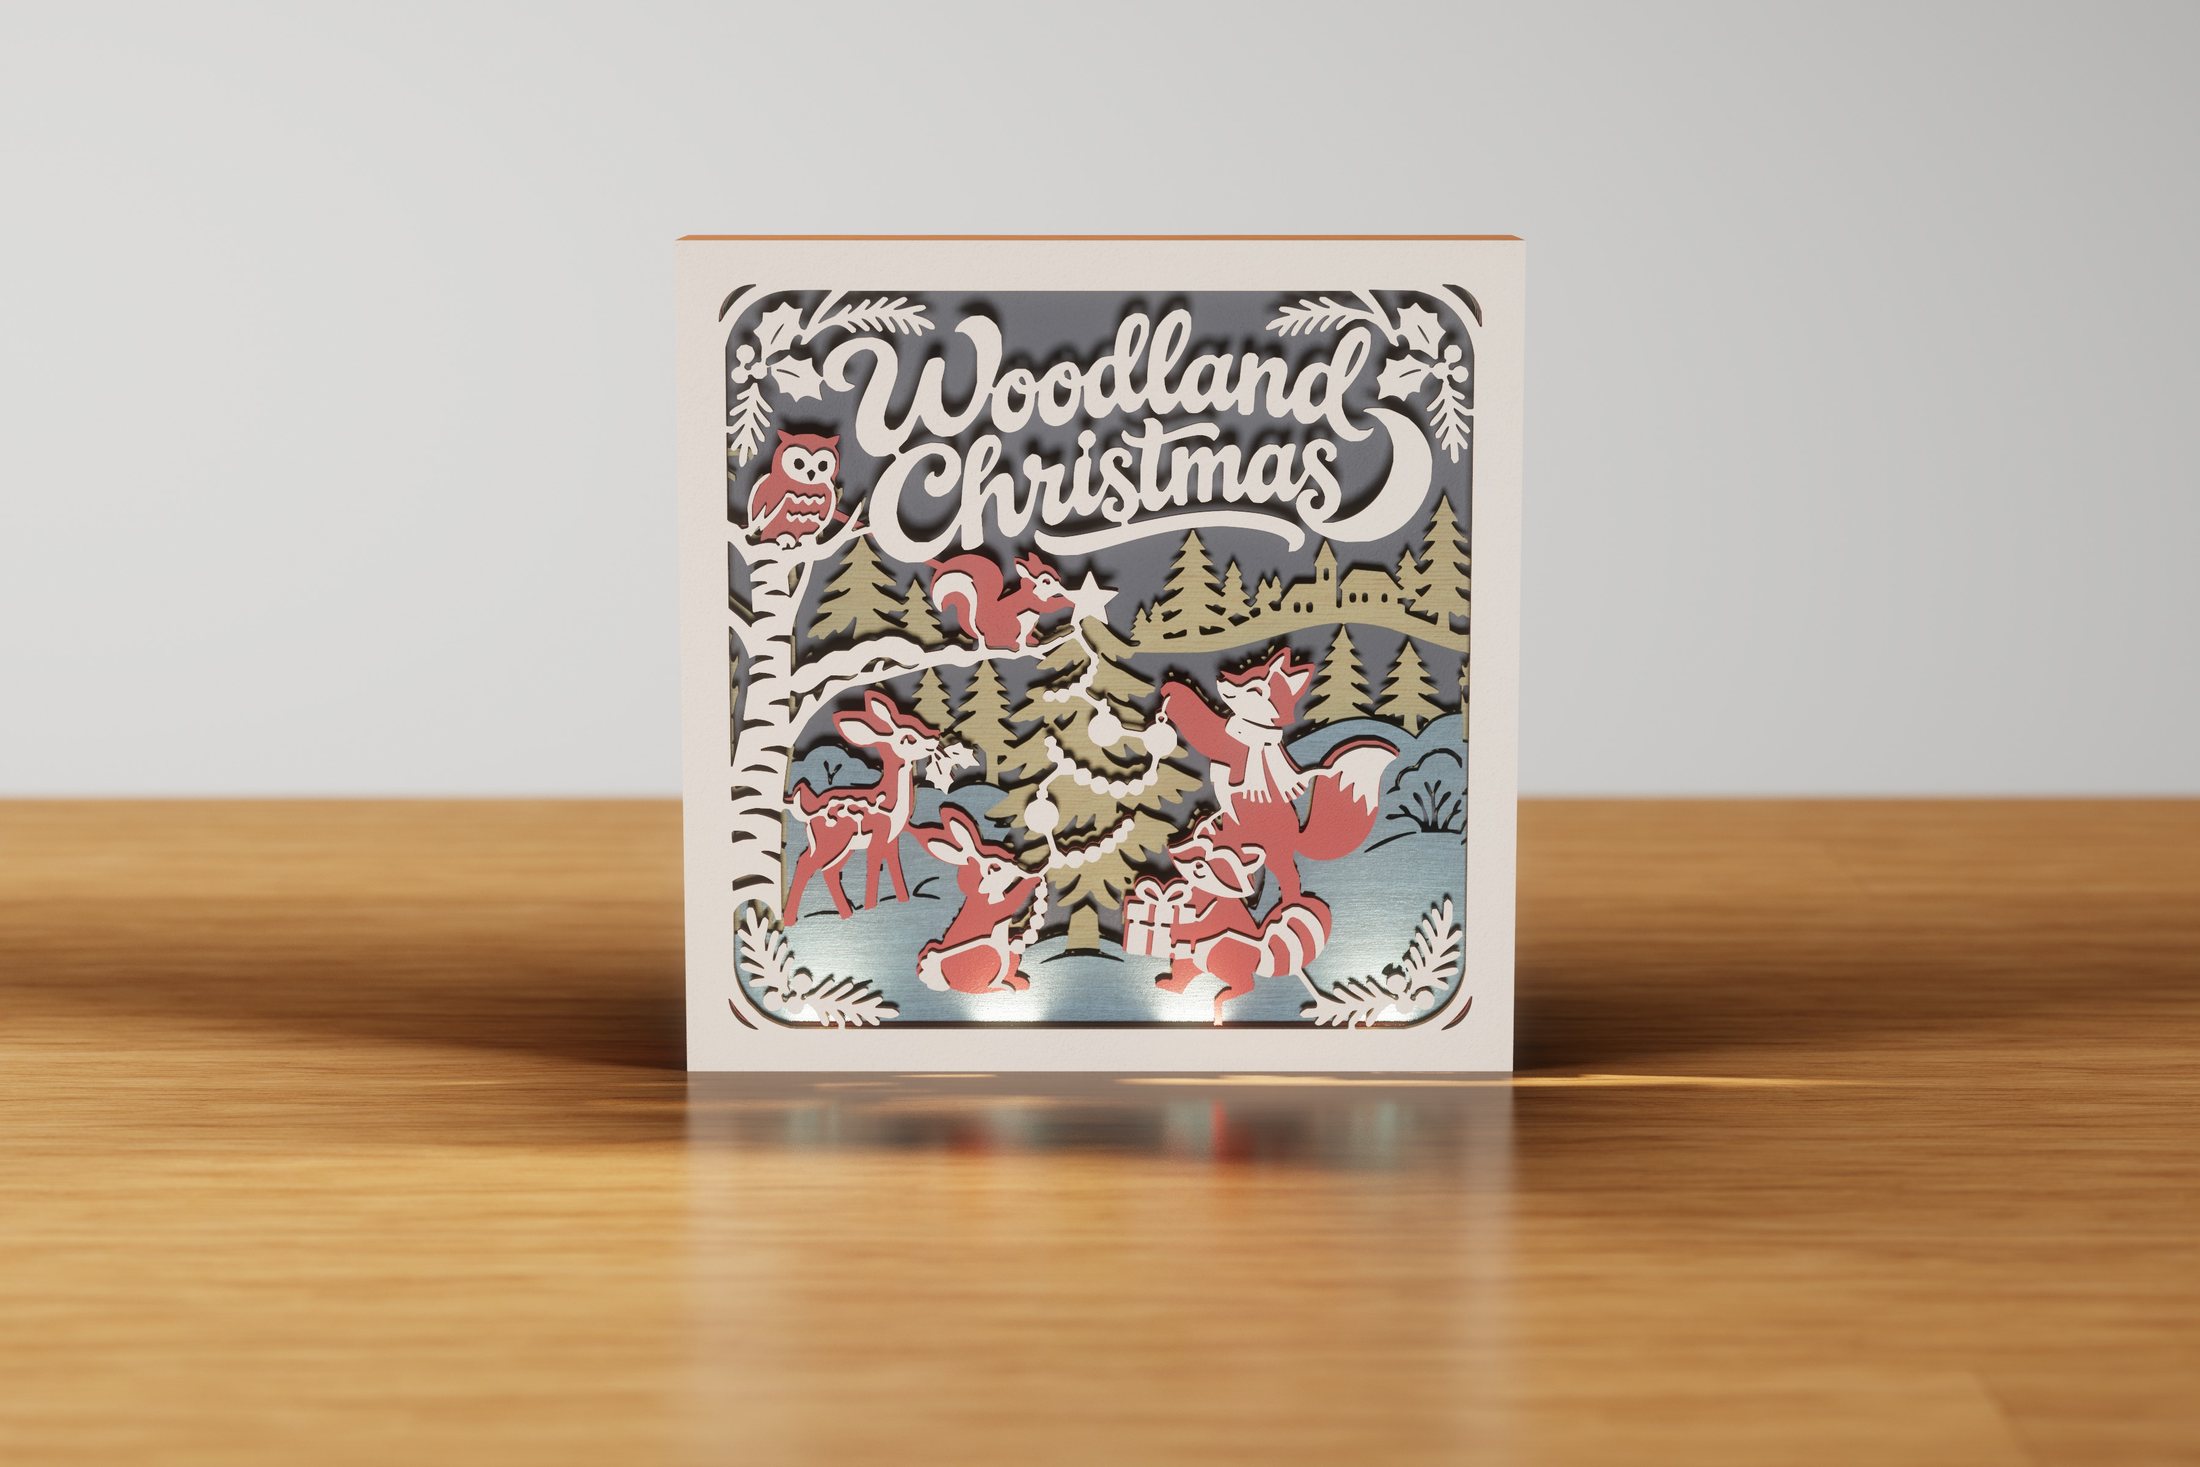 Woodland Christmas
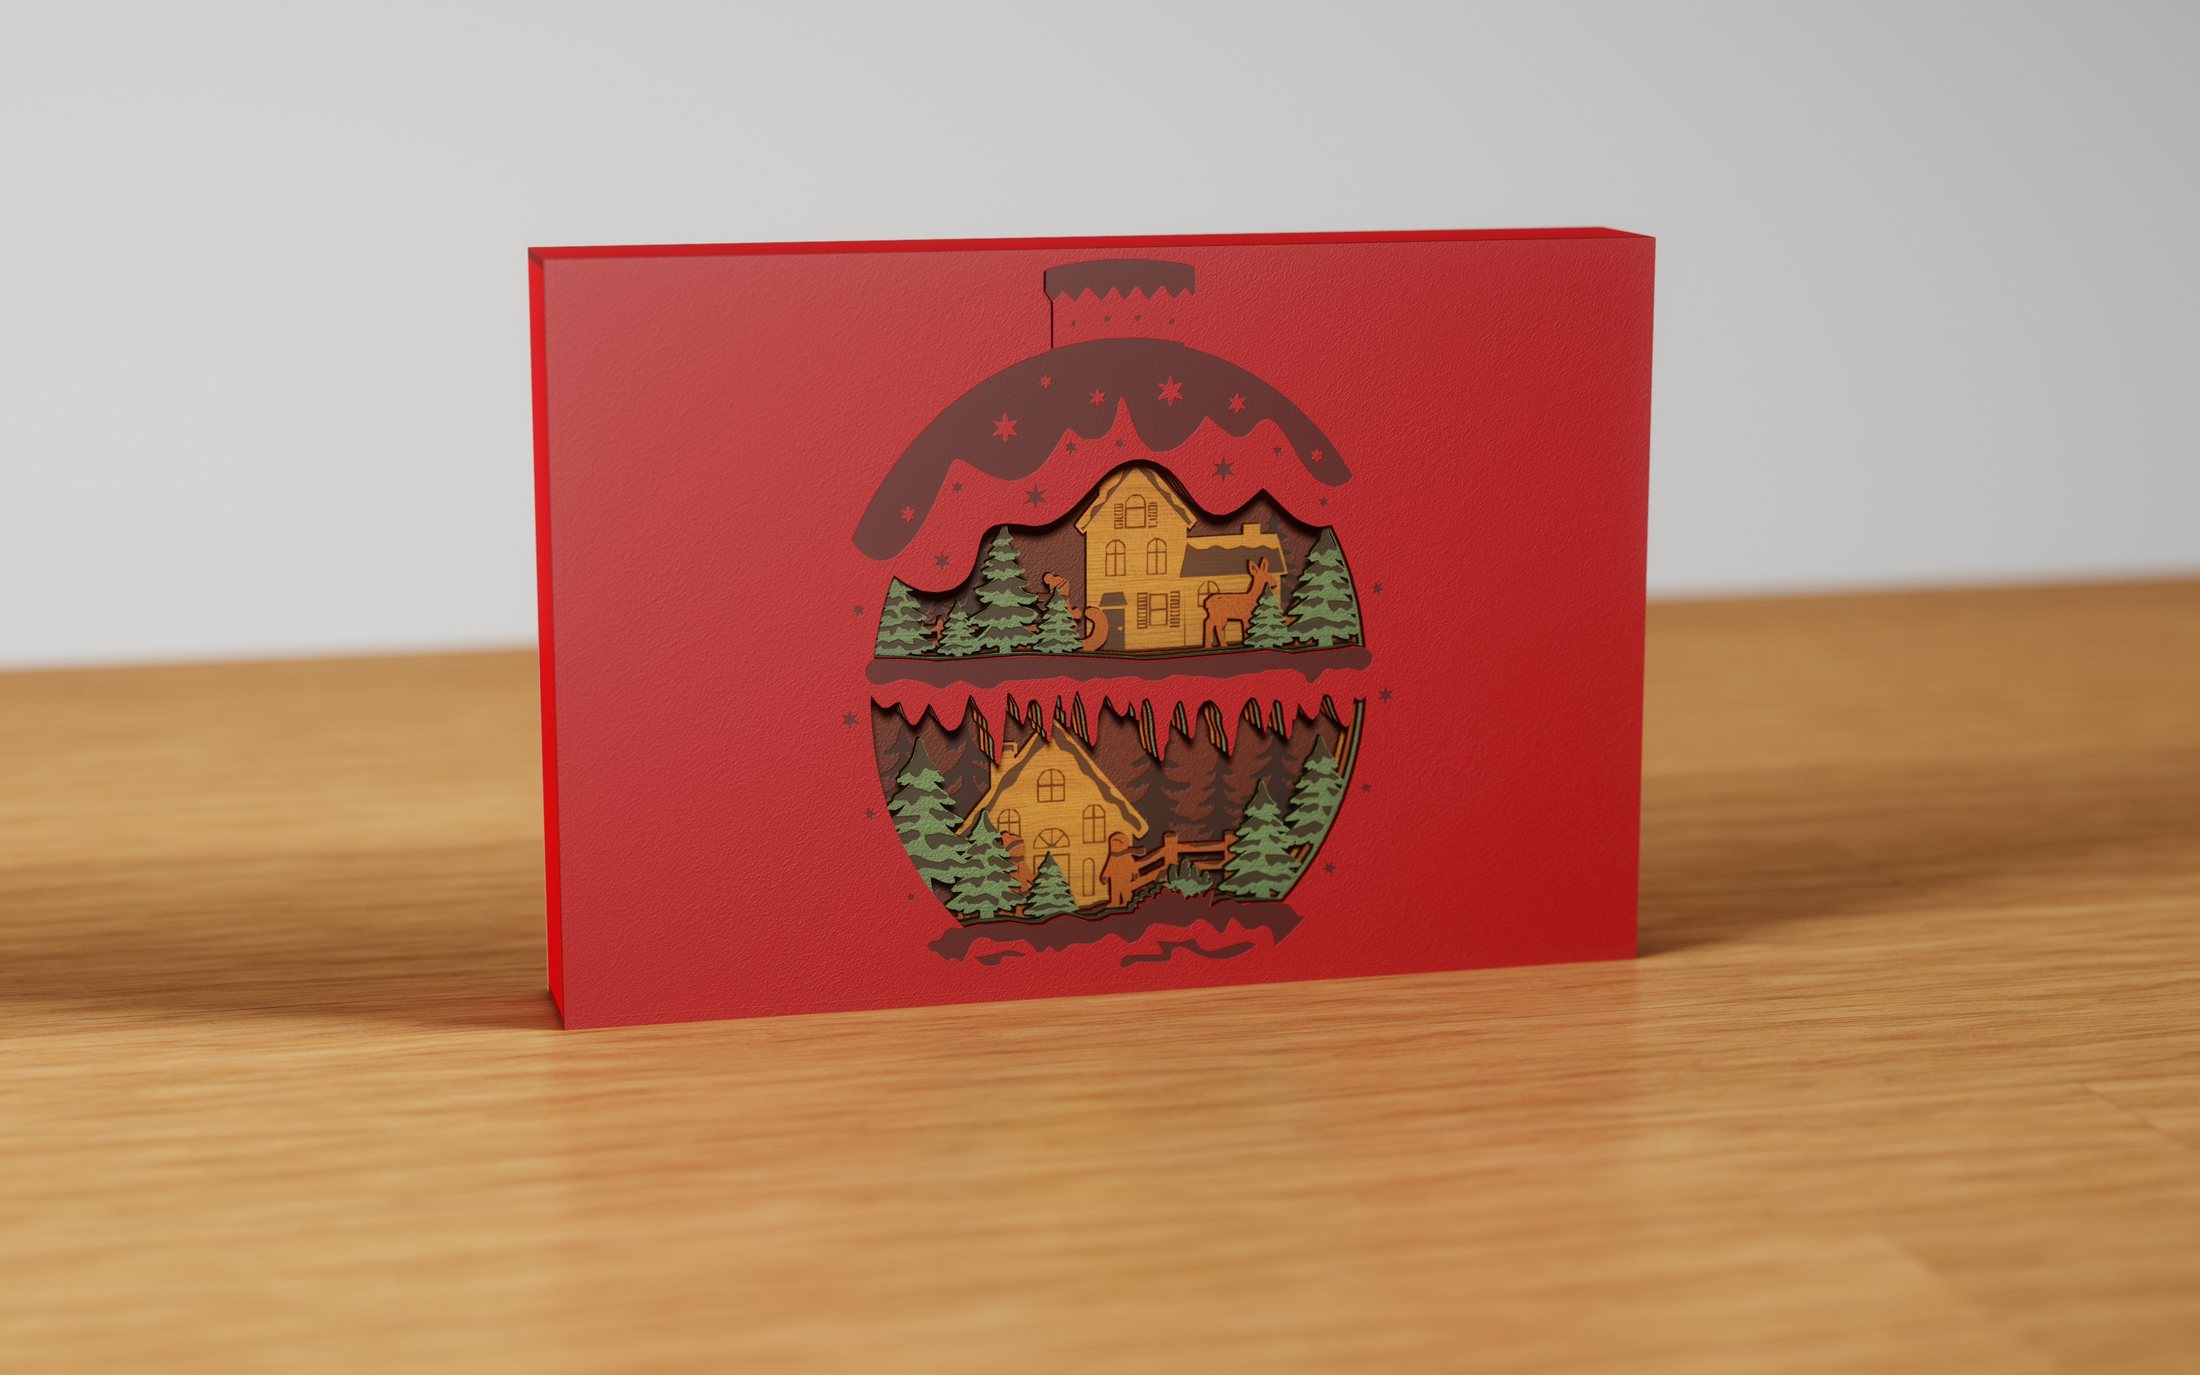 Christmas Village Ornament
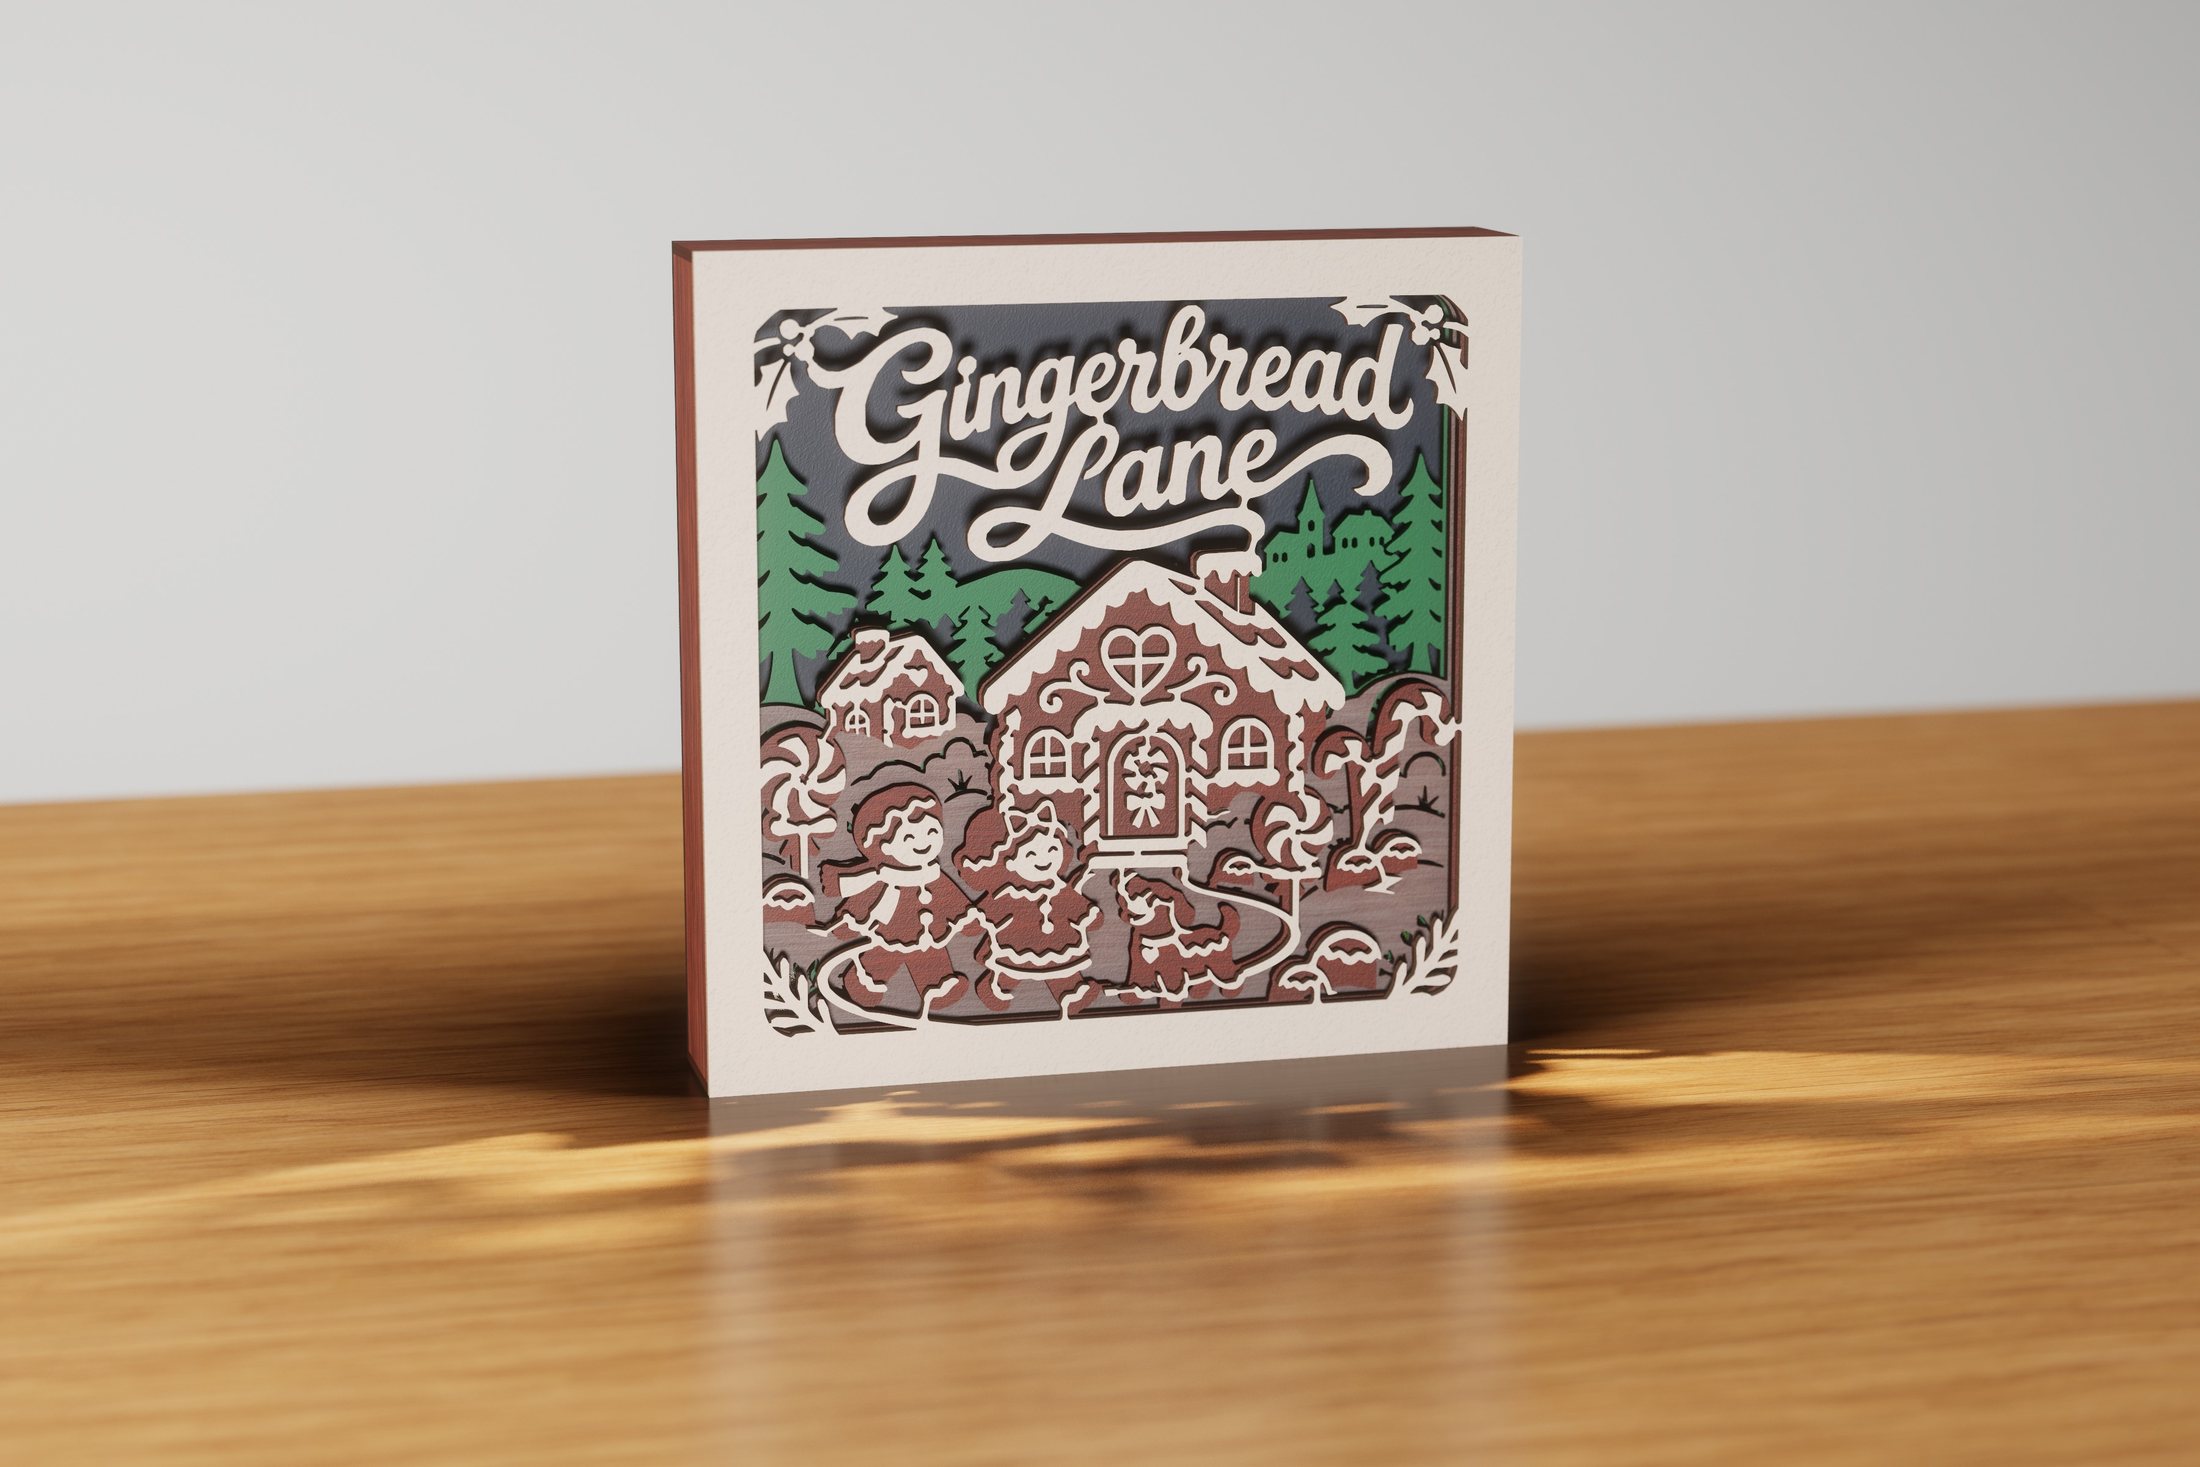 Gingerbread Lane
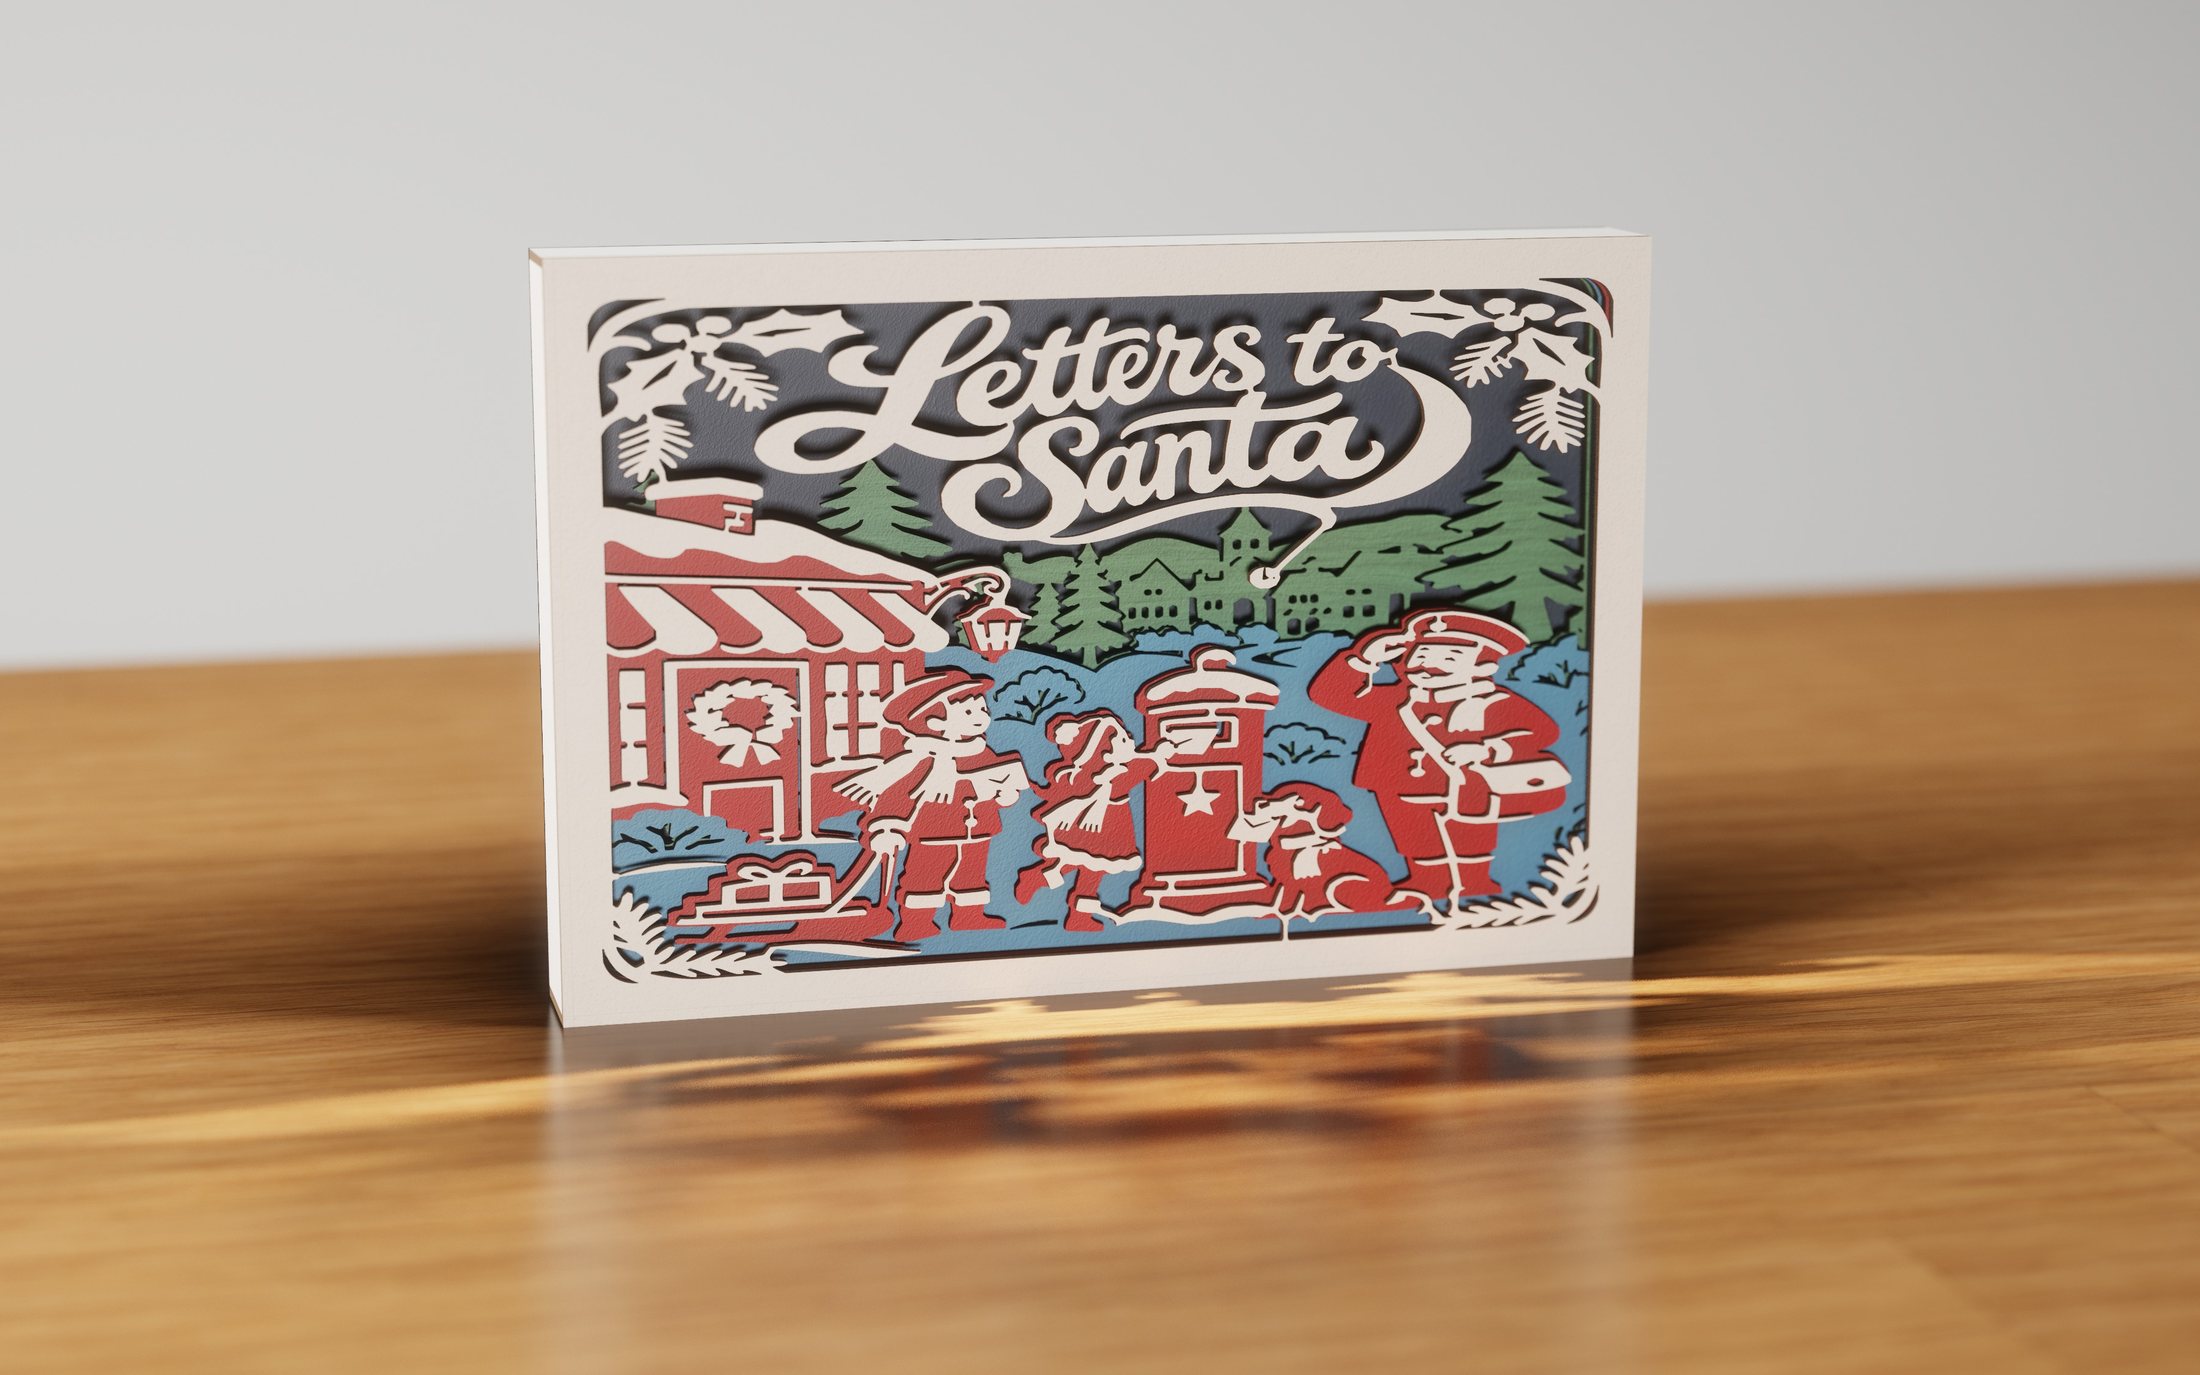 Letters to Santa
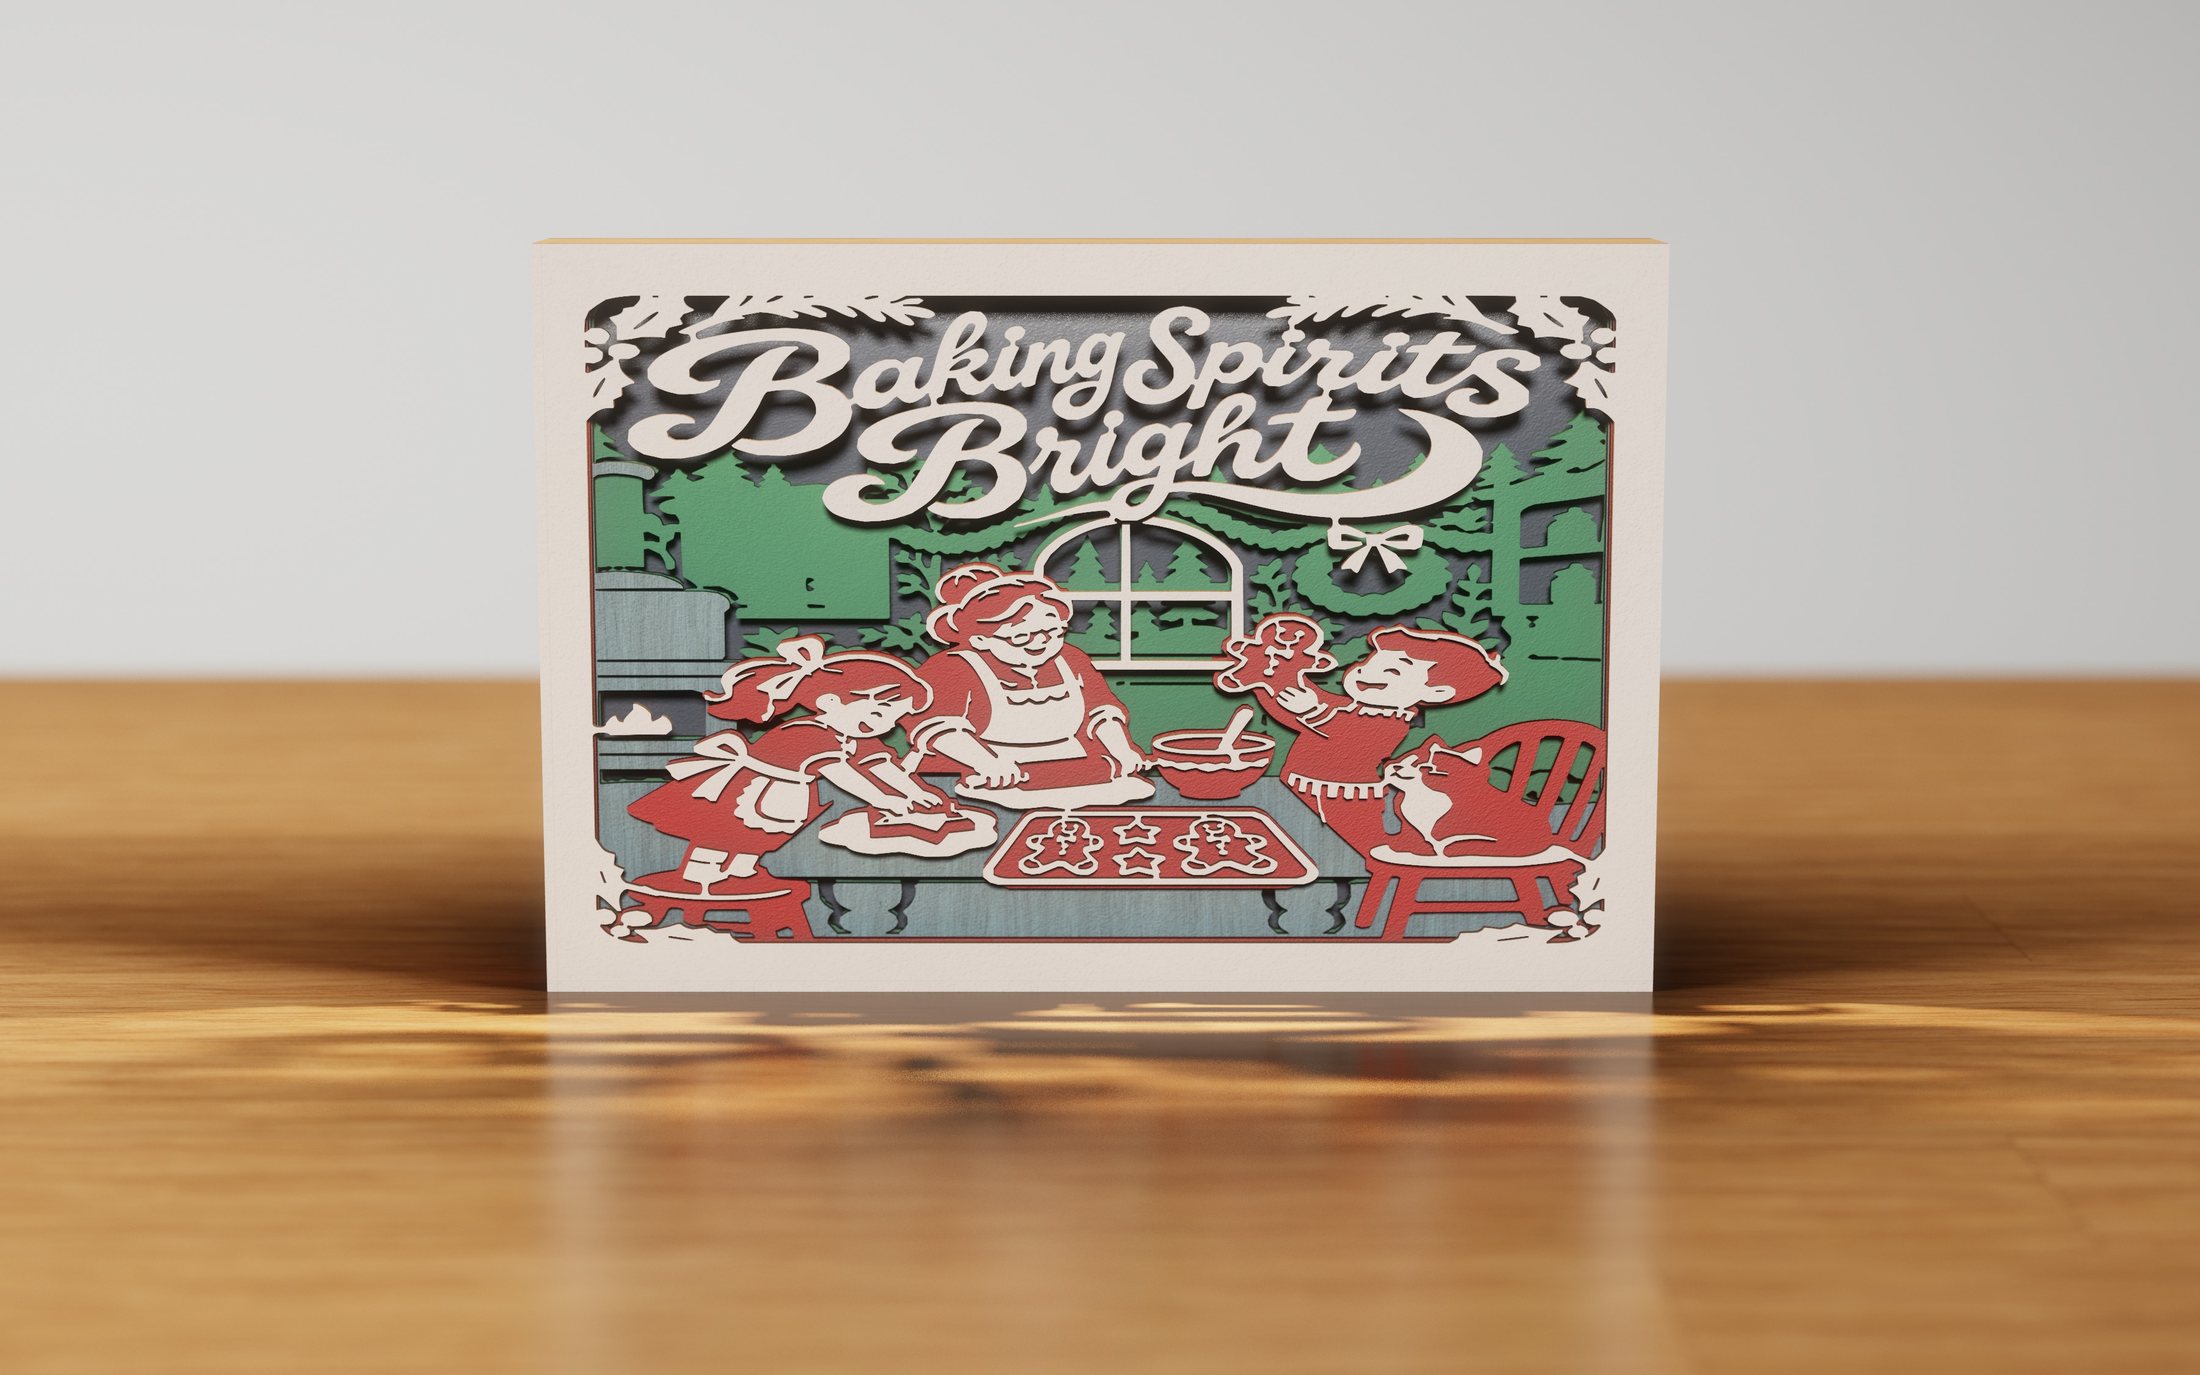 Baking Spirits Bright
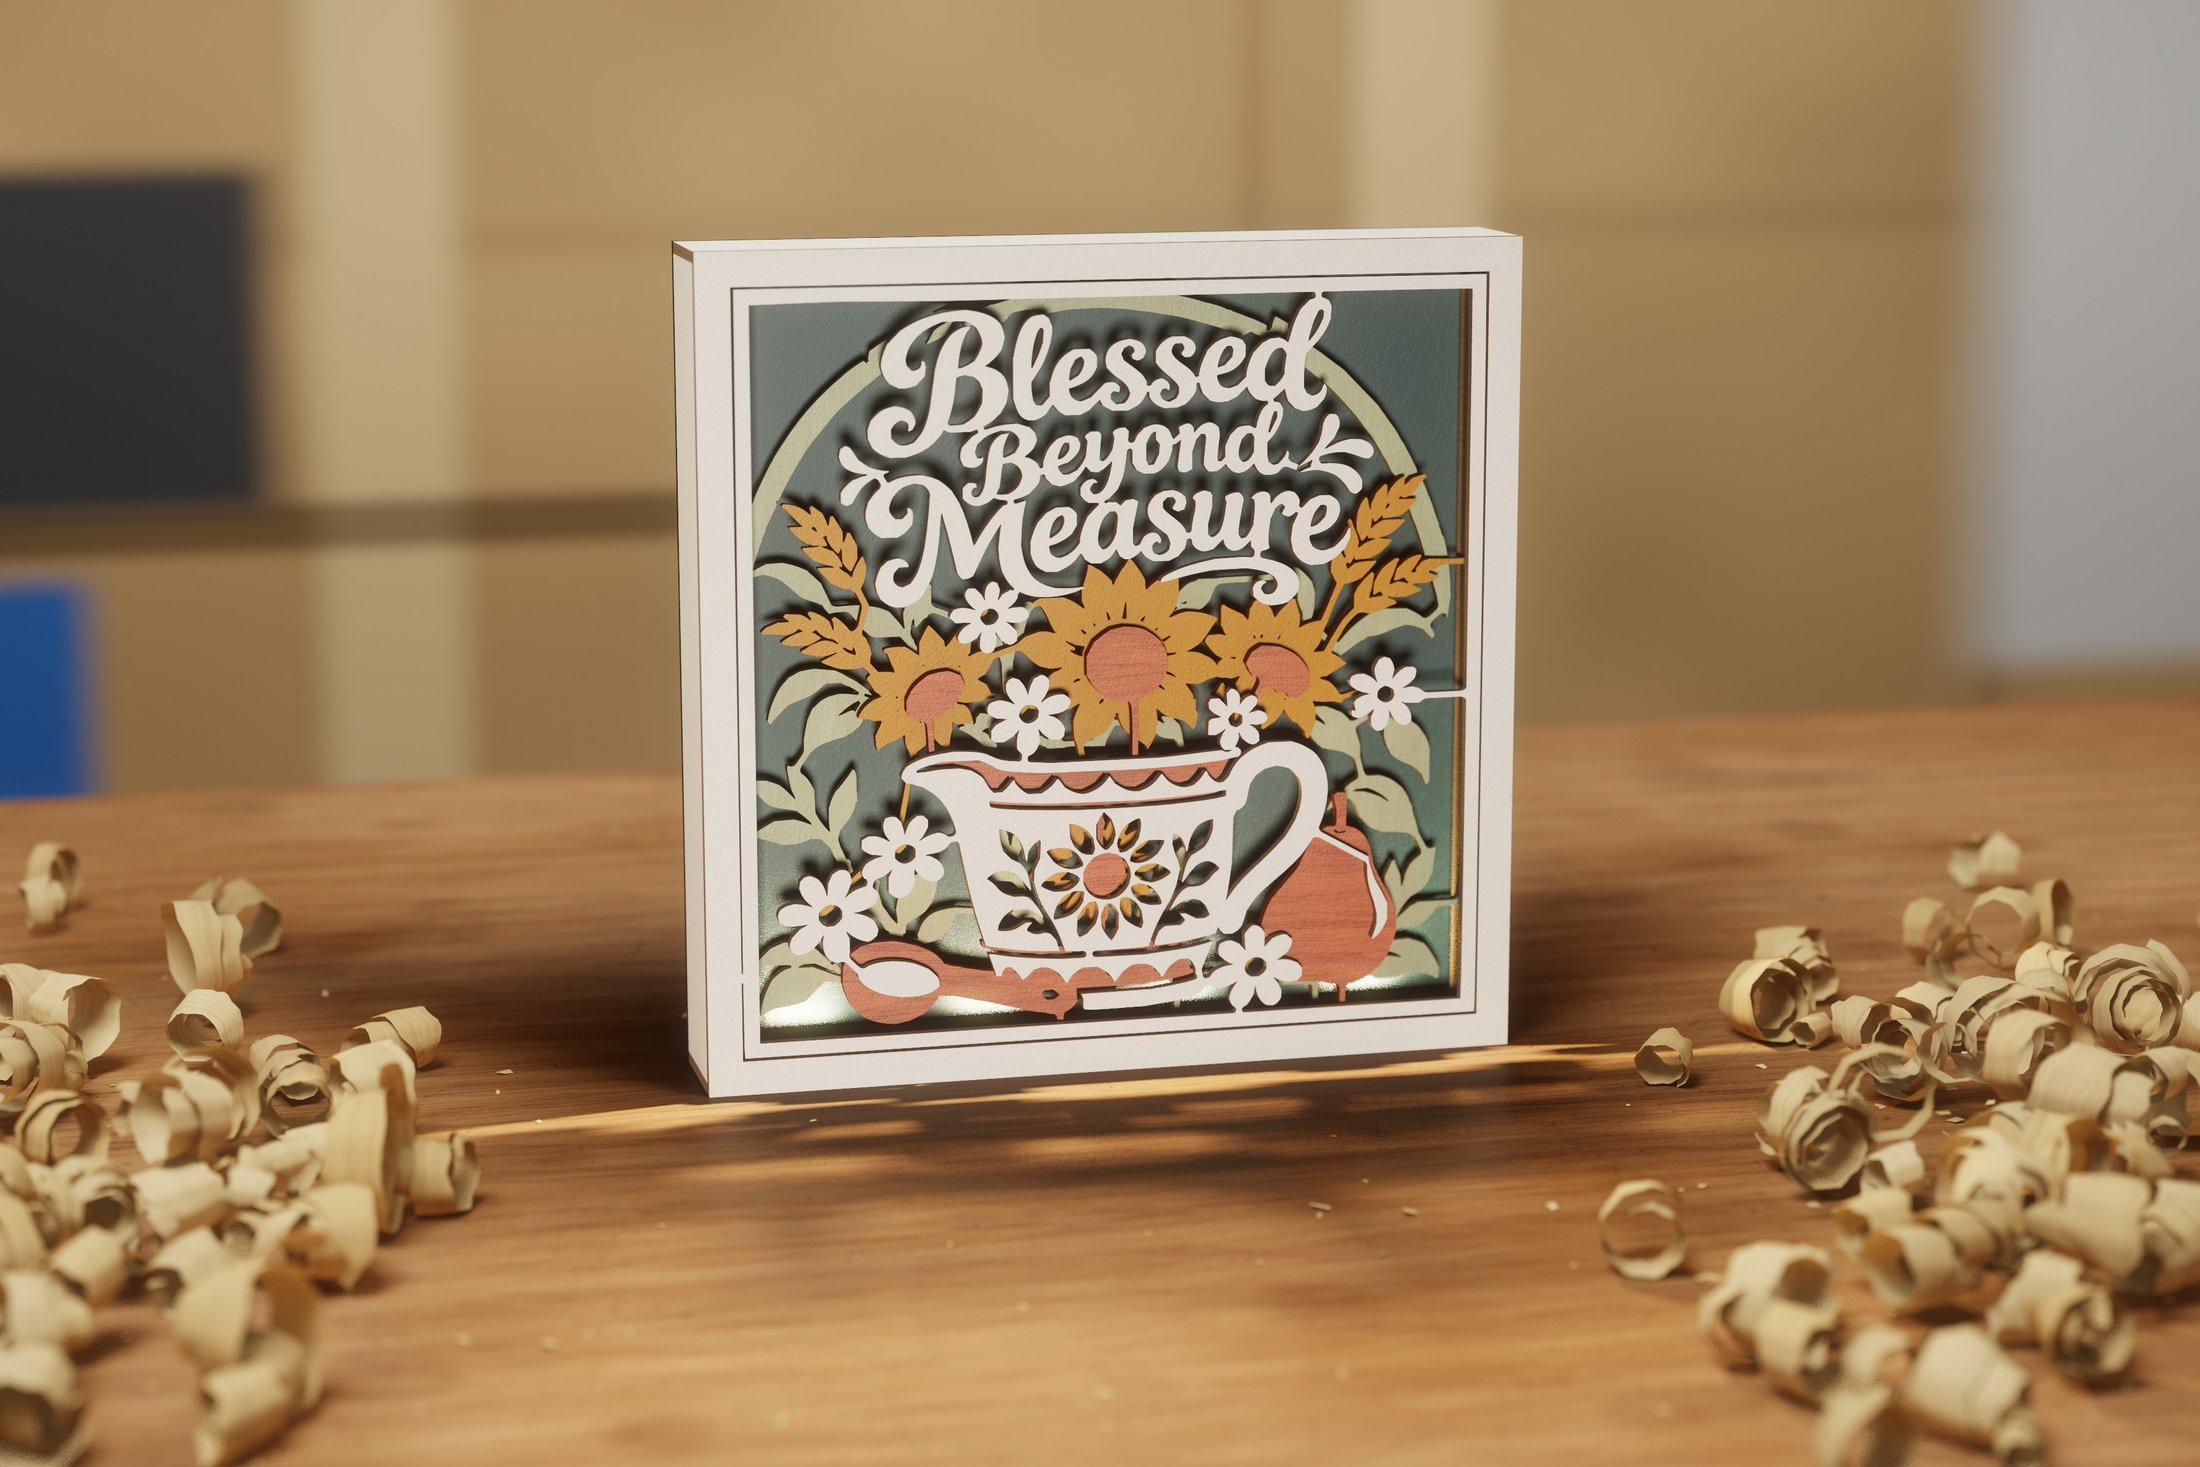 Blessed Beyond Measure
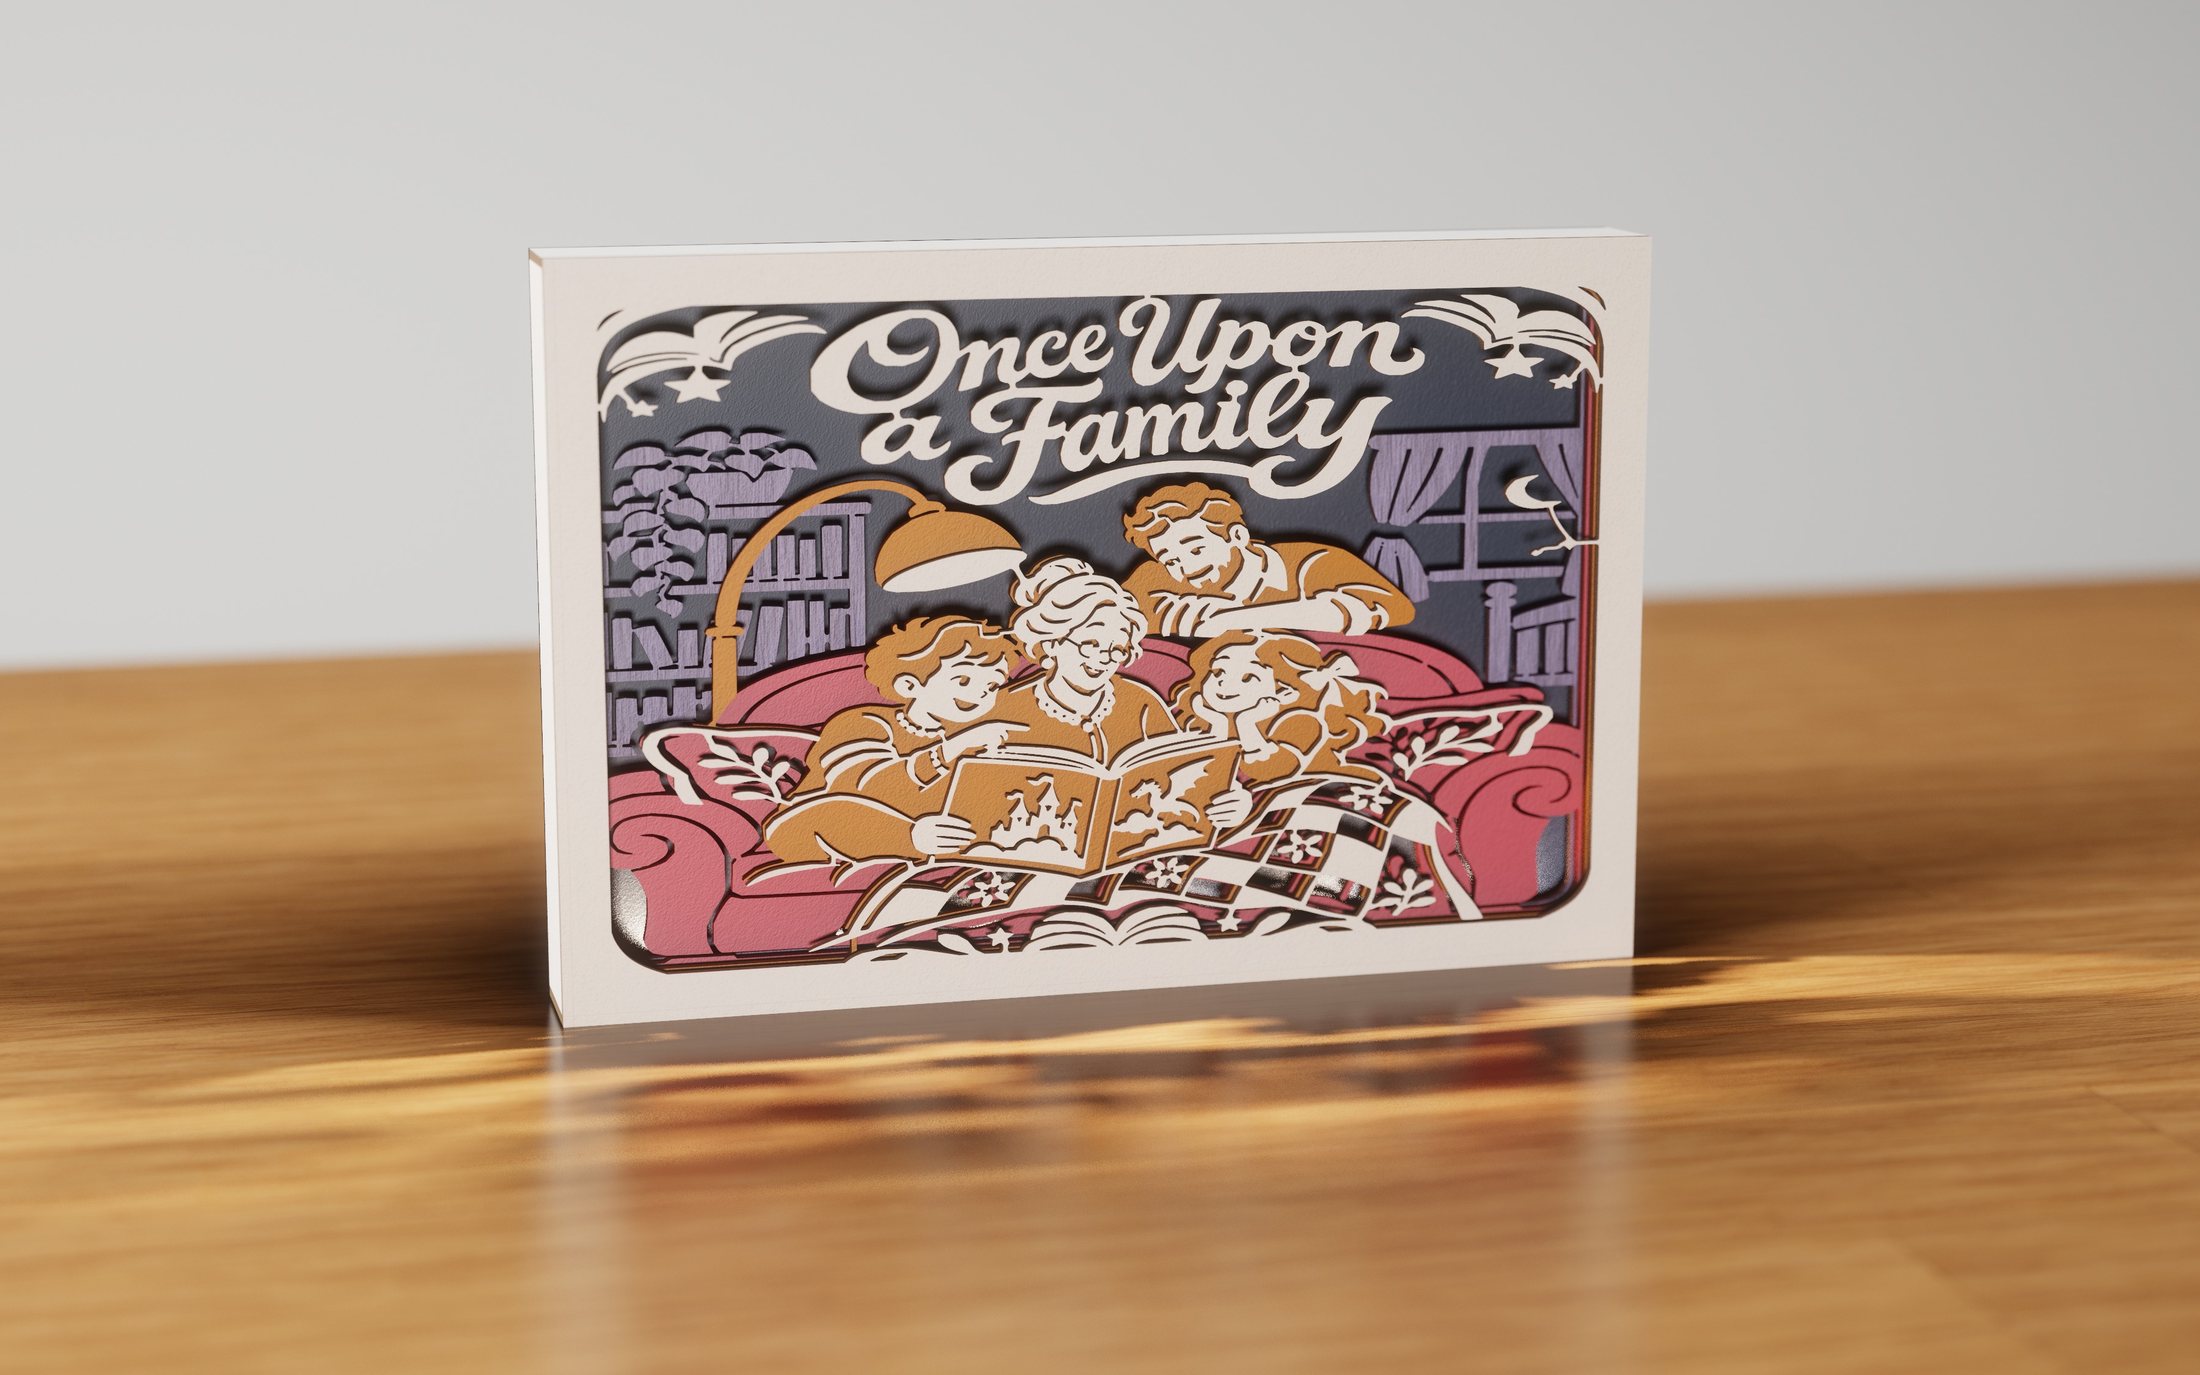 Once Upon a Family
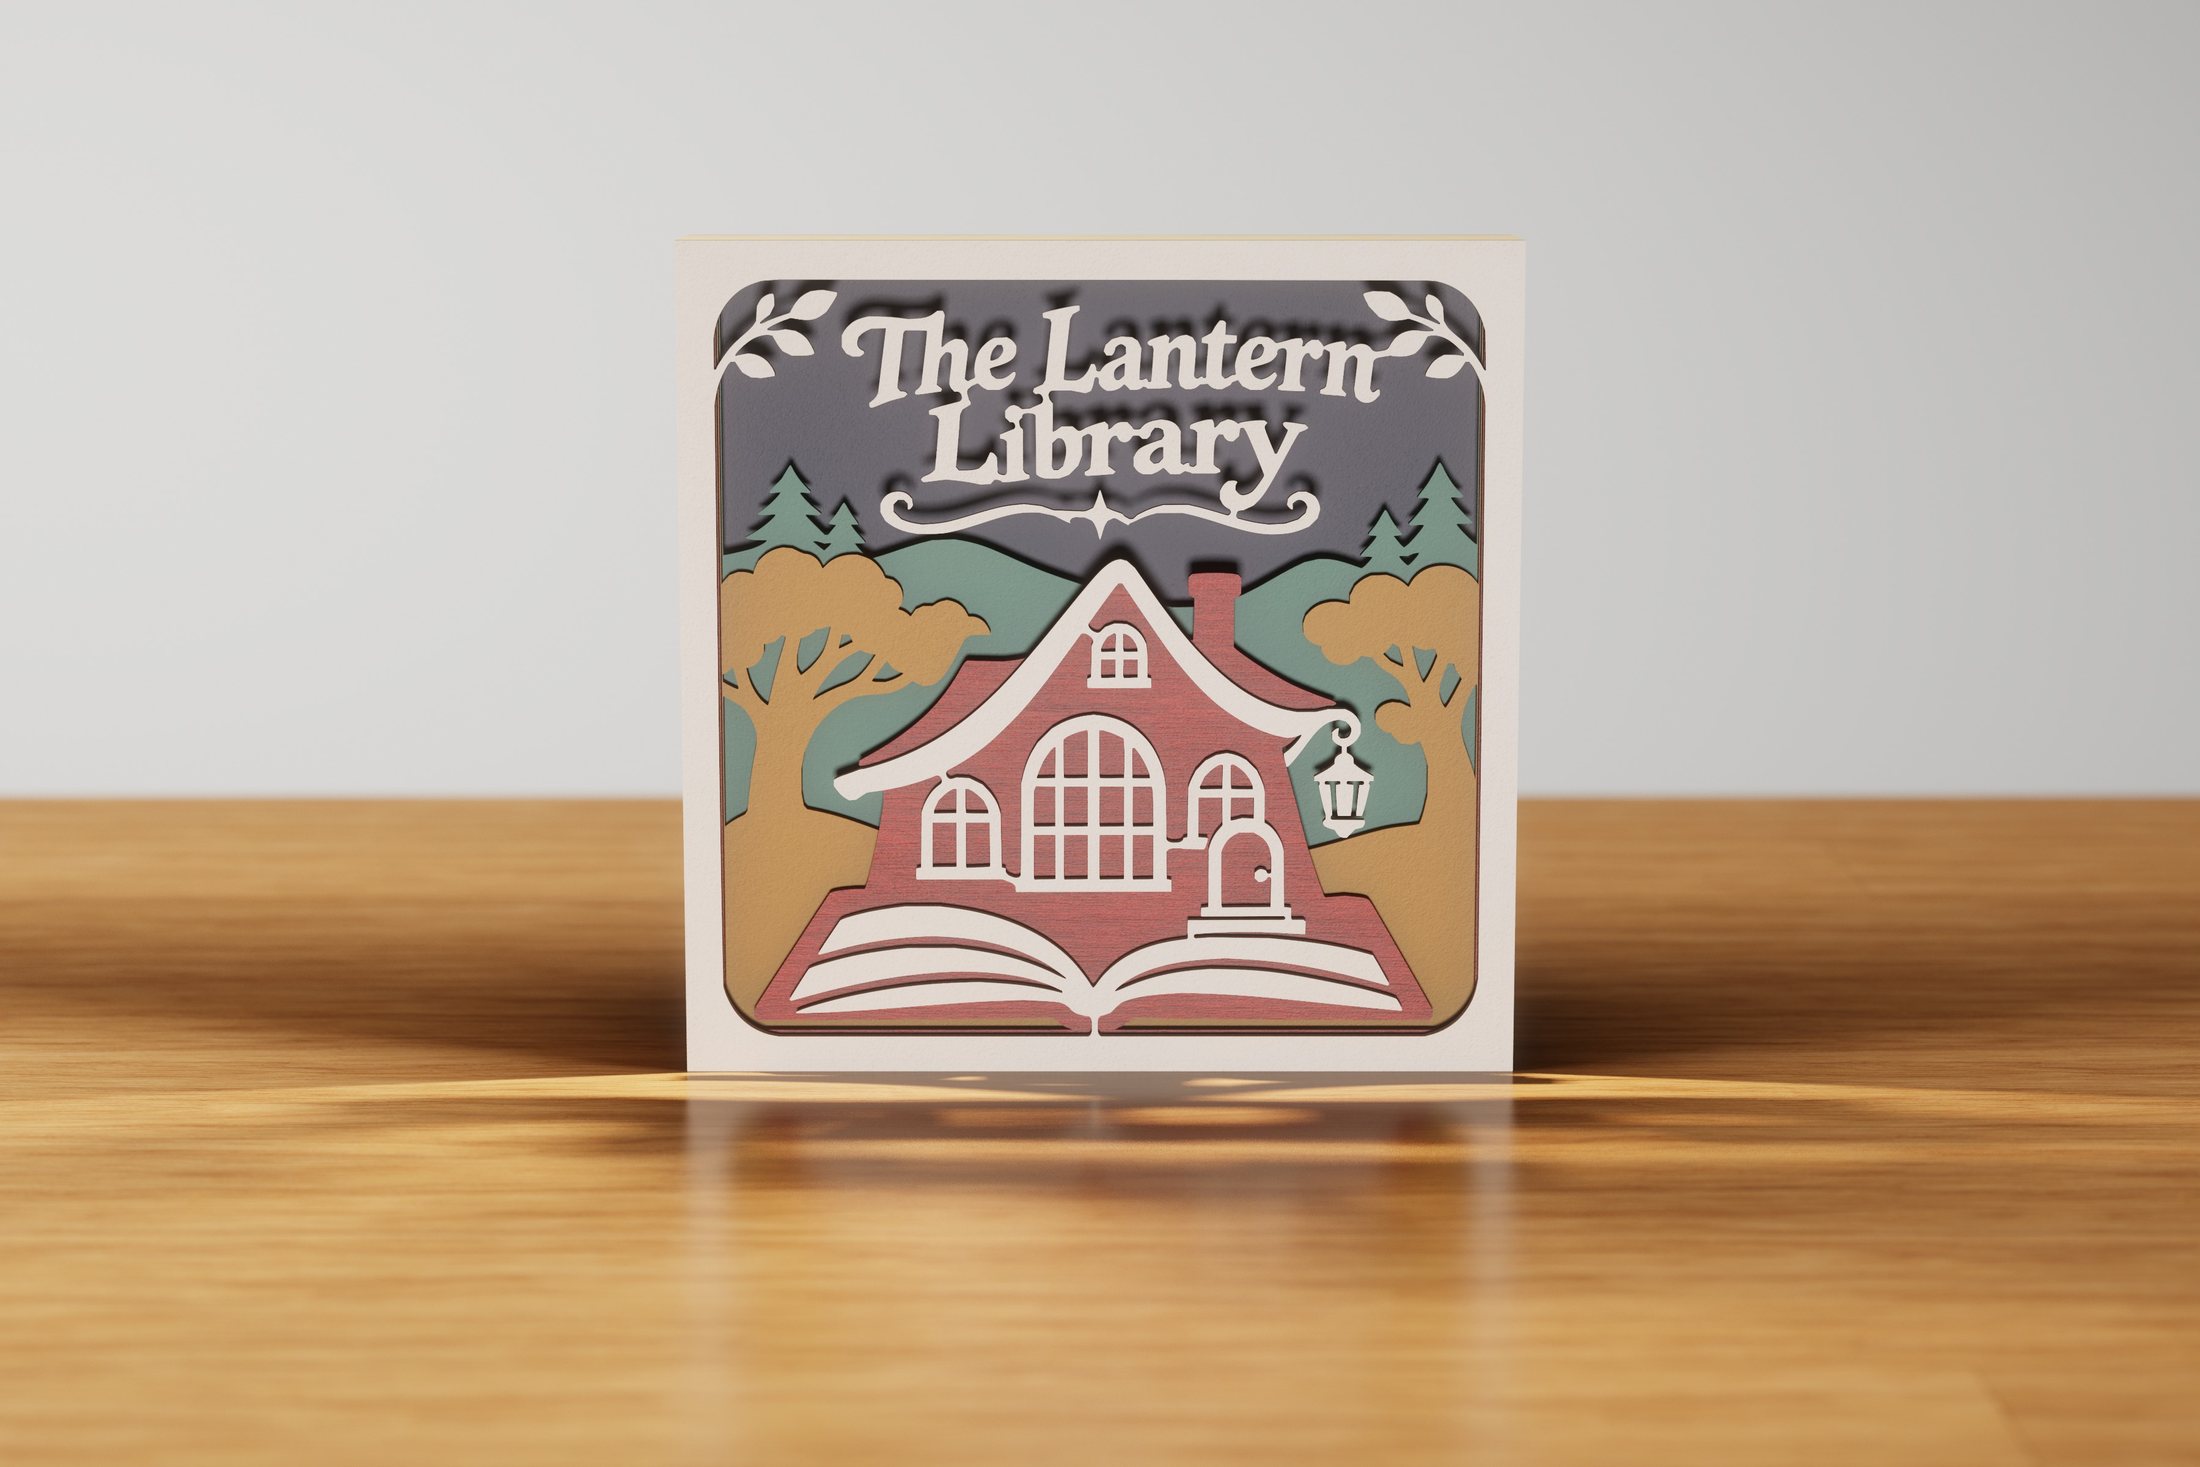 The Lantern Library
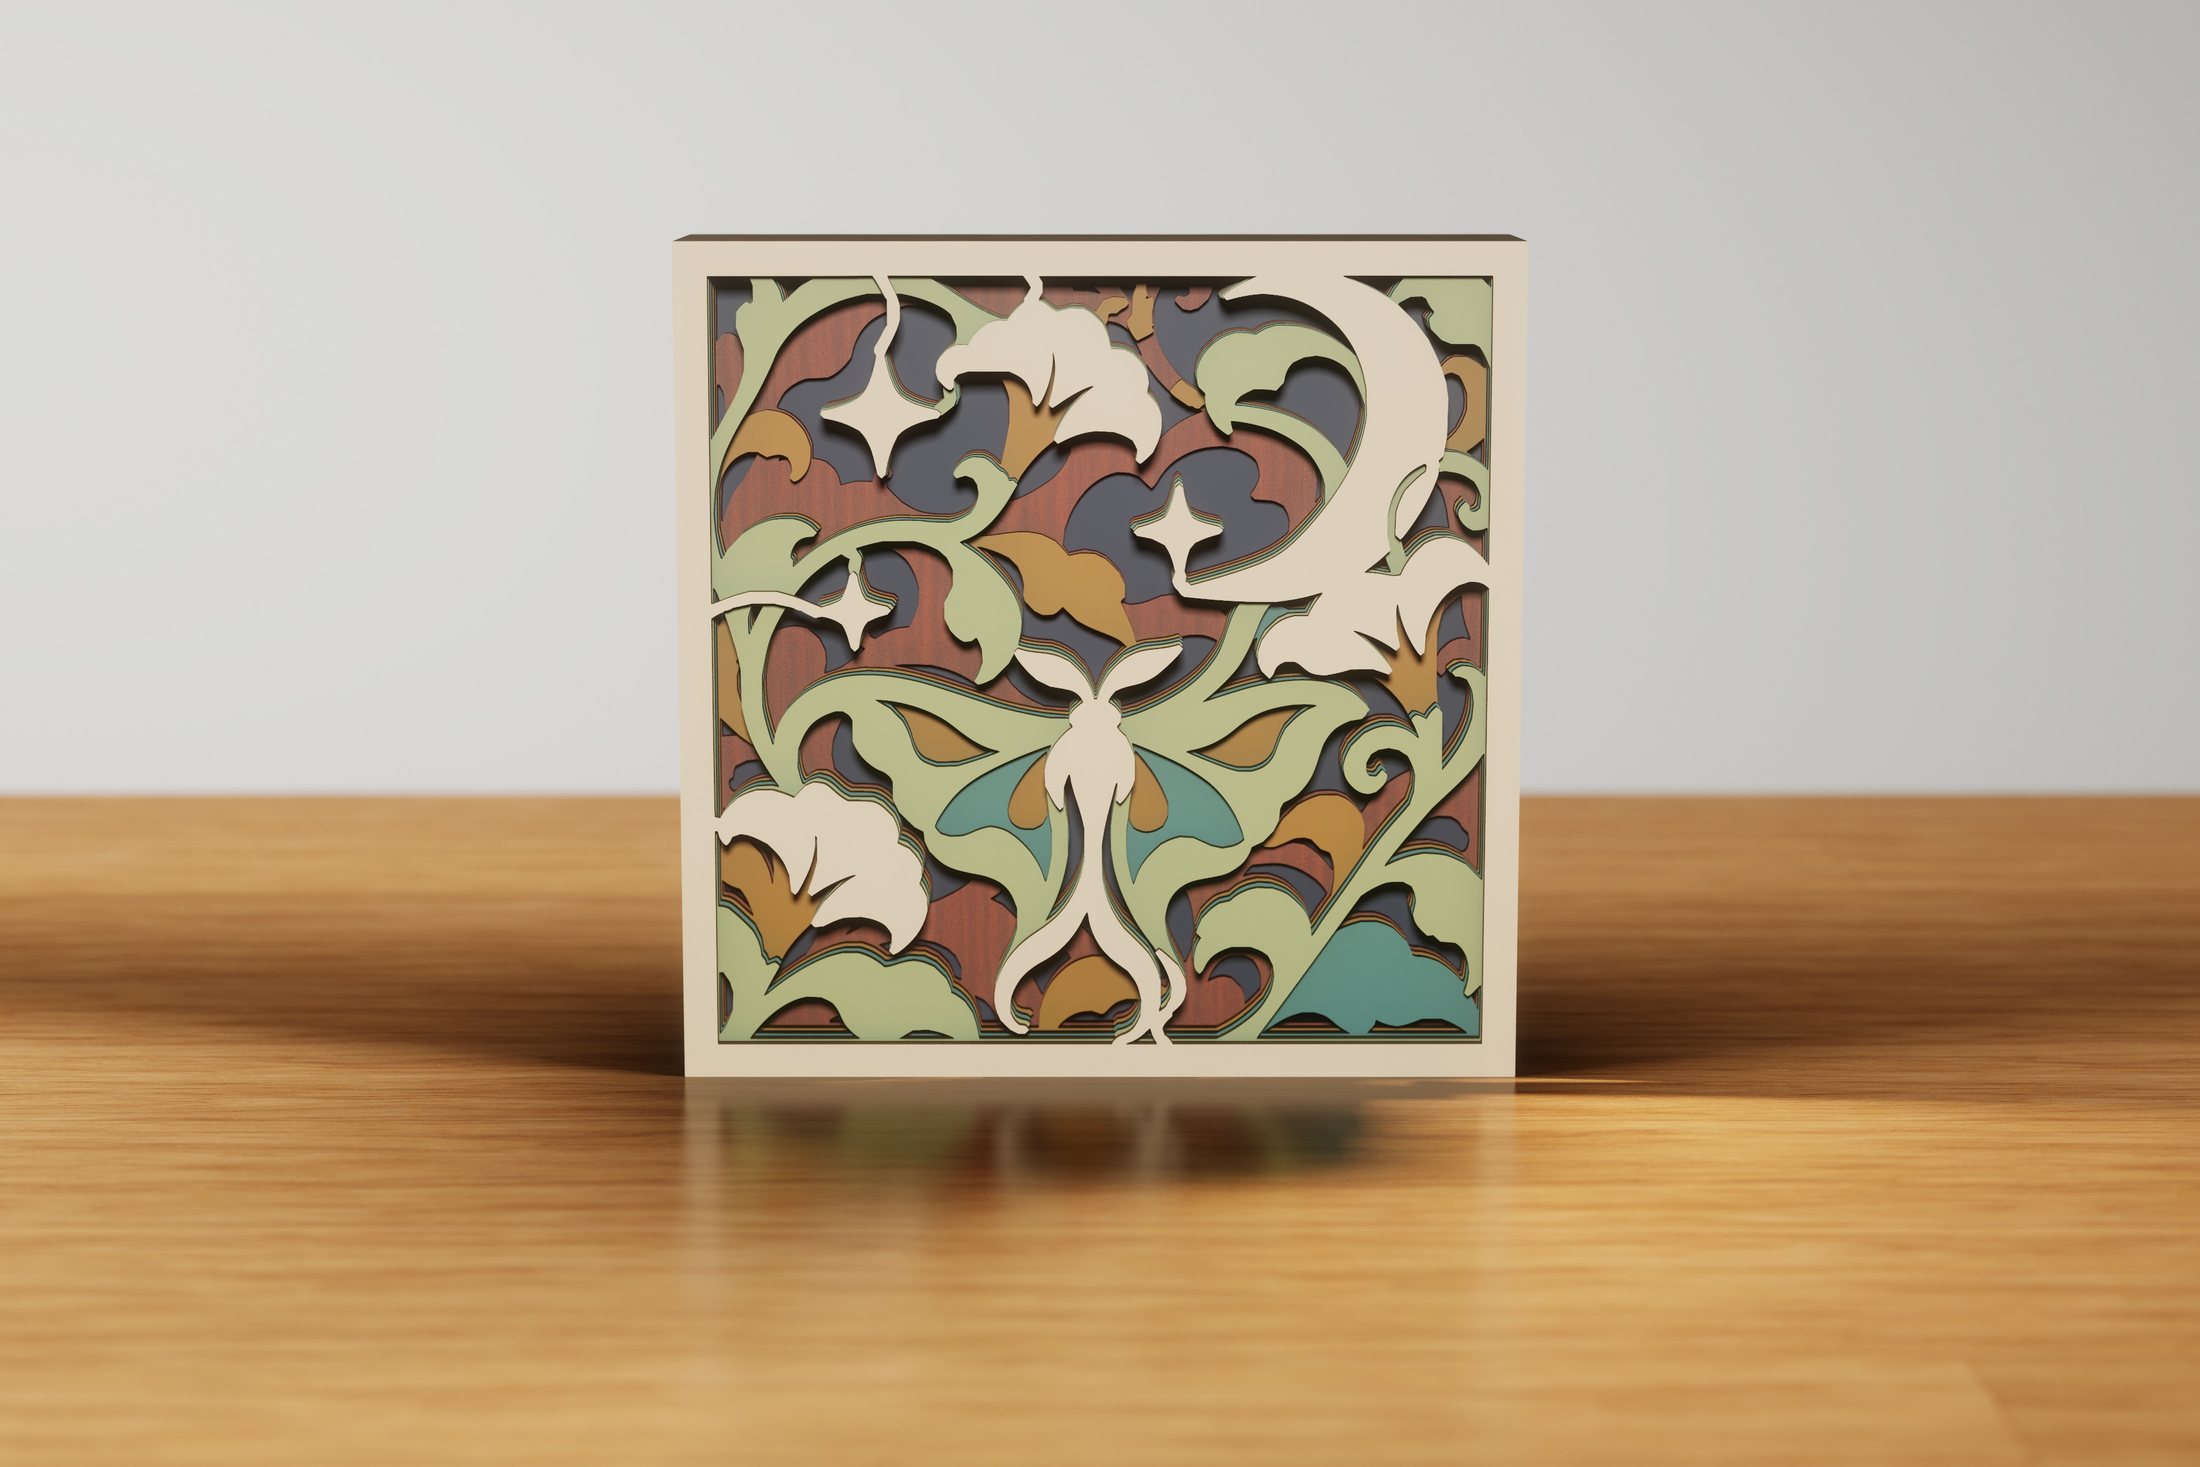 Celestial Garden
Here Comes the Sun · 1 of 24 designs
Physical project / 3D Papercuts
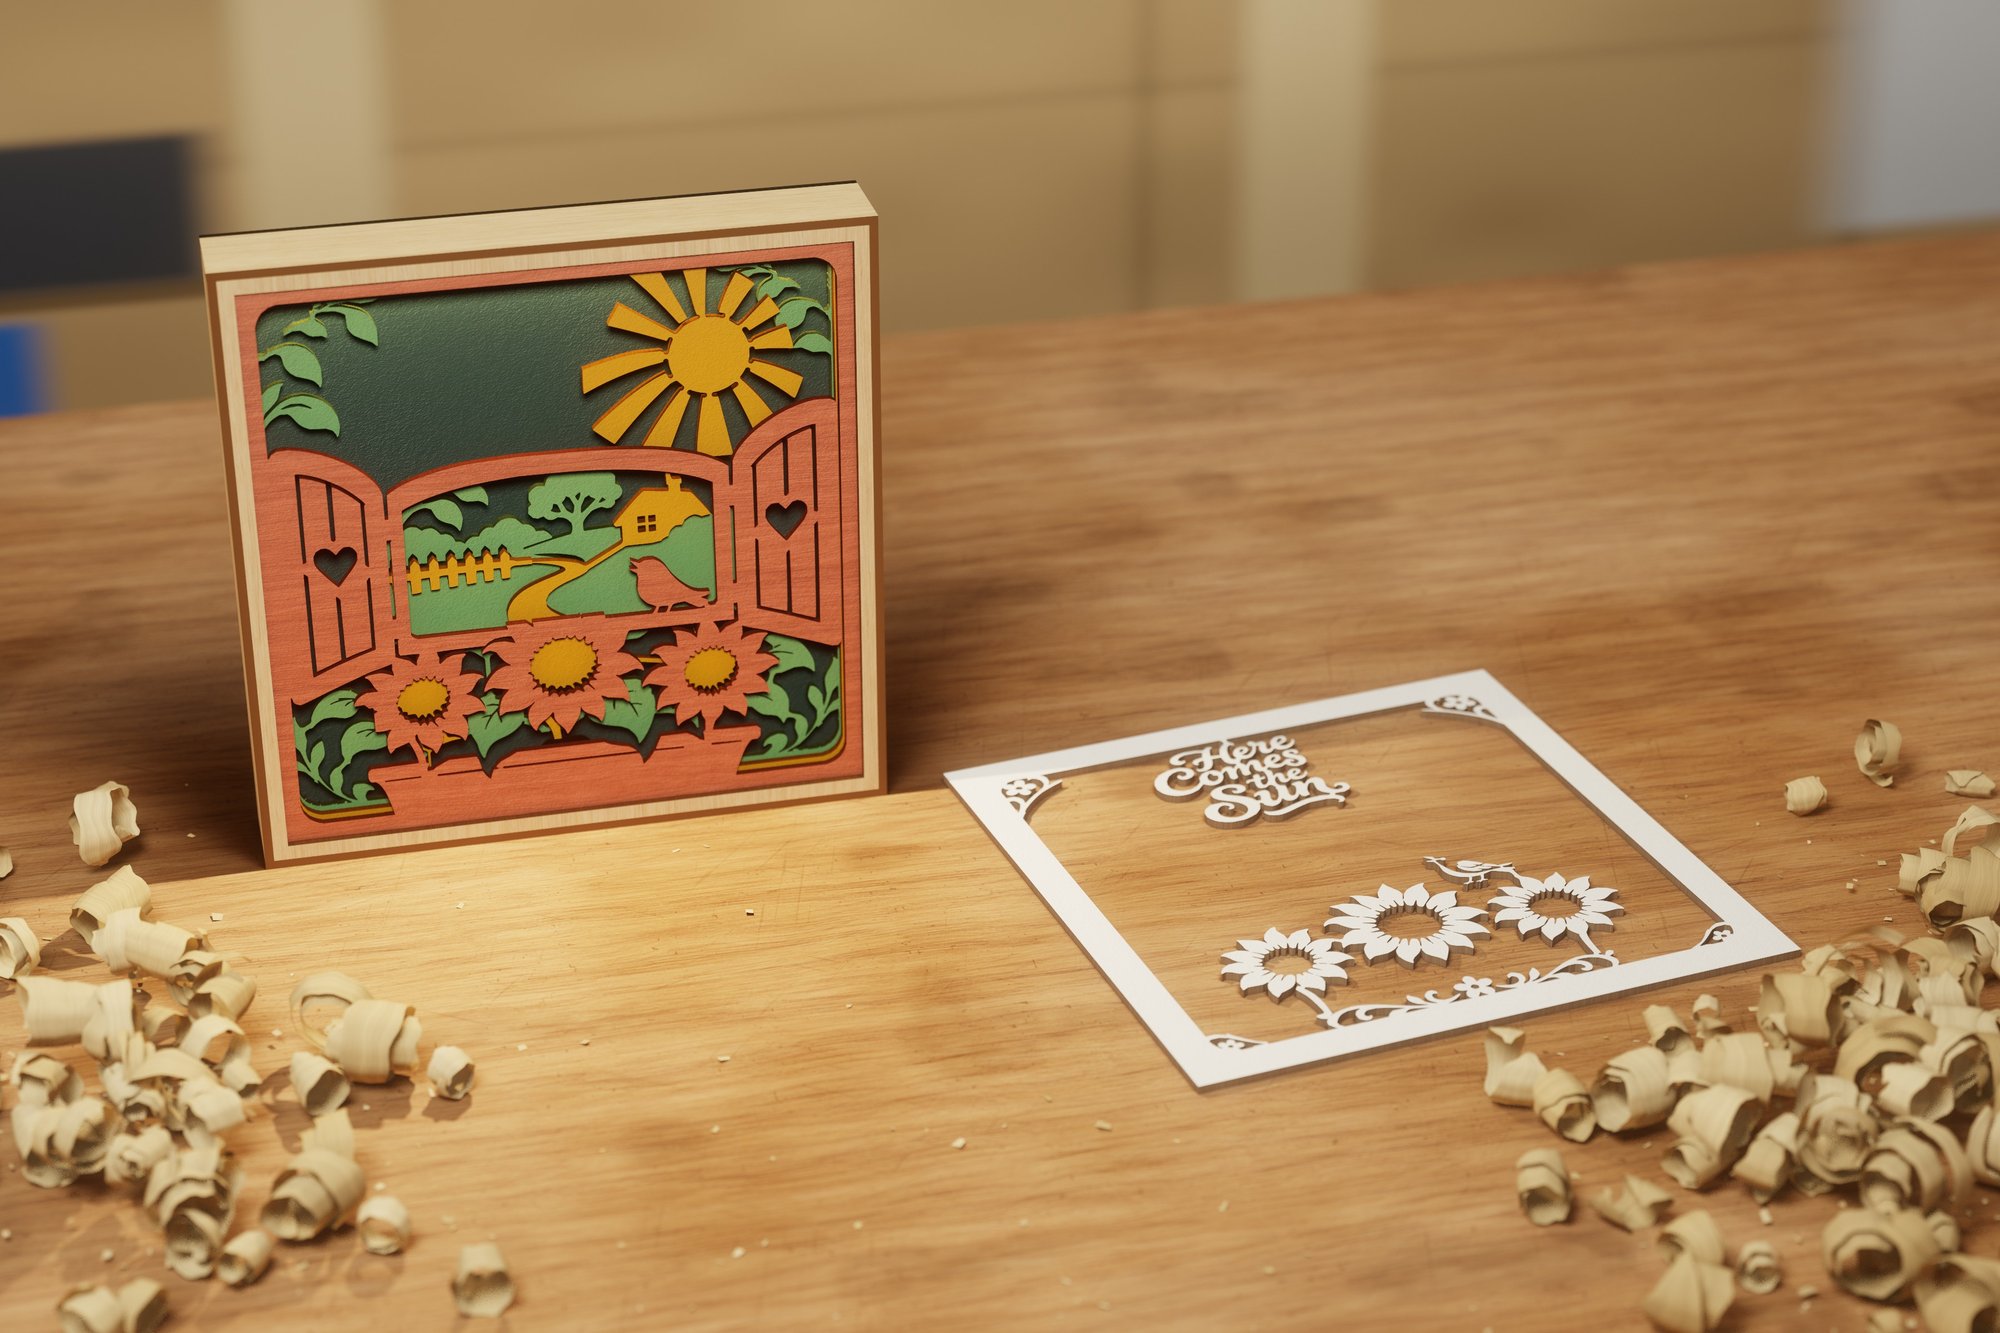
See the framed papercut and, where available, the front cardstock layer set beside it to reveal the stack inside.
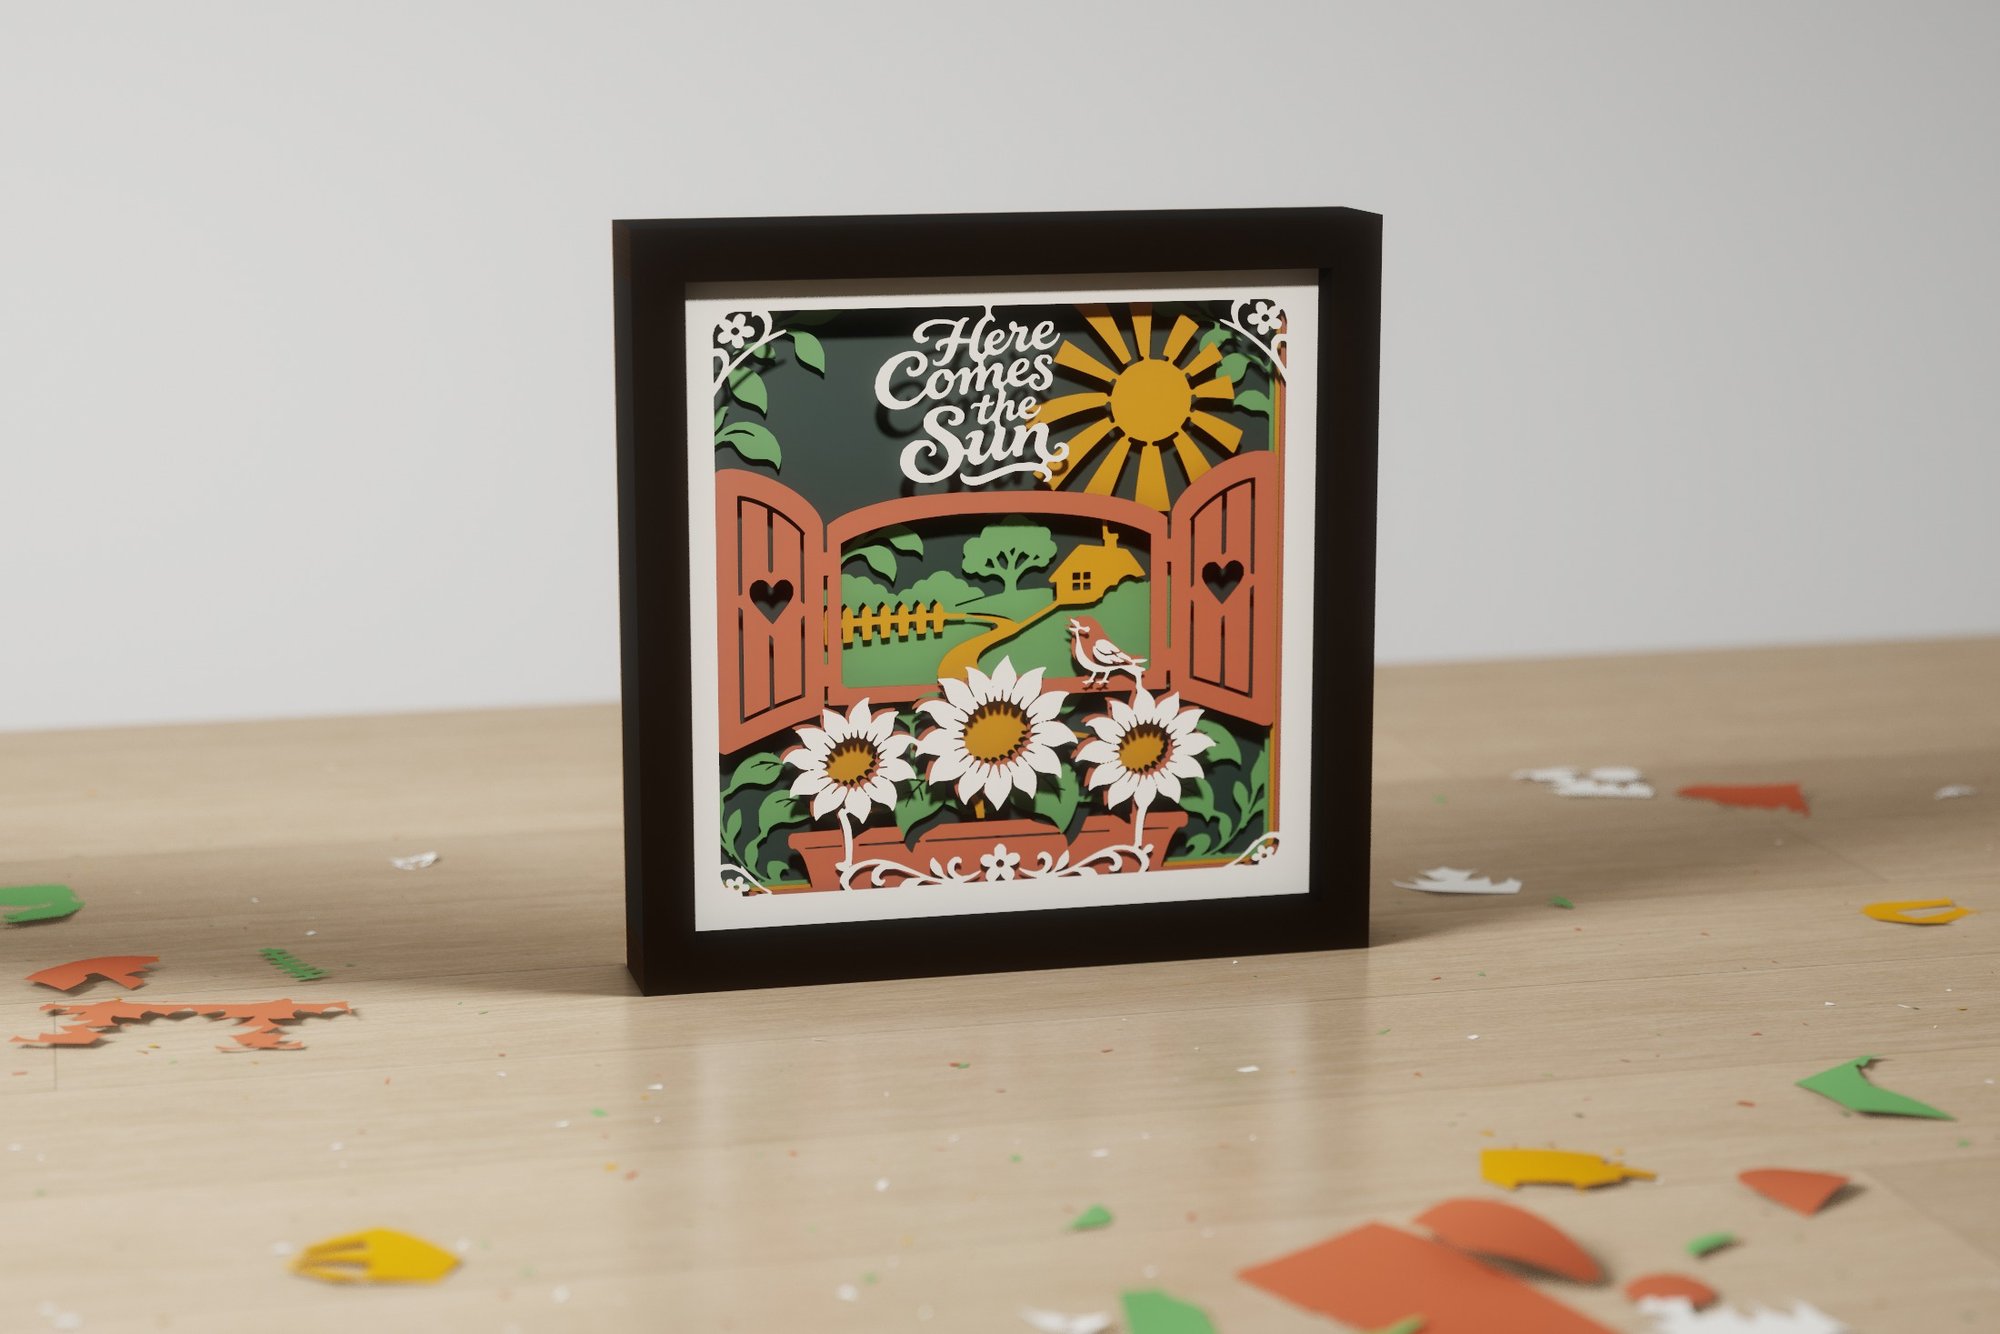 Here Comes the Sun
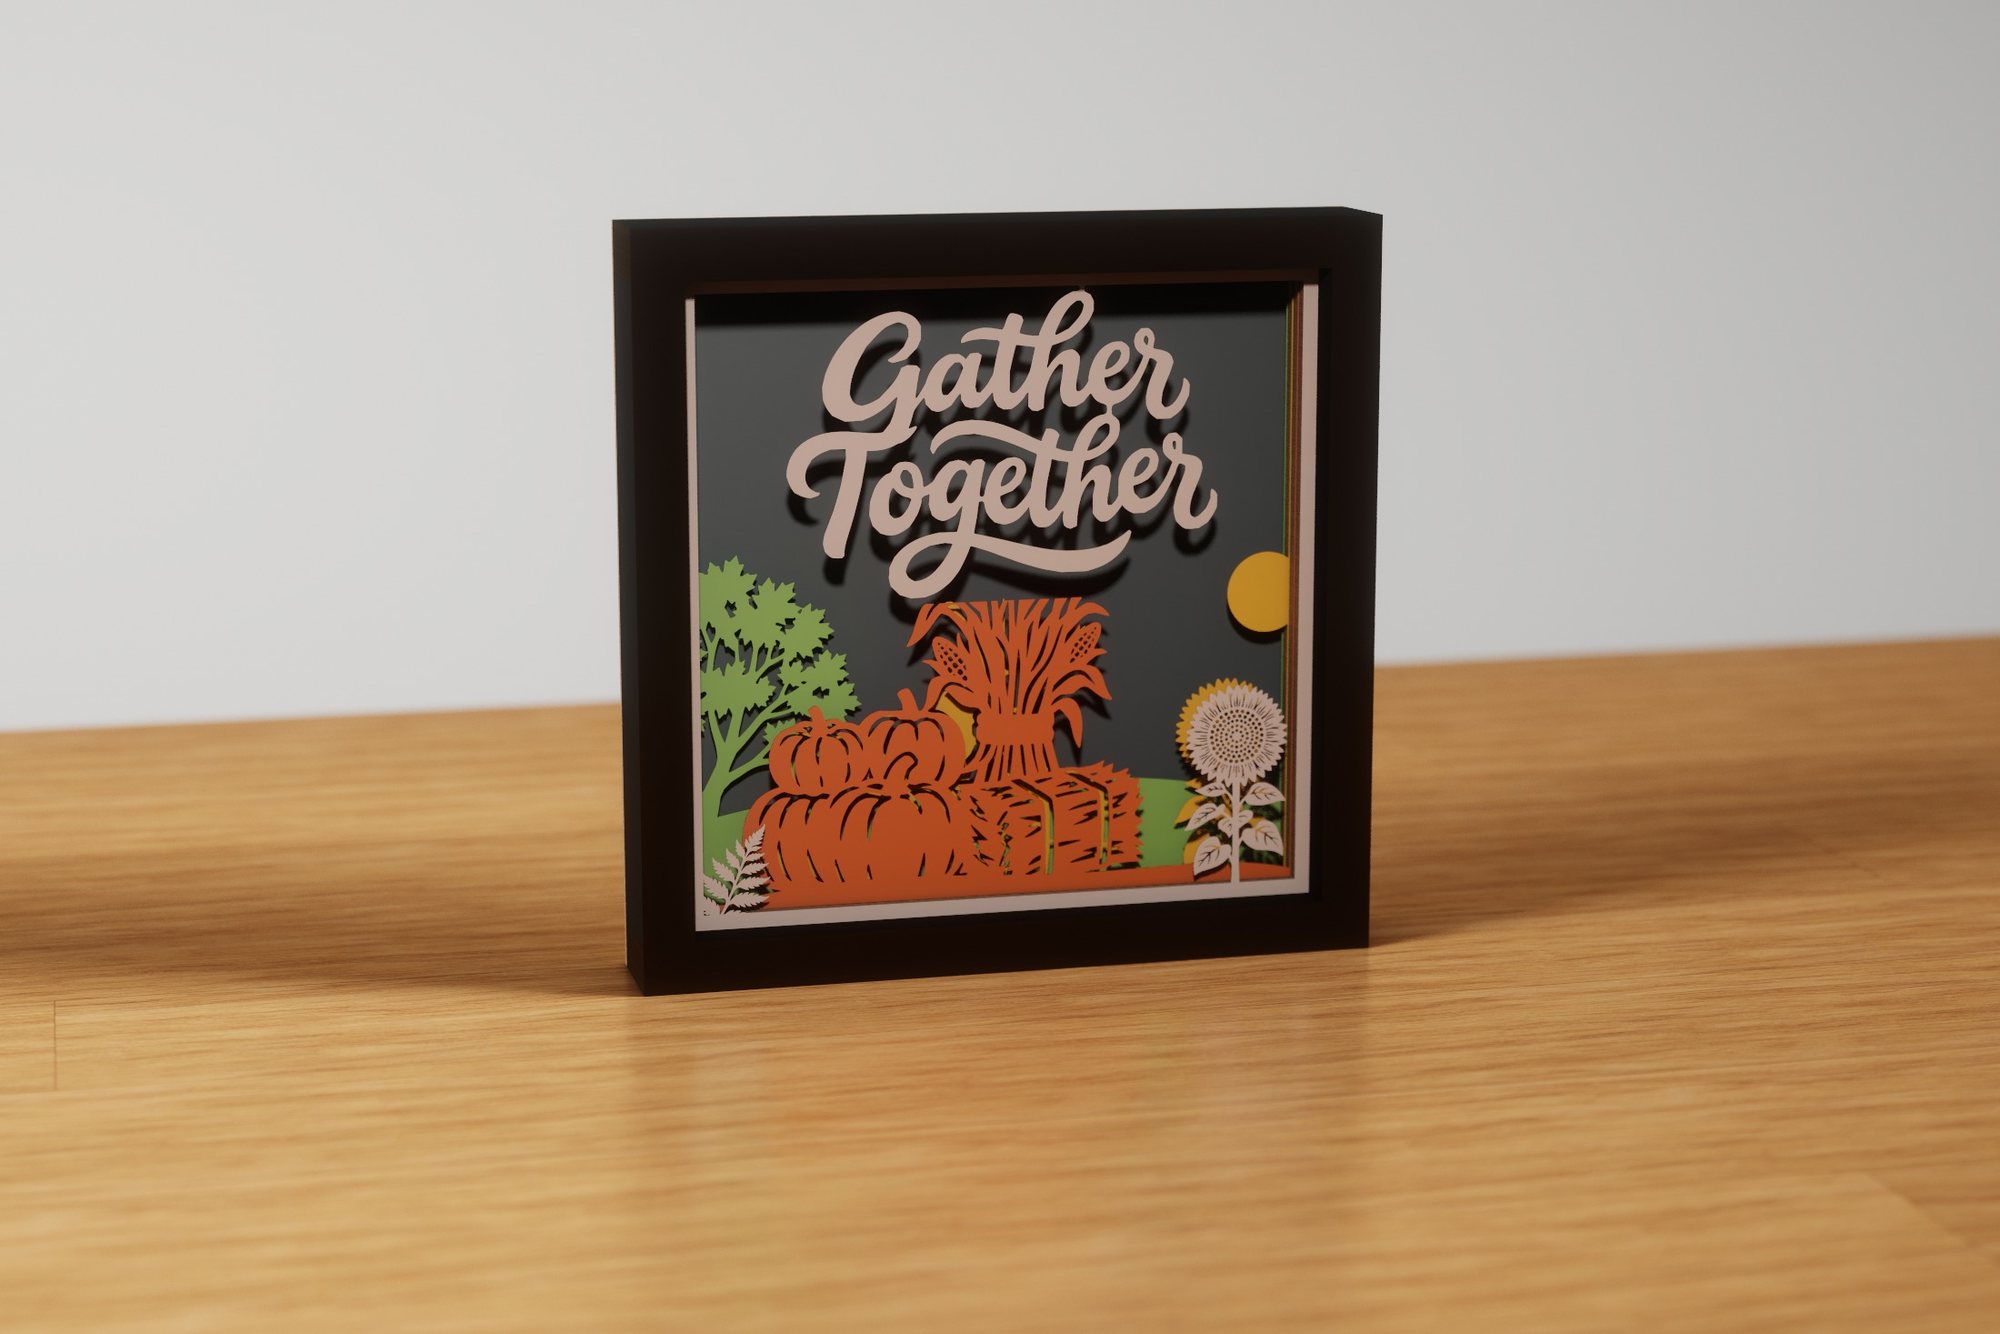 Thanksgiving Bounty
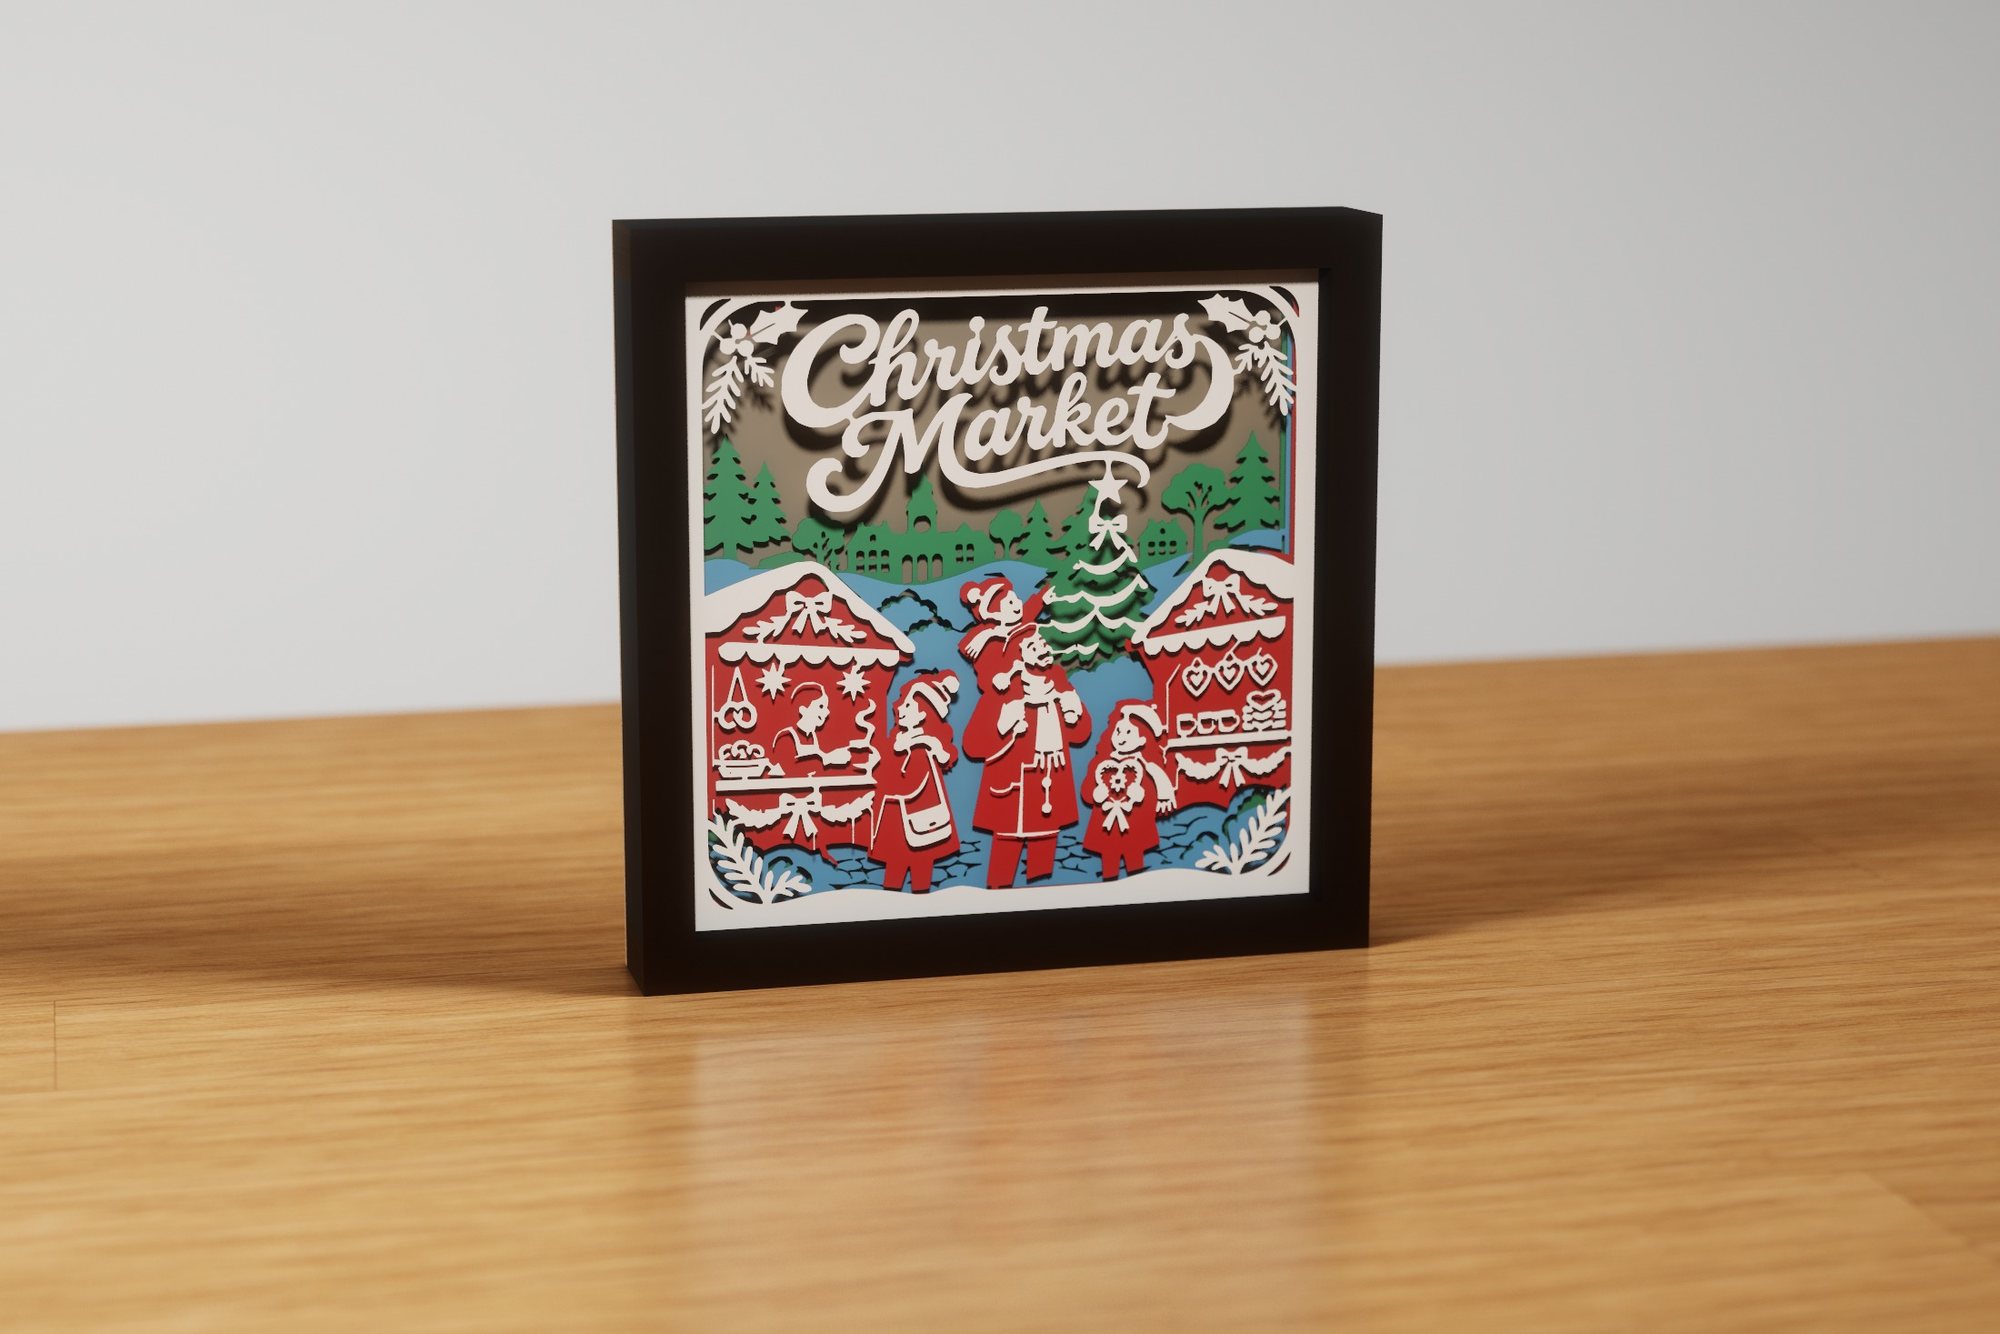 Christmas Market
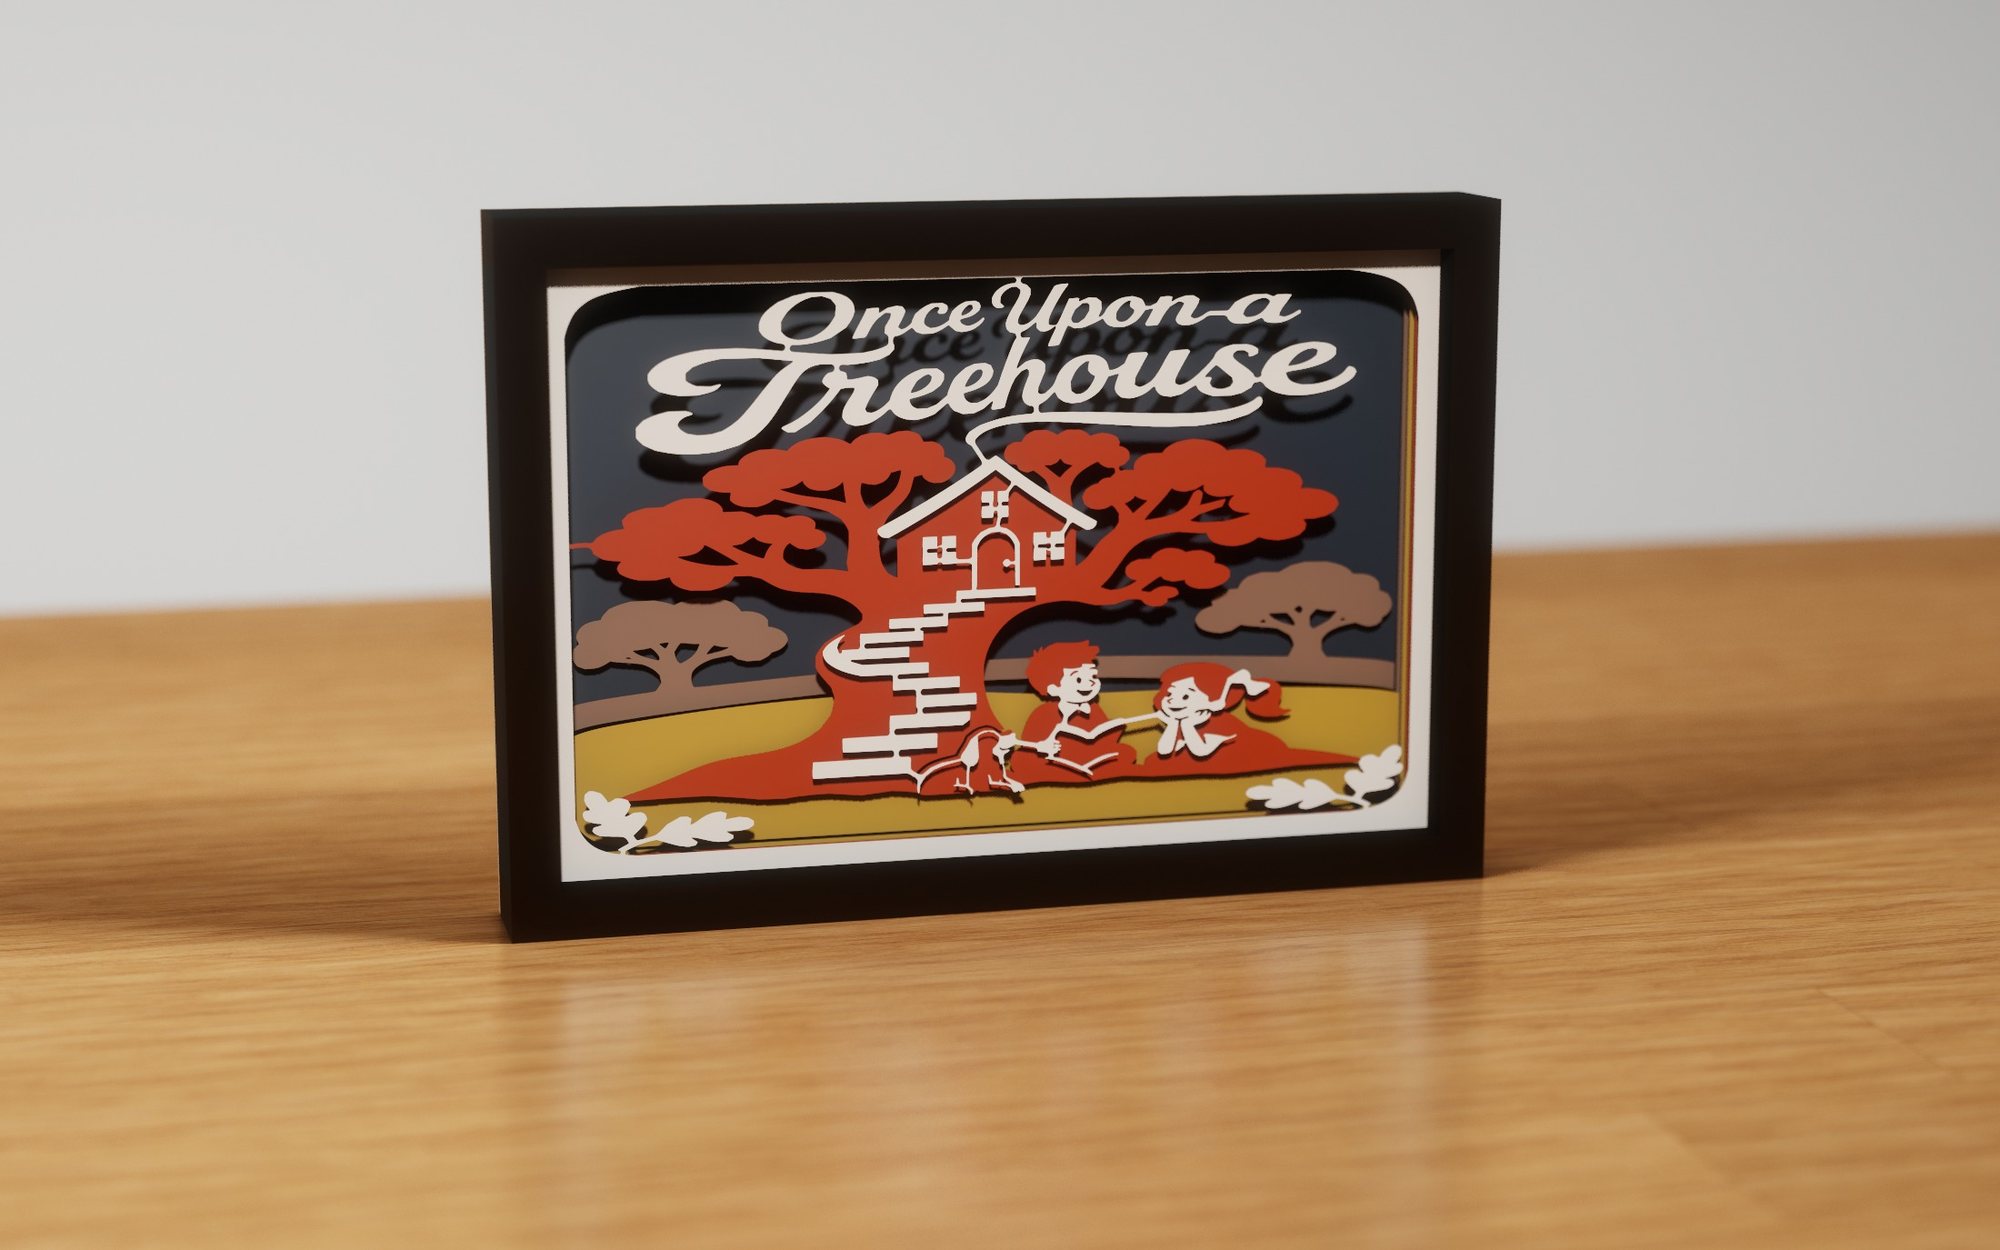 Once Upon a Treehouse
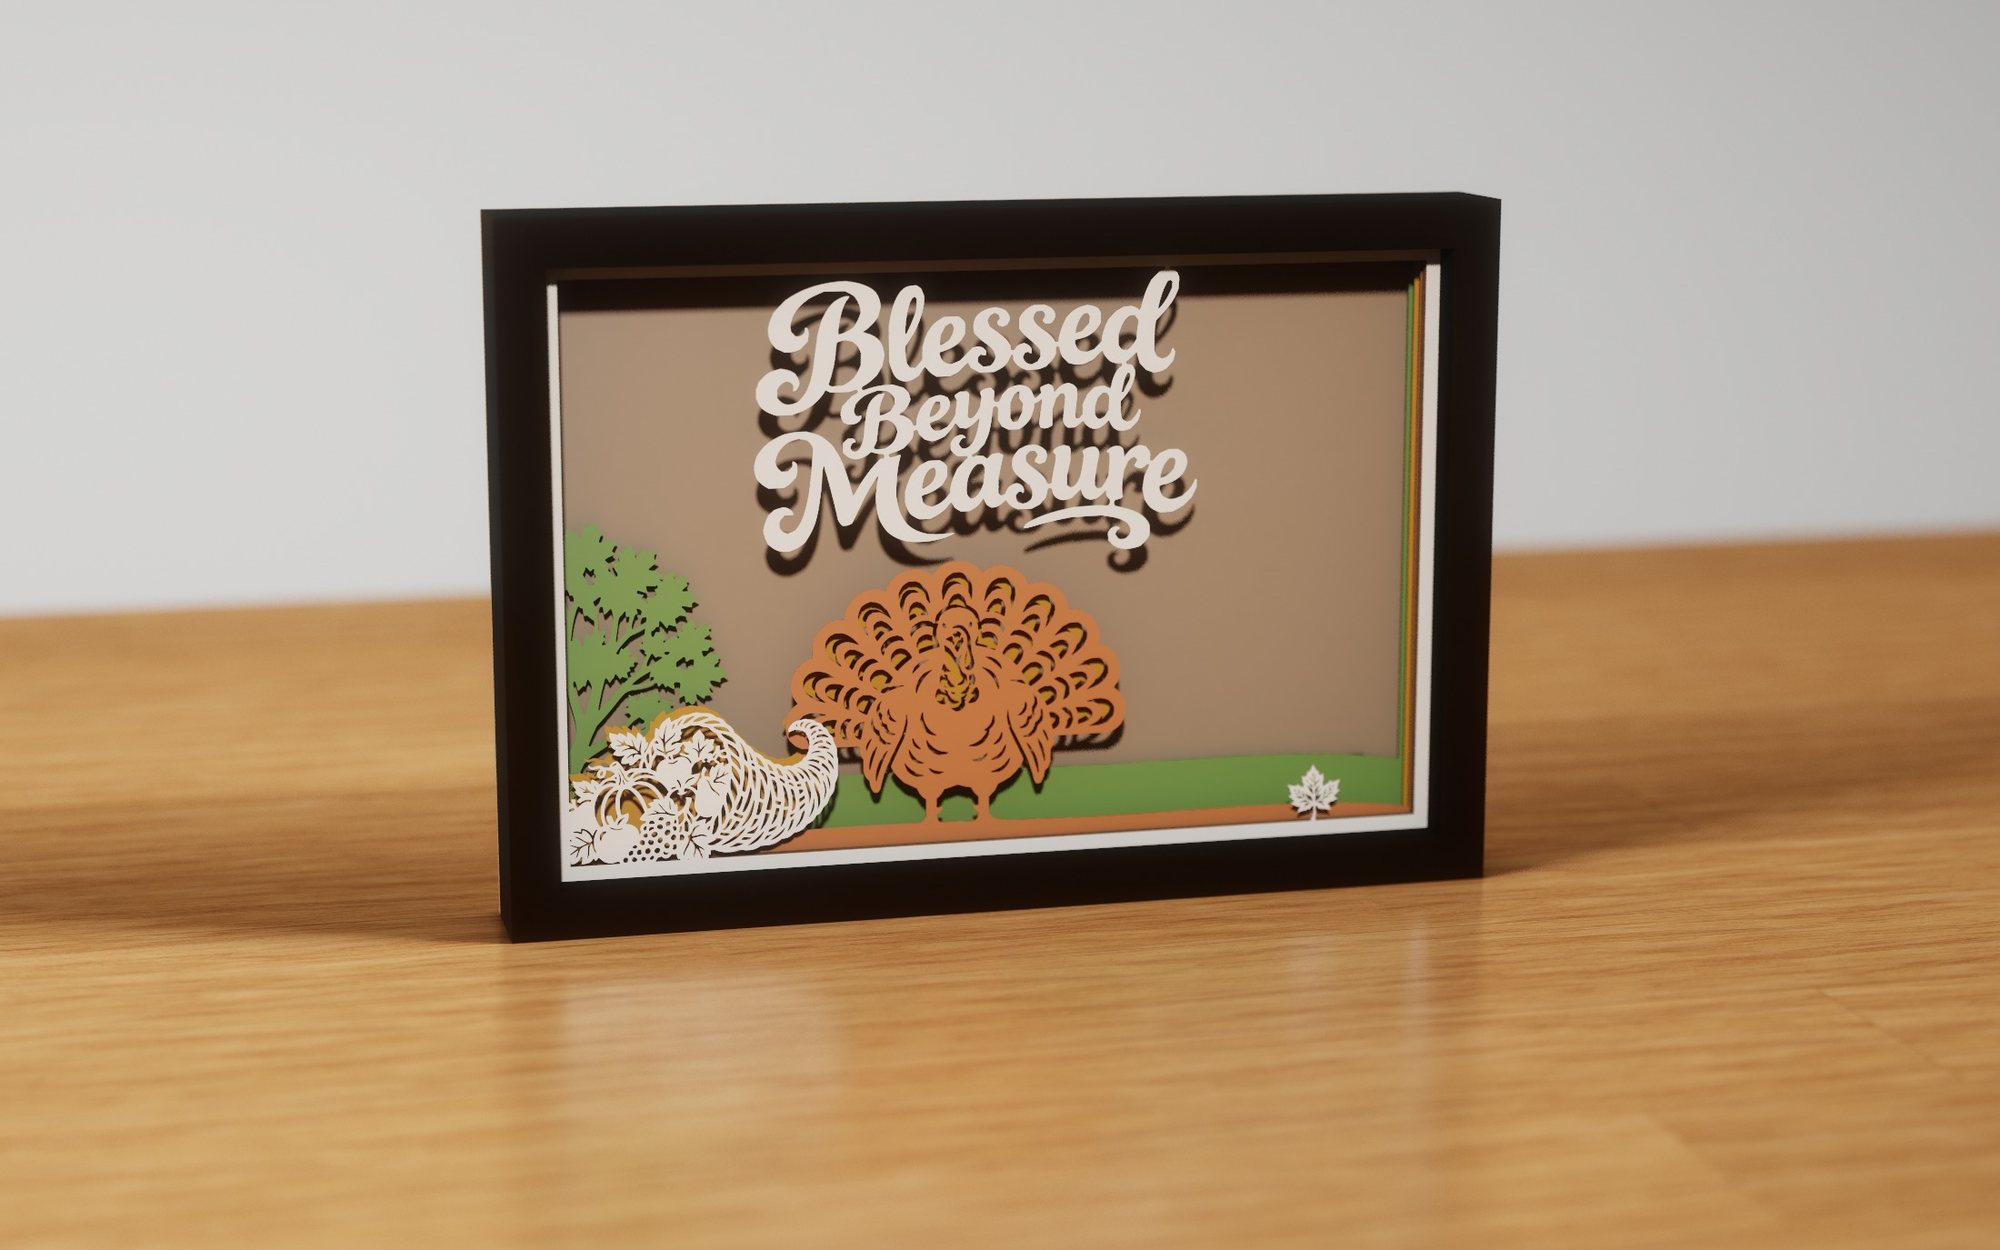 Grateful Gathering
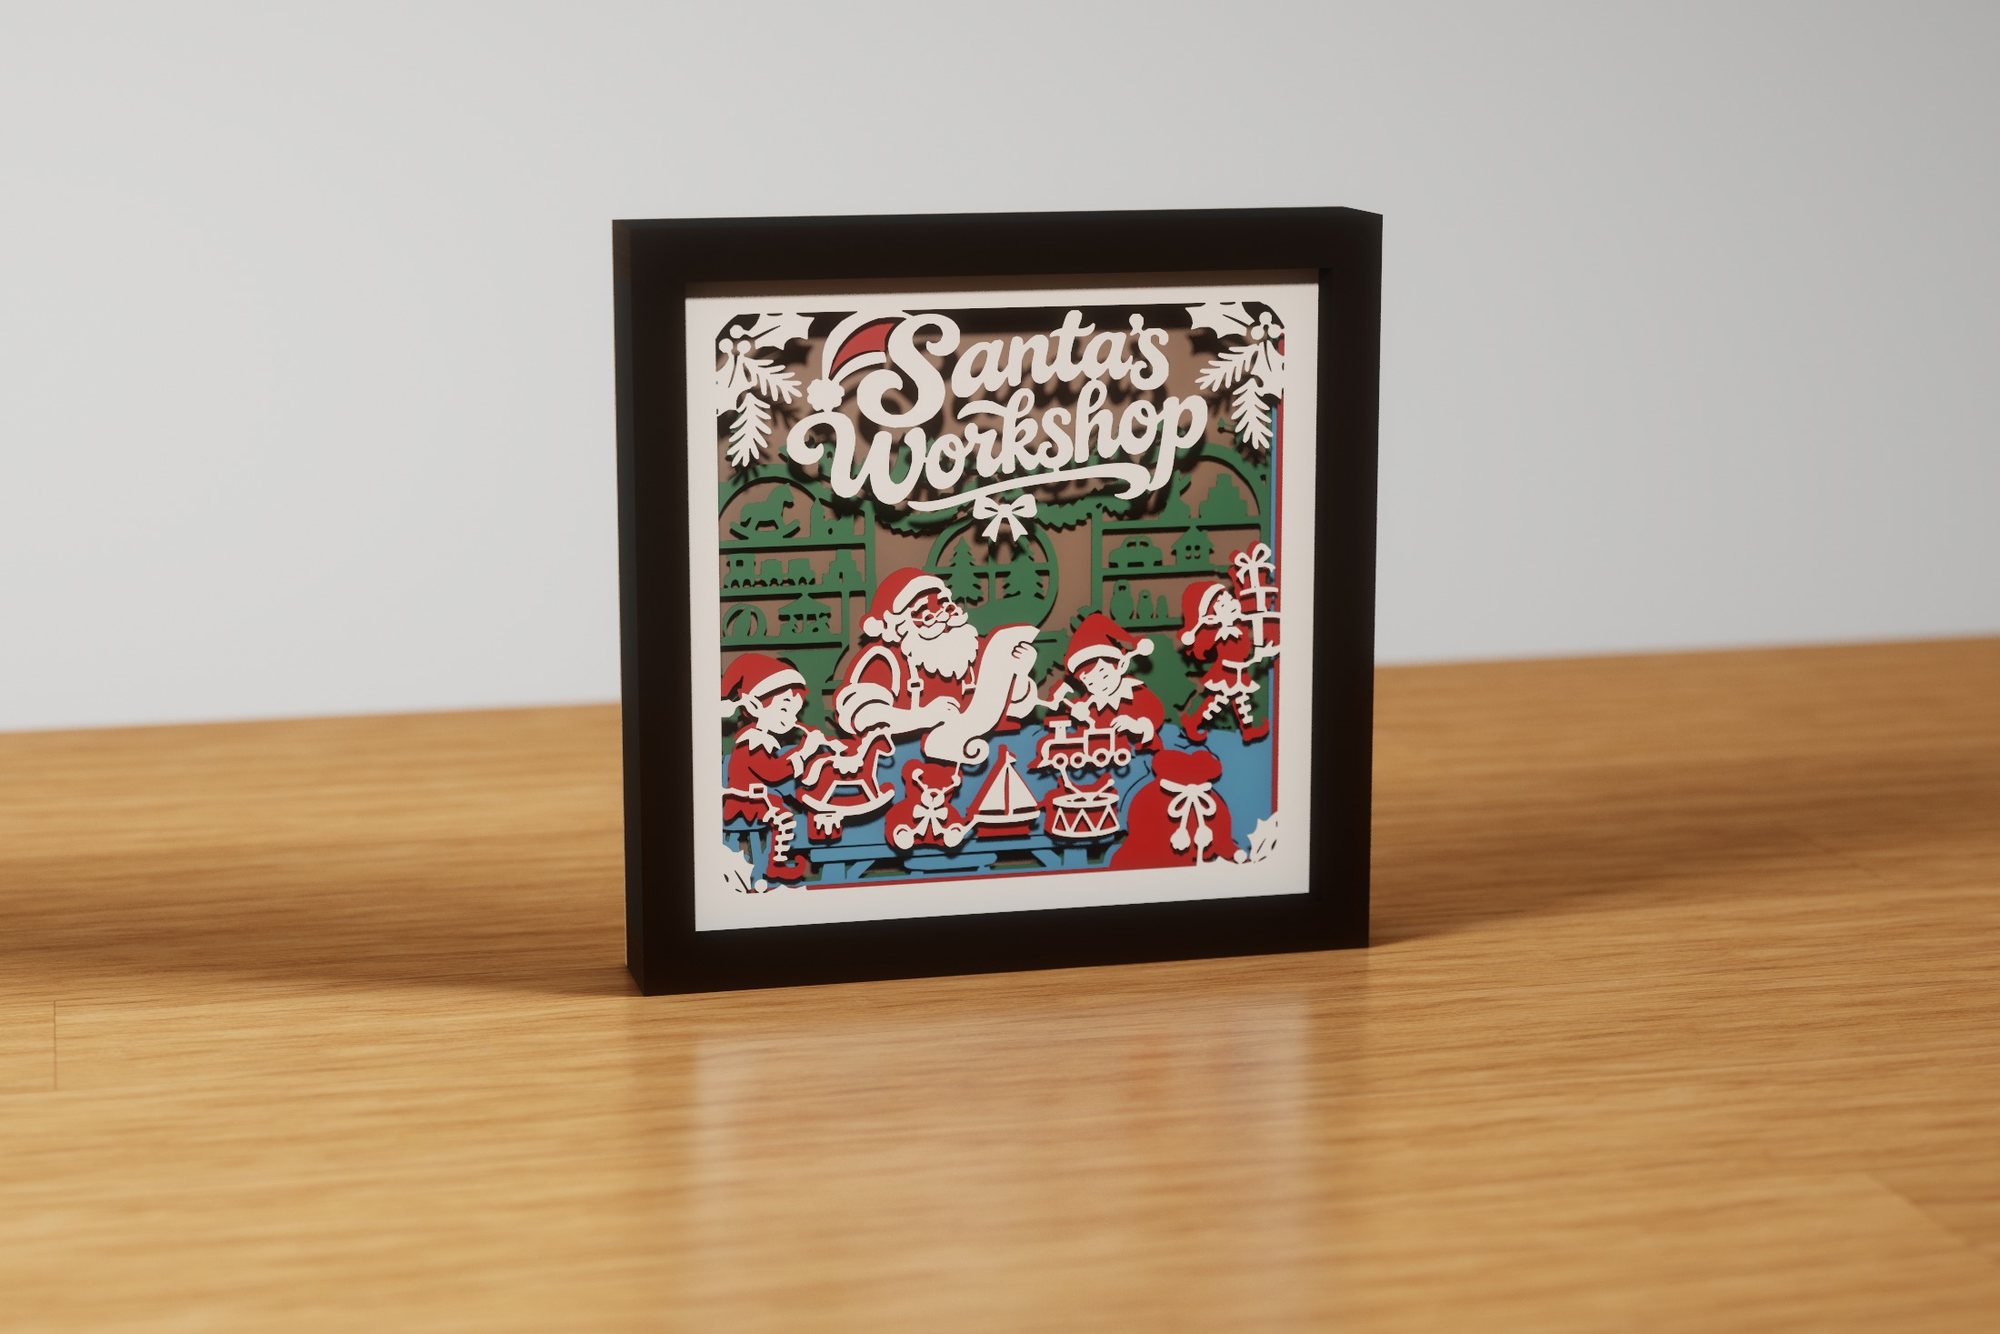 Santa's Workshop
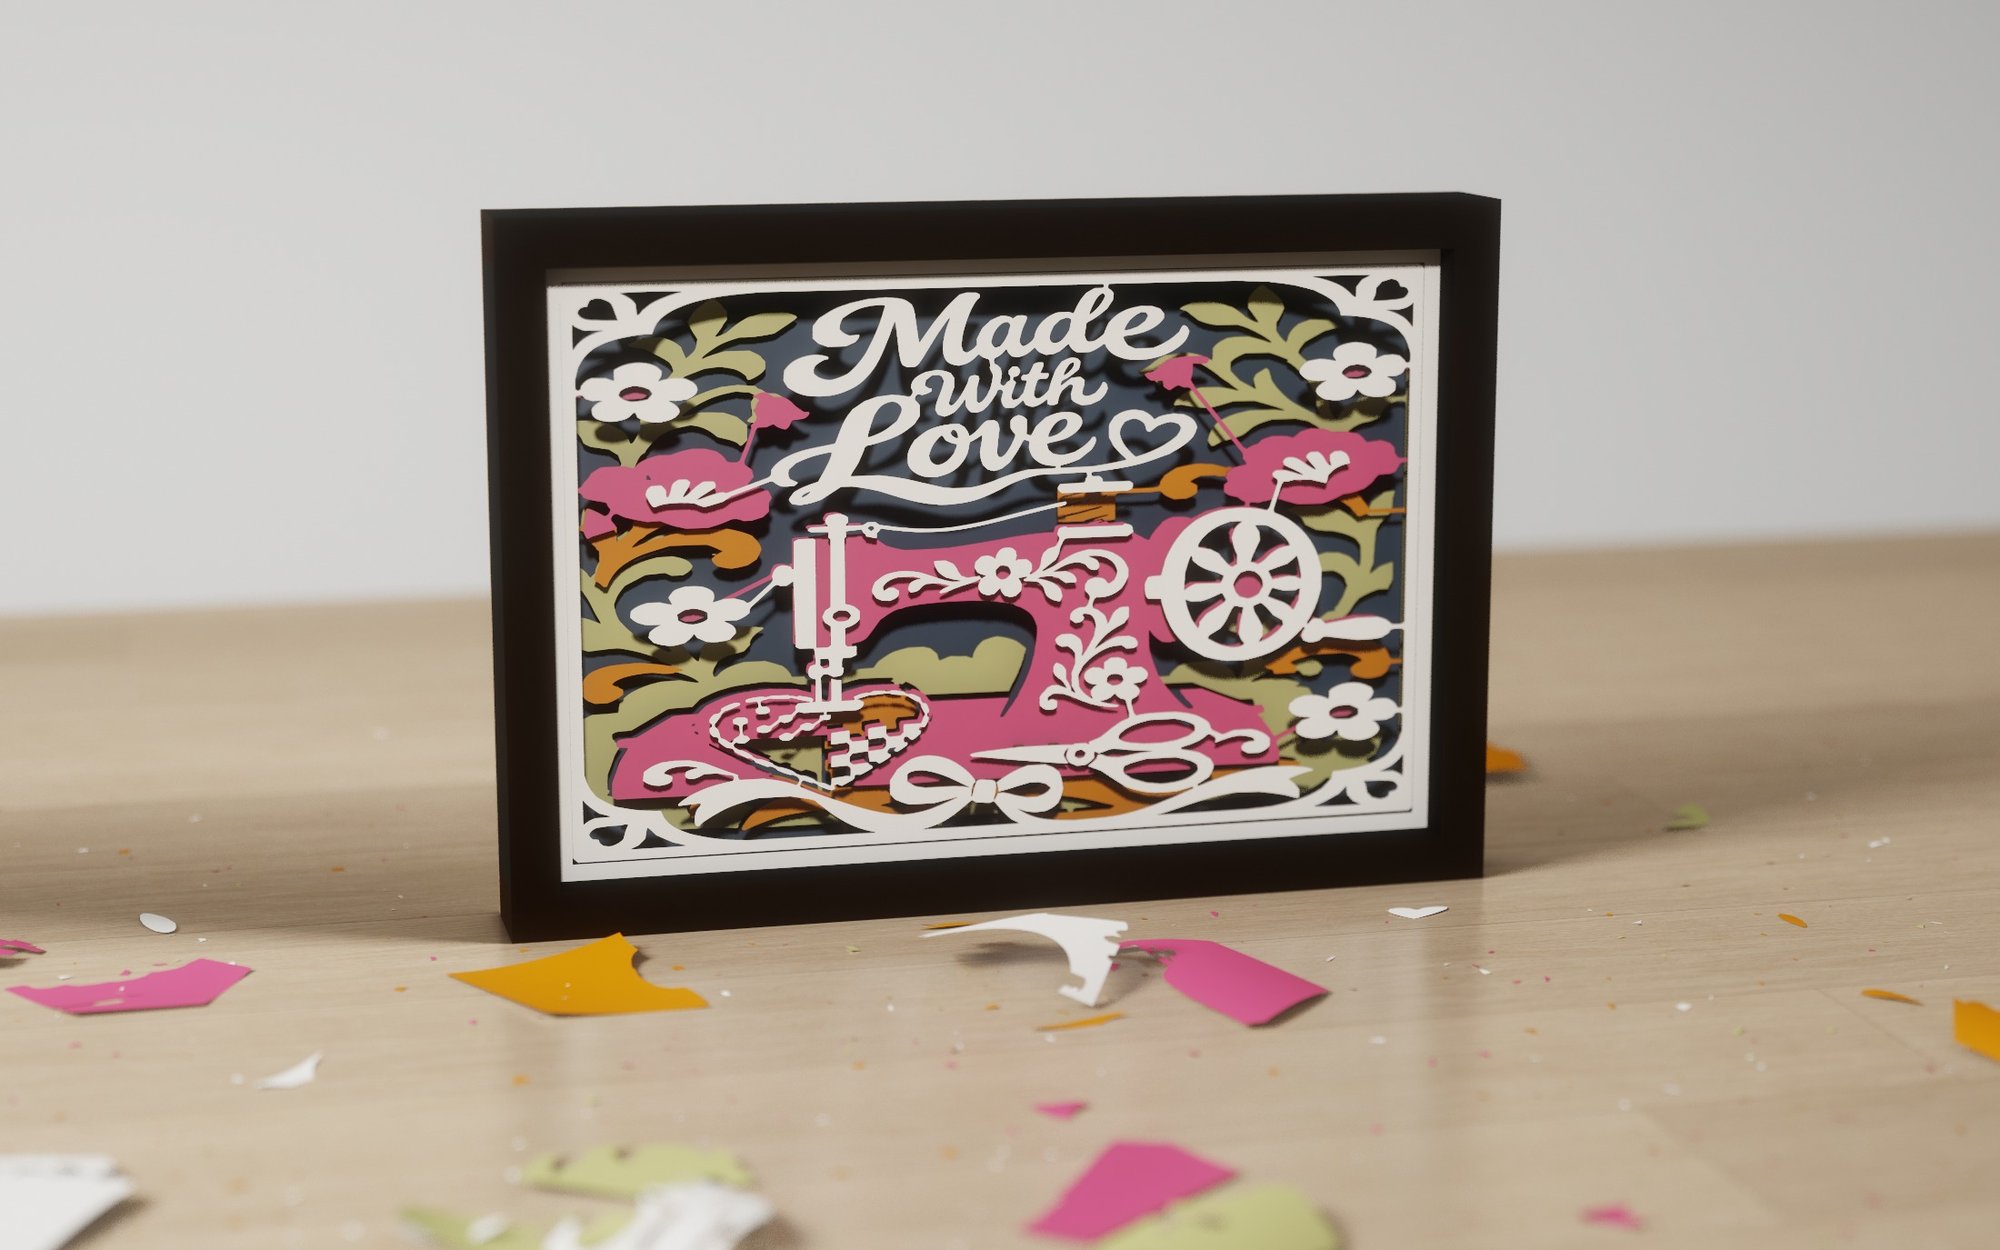 Made with Love 2
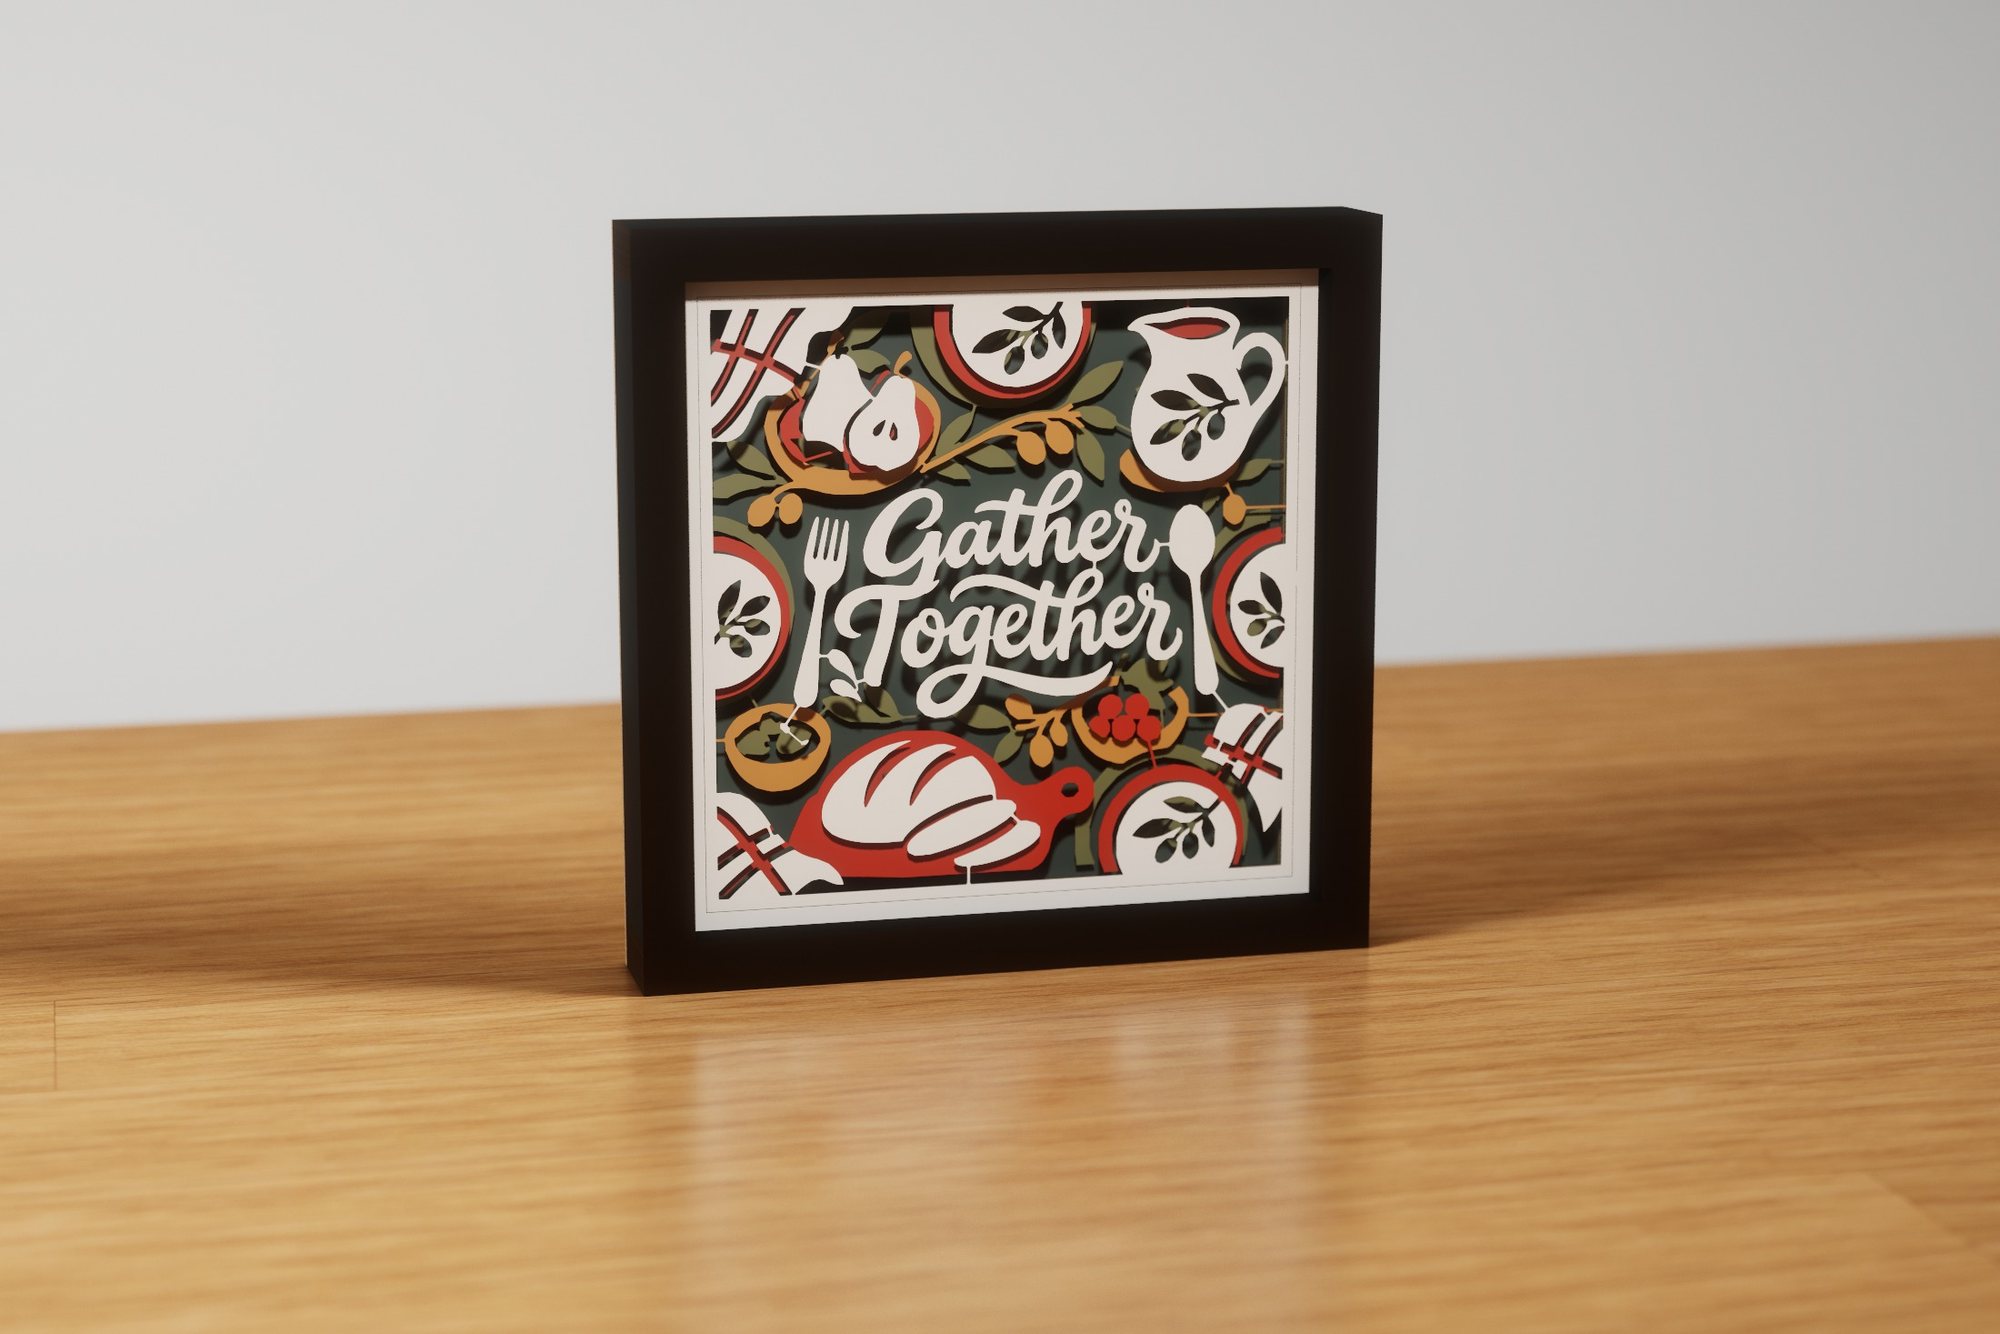 Gather Together
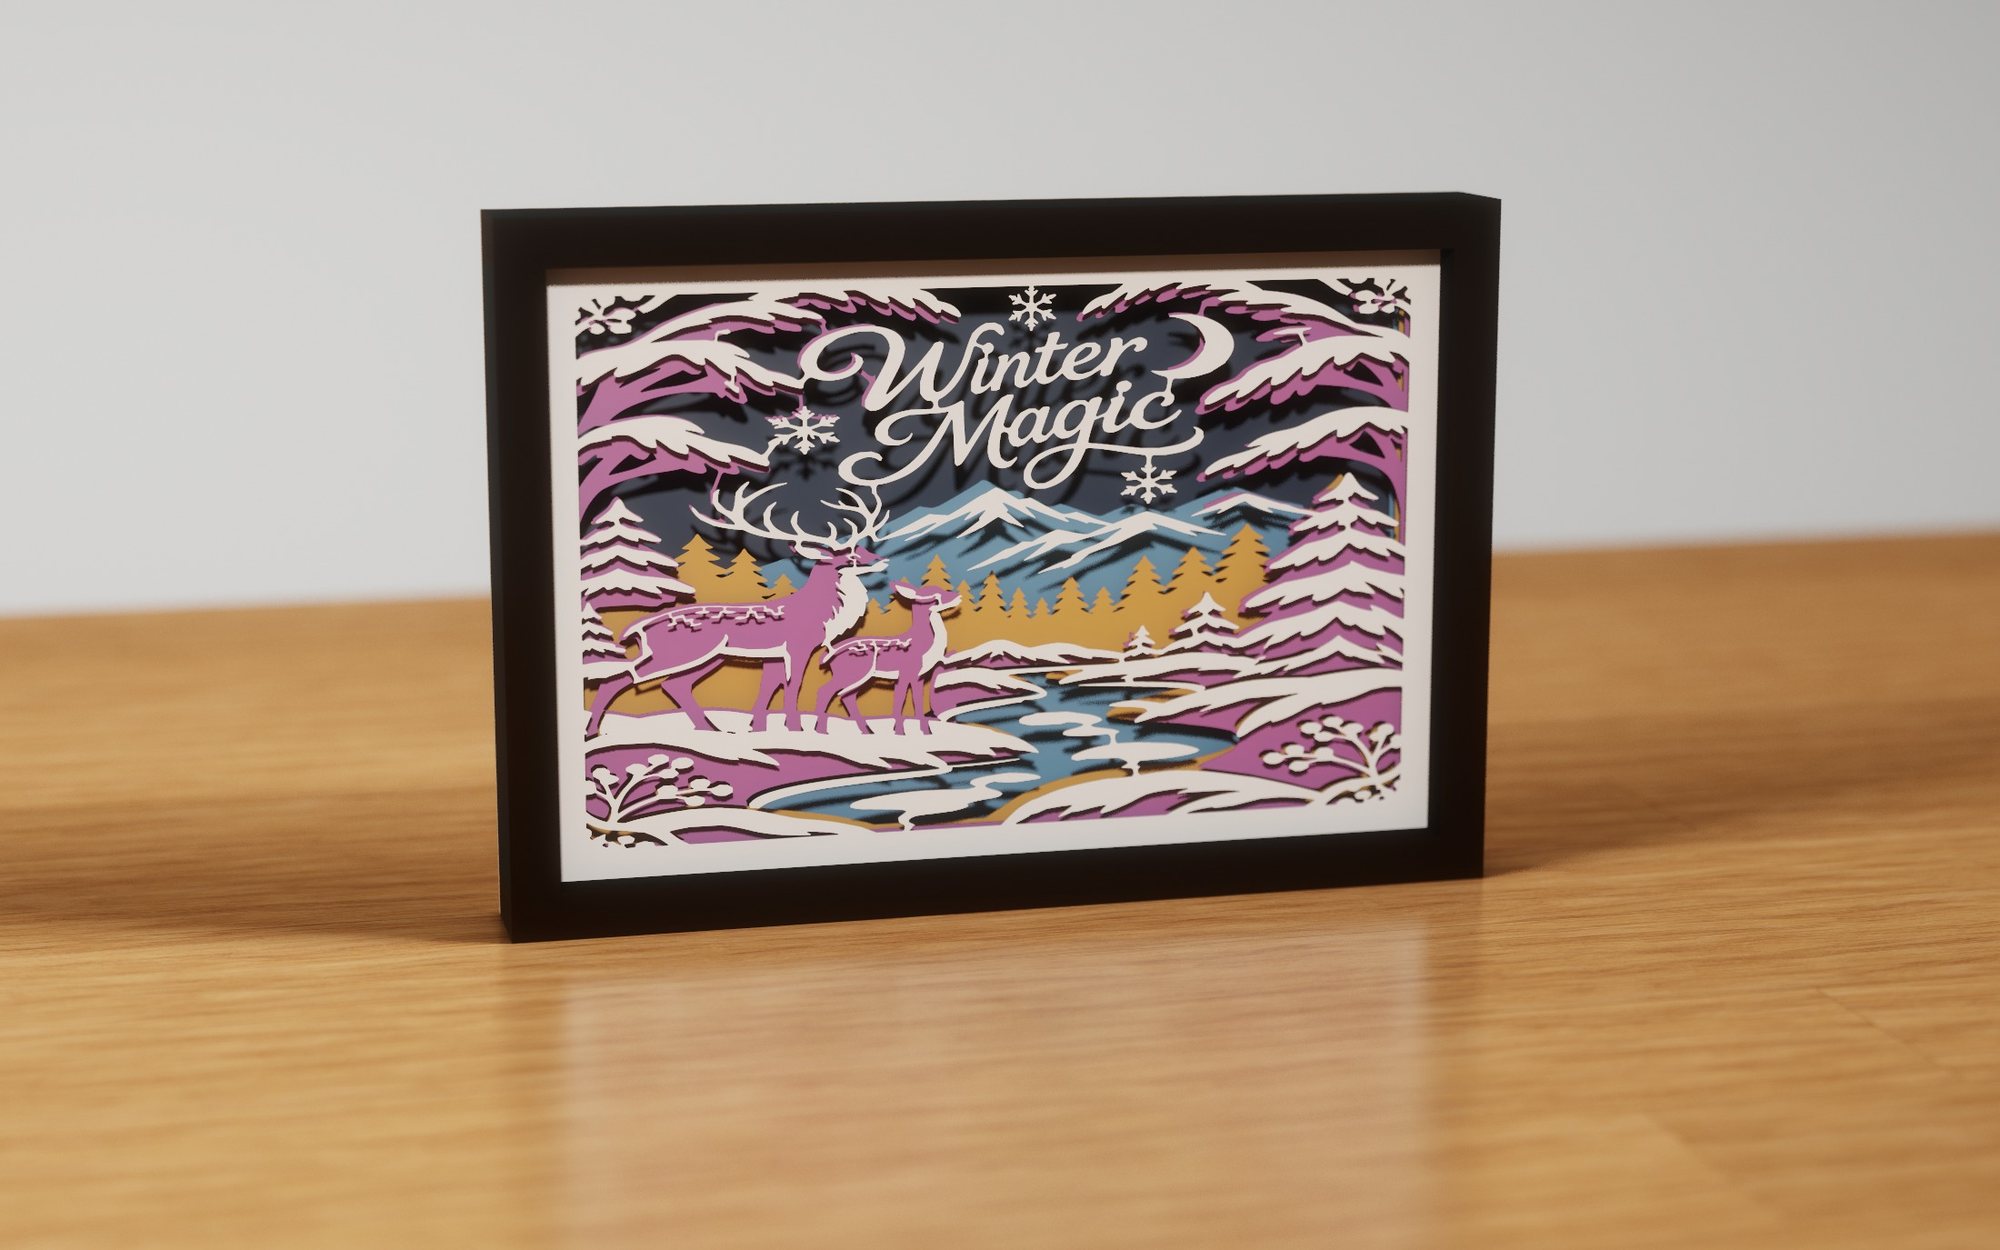 Winter Magic
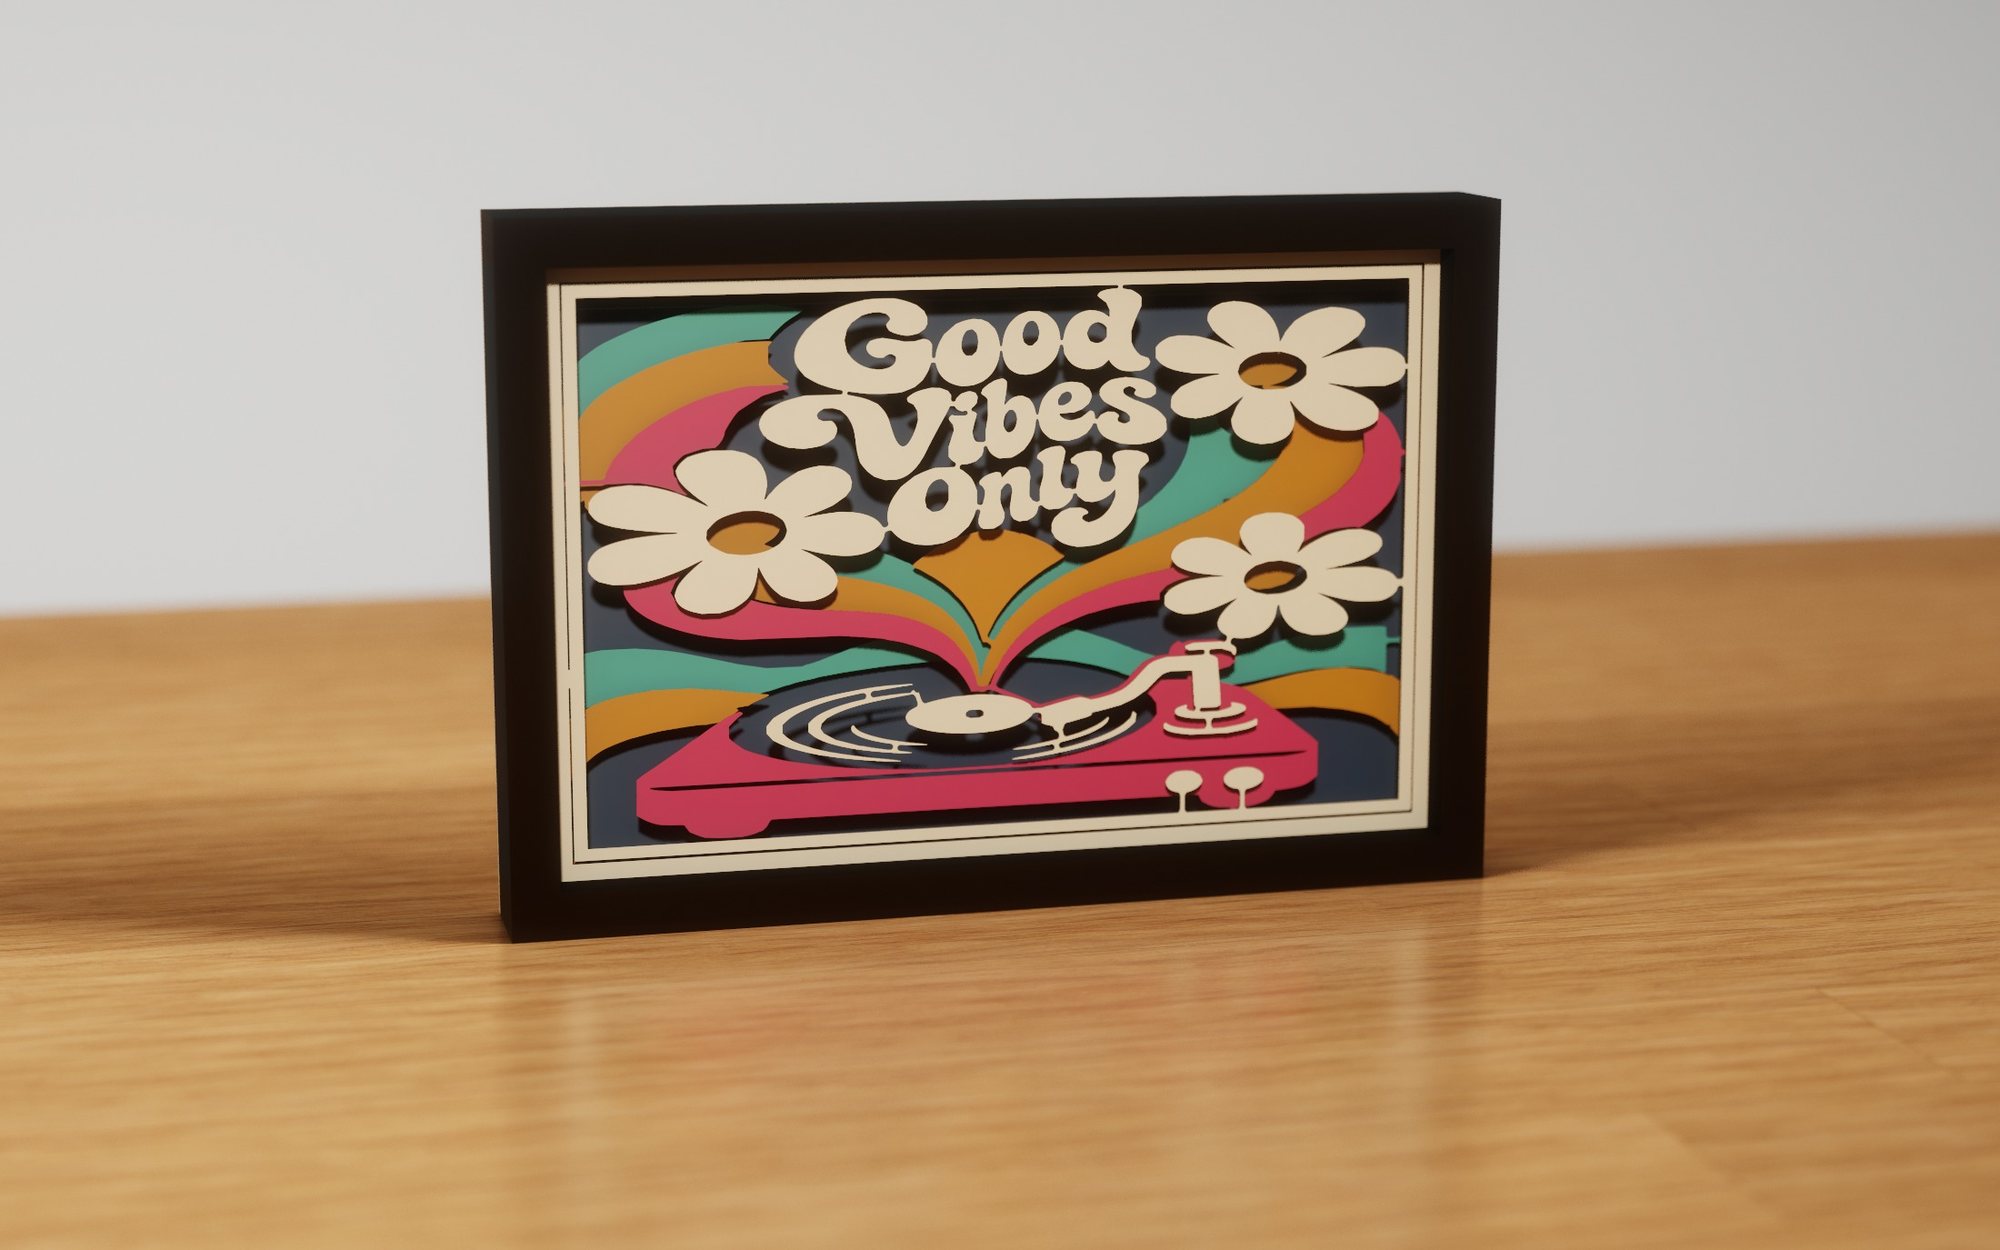 Good Vibes Only
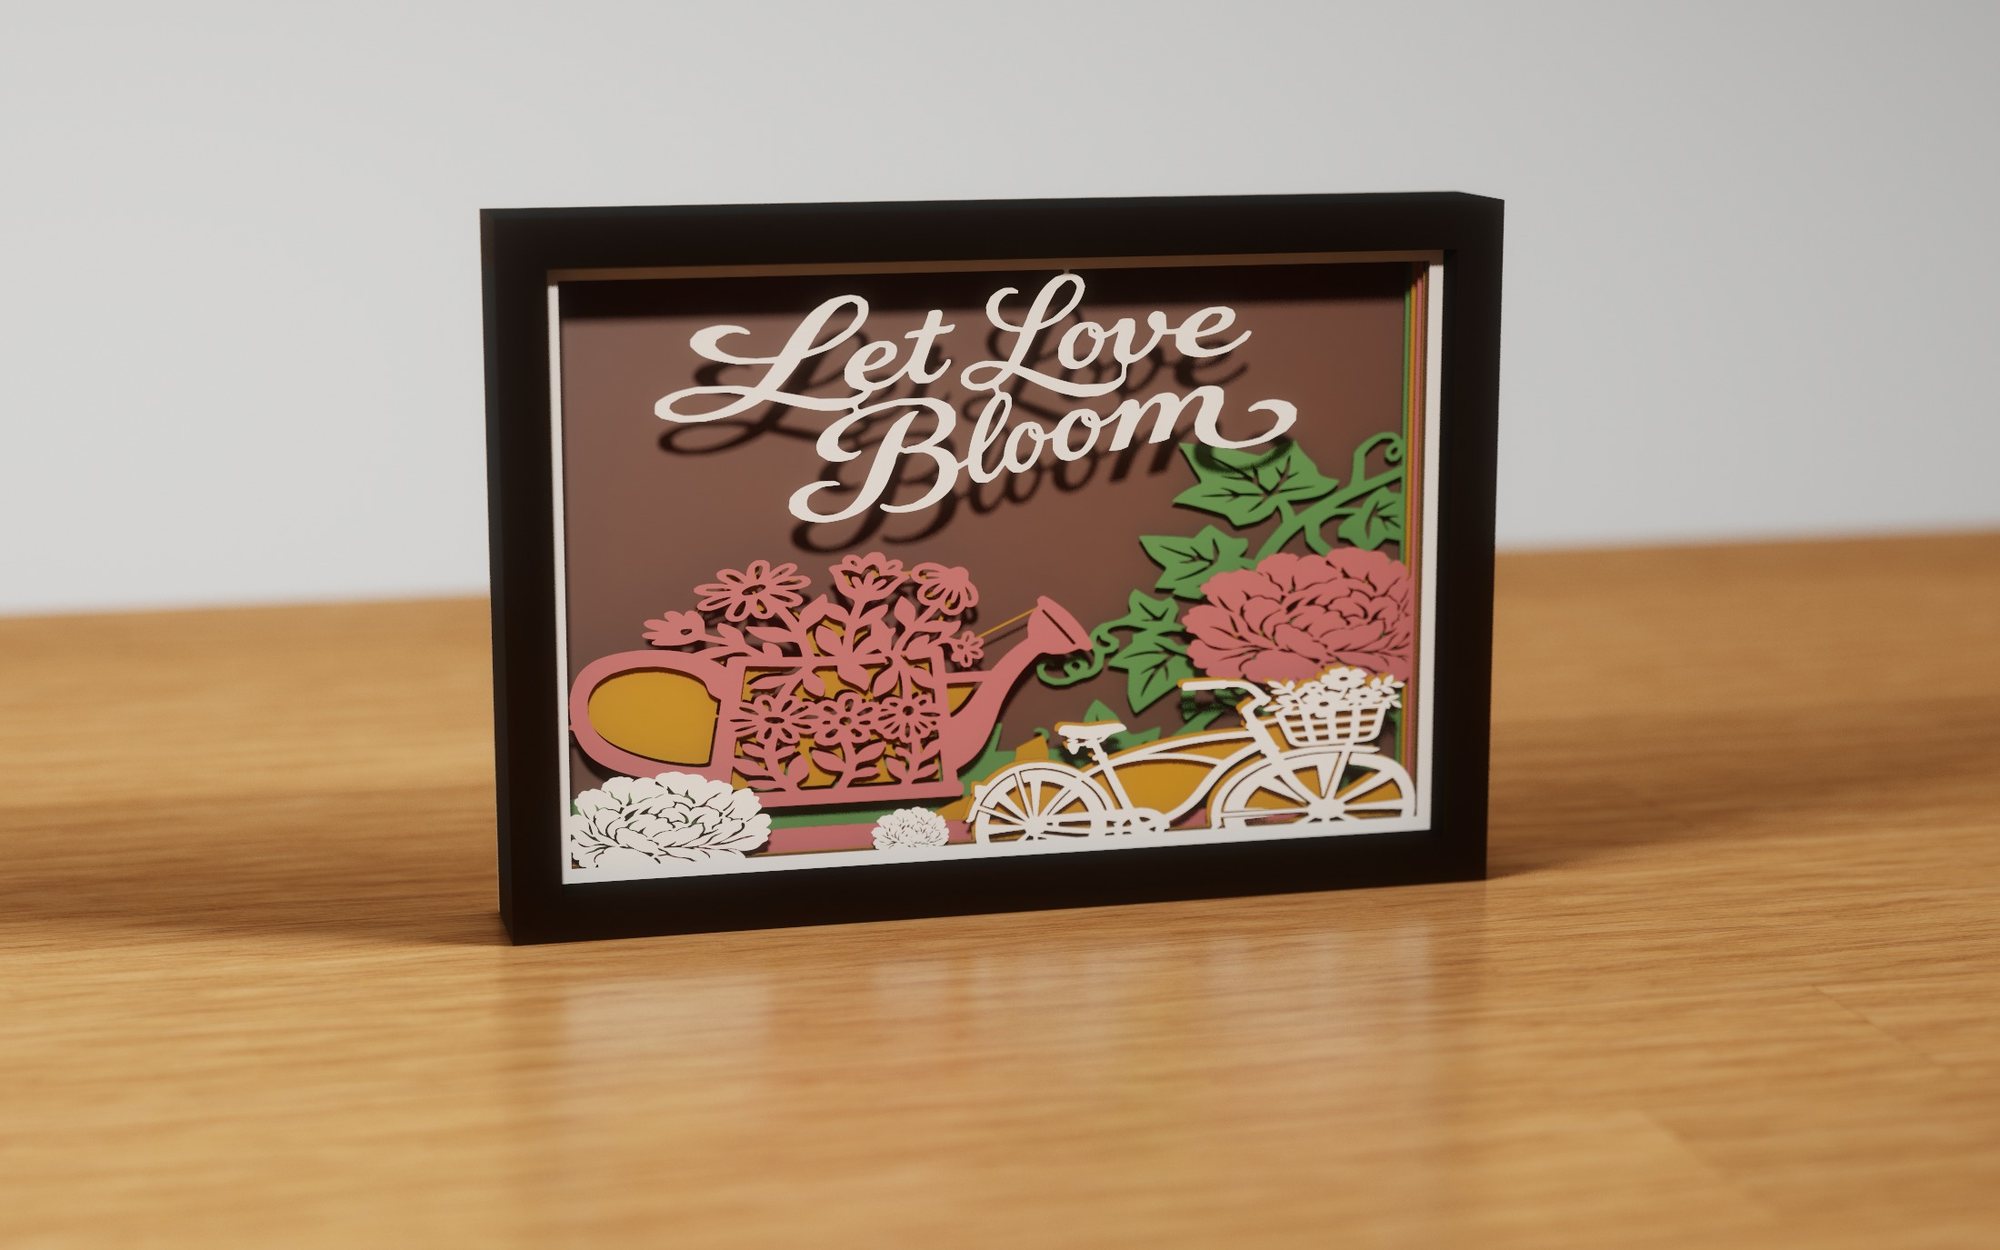 Blooming Joy
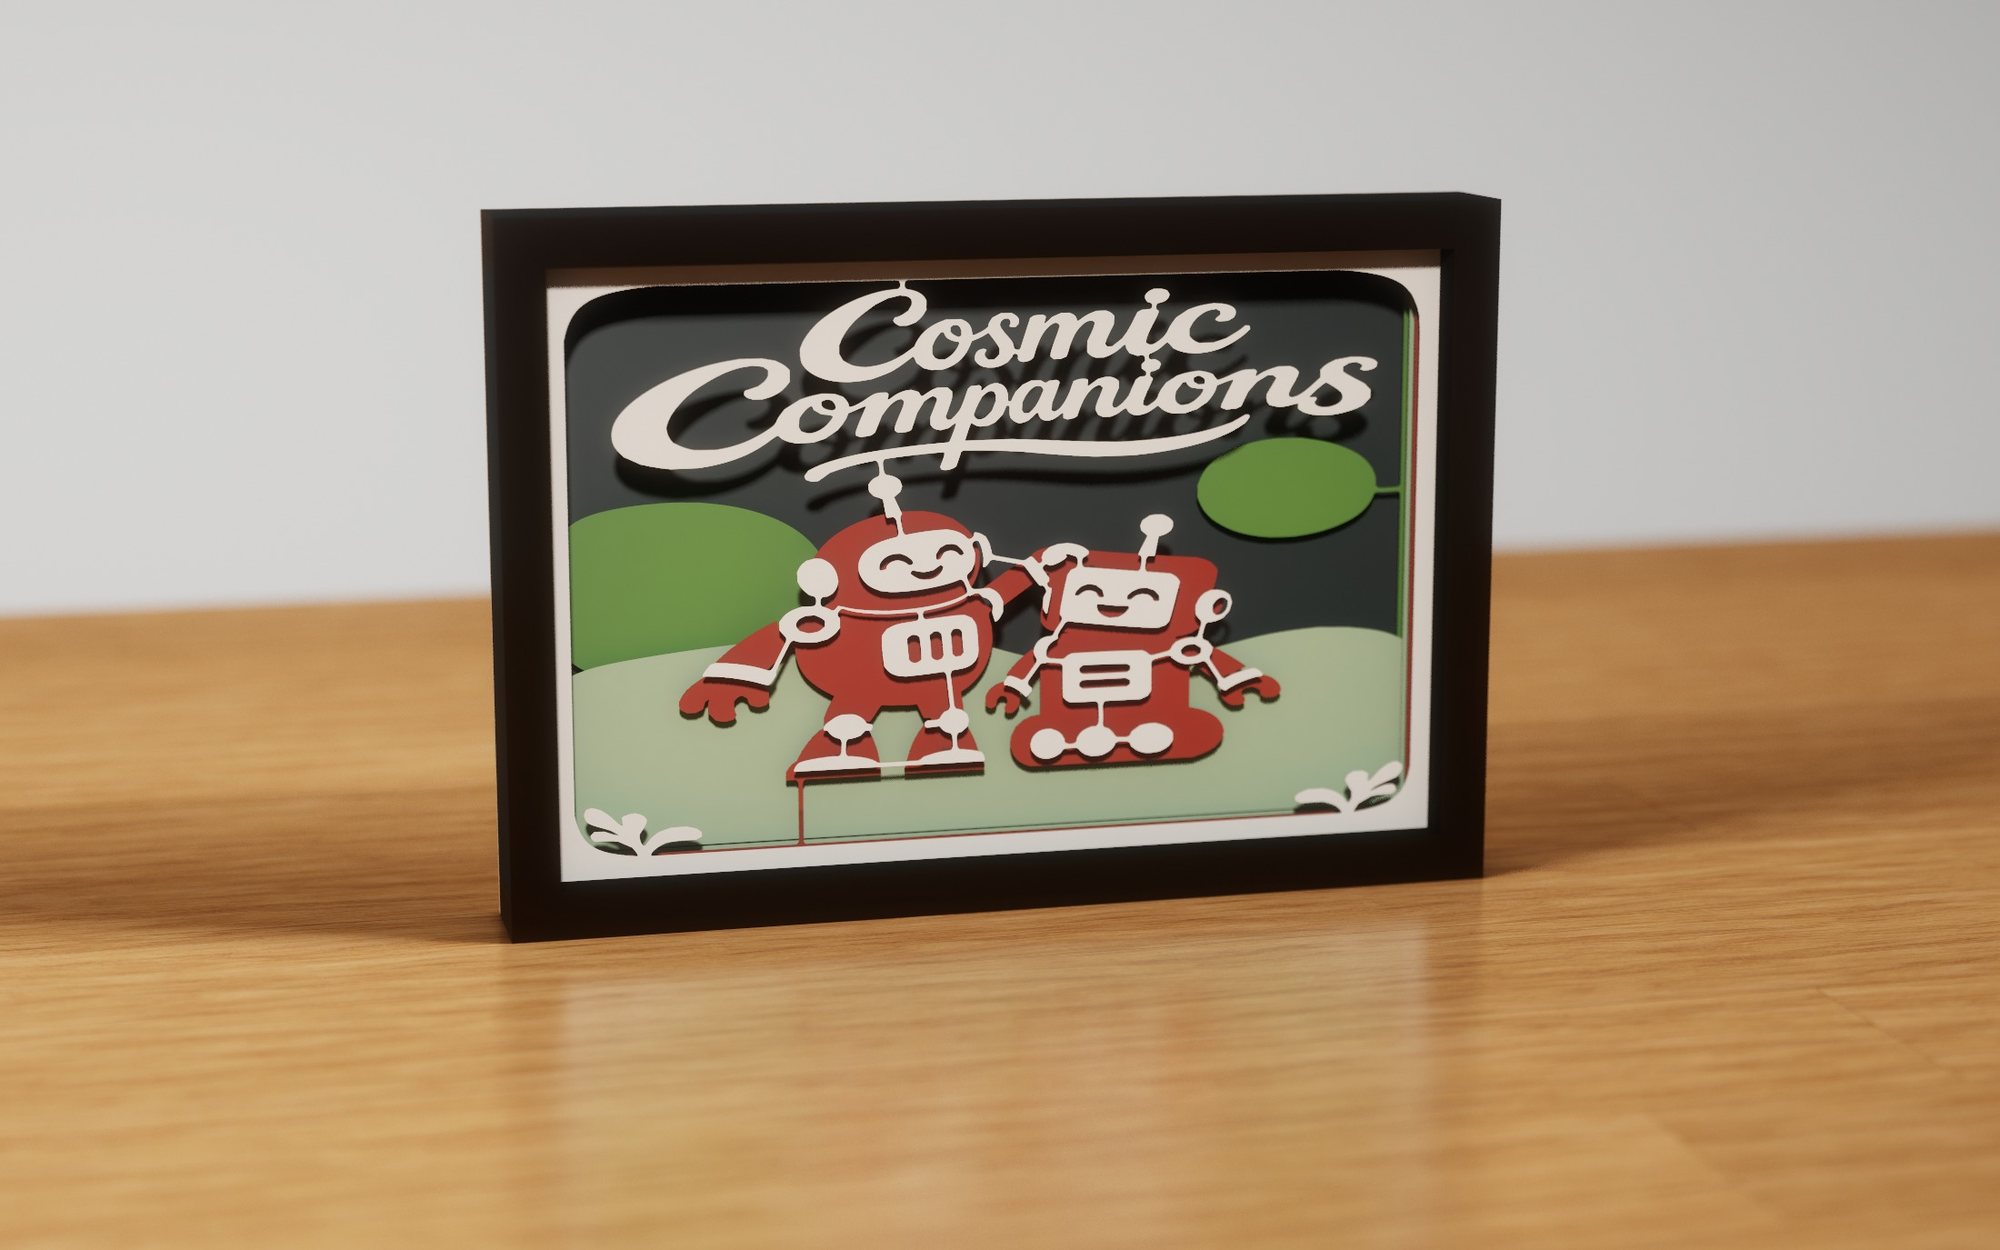 Cosmic Companions
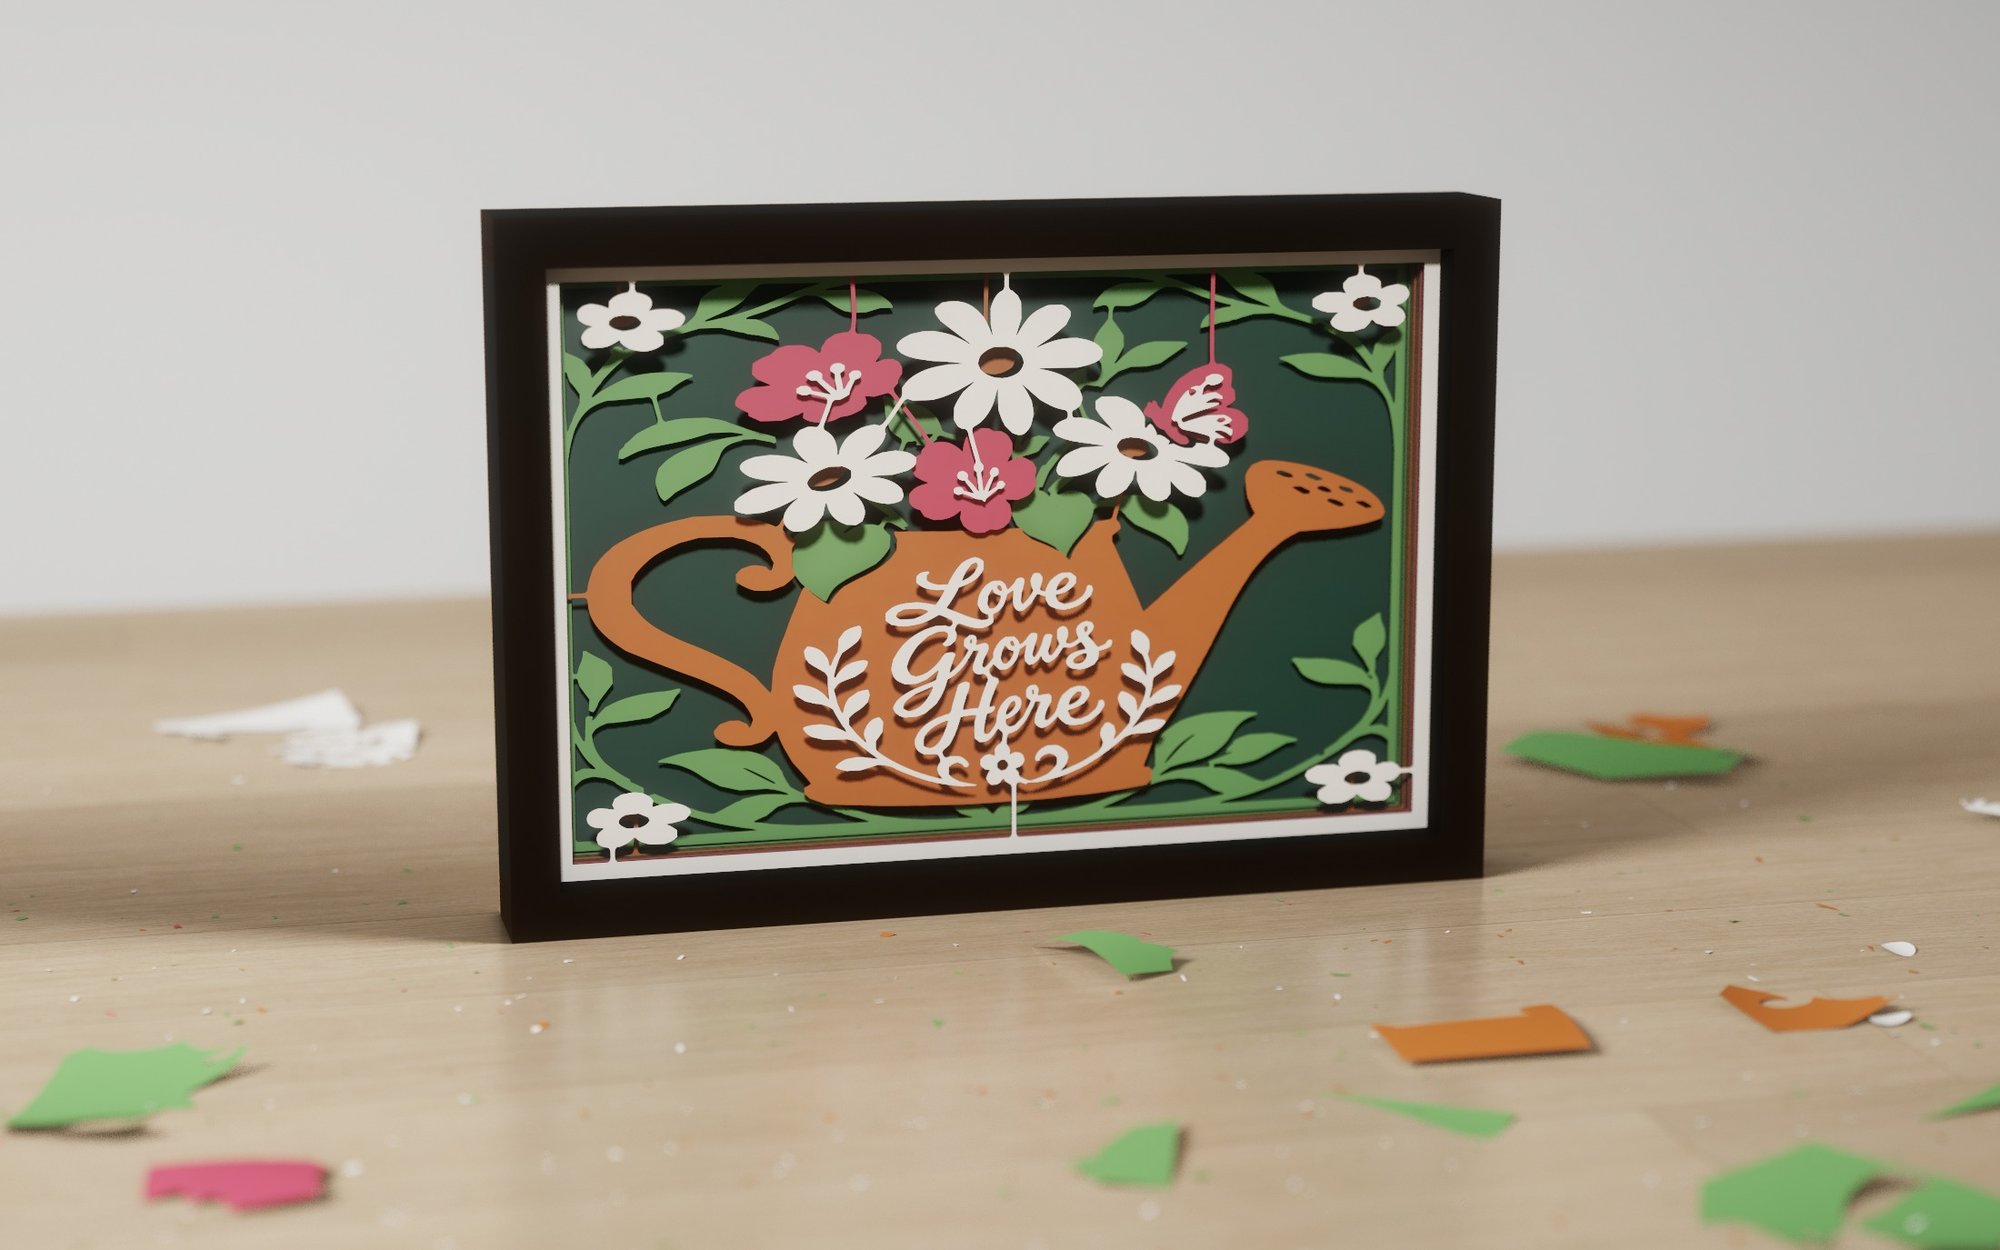 Love Grows Here
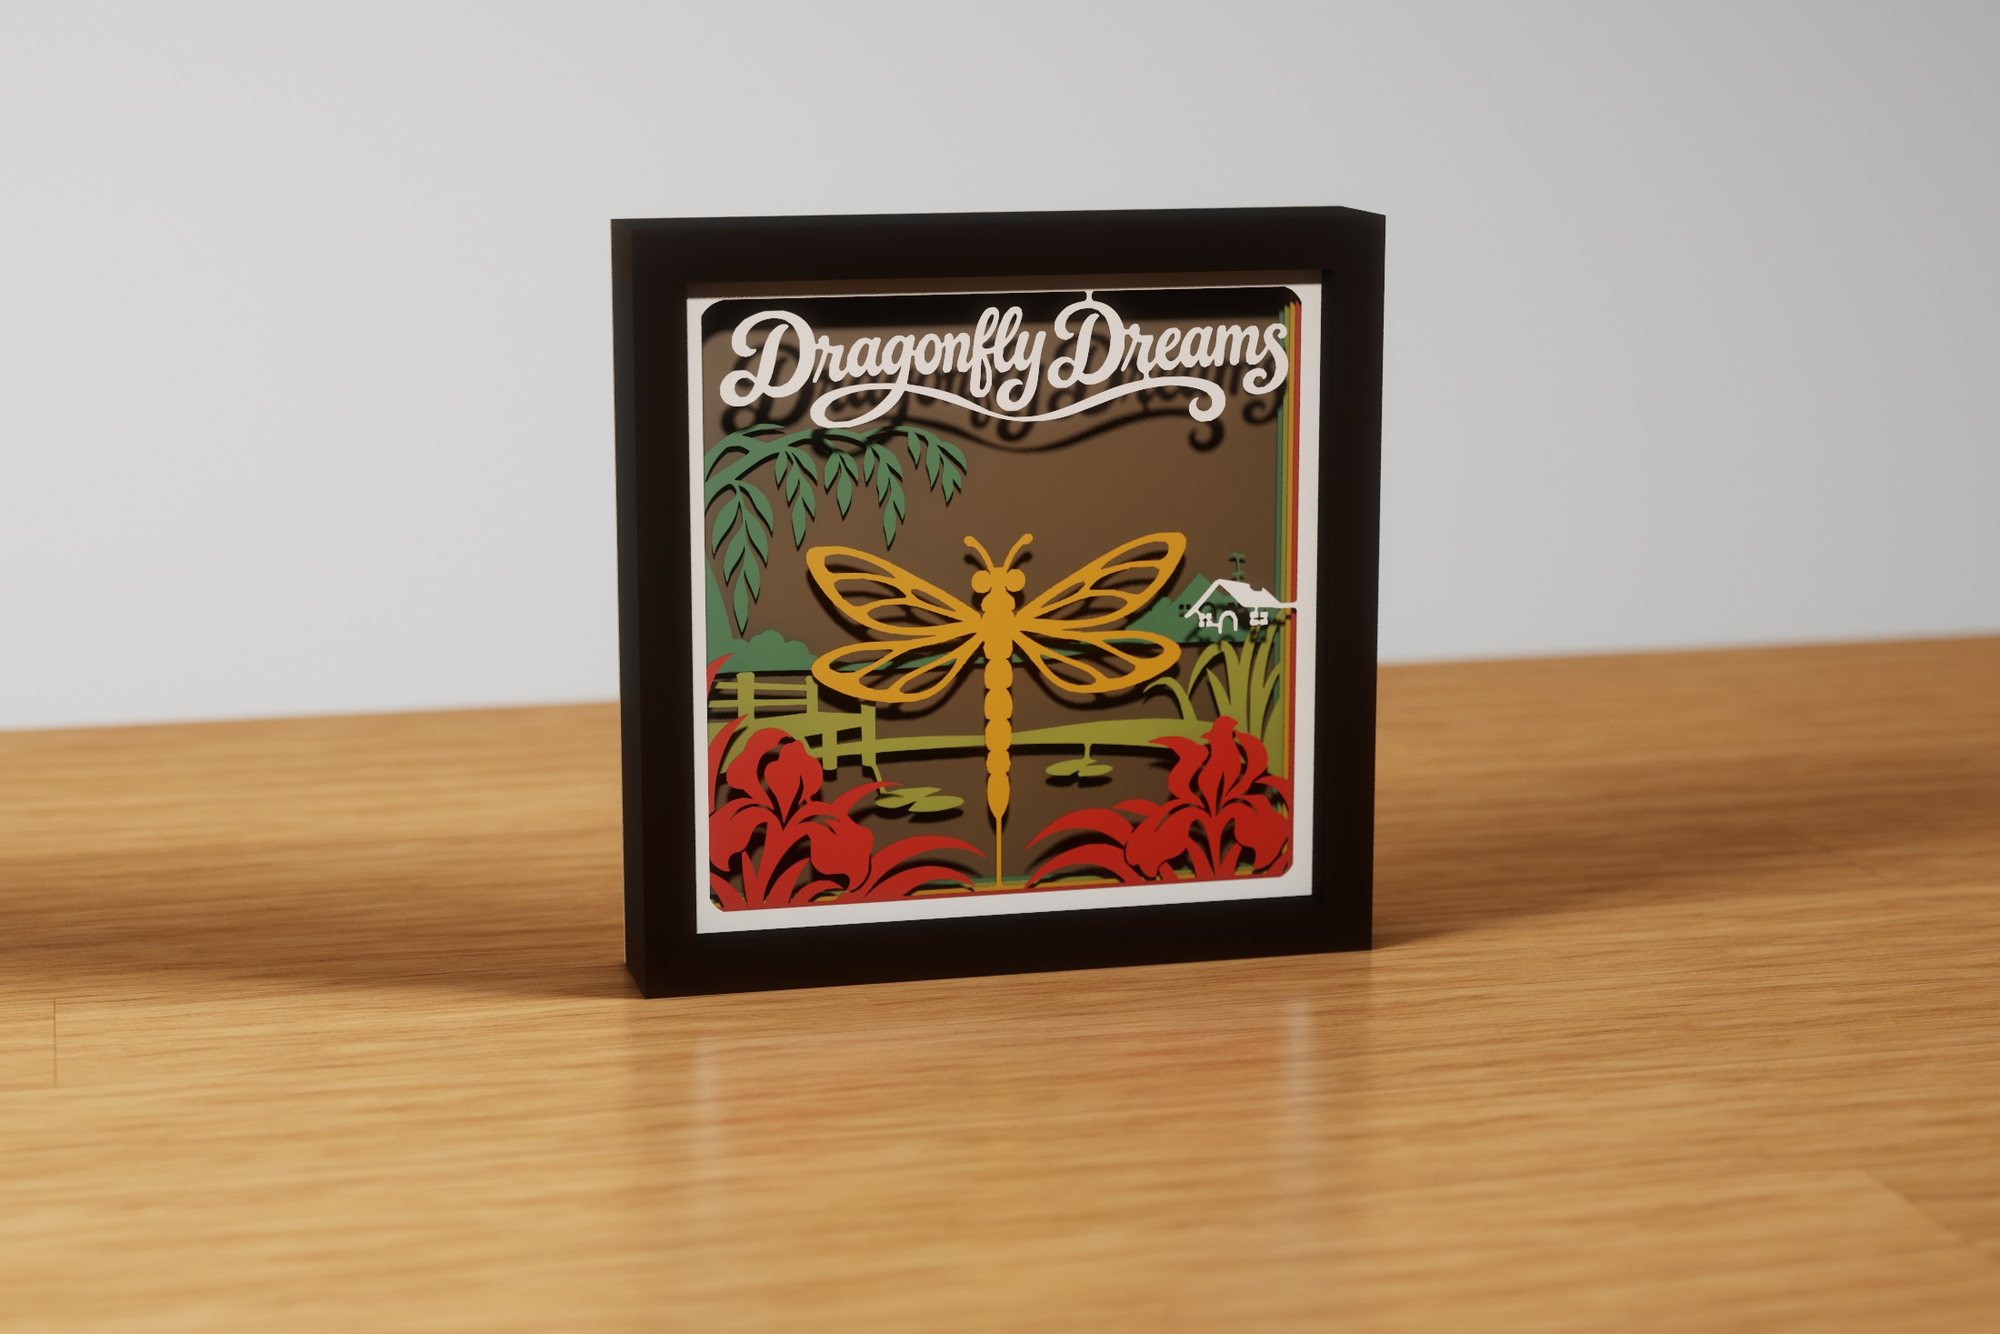 Dragonfly Dreams
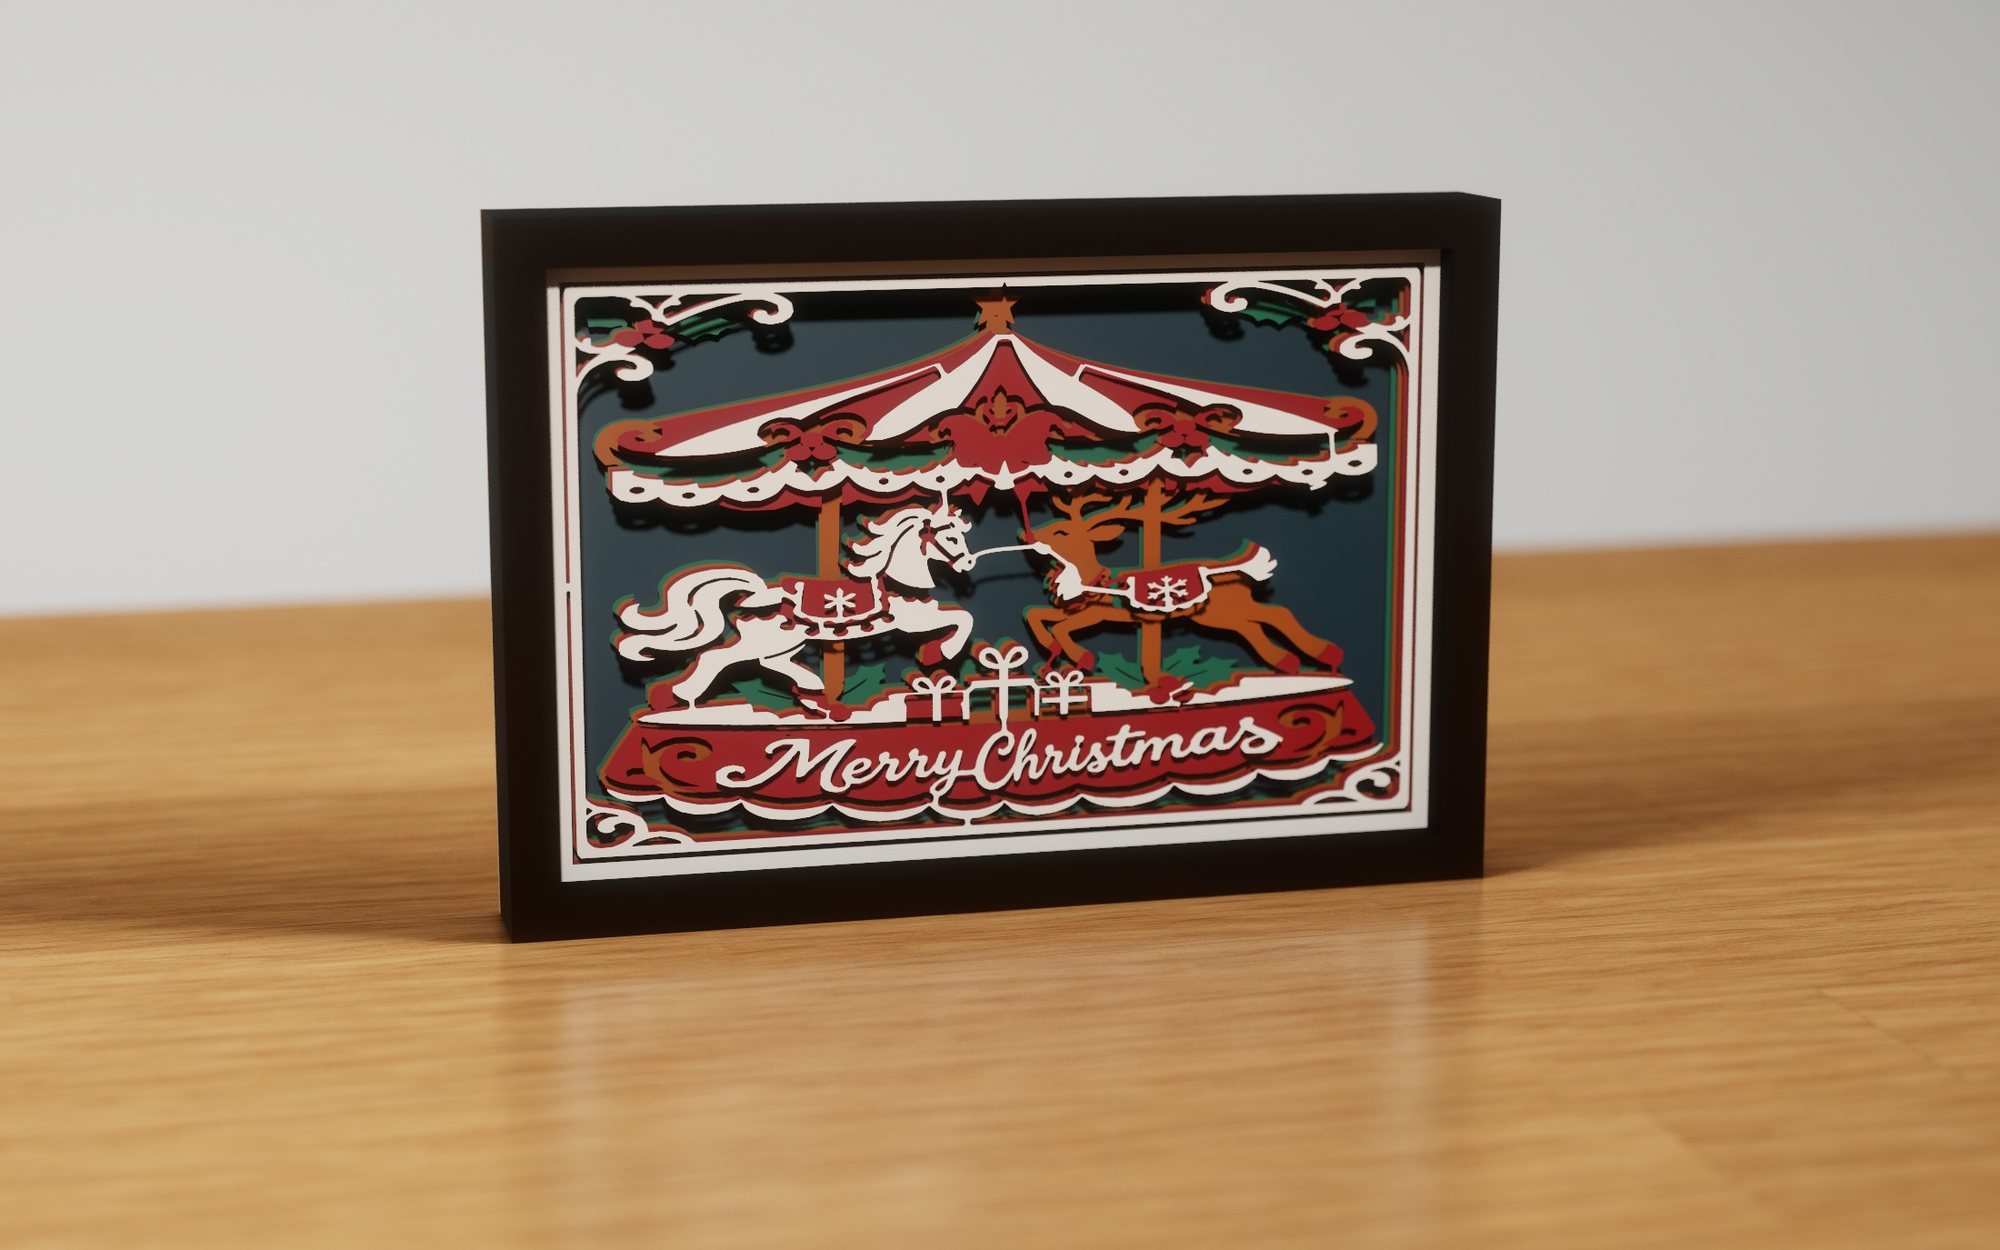 Christmas Carousel
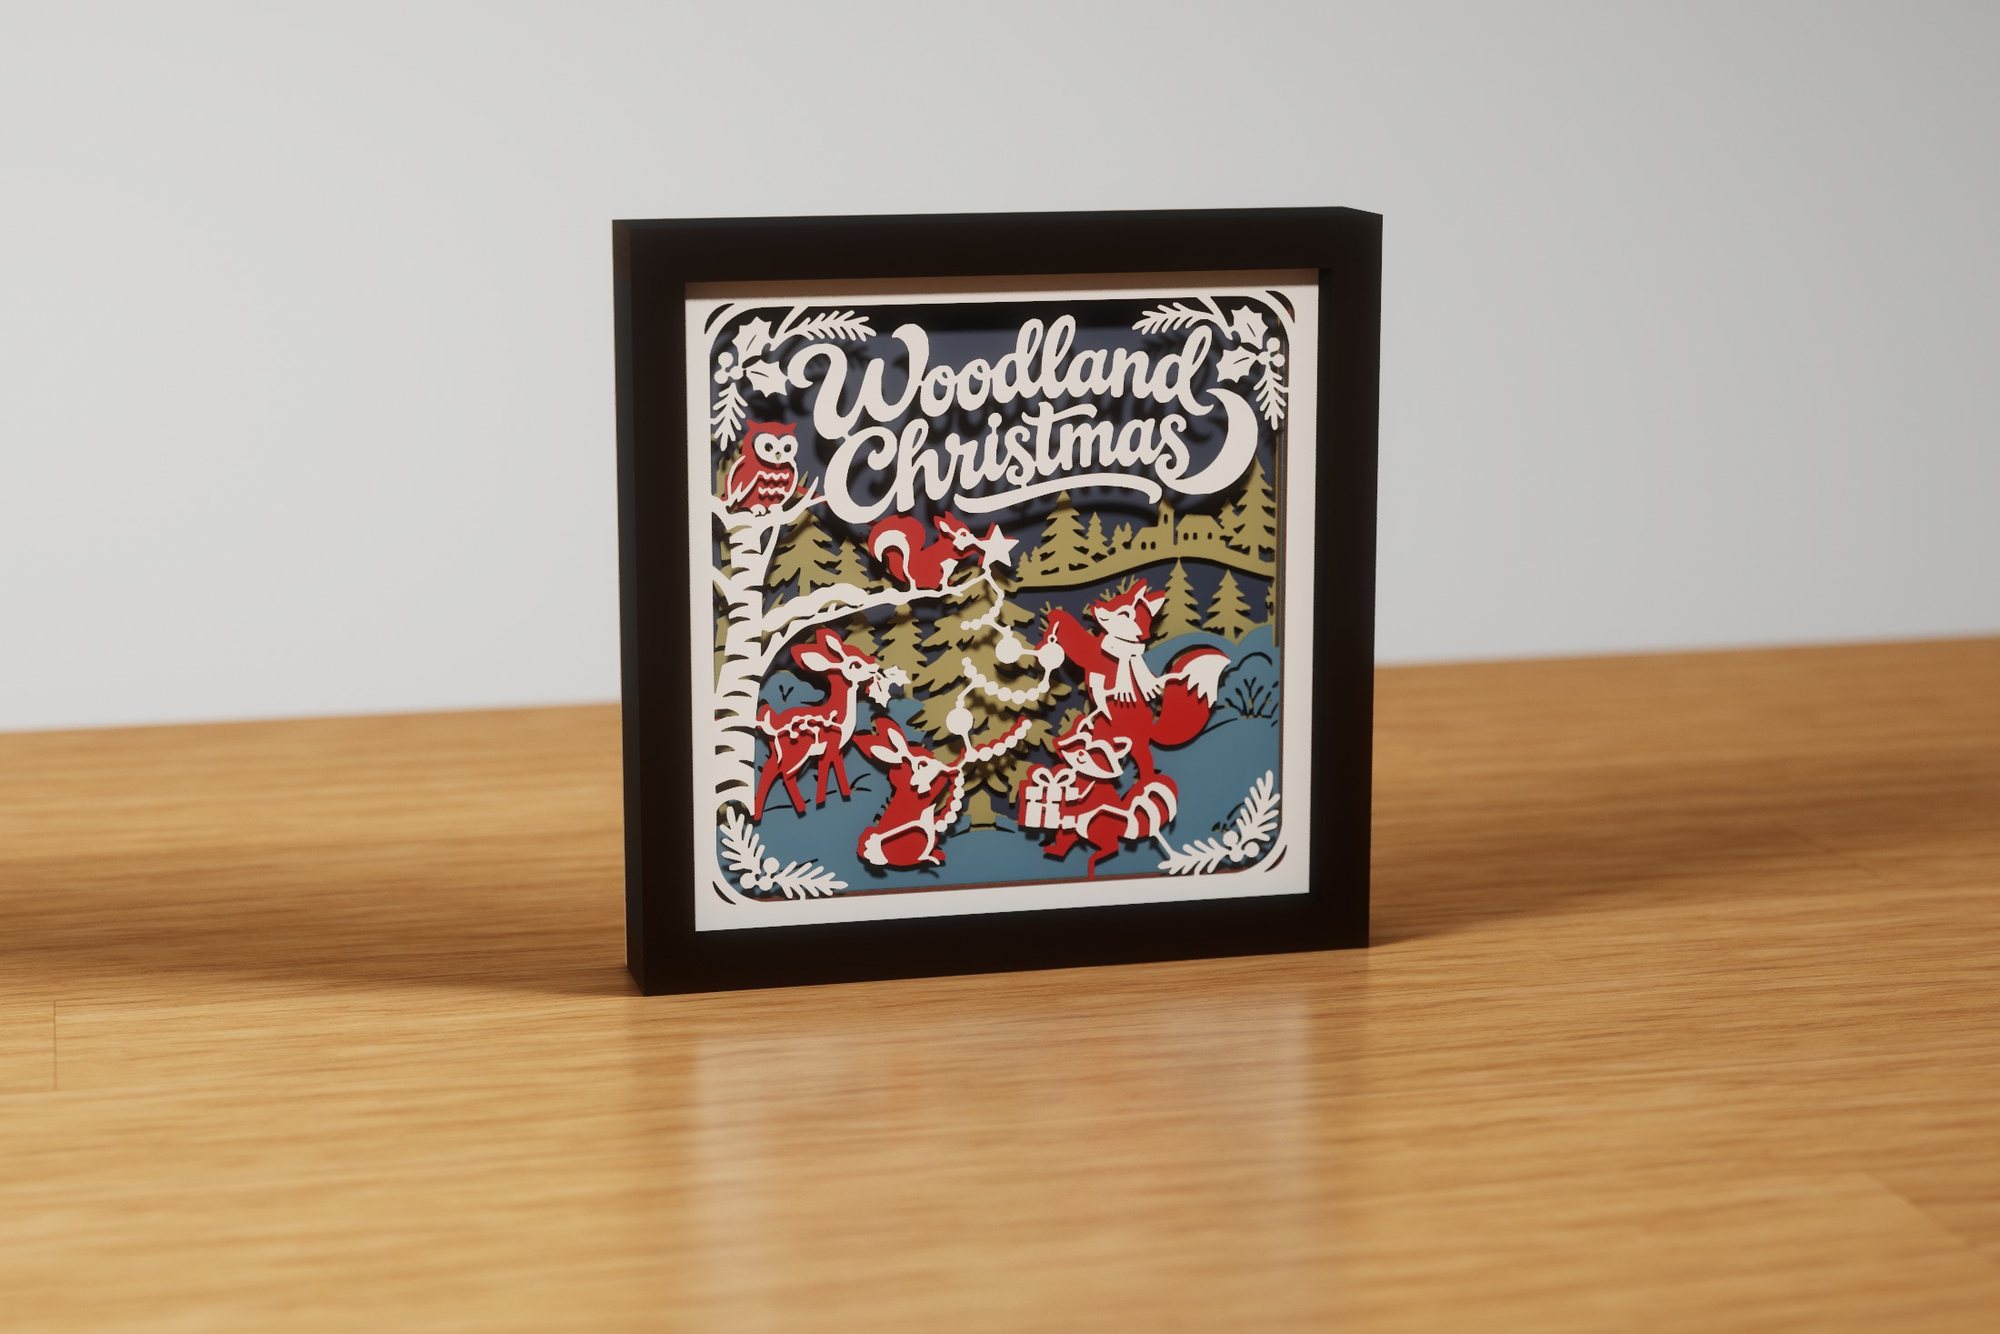 Woodland Christmas
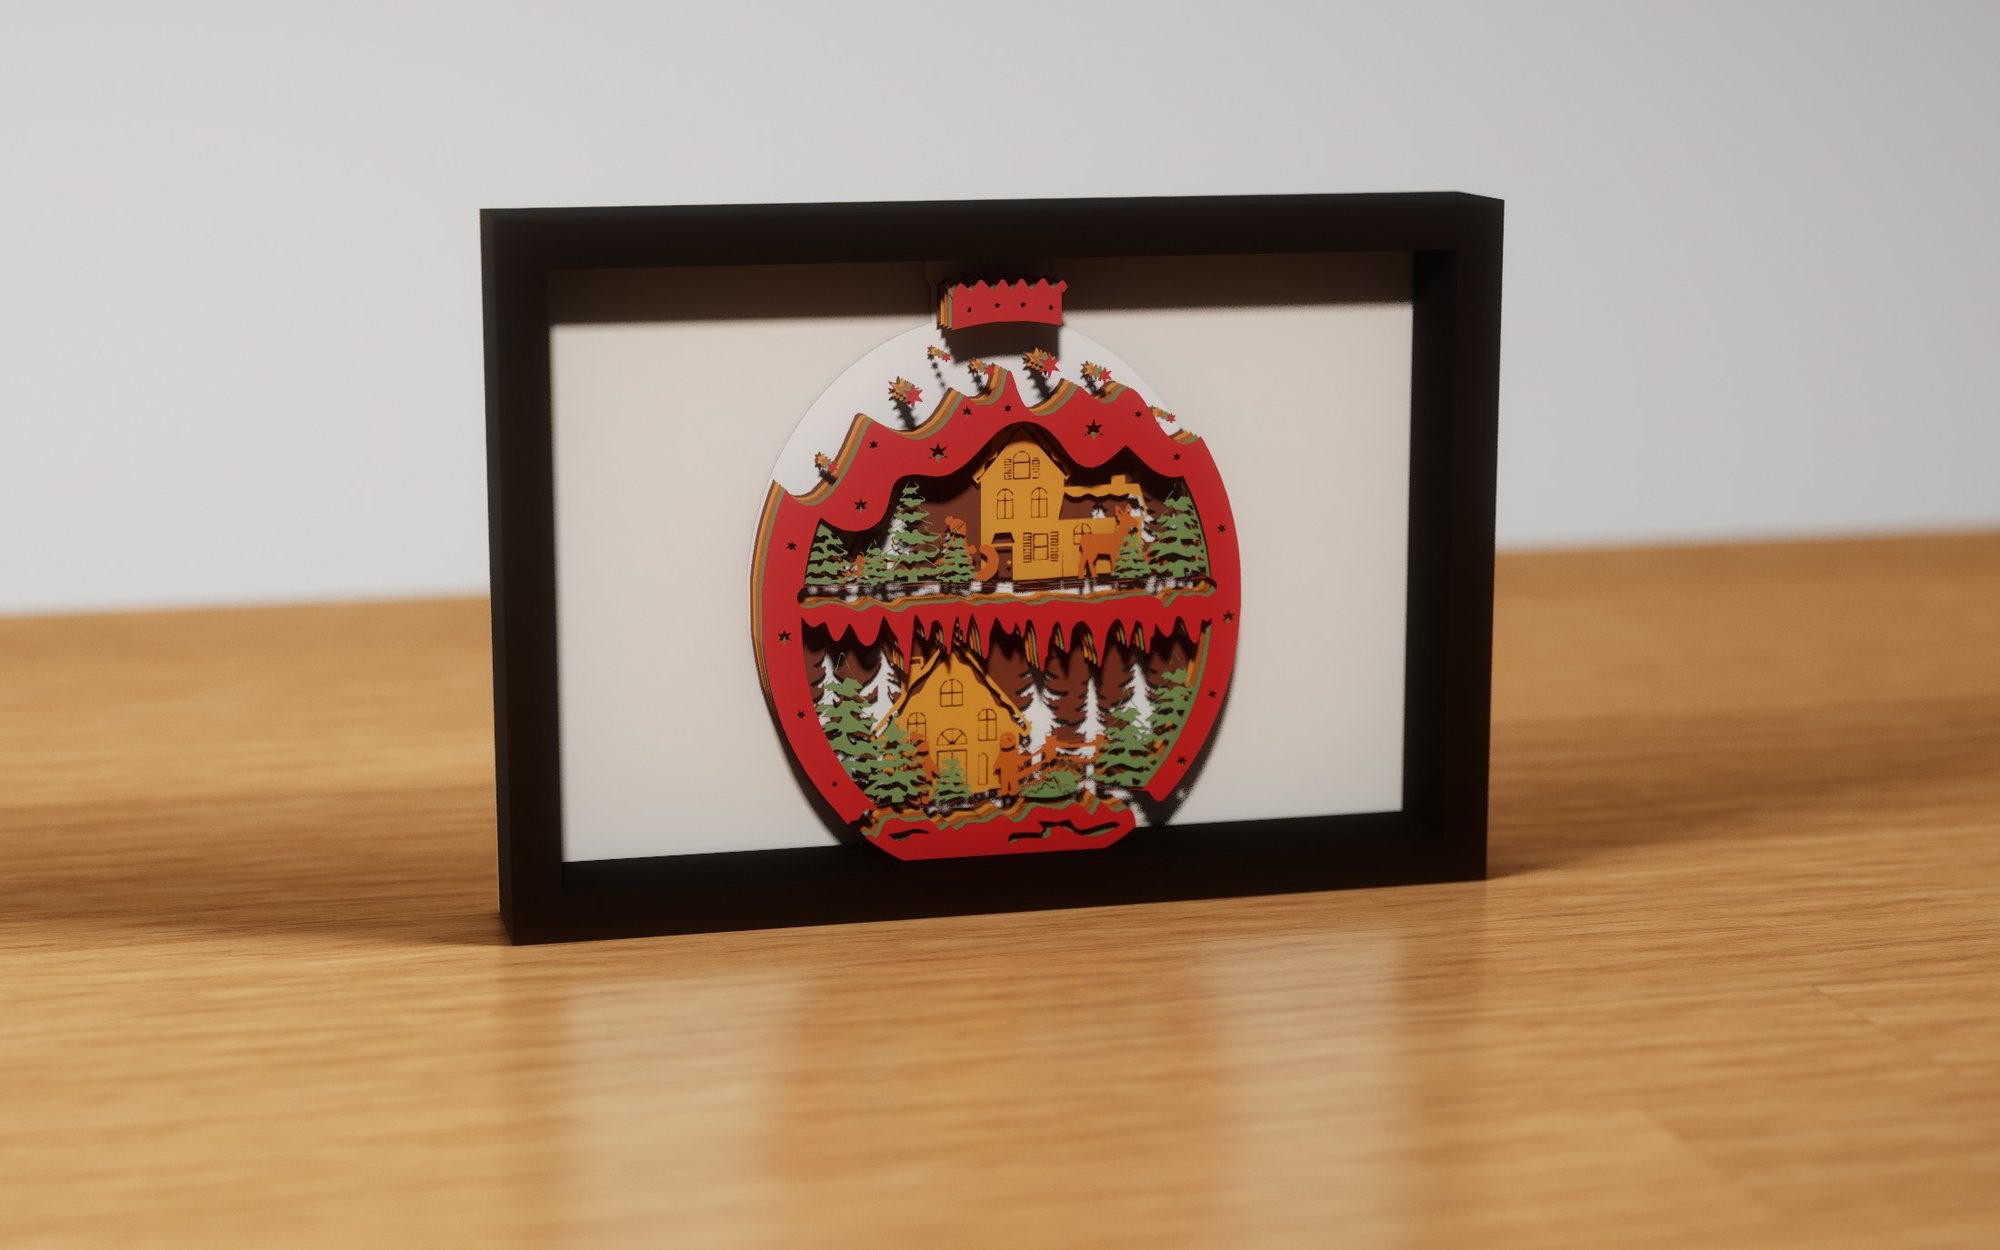 Christmas Village Ornament
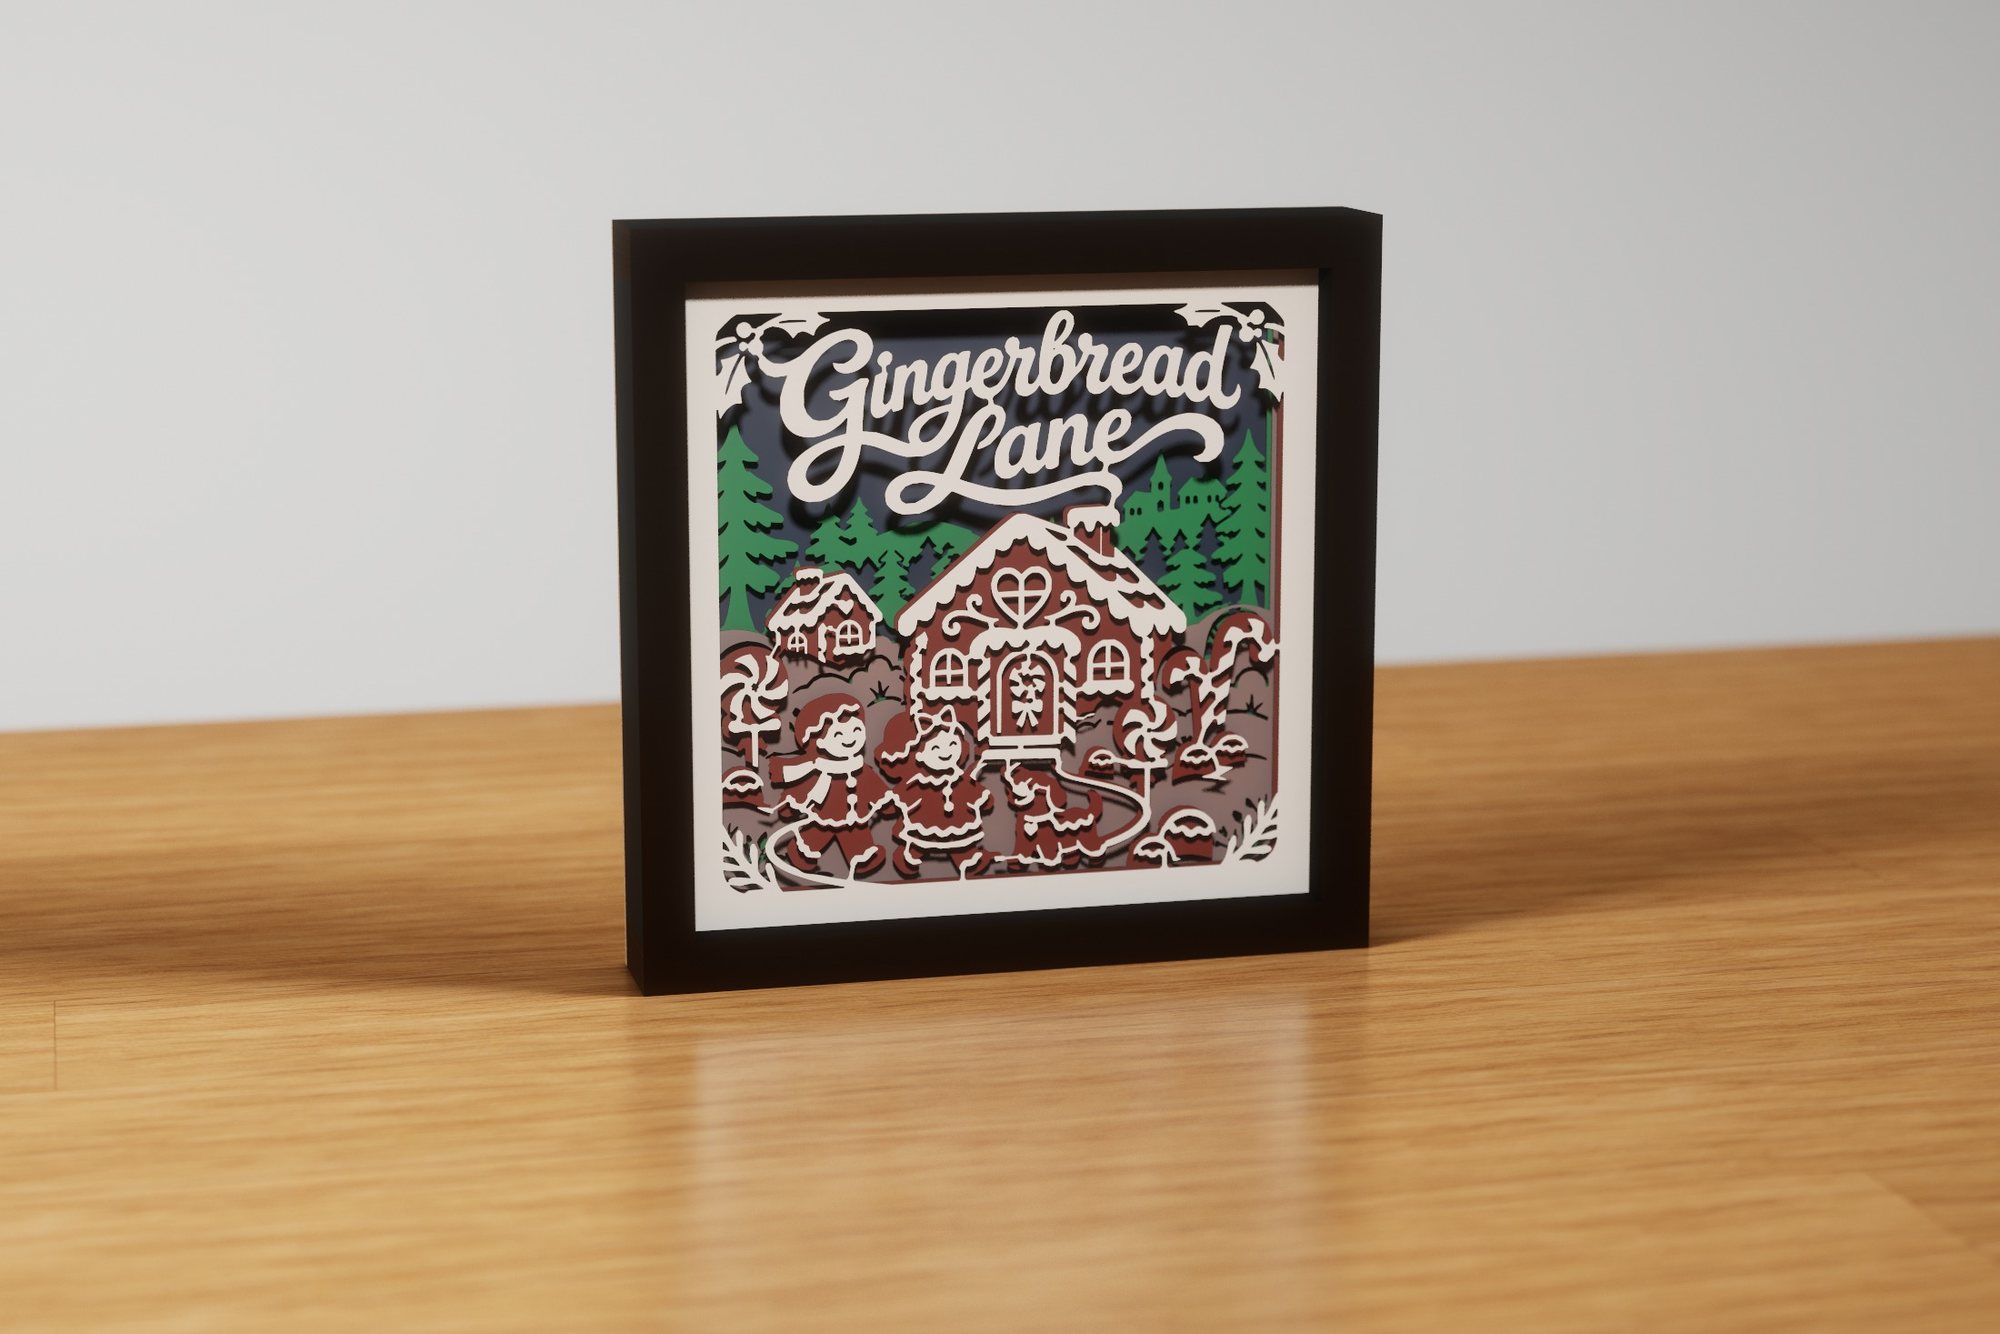 Gingerbread Lane
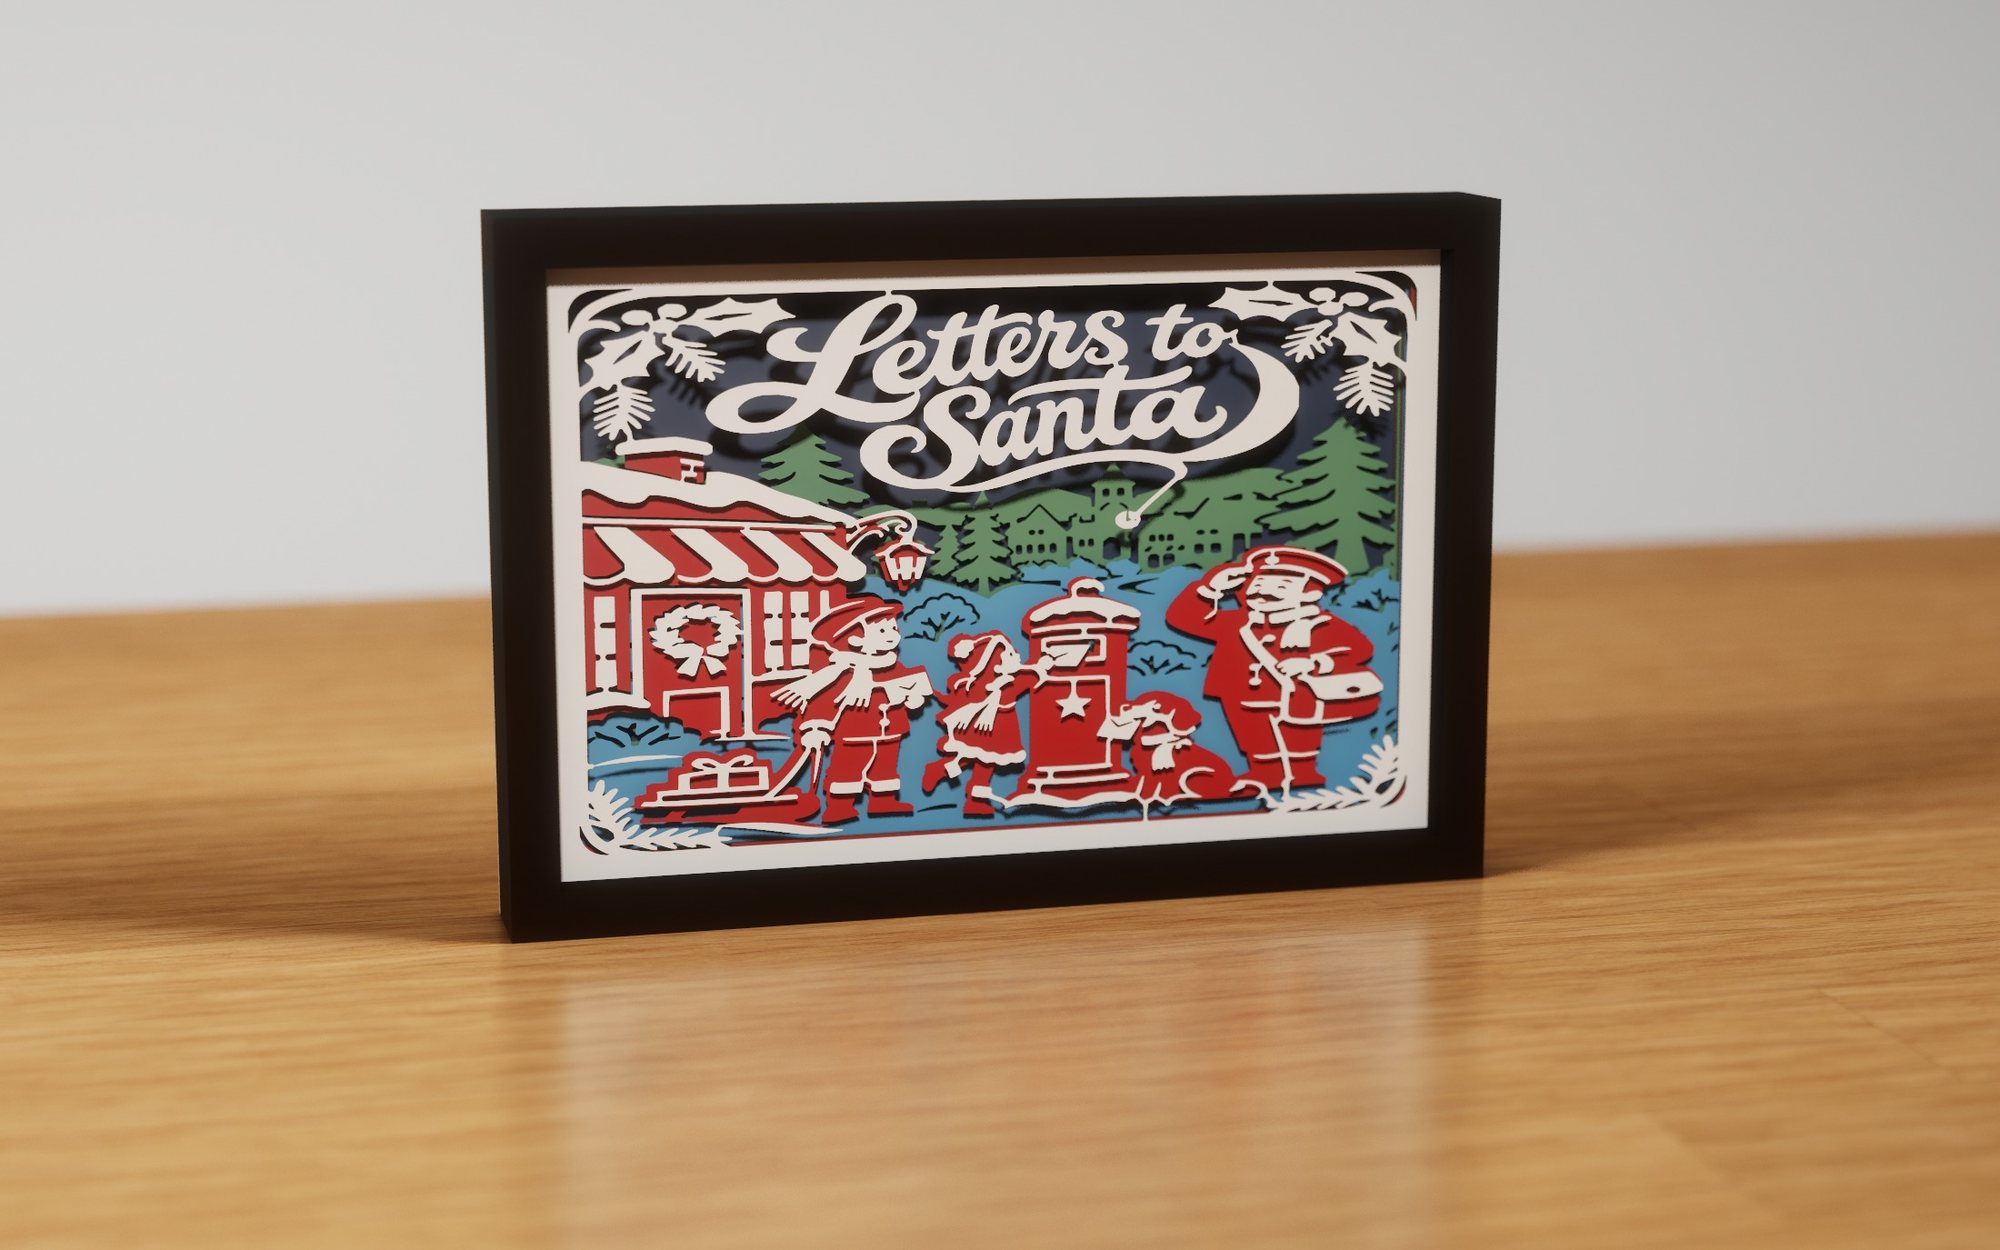 Letters to Santa
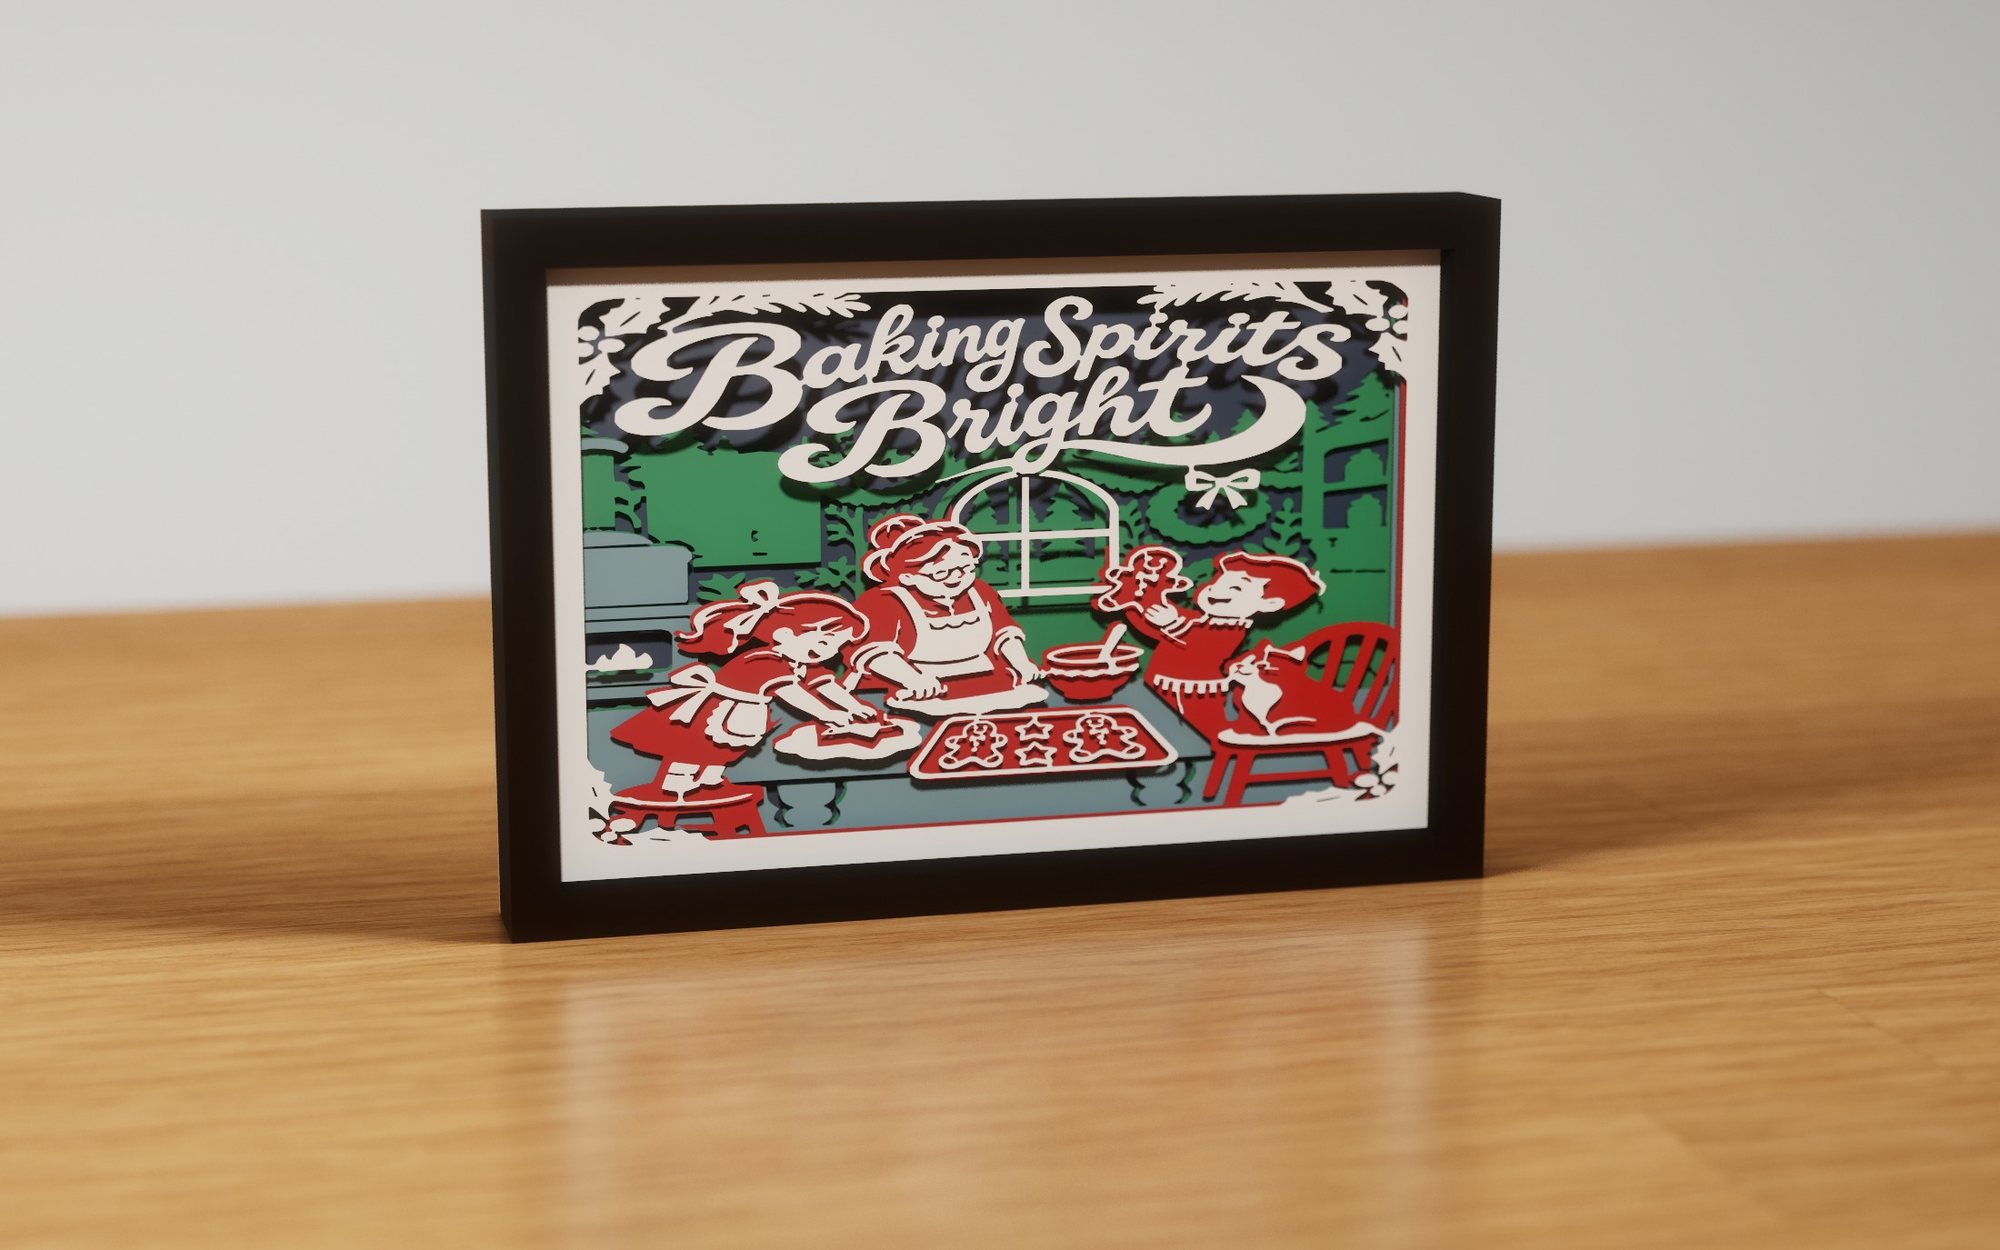 Baking Spirits Bright
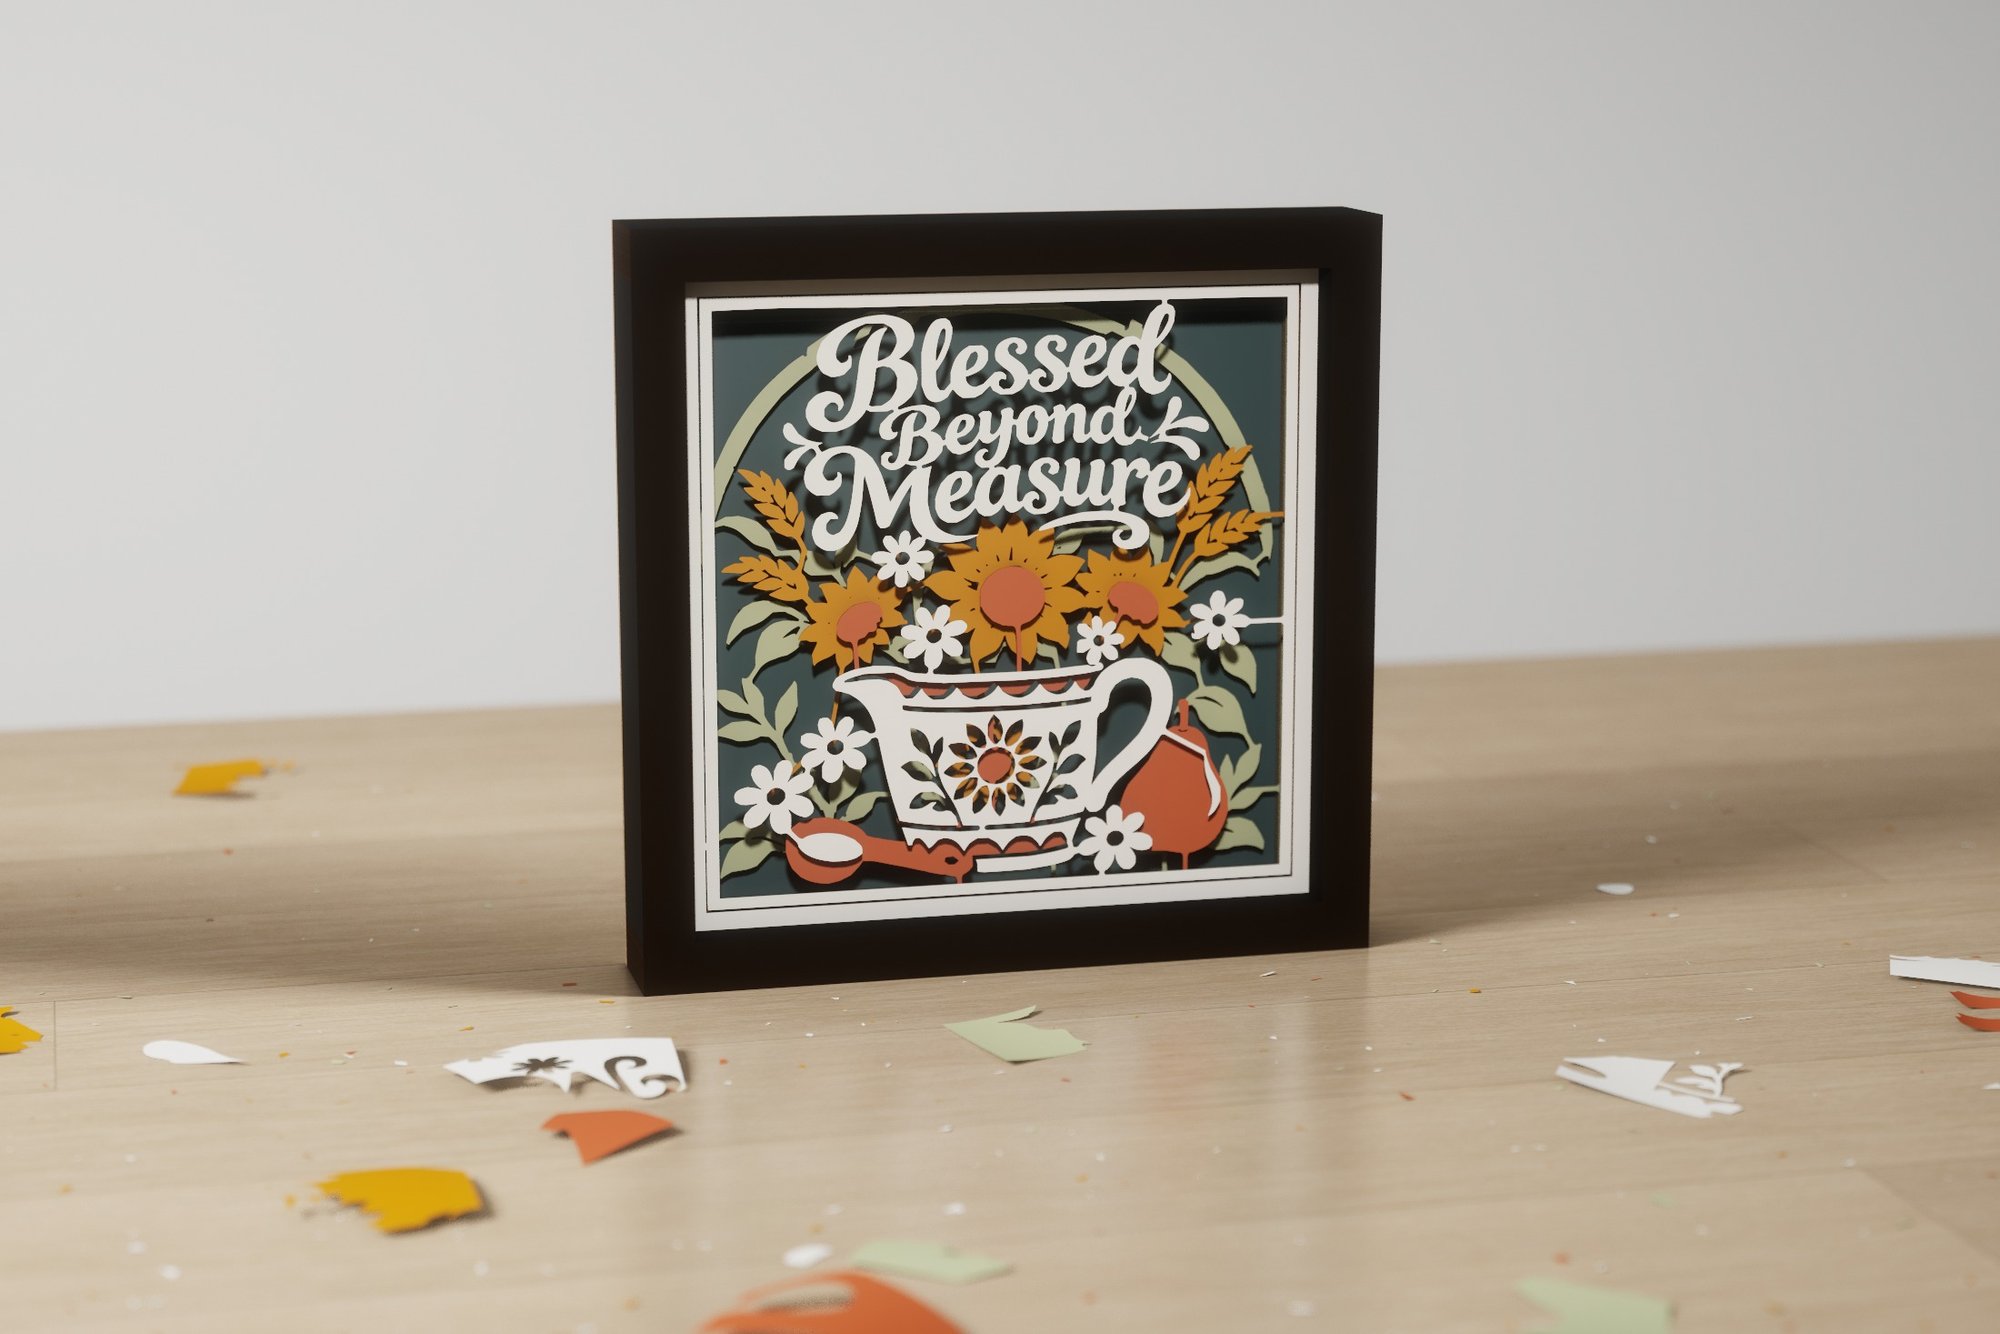 Blessed Beyond Measure
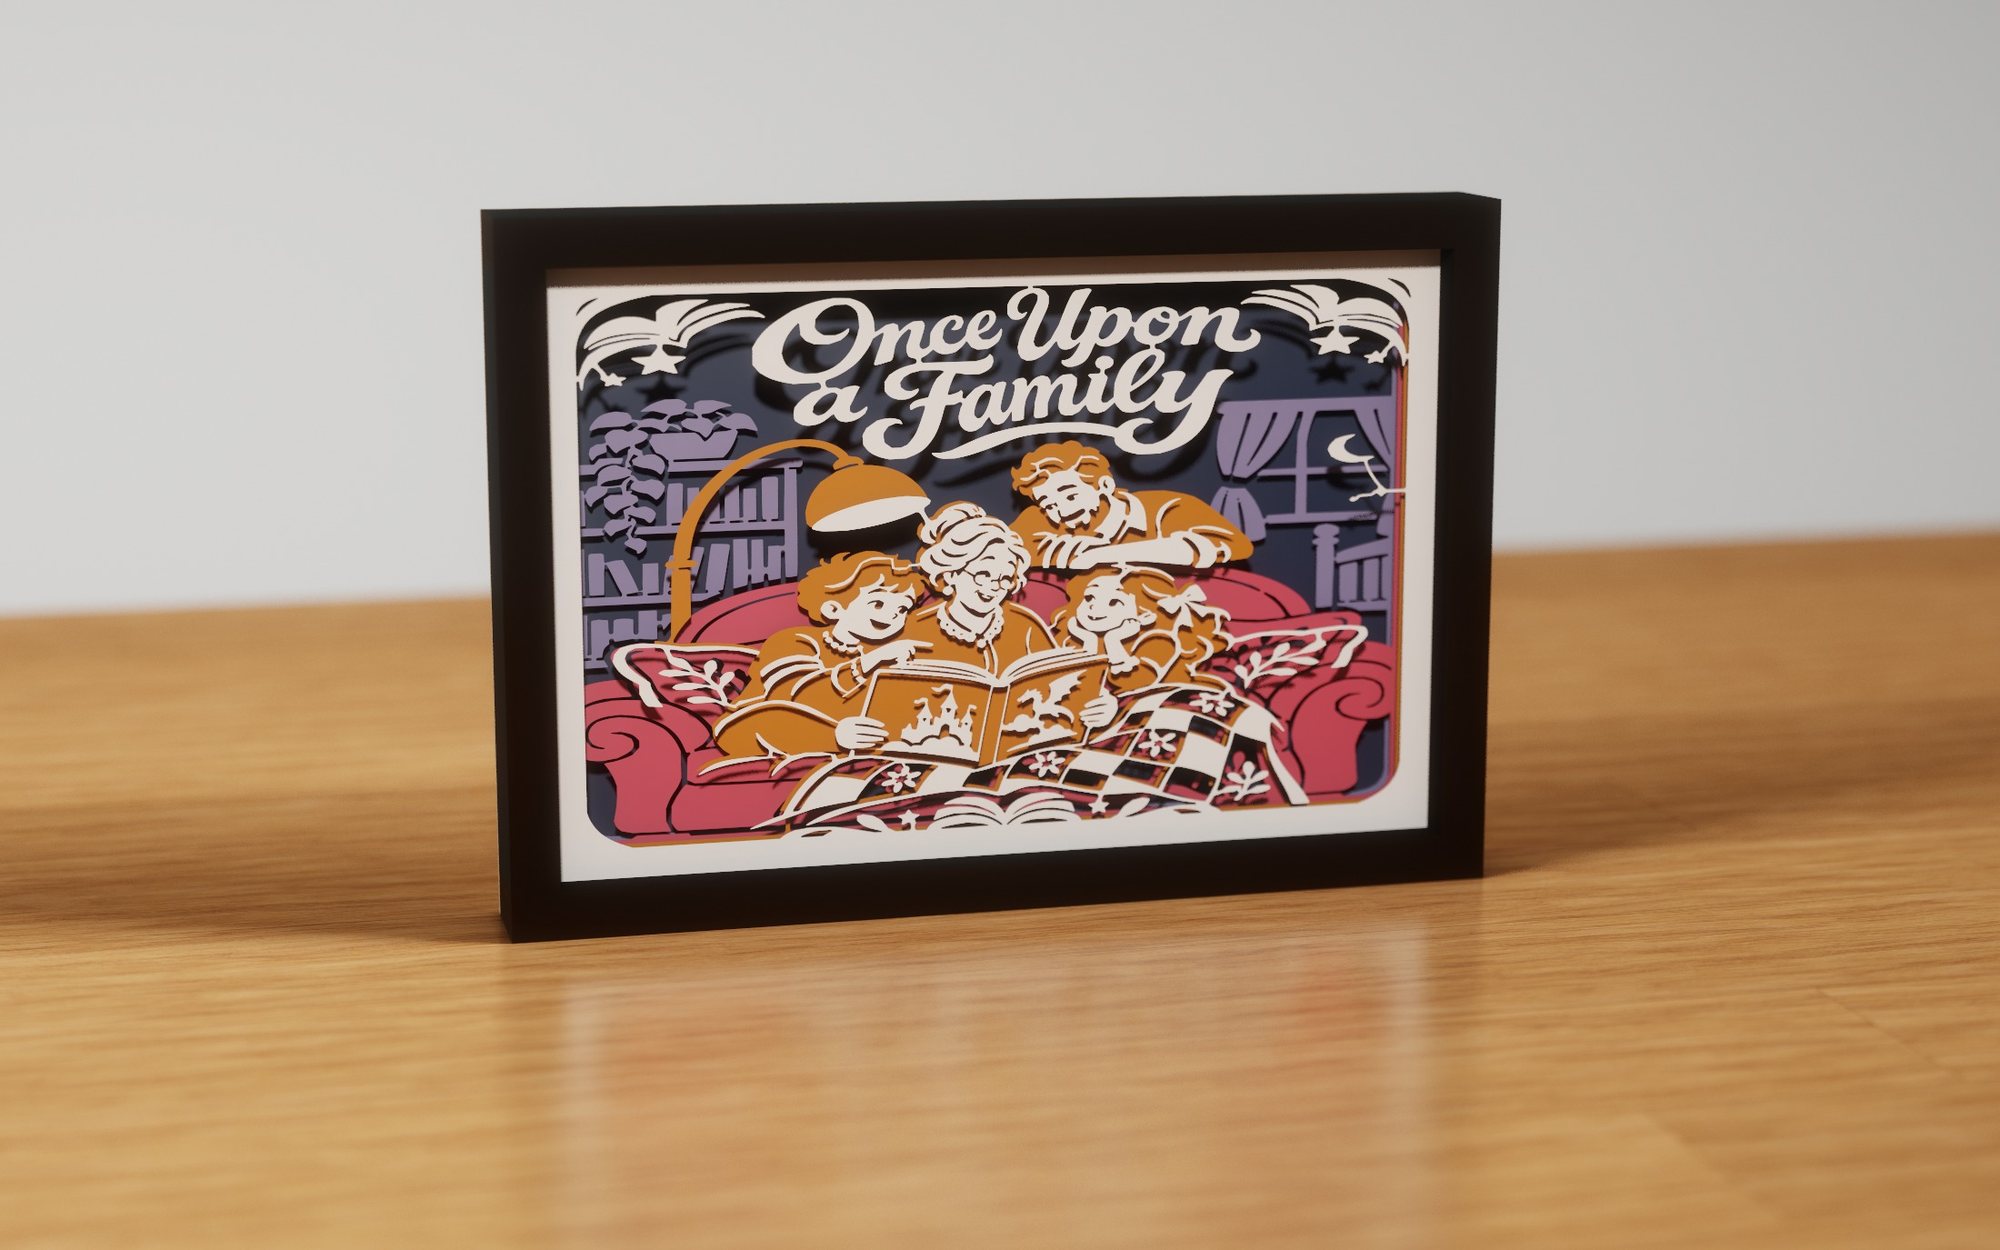 Once Upon a Family
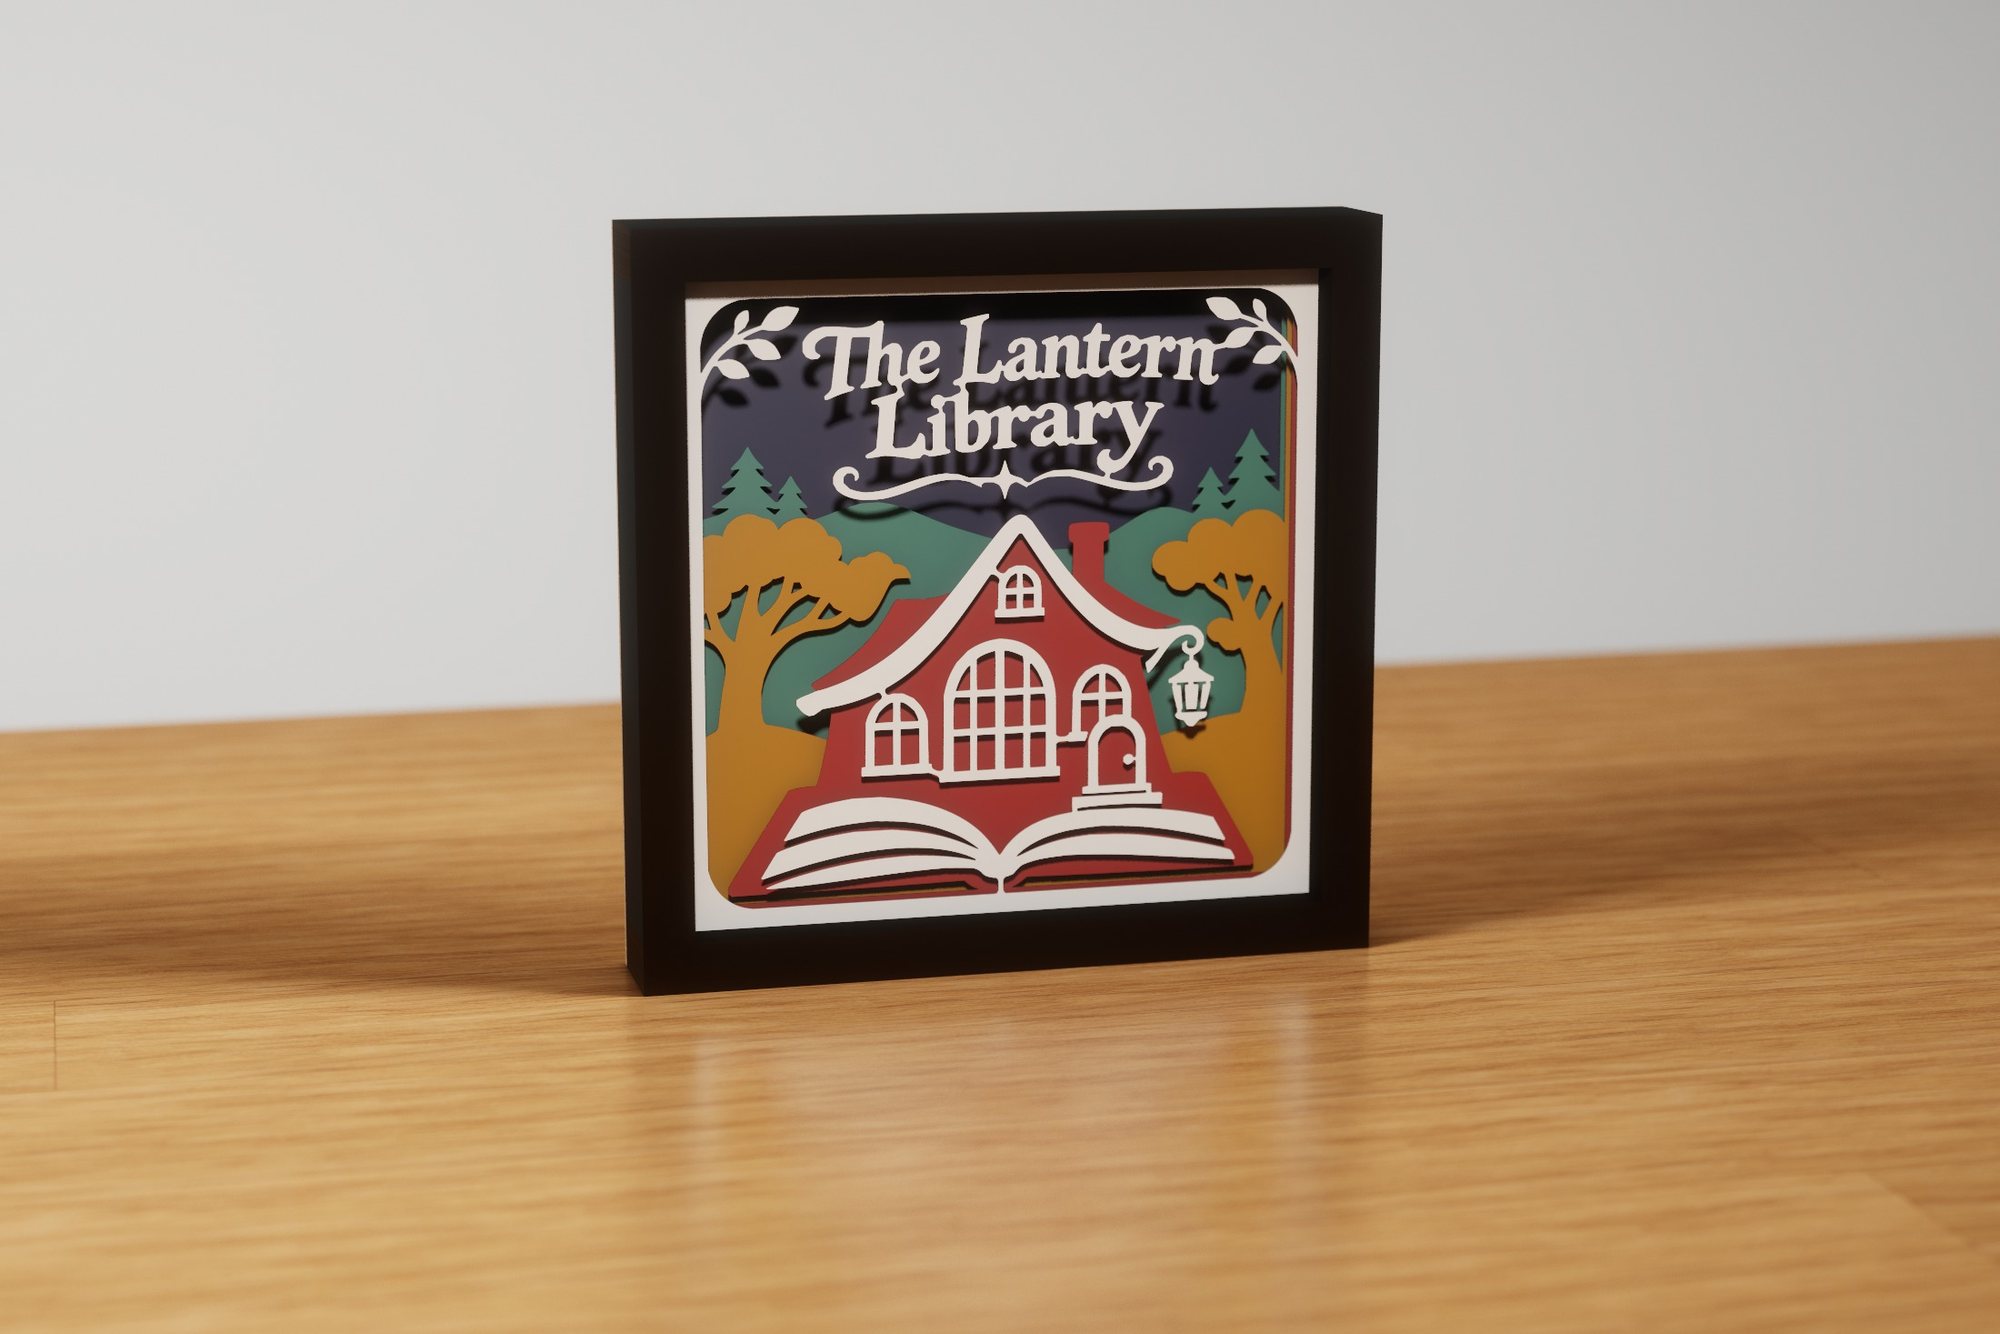 The Lantern Library
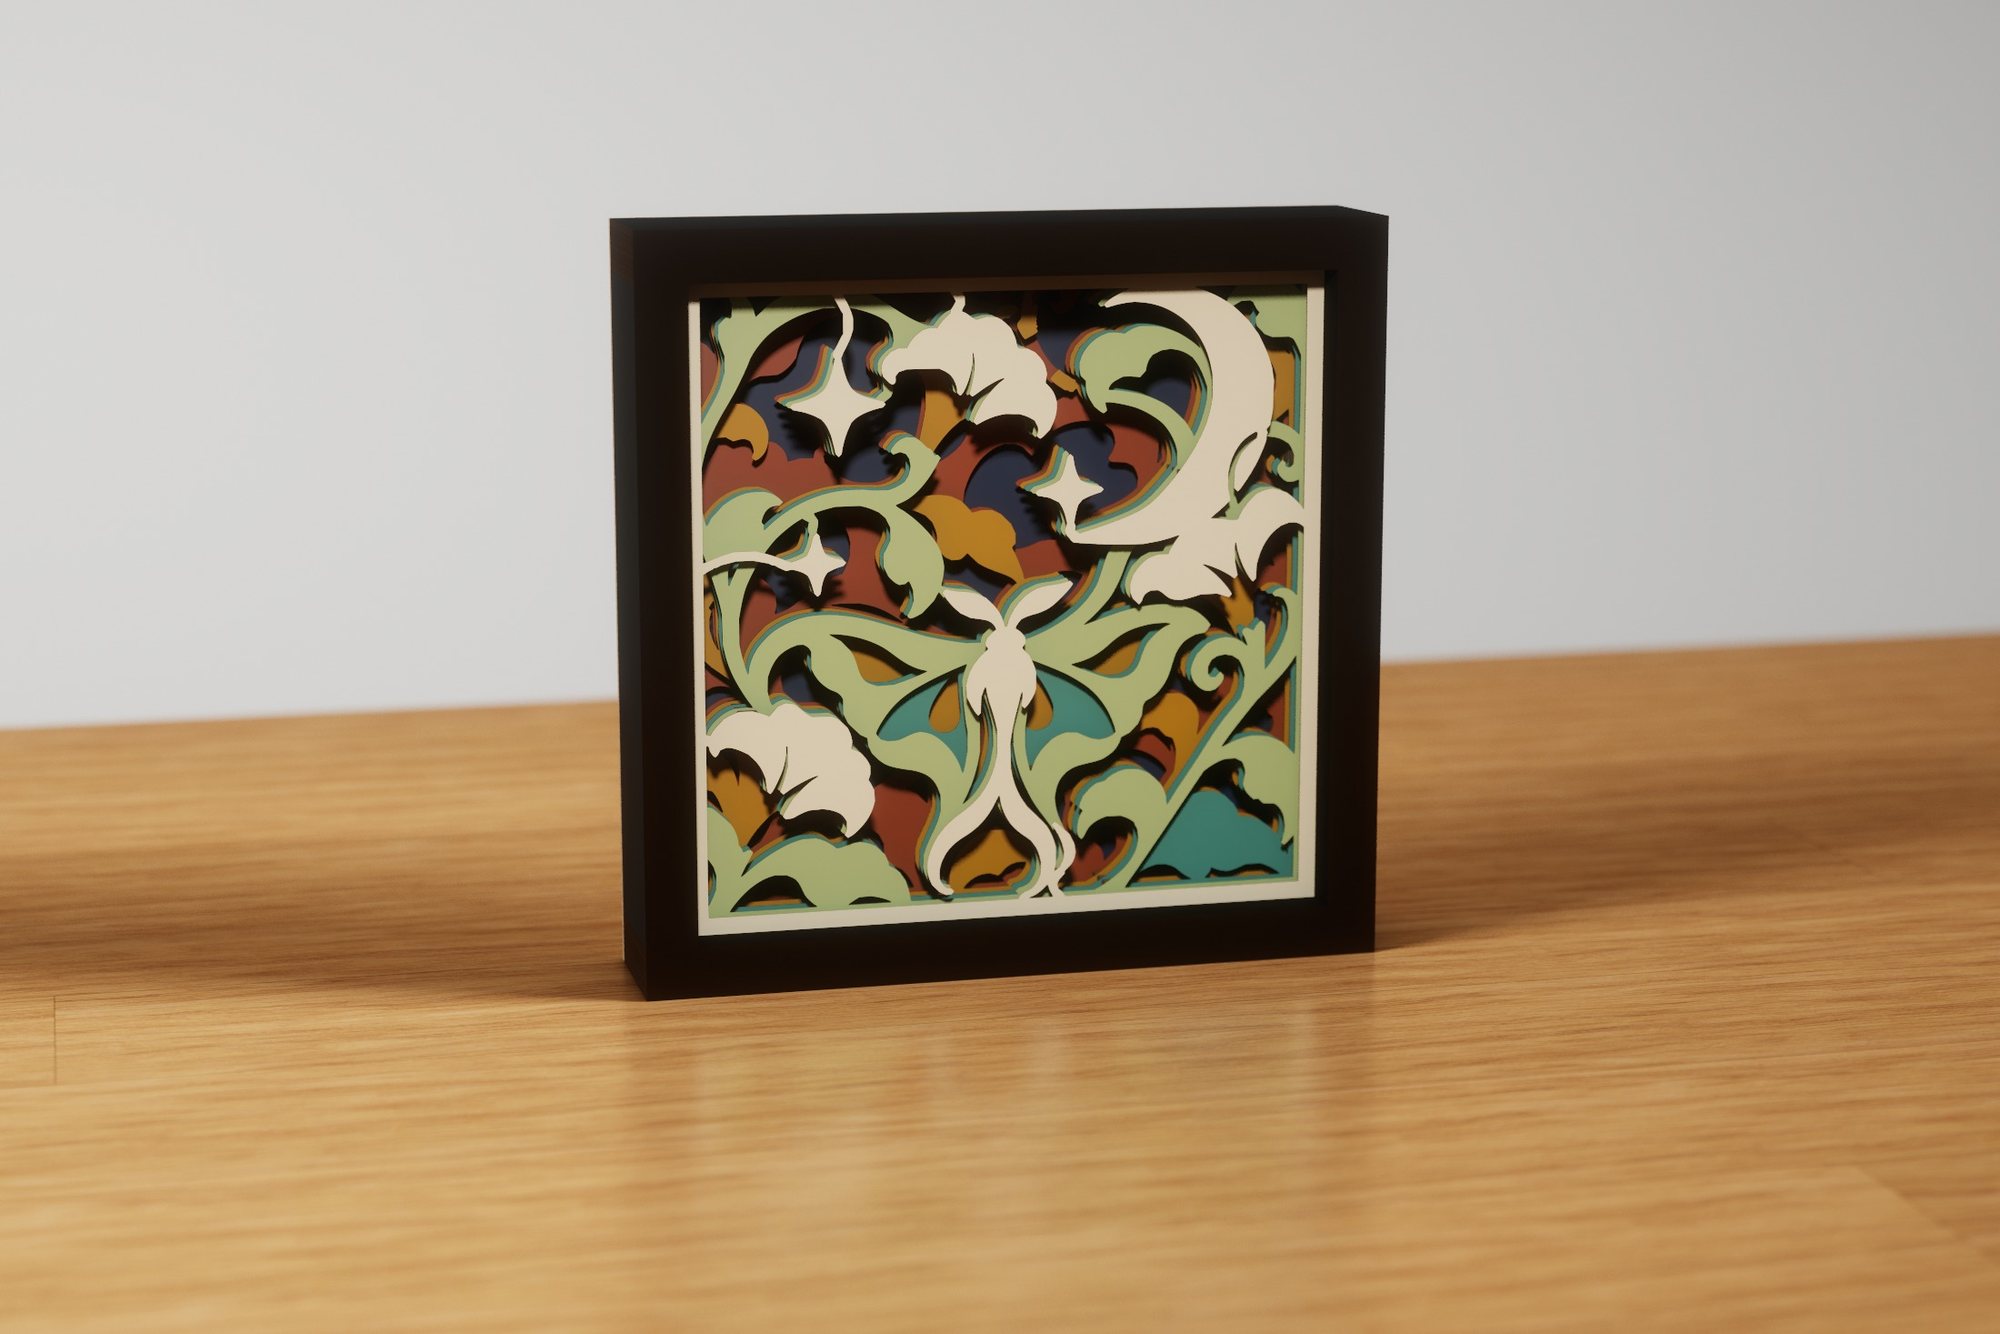 Celestial Garden
Here Comes the Sun · 1 of 24 designs
Physical project / Magnets
A little piece of art you can hold. Explore the designs as finished magnet renderings, with their printed surface and physical edge.
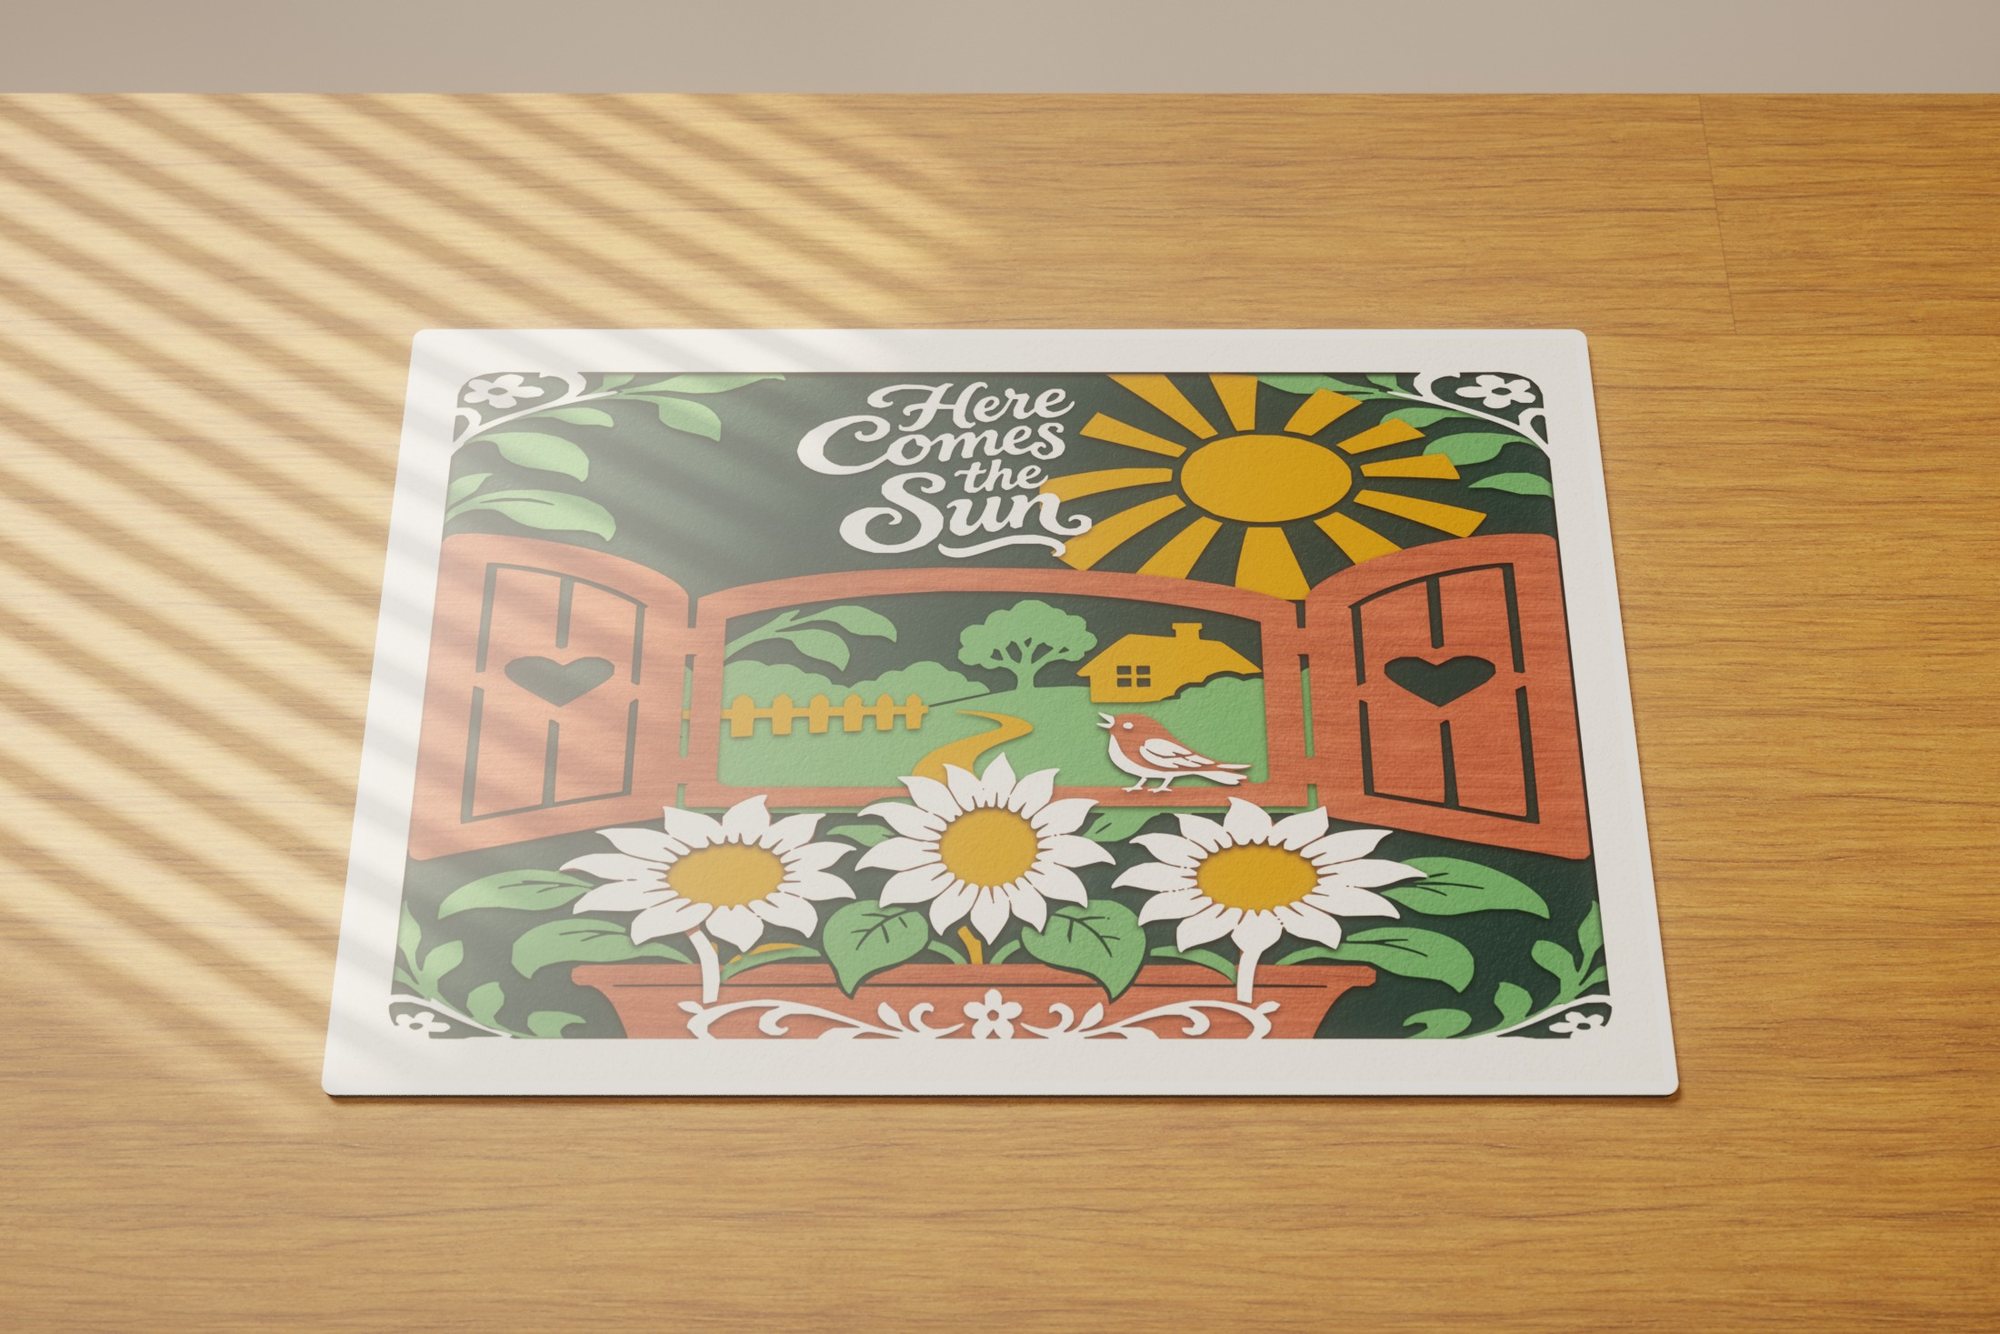 Here Comes the Sun
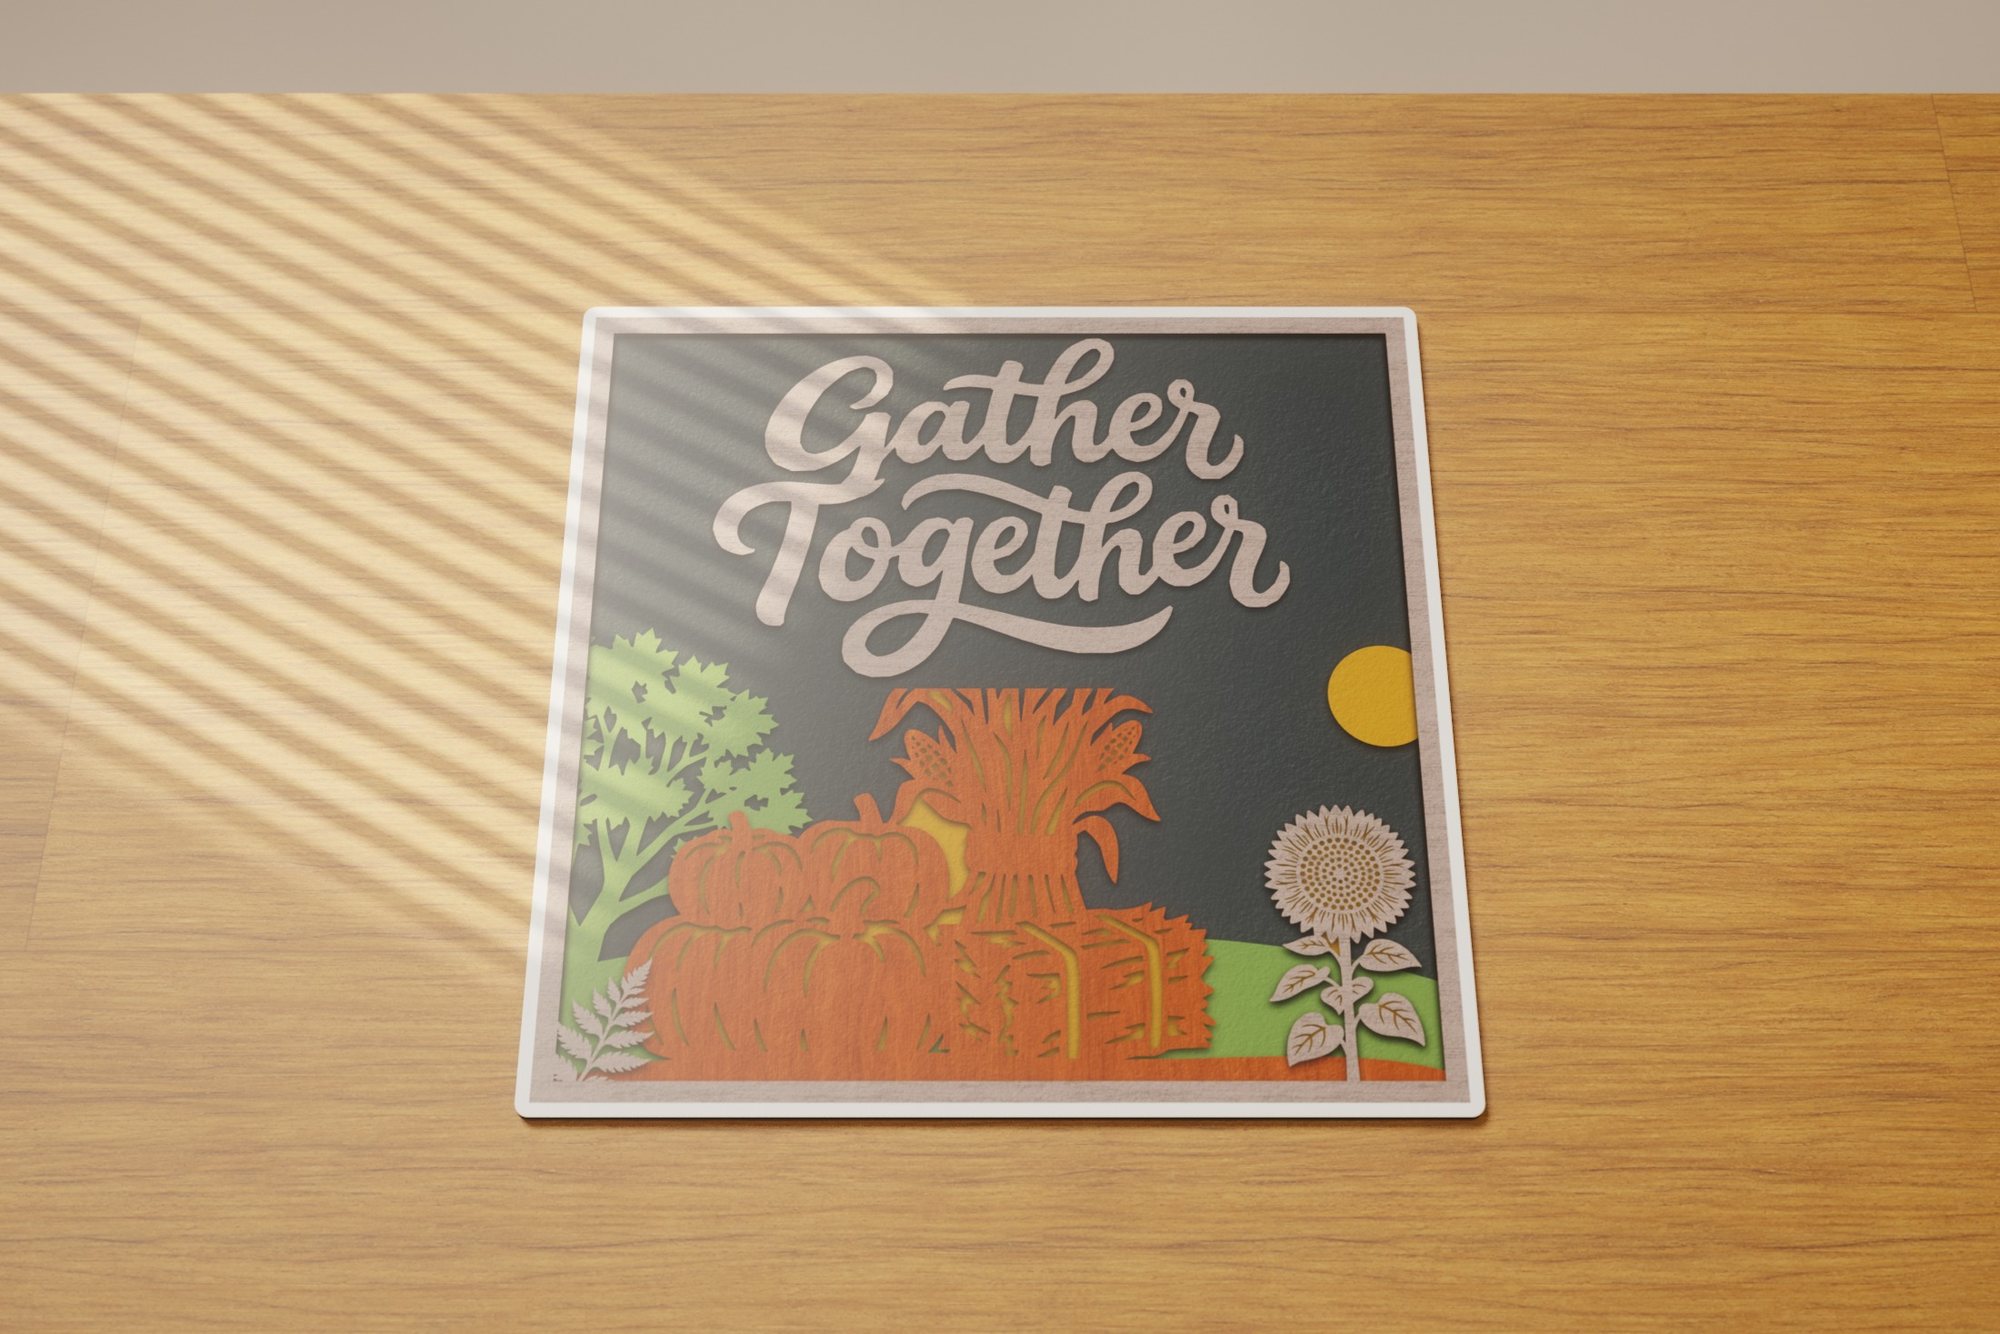 Thanksgiving Bounty
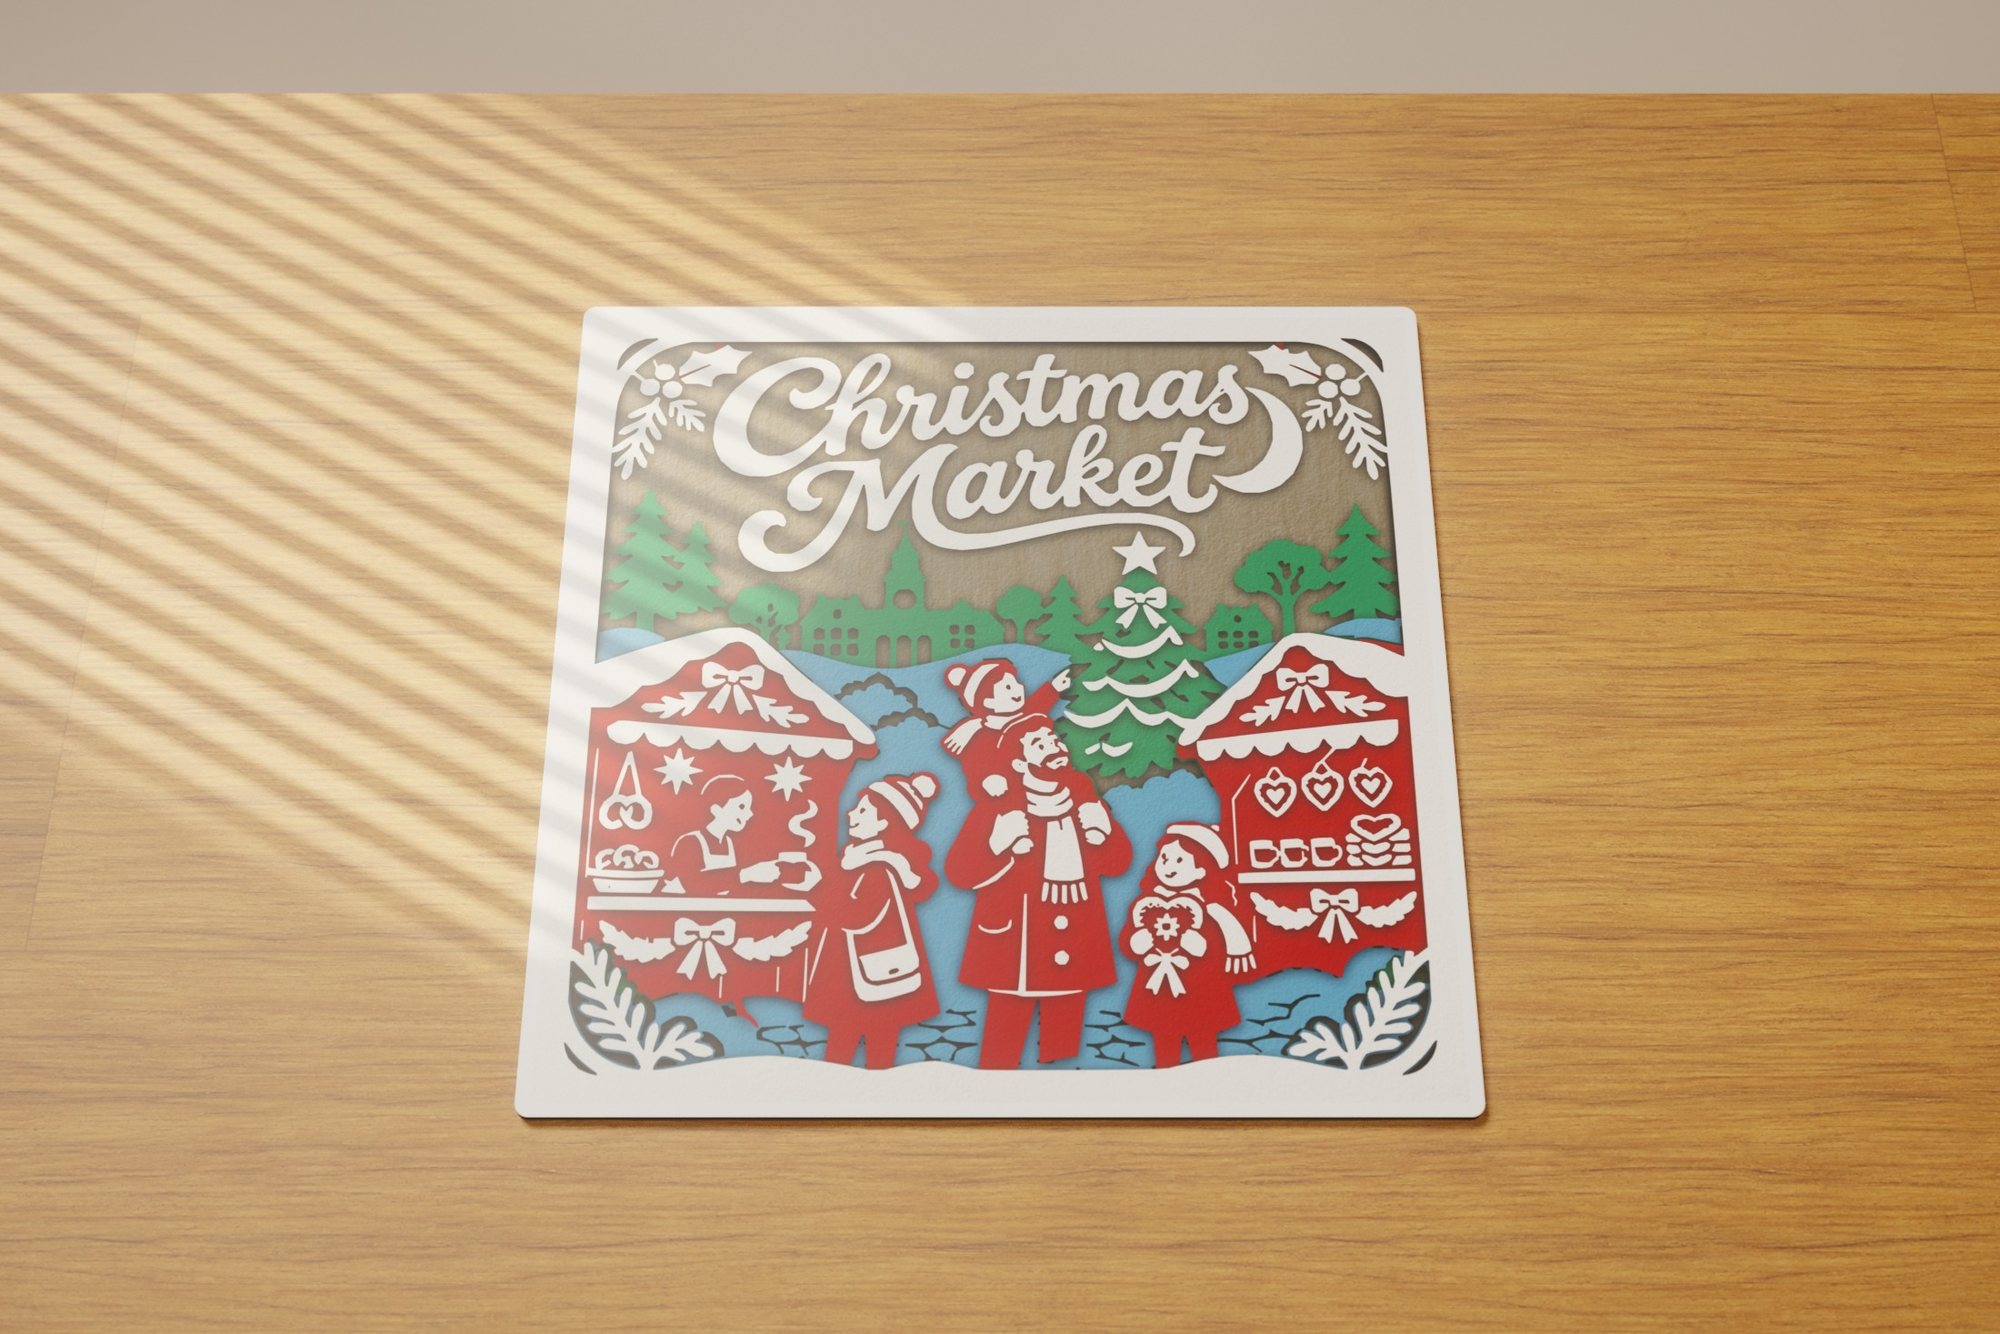 Christmas Market
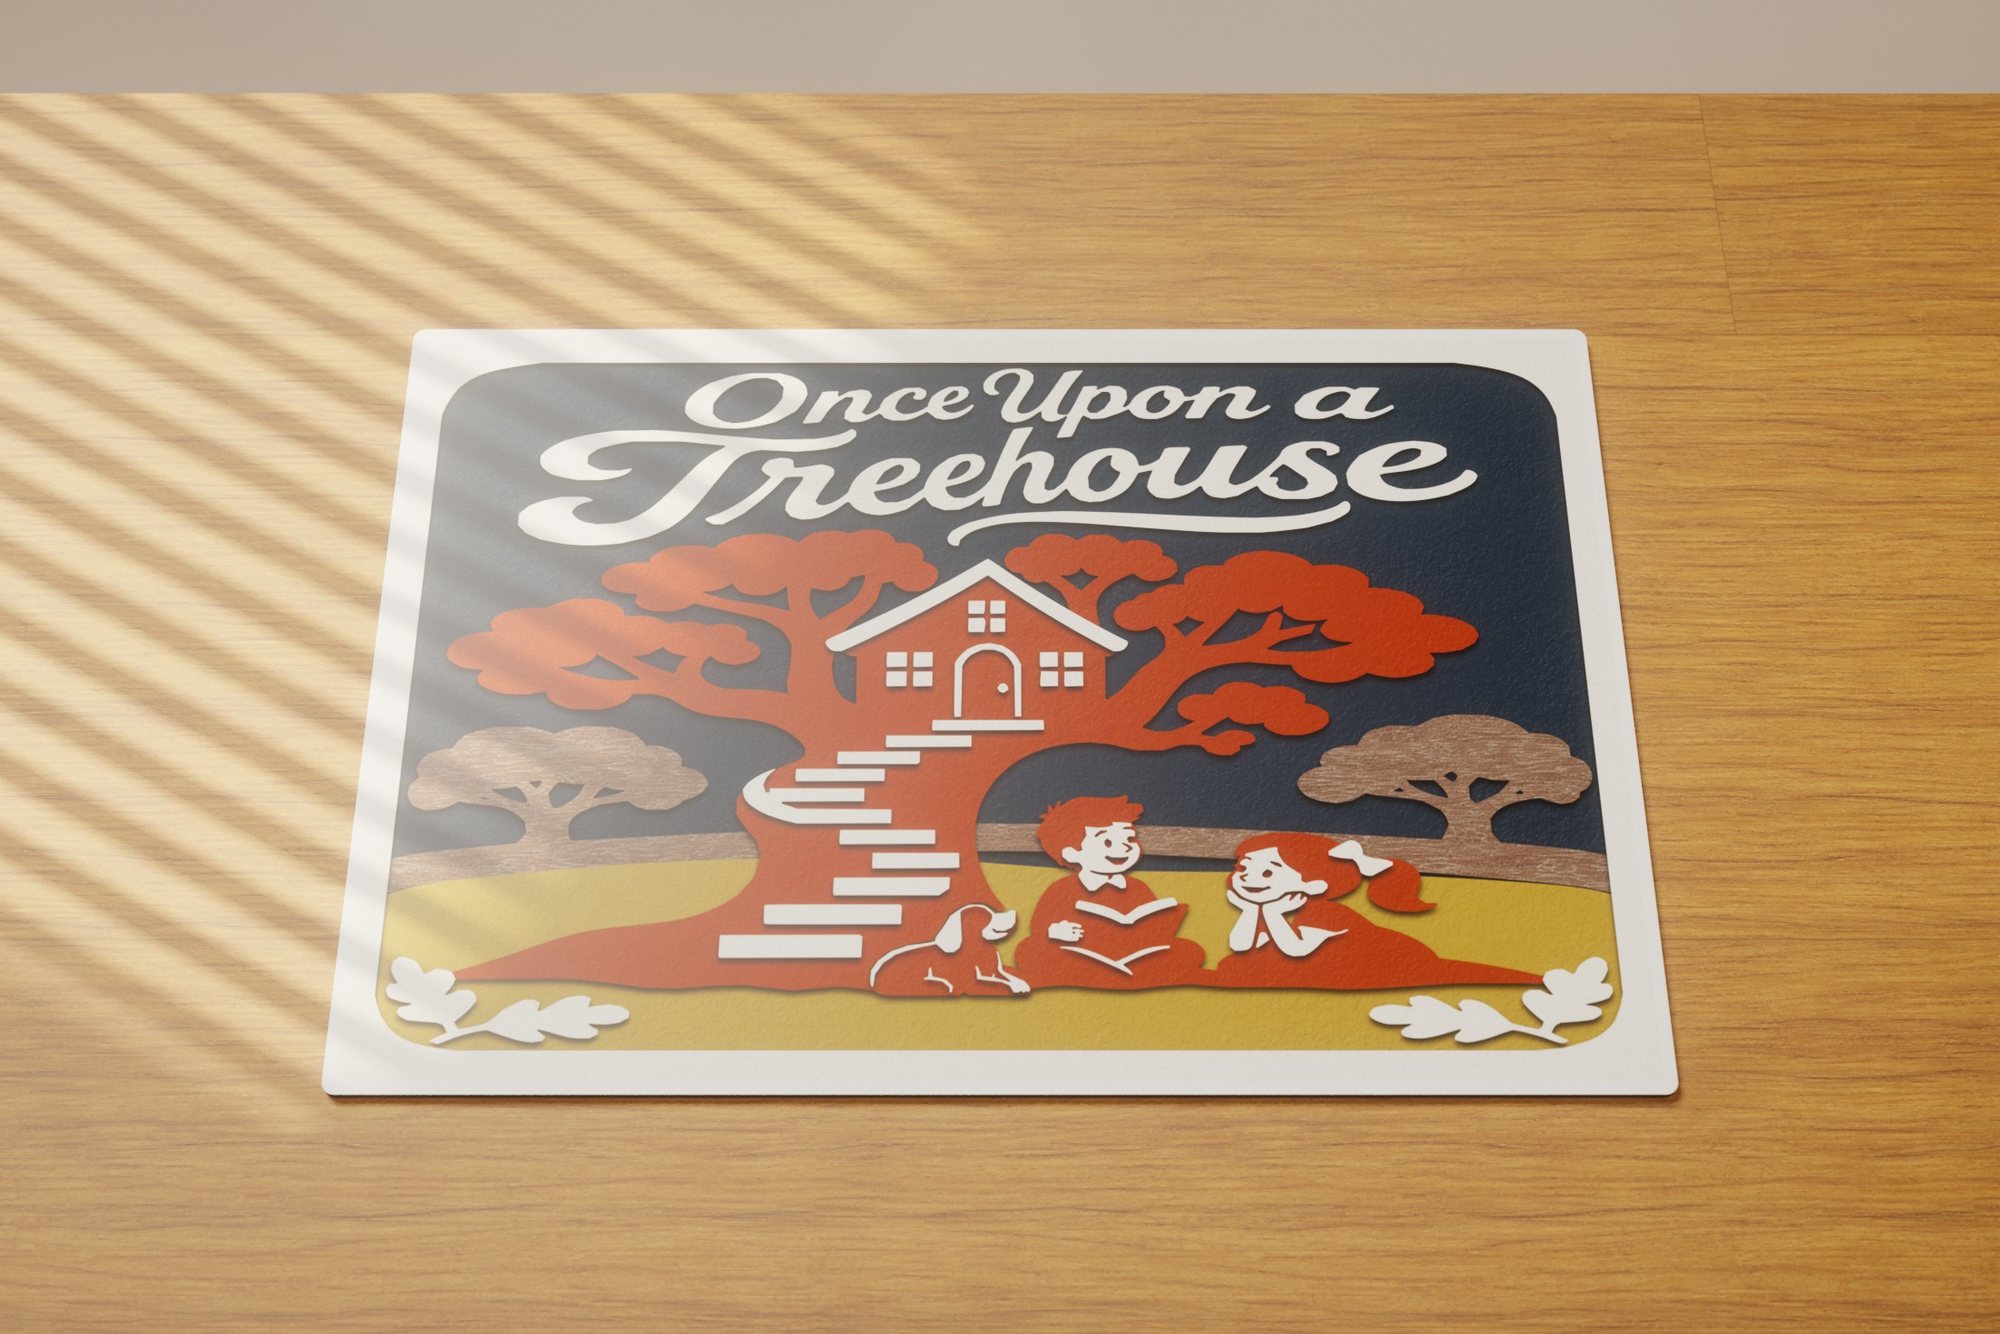 Once Upon a Treehouse
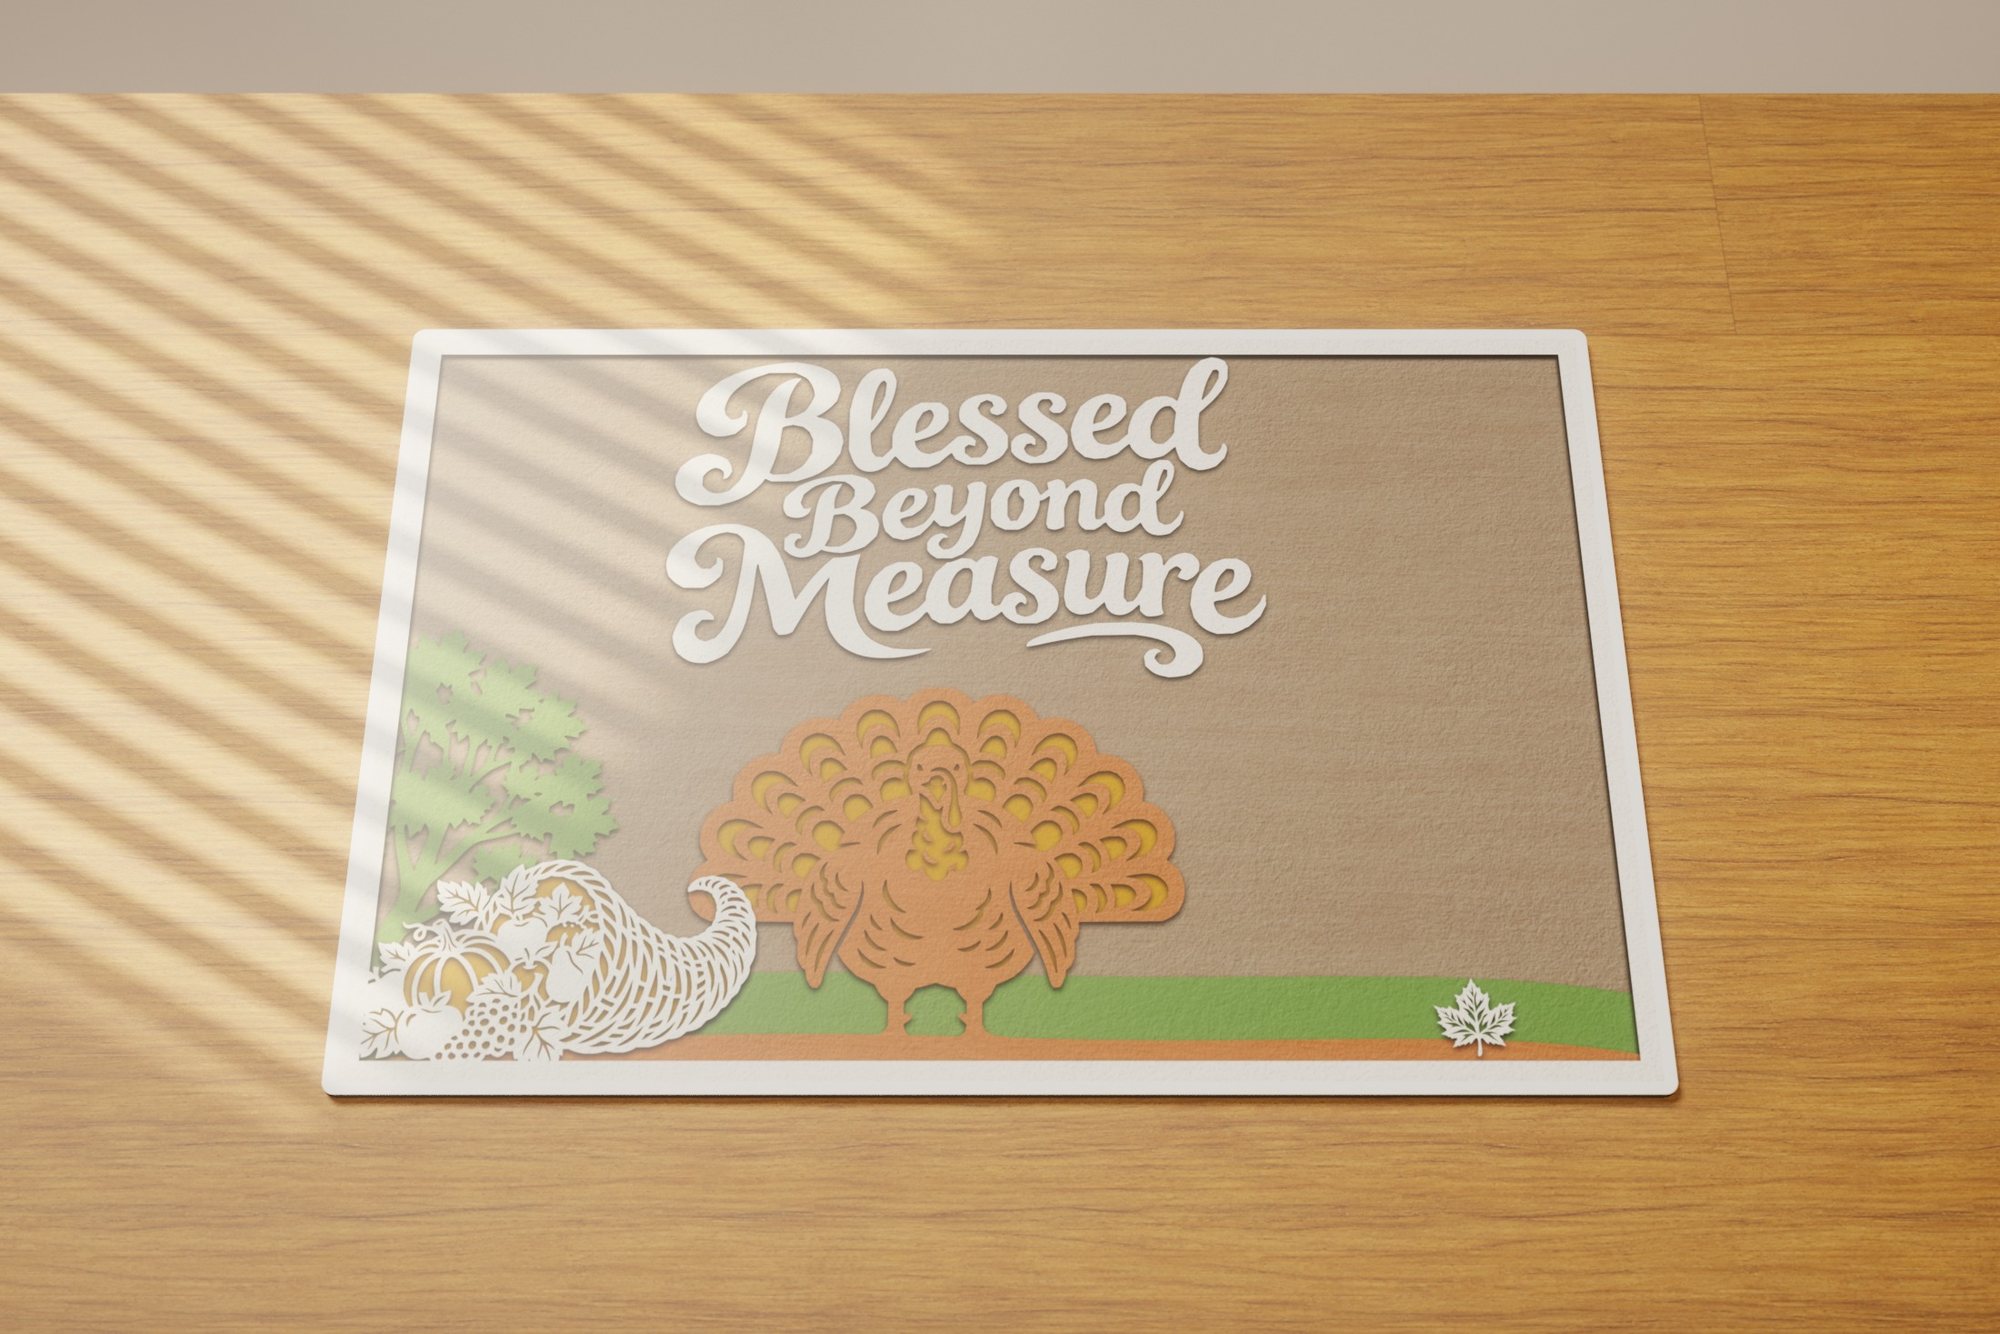 Grateful Gathering
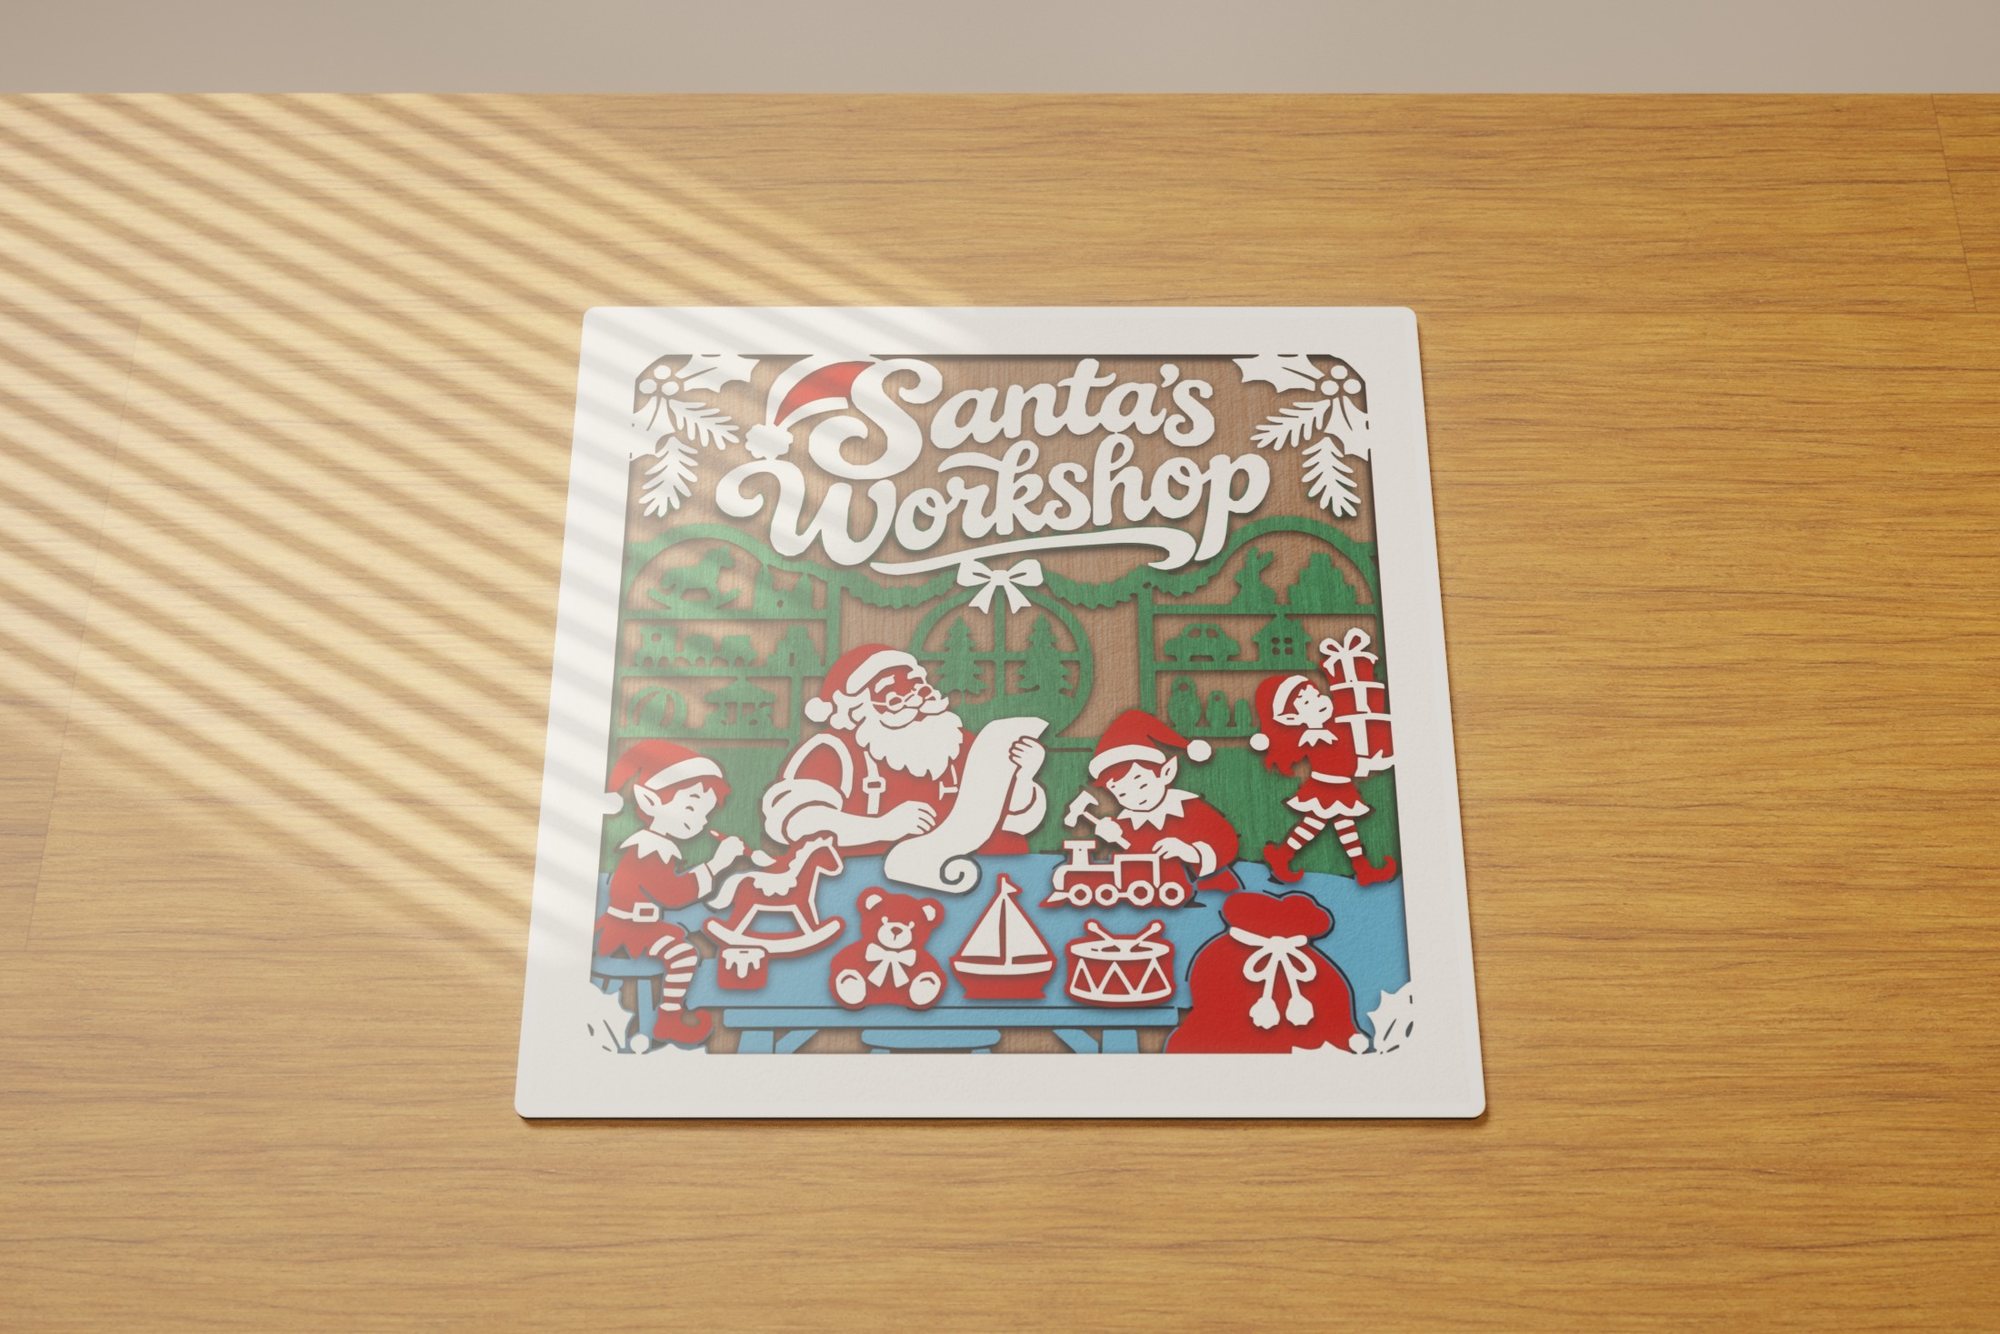 Santa's Workshop
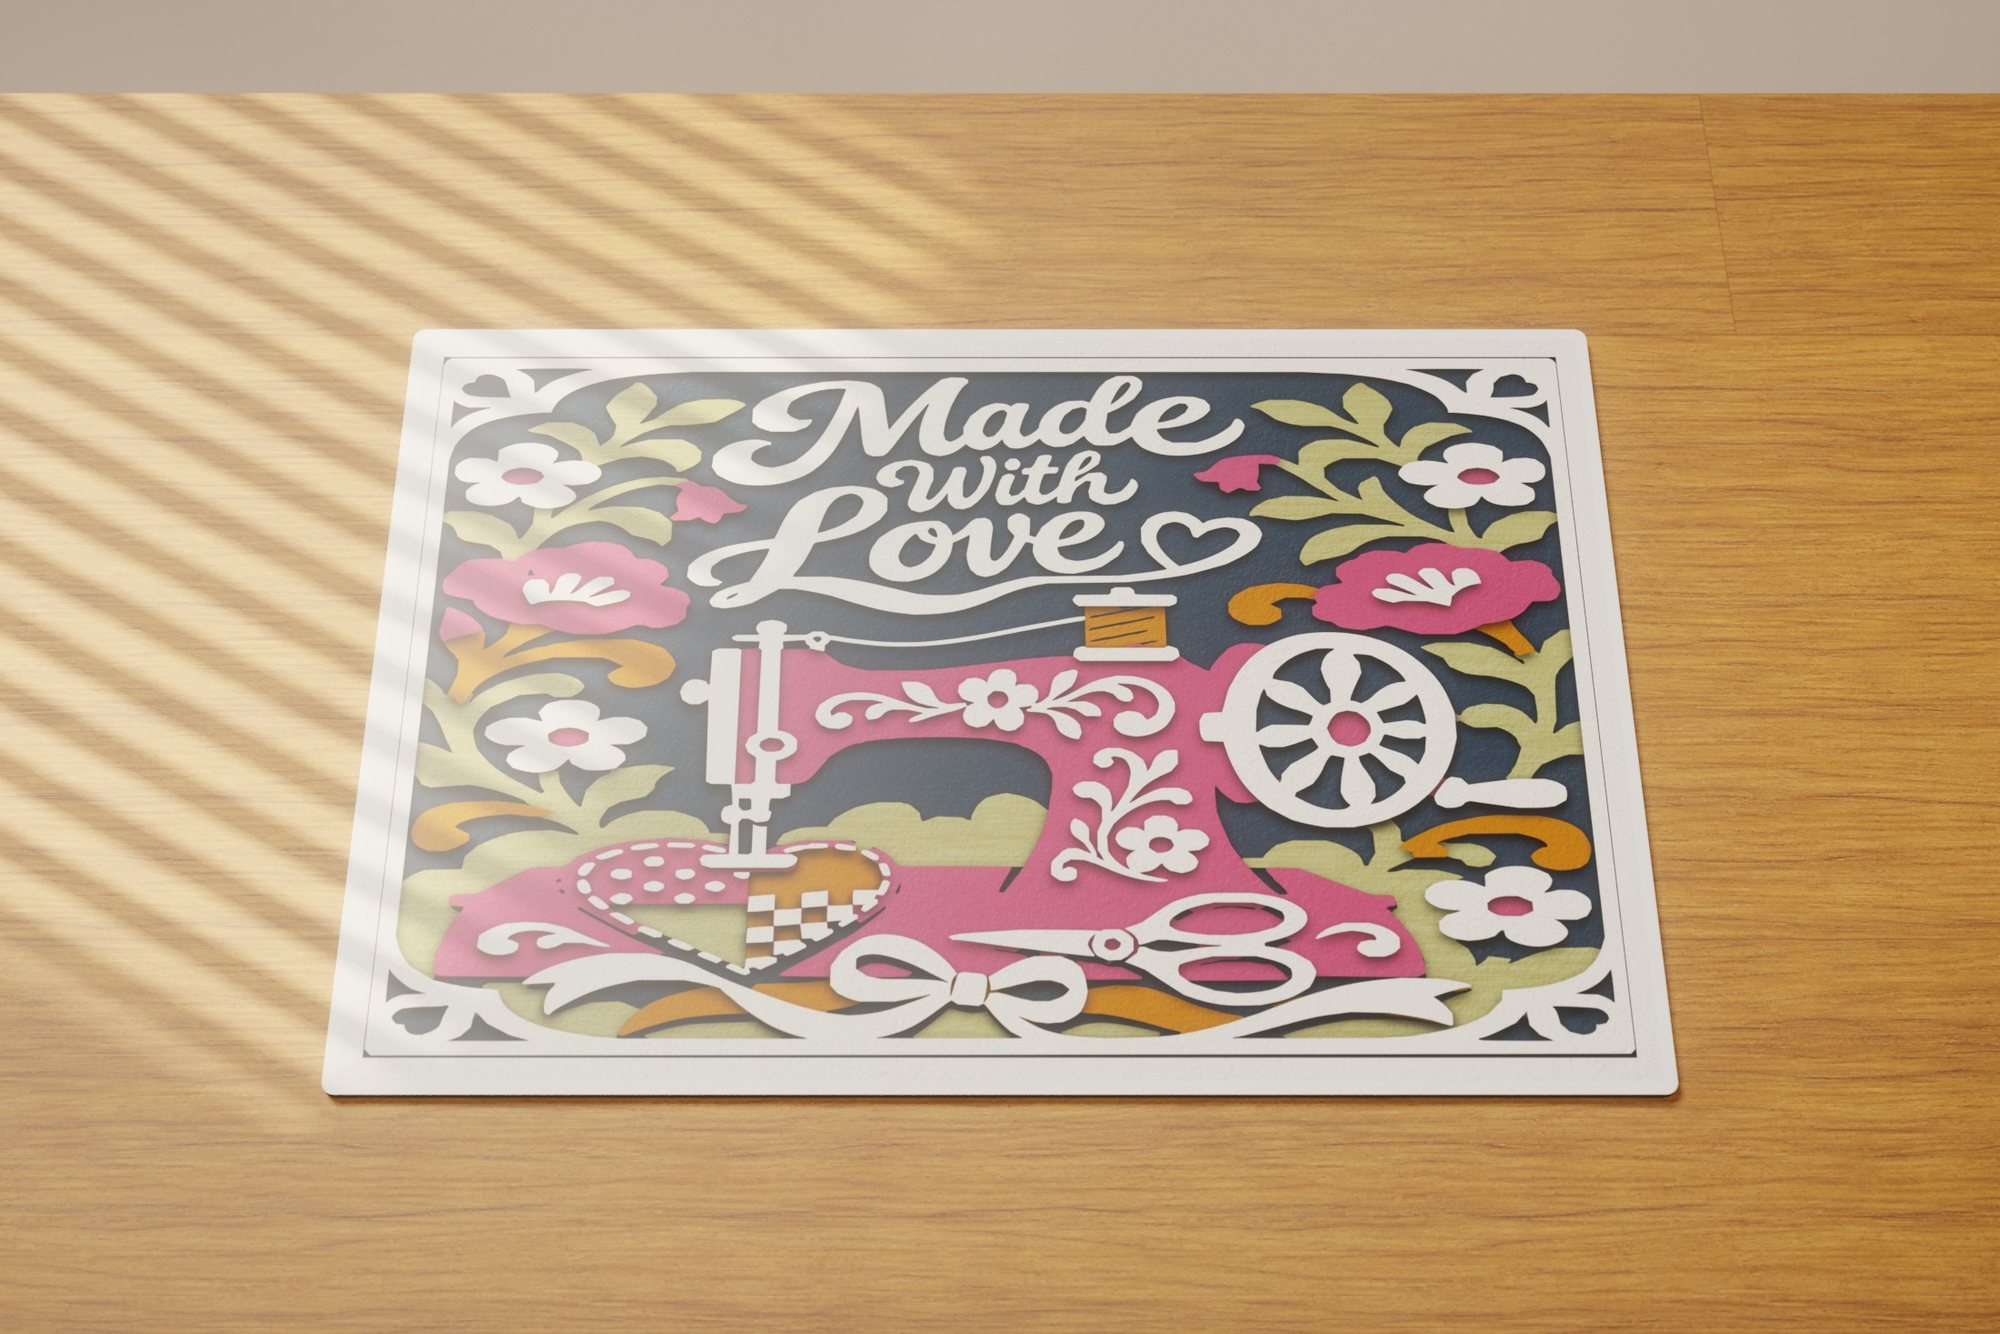 Made with Love 2
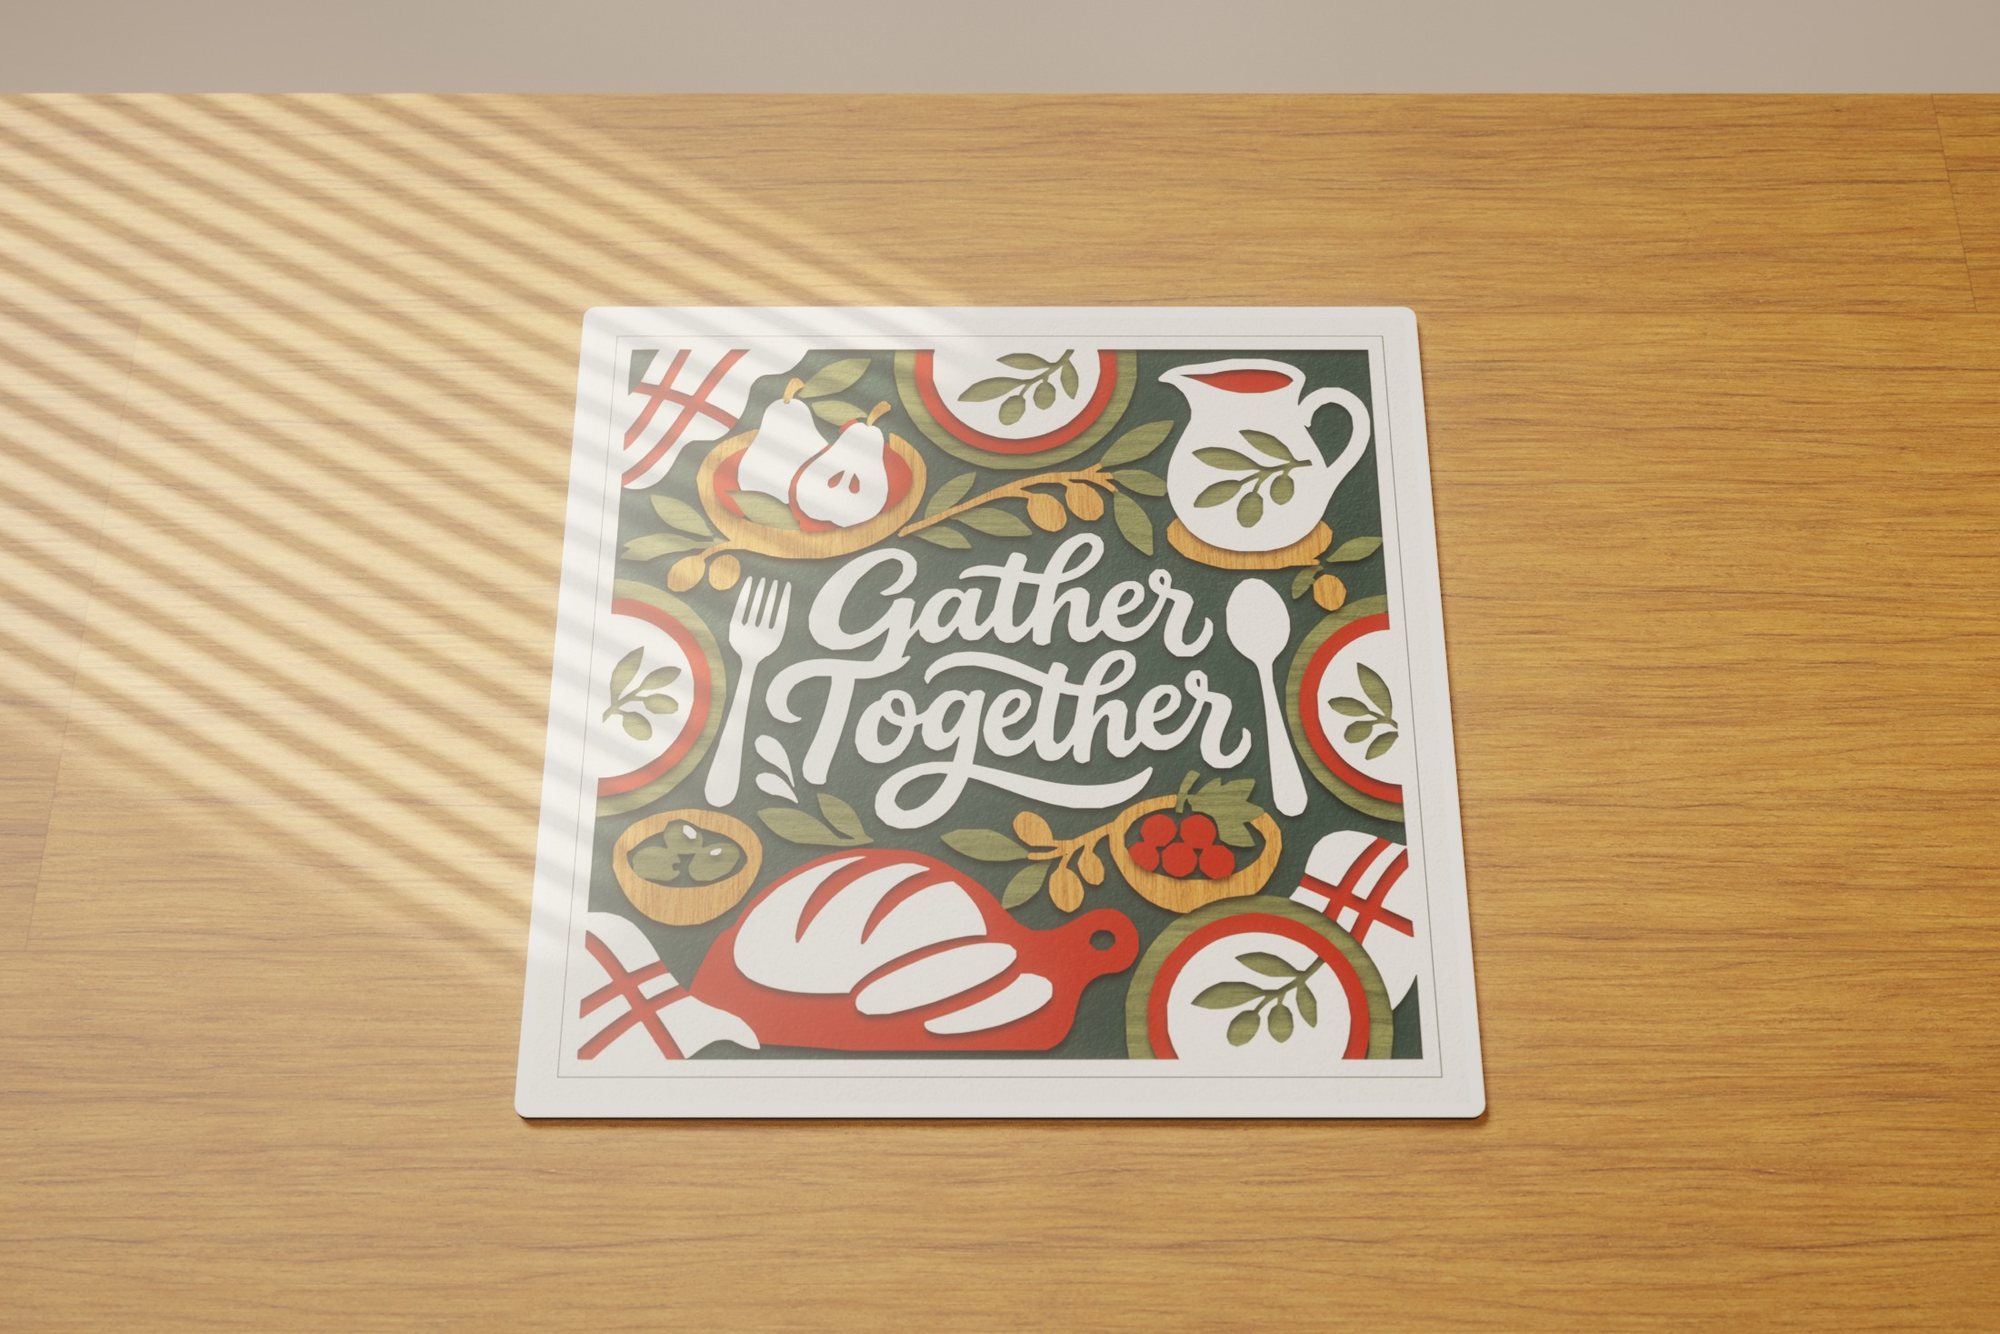 Gather Together
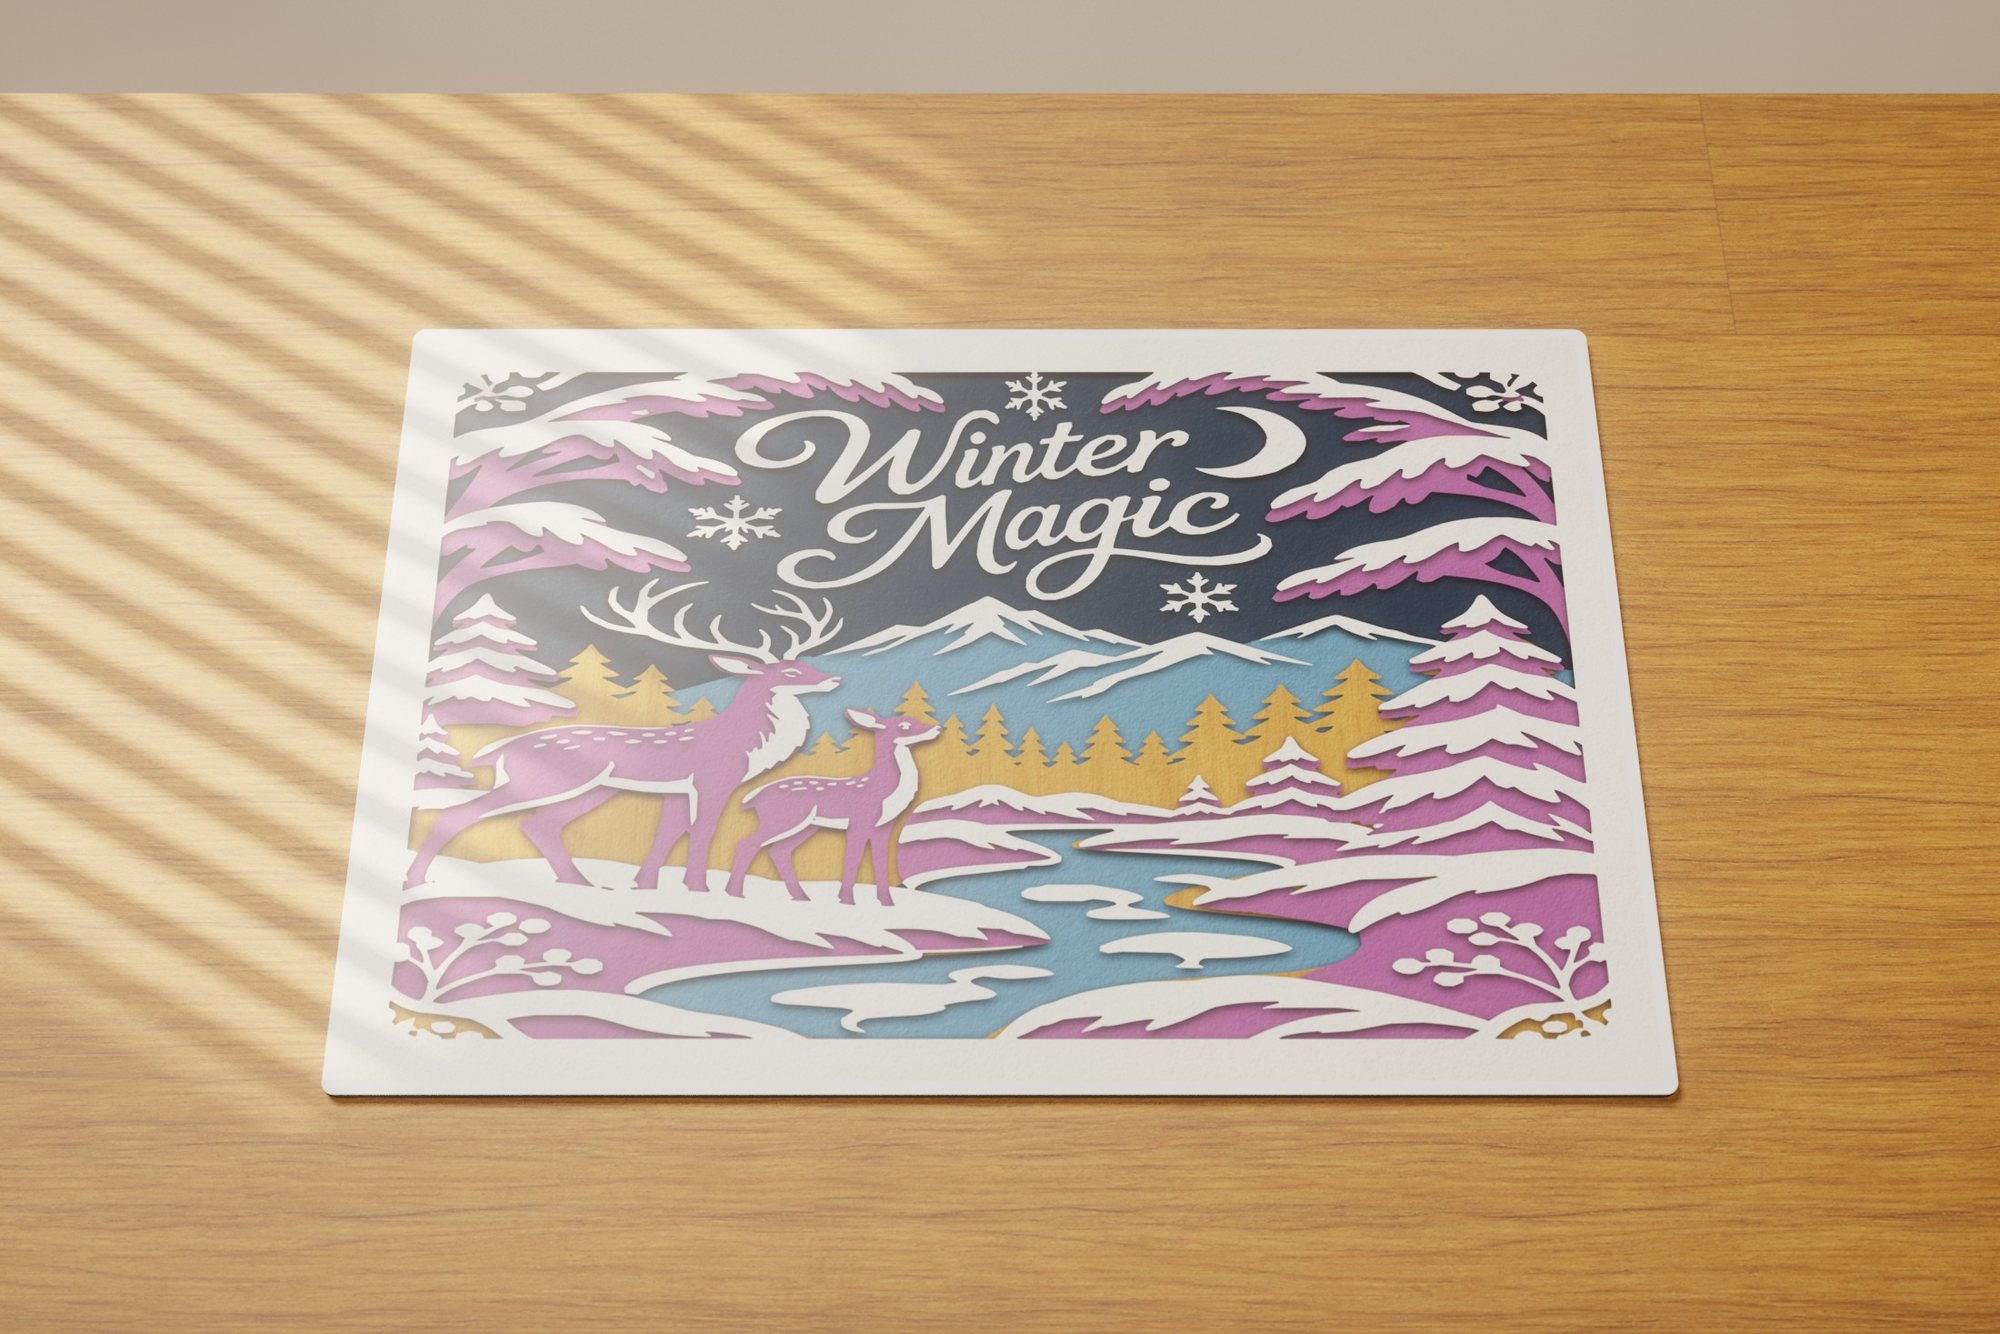 Winter Magic
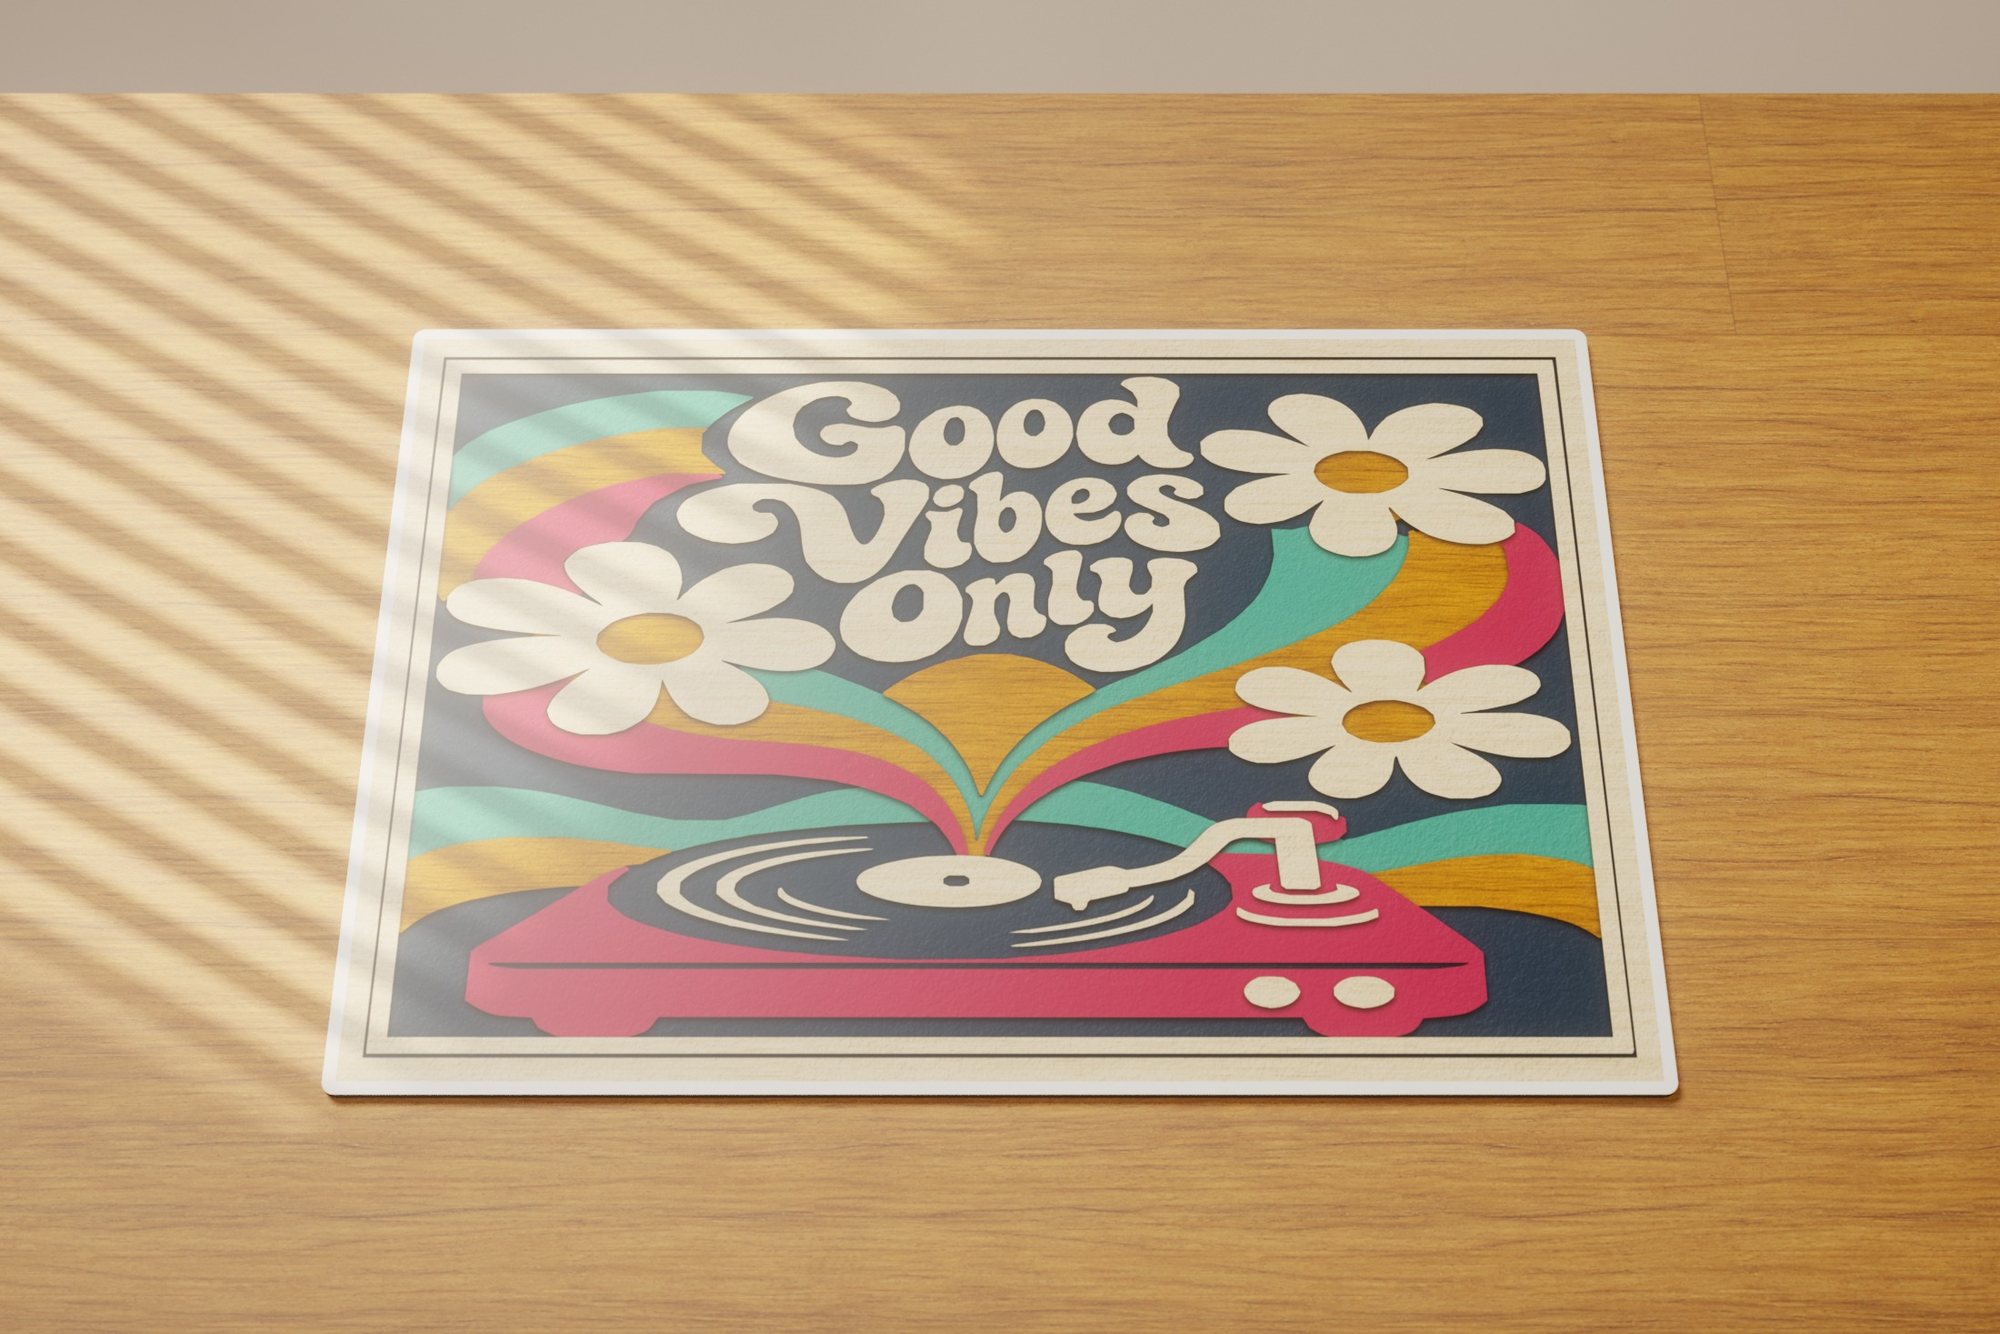 Good Vibes Only
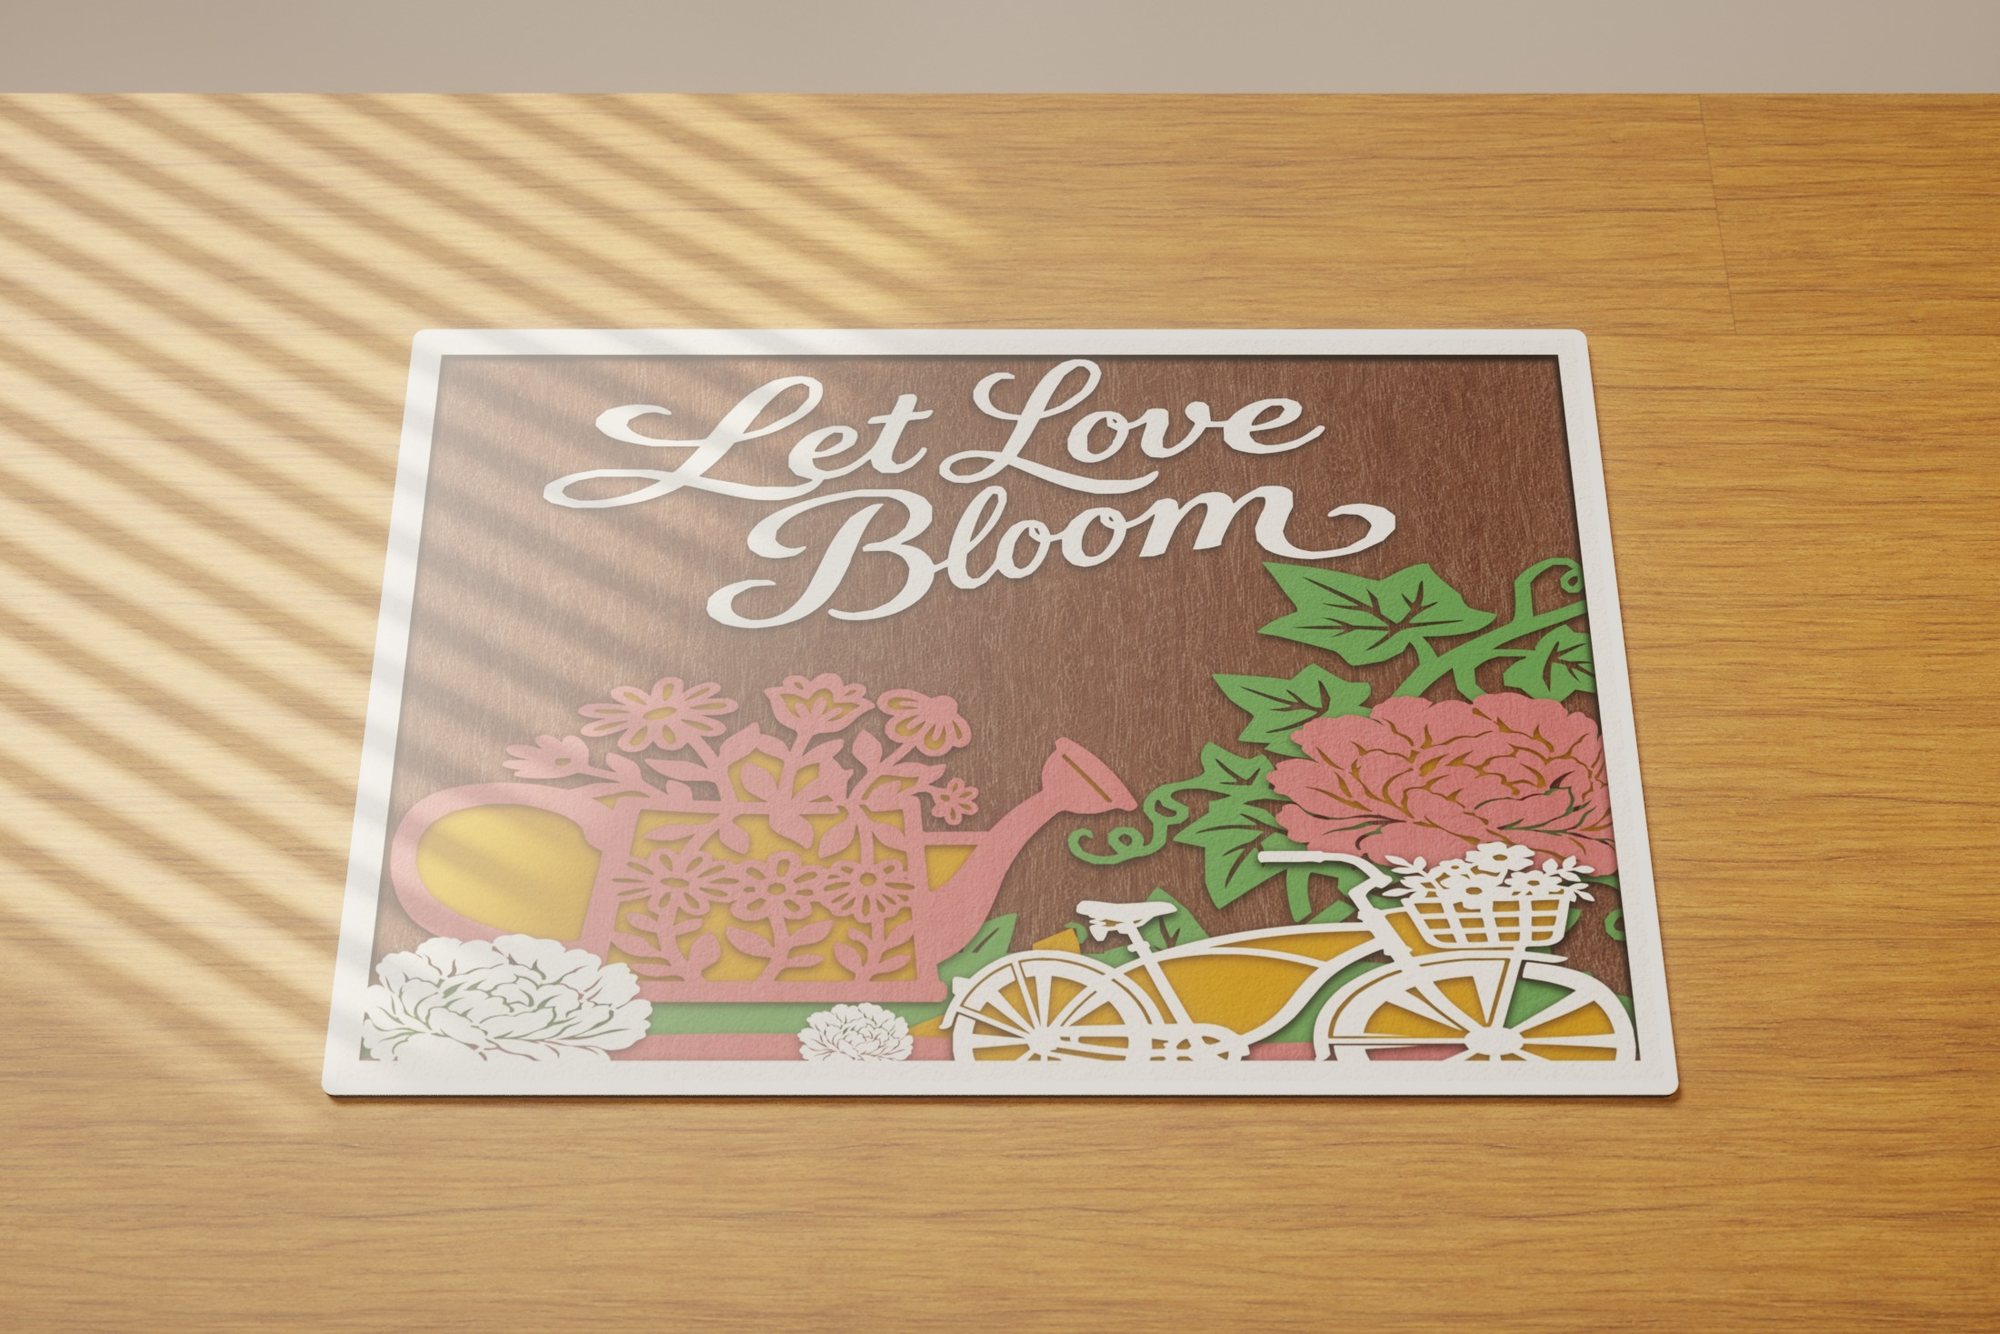 Blooming Joy
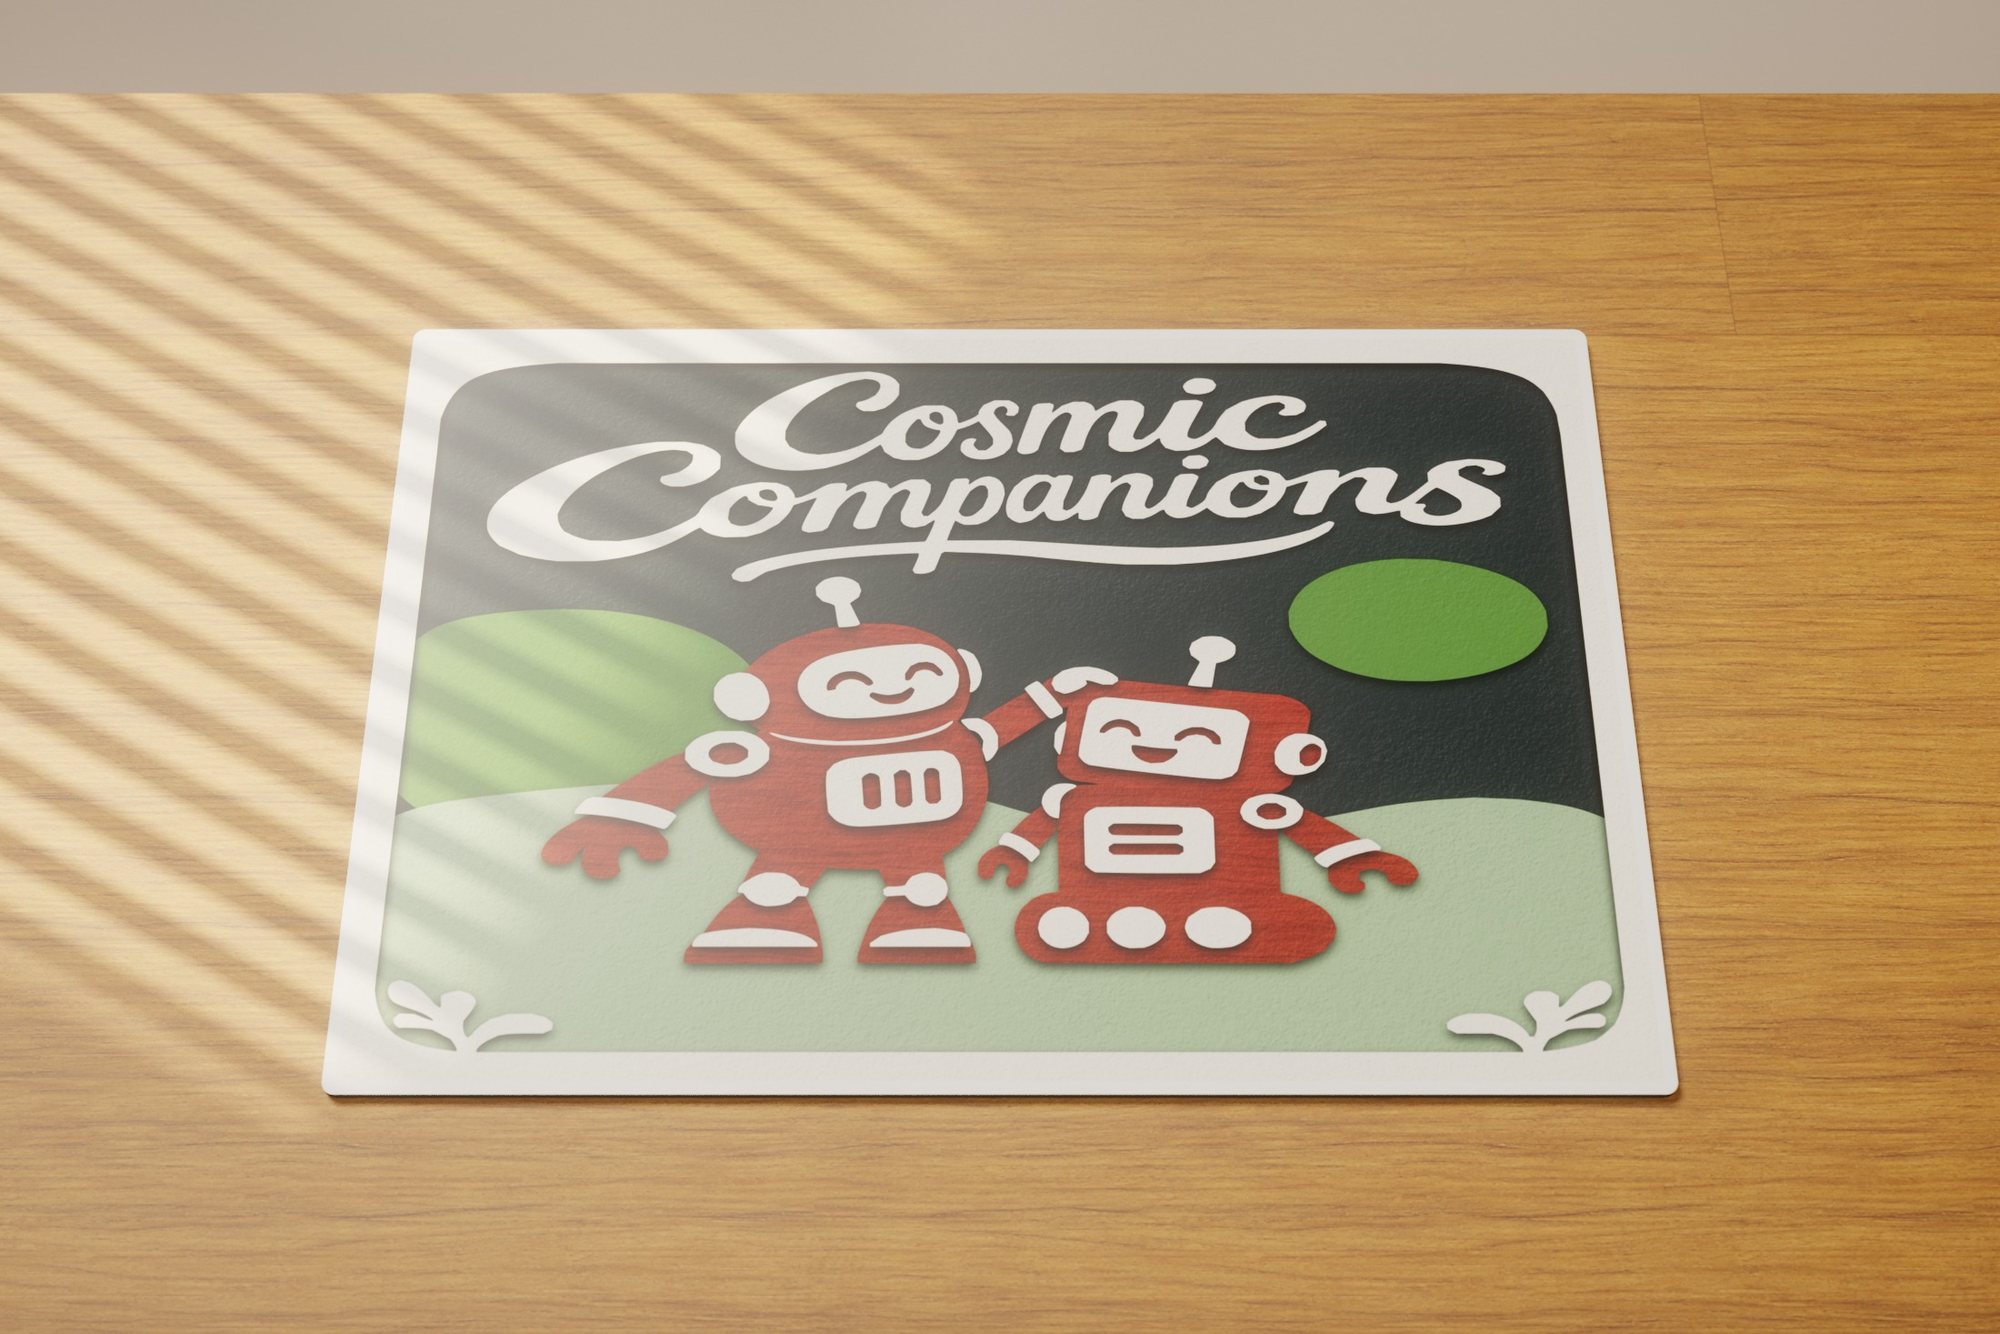 Cosmic Companions
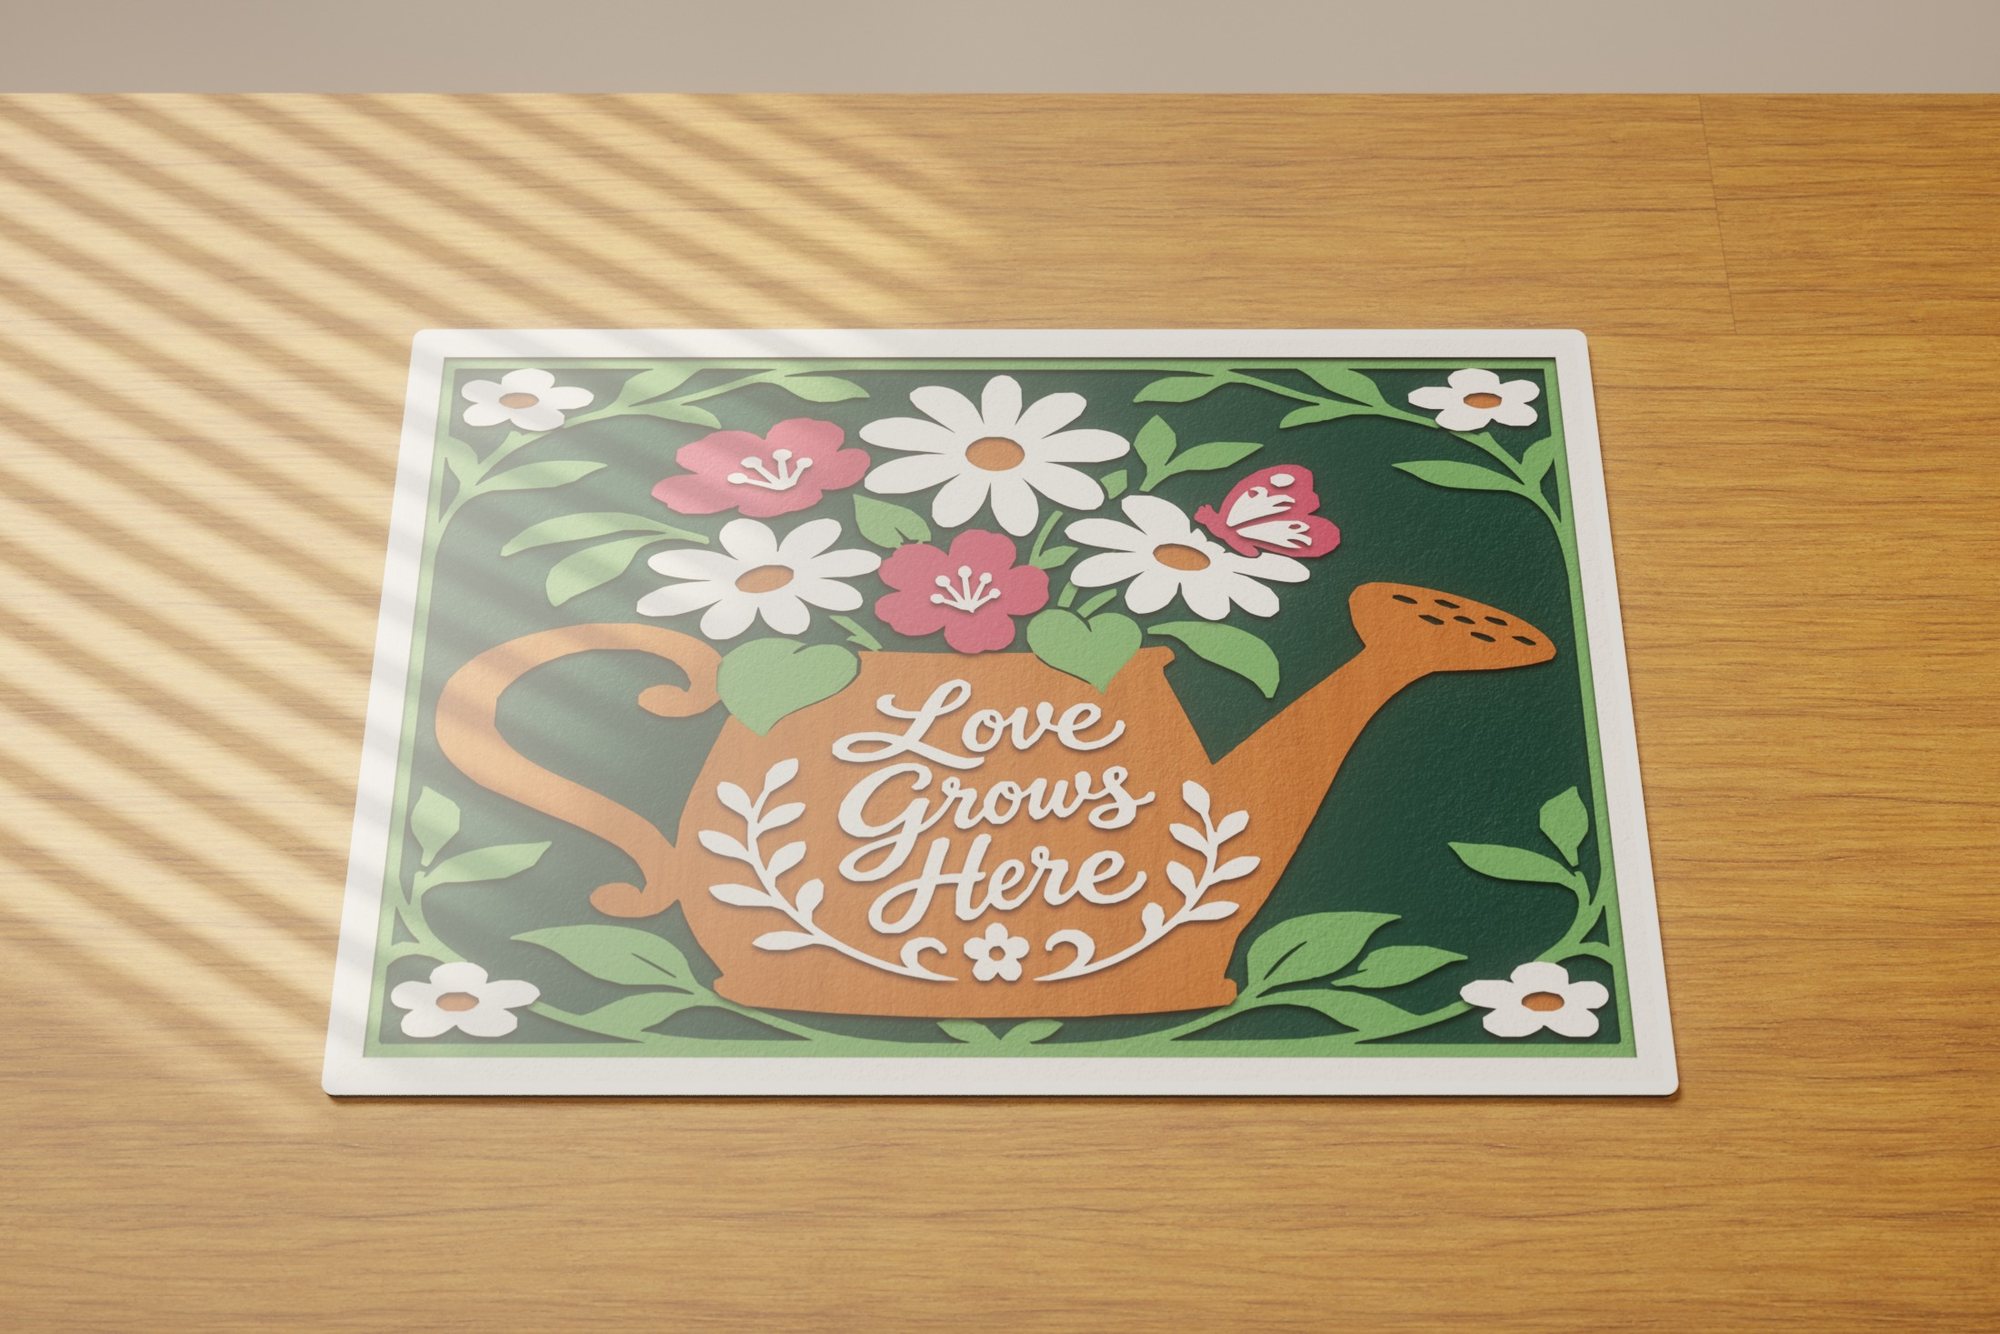 Love Grows Here
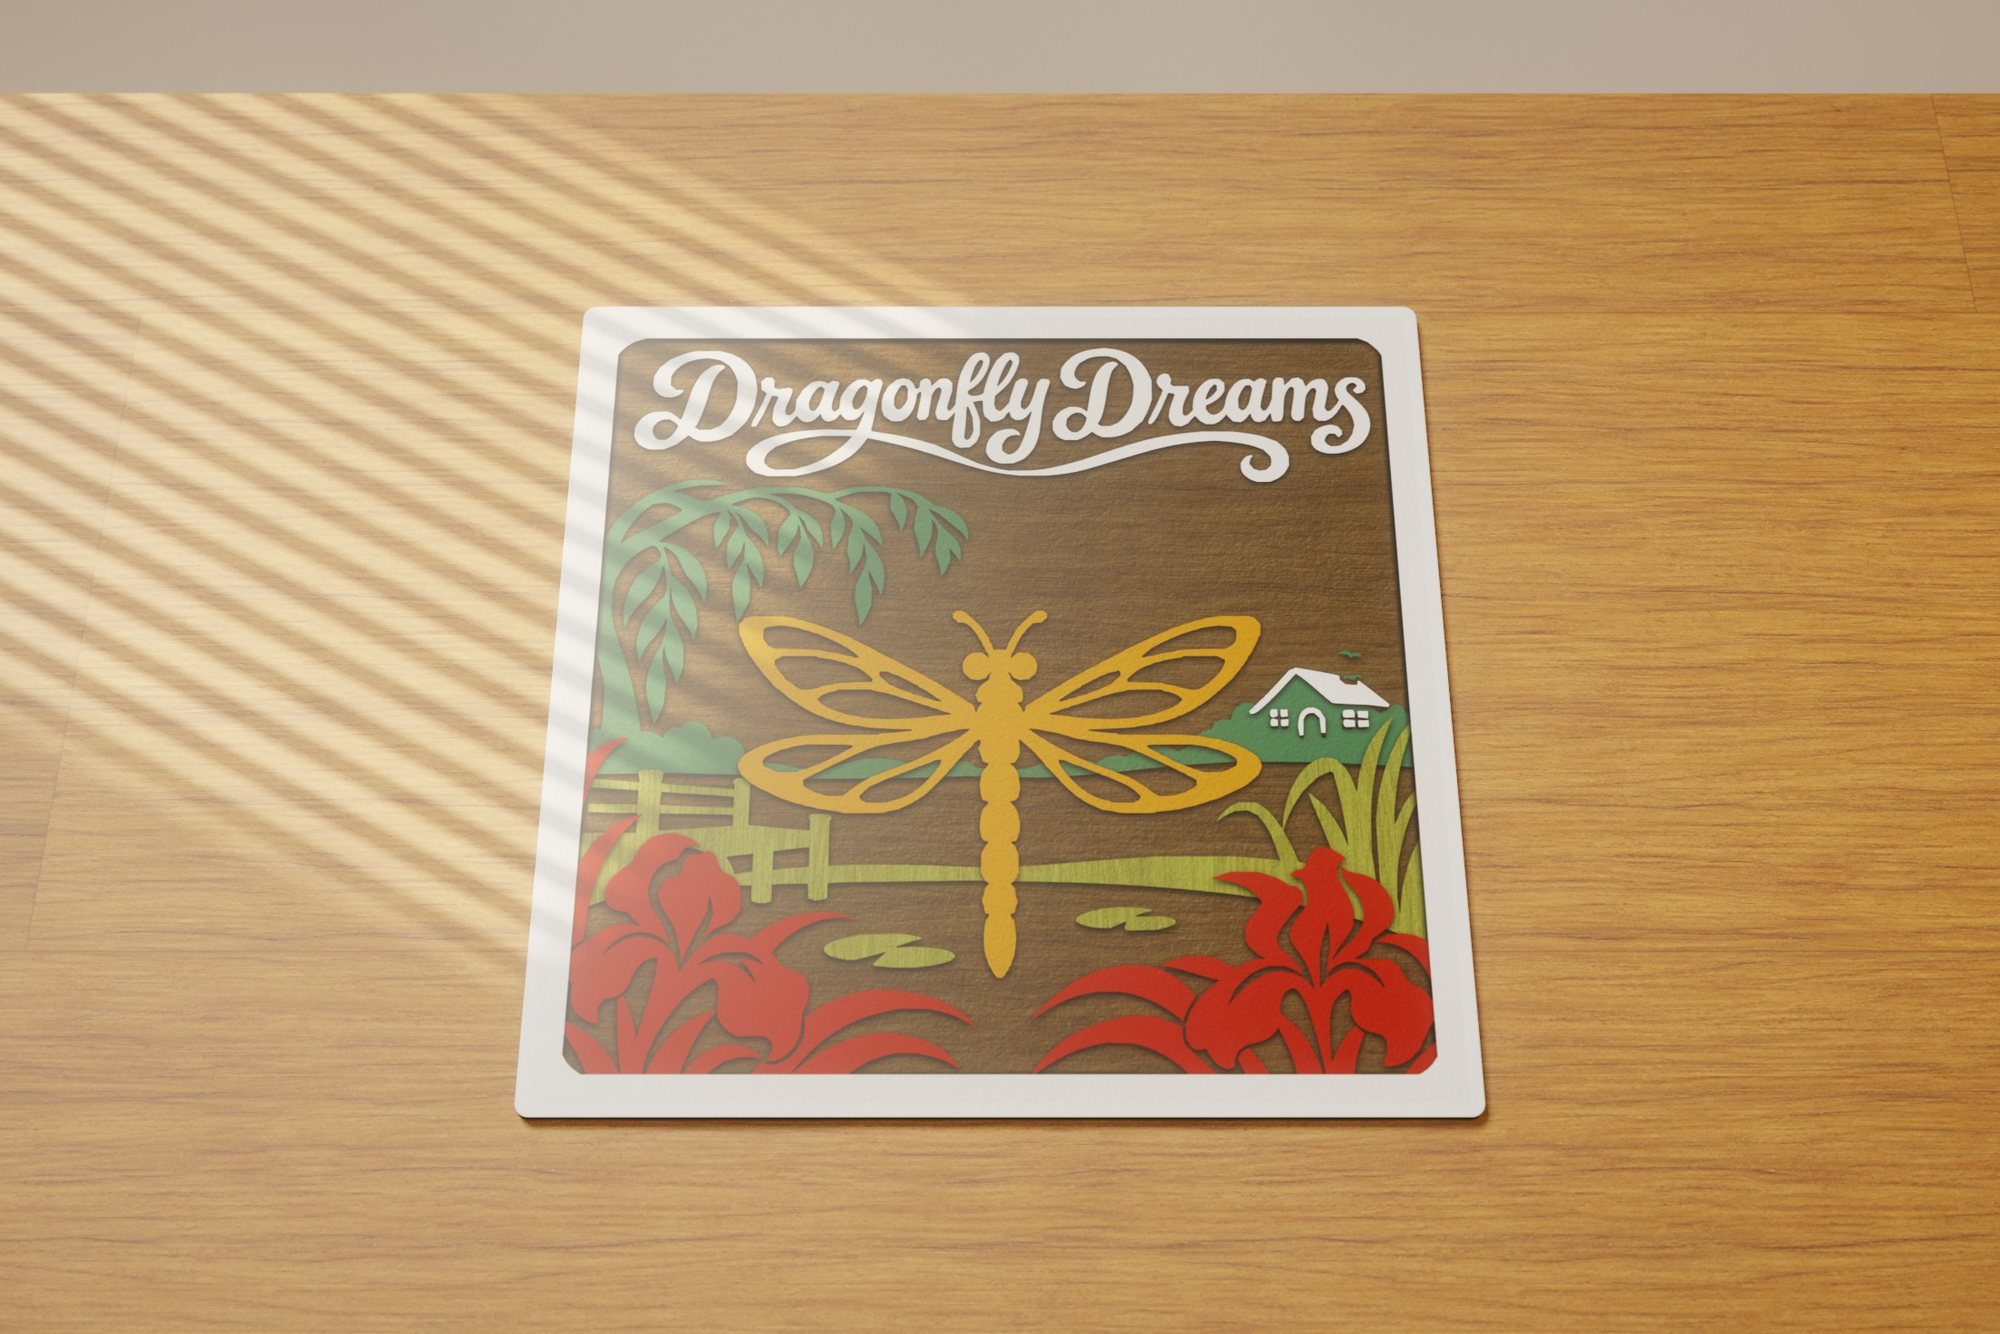 Dragonfly Dreams
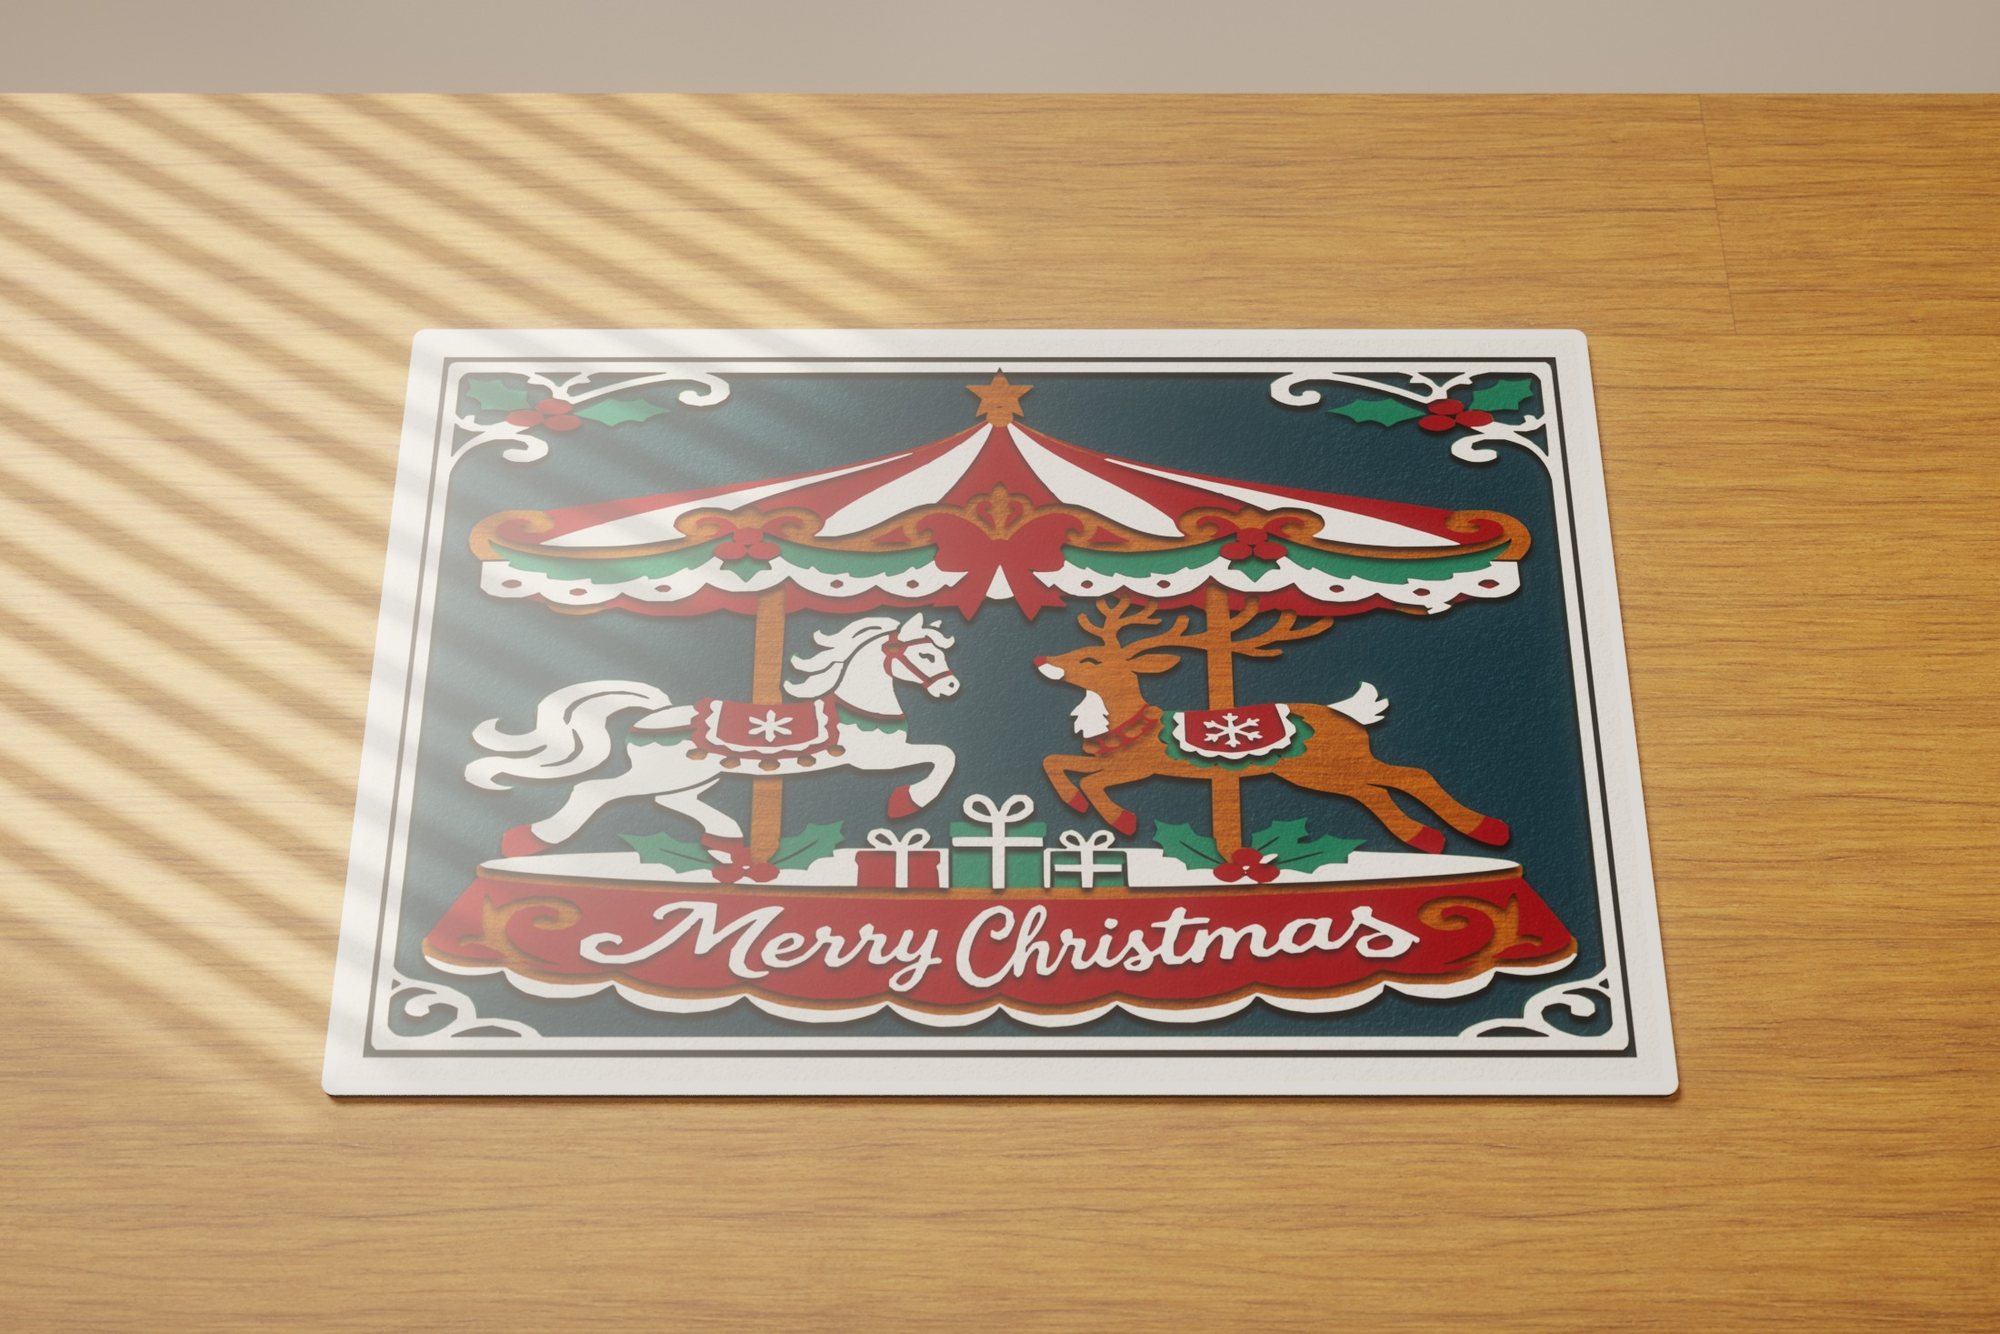 Christmas Carousel
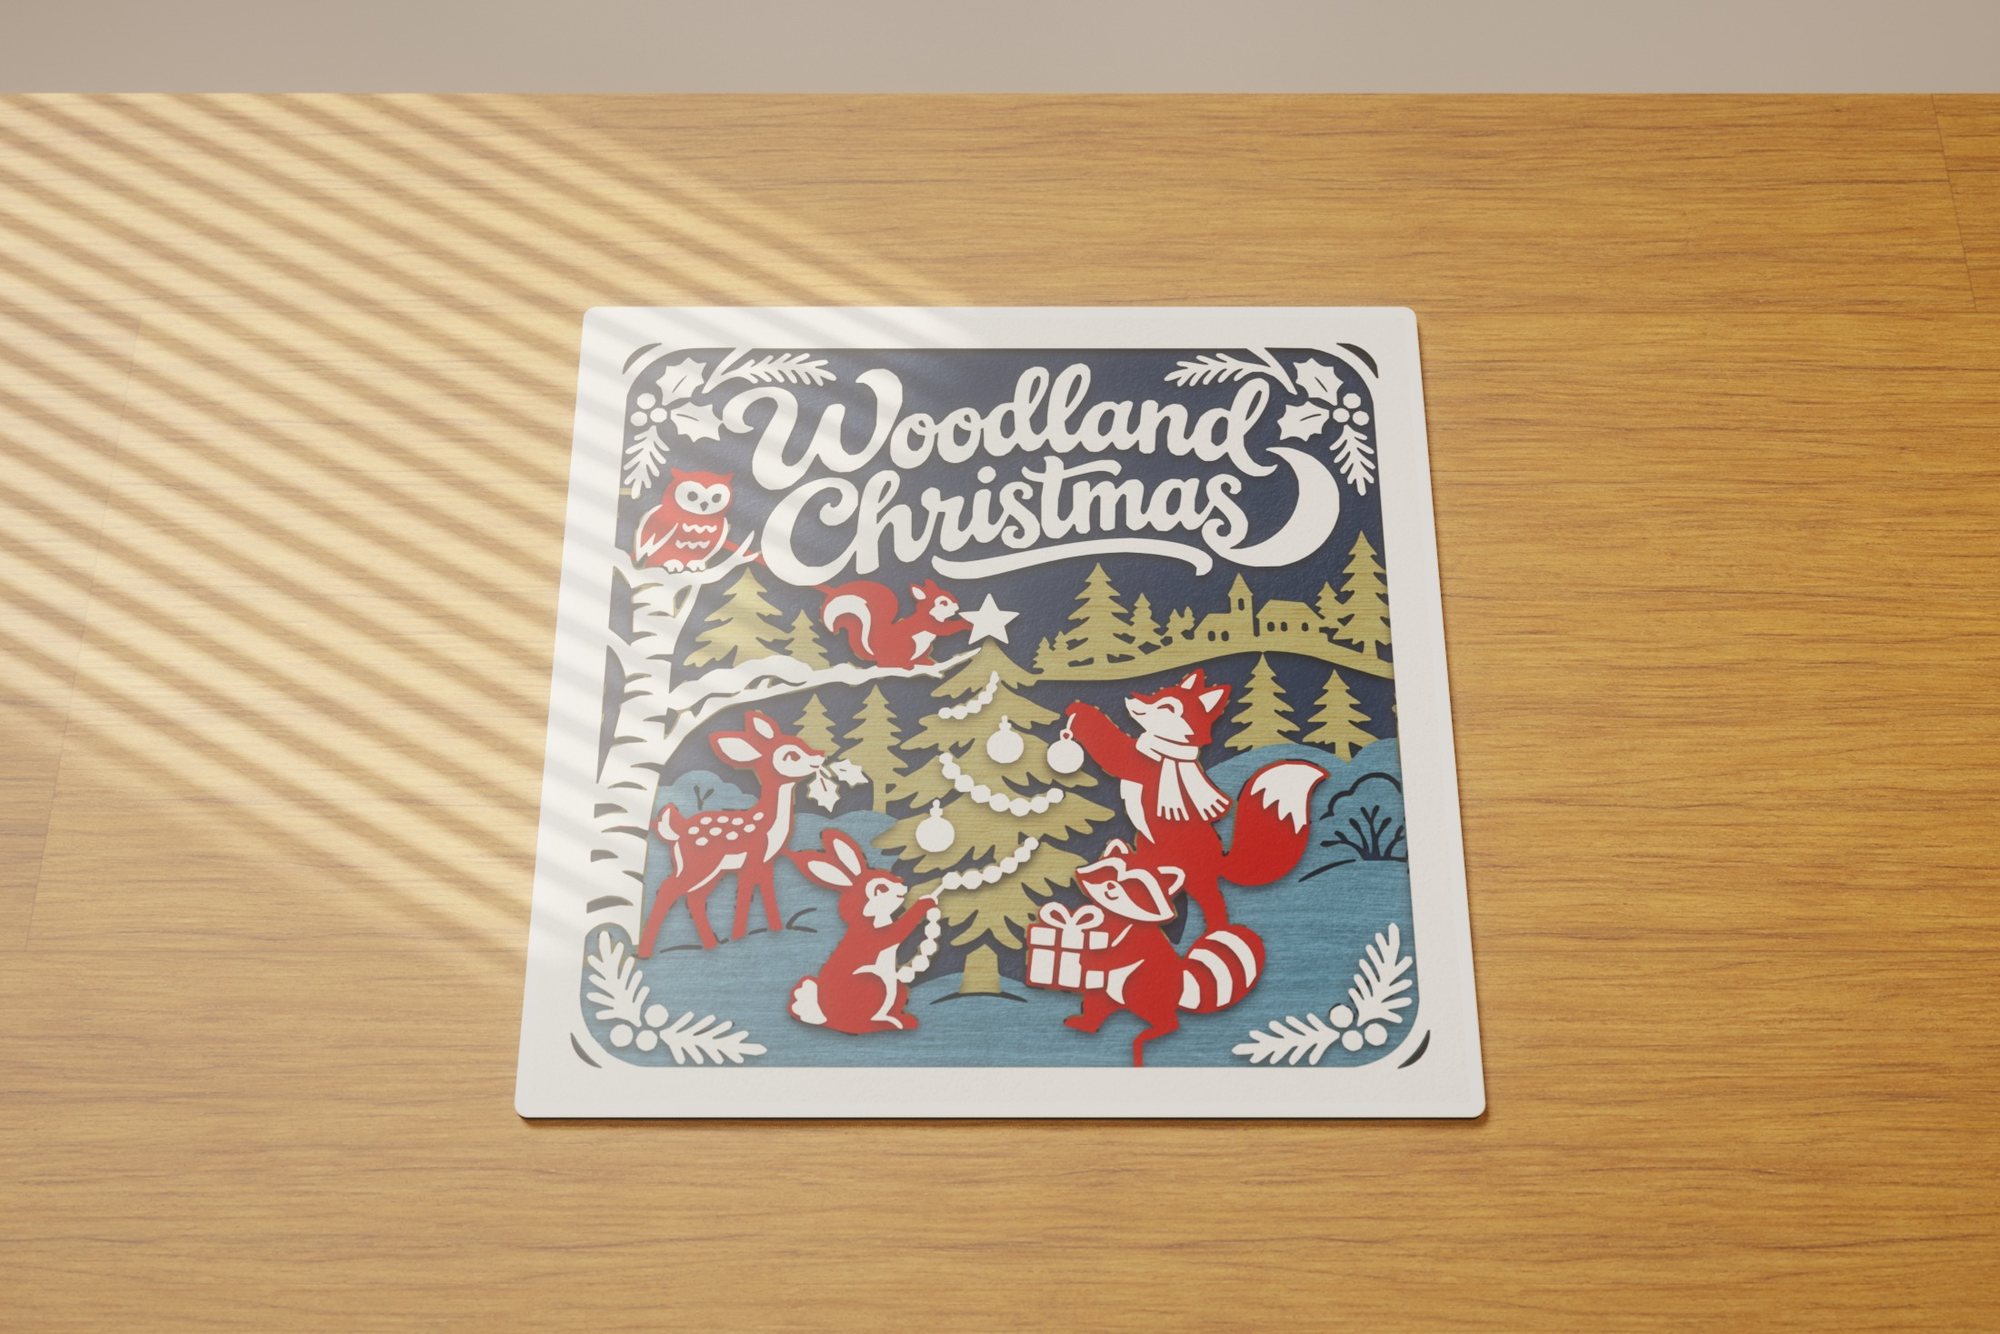 Woodland Christmas
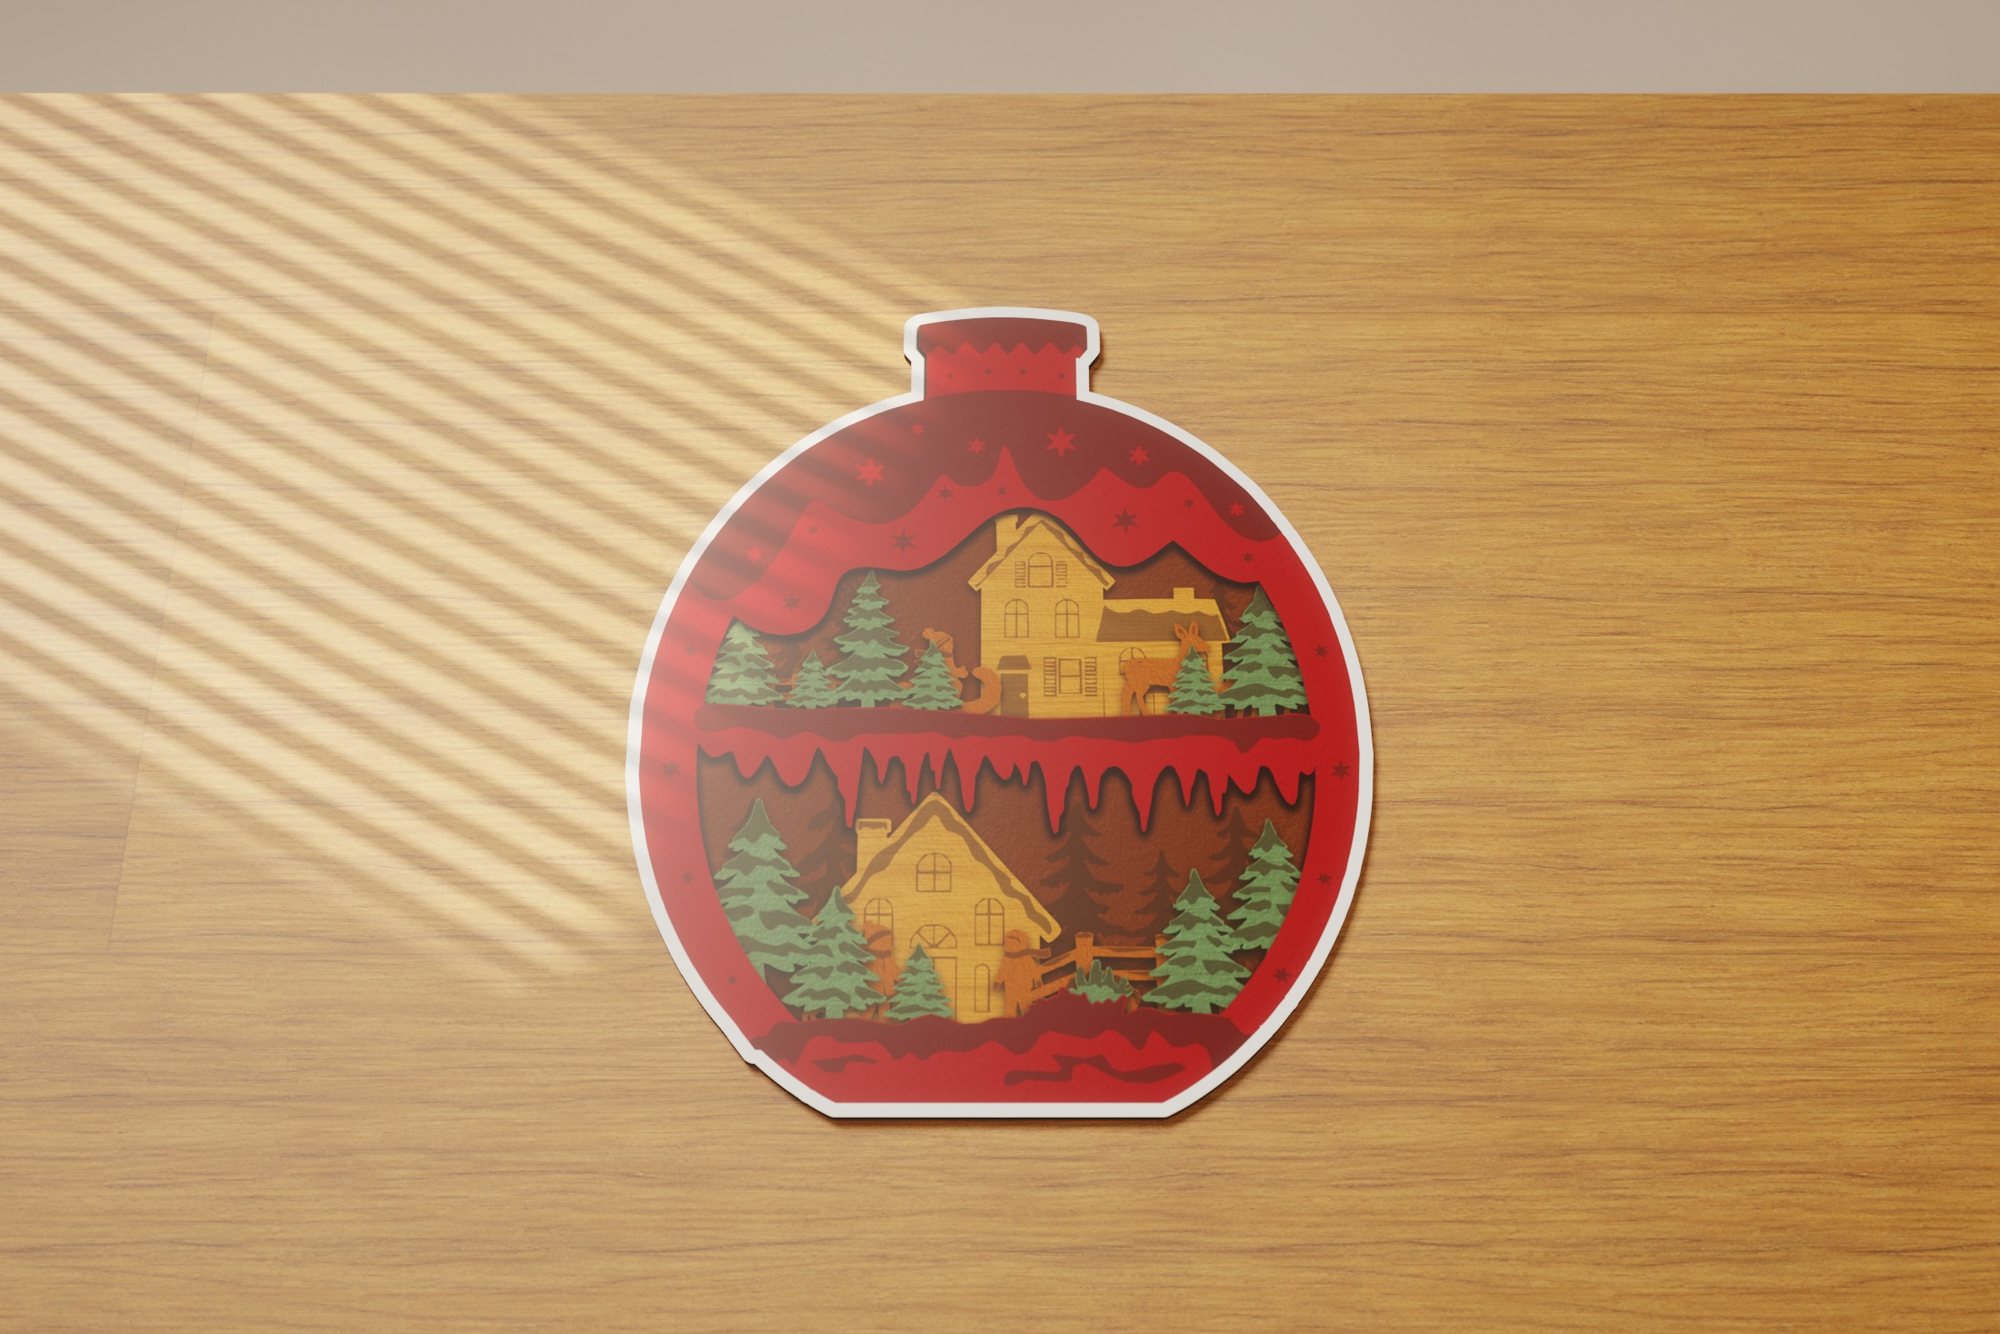 Christmas Village Ornament
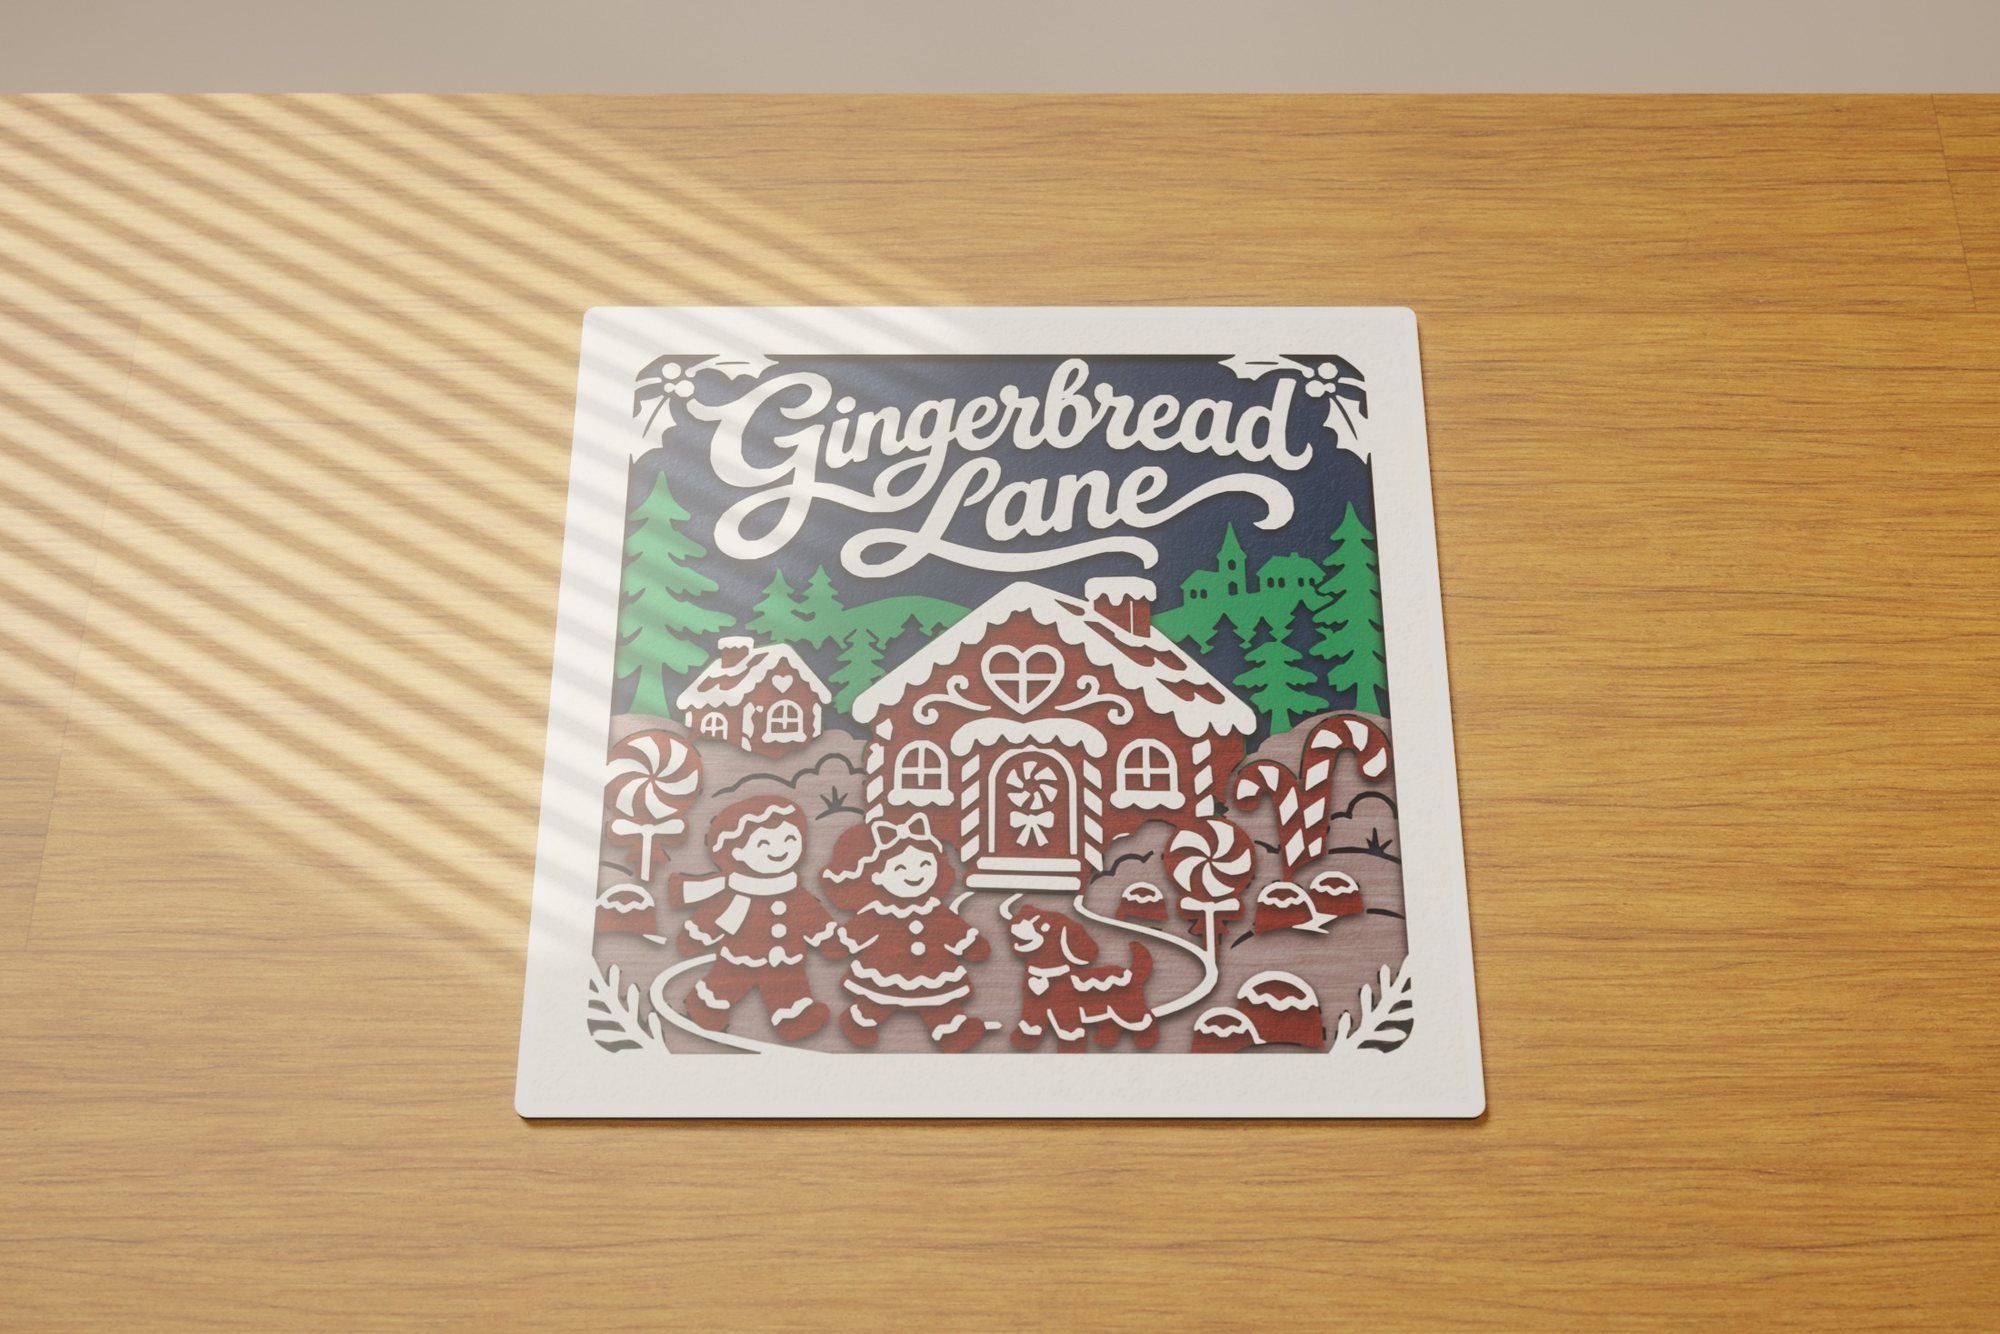 Gingerbread Lane
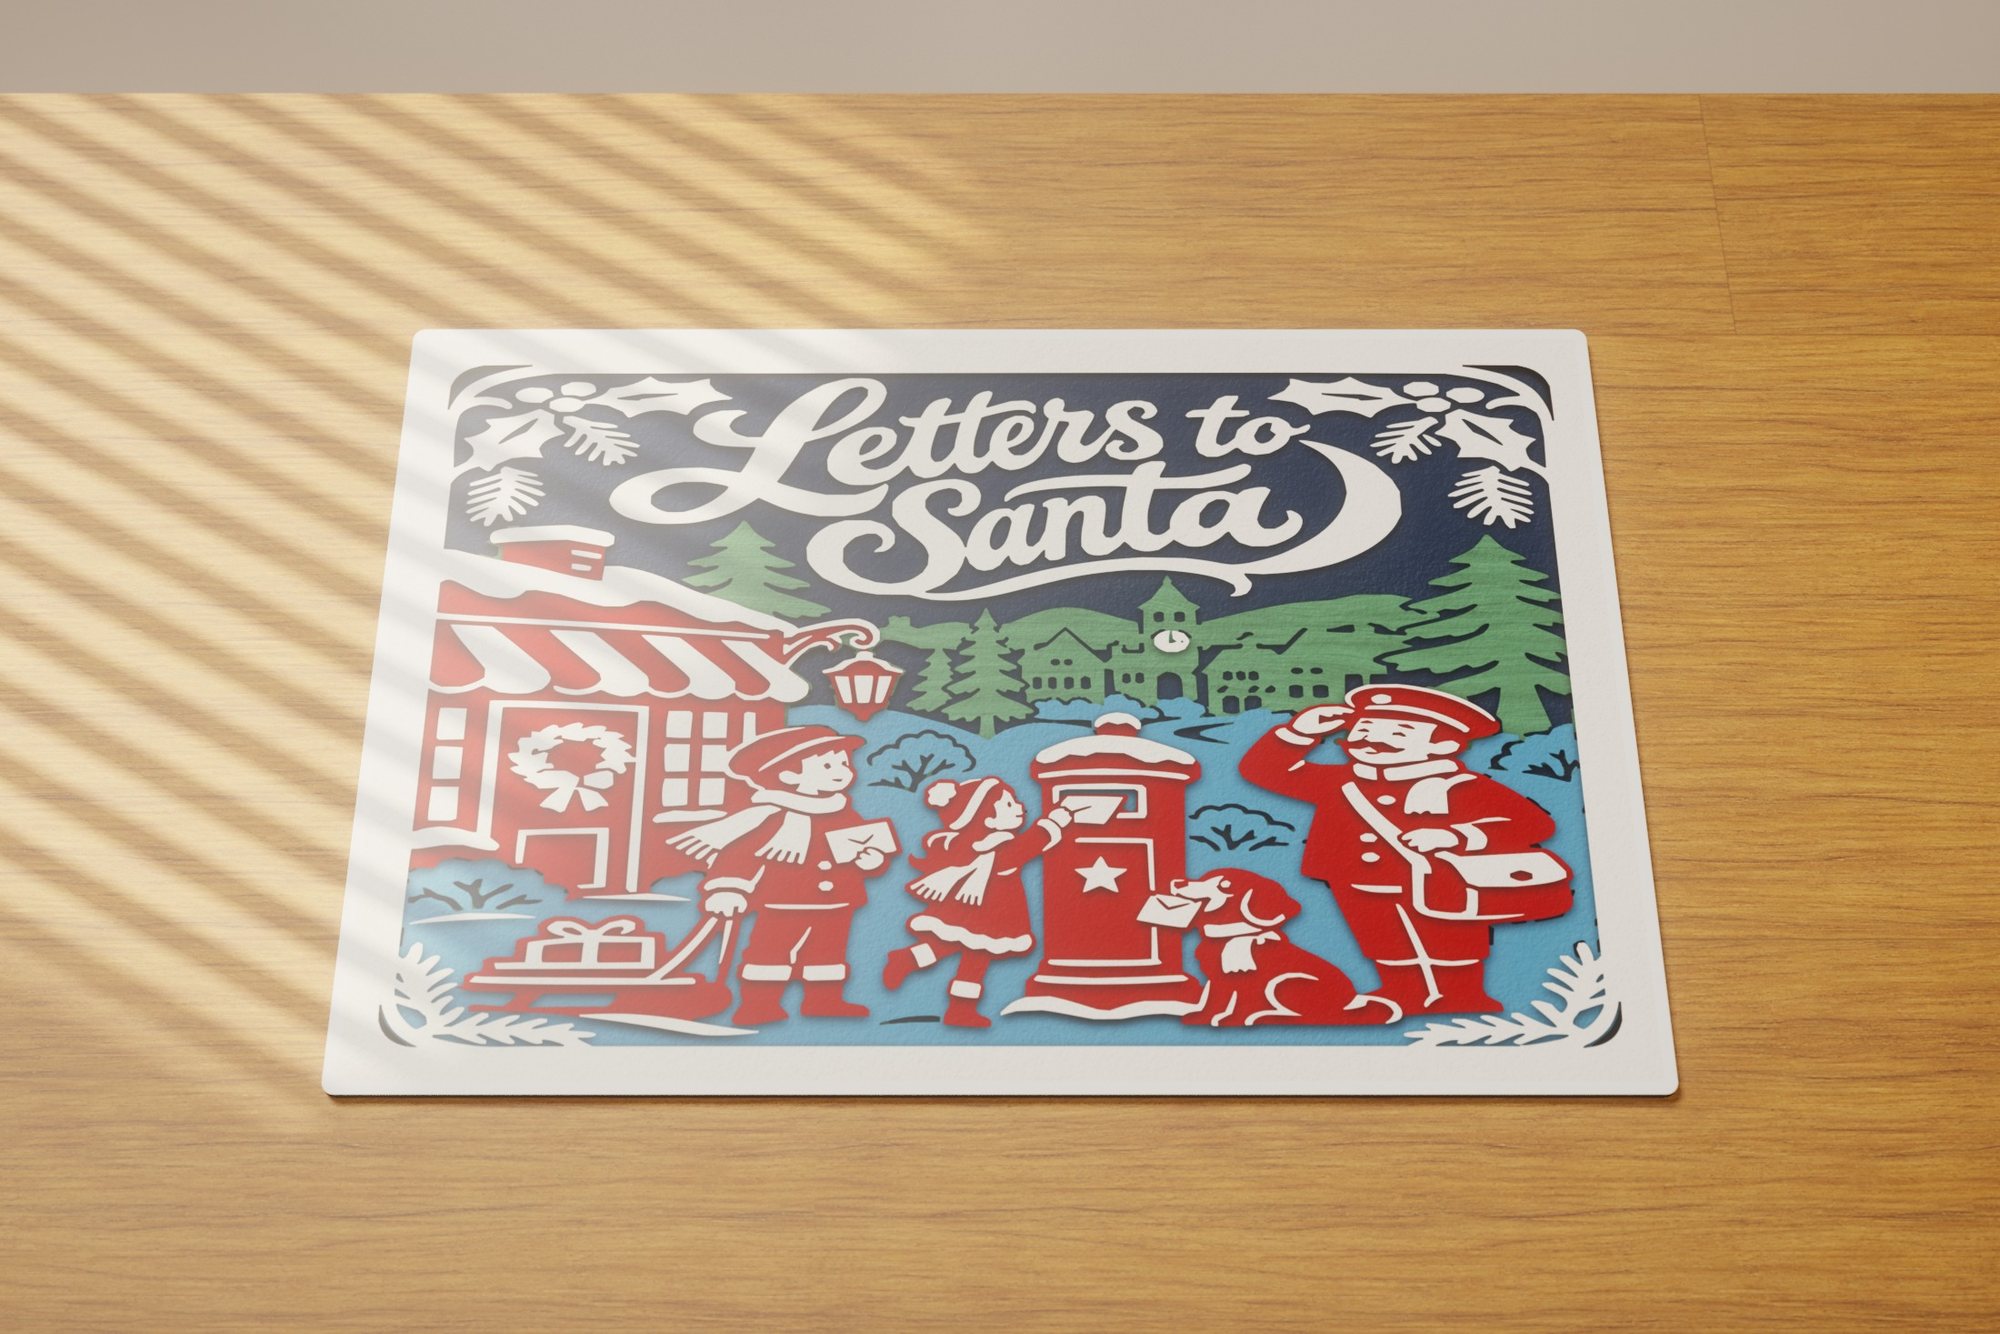 Letters to Santa
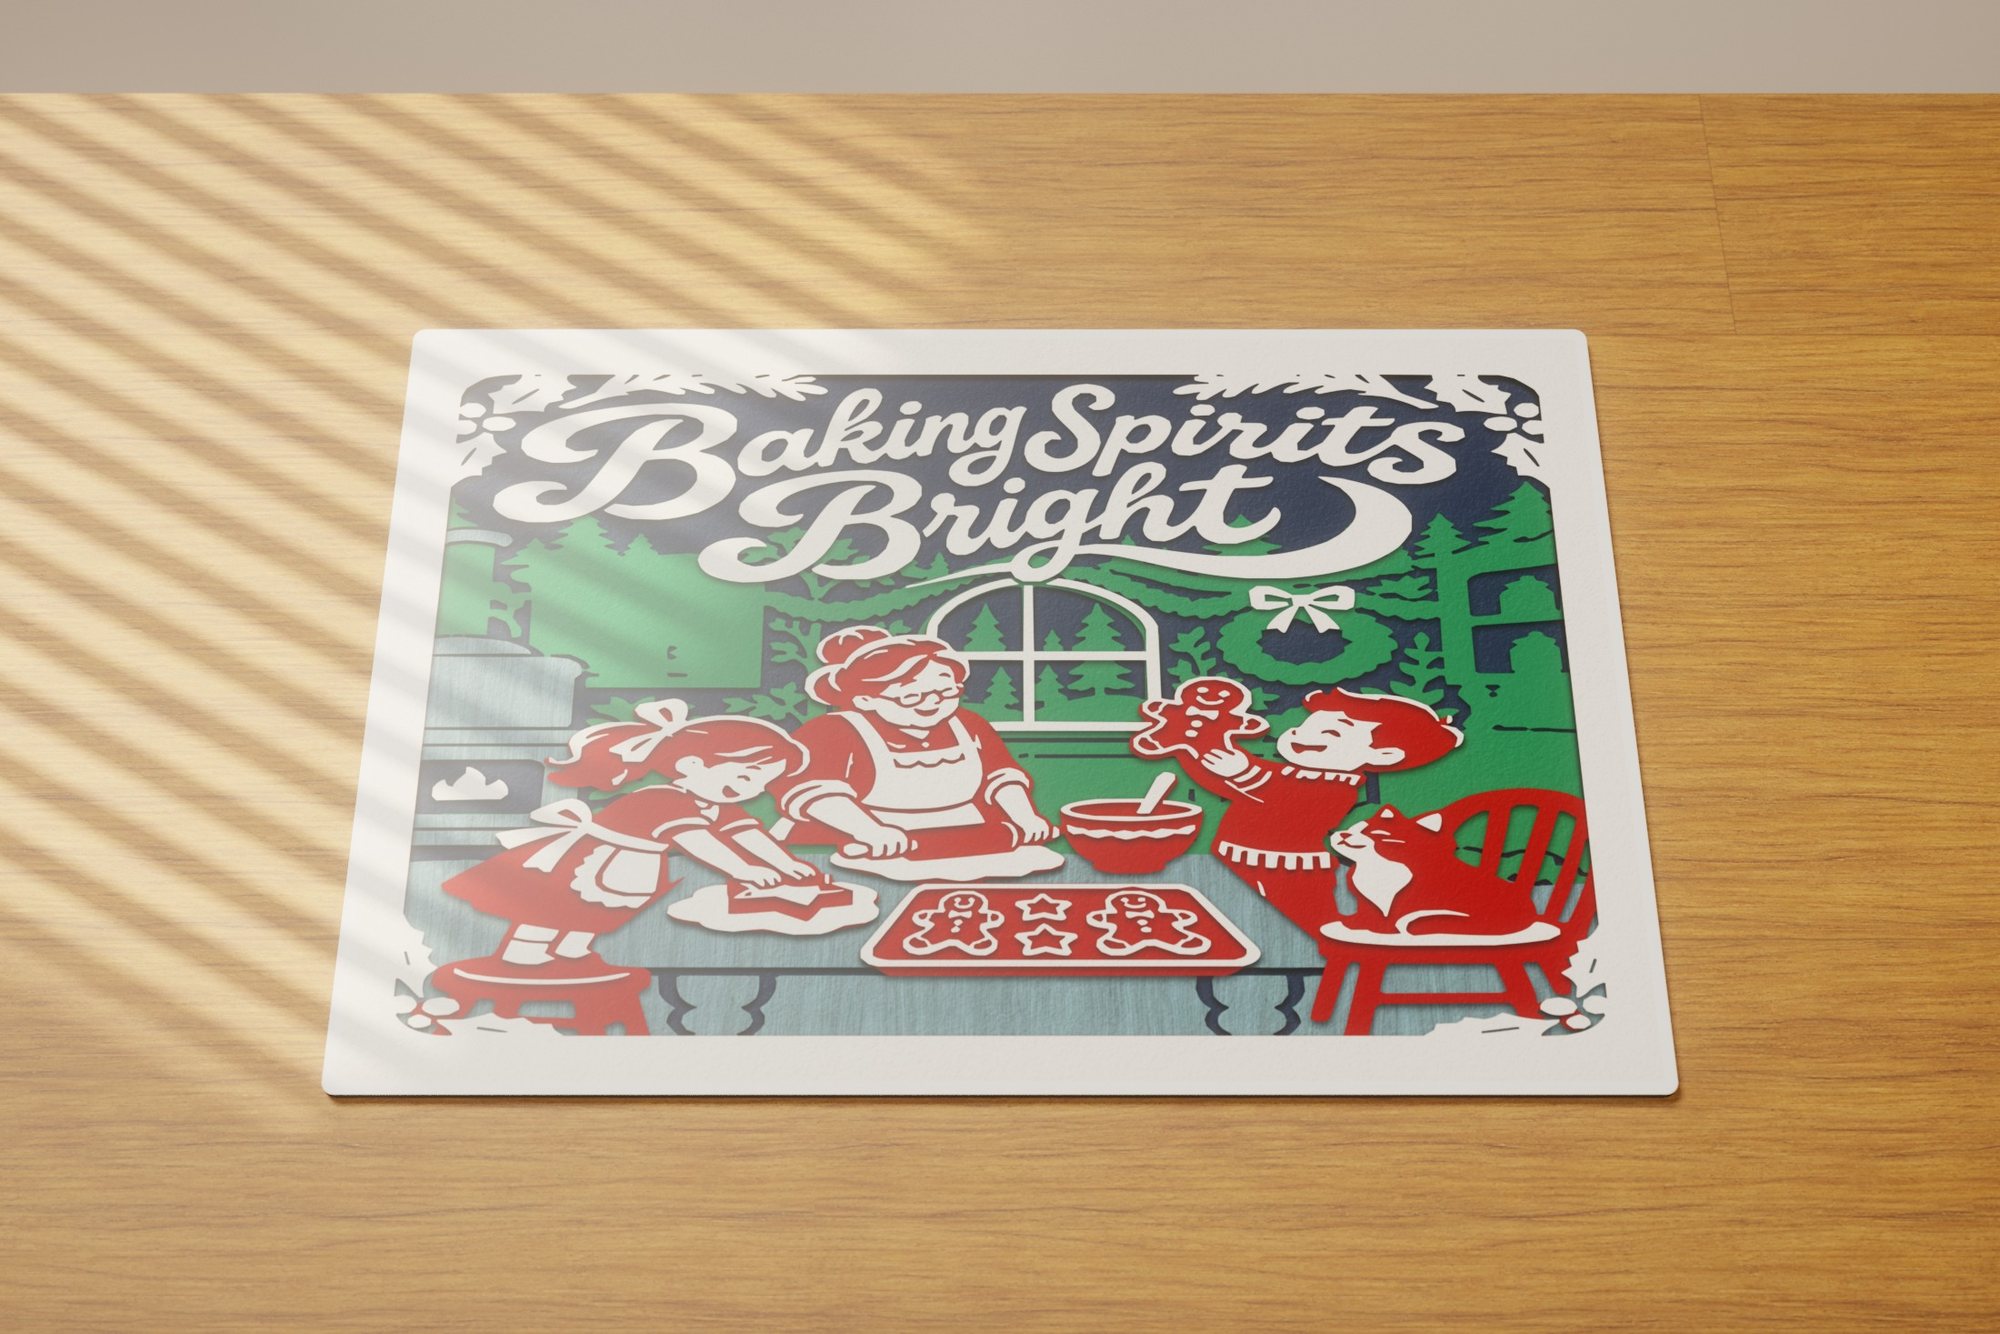 Baking Spirits Bright
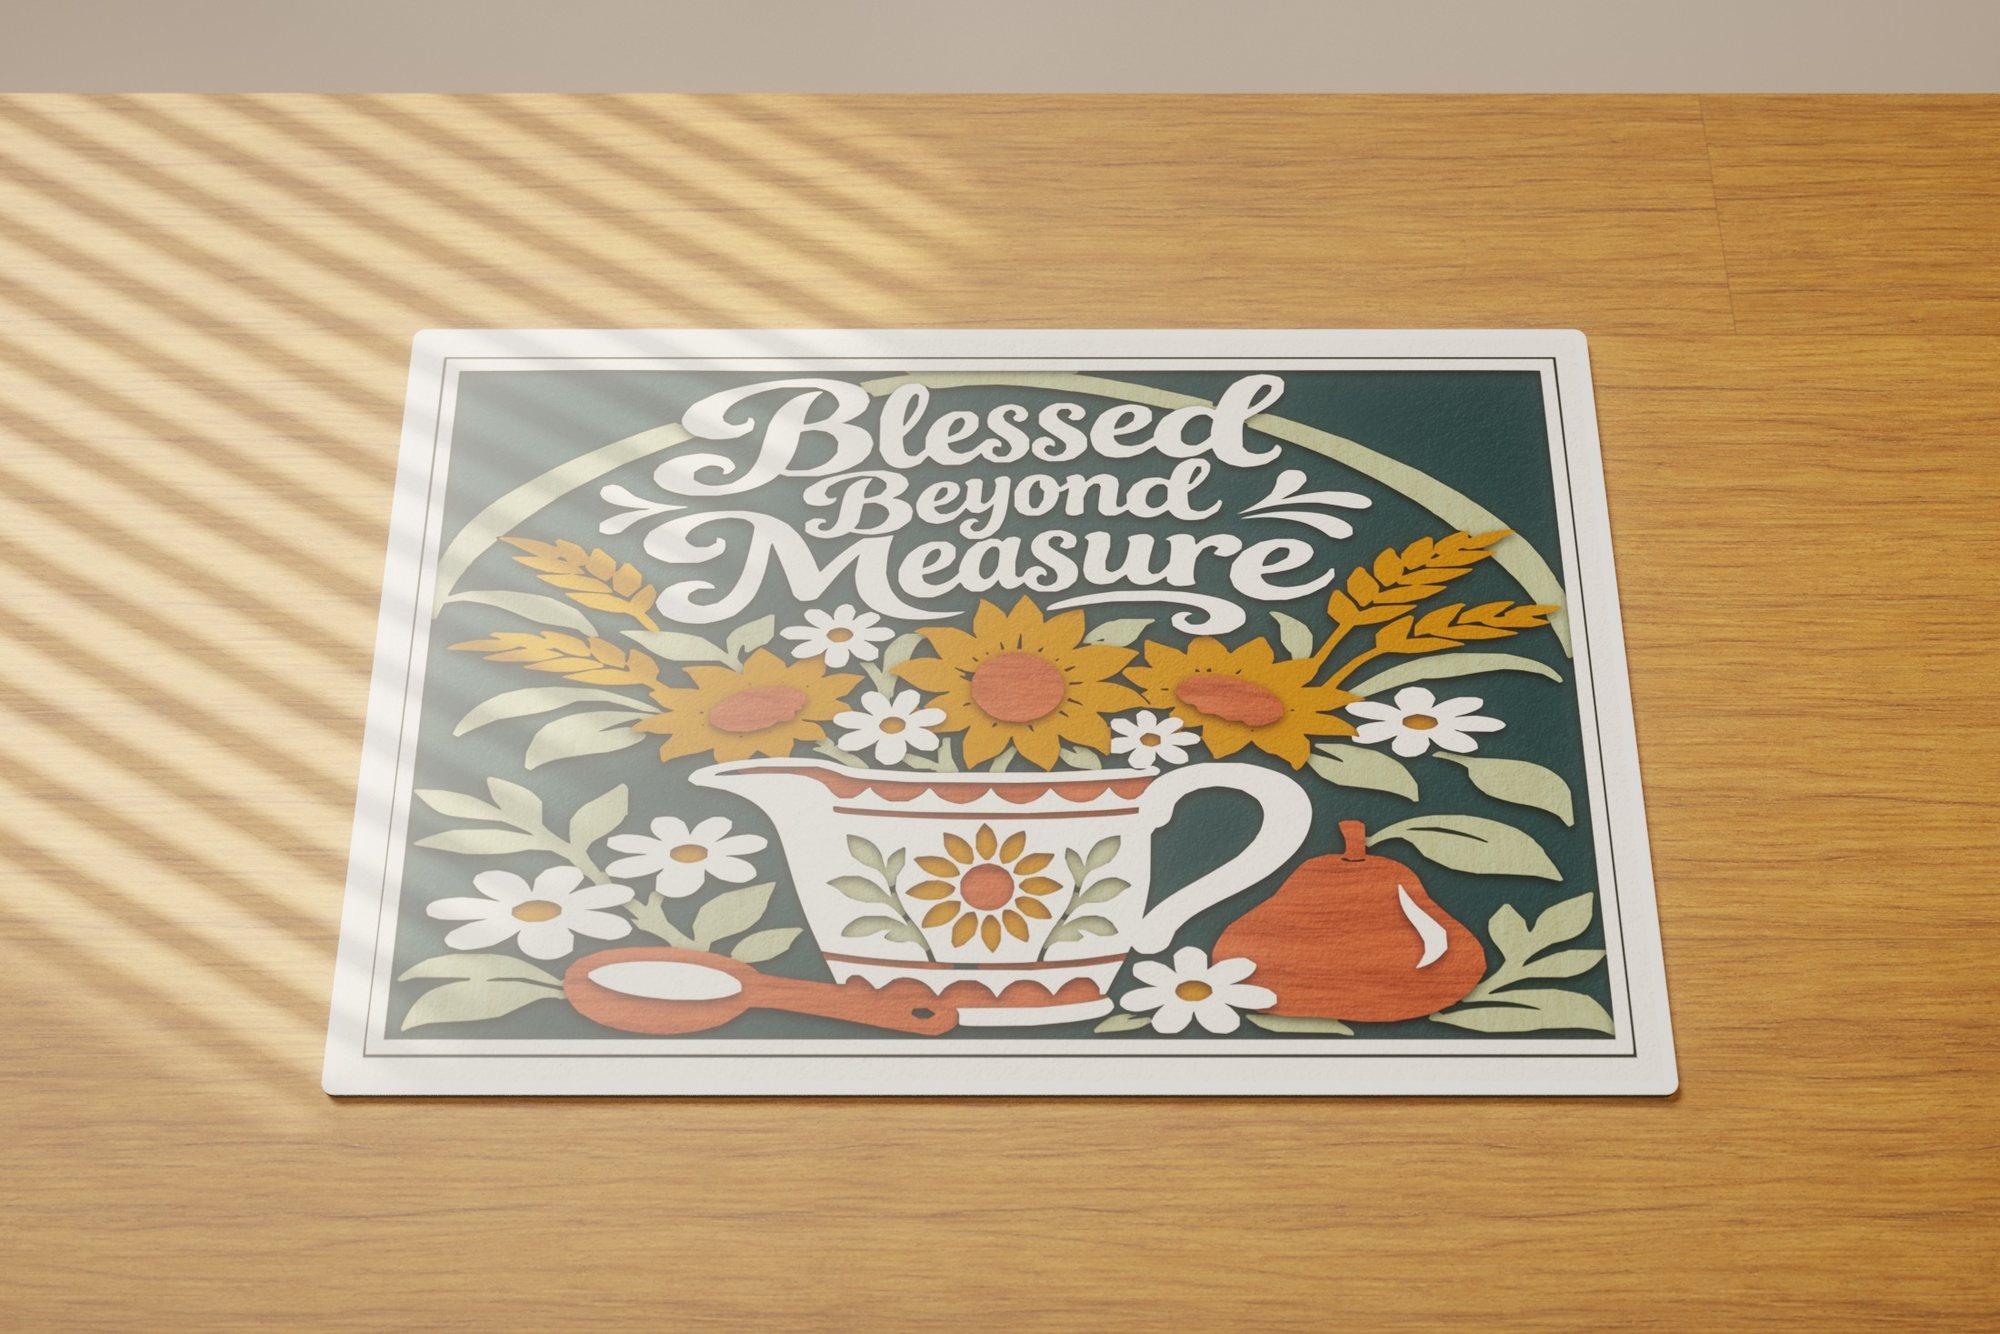 Blessed Beyond Measure
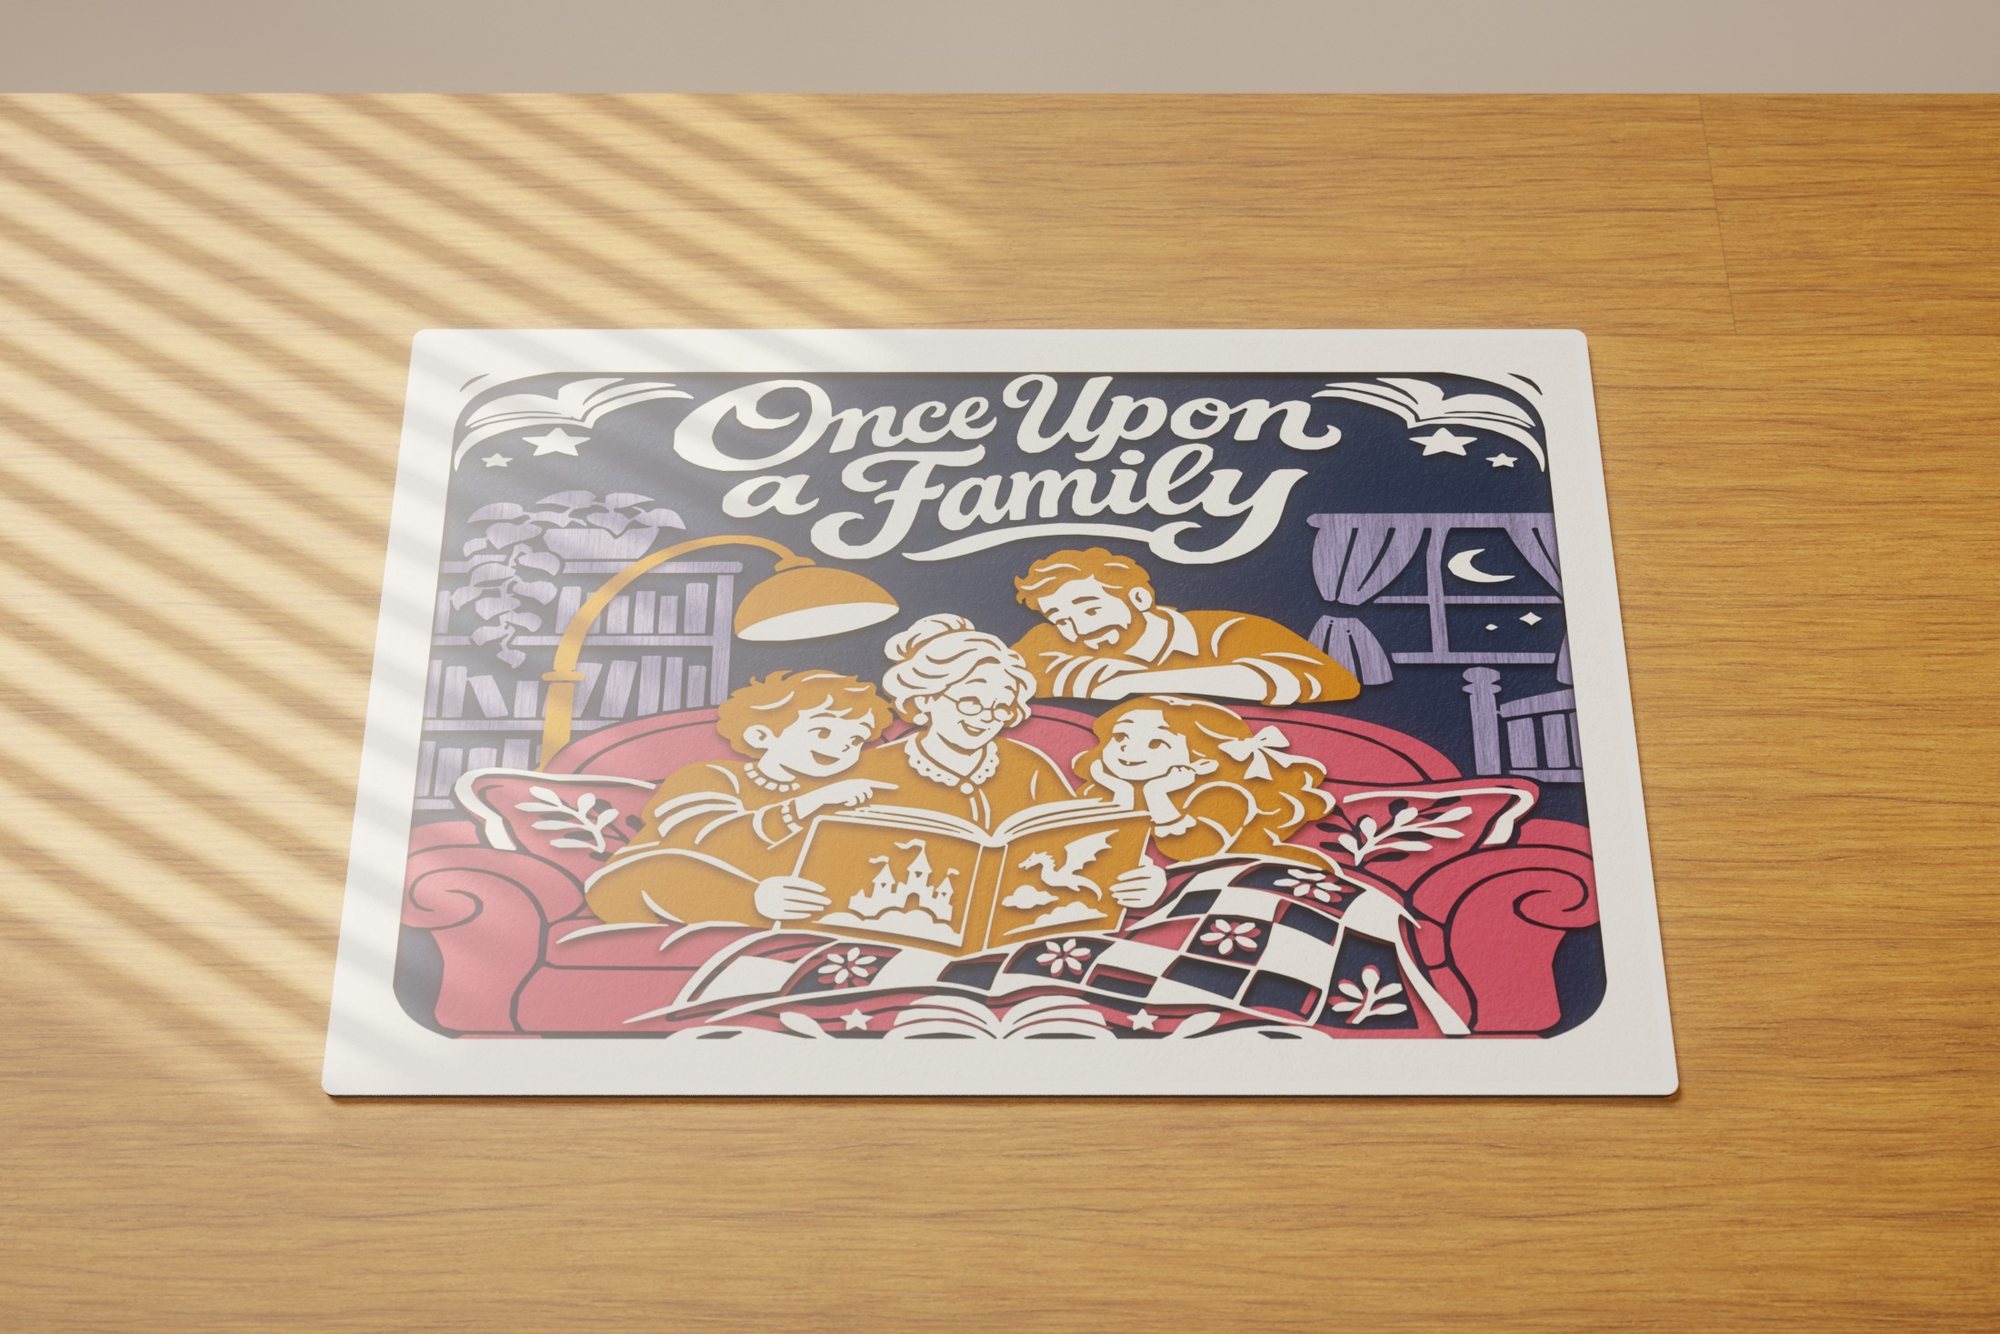 Once Upon a Family
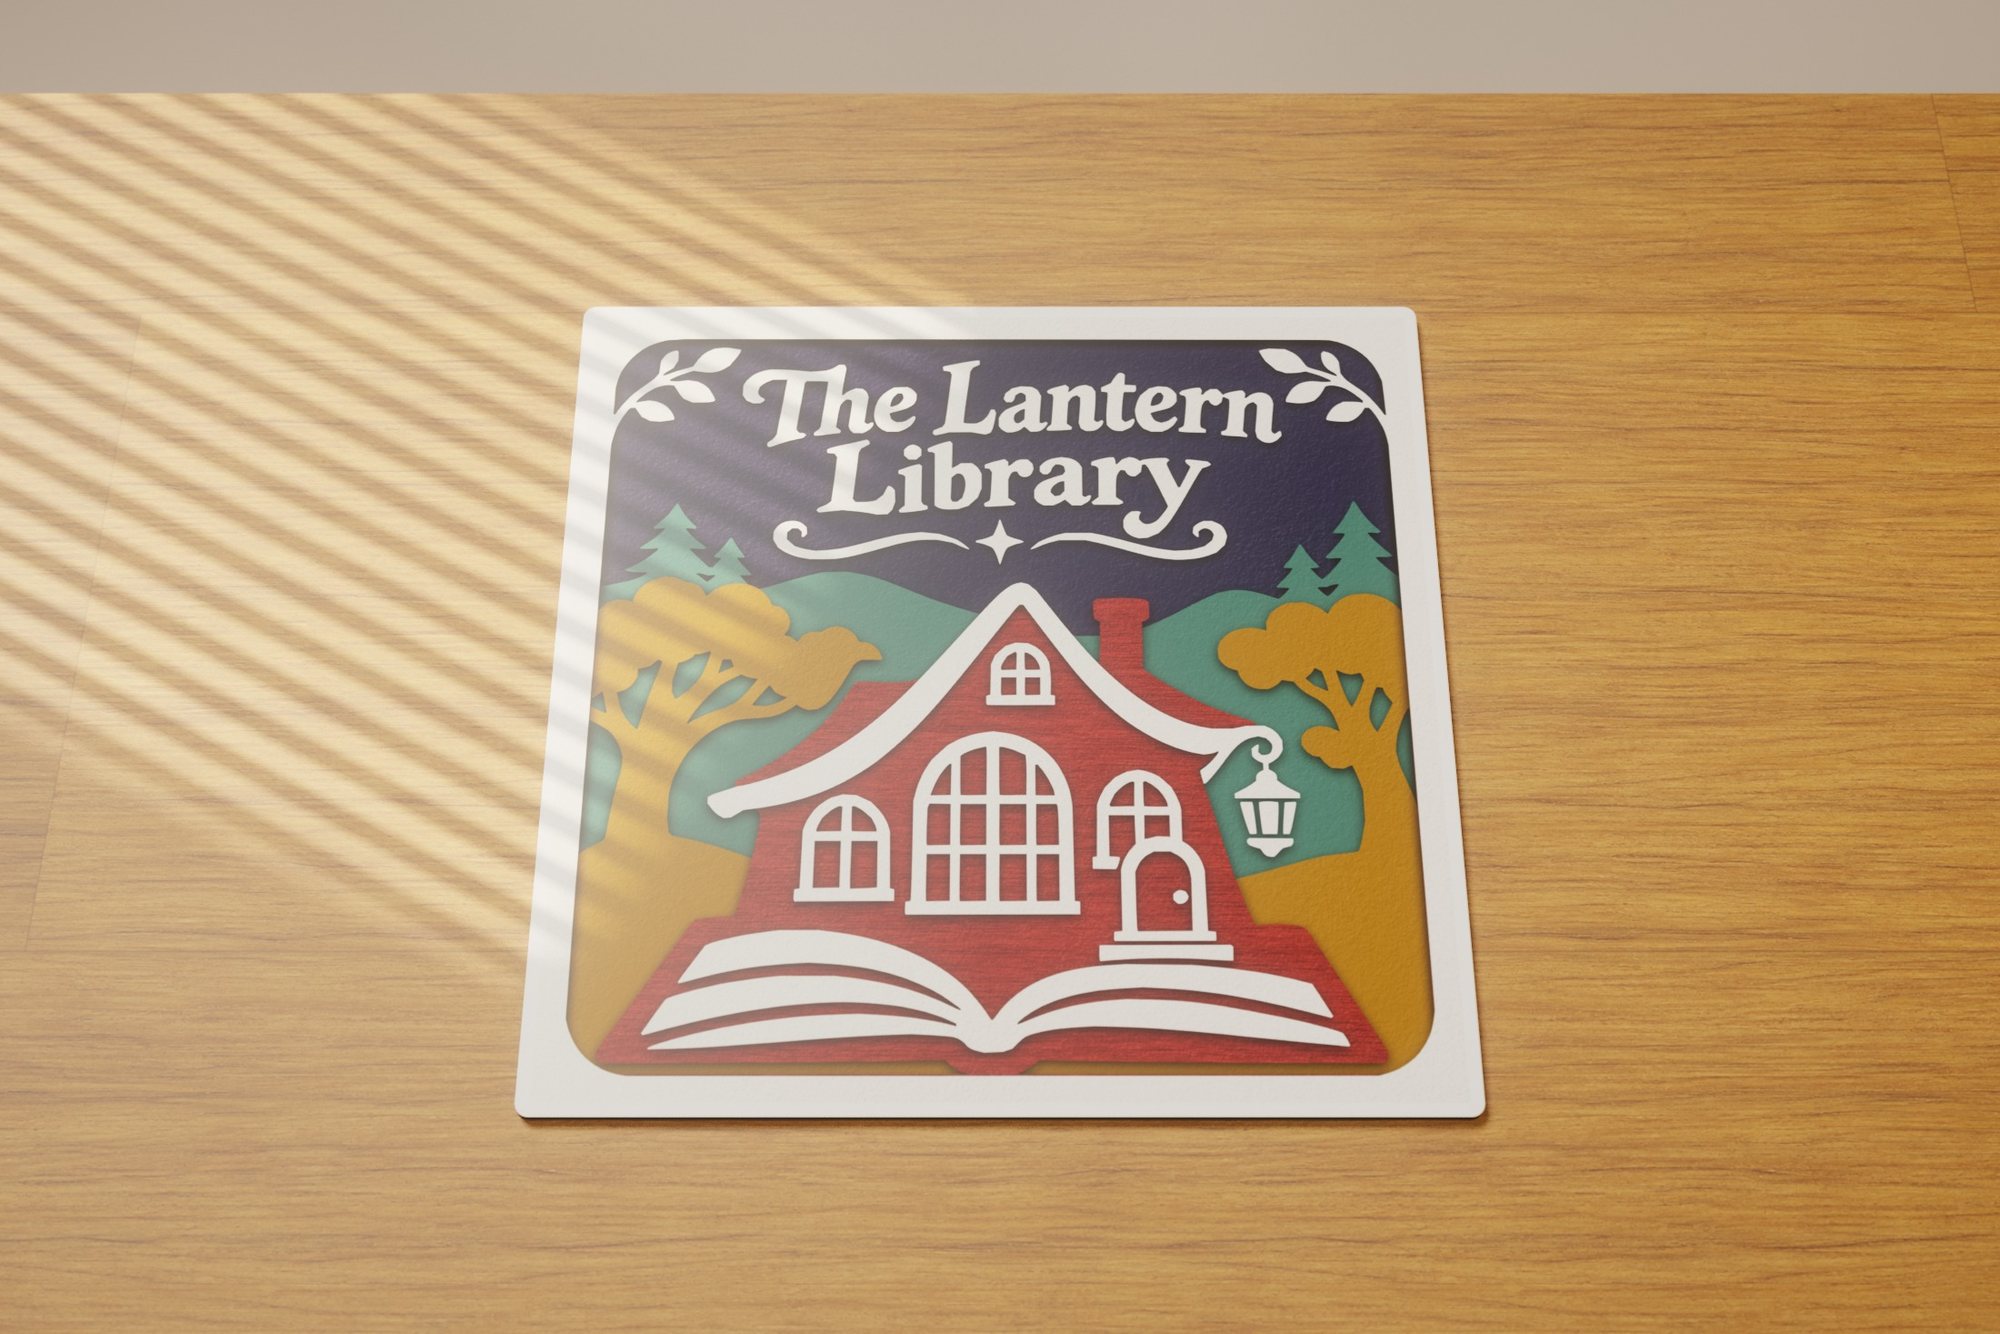 The Lantern Library
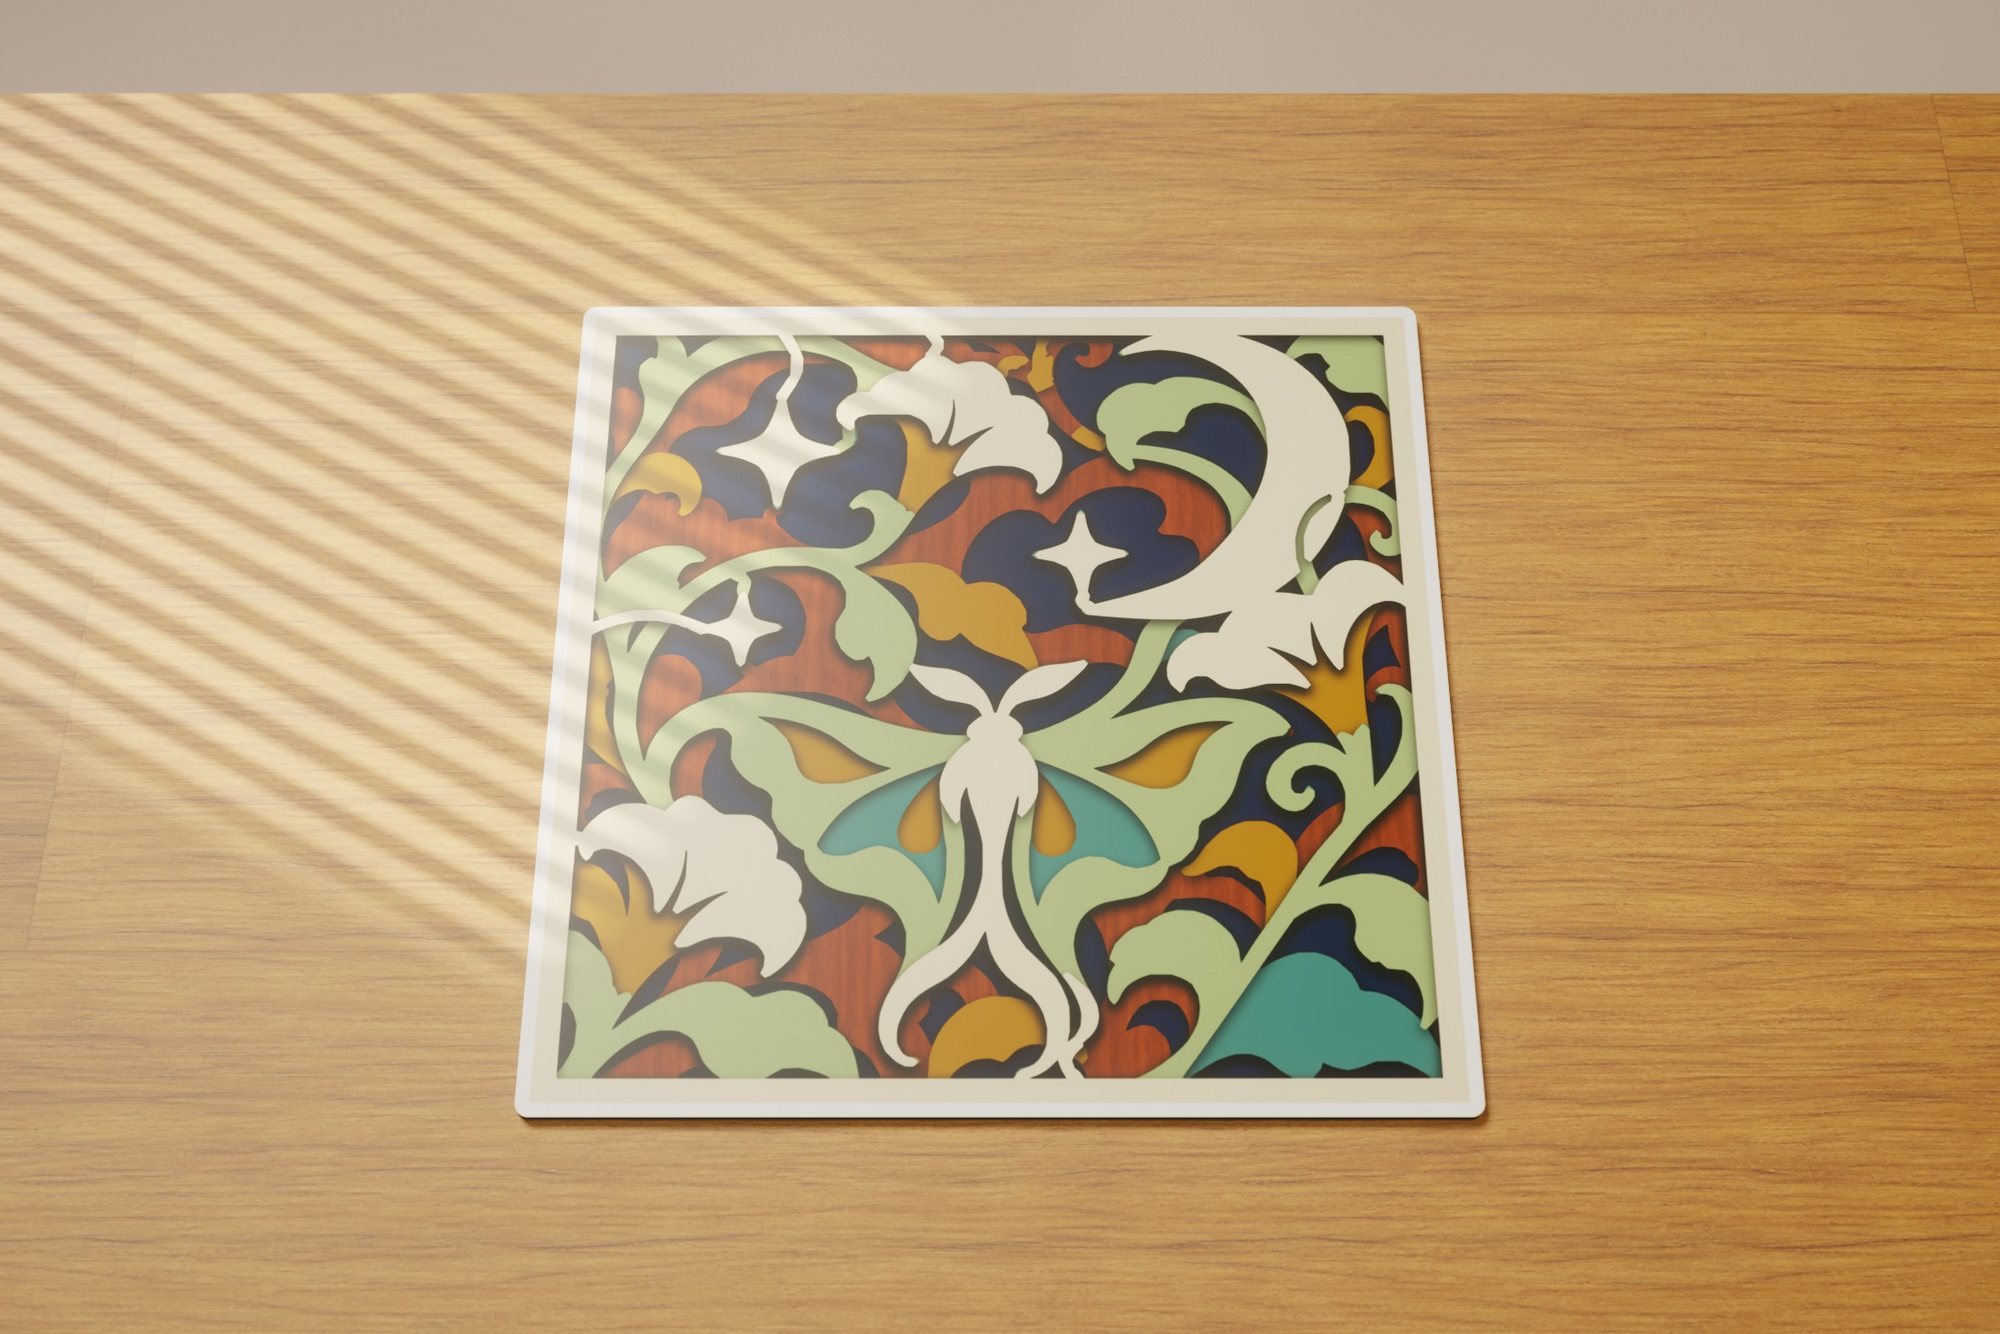 Celestial Garden
Here Comes the Sun · 1 of 24 designs
Physical project / Stickers
Give a favorite design a new home. Explore finished sticker renderings on a laptop, with a clean printed edge around the artwork.
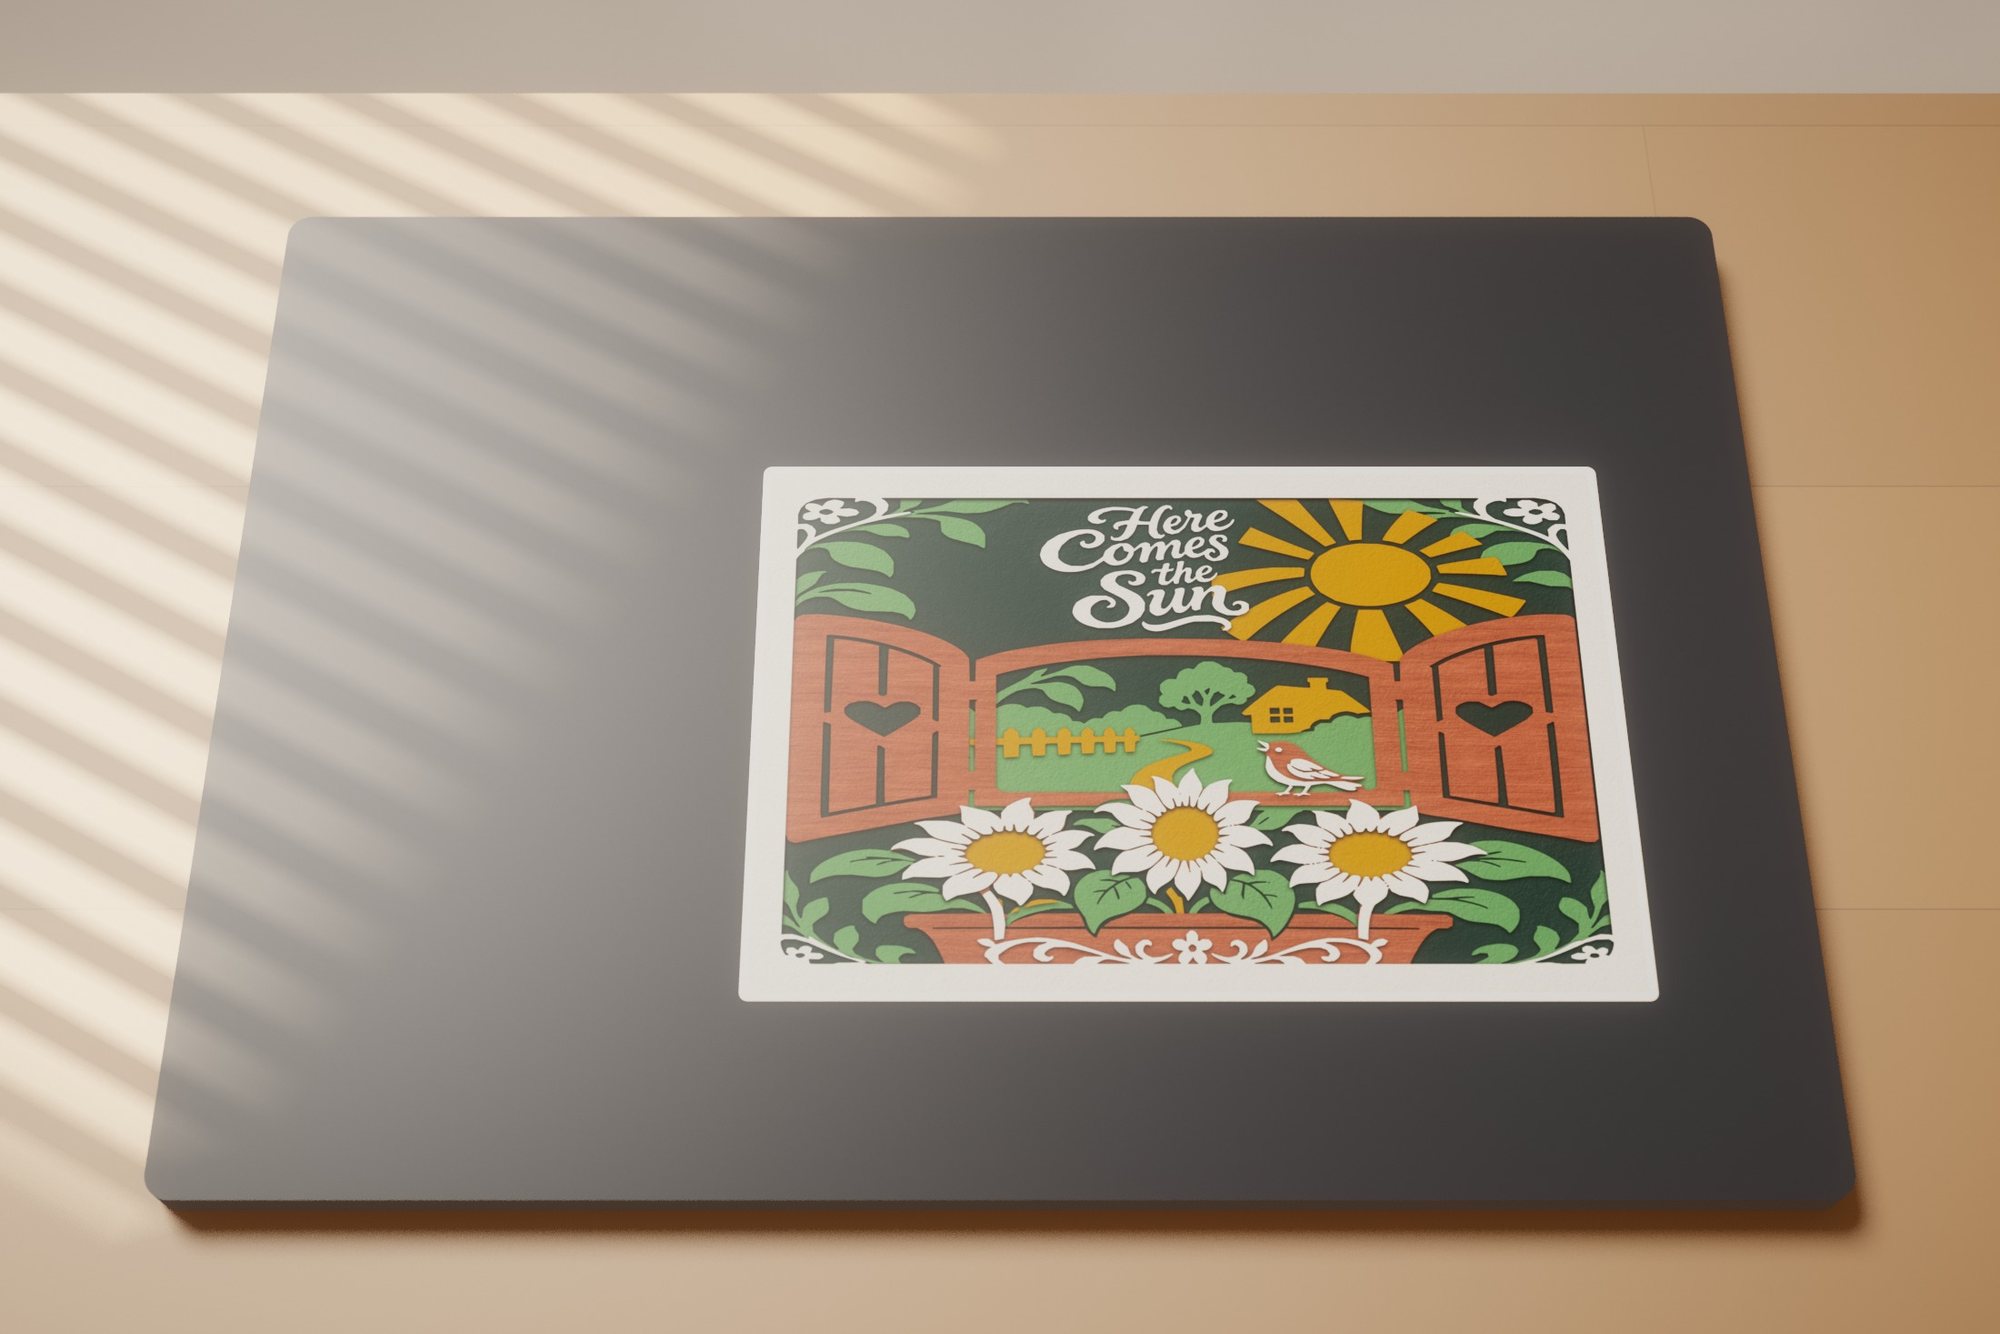 Here Comes the Sun
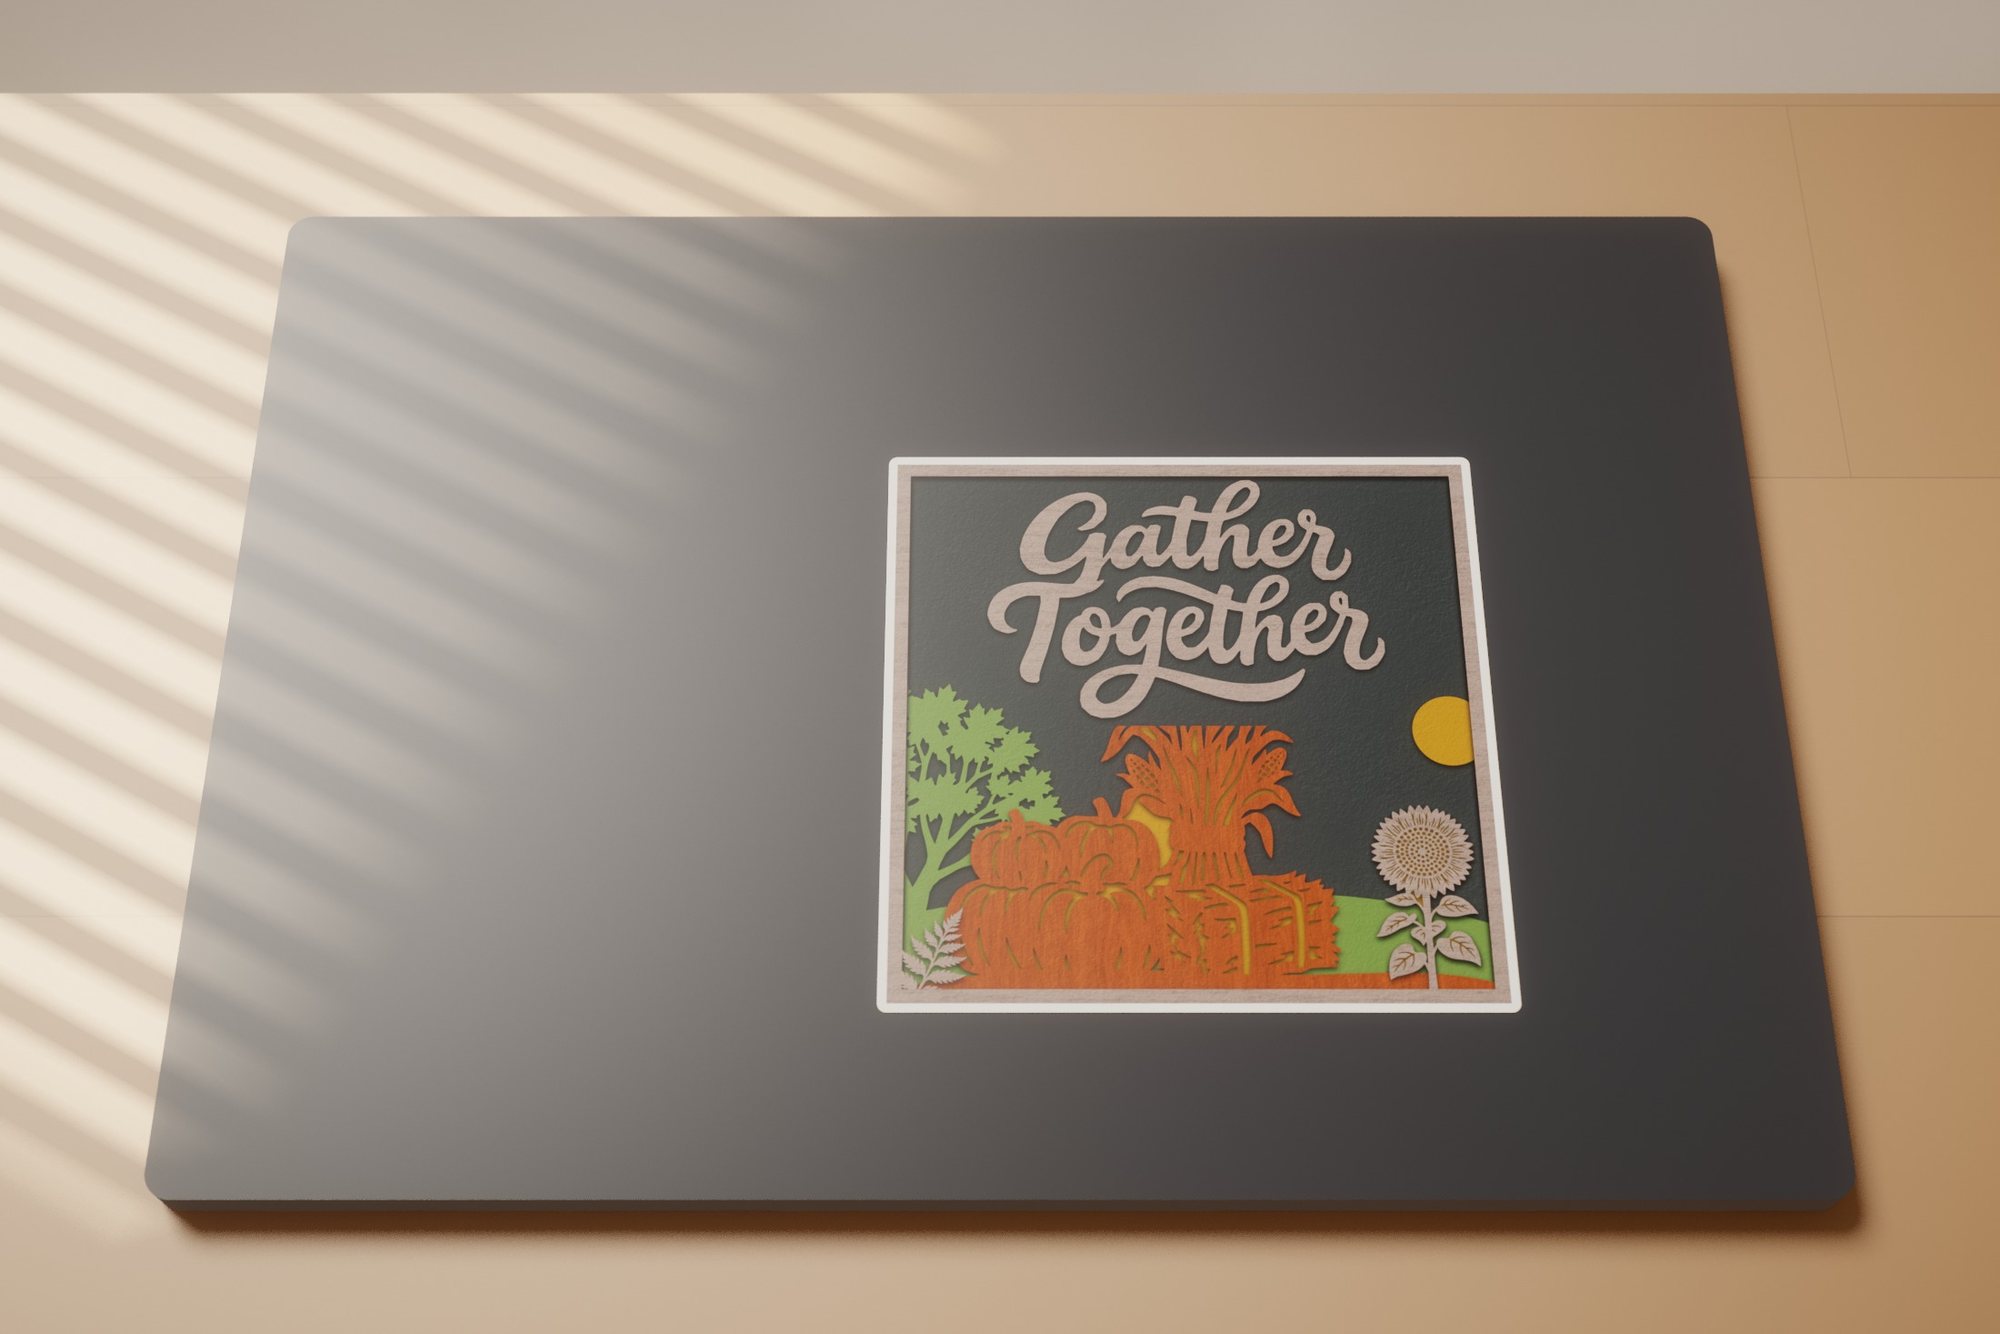 Thanksgiving Bounty
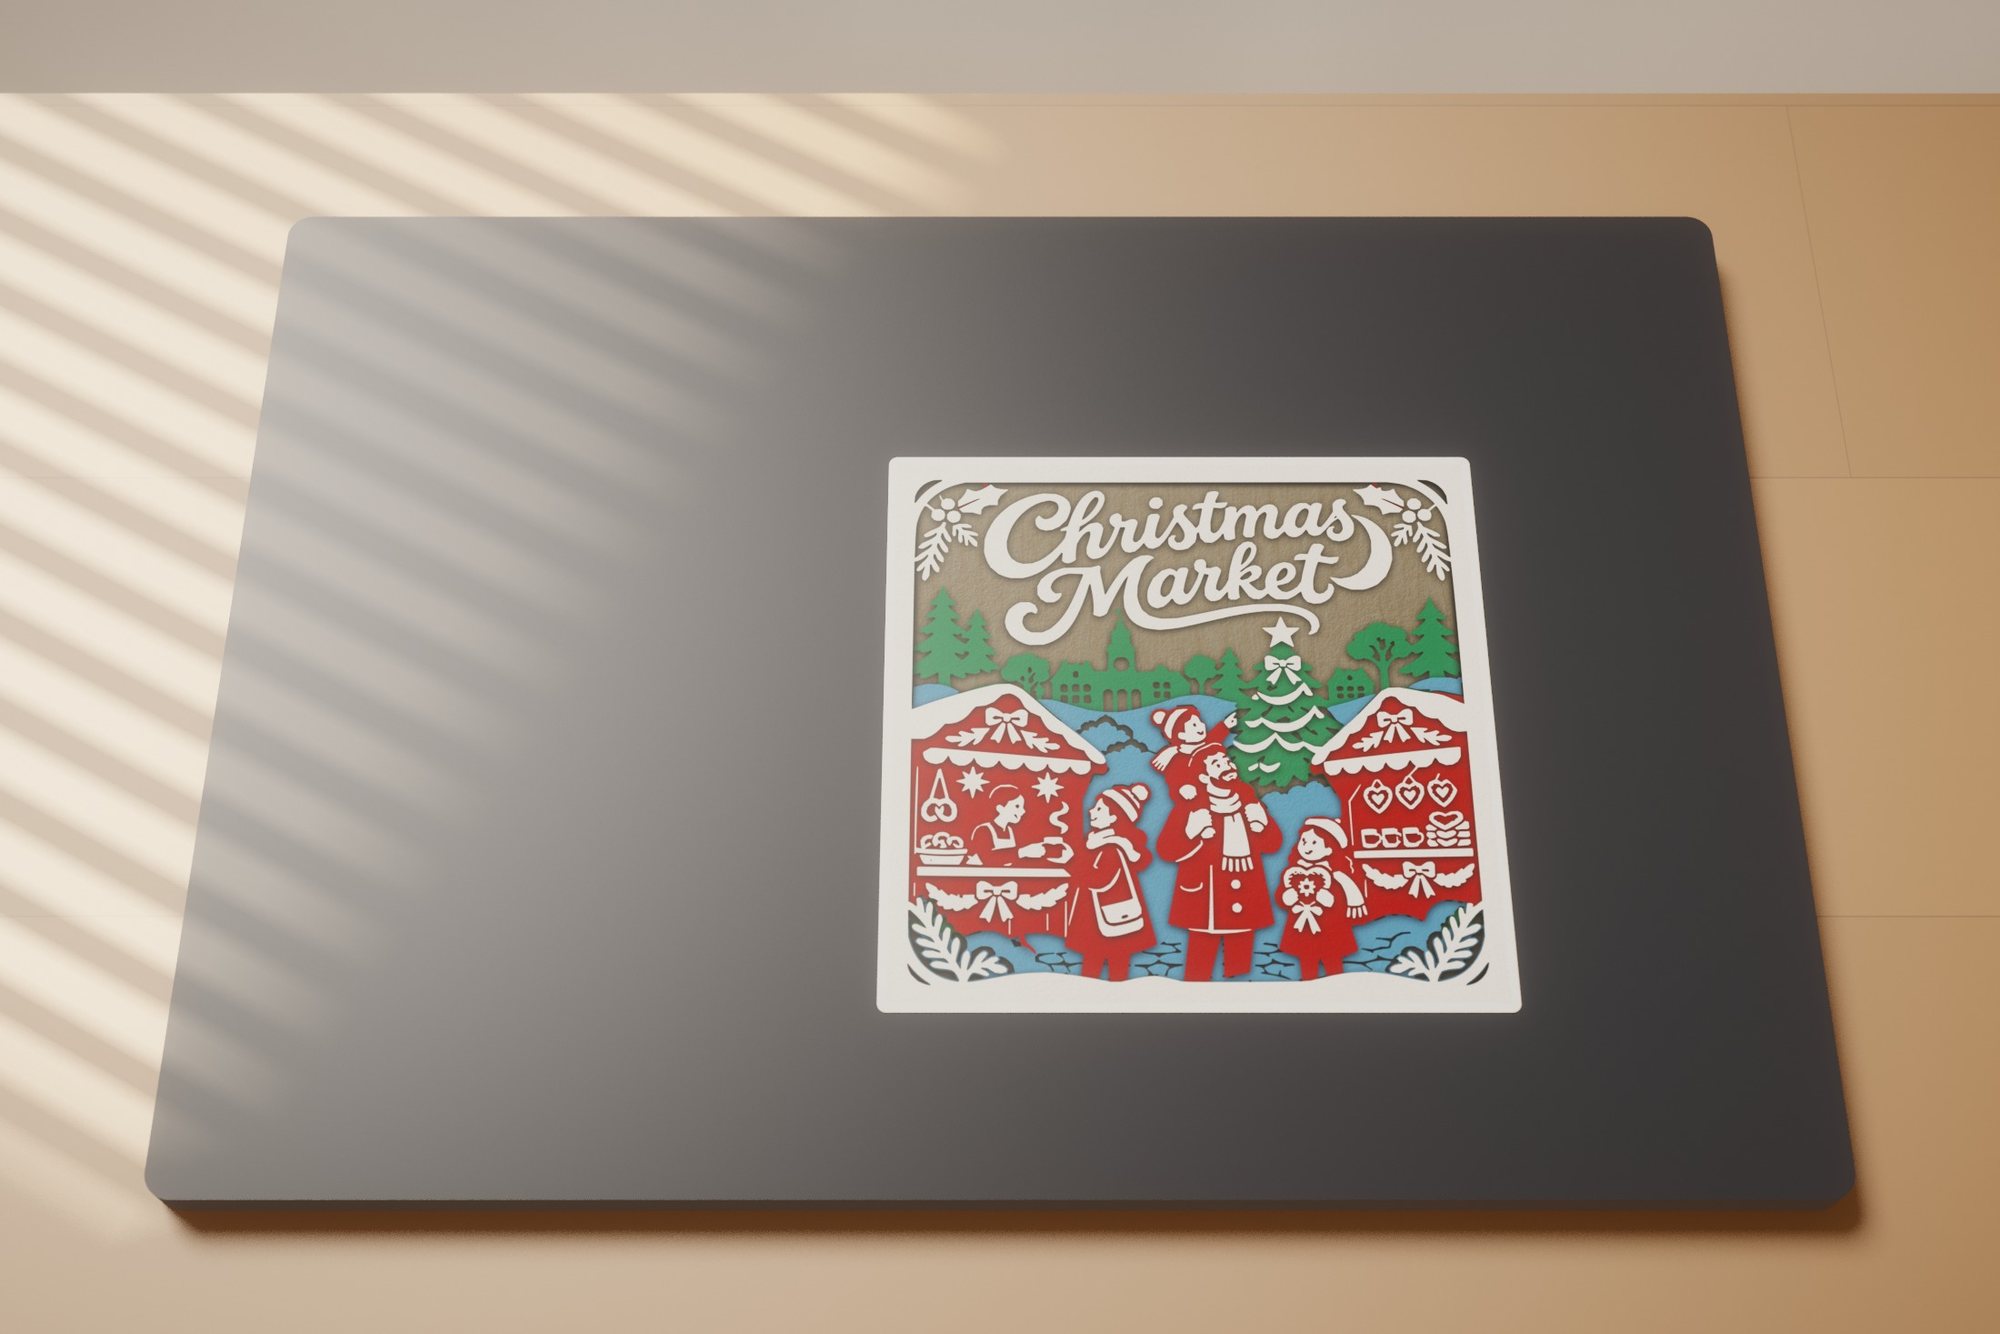 Christmas Market
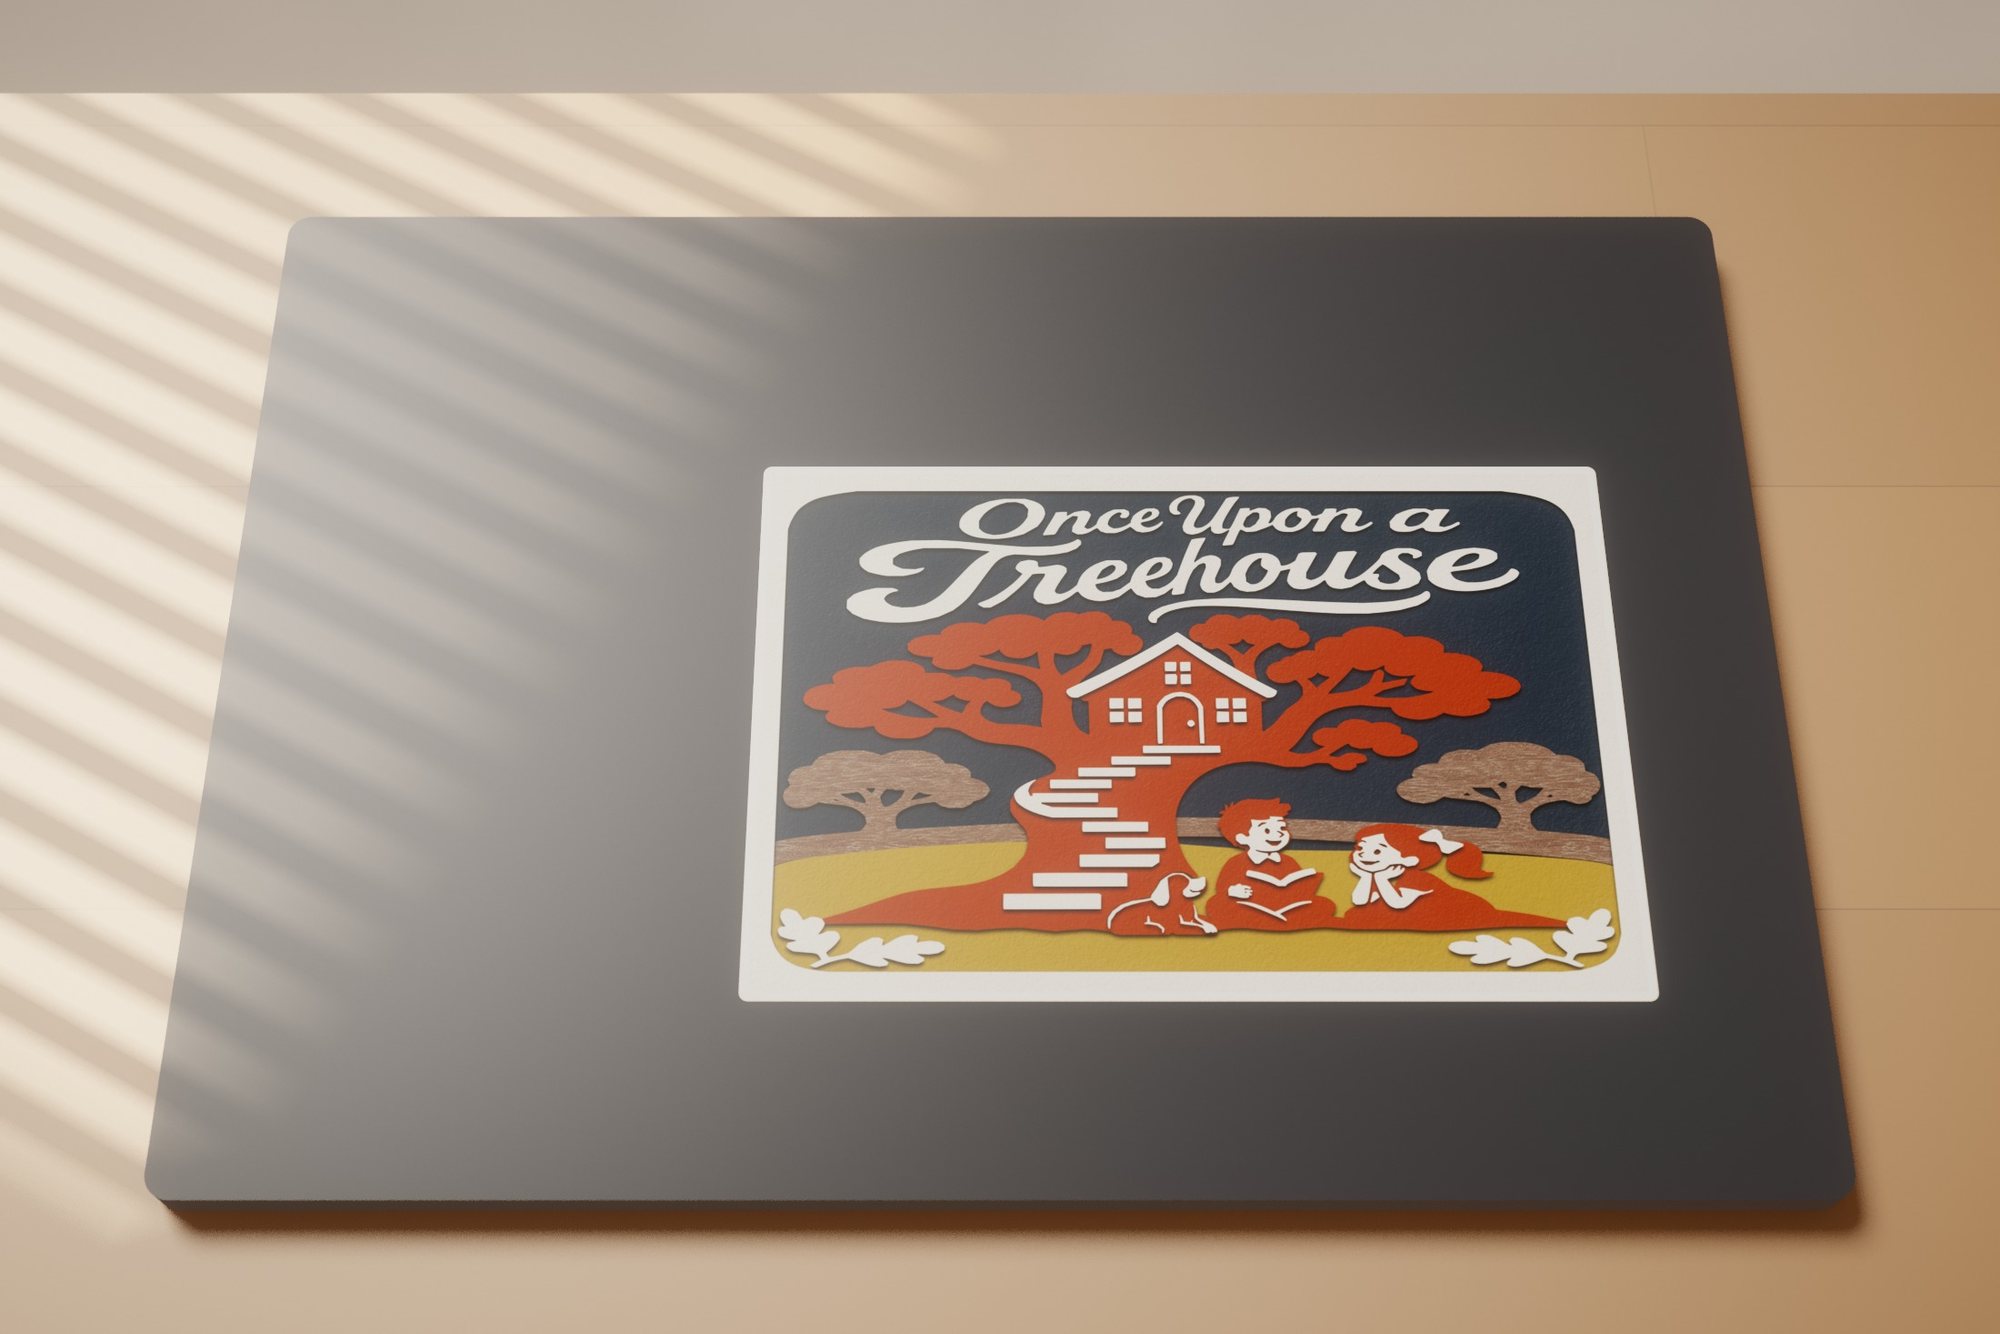 Once Upon a Treehouse
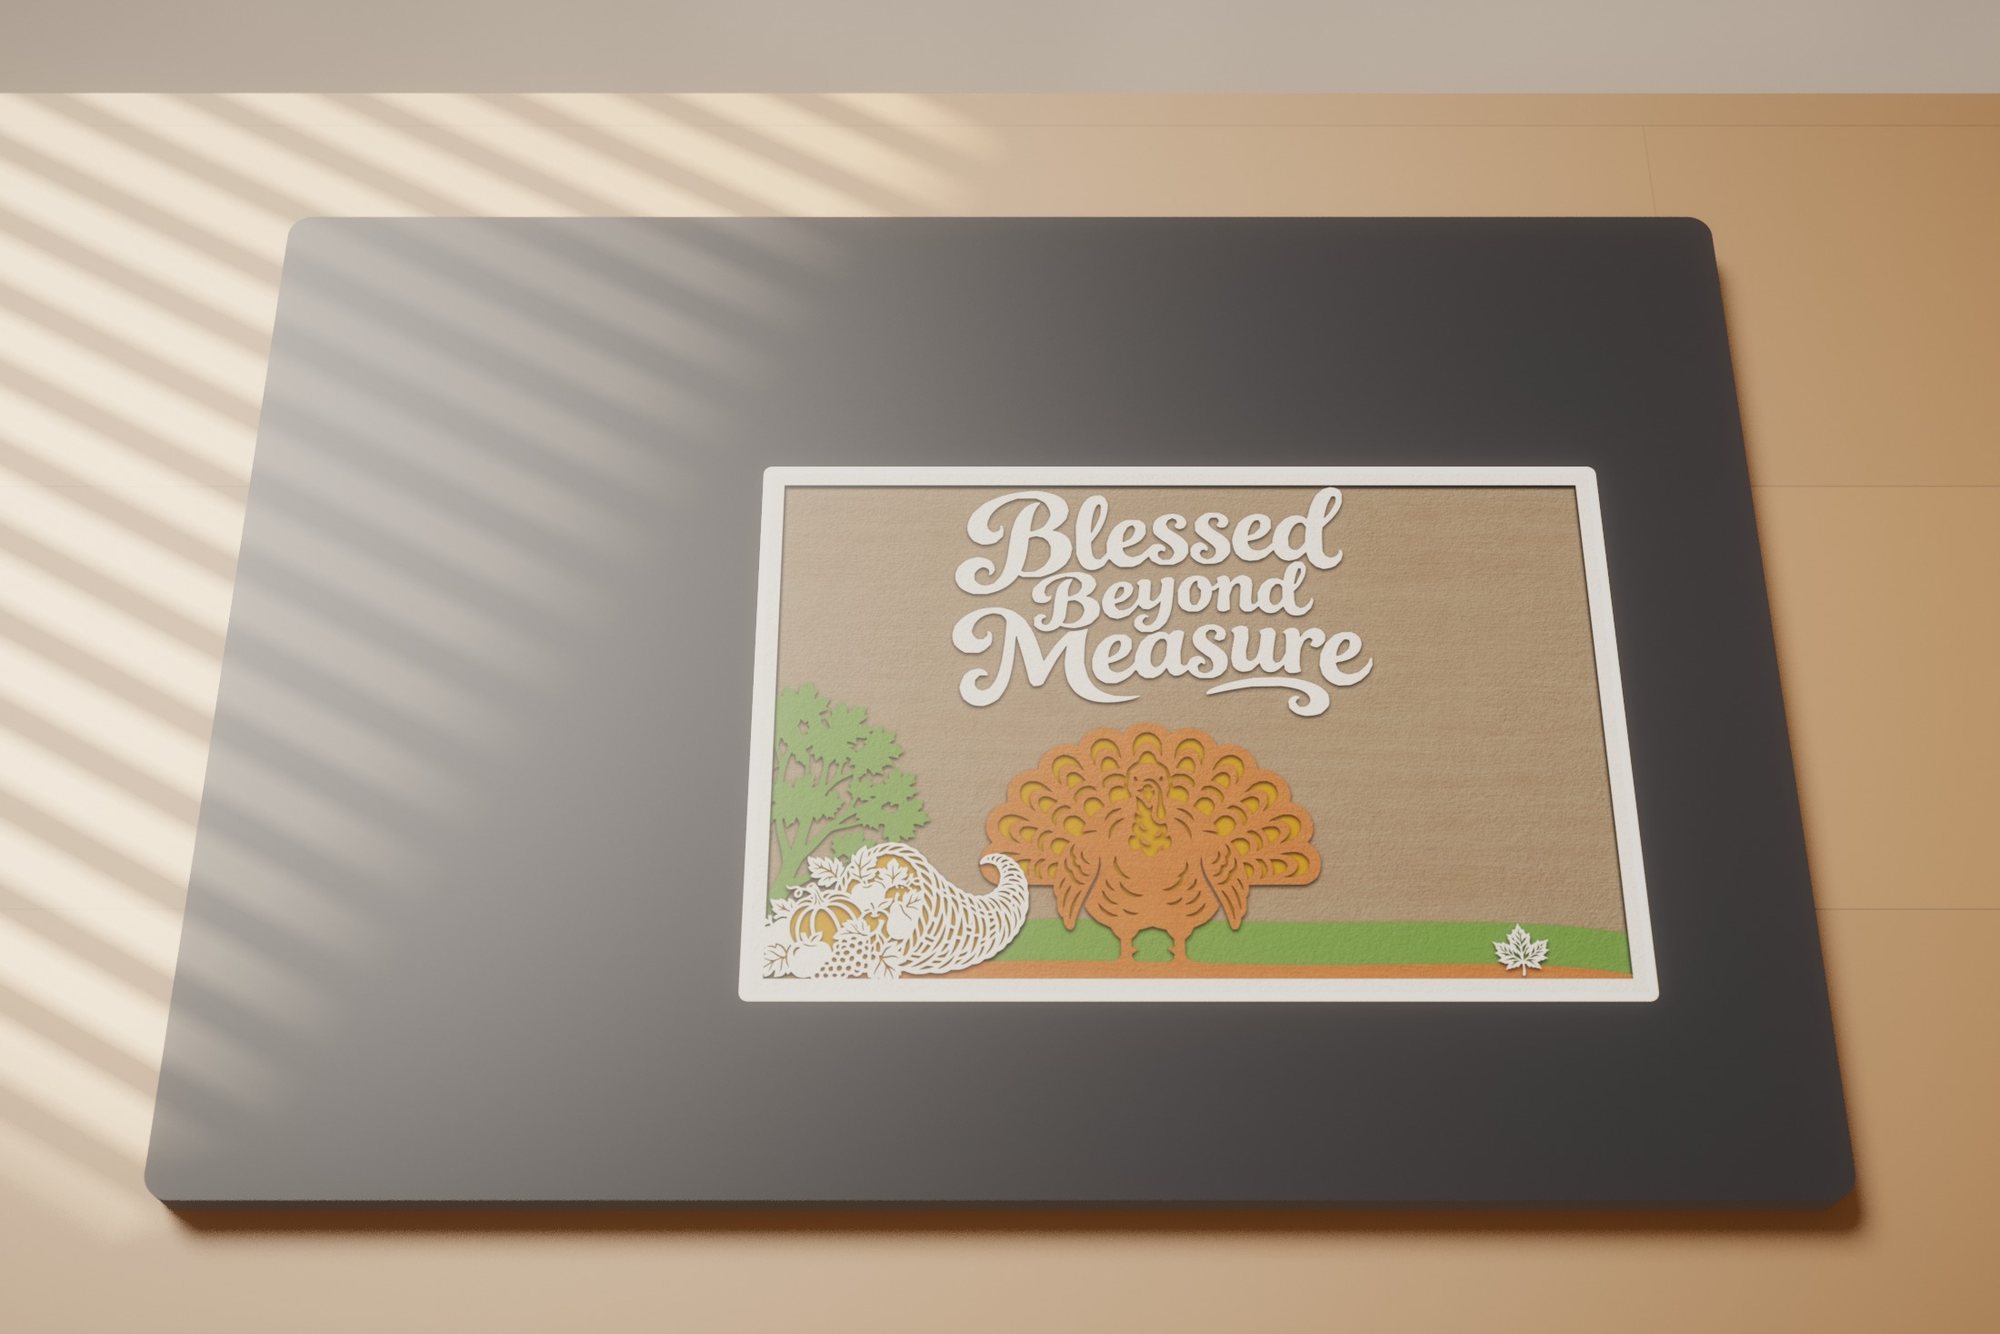 Grateful Gathering
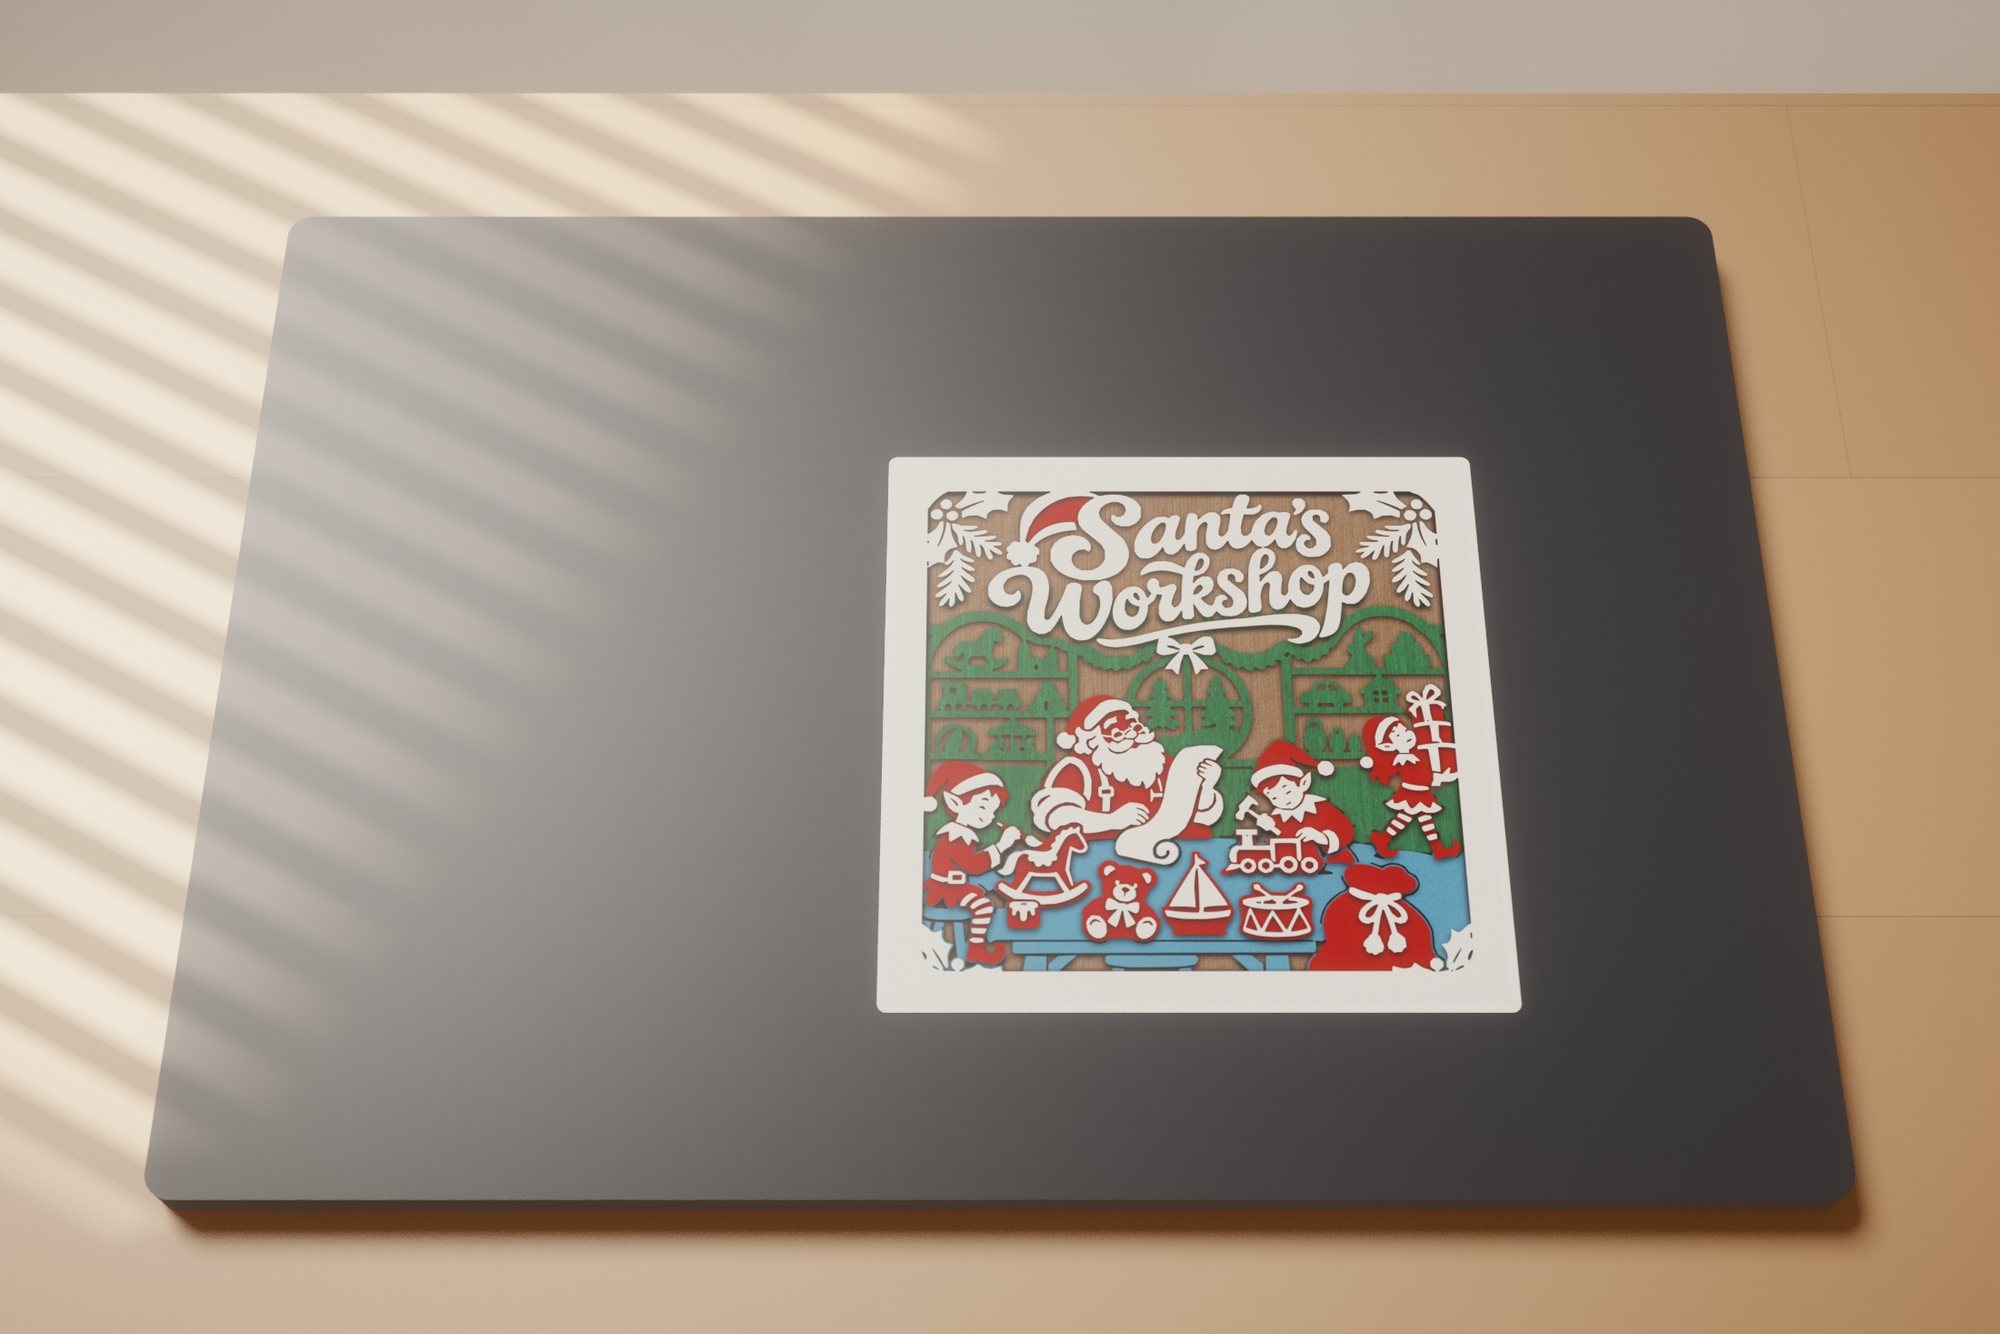 Santa's Workshop
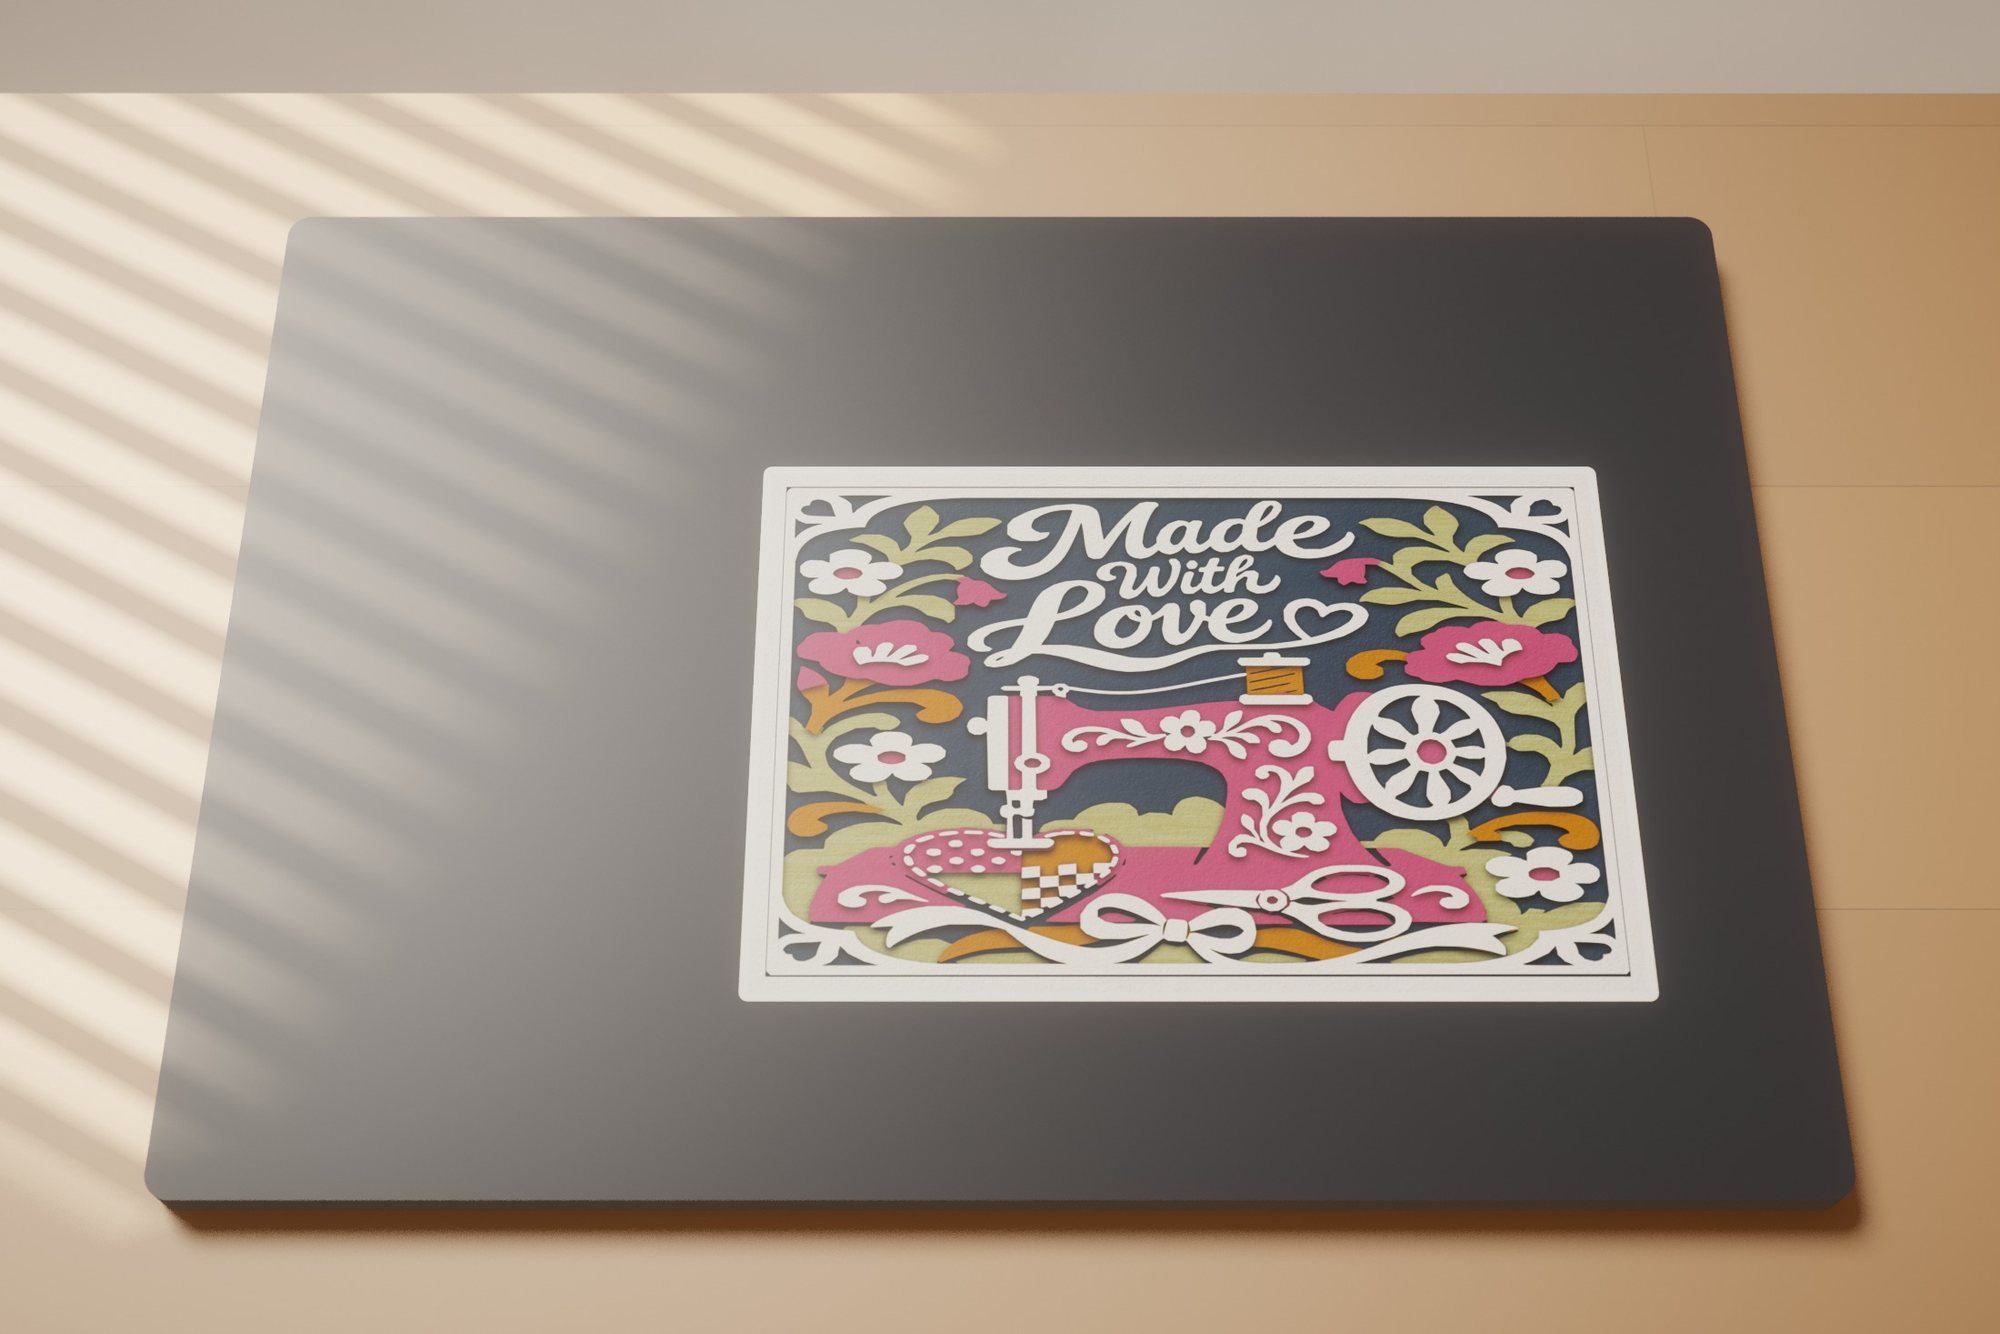 Made with Love 2
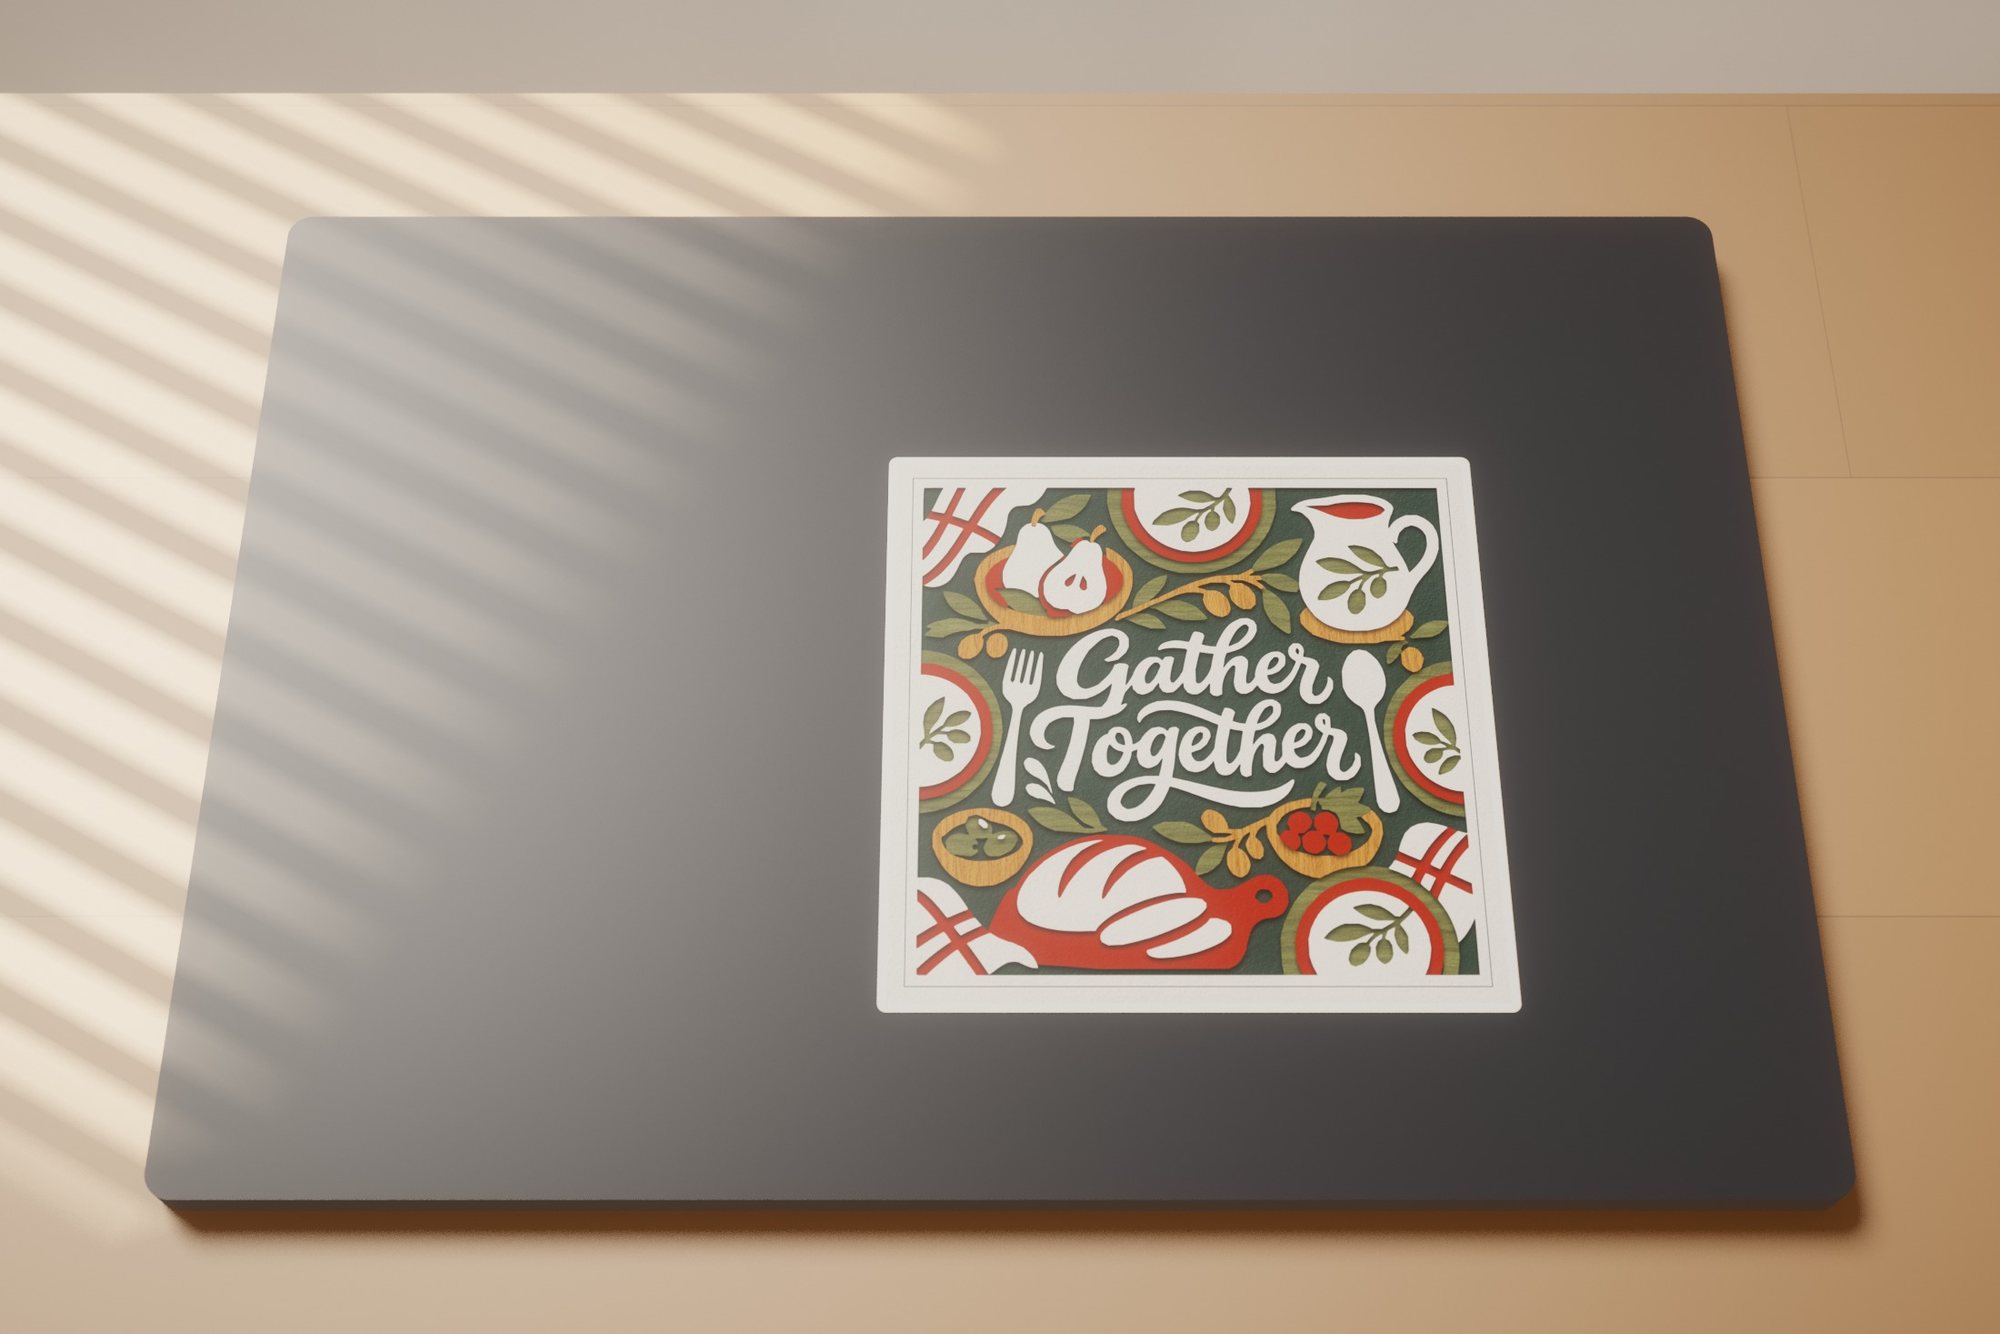 Gather Together
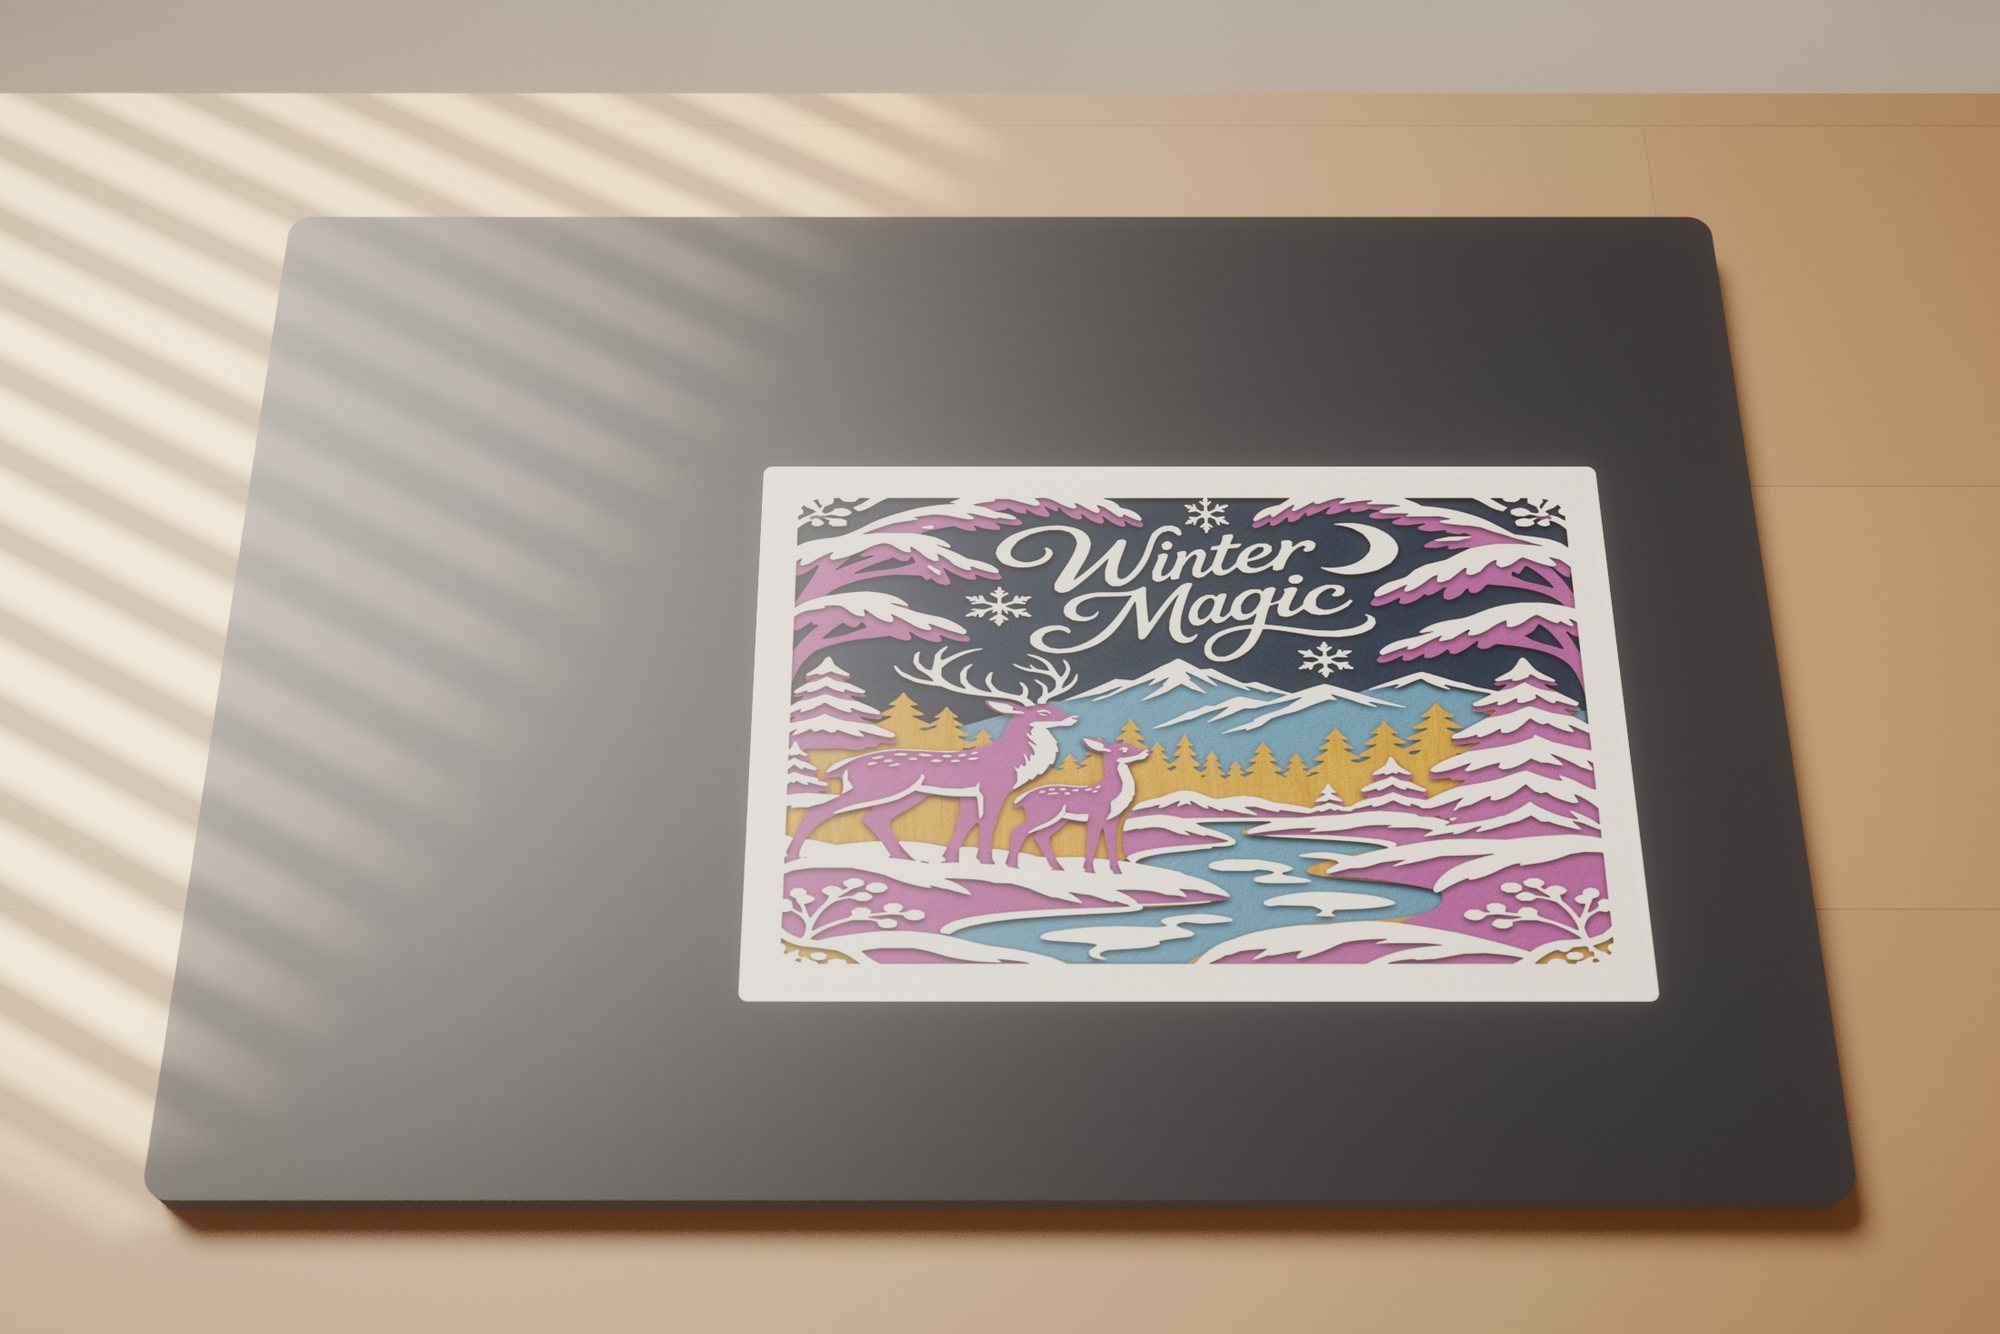 Winter Magic
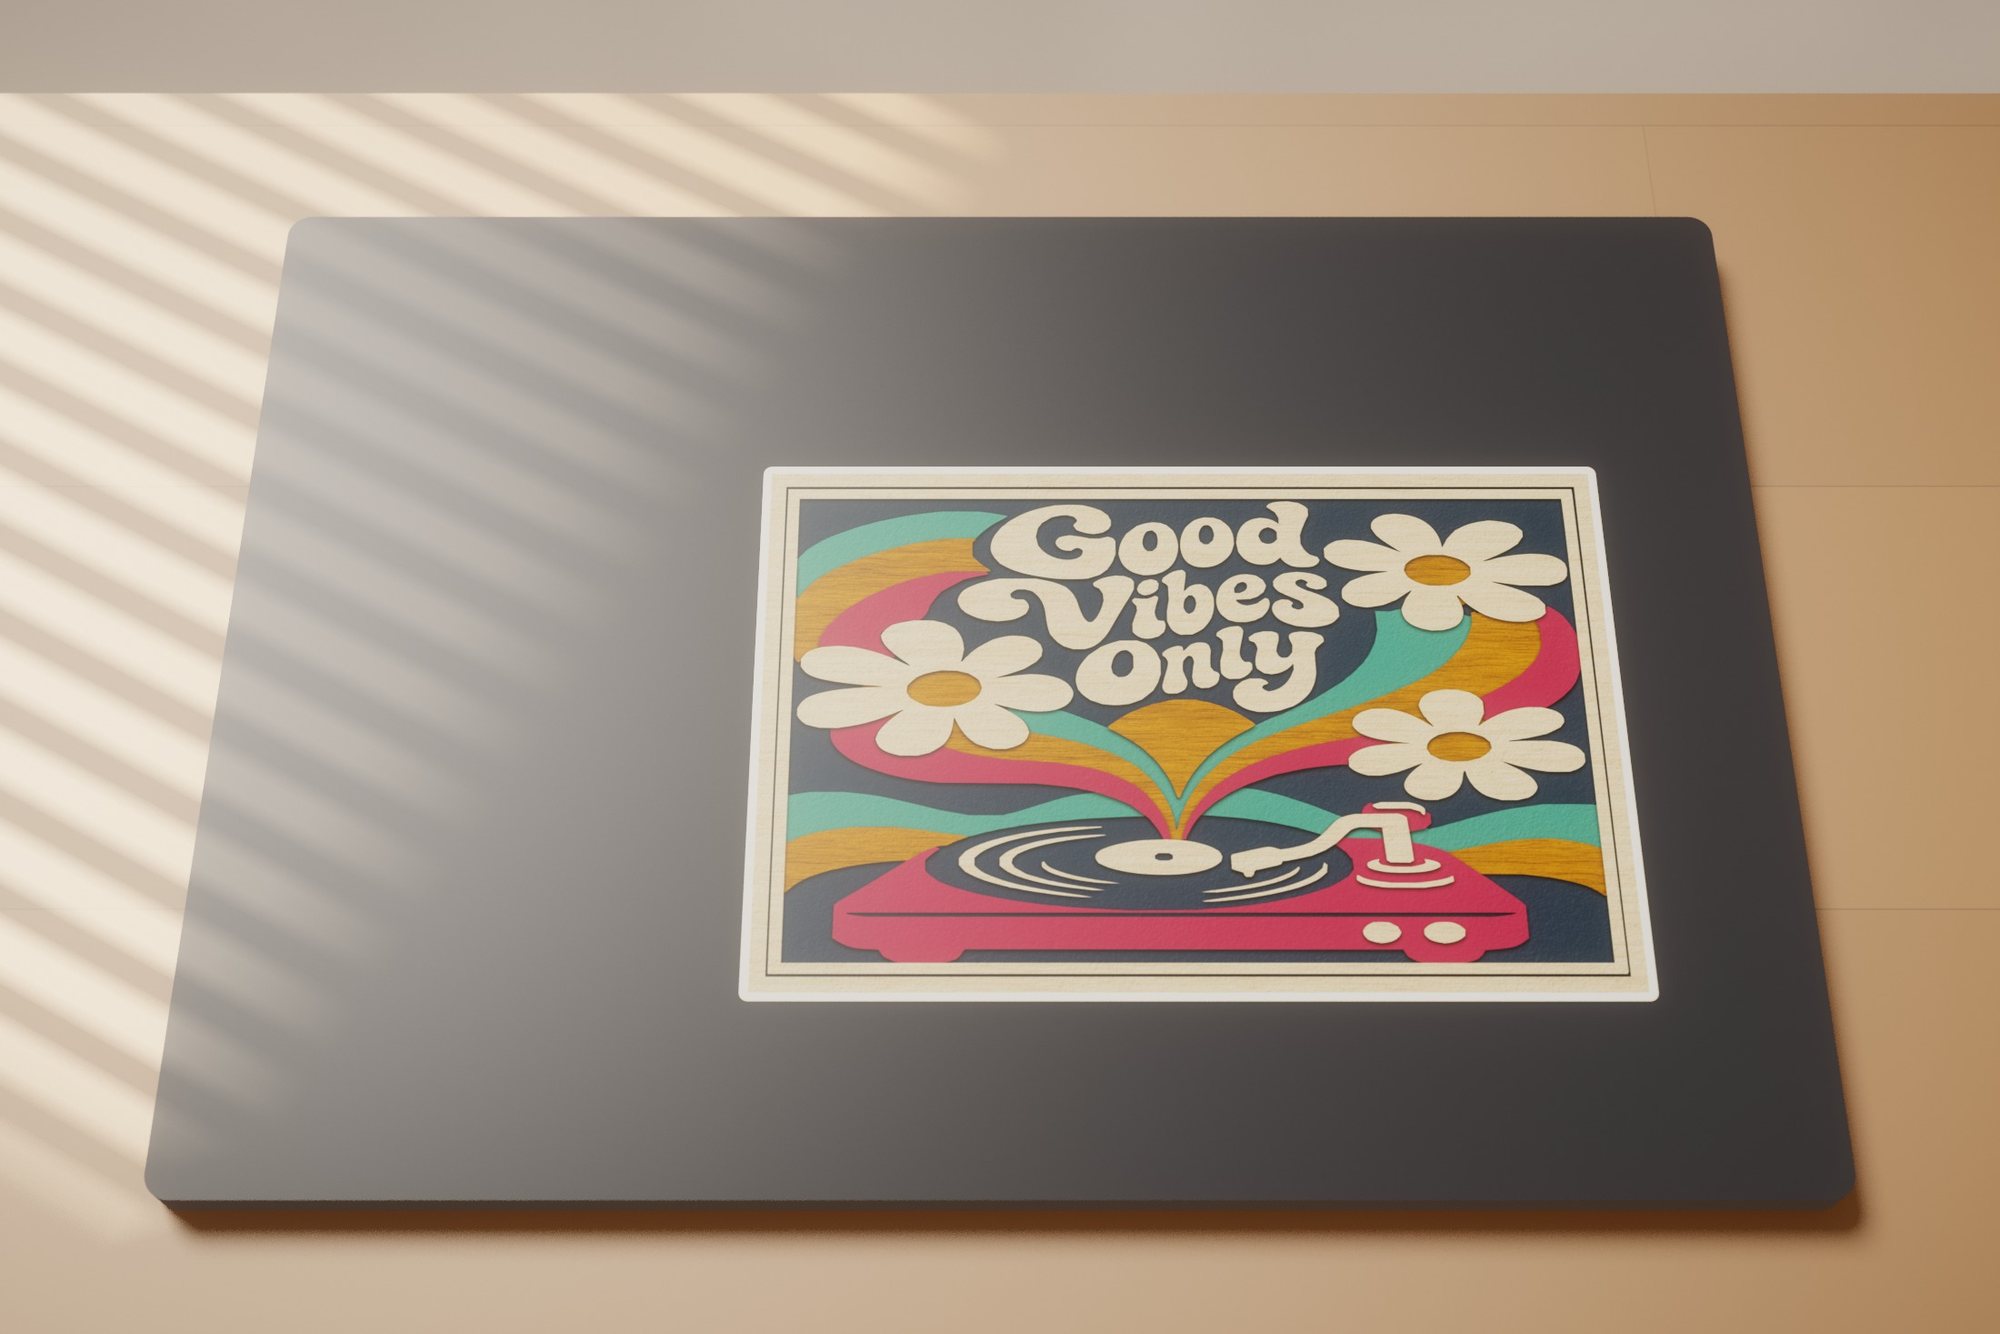 Good Vibes Only
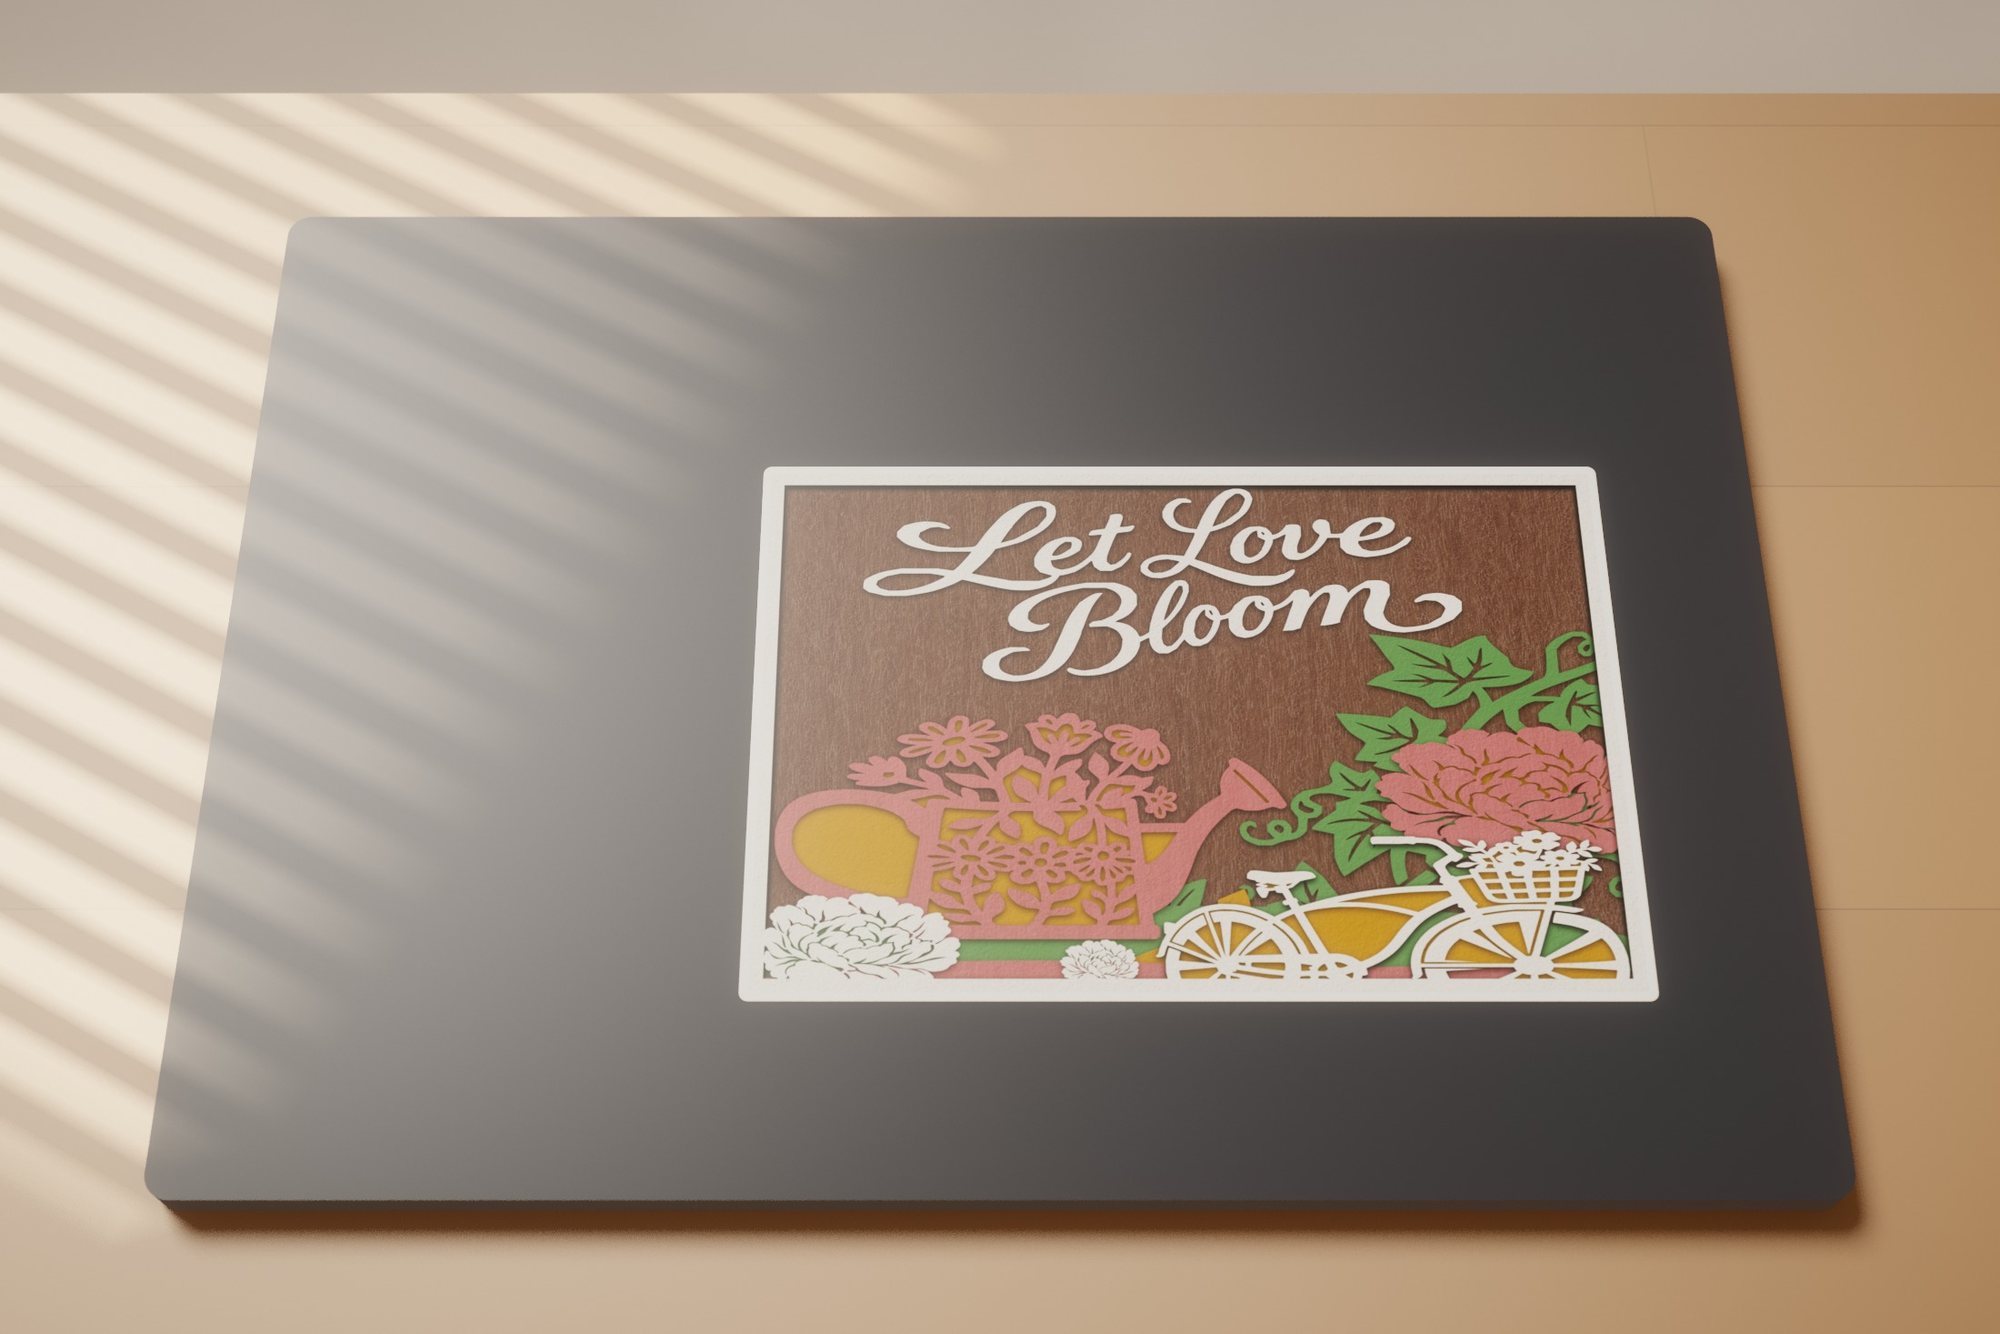 Blooming Joy
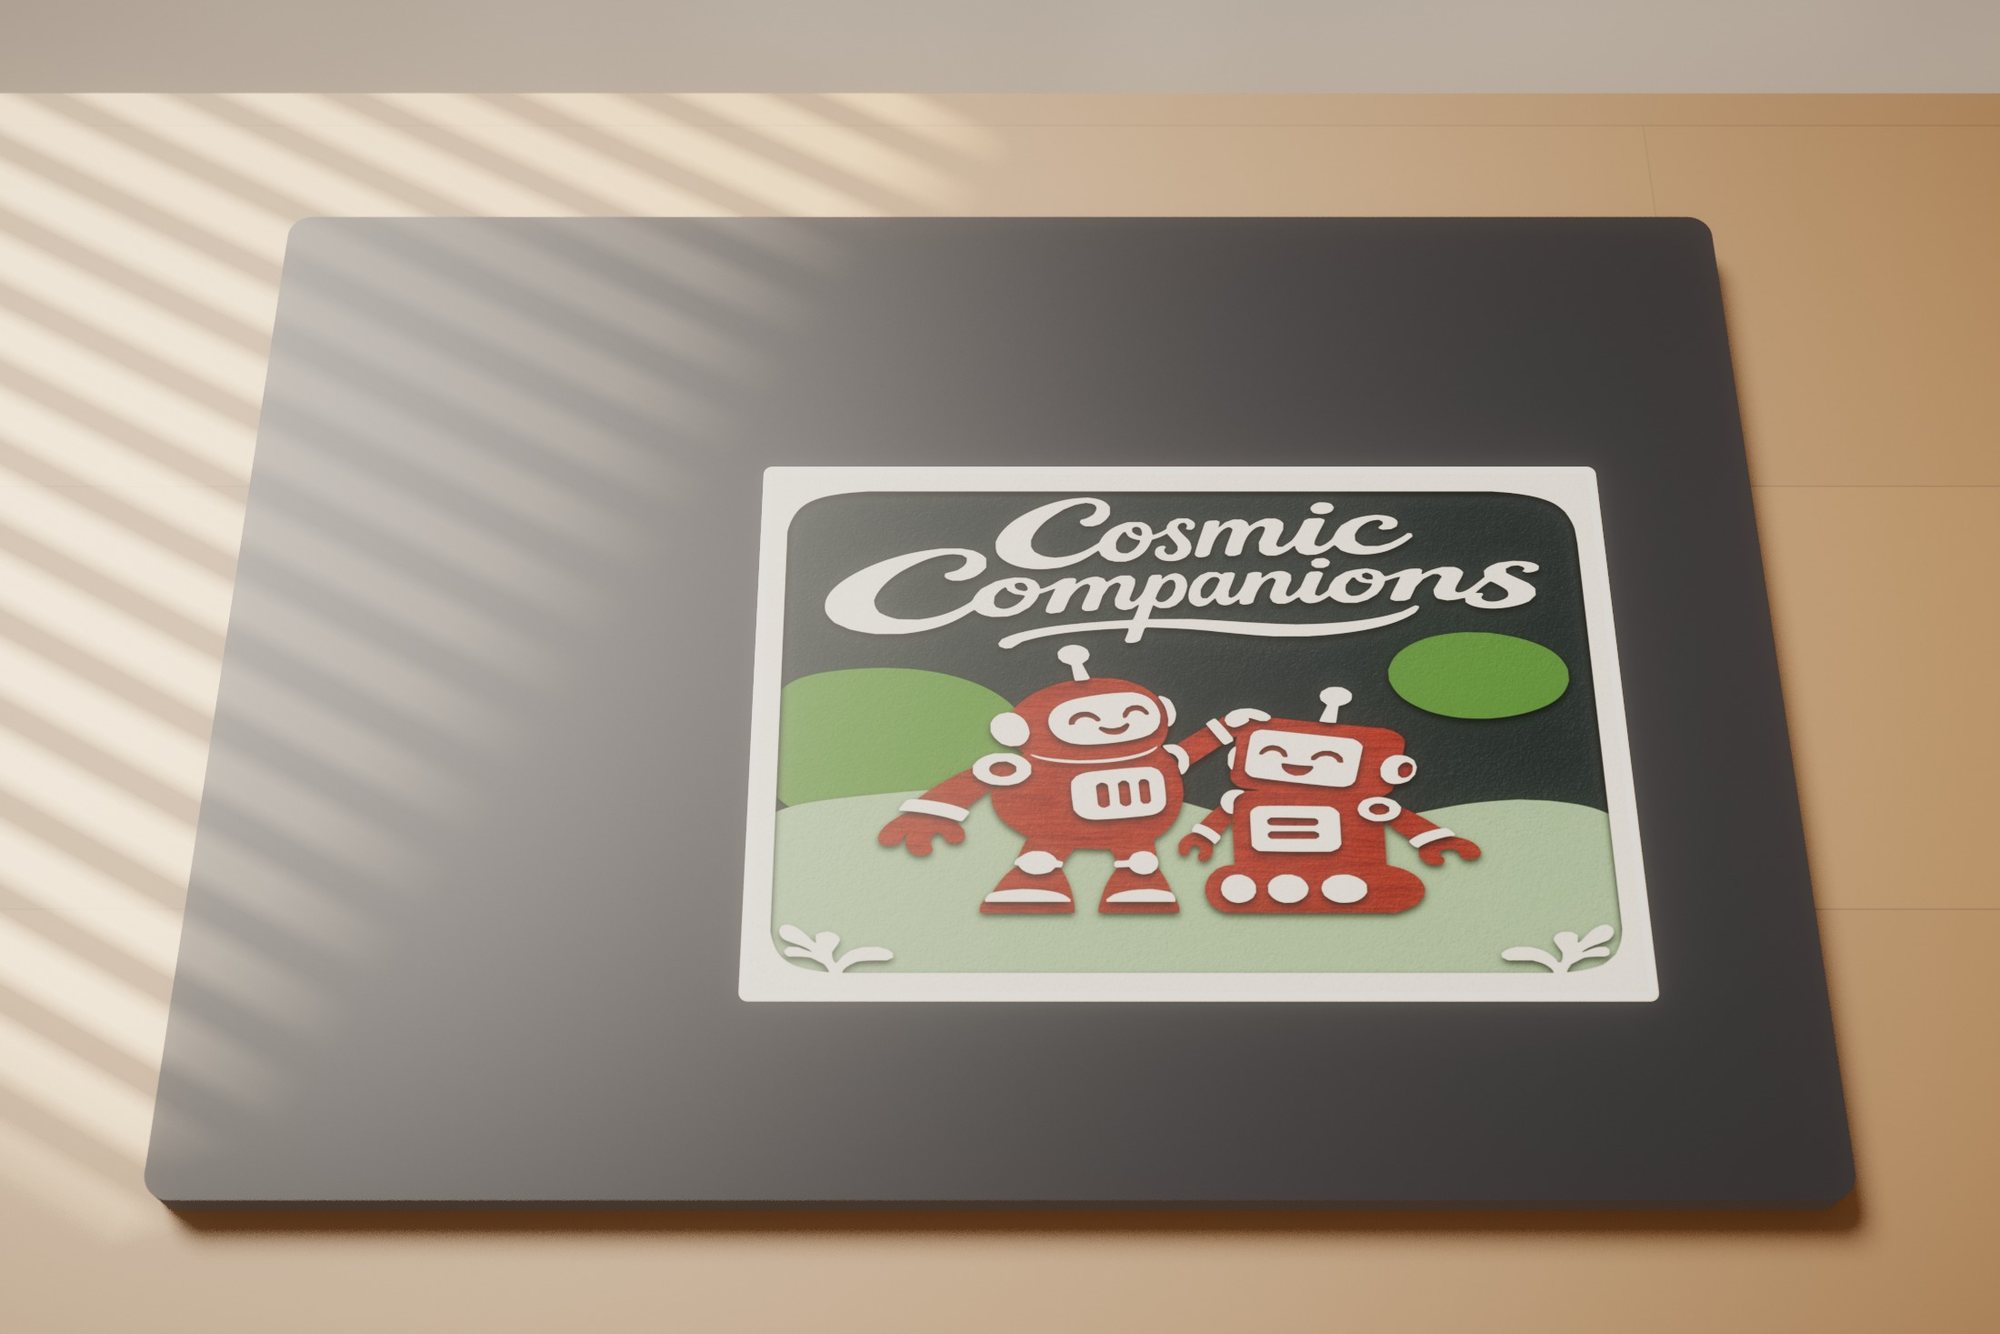 Cosmic Companions
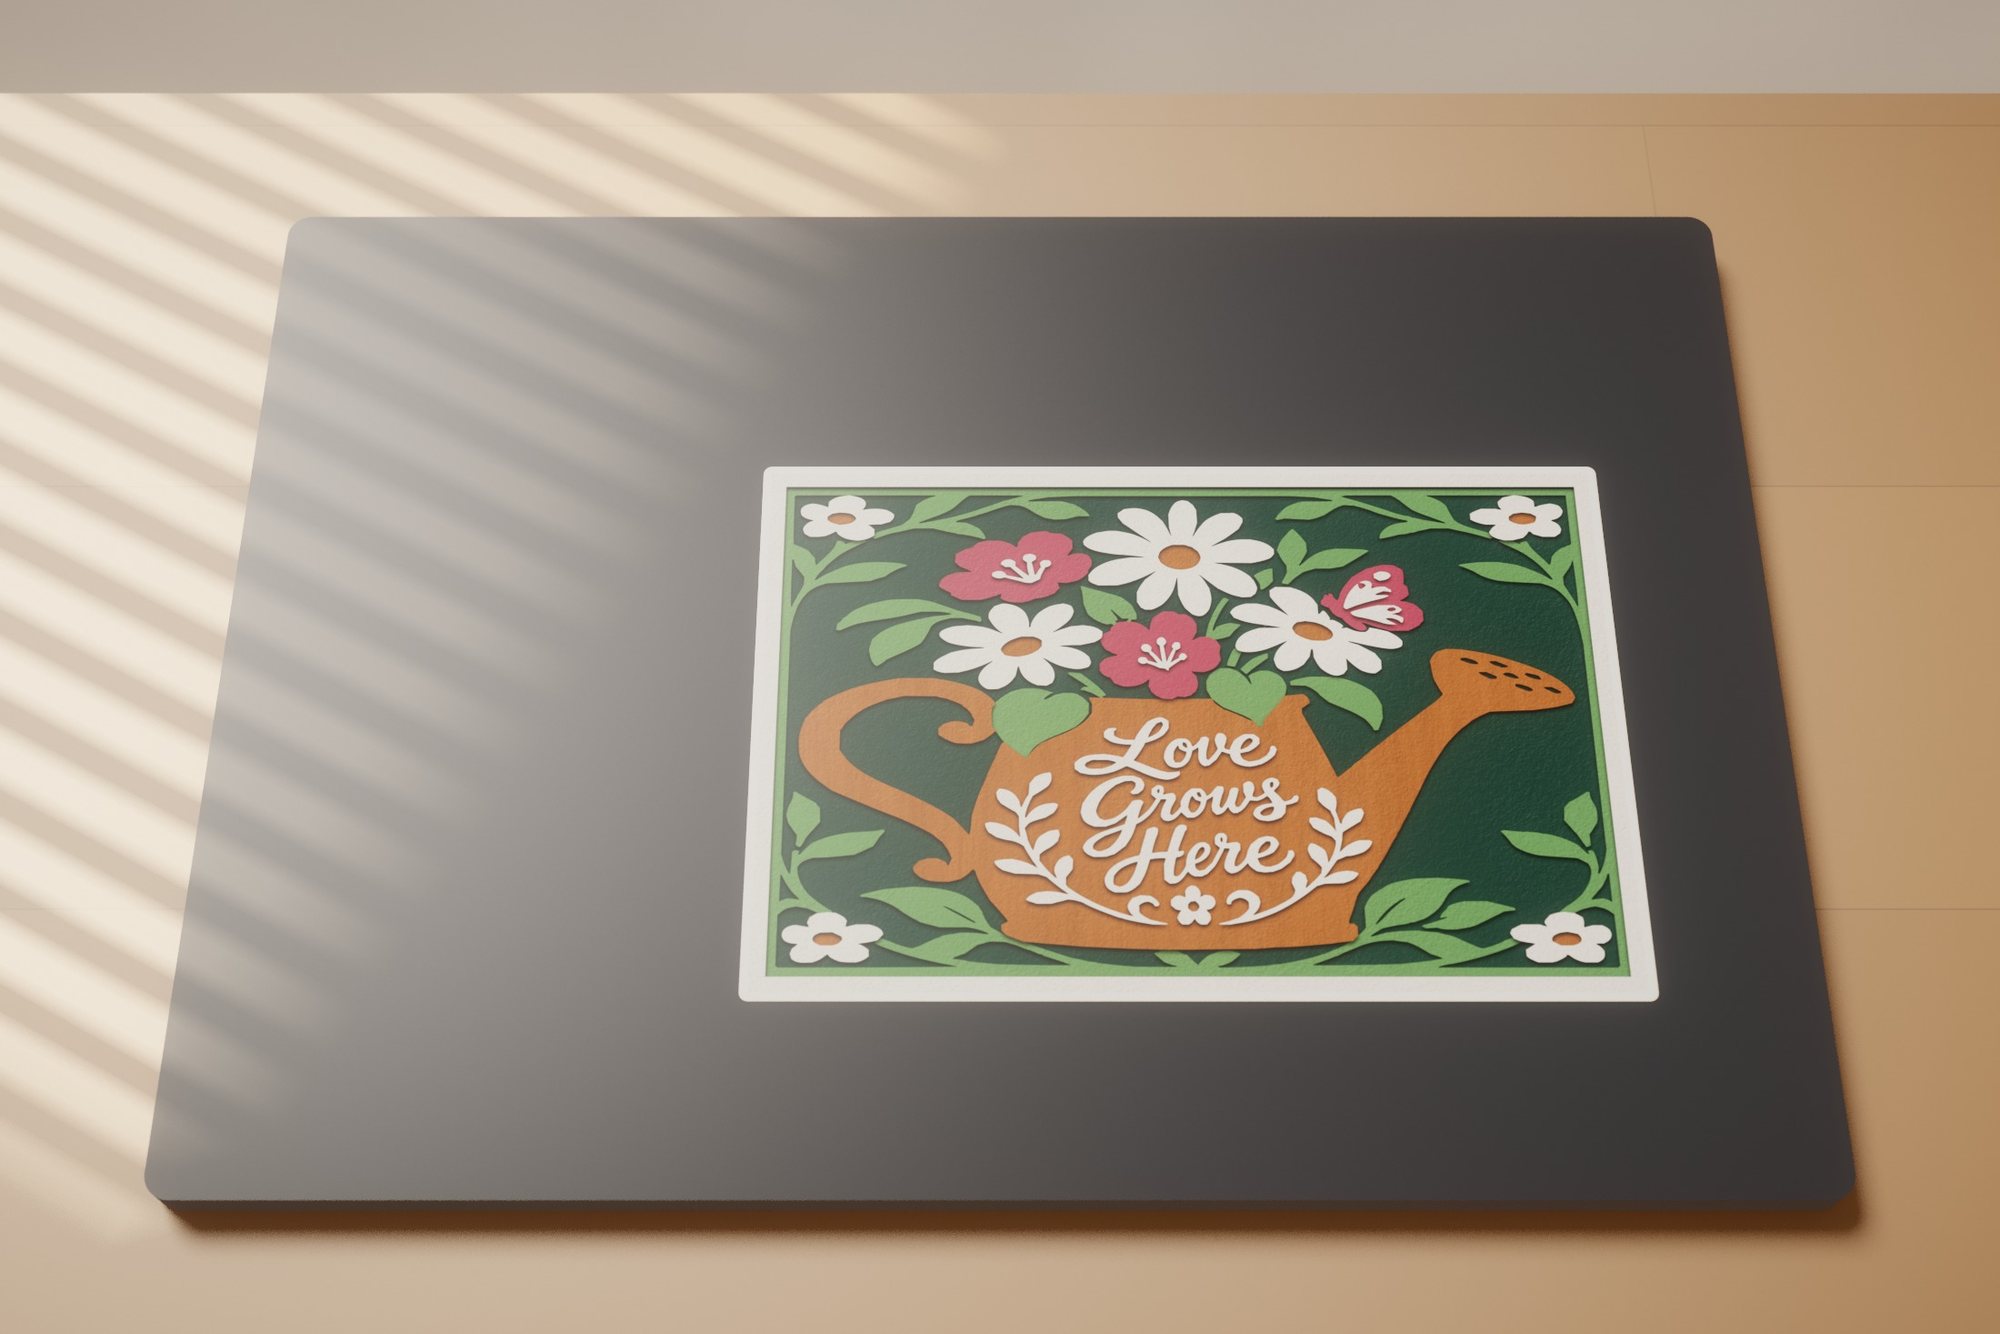 Love Grows Here
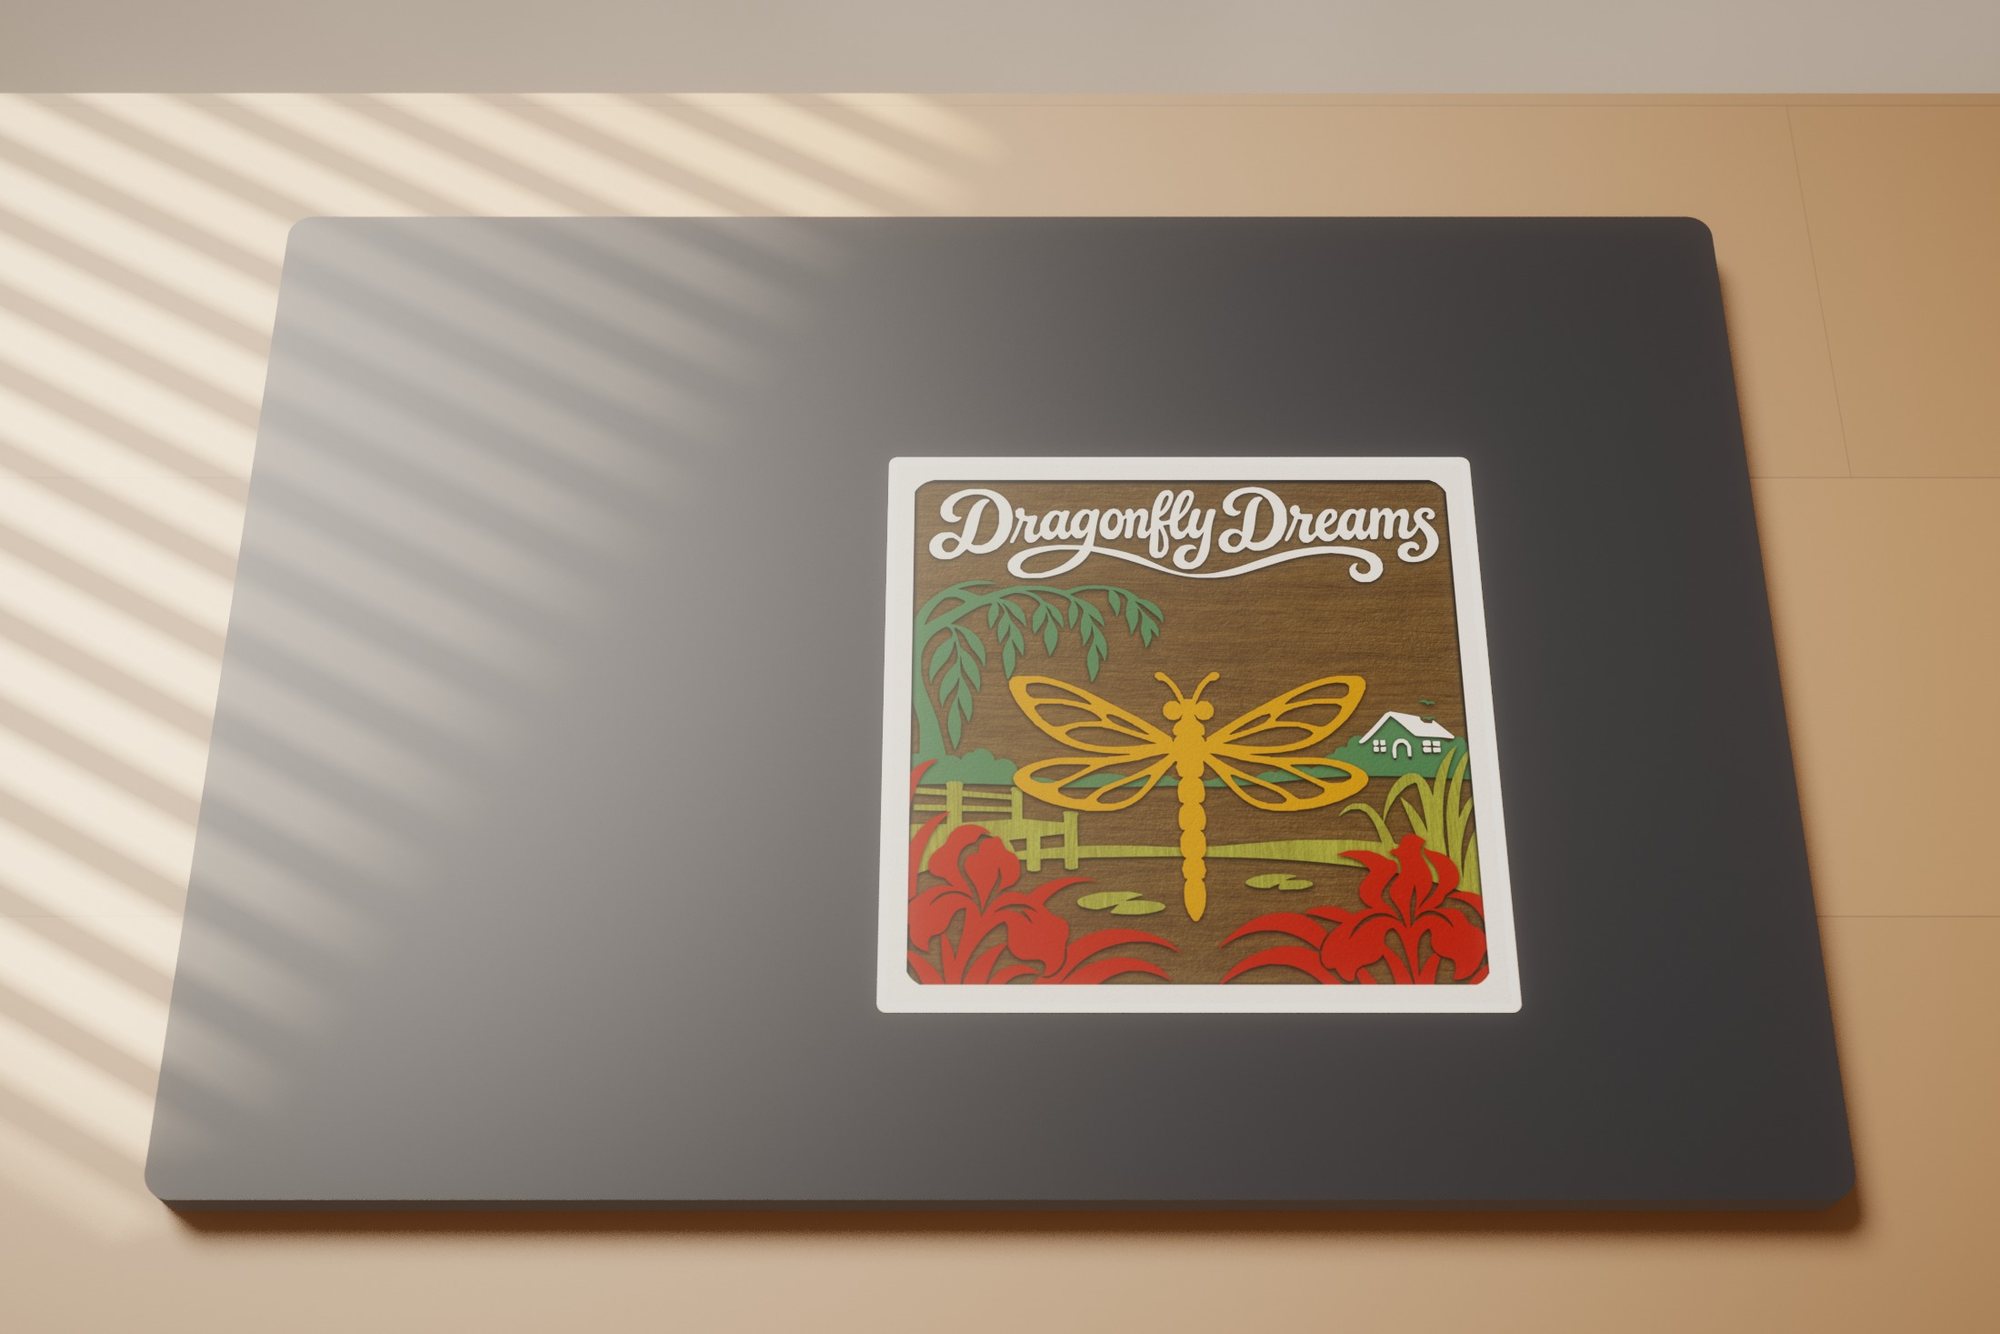 Dragonfly Dreams
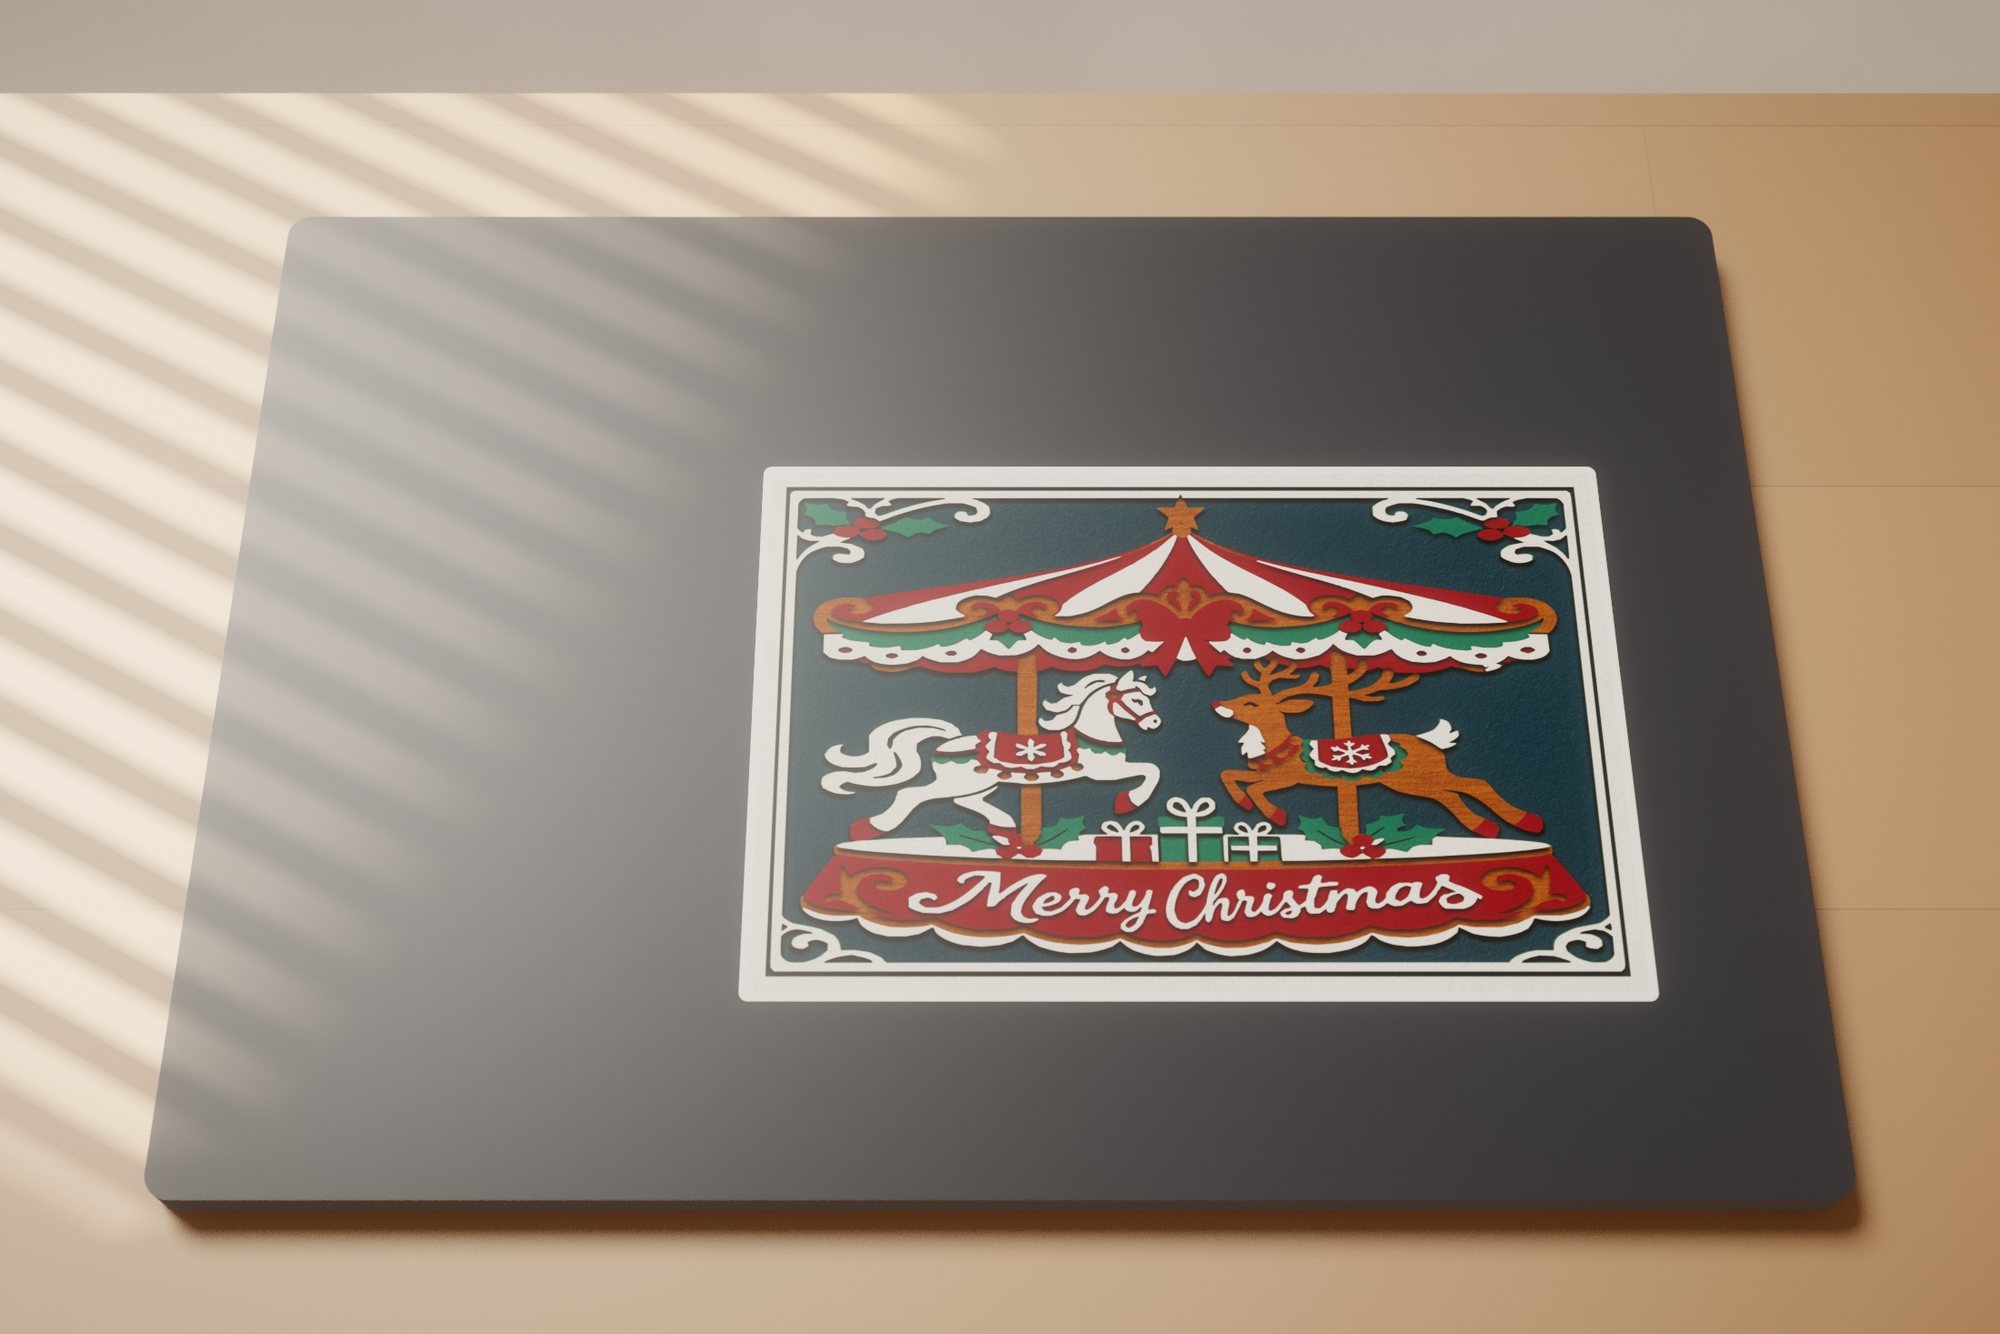 Christmas Carousel
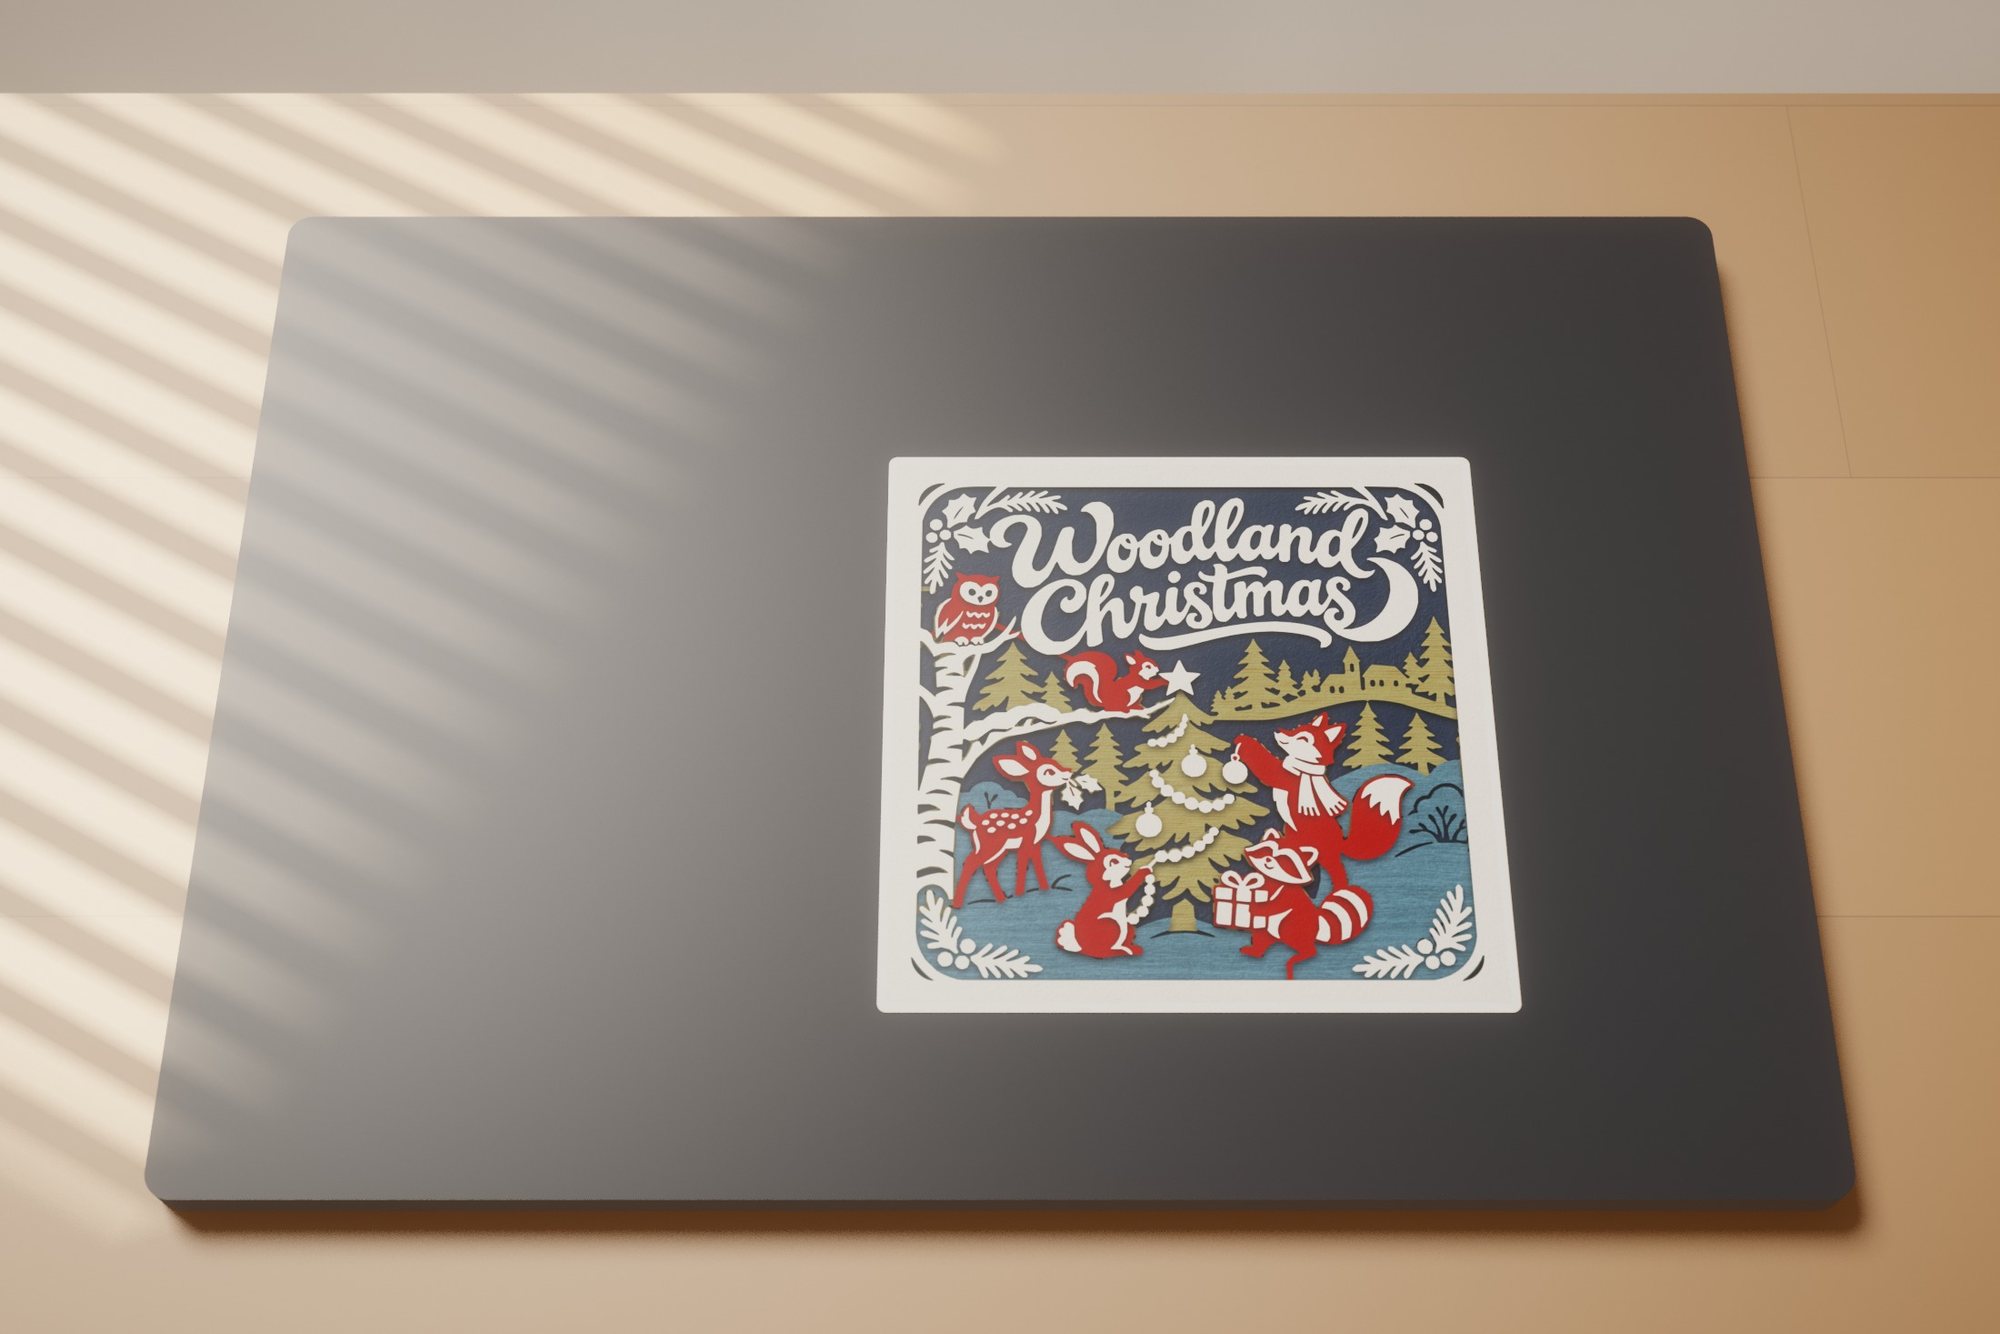 Woodland Christmas
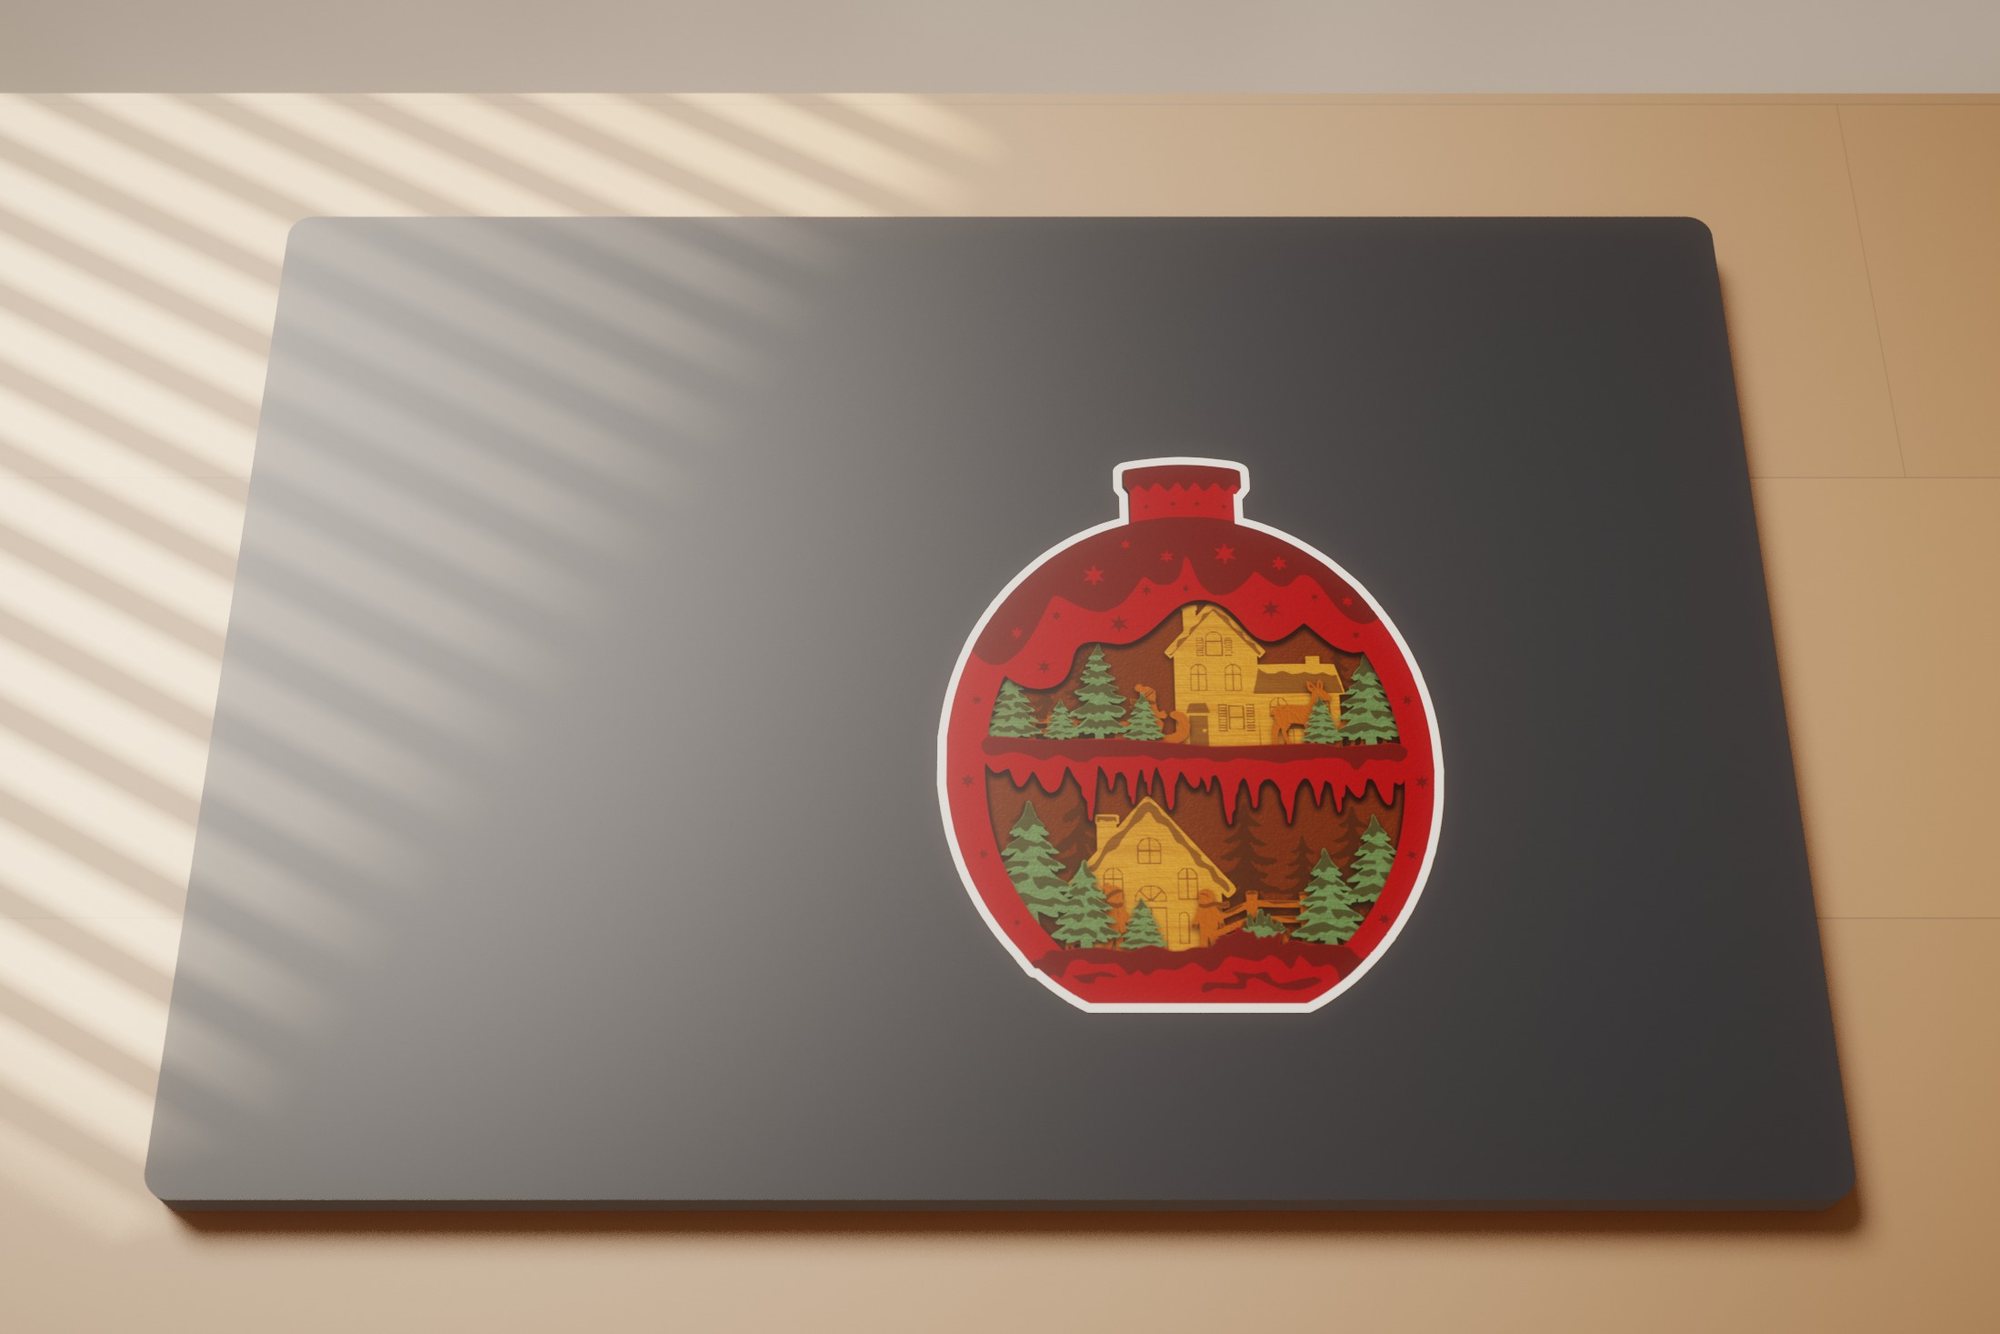 Christmas Village Ornament
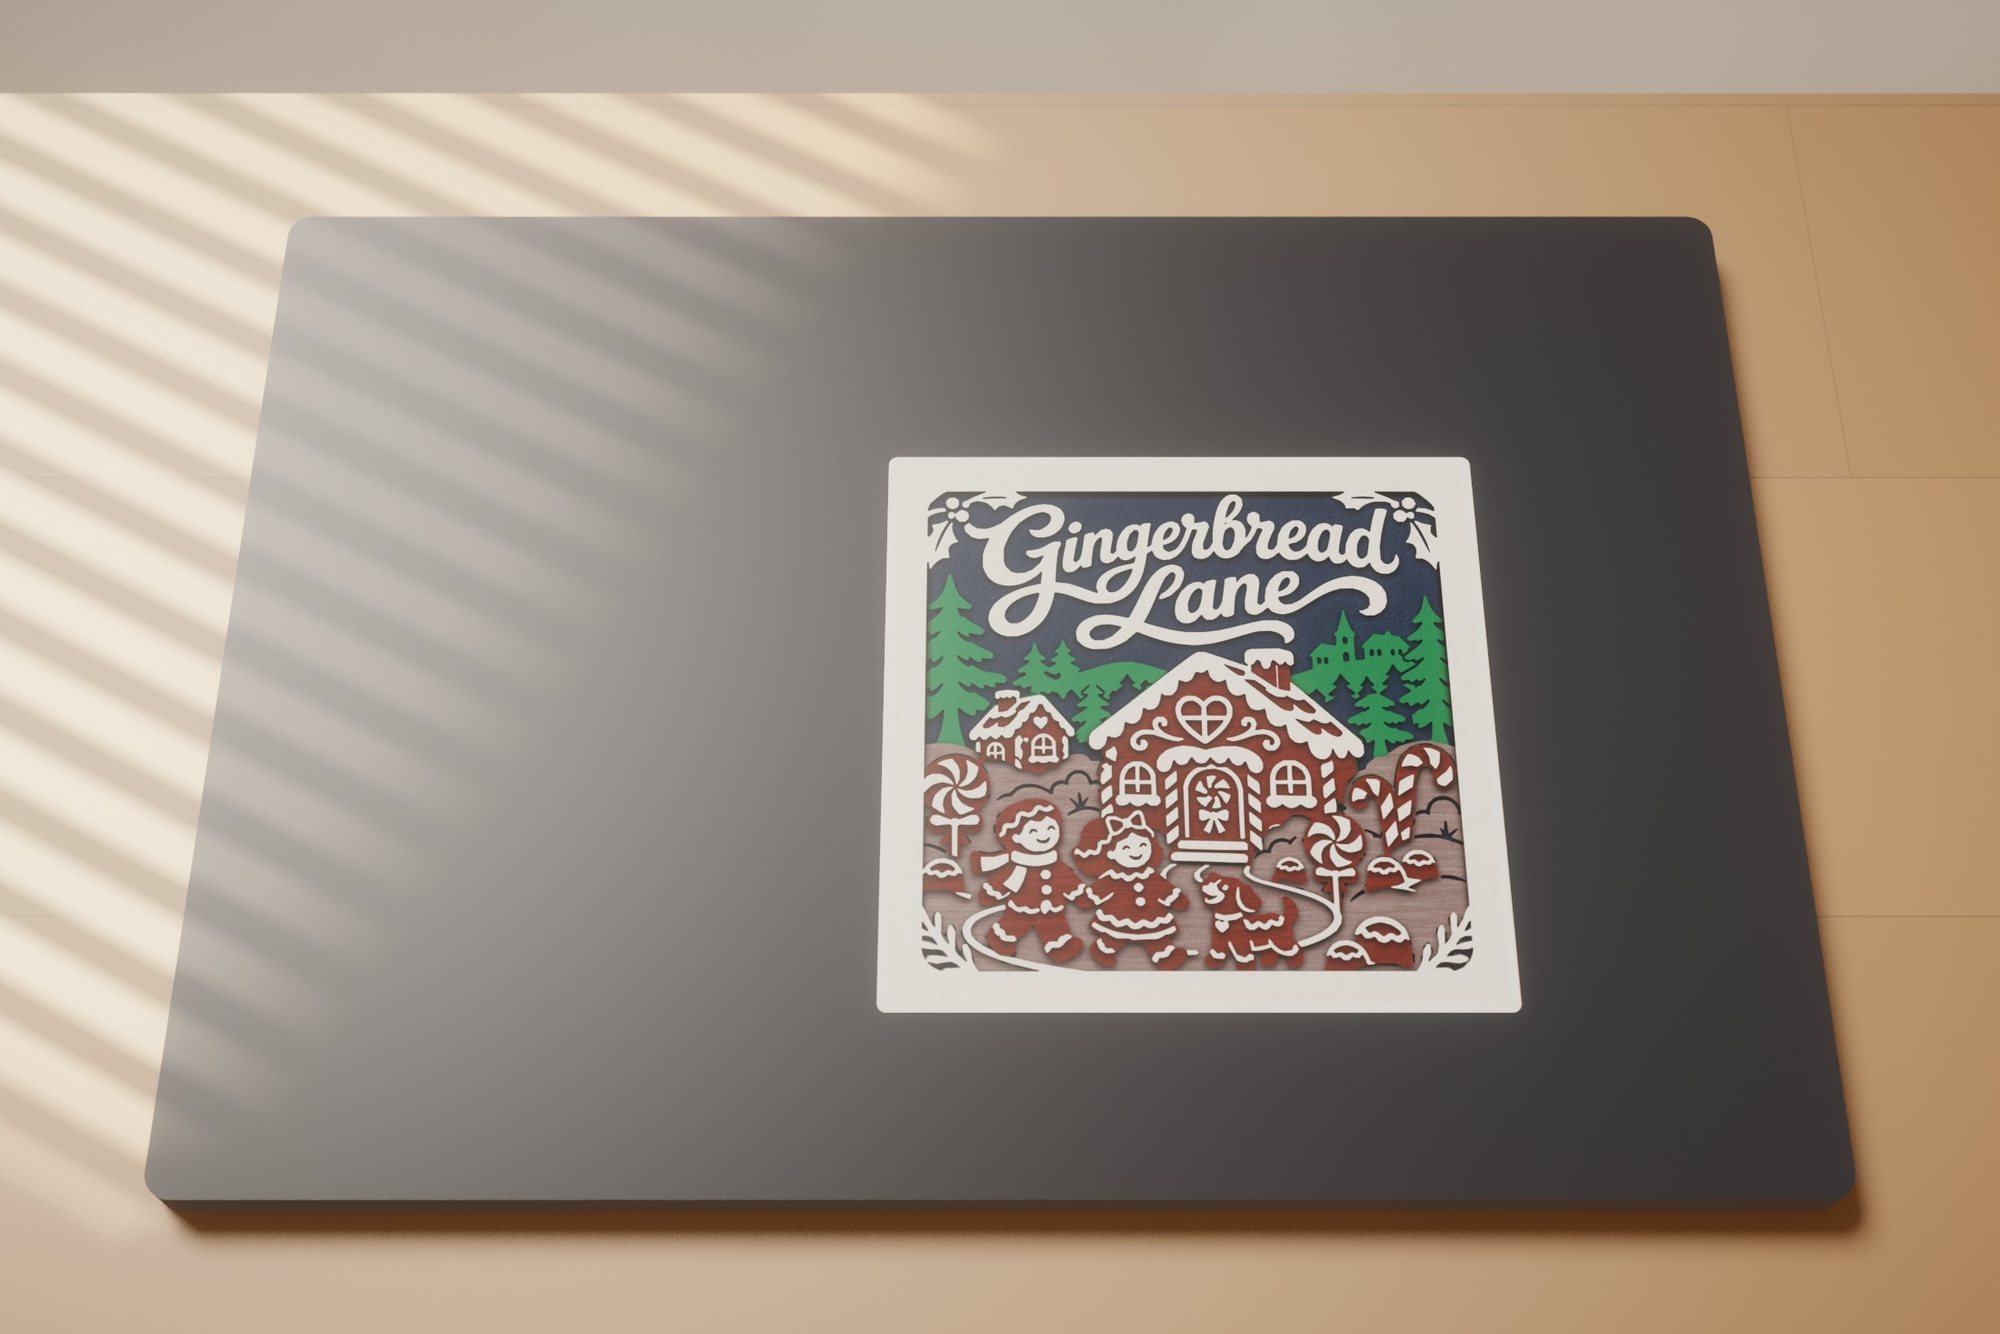 Gingerbread Lane
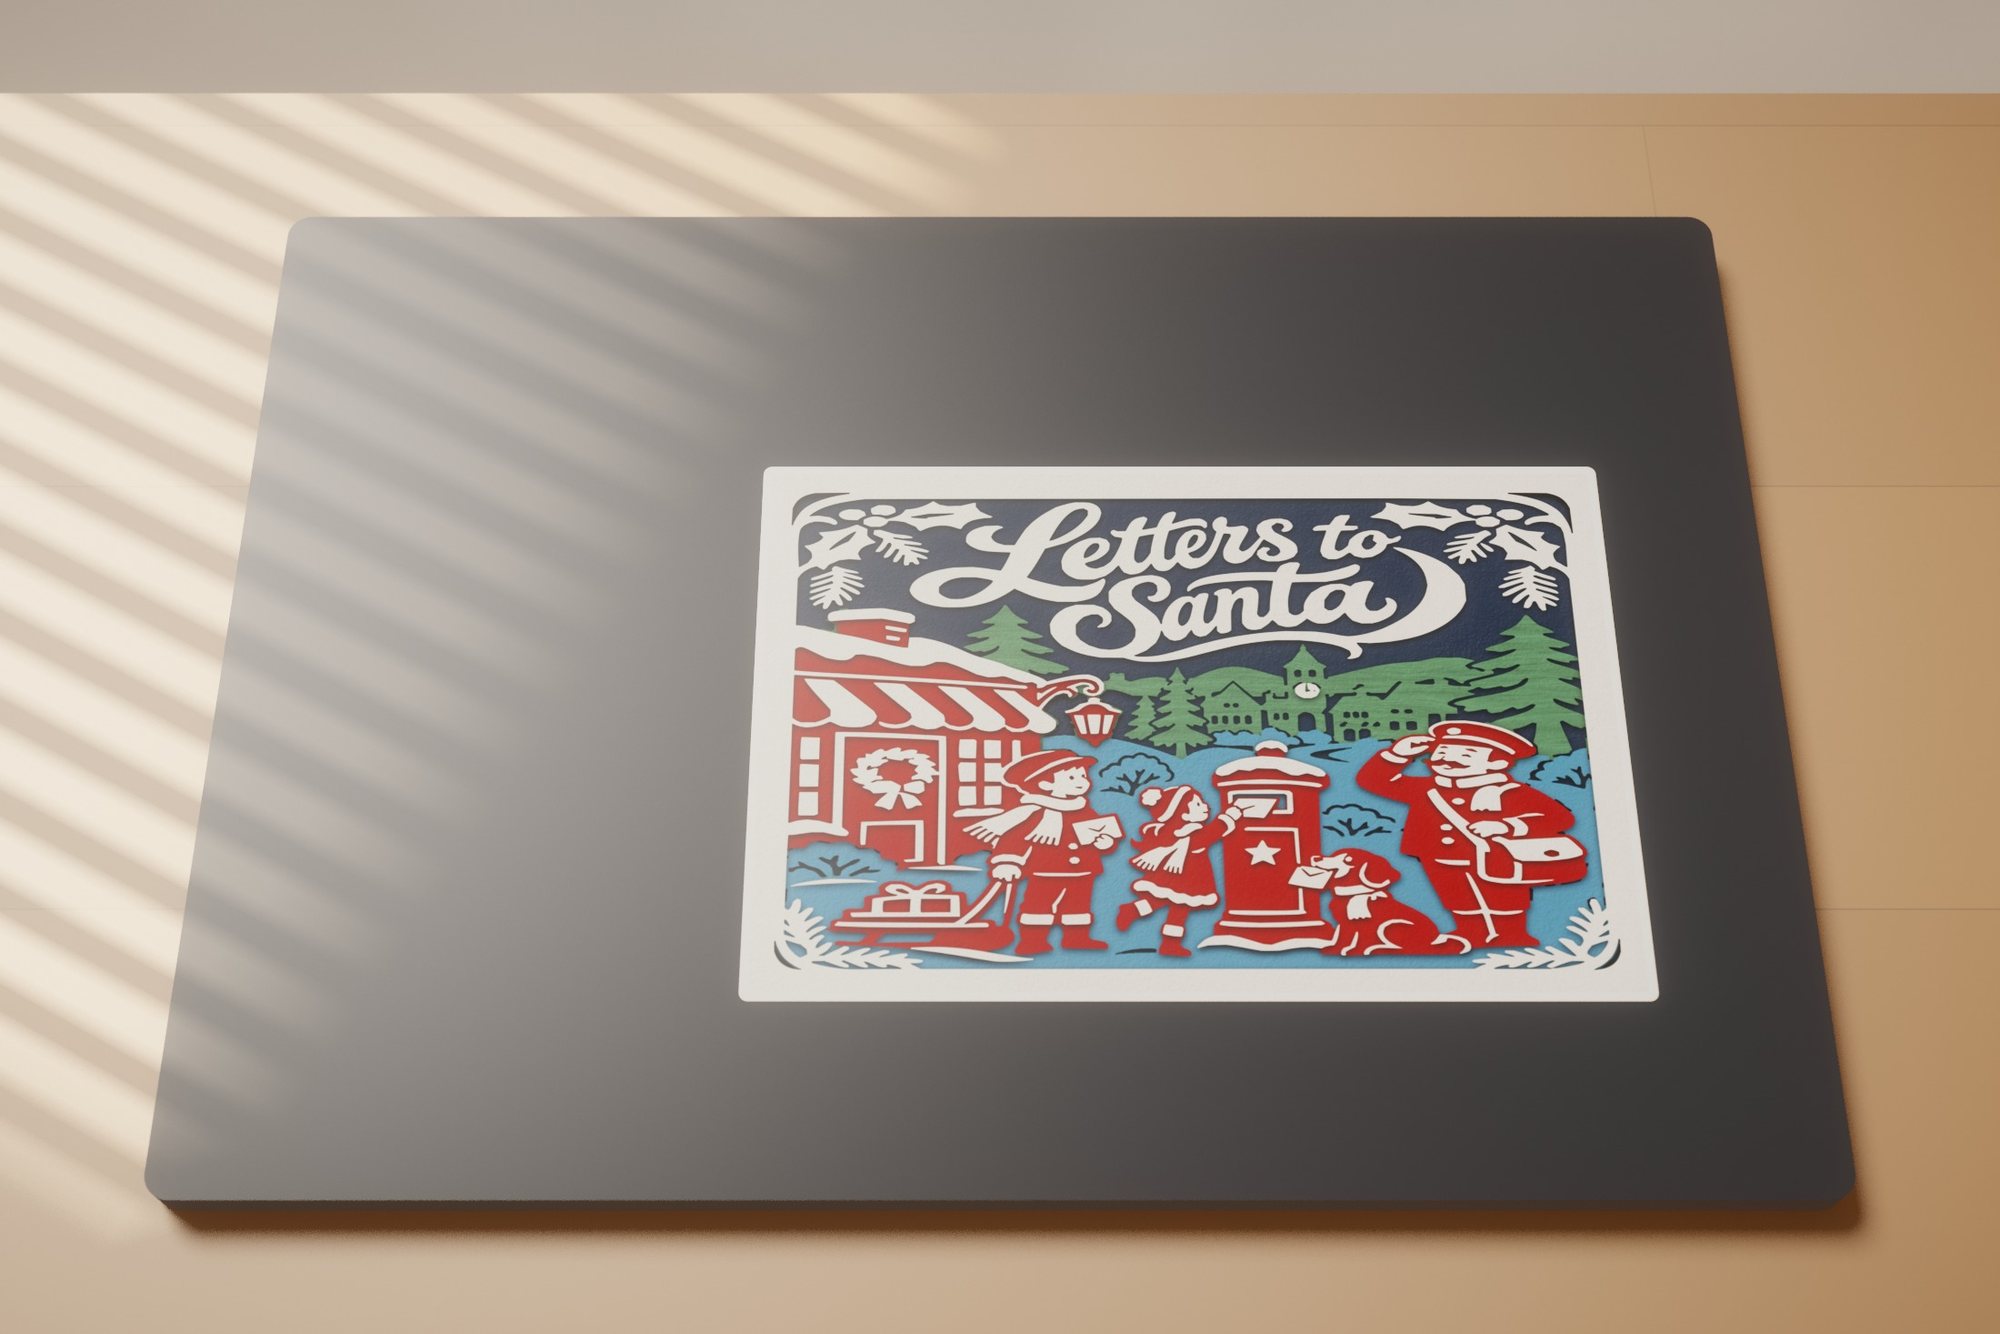 Letters to Santa
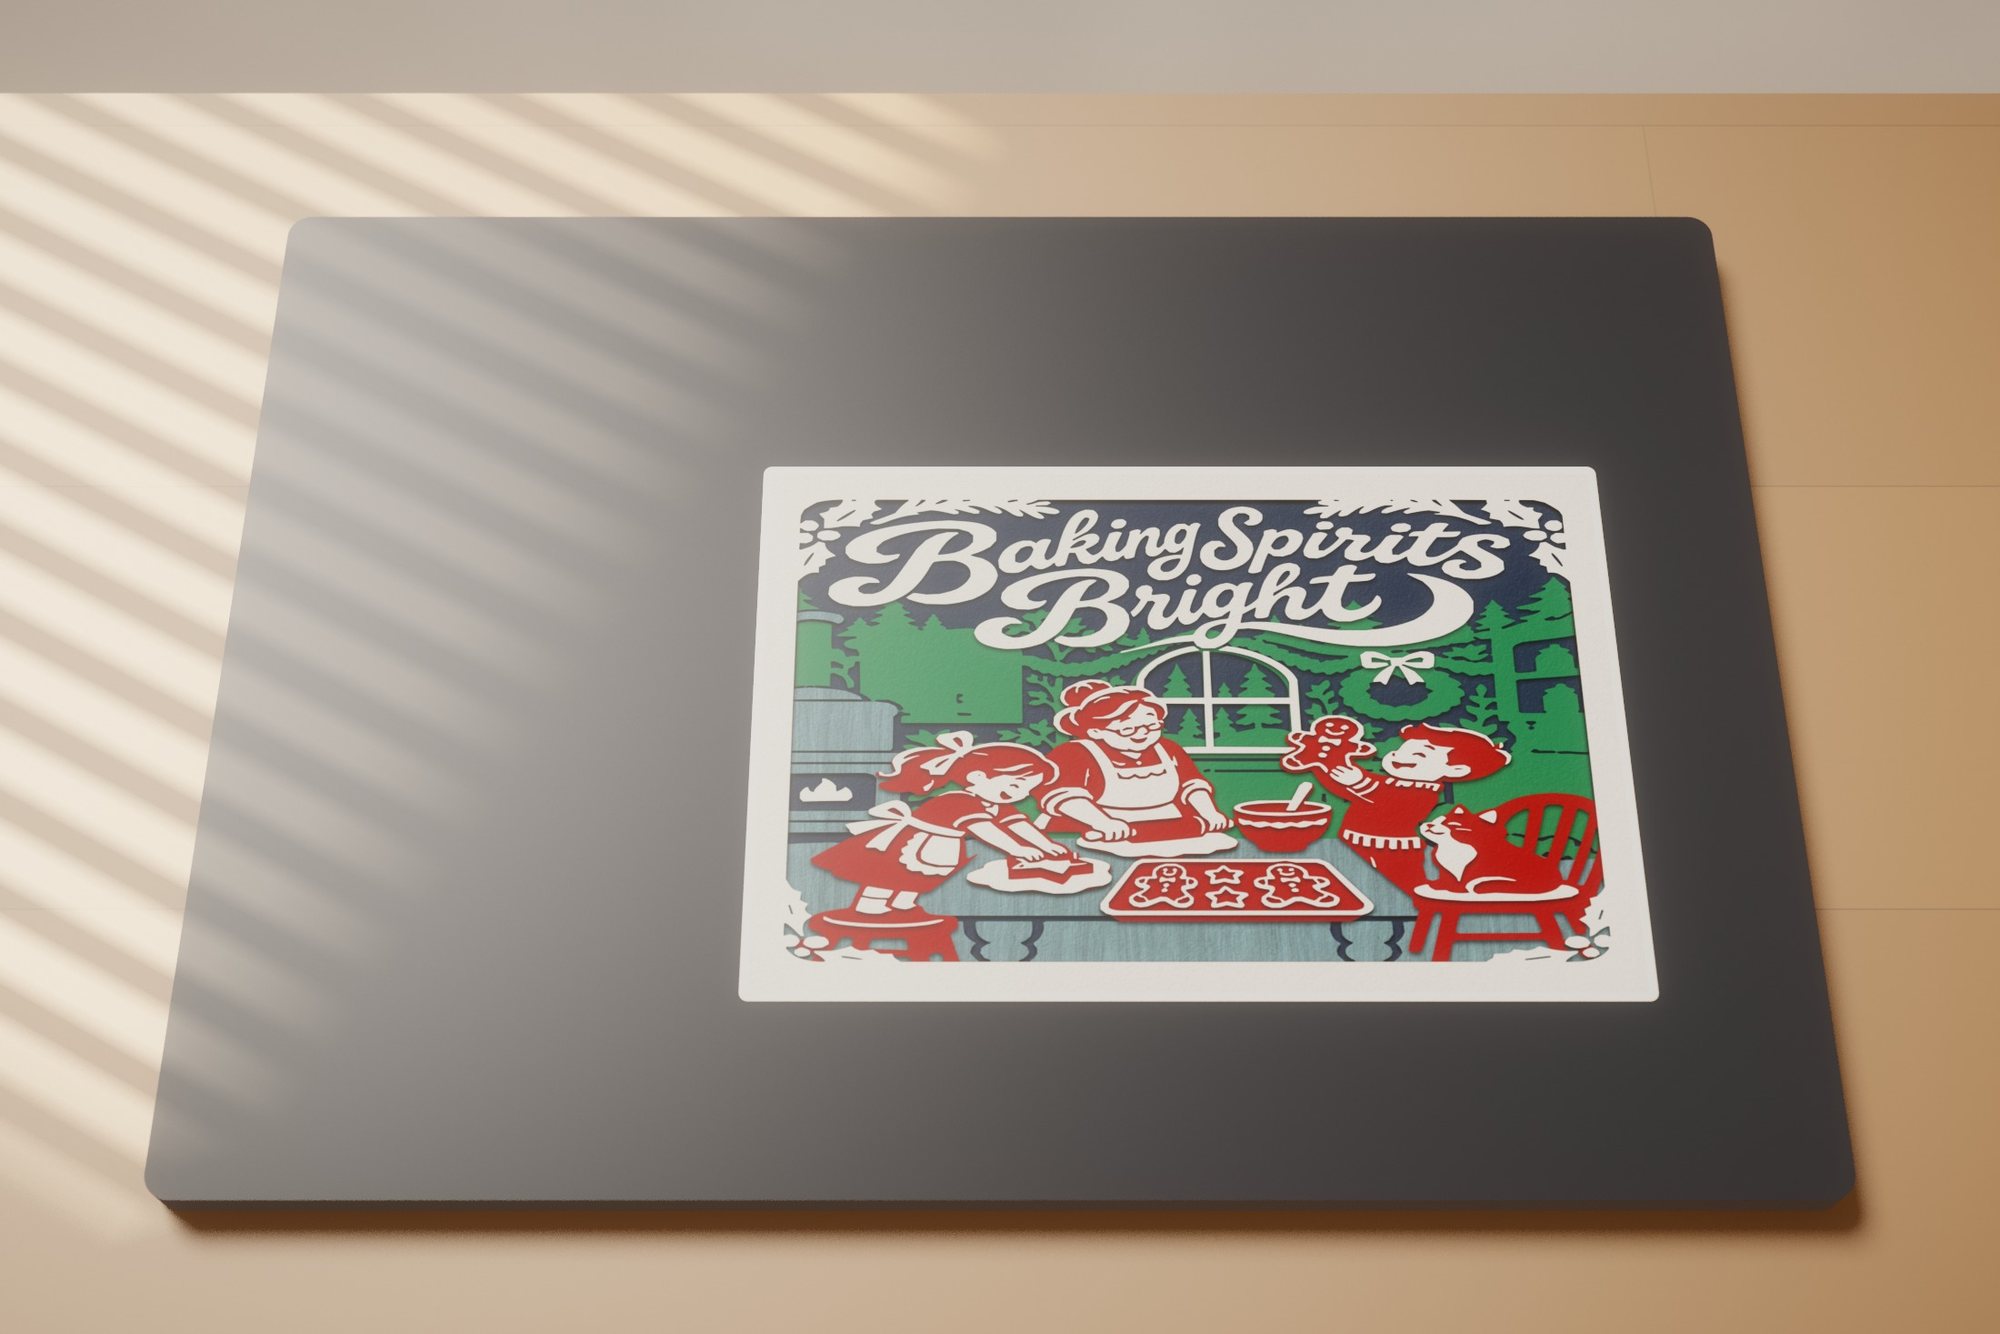 Baking Spirits Bright
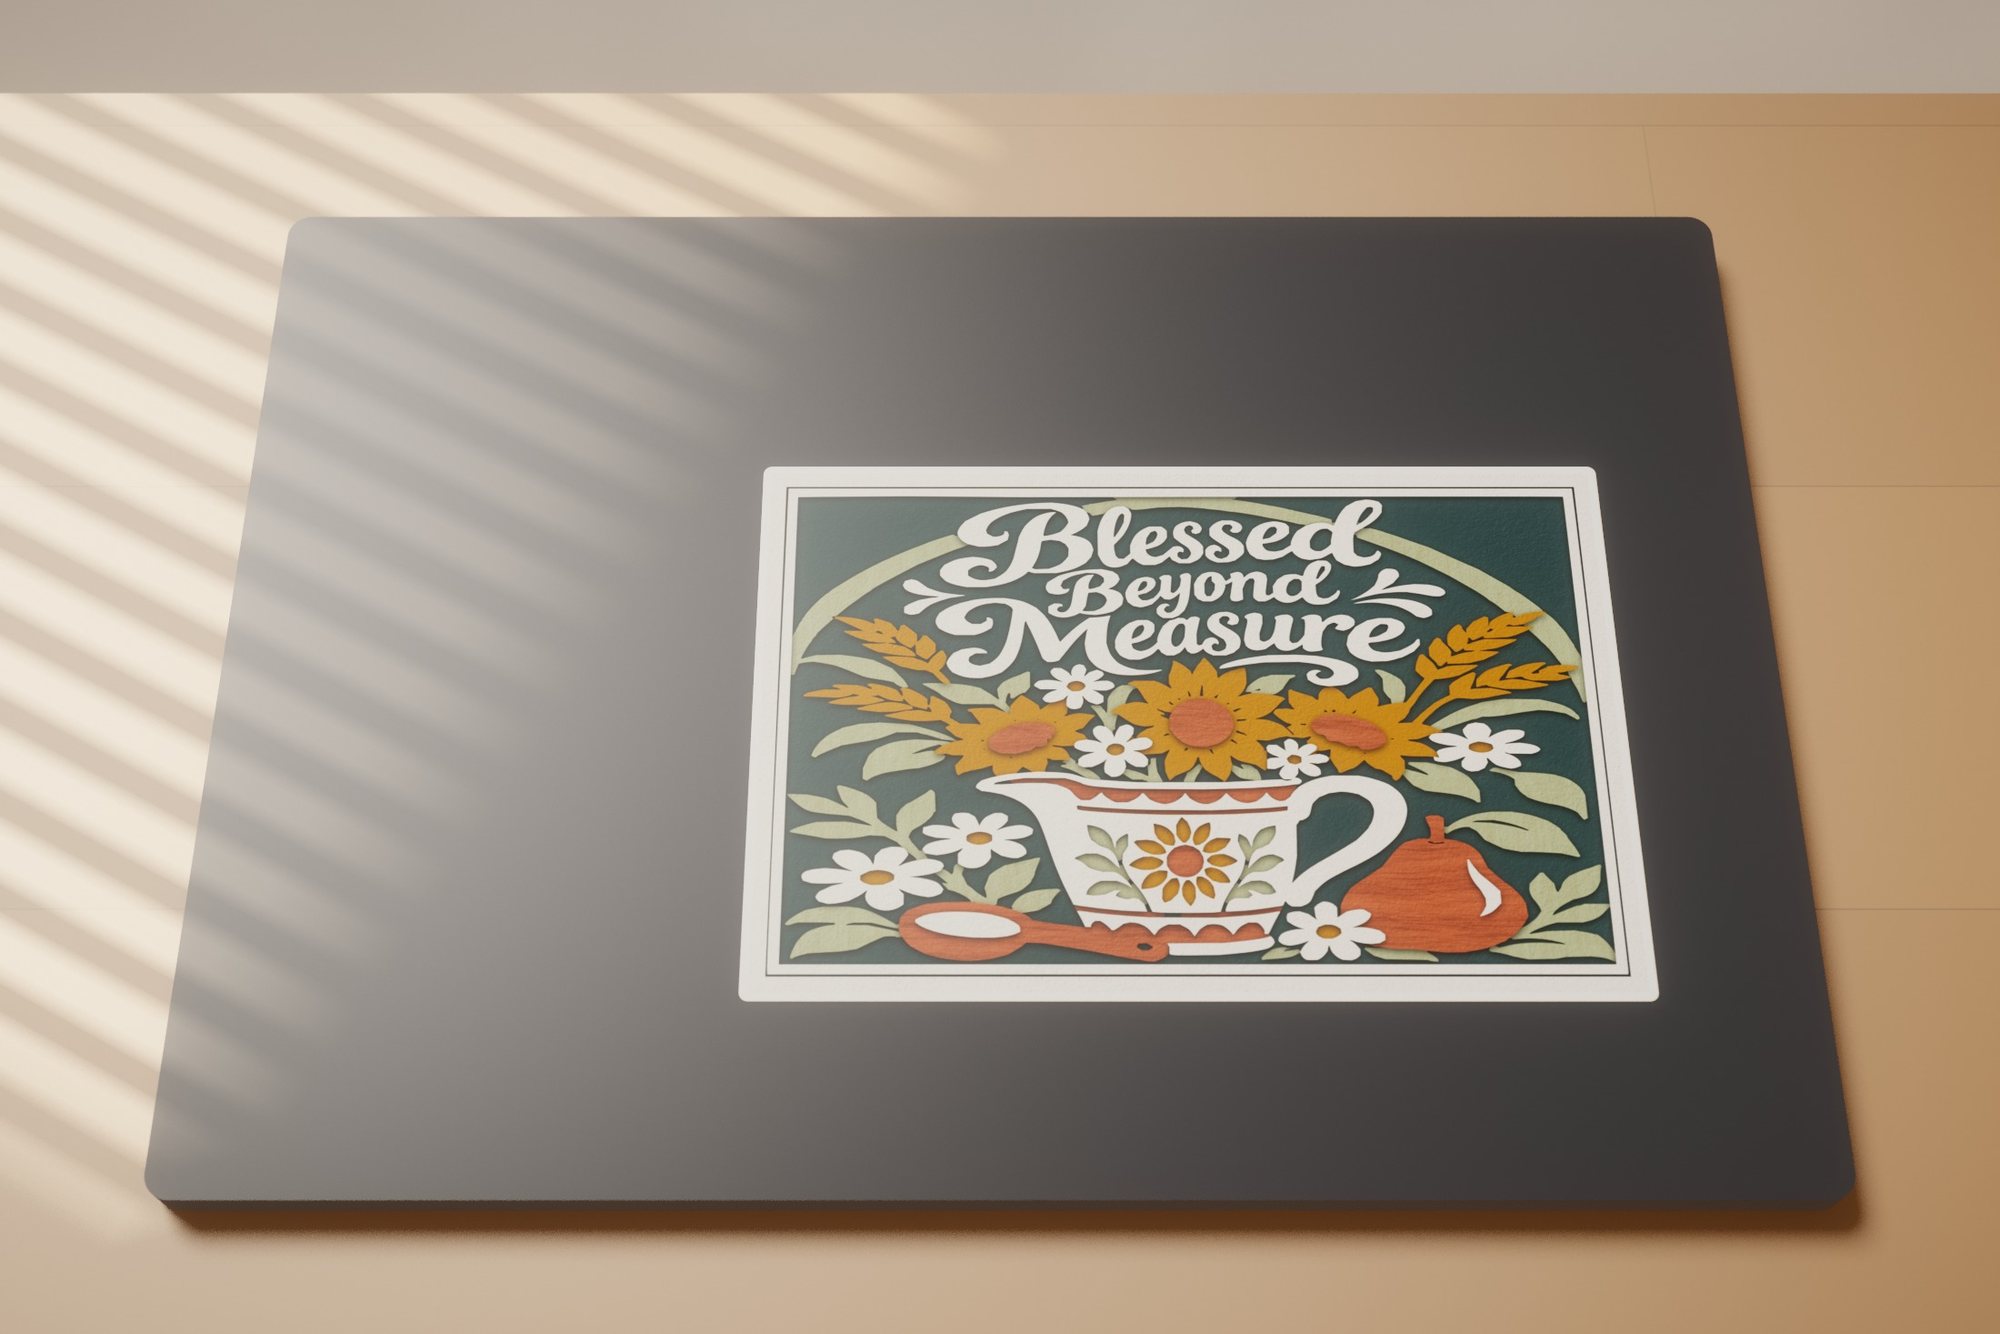 Blessed Beyond Measure
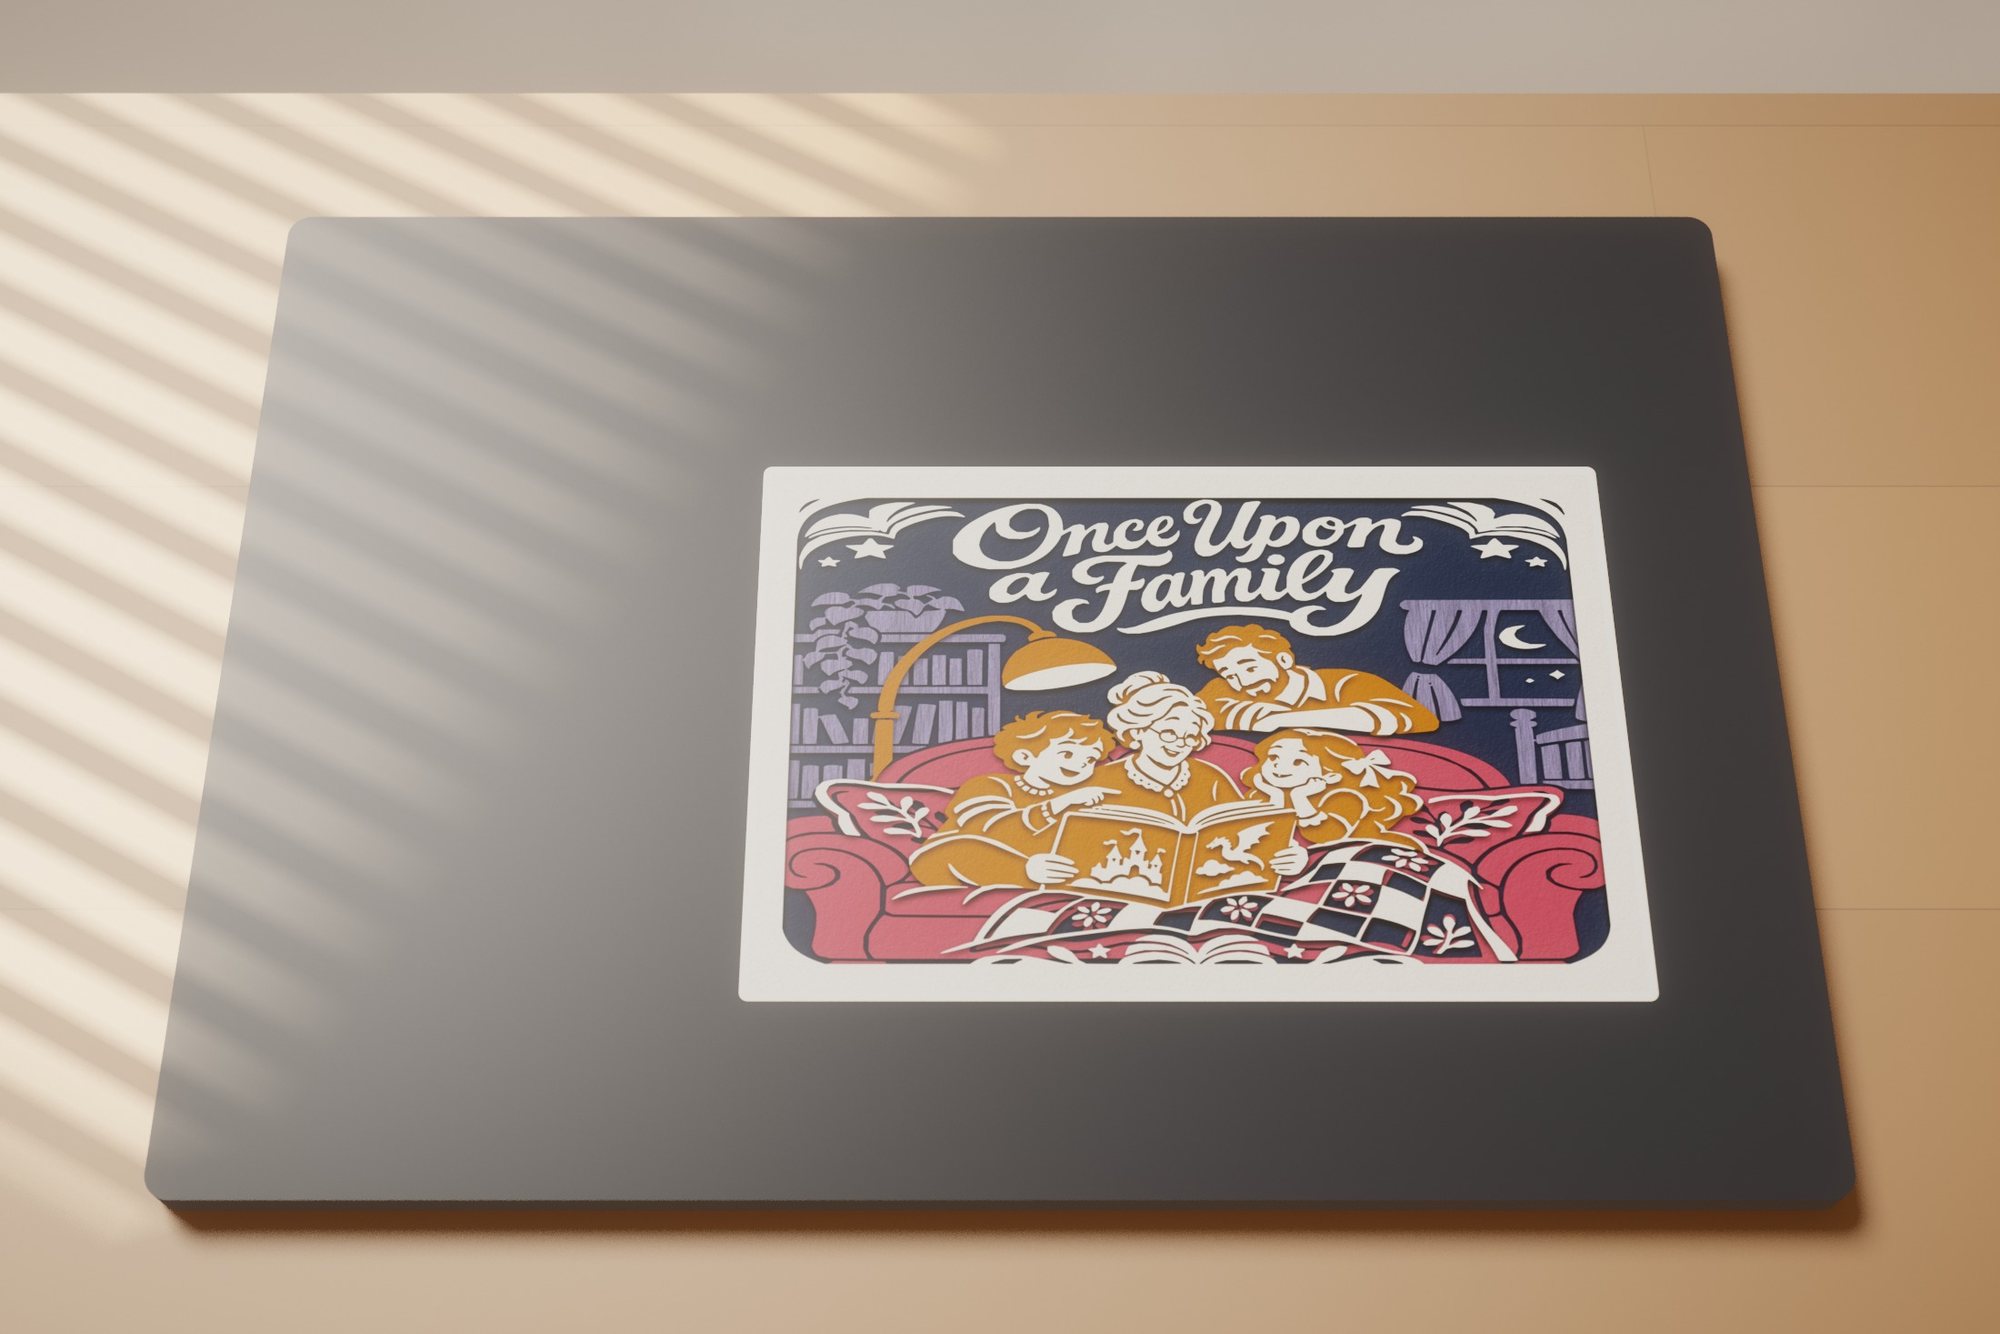 Once Upon a Family
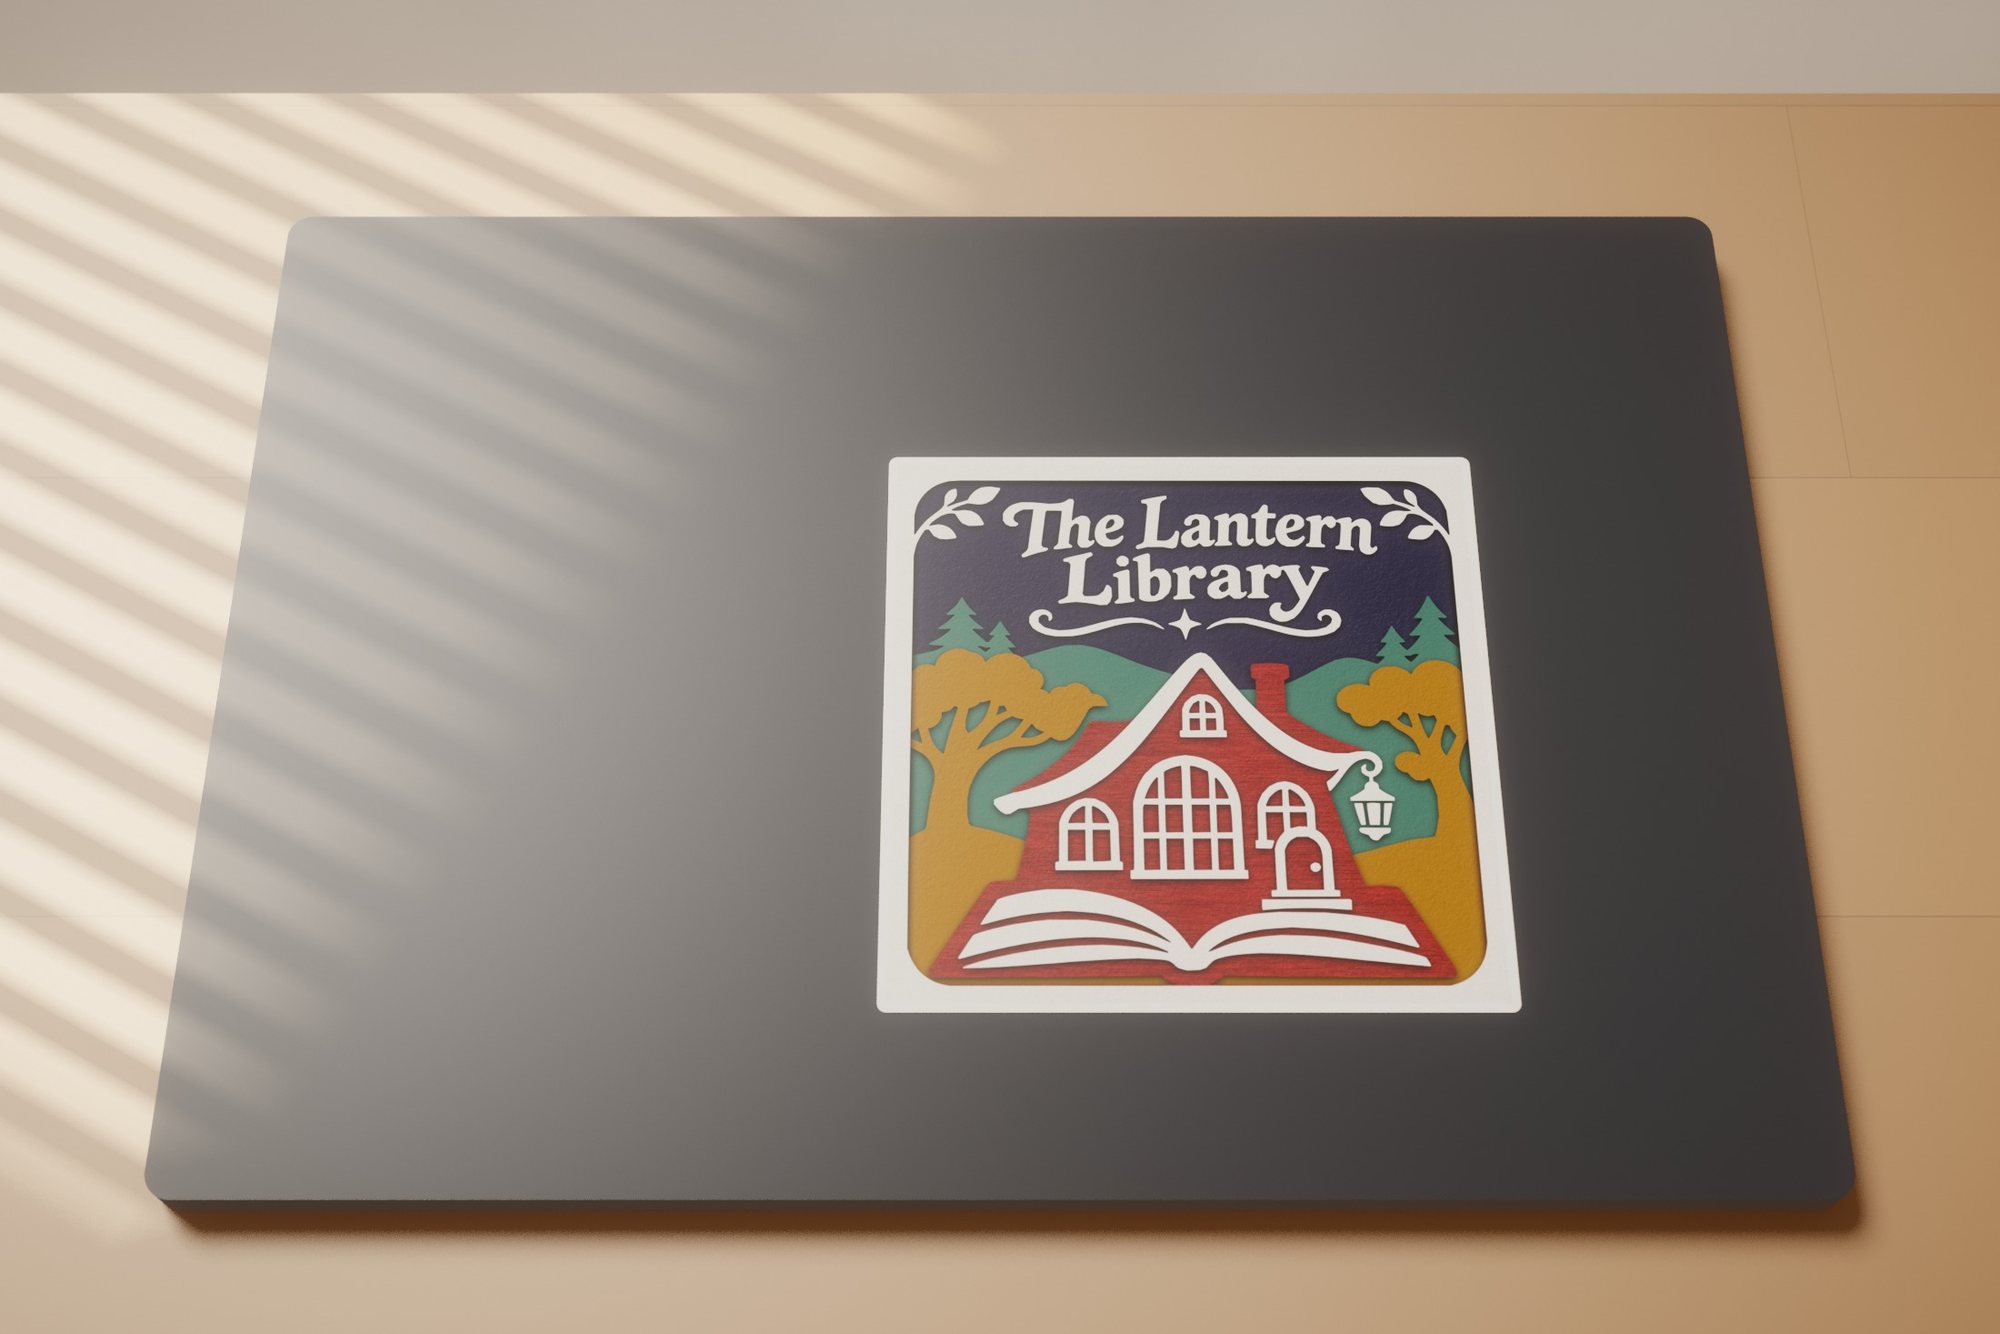 The Lantern Library
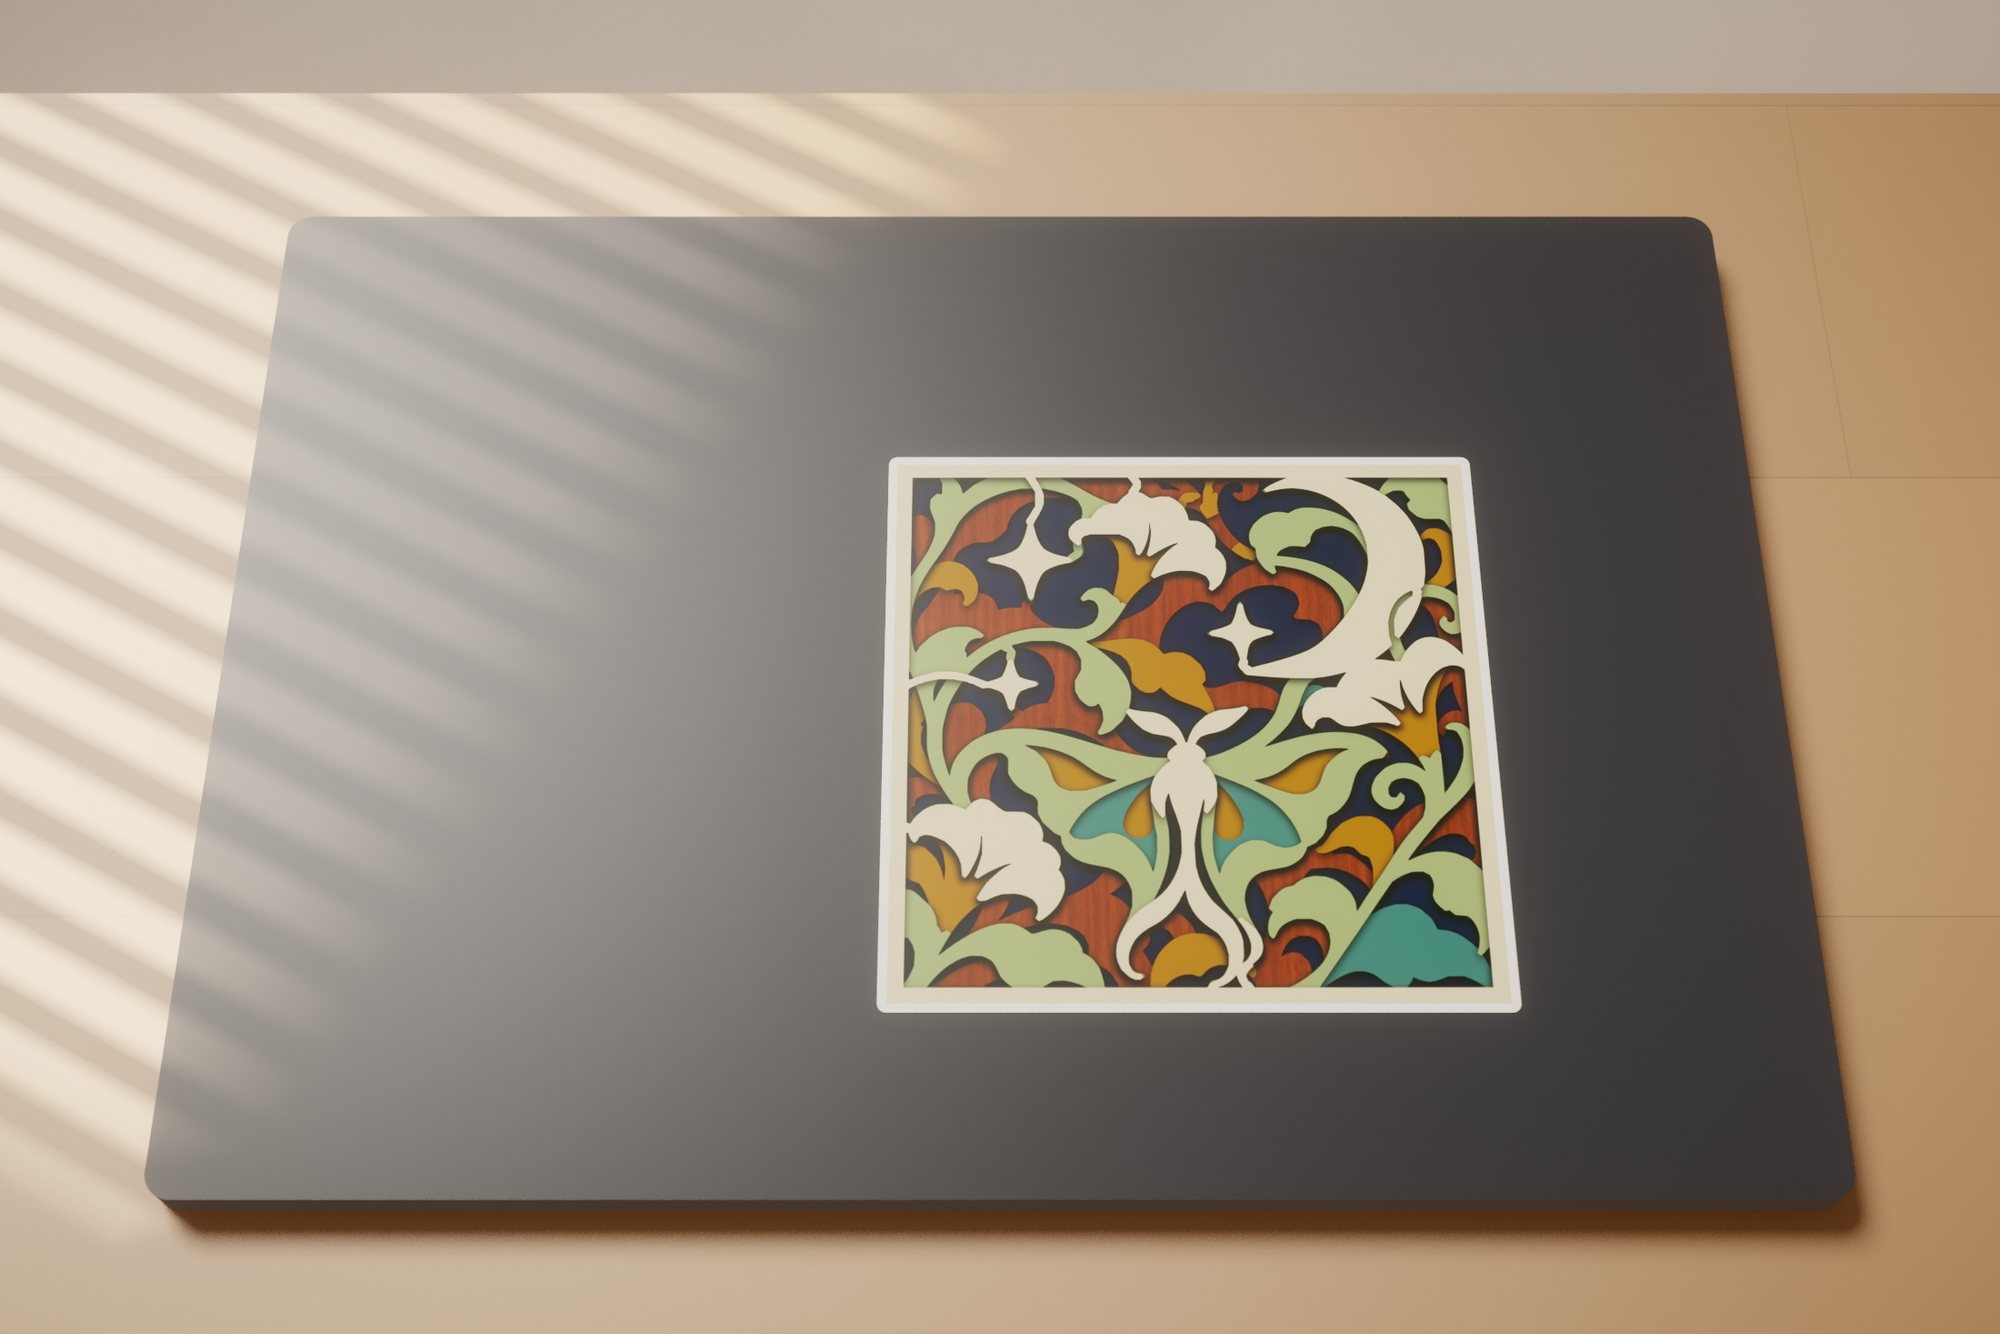 Celestial Garden
Here Comes the Sun · 1 of 24 designs
Physical project / Window Clings
Bring the design to glass. These renderings show window-cling artwork with daylight and a garden beyond the window.
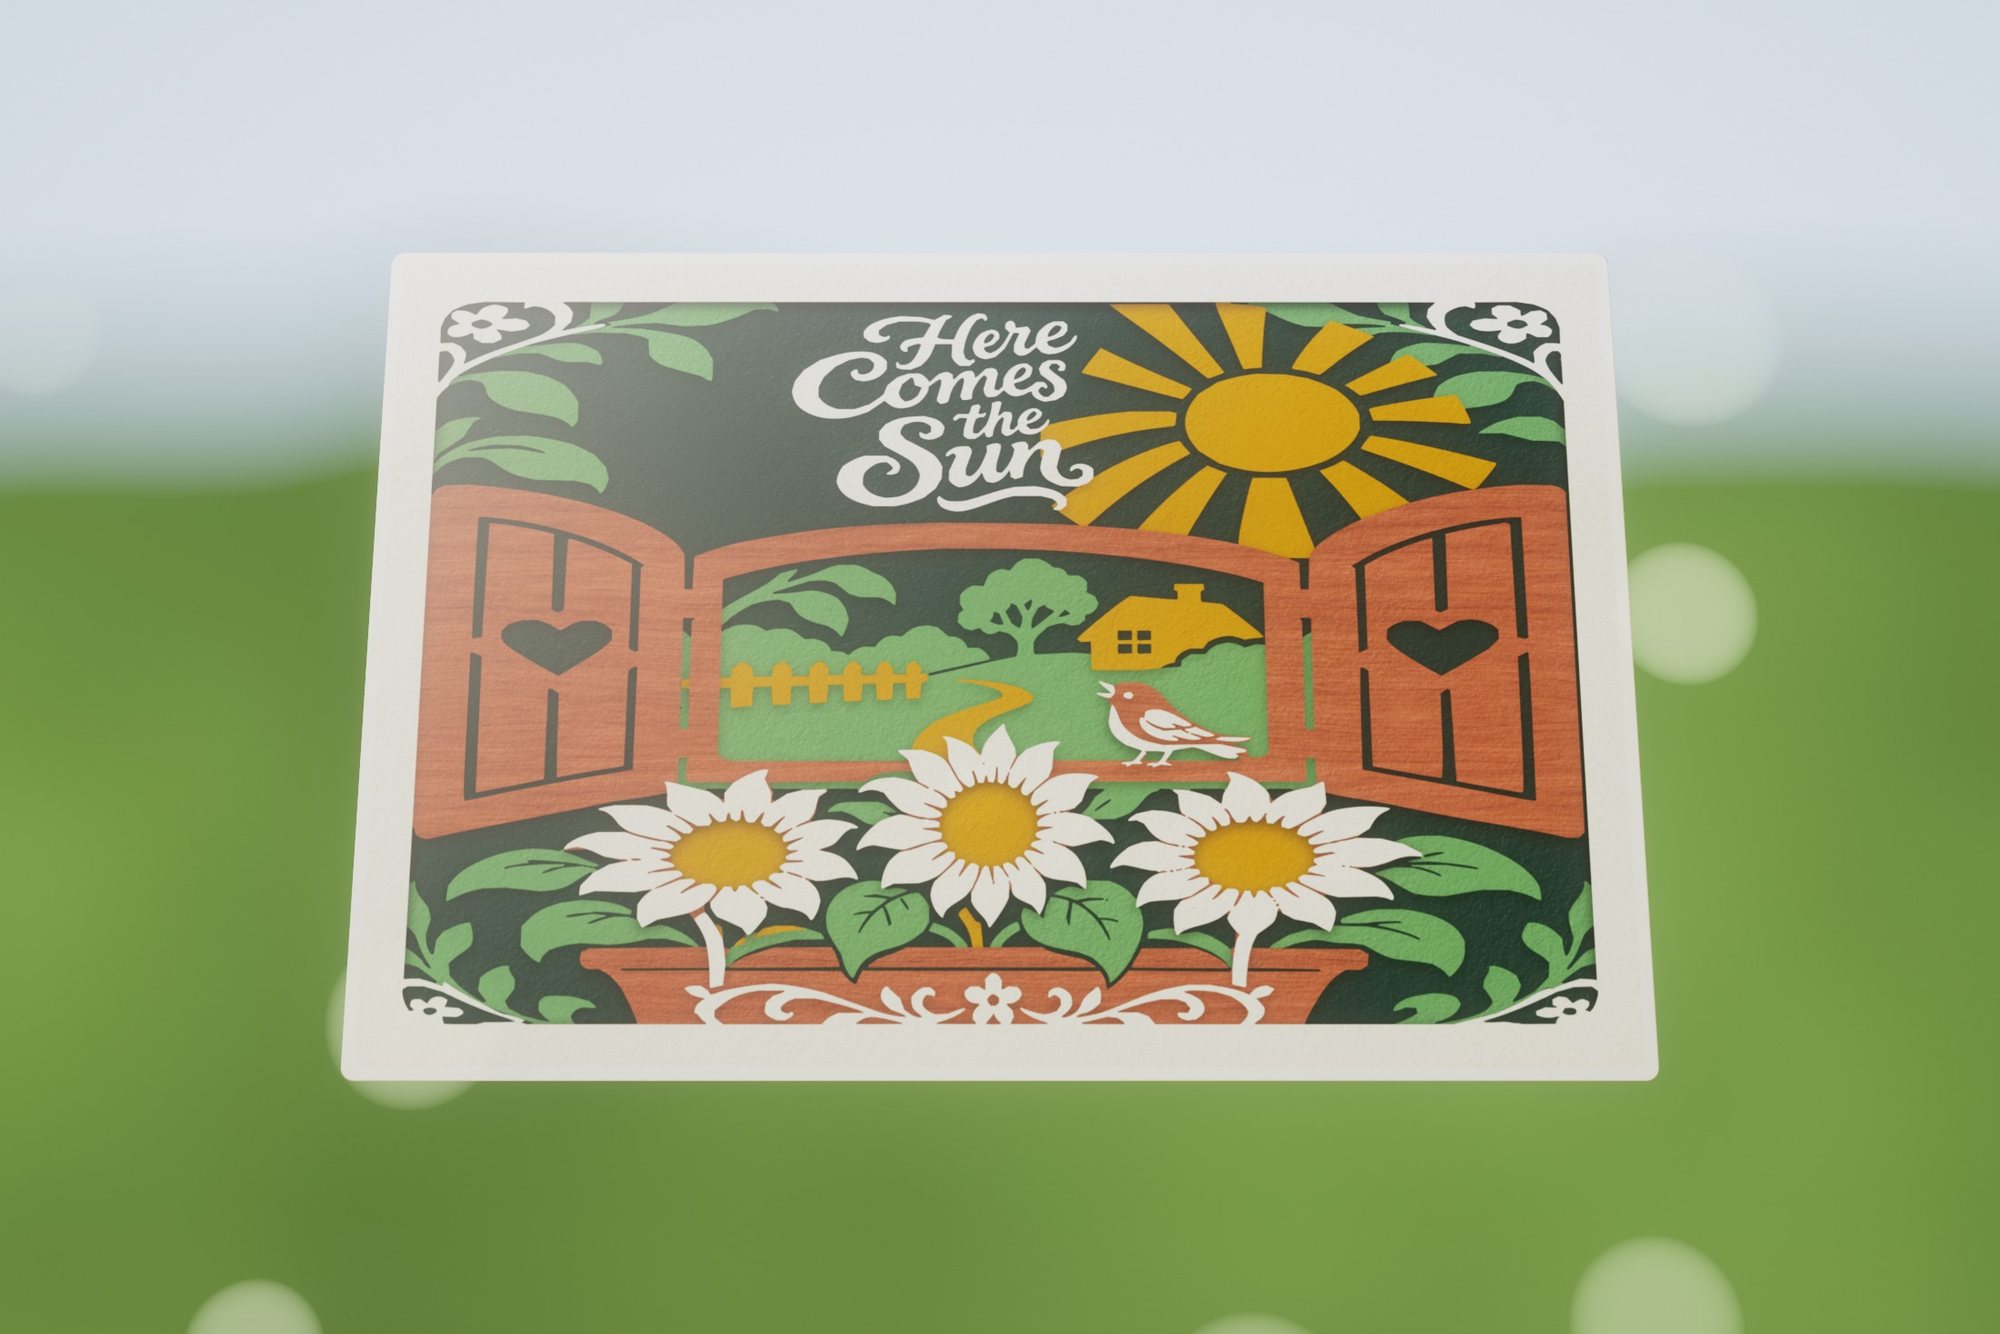 Here Comes the Sun
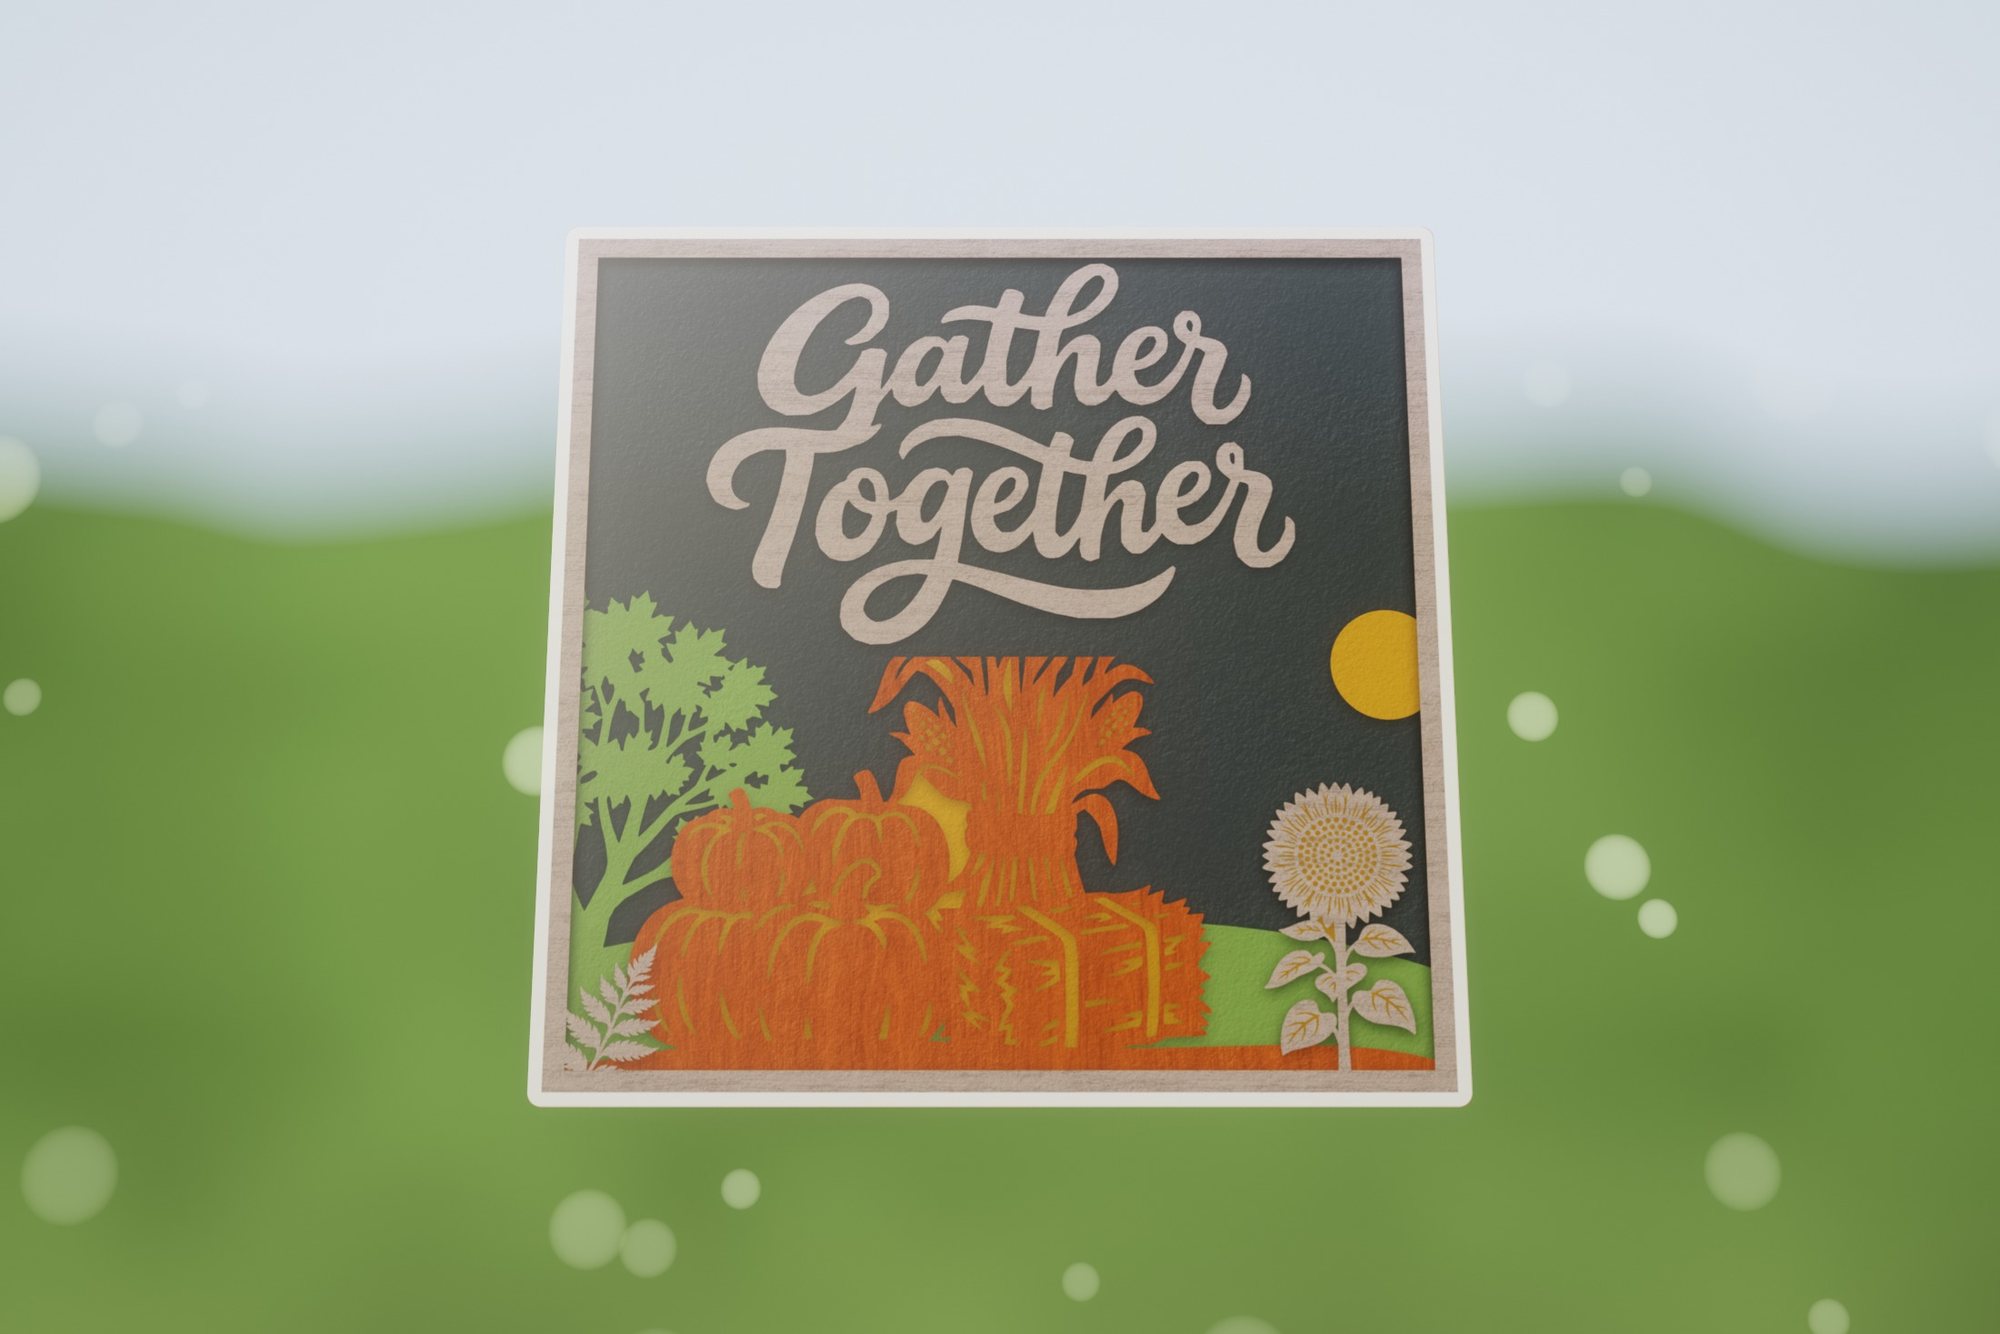 Thanksgiving Bounty
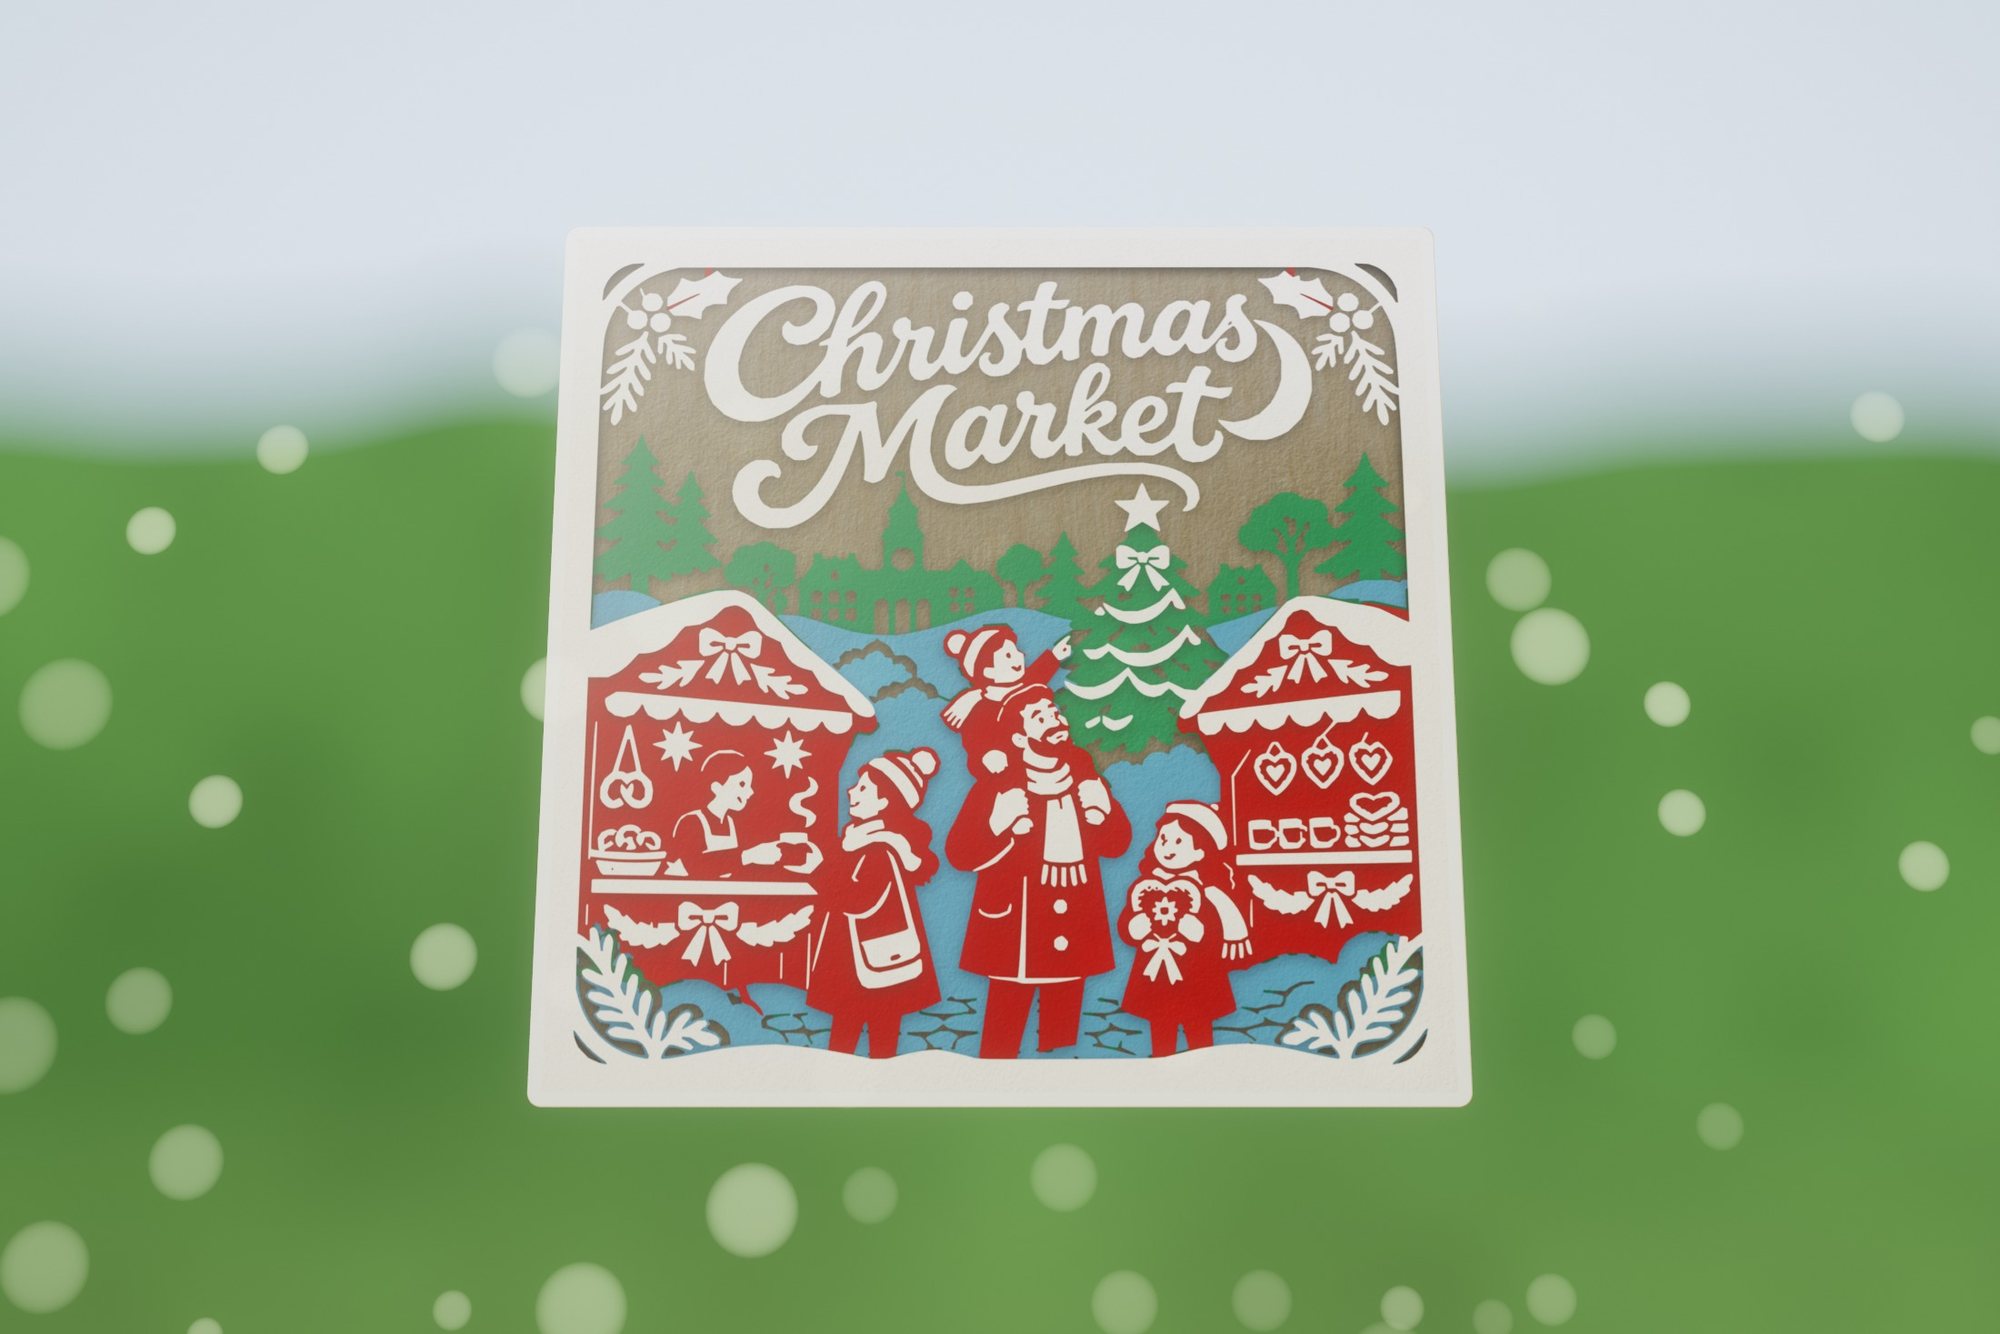 Christmas Market
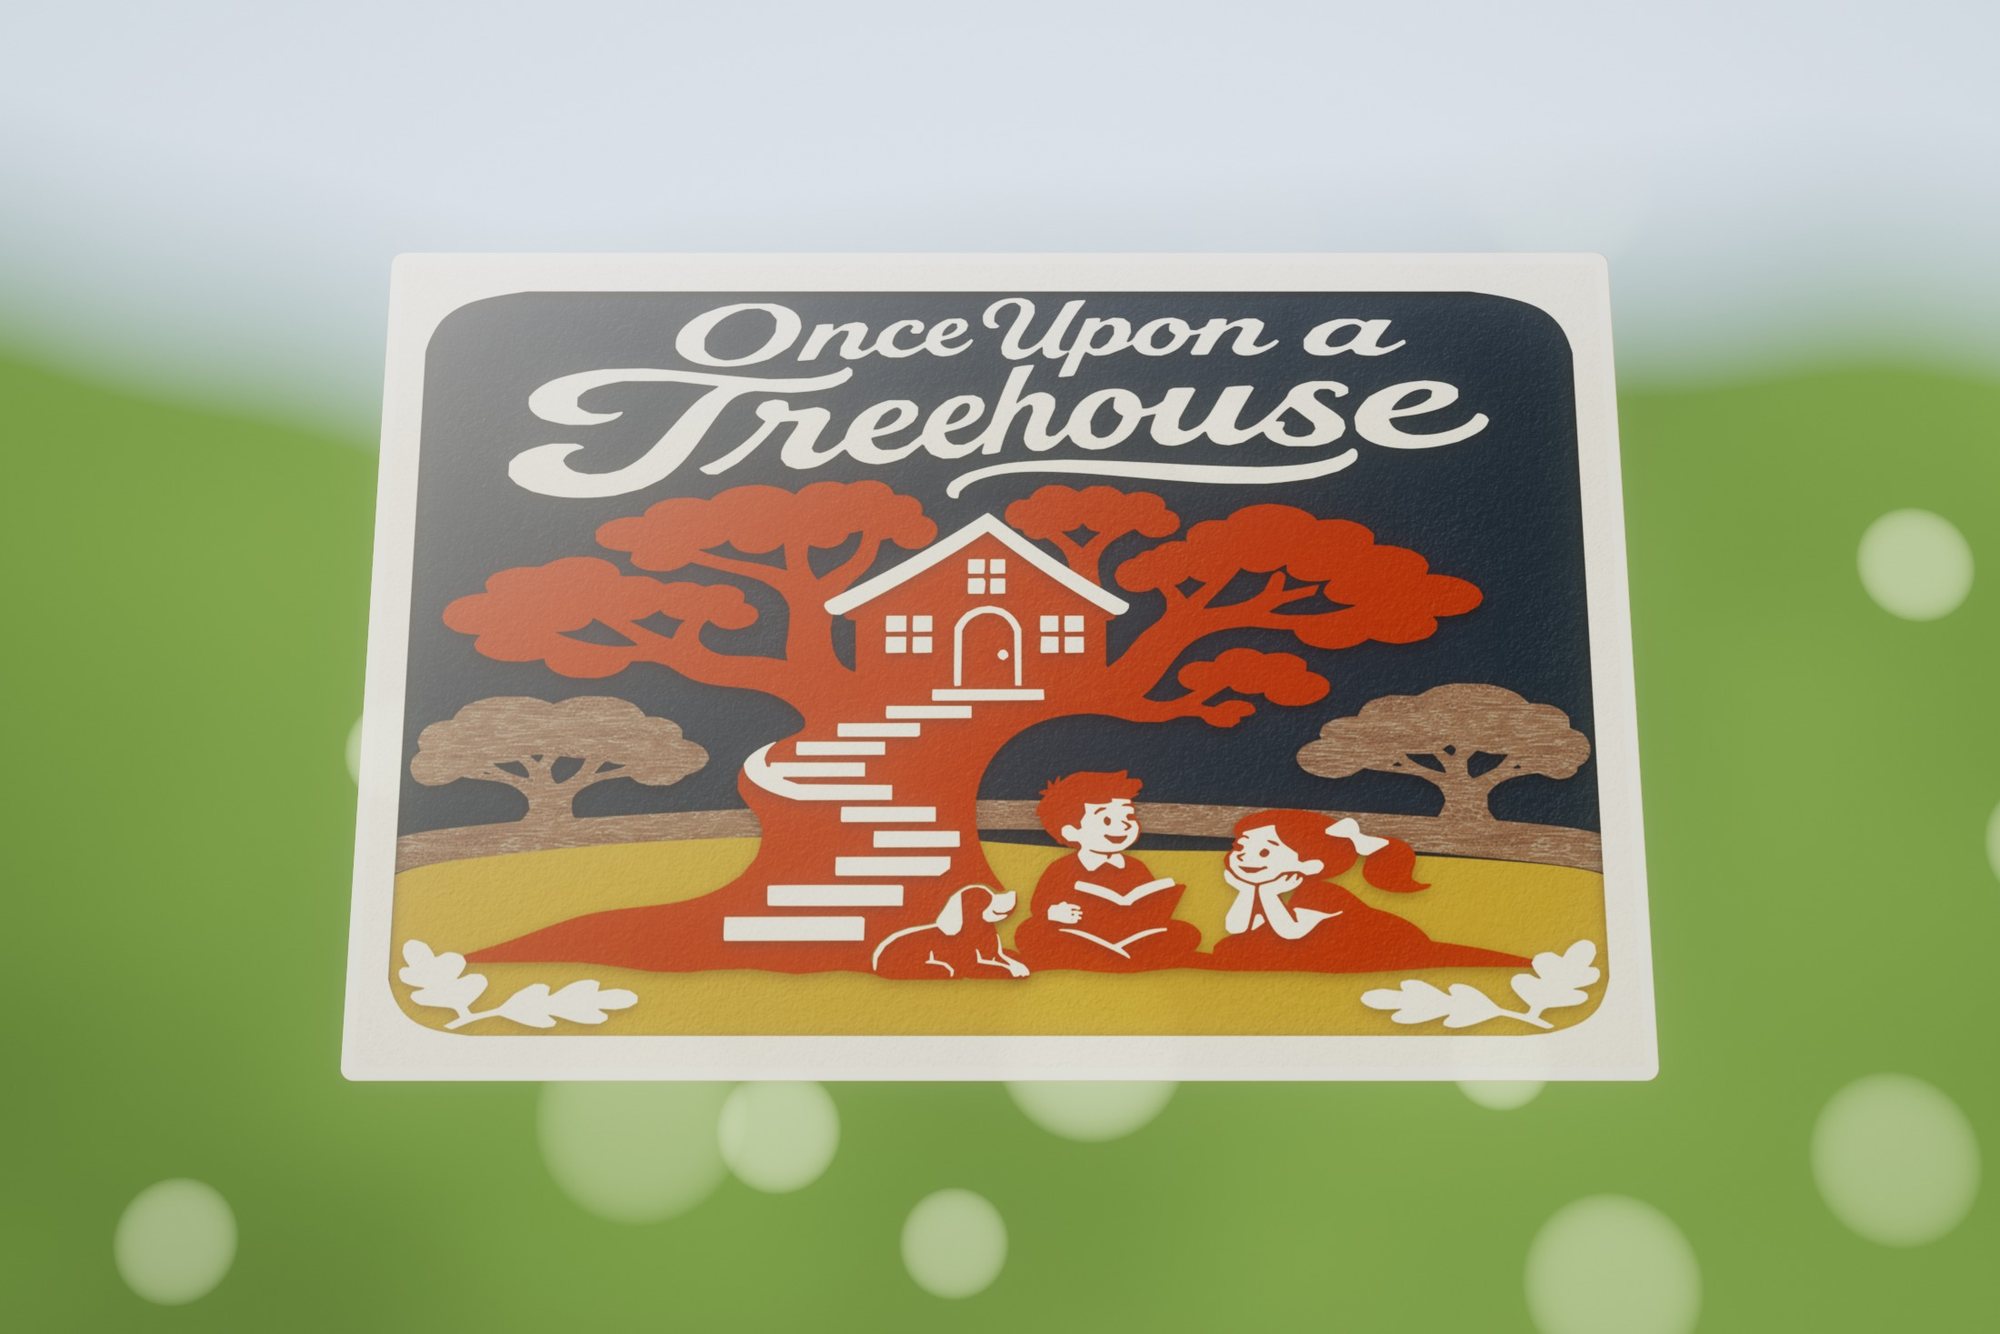 Once Upon a Treehouse
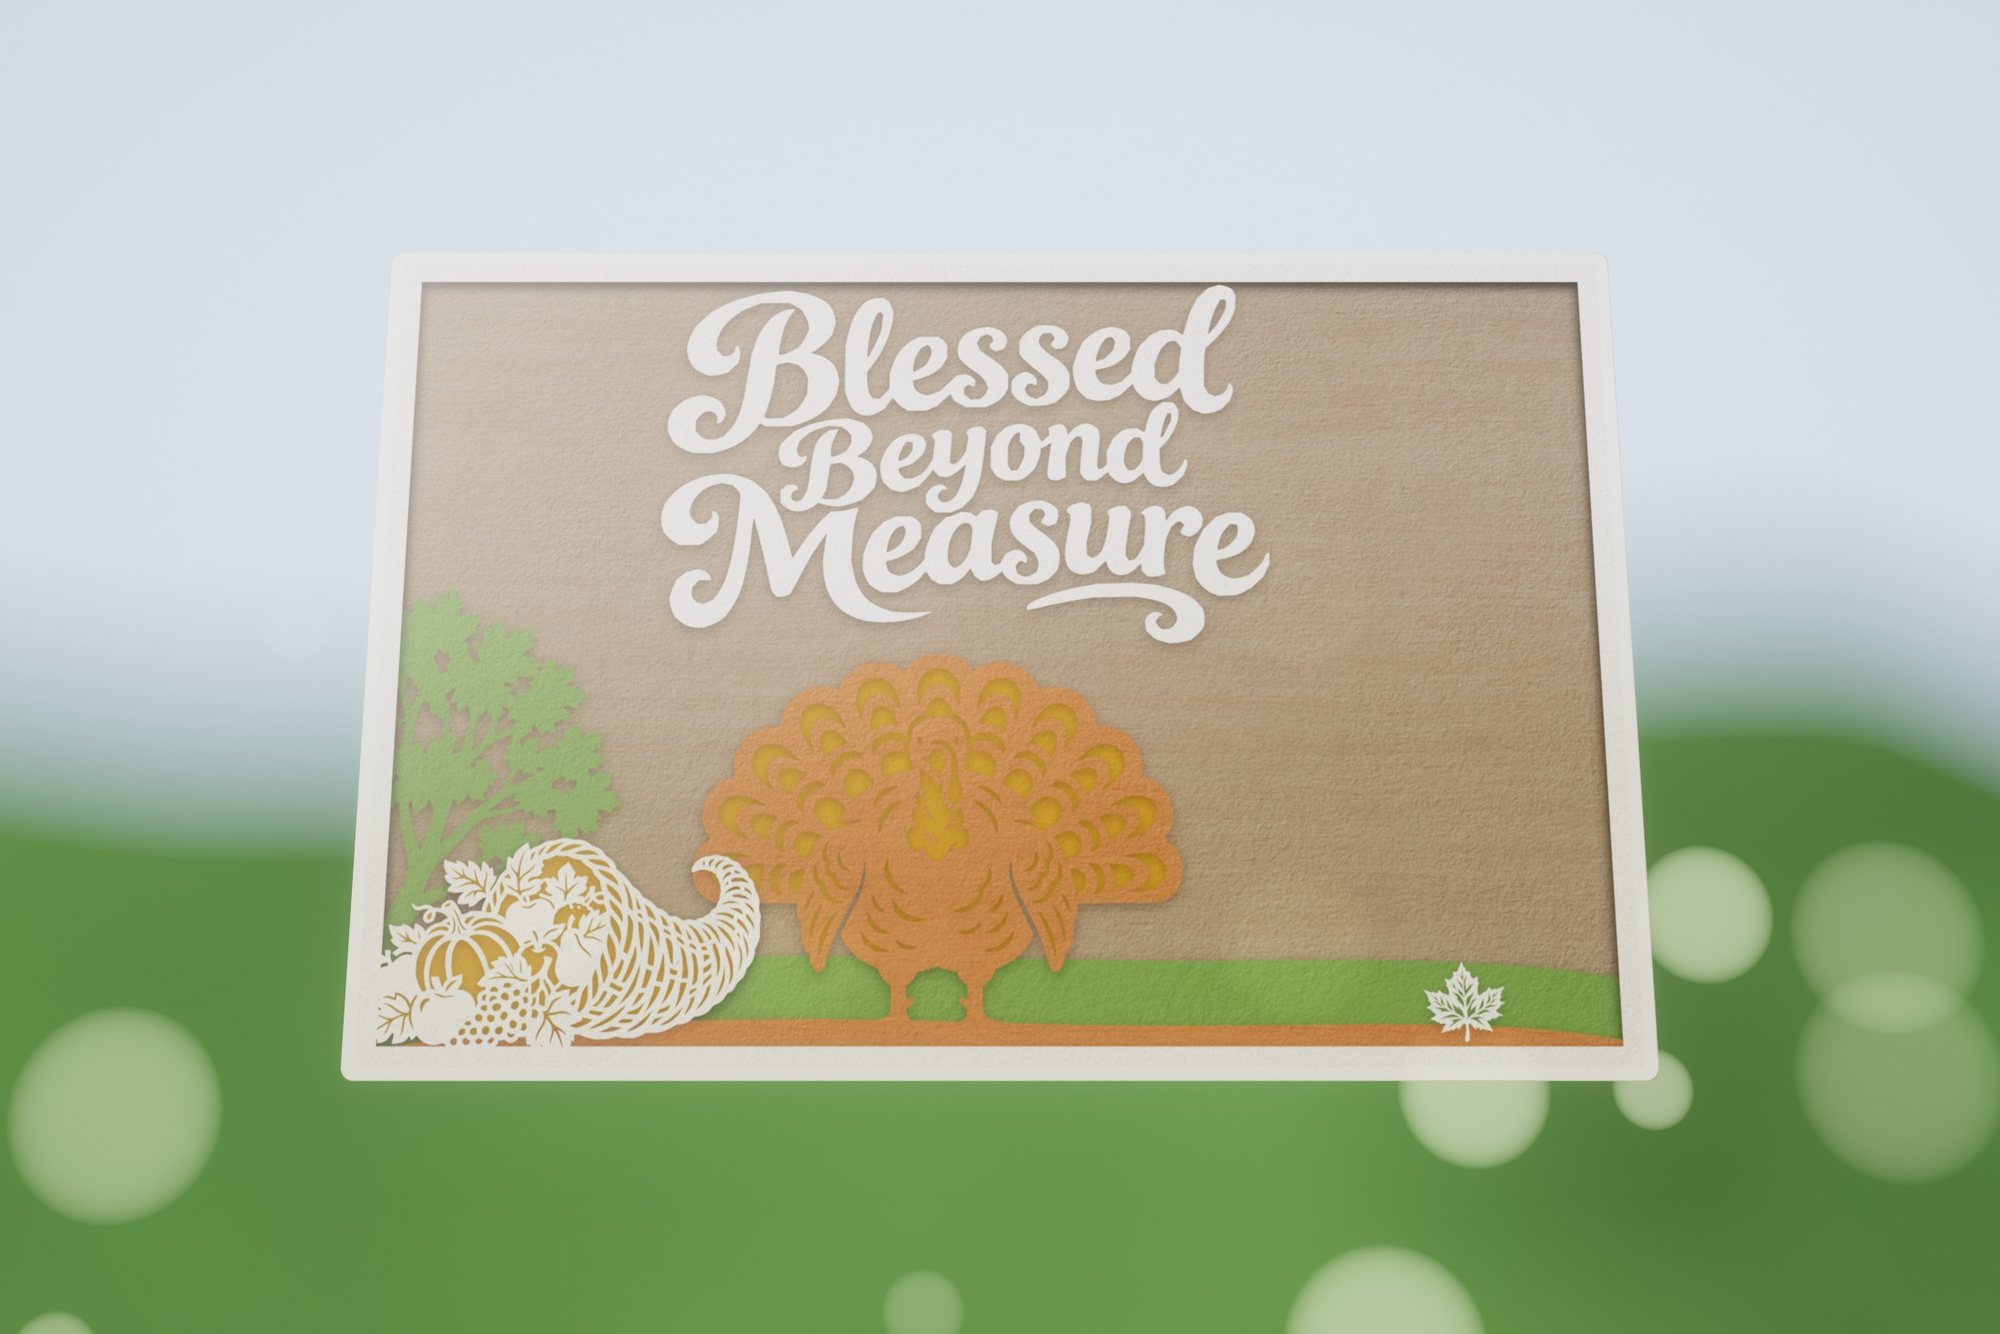 Grateful Gathering
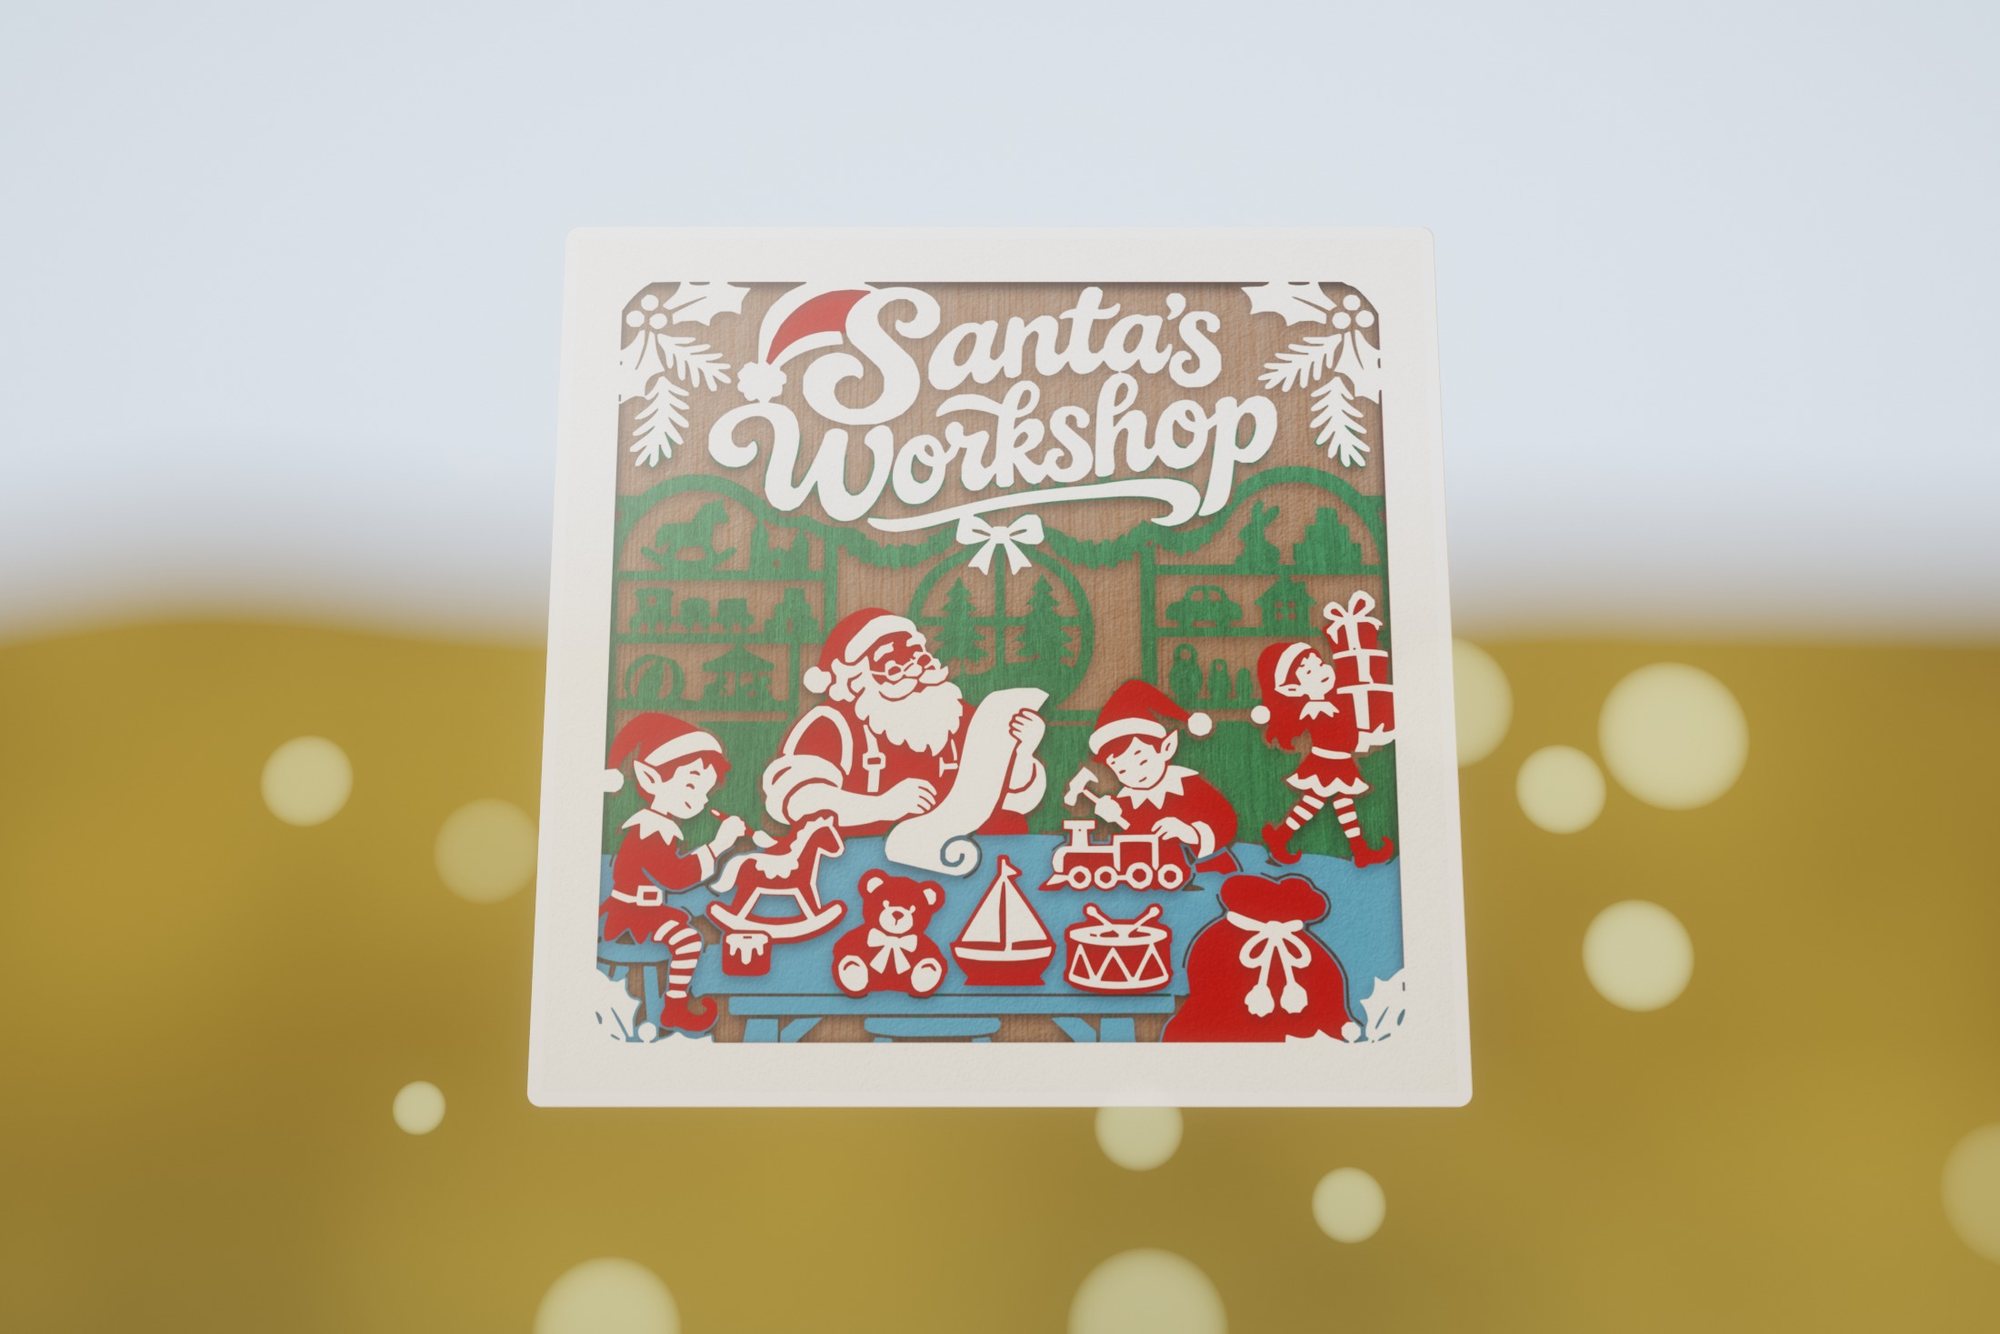 Santa's Workshop
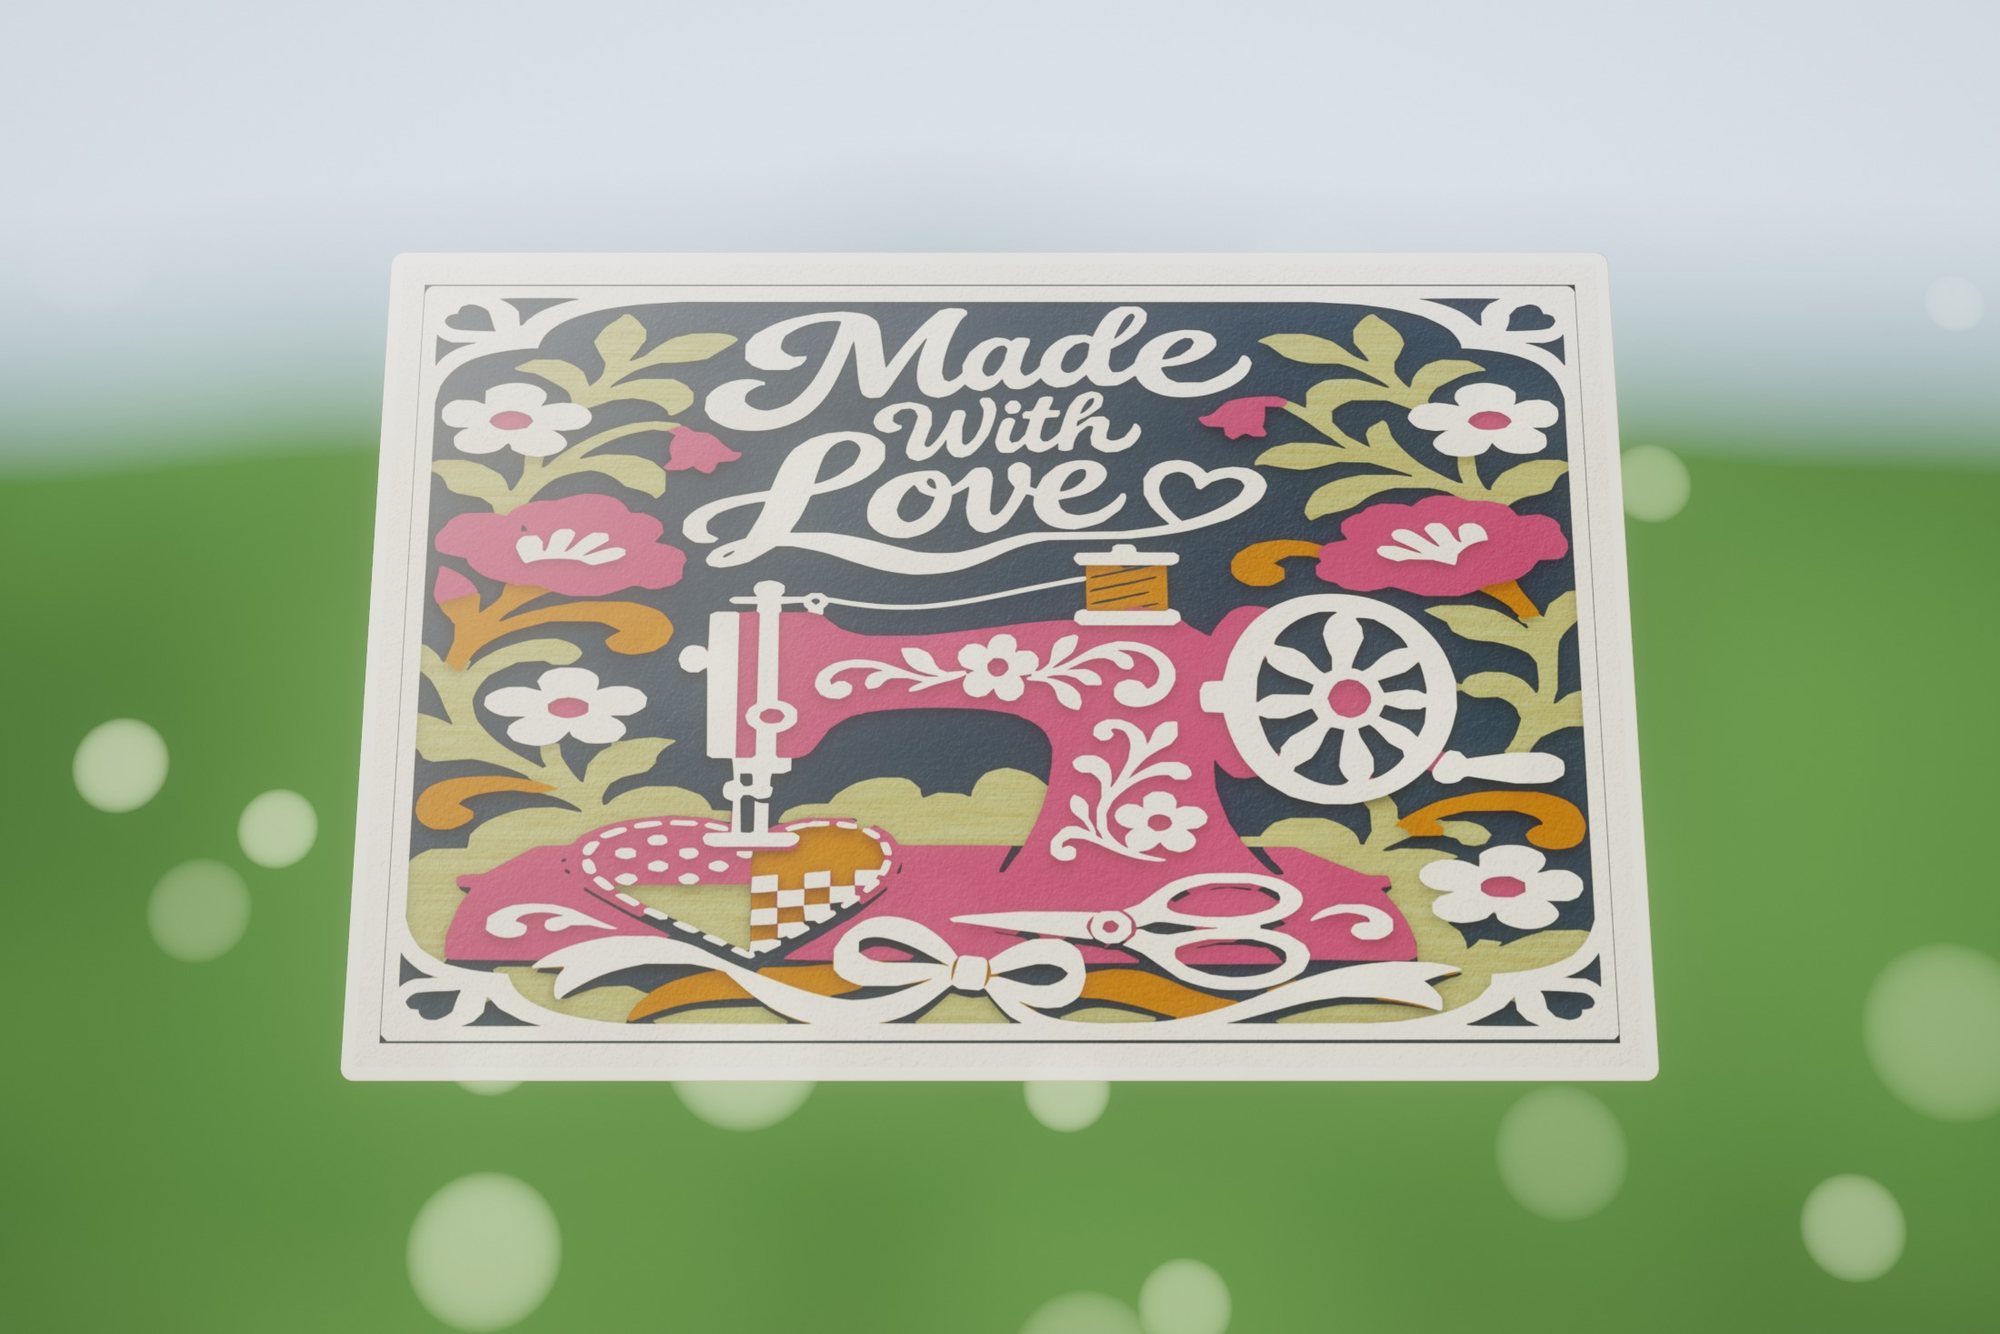 Made with Love 2
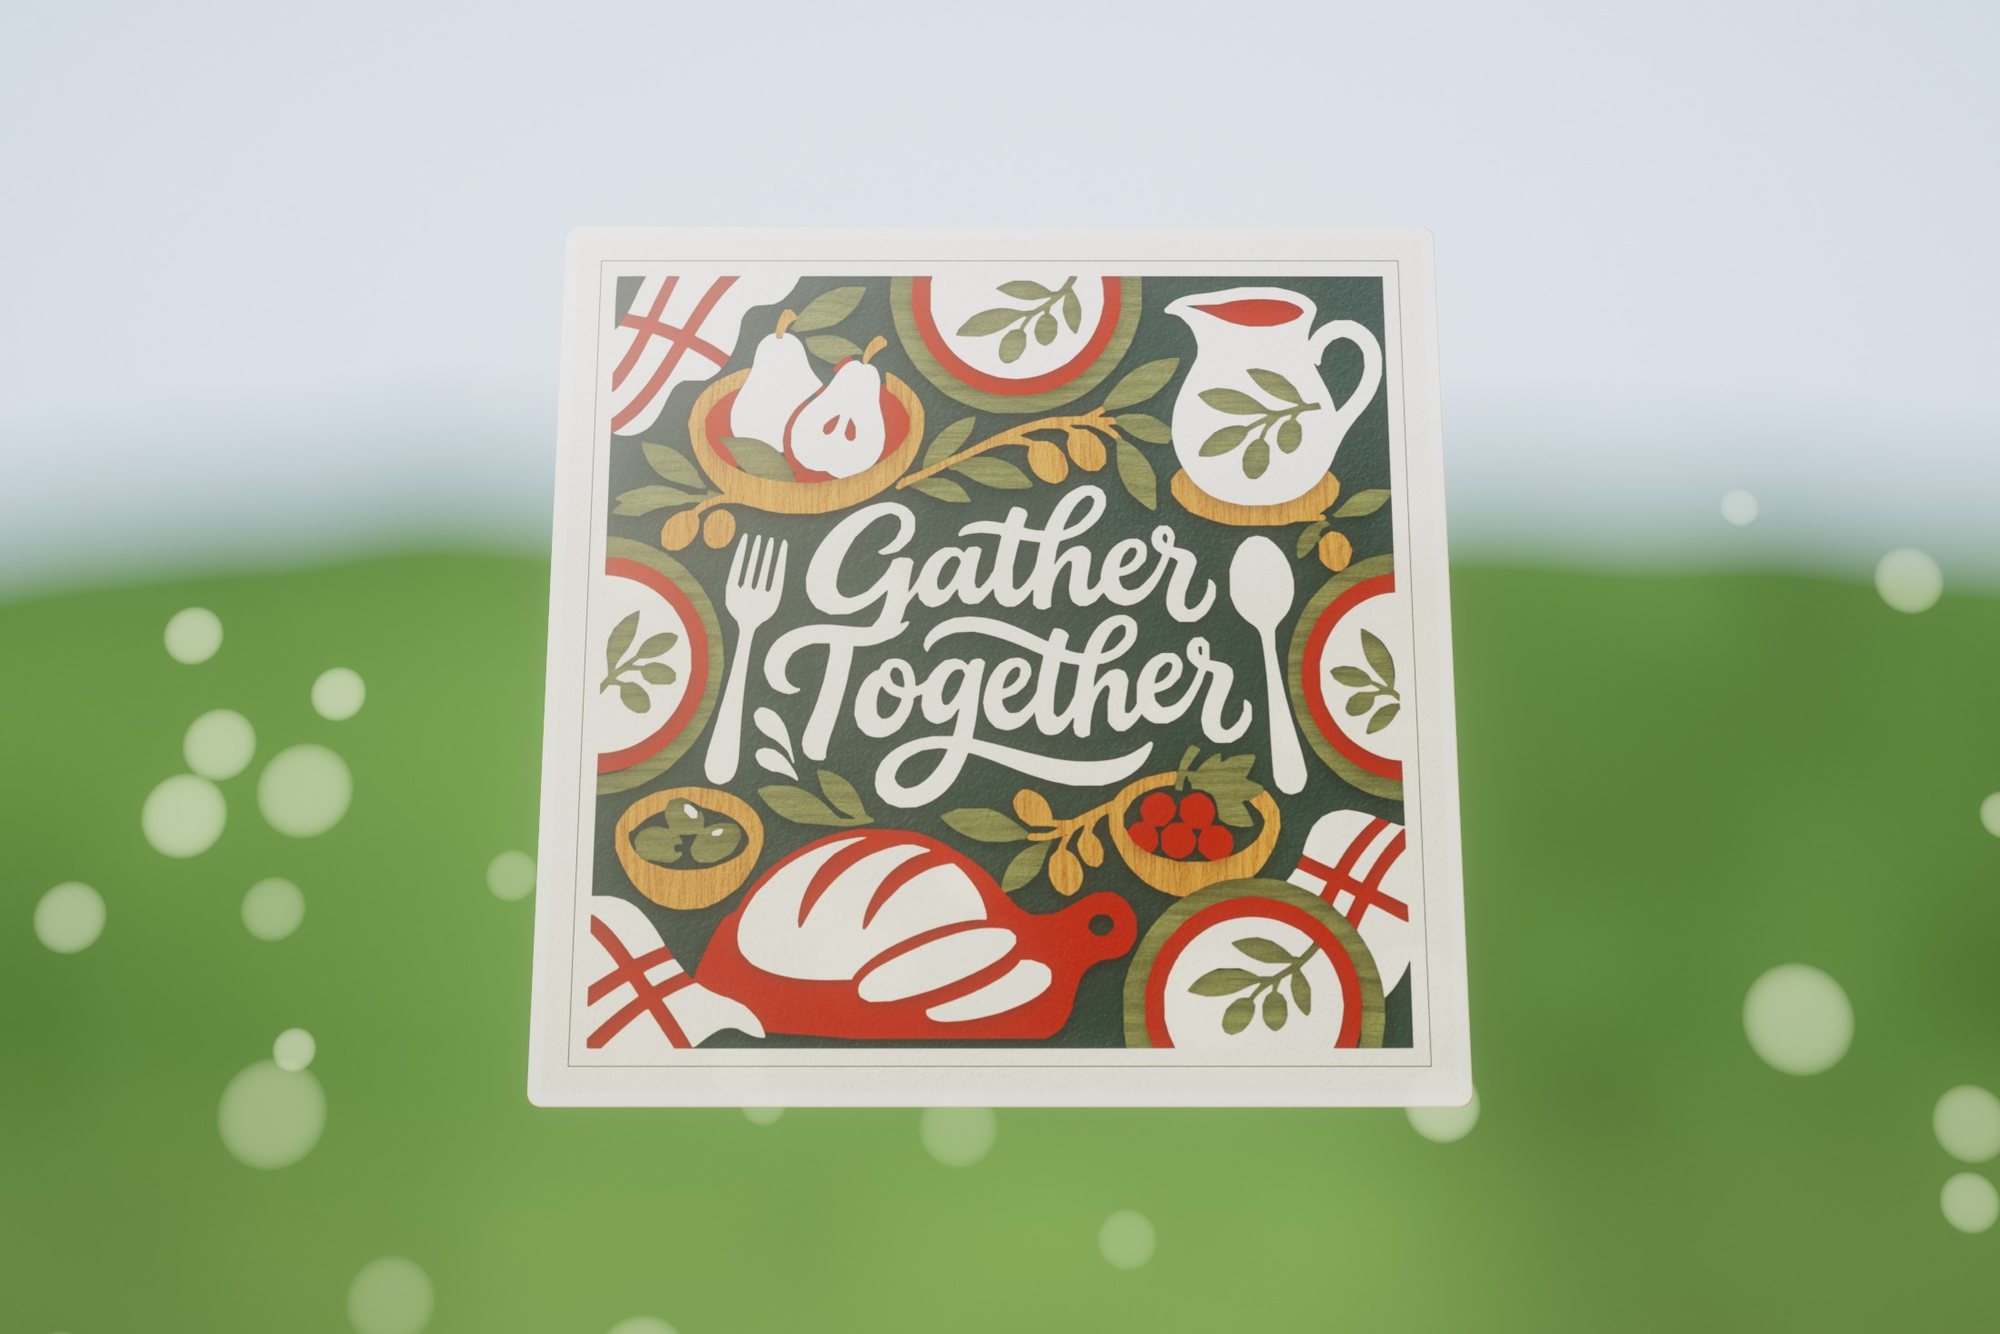 Gather Together
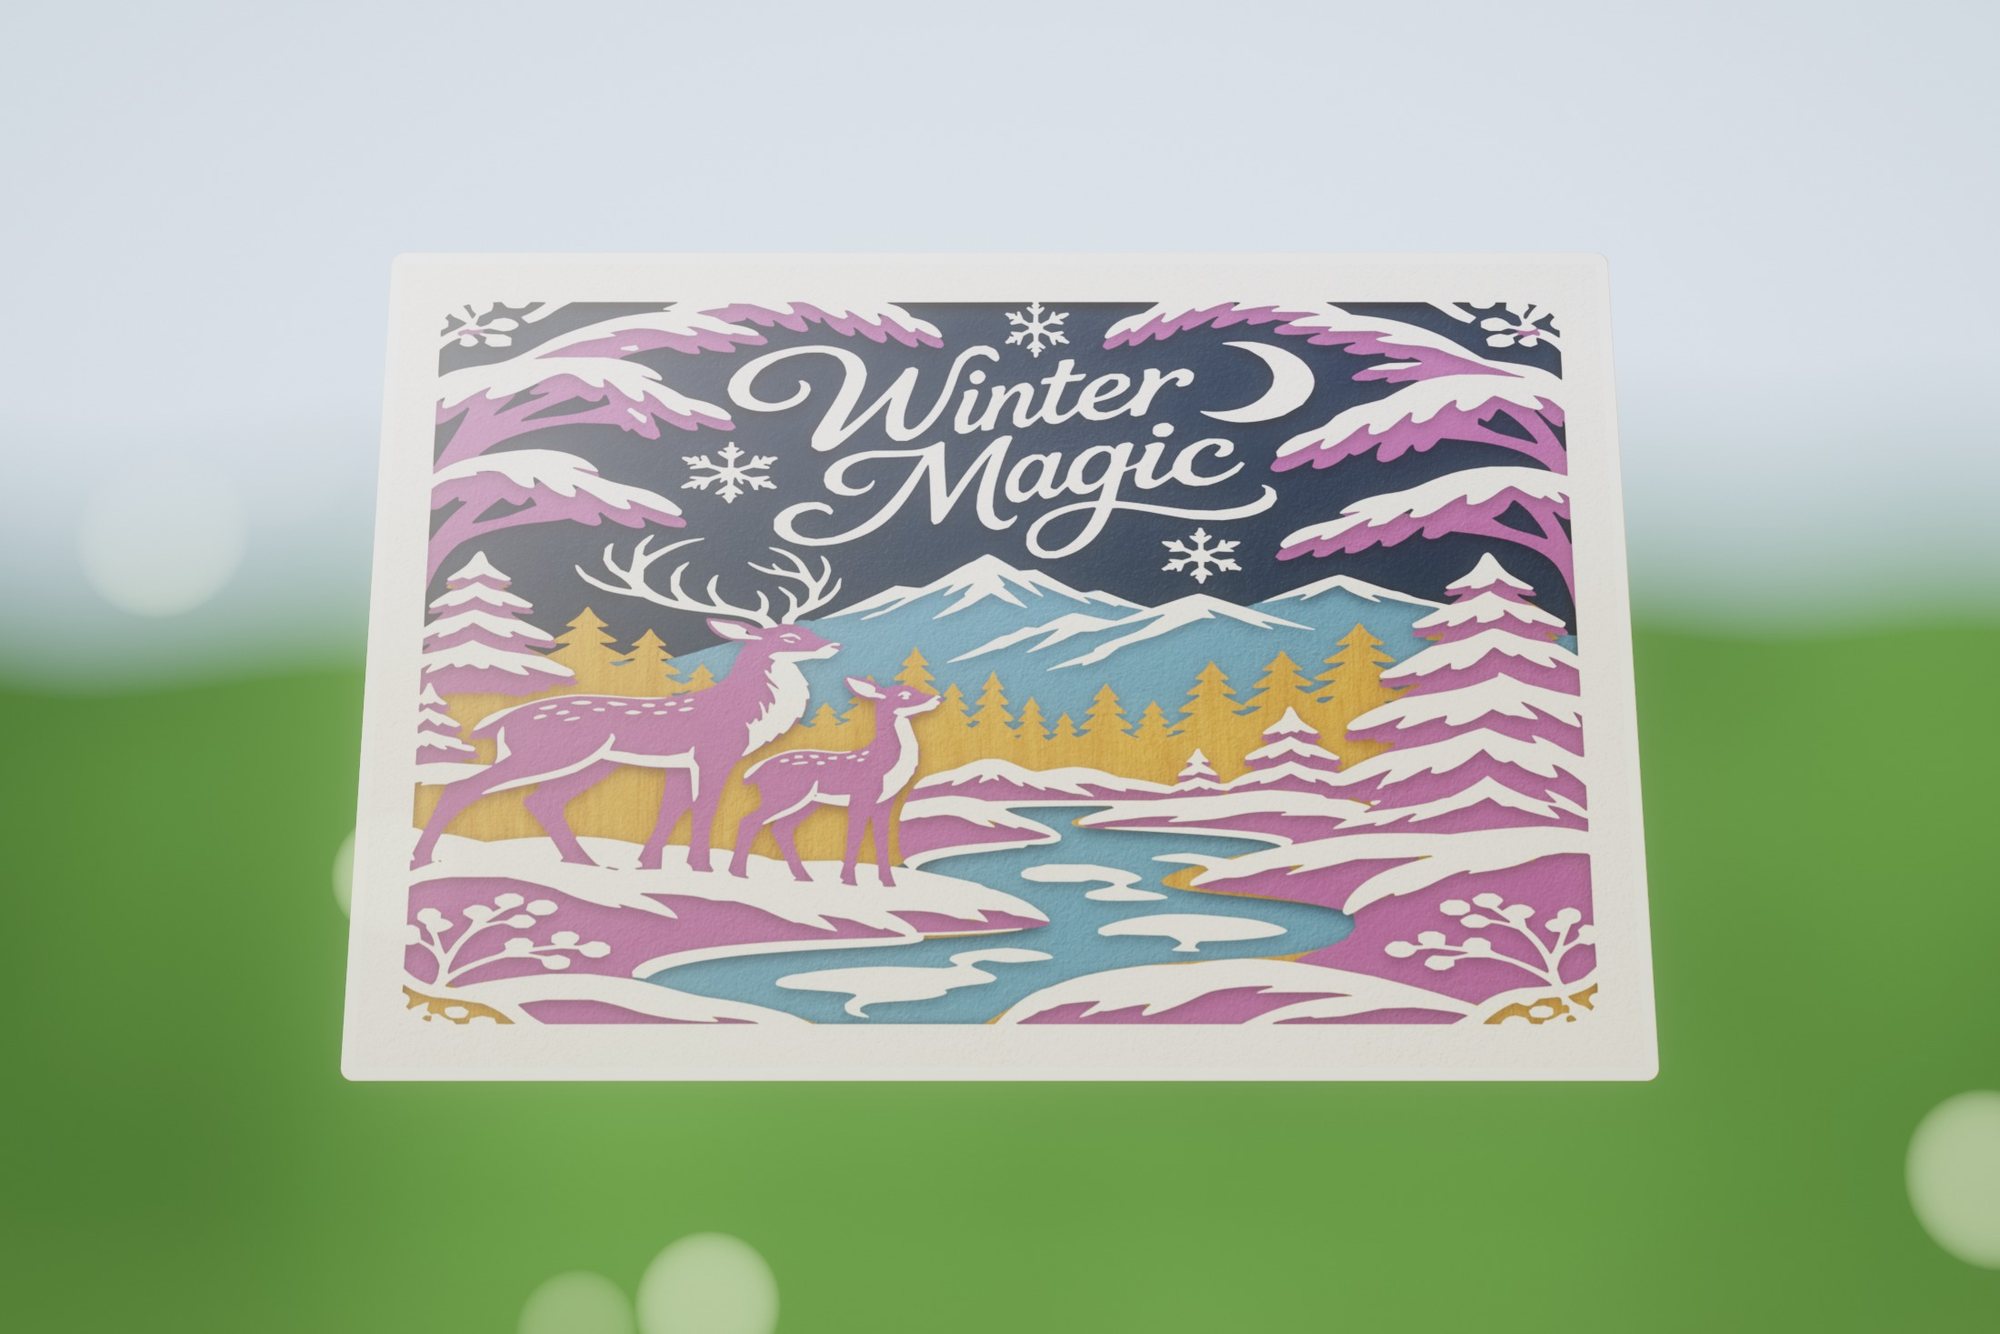 Winter Magic
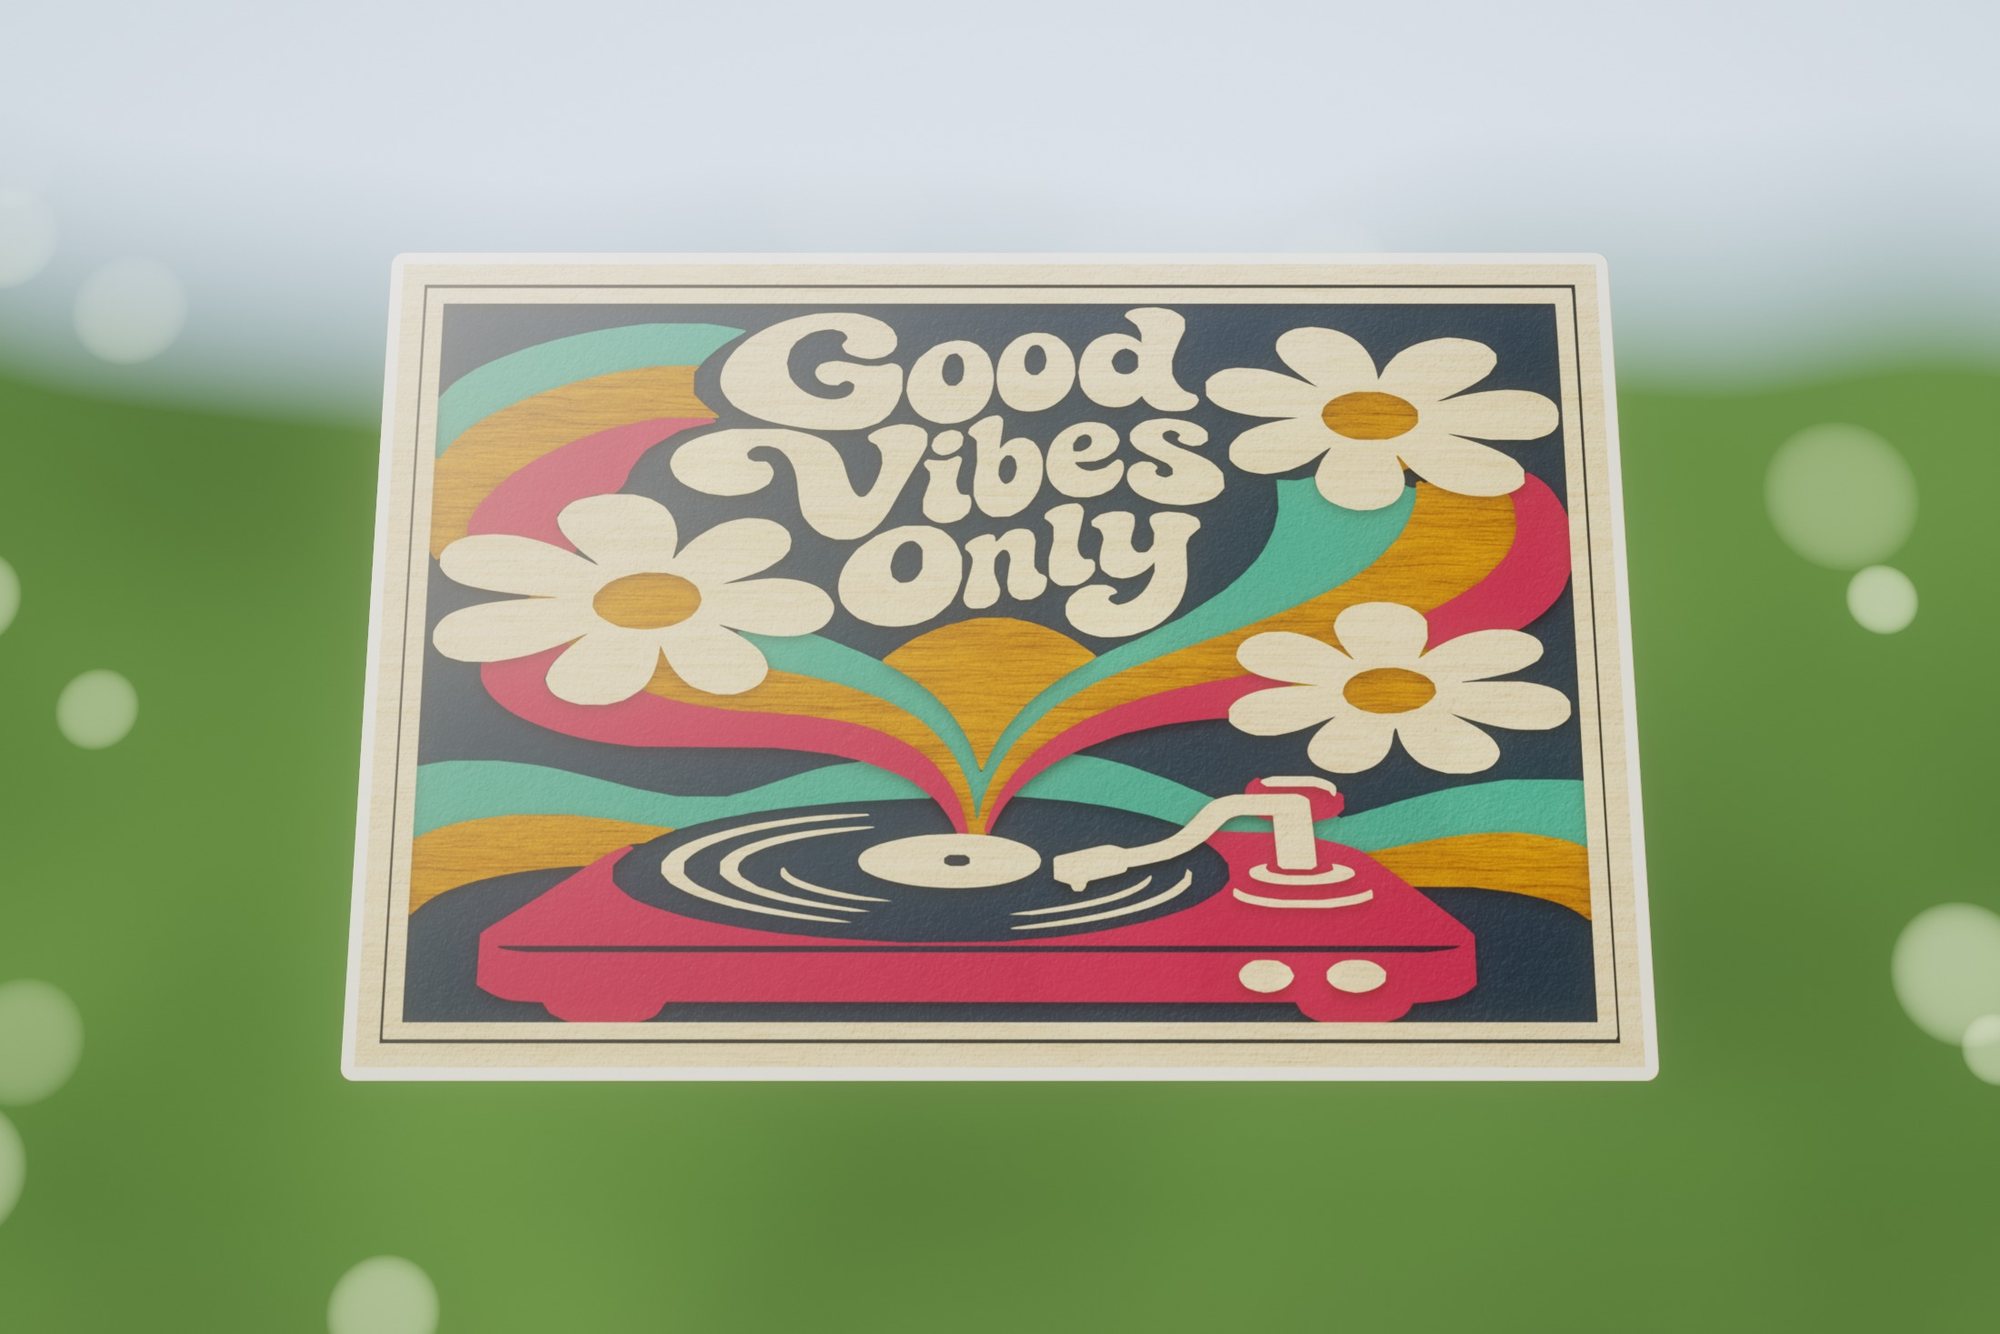 Good Vibes Only
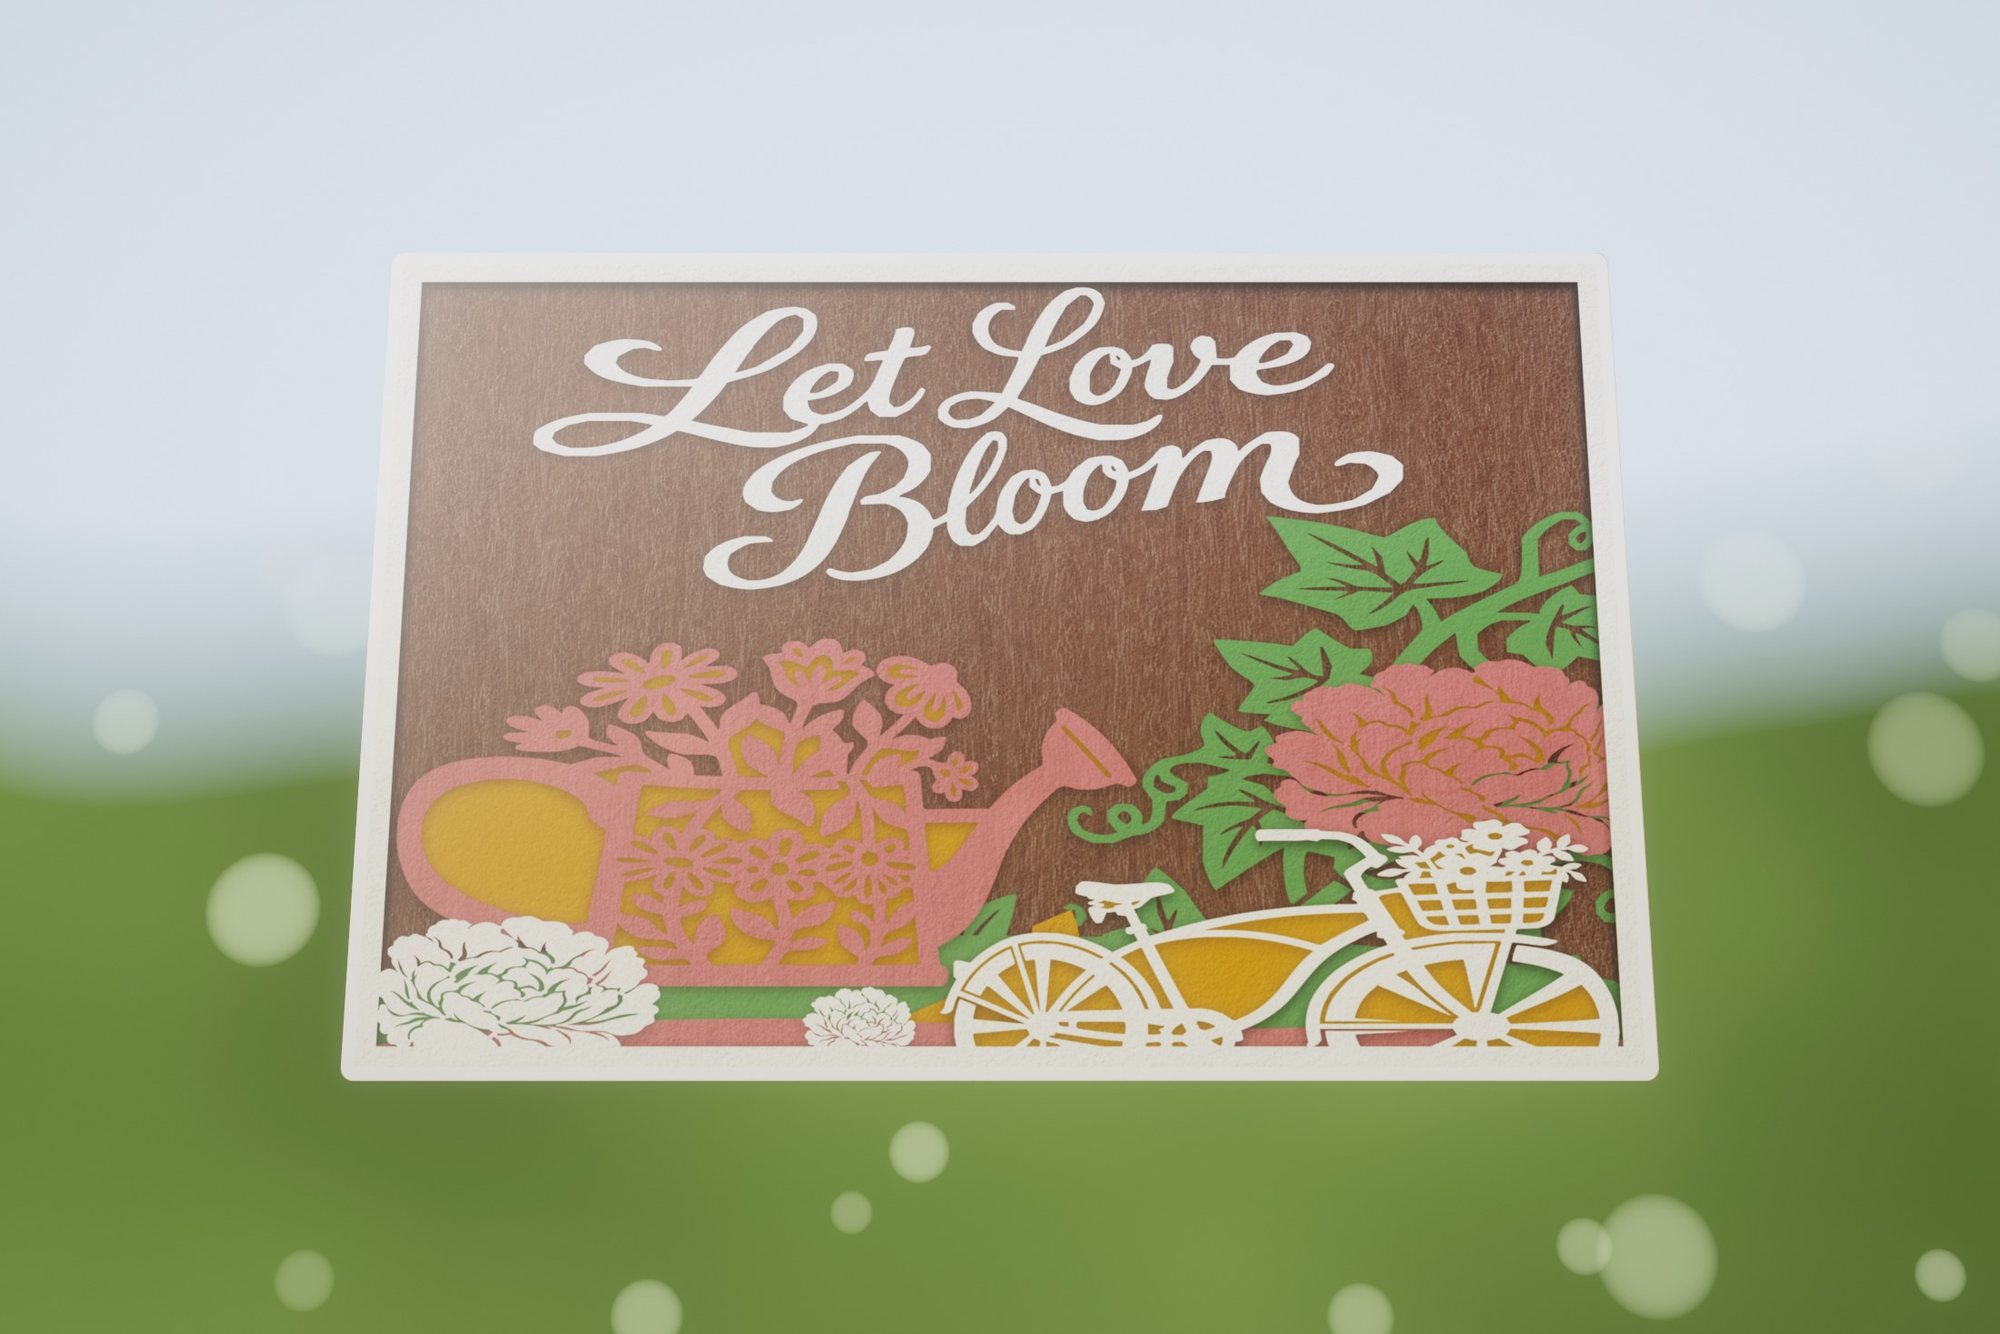 Blooming Joy
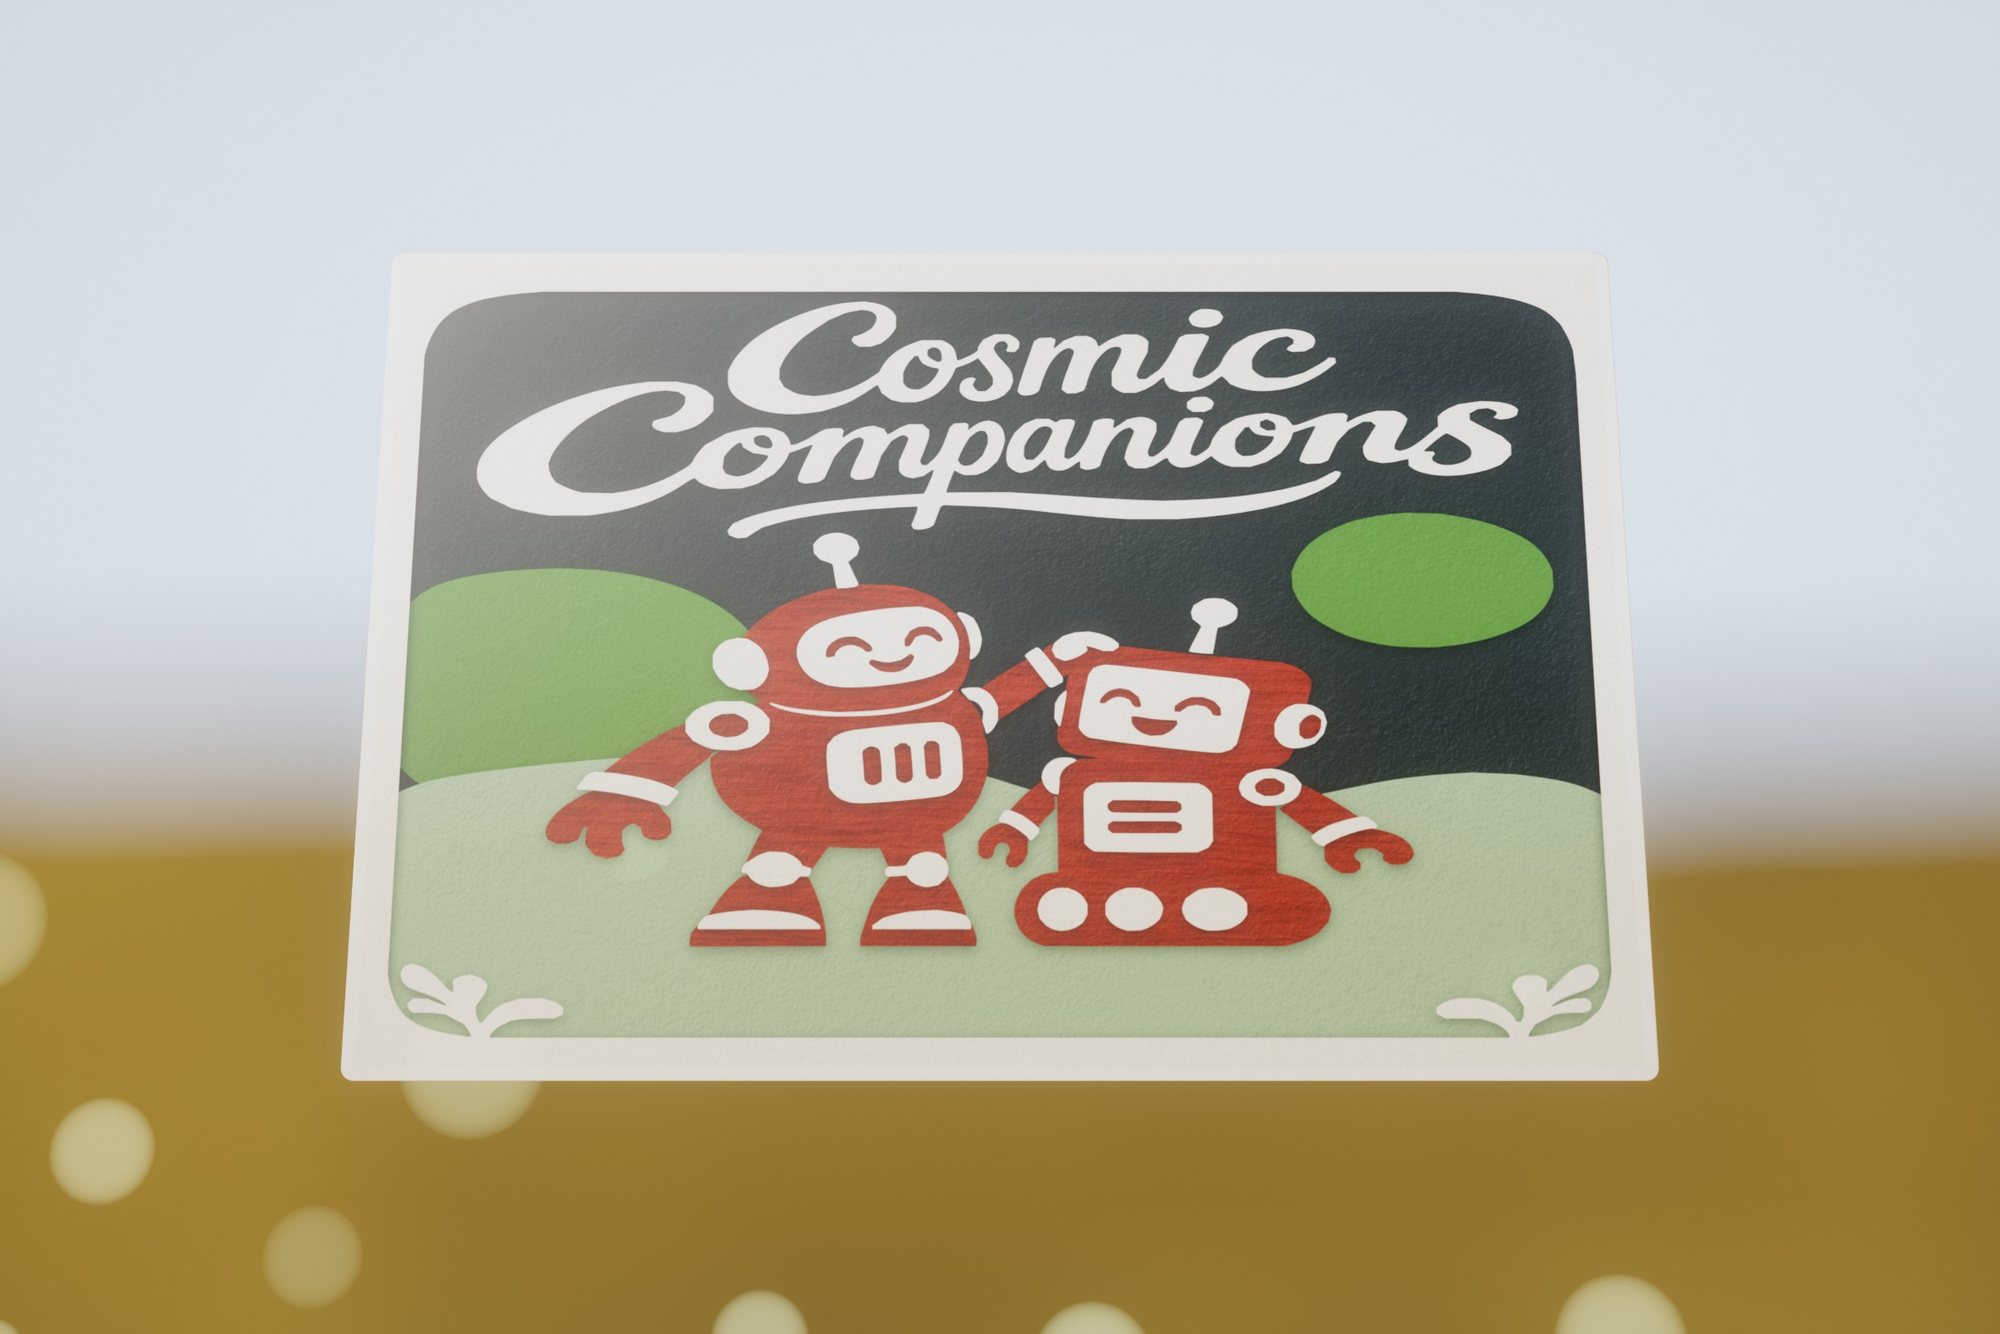 Cosmic Companions
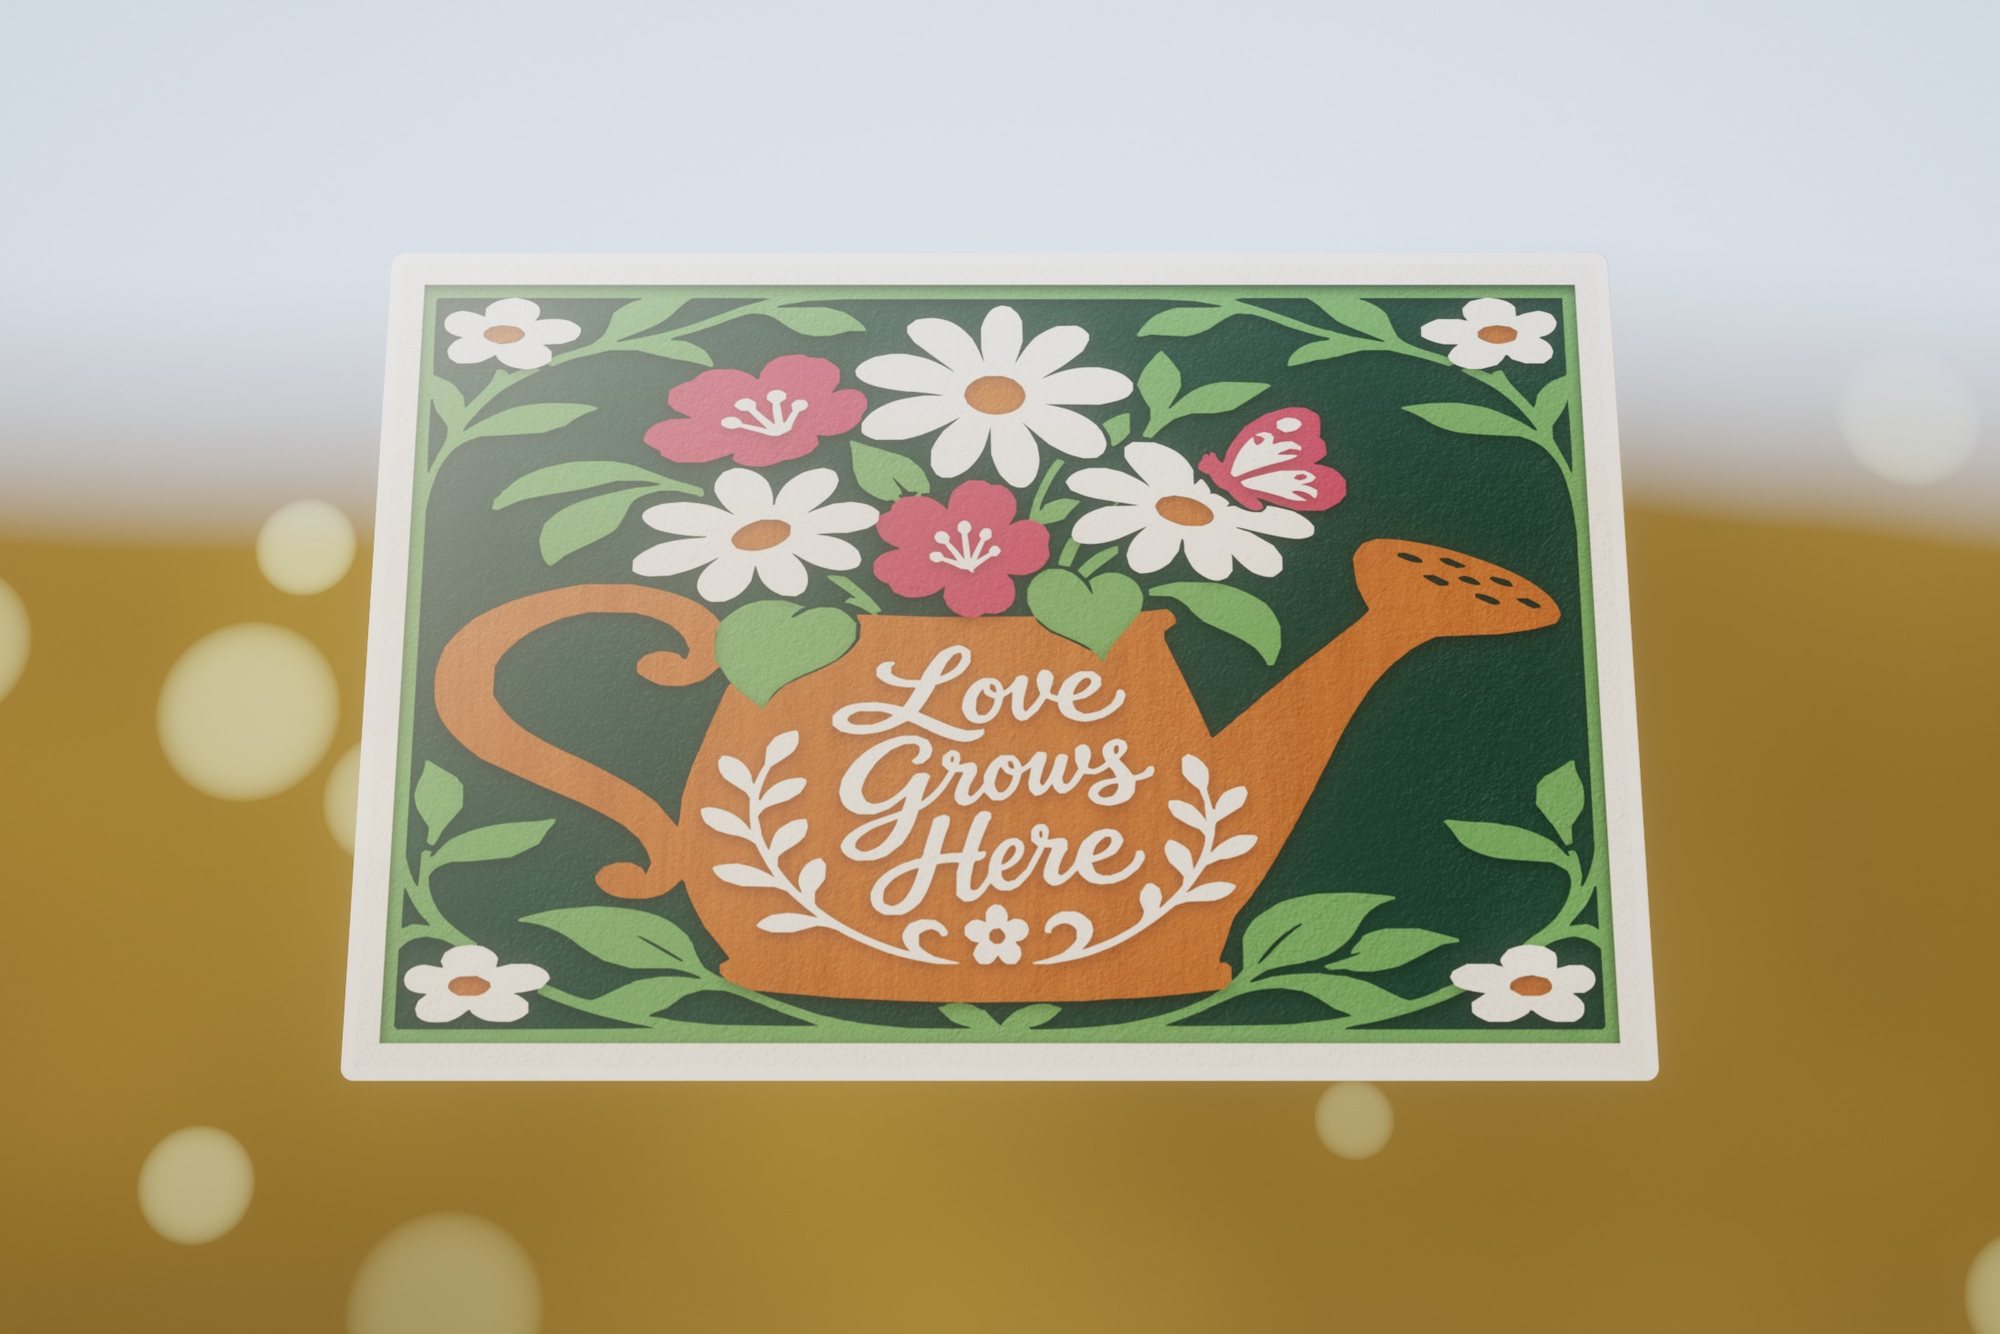 Love Grows Here
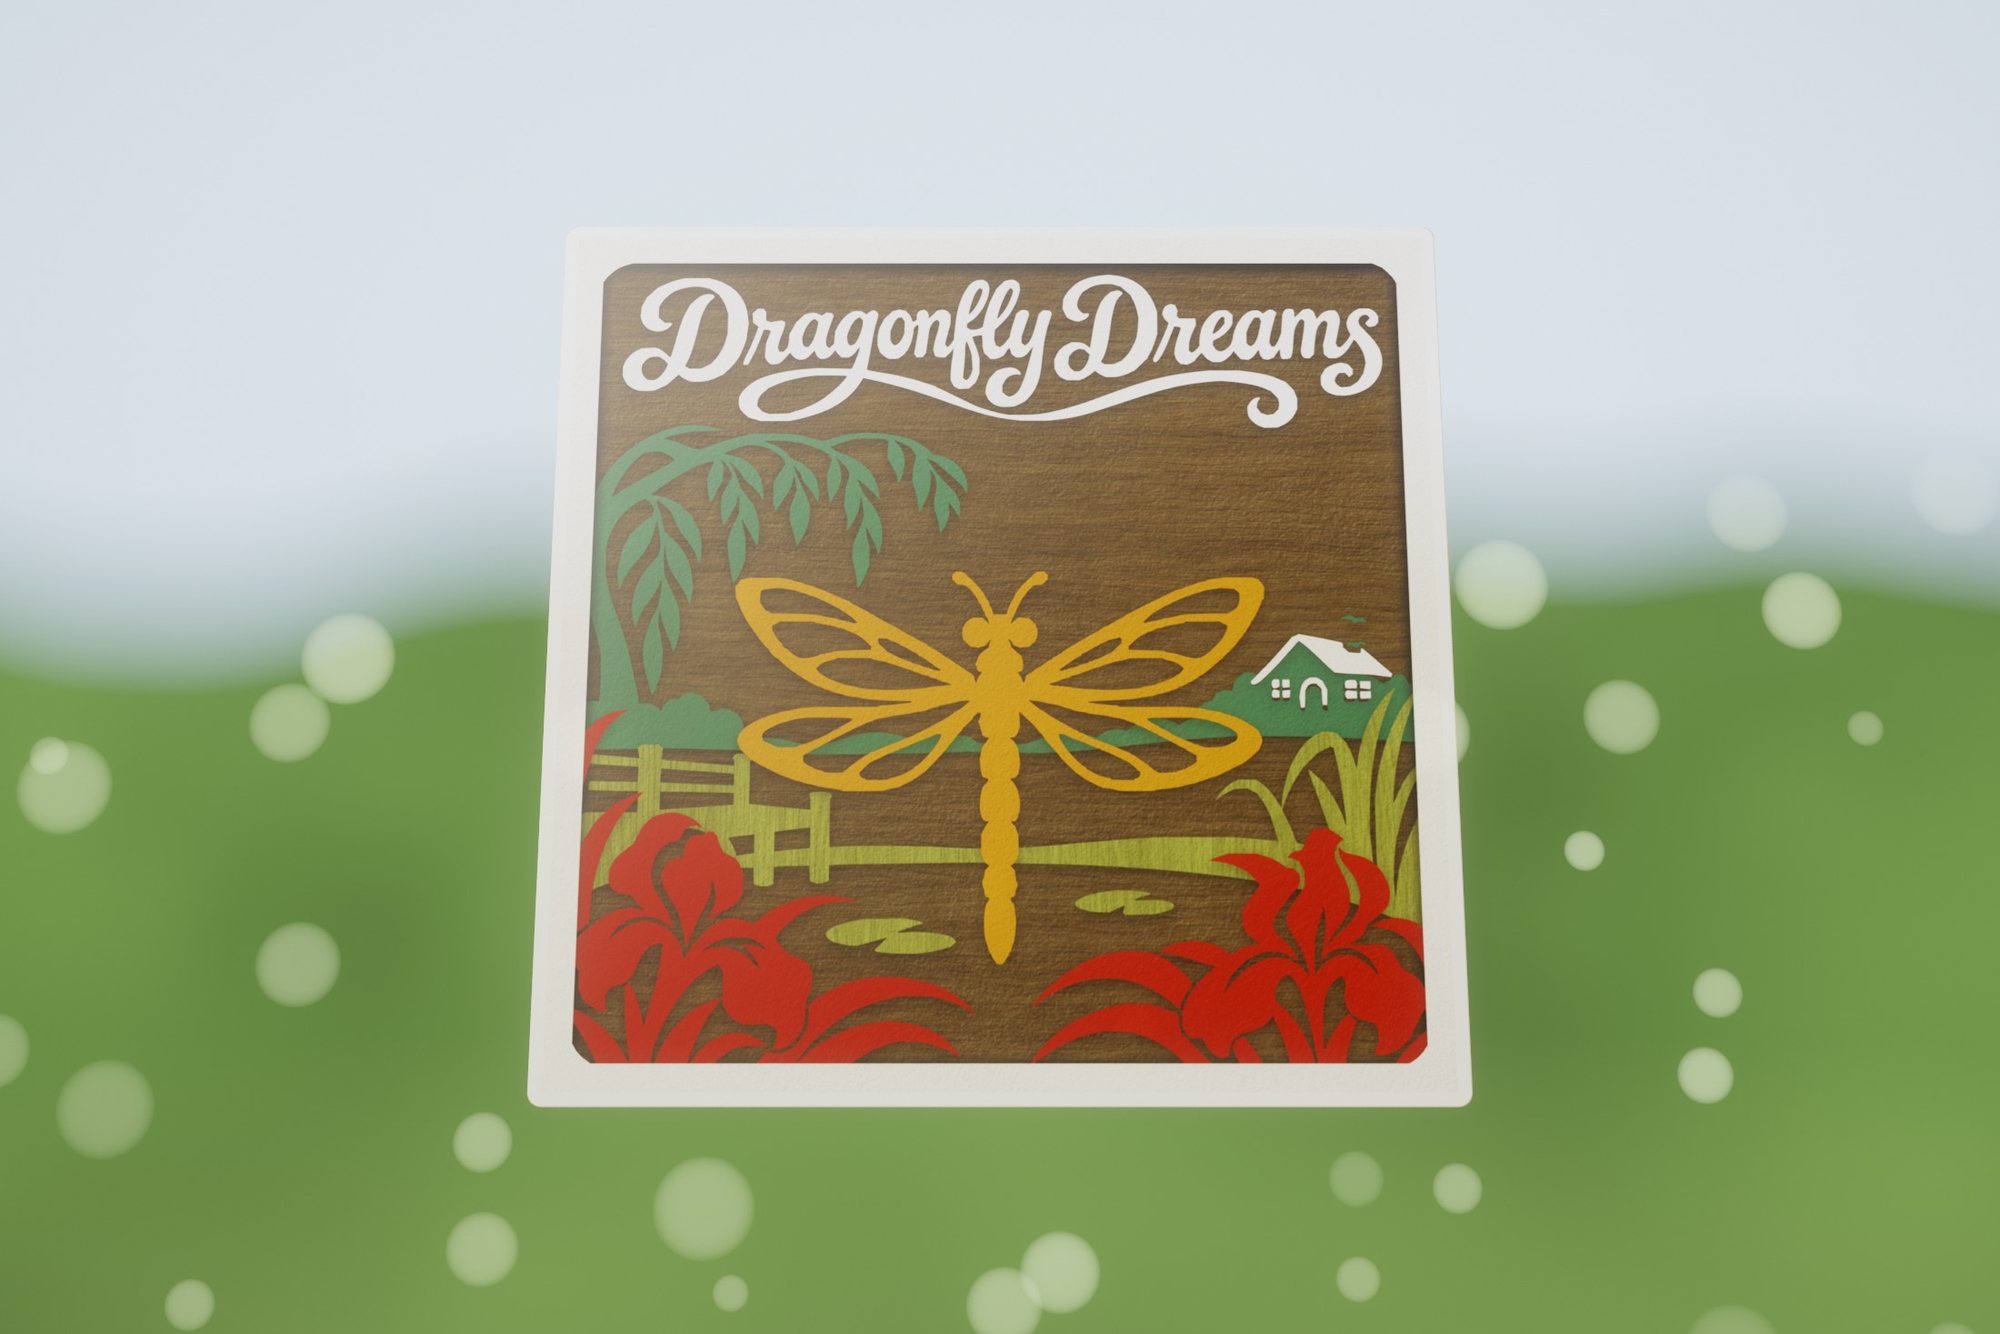 Dragonfly Dreams
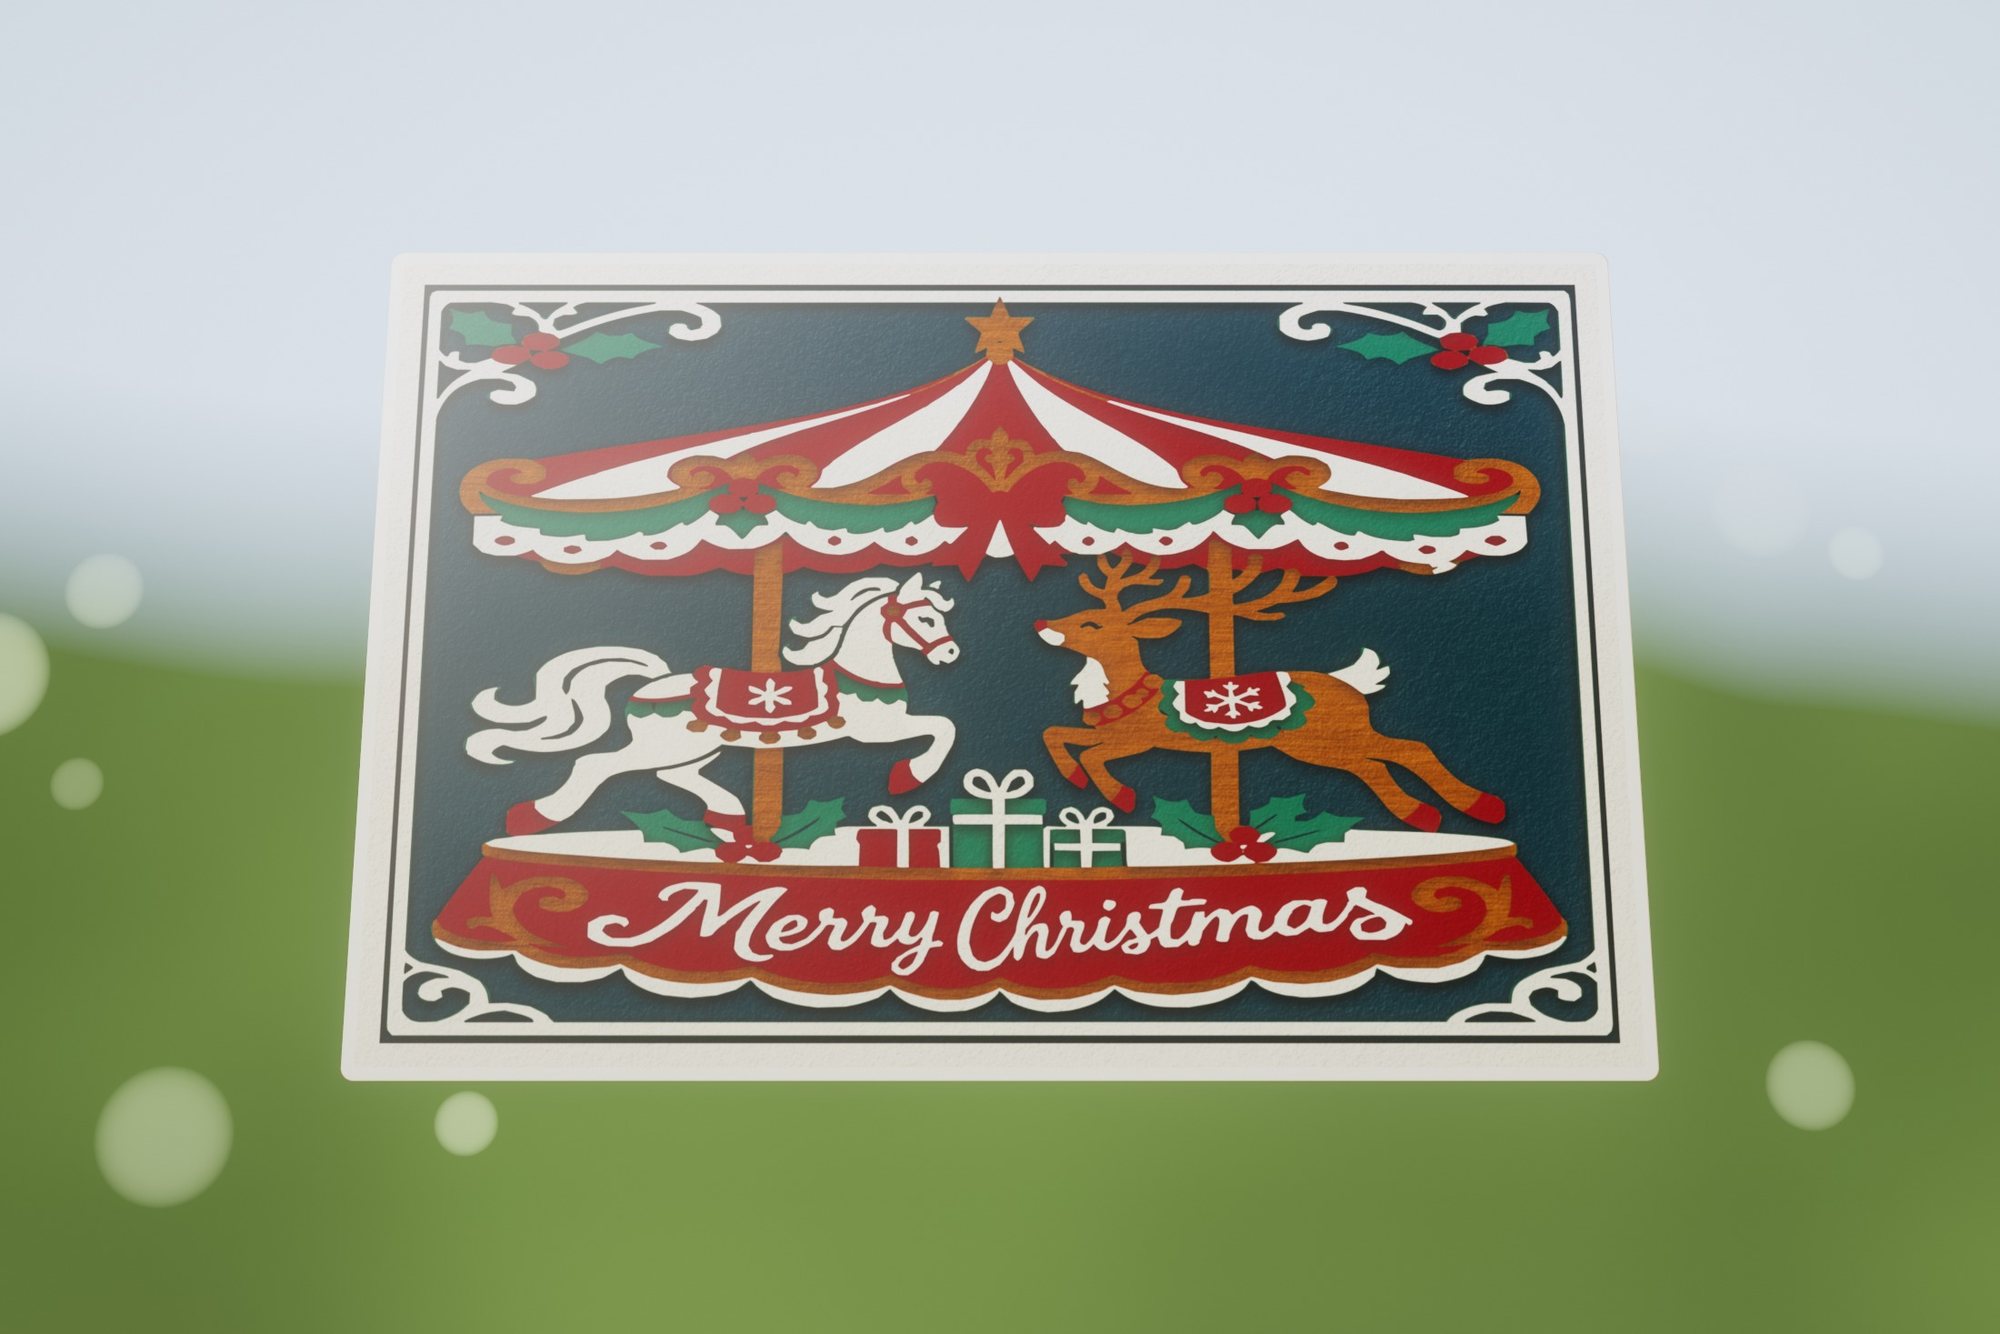 Christmas Carousel
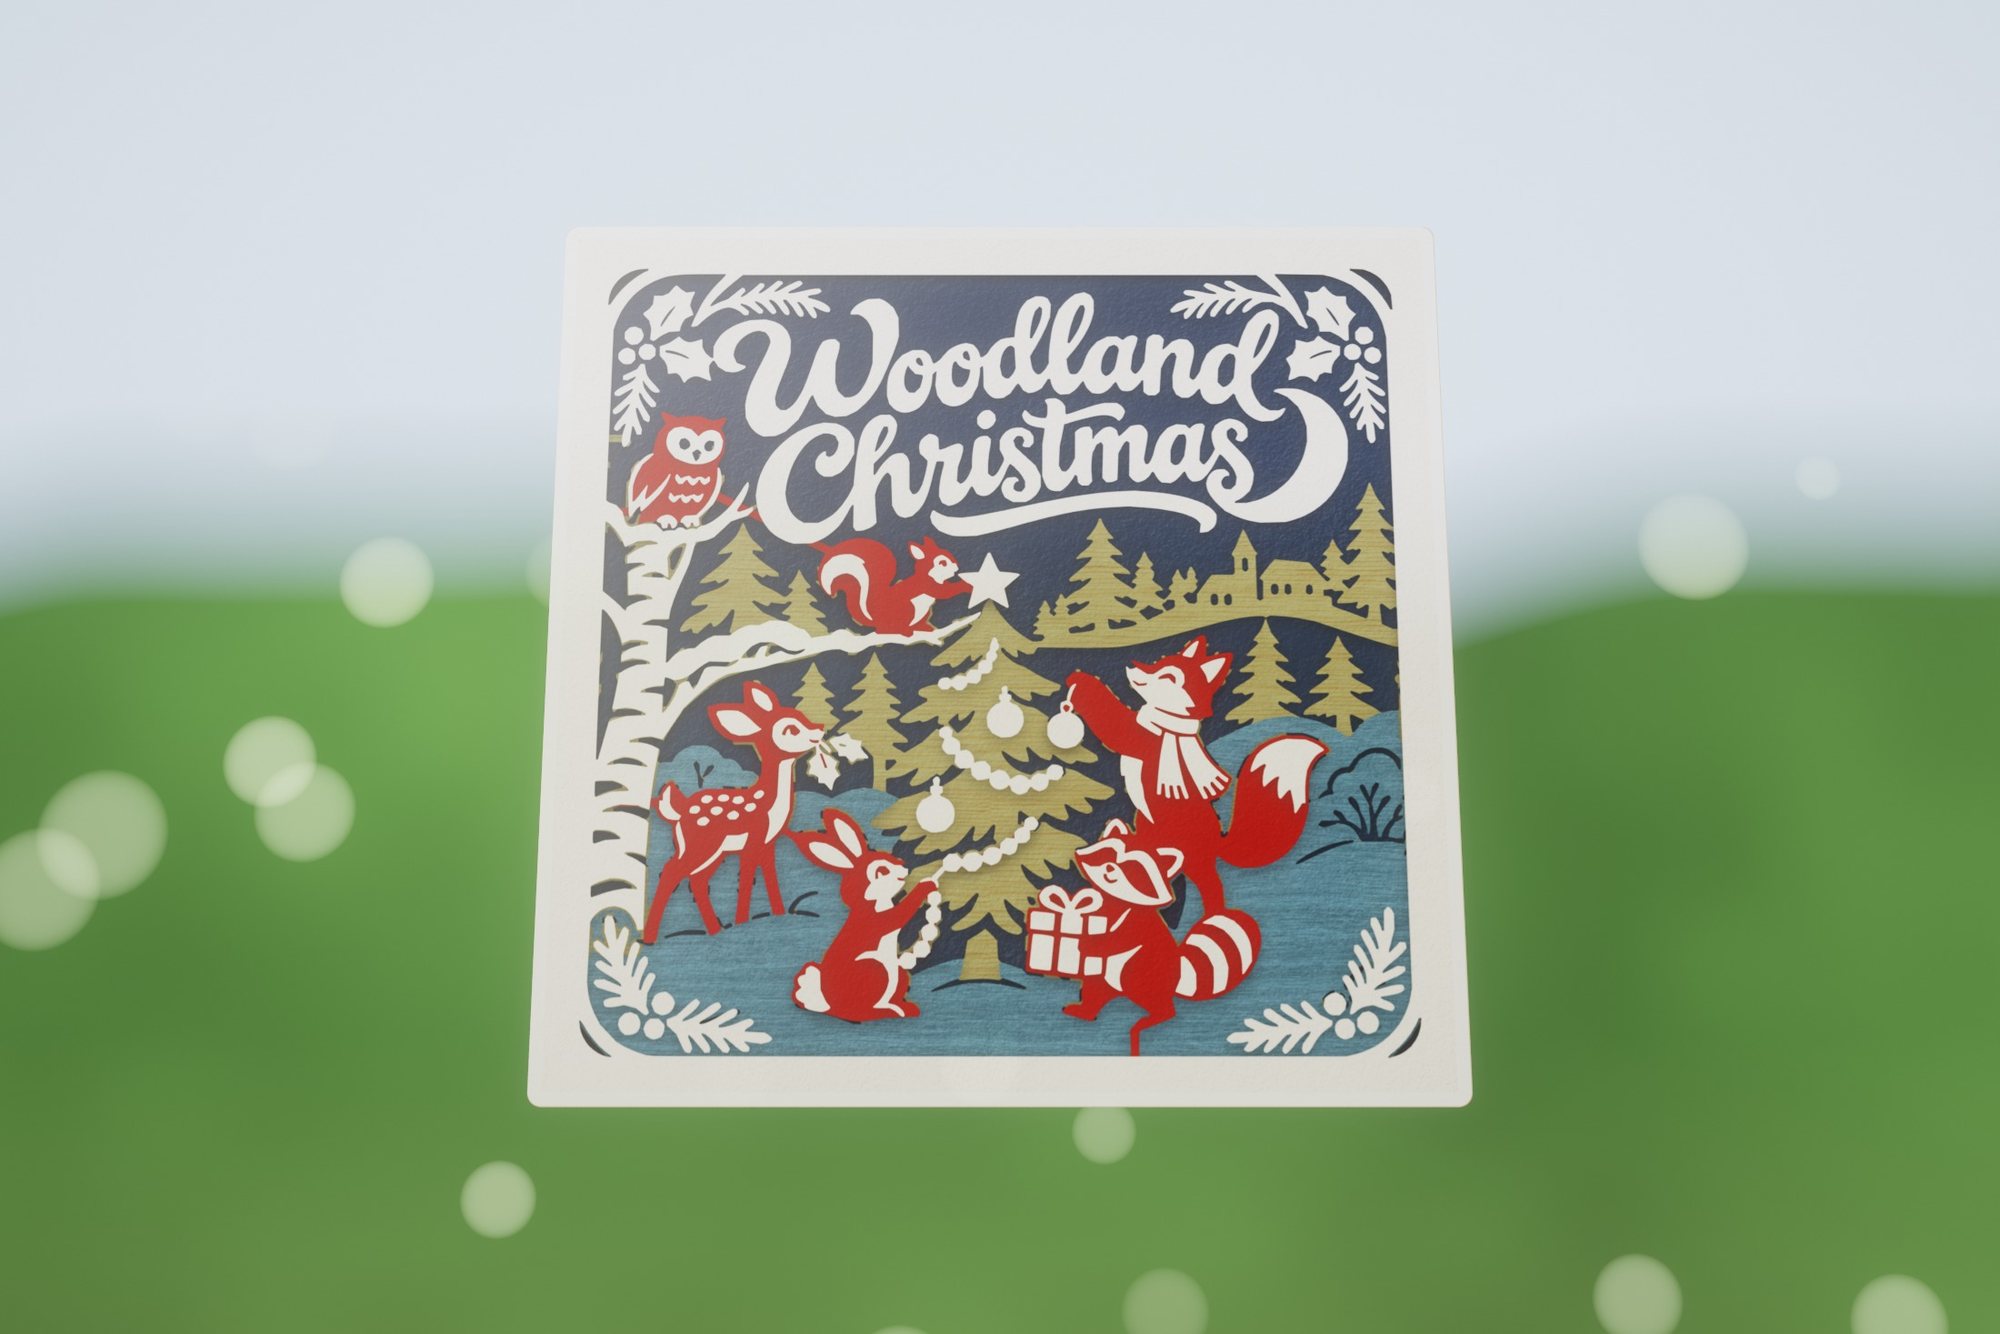 Woodland Christmas
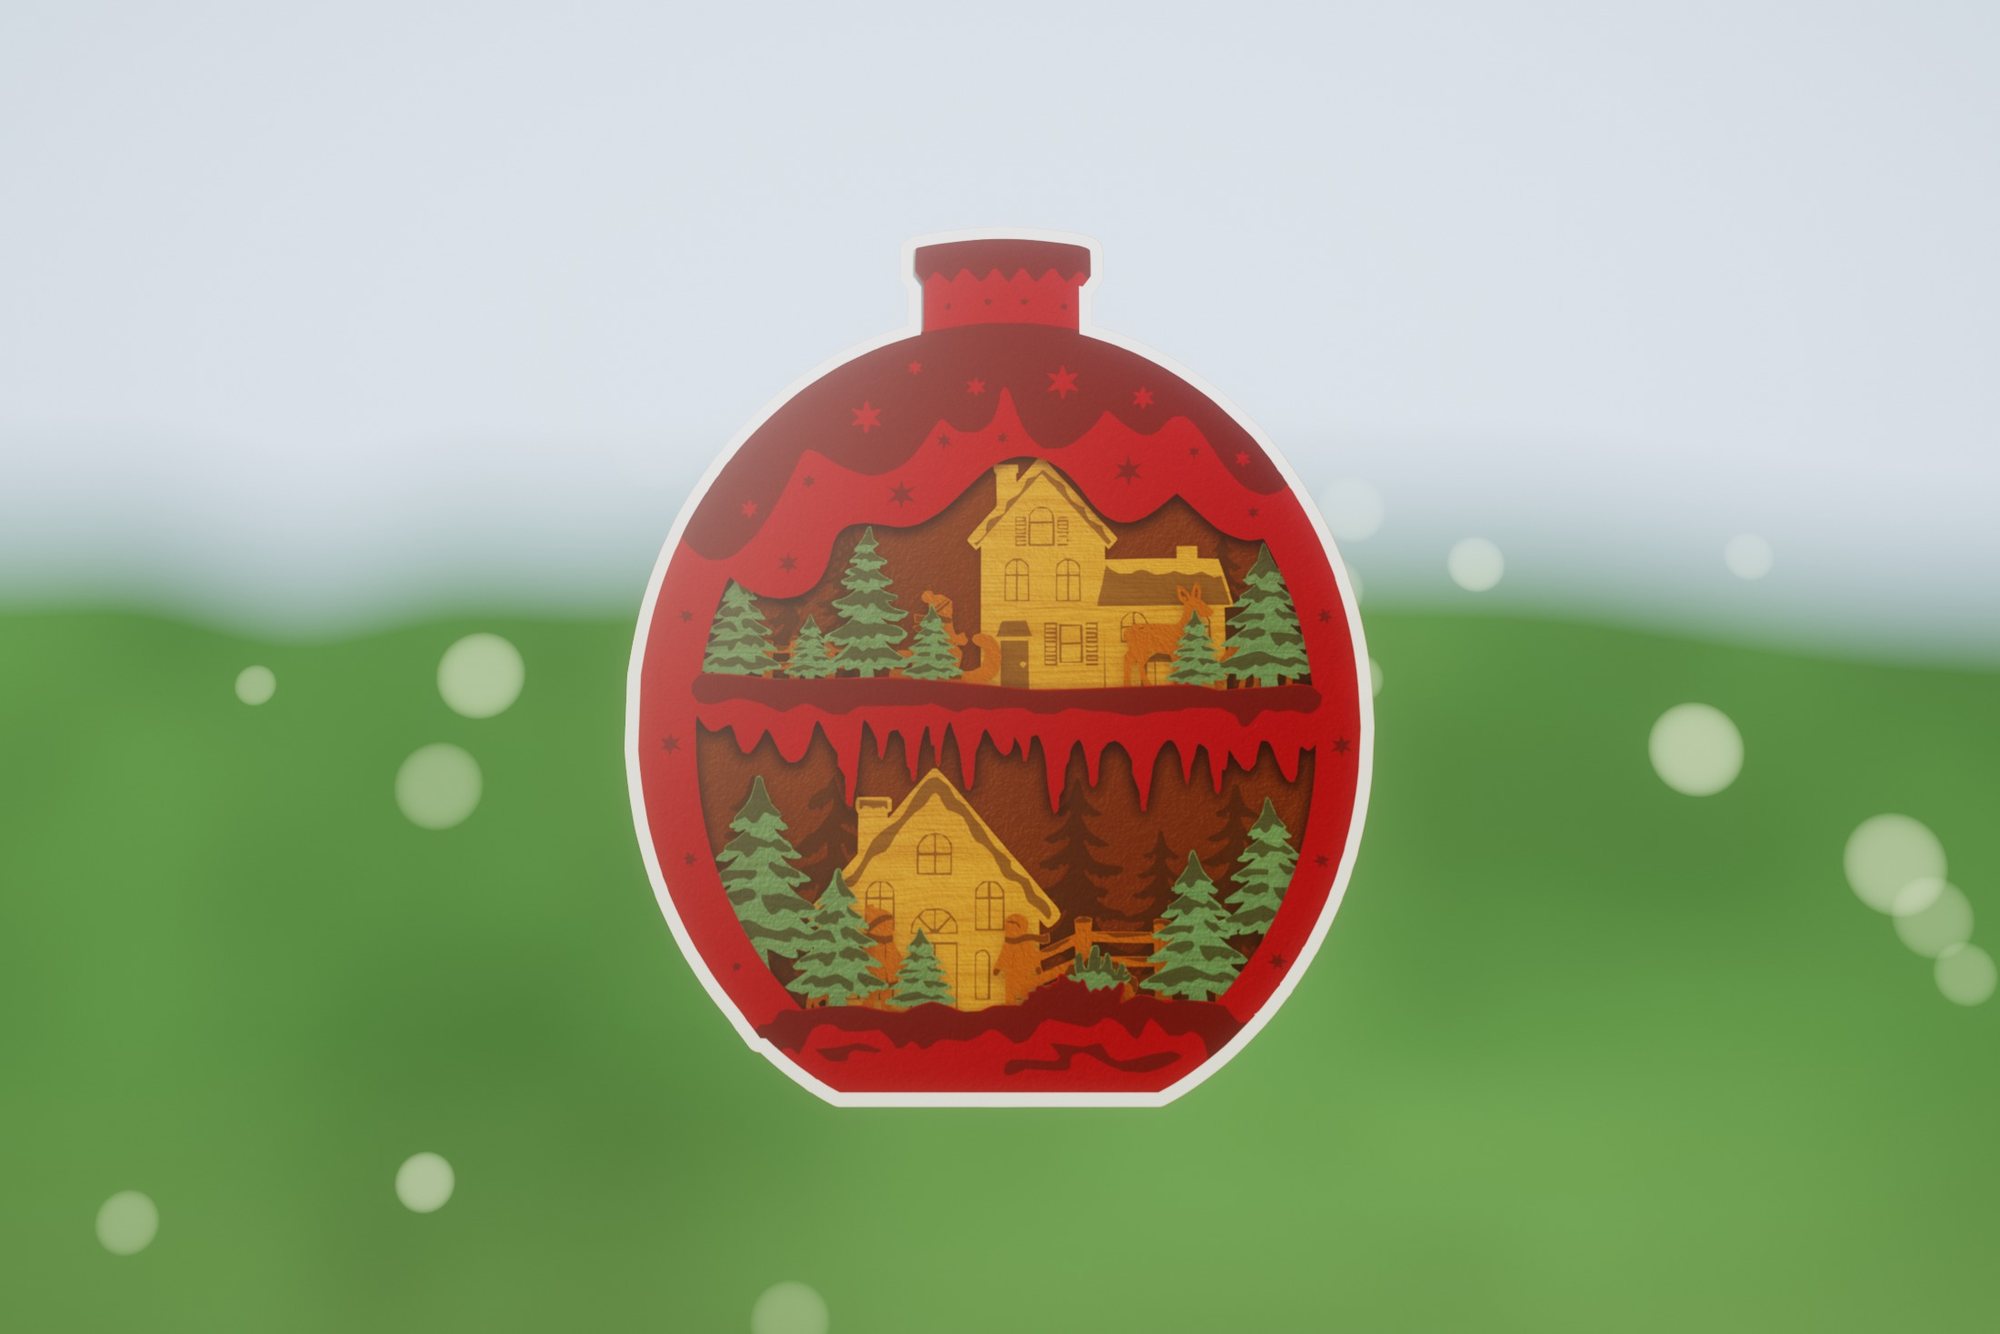 Christmas Village Ornament
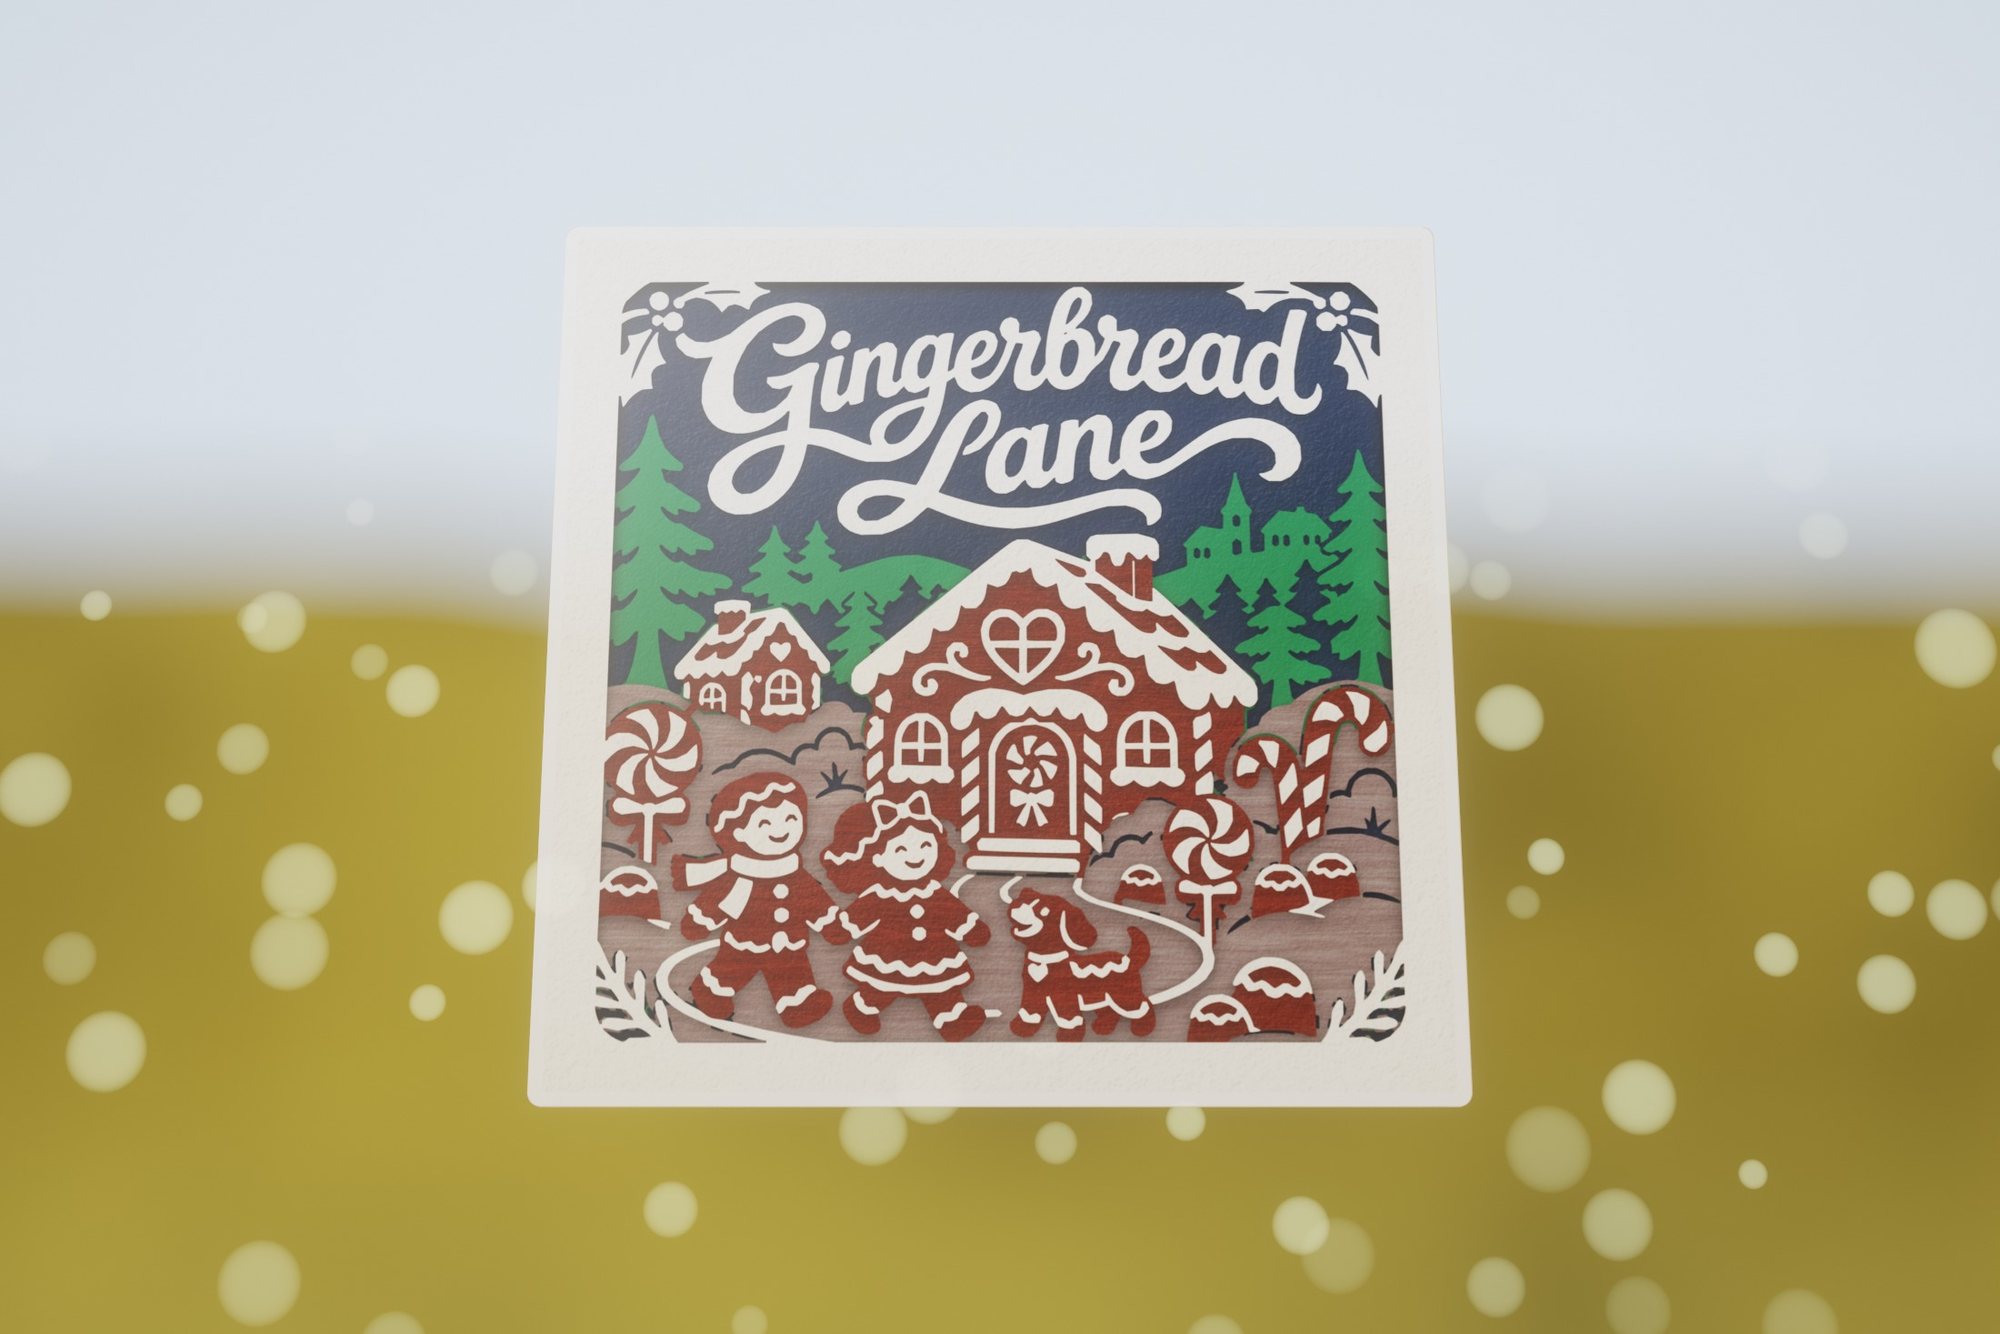 Gingerbread Lane
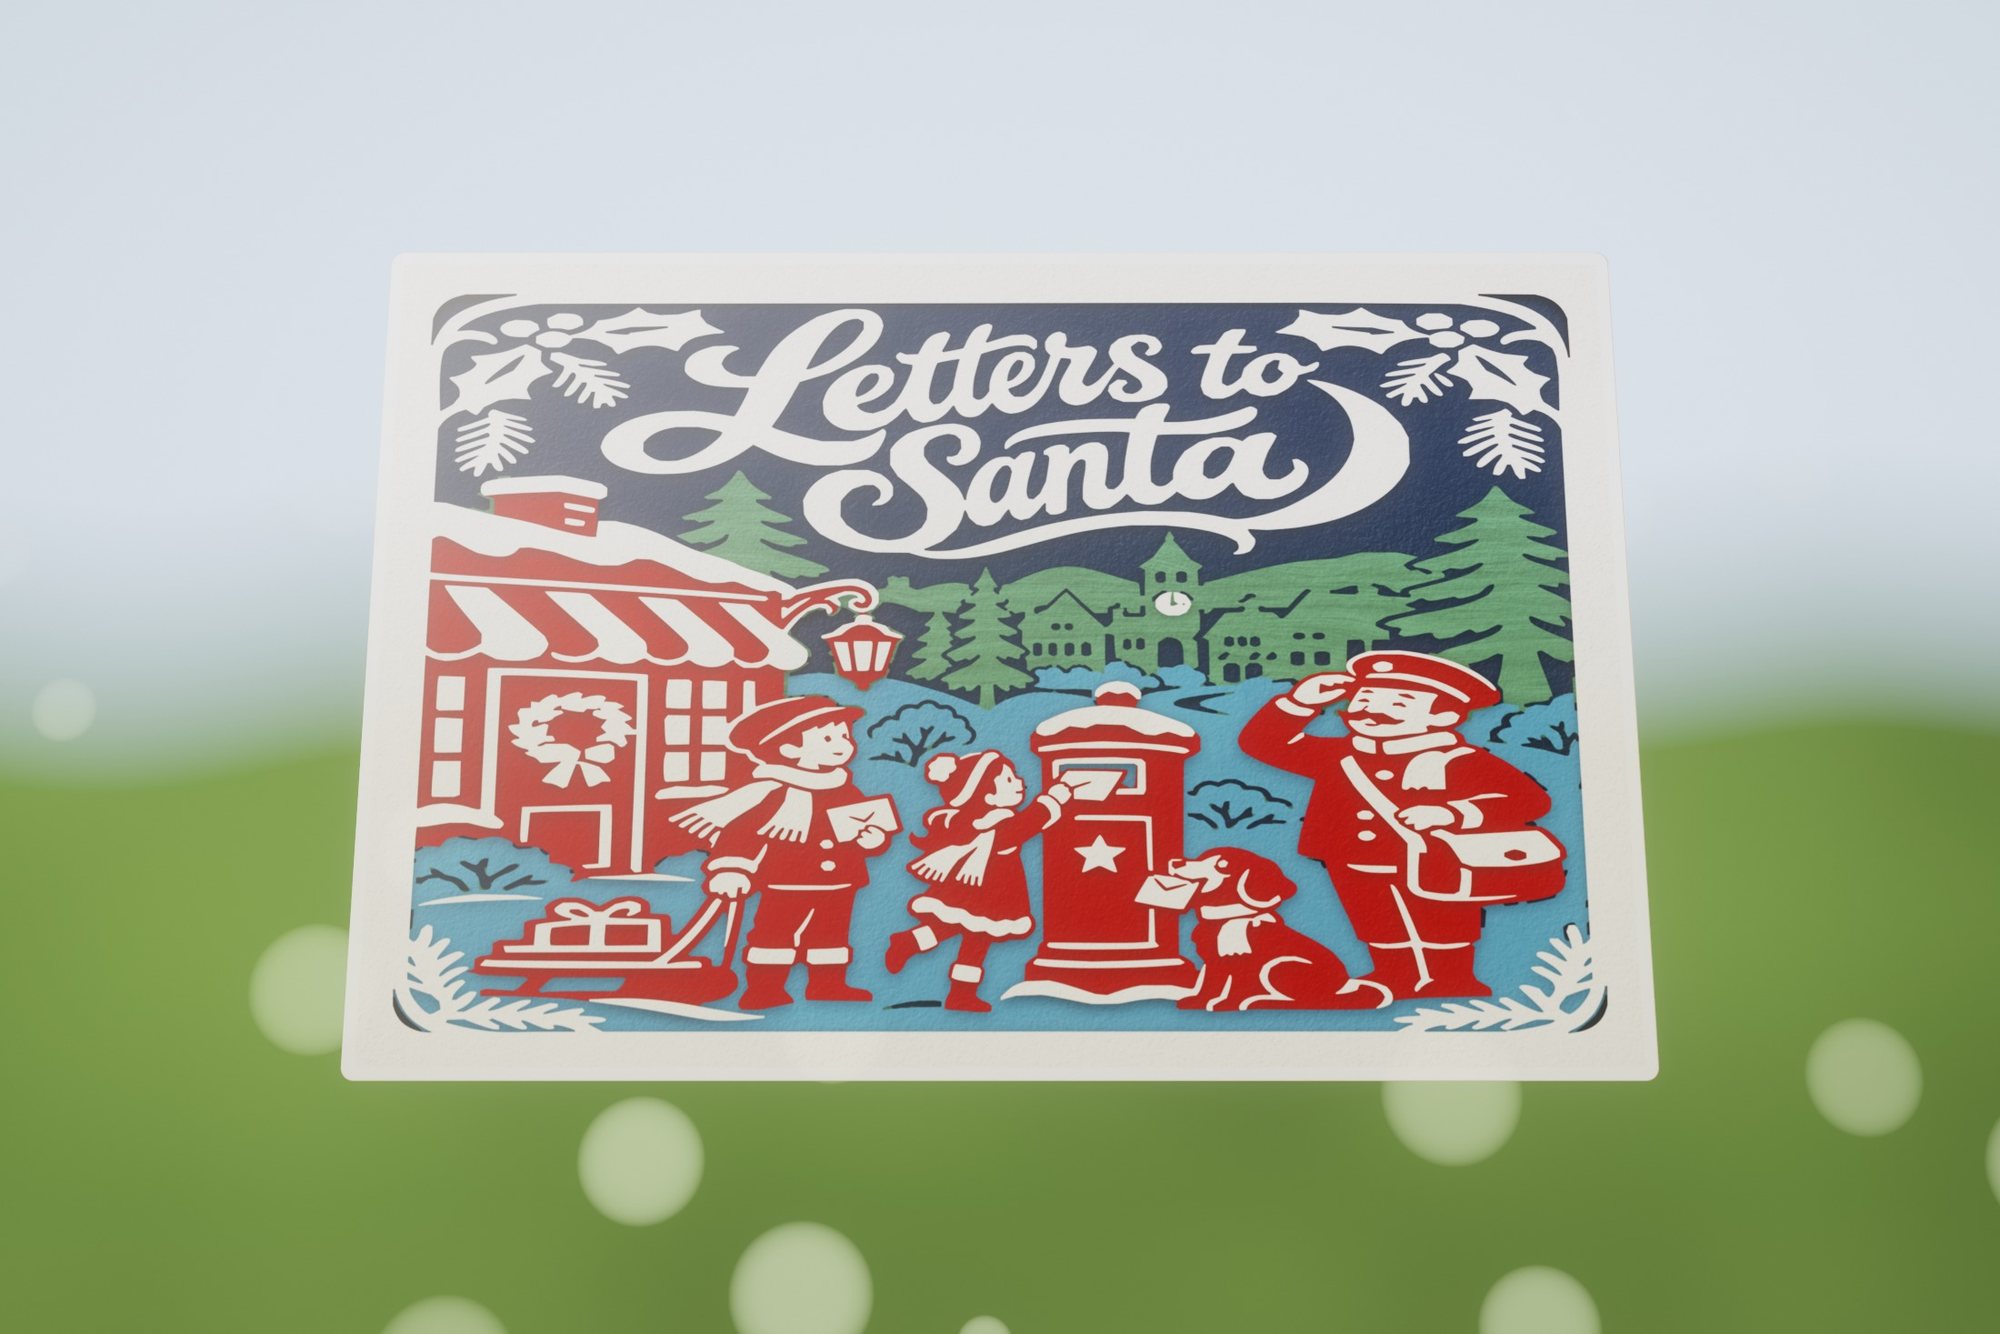 Letters to Santa
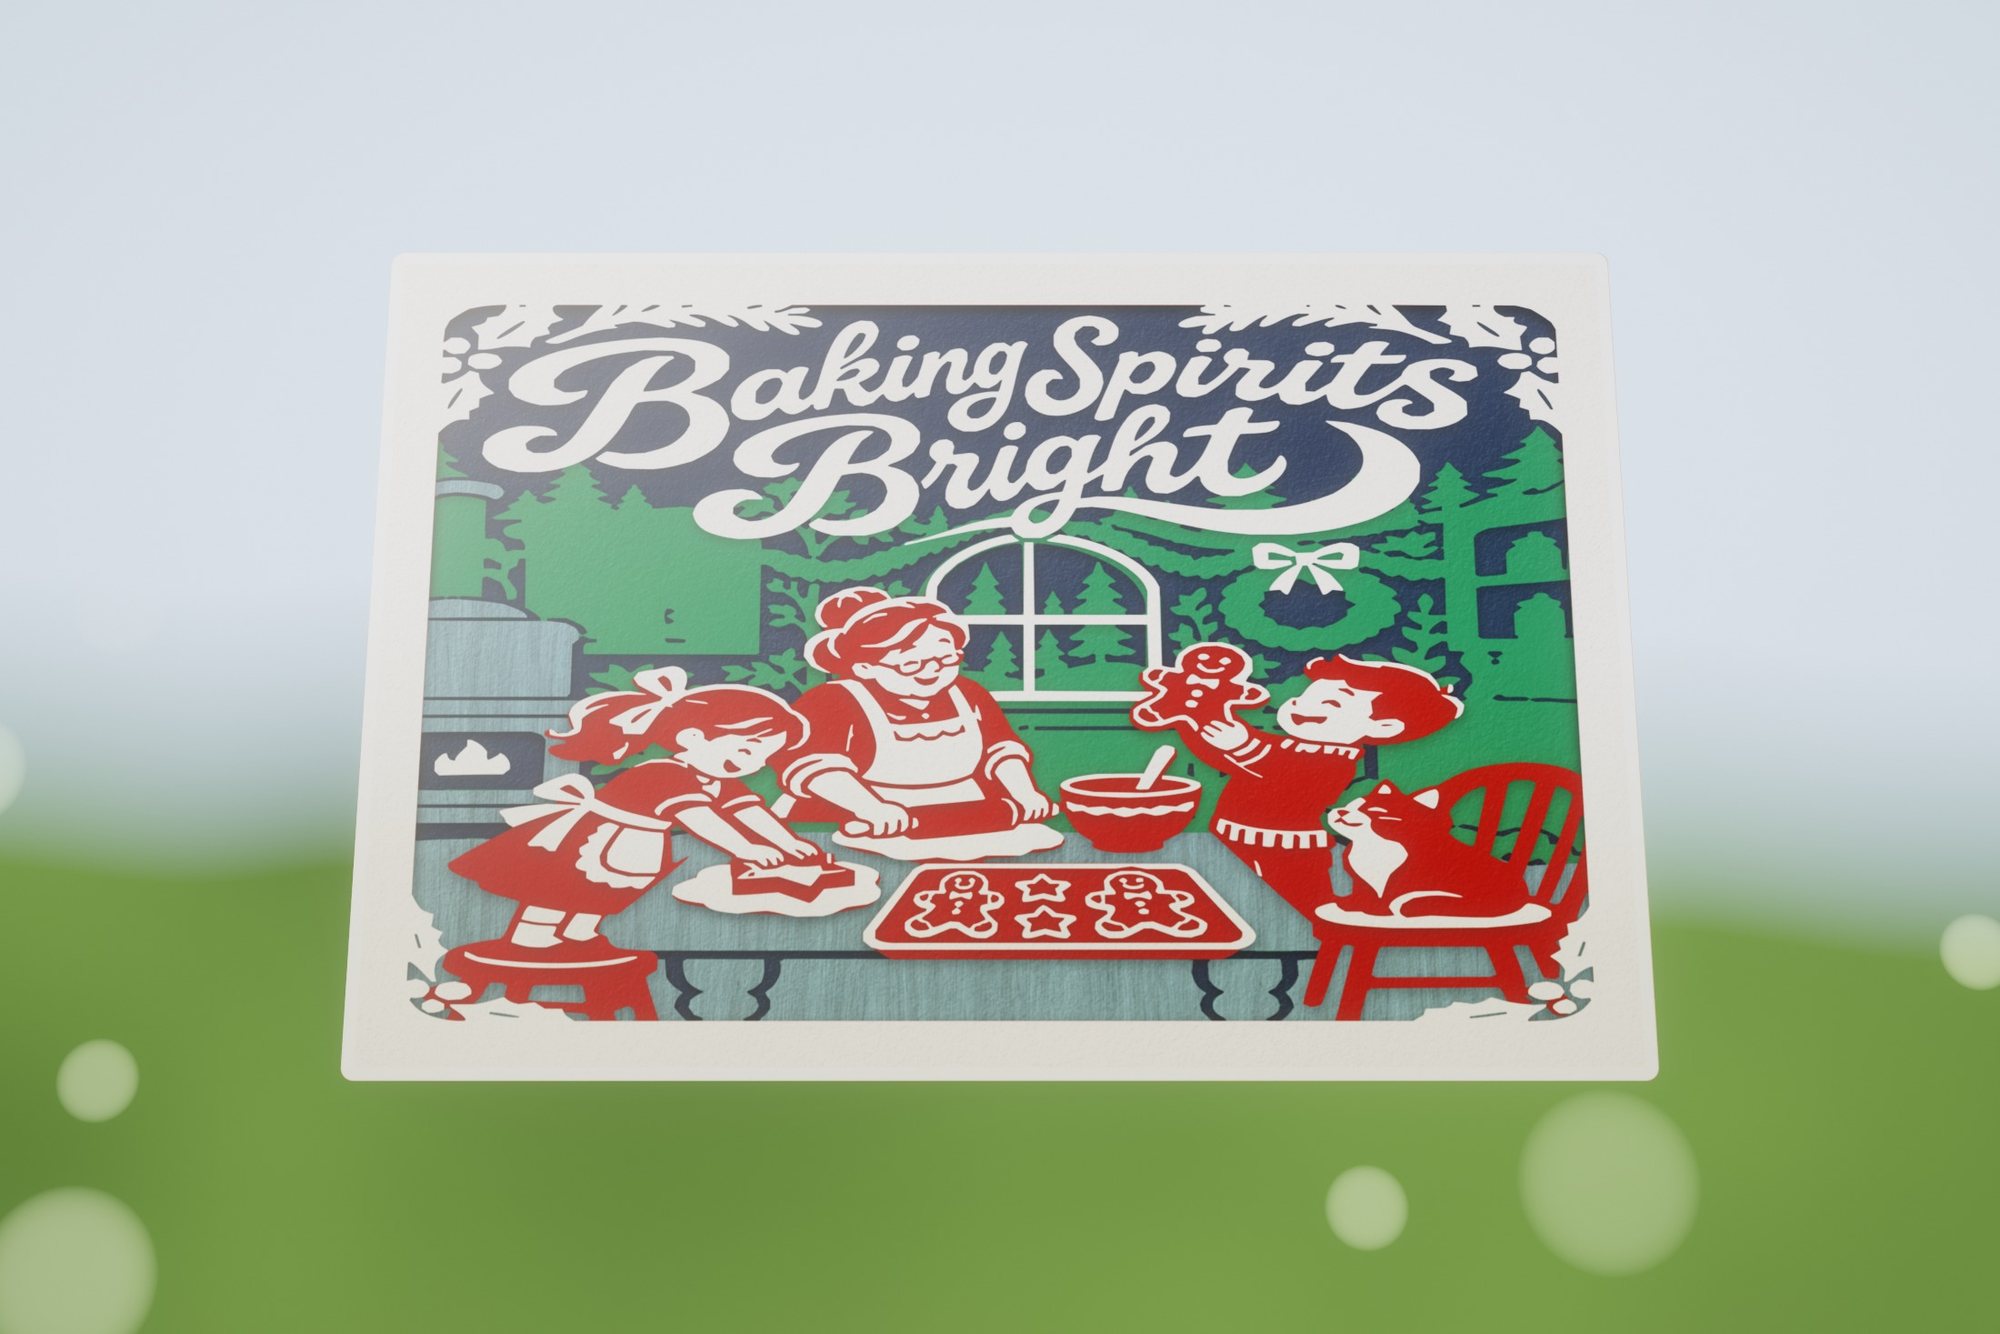 Baking Spirits Bright
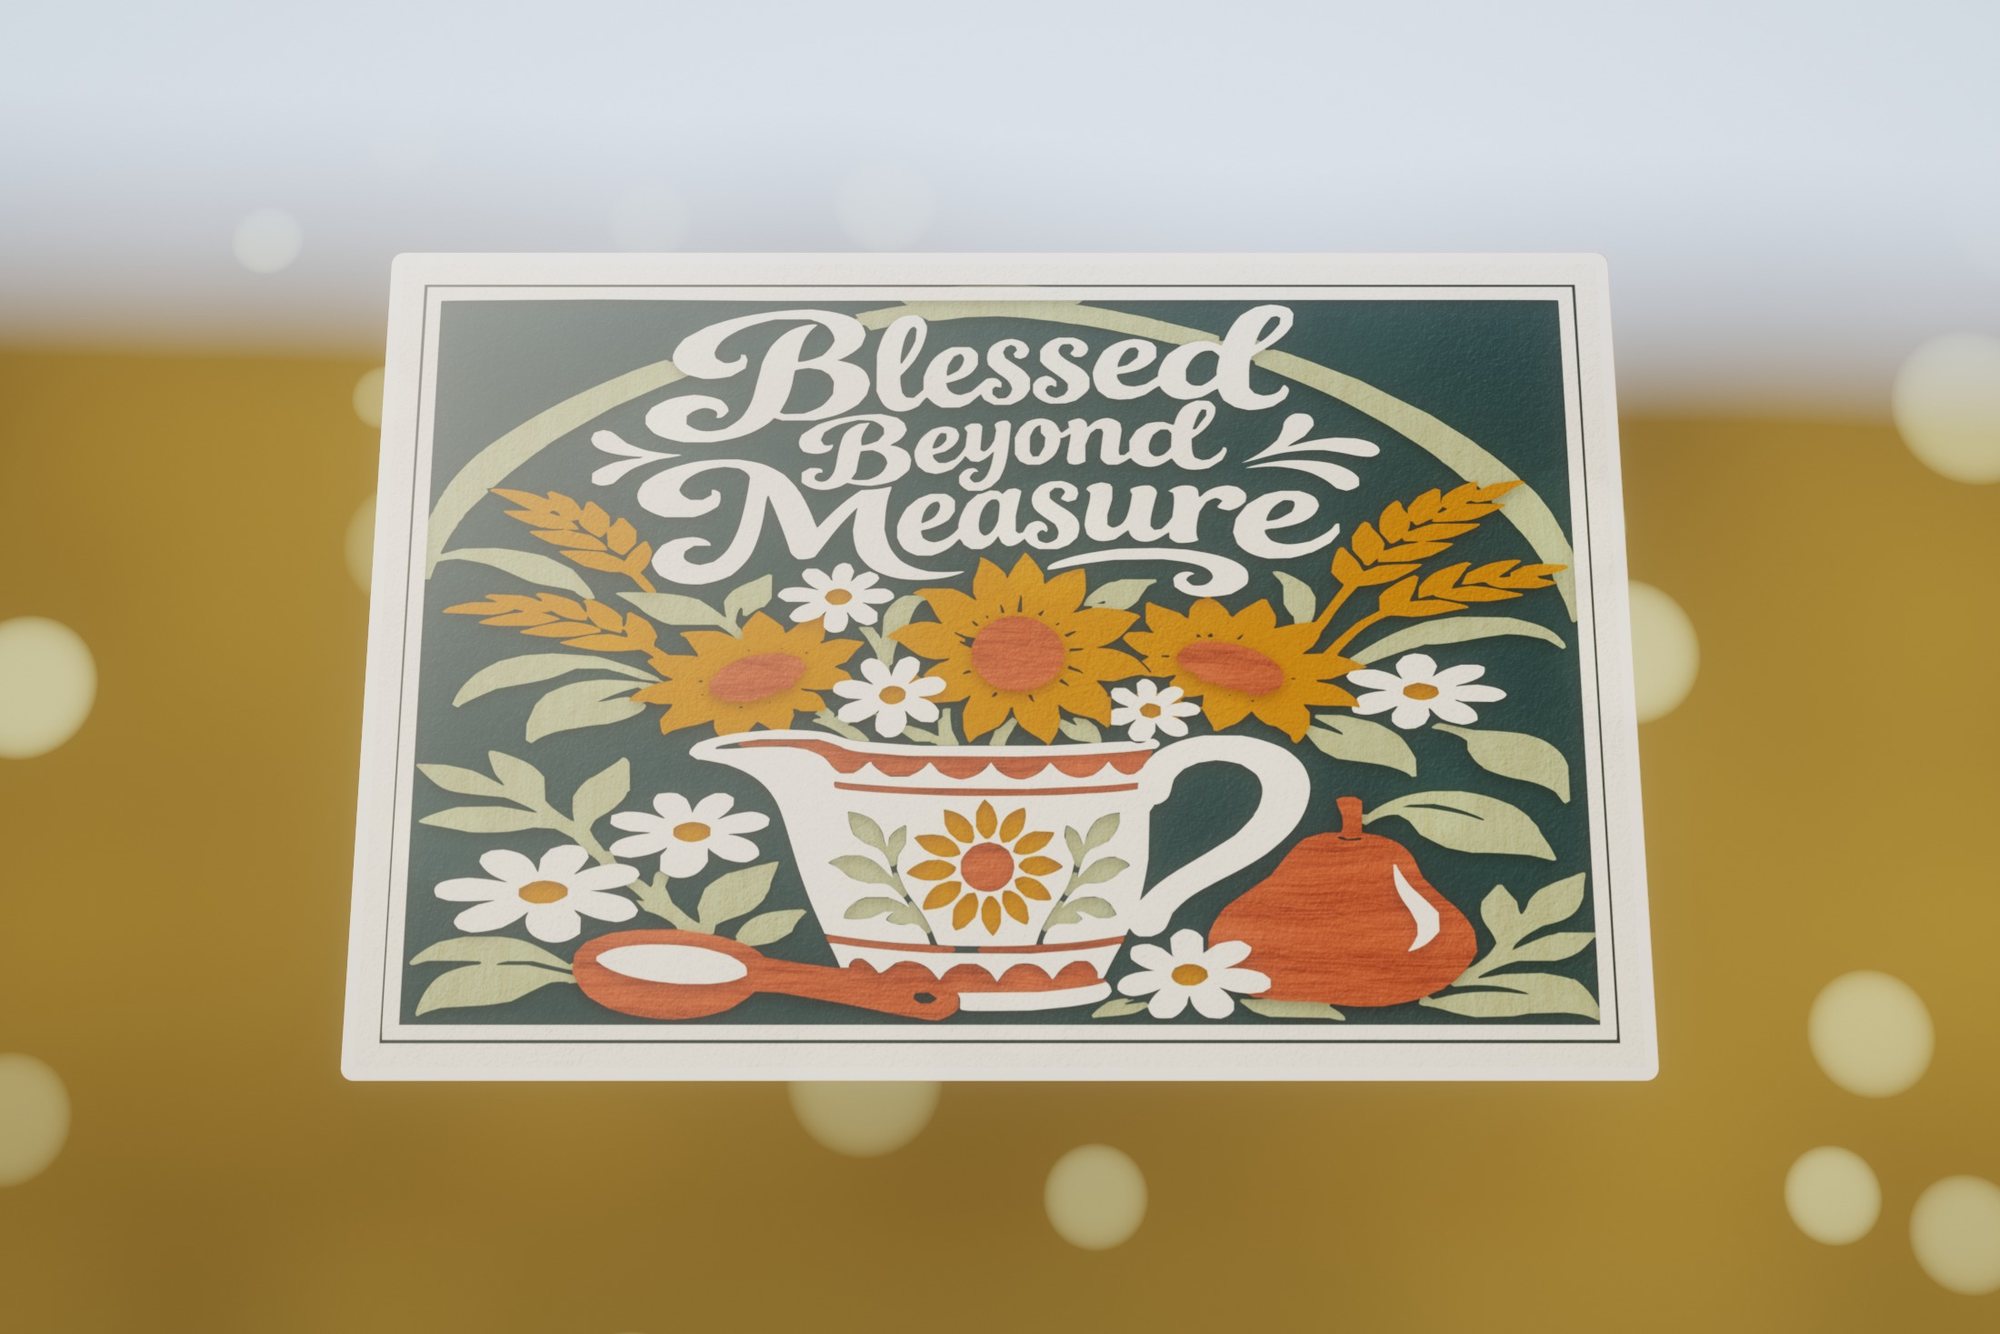 Blessed Beyond Measure
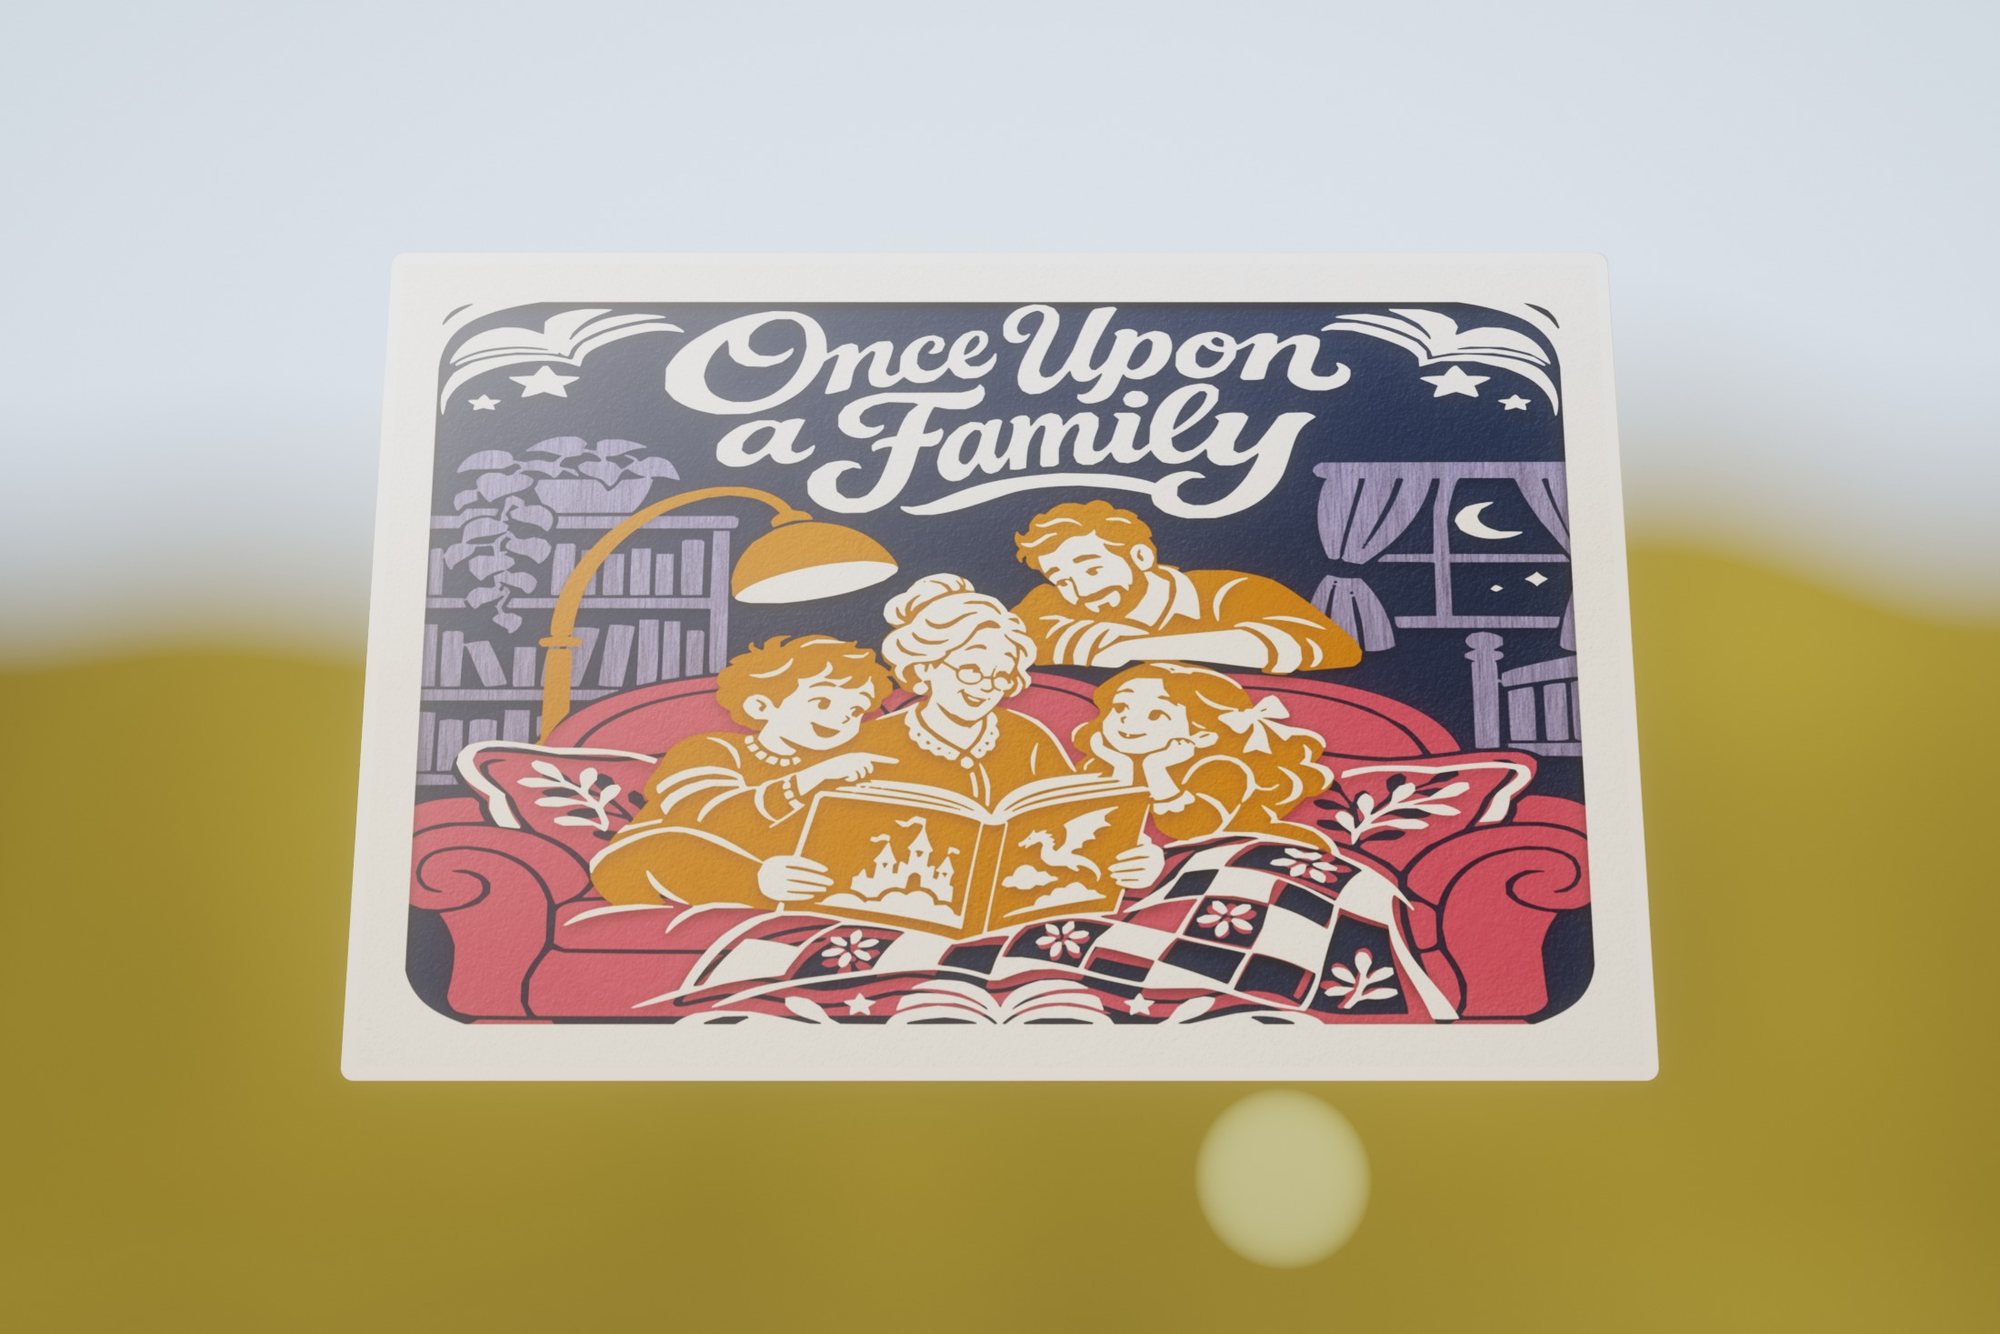 Once Upon a Family
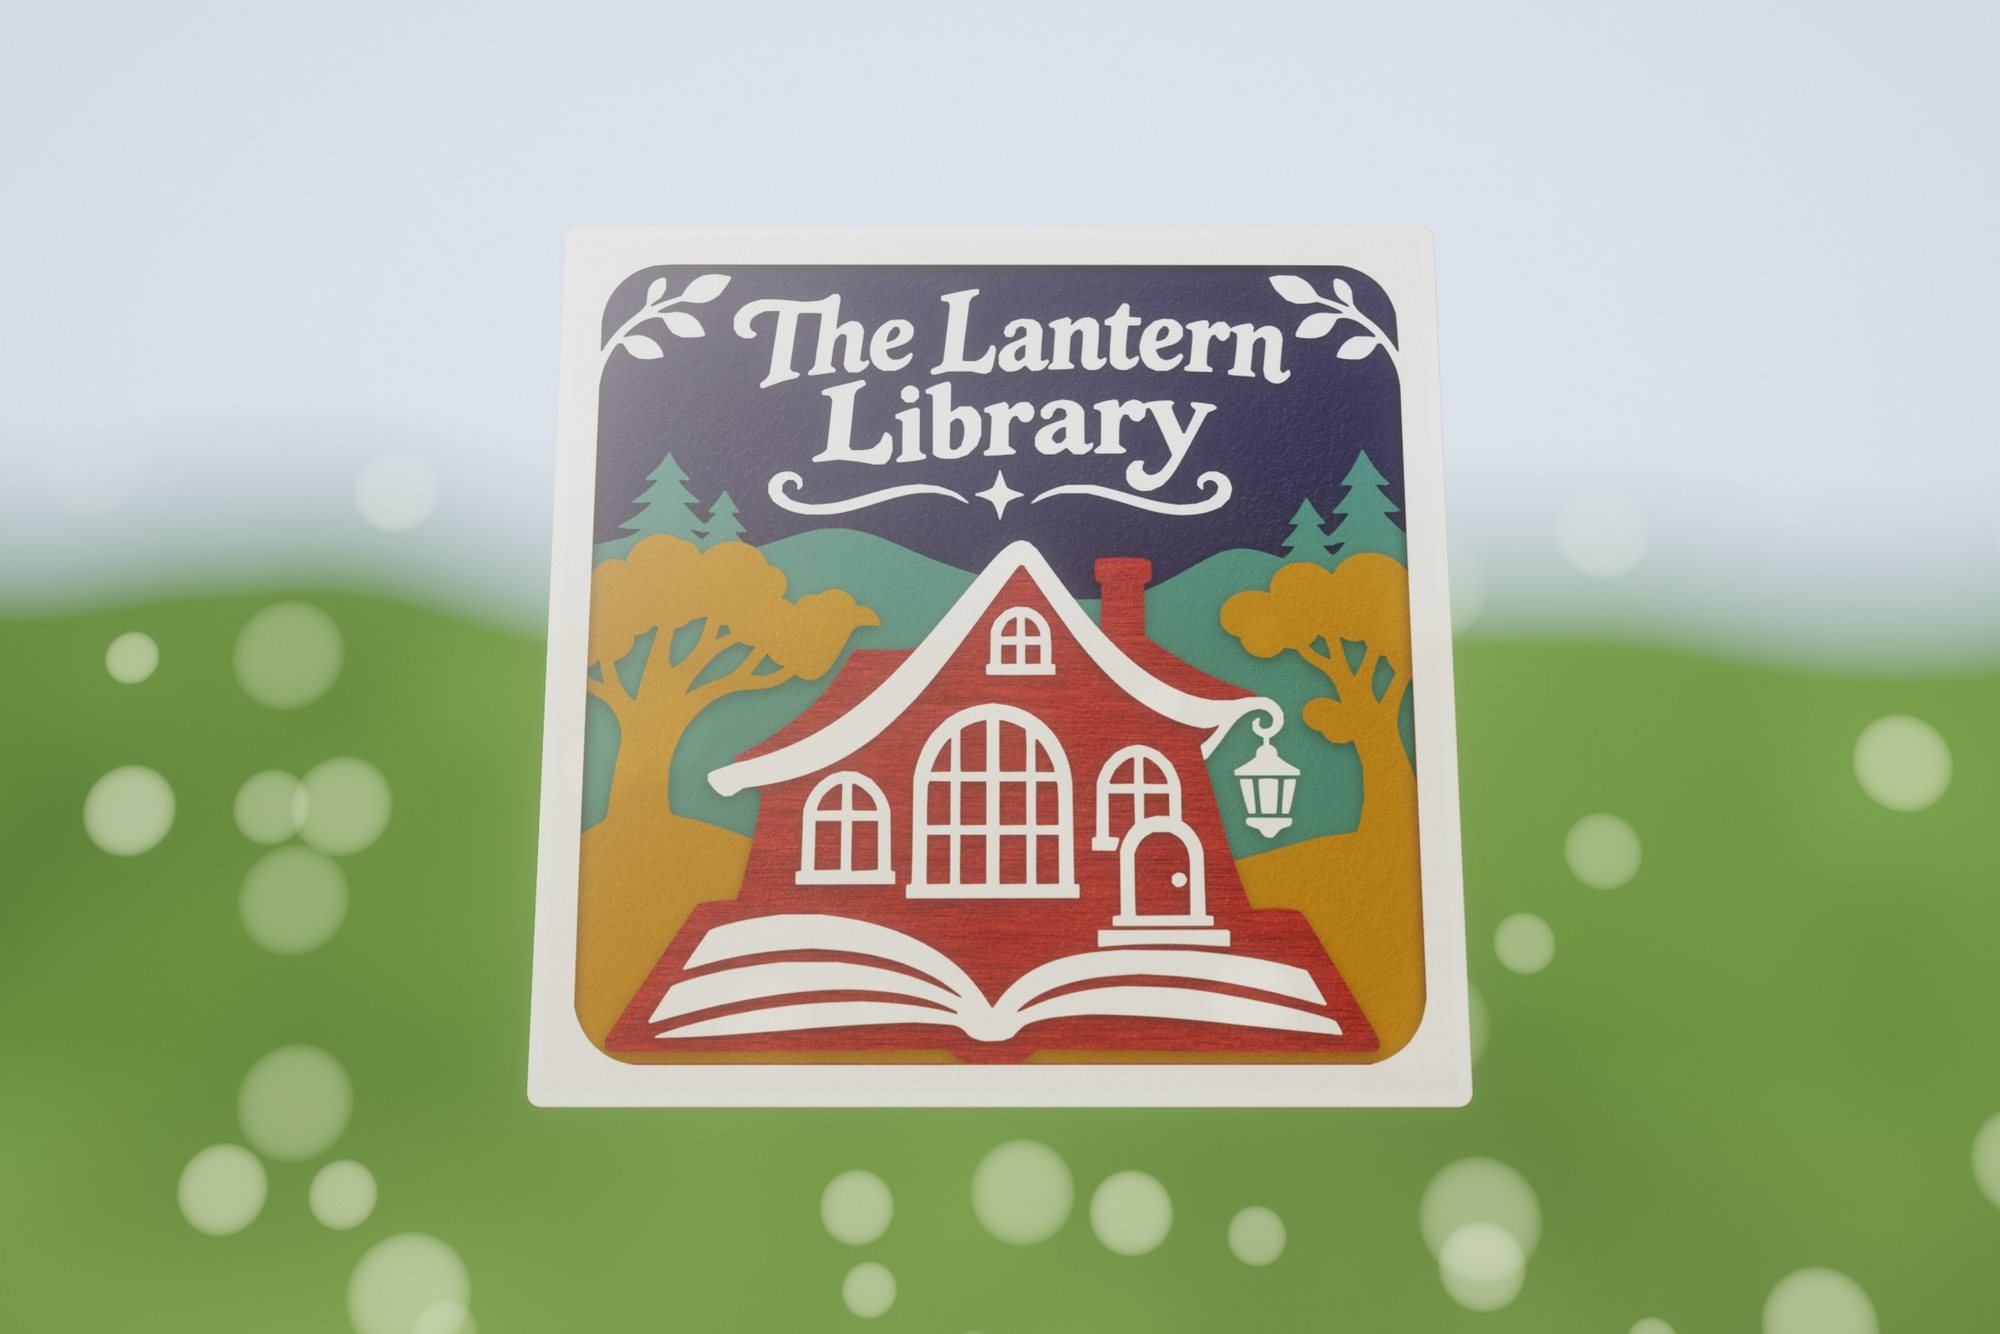 The Lantern Library
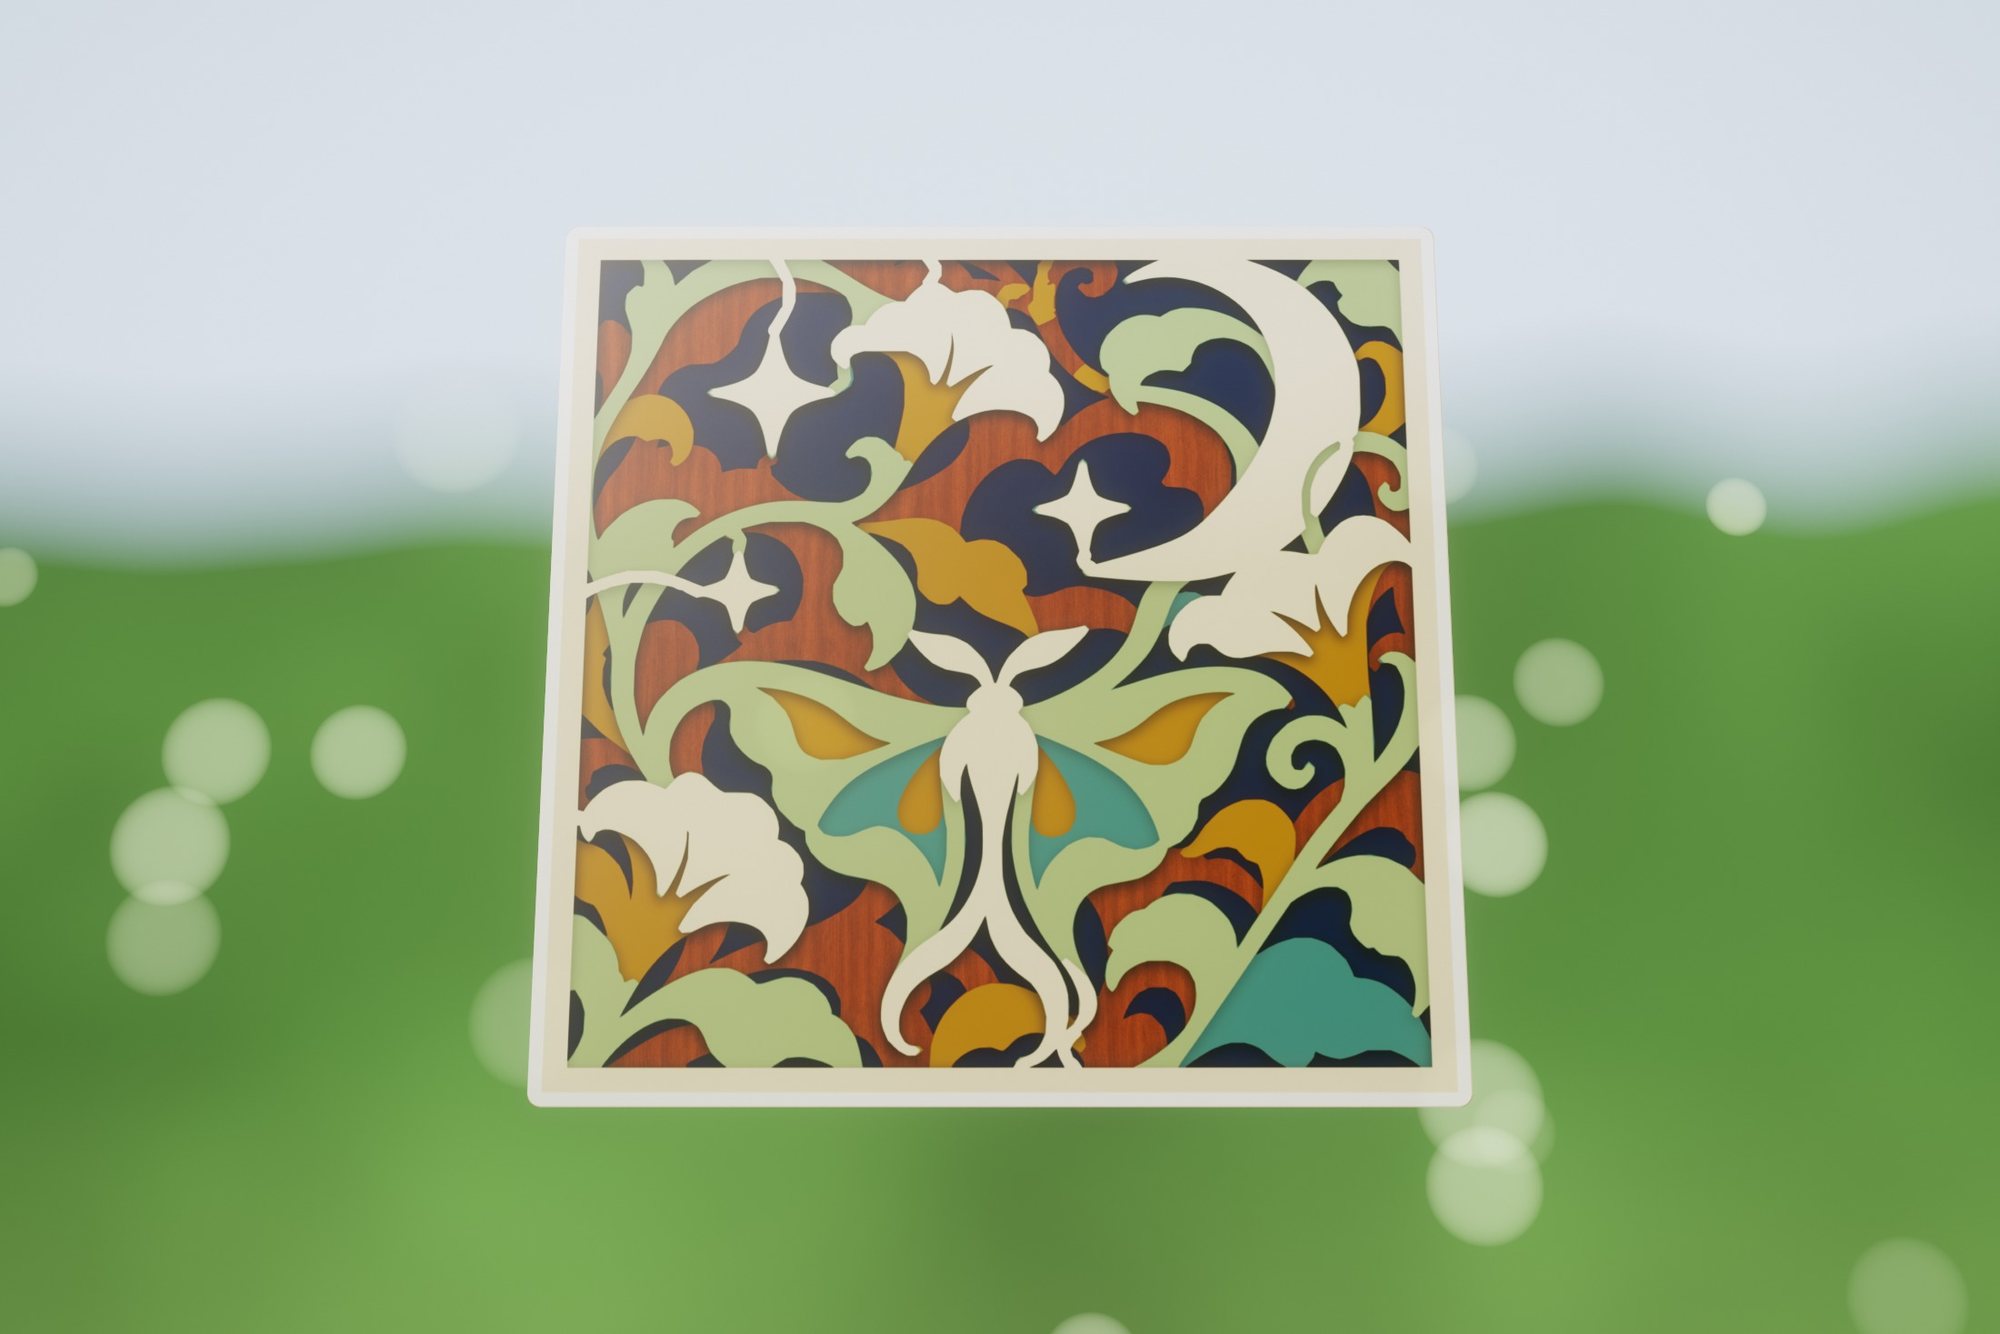 Celestial Garden
Here Comes the Sun · 1 of 24 designs
Physical project / Image Transfers
Take the artwork onto fabric. These T-shirt renderings show how the designs can look as an iron-on or sublimation project.
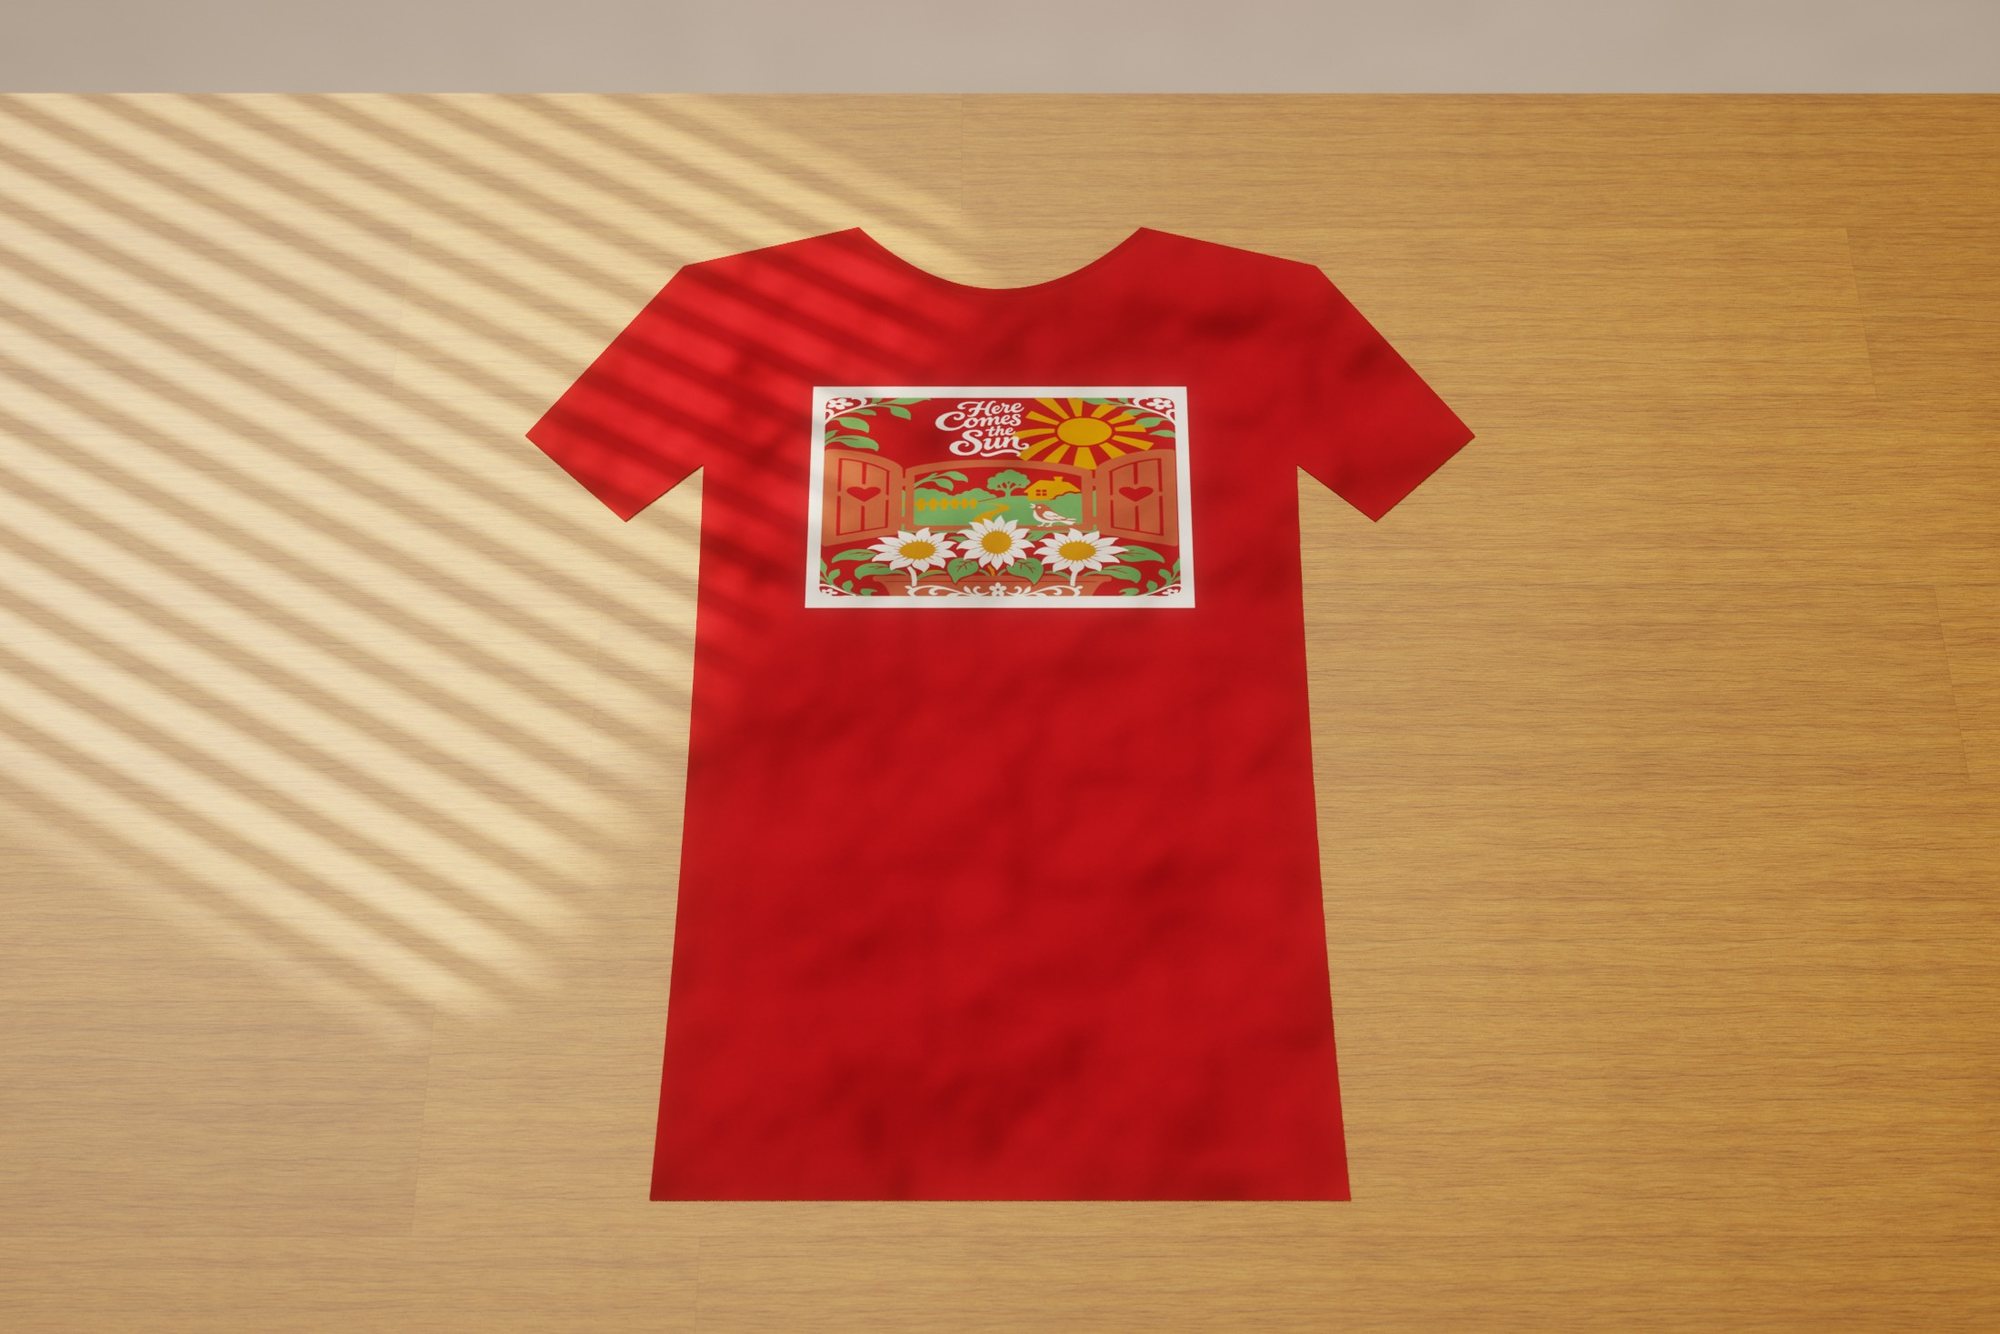 Here Comes the Sun
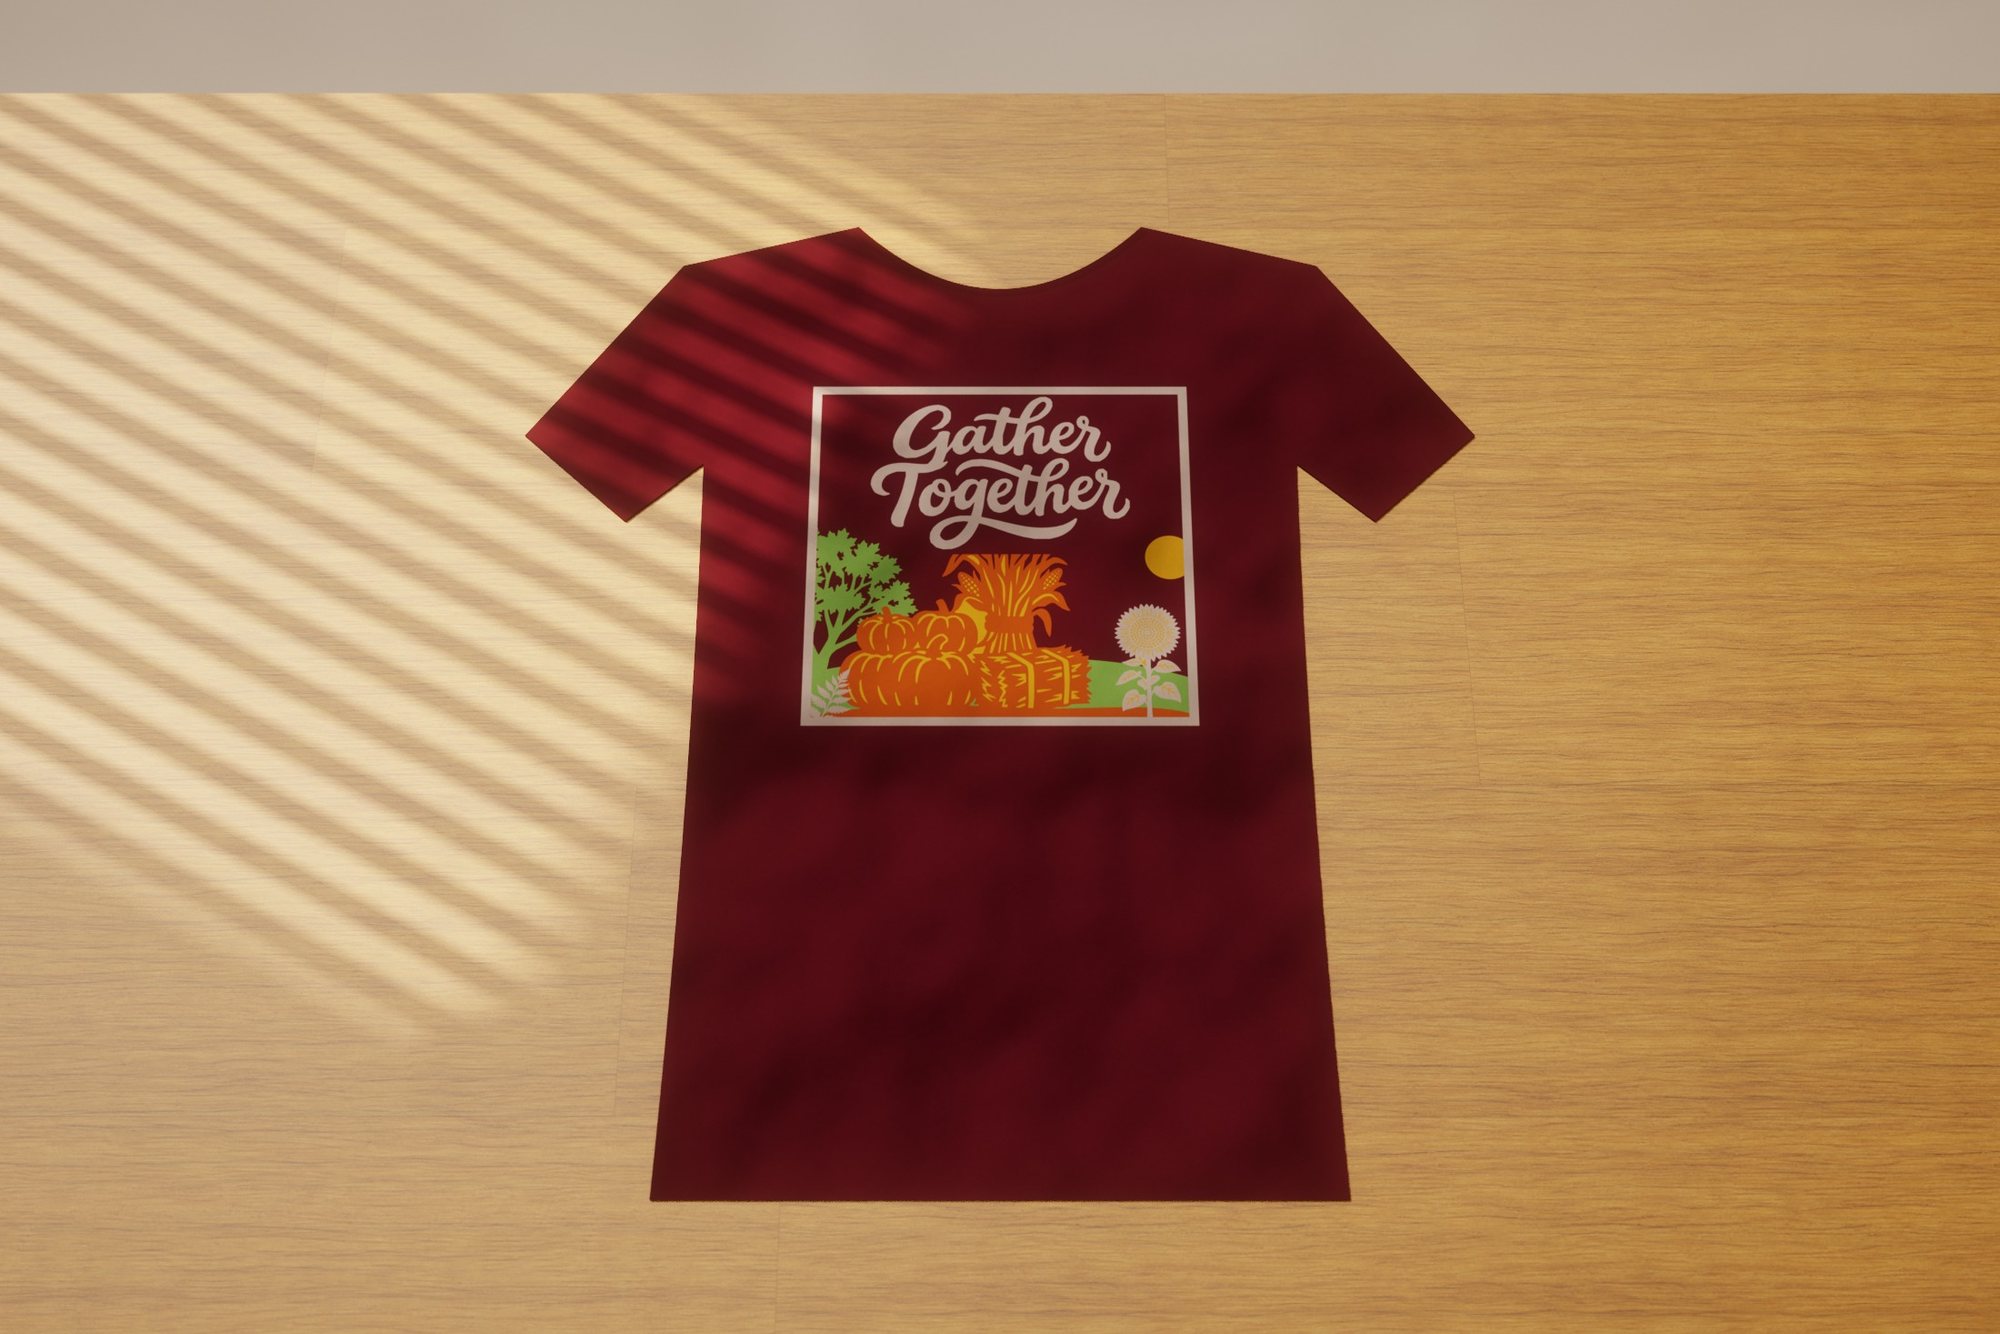 Thanksgiving Bounty
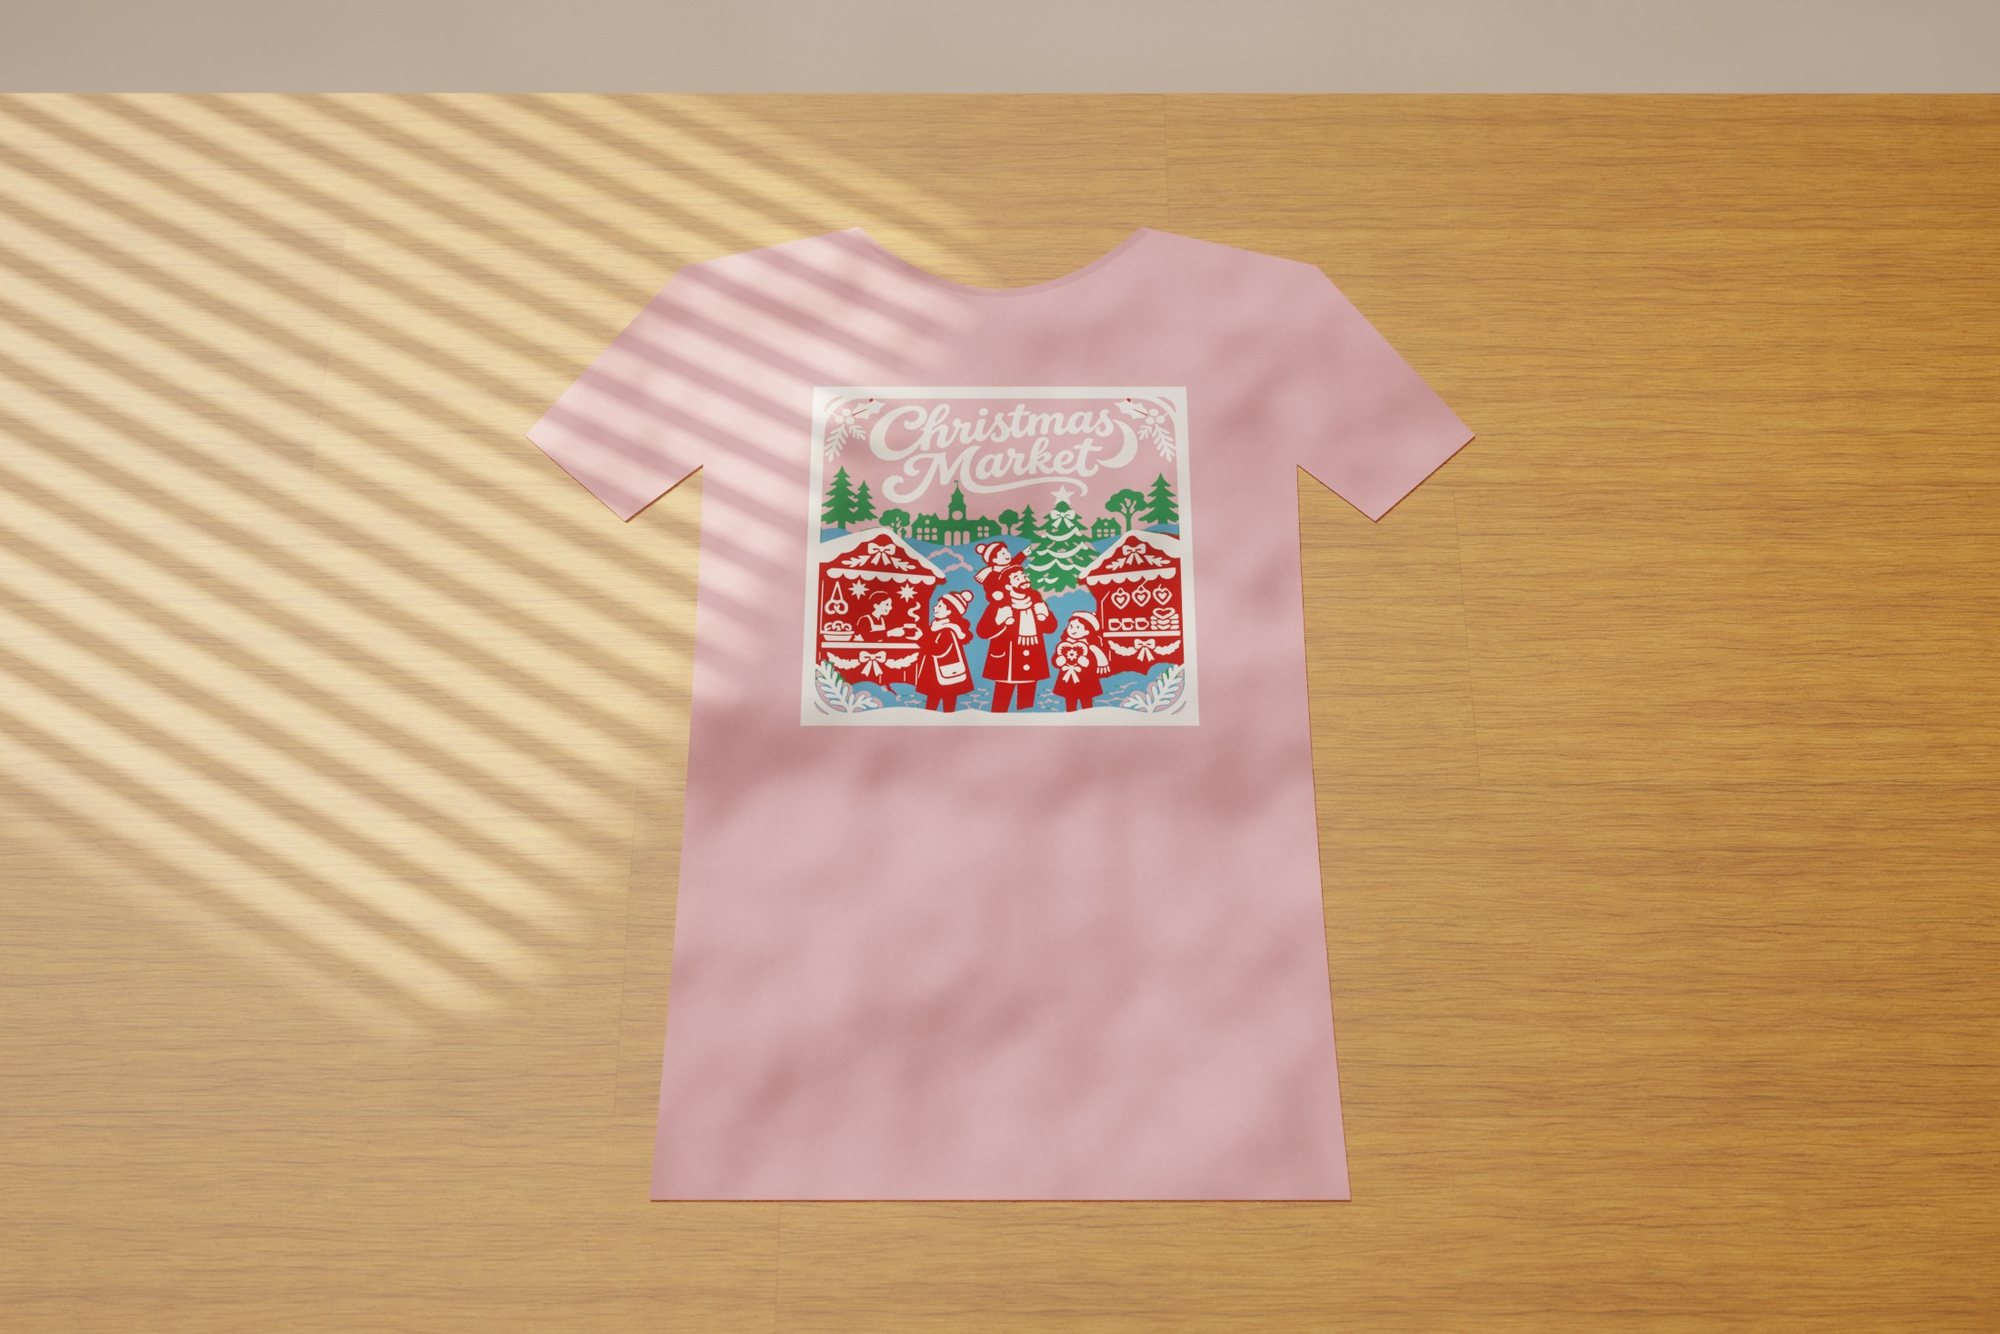 Christmas Market
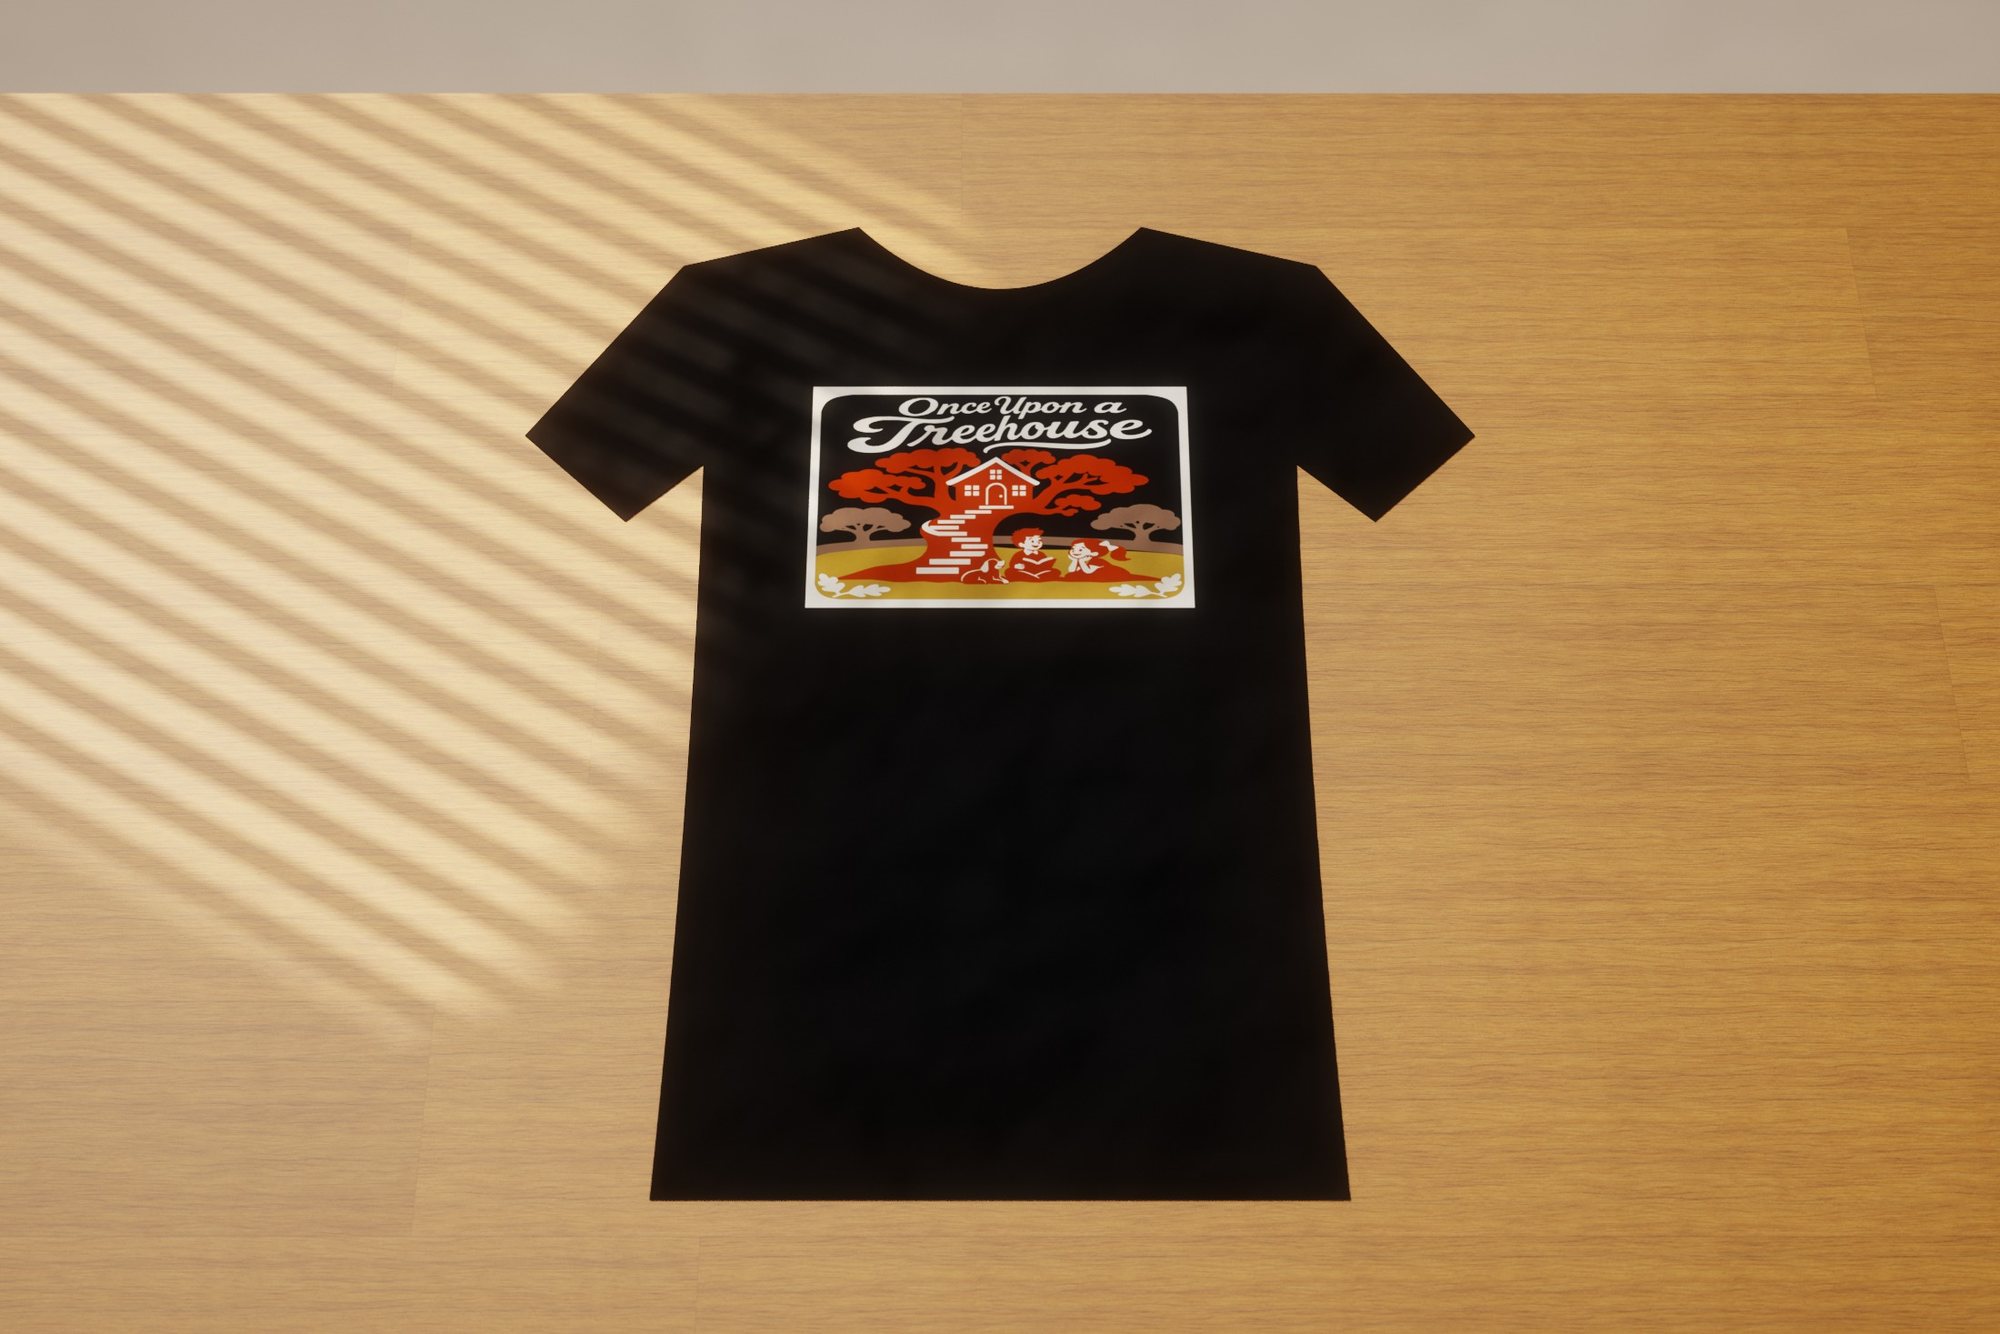 Once Upon a Treehouse
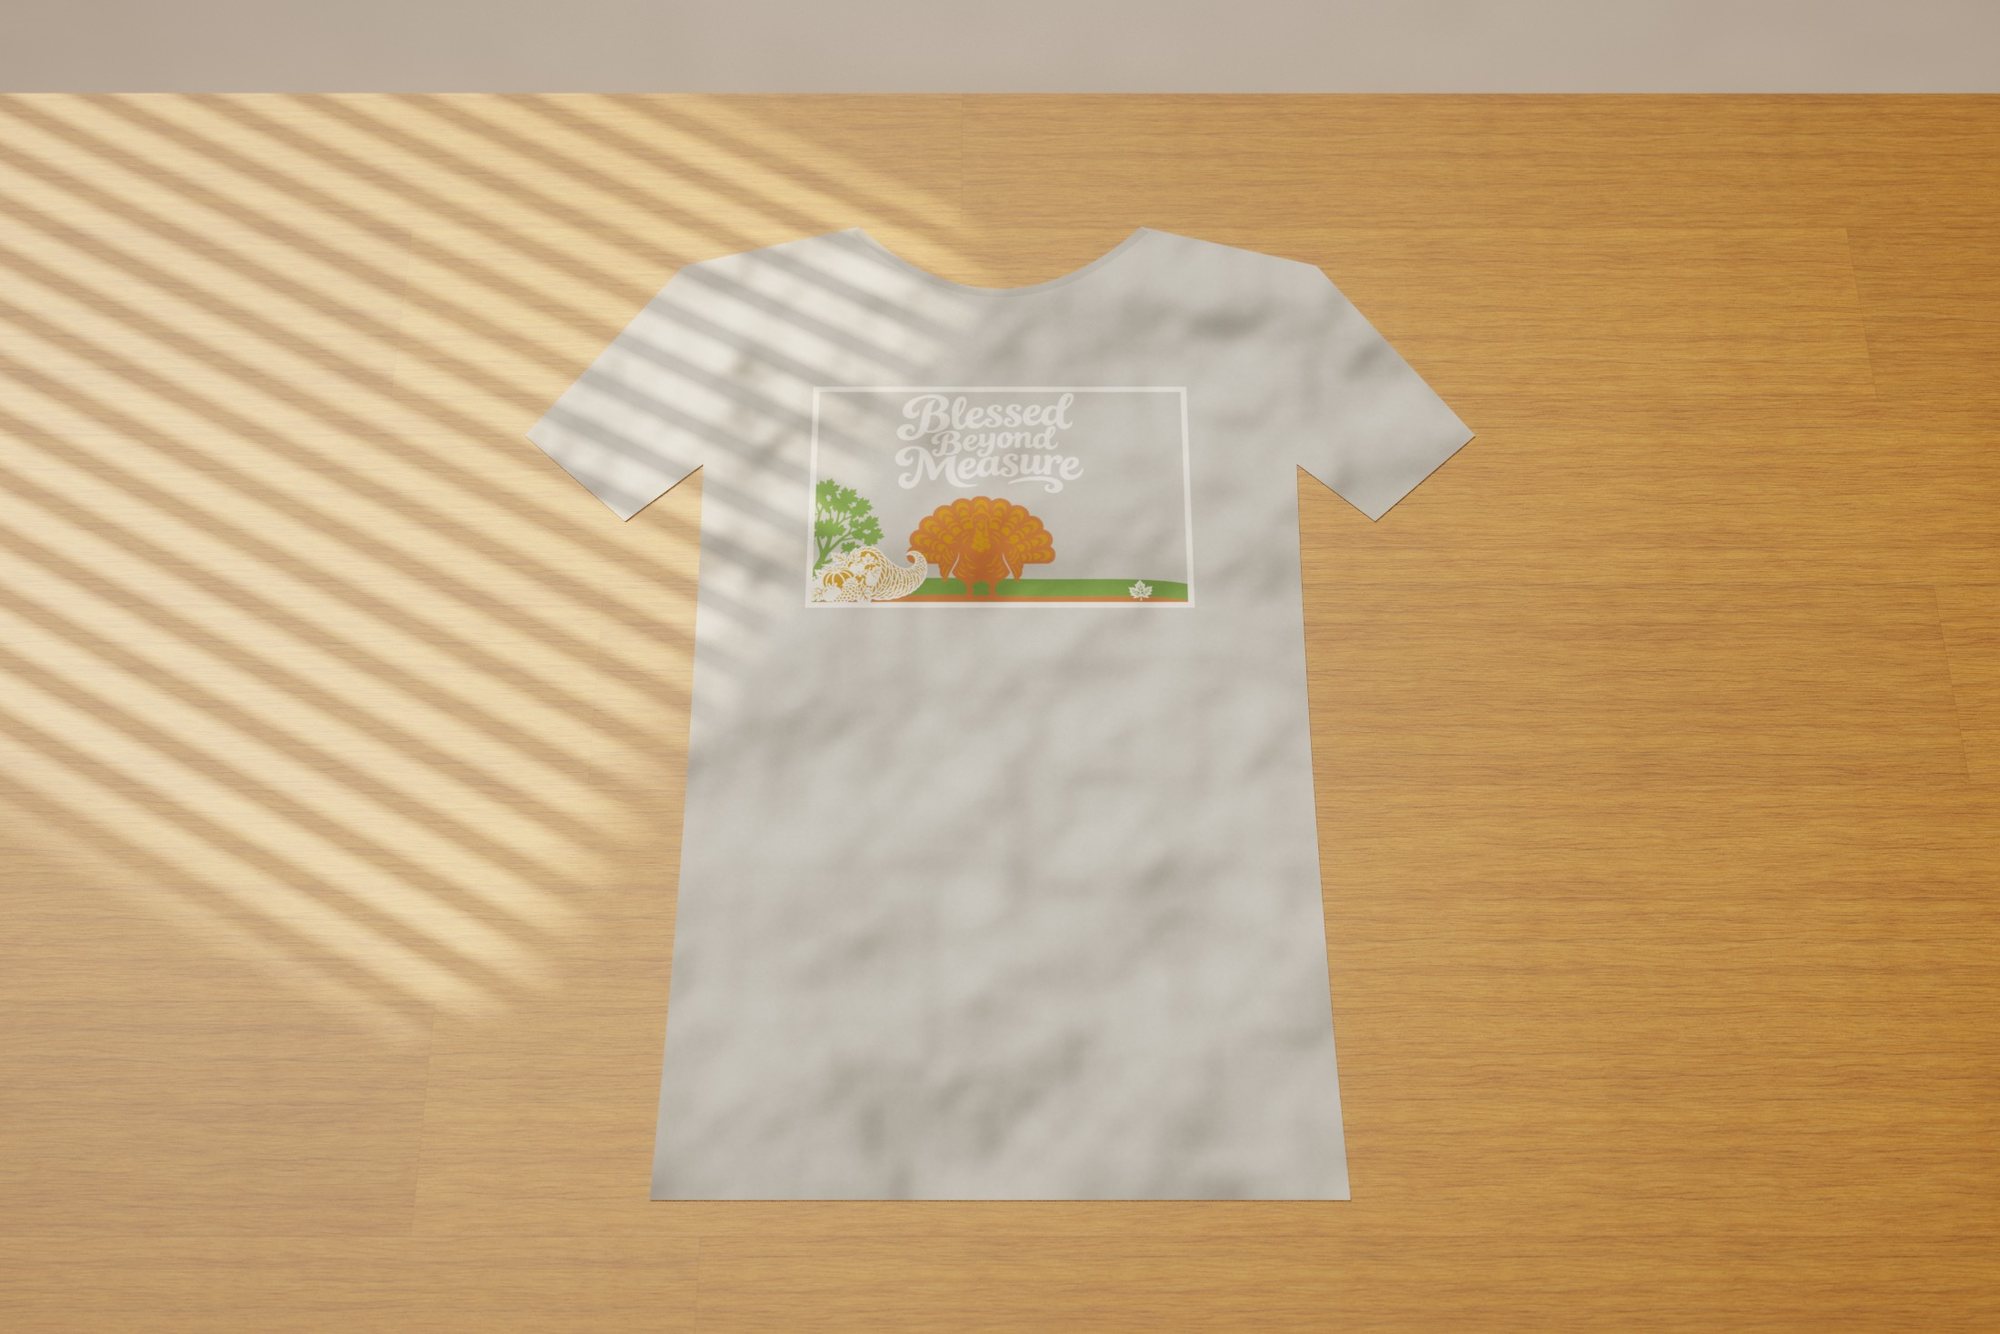 Grateful Gathering
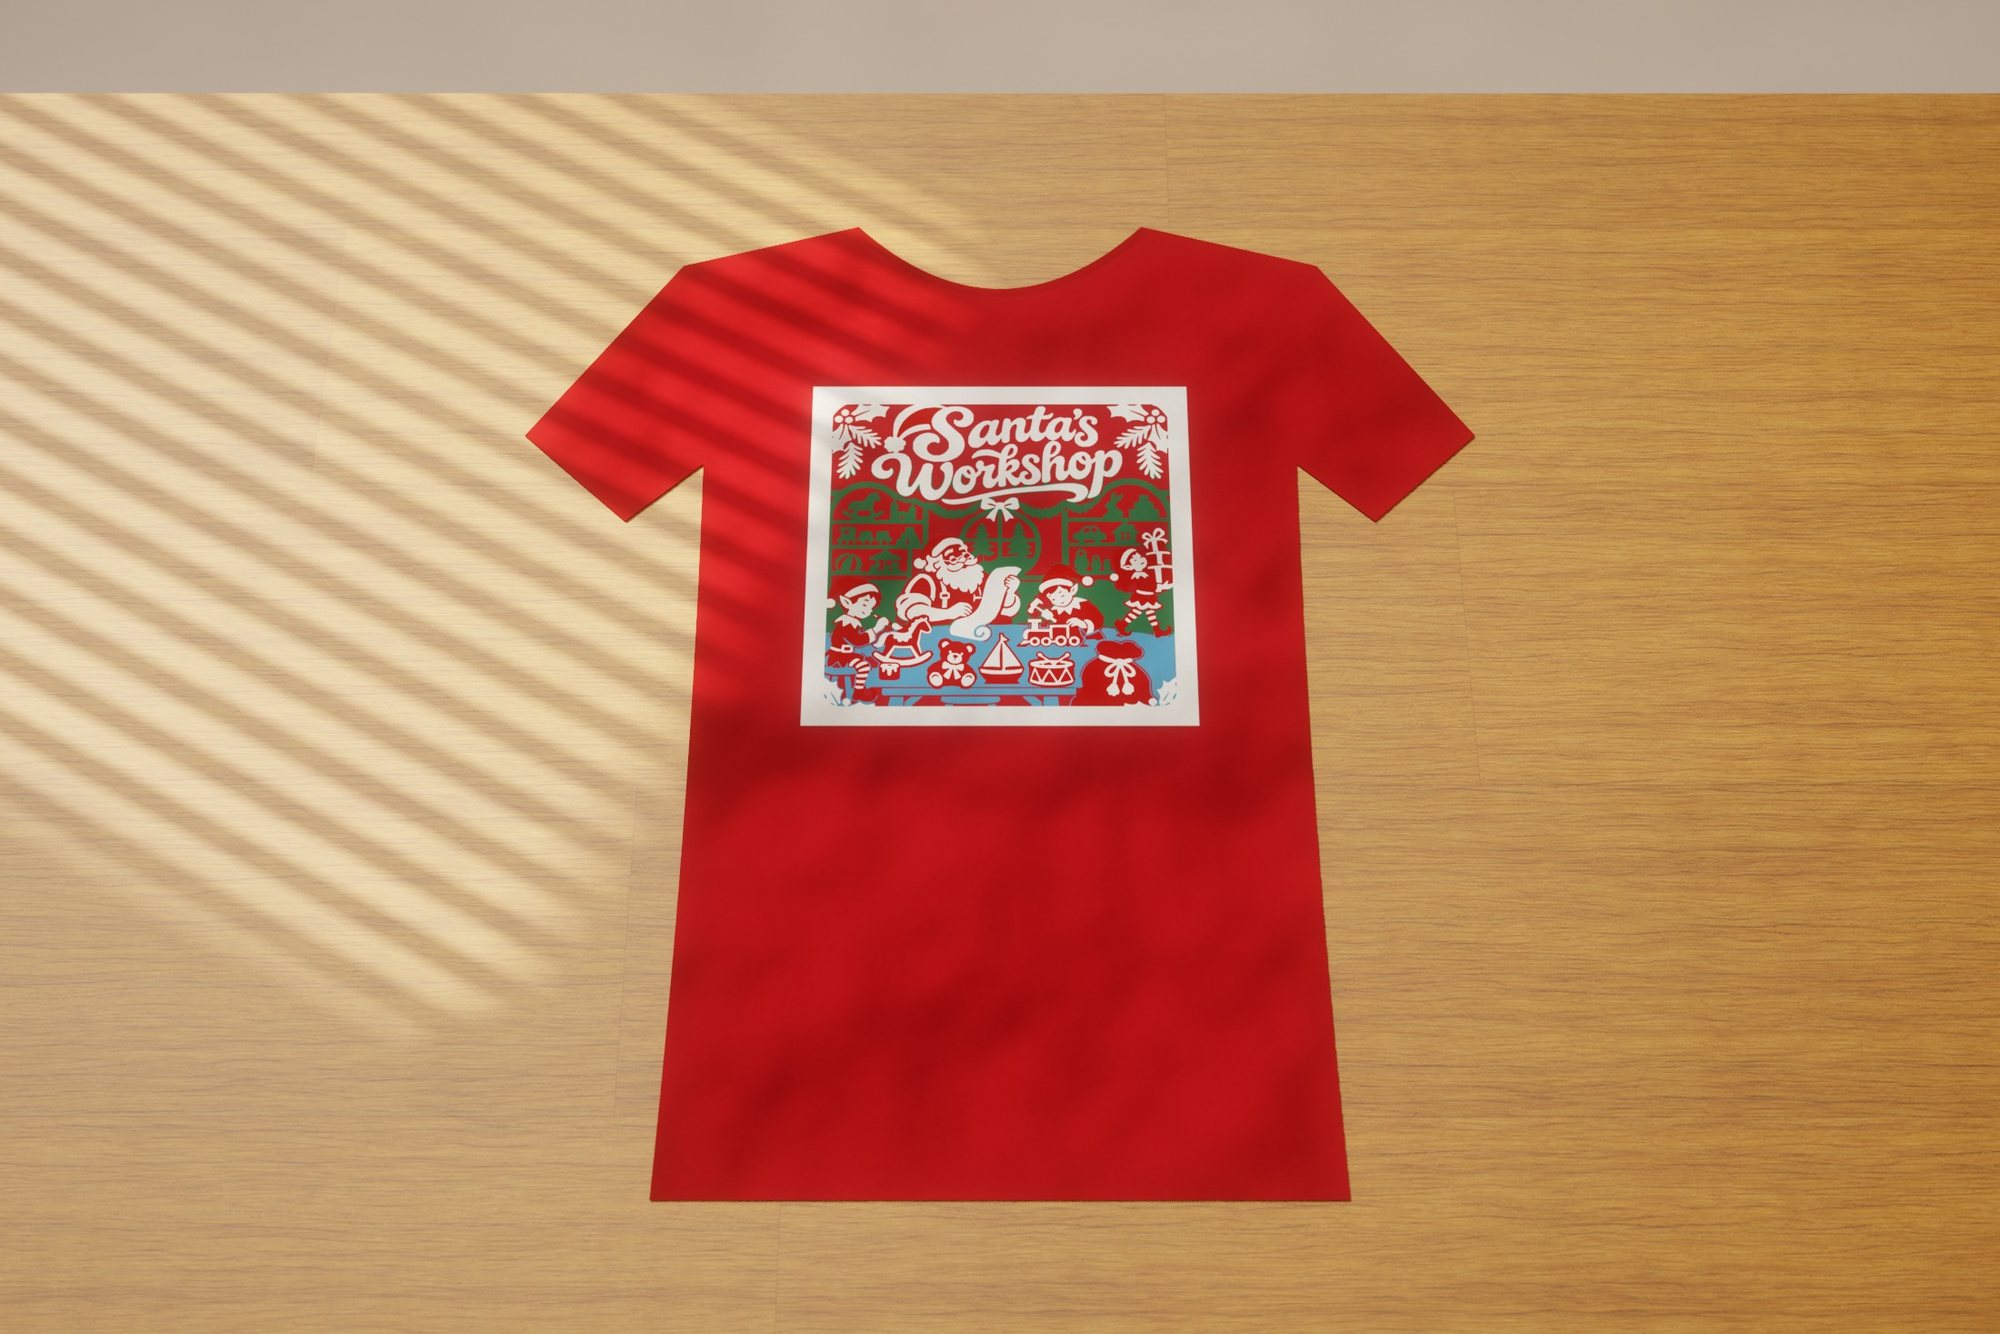 Santa's Workshop
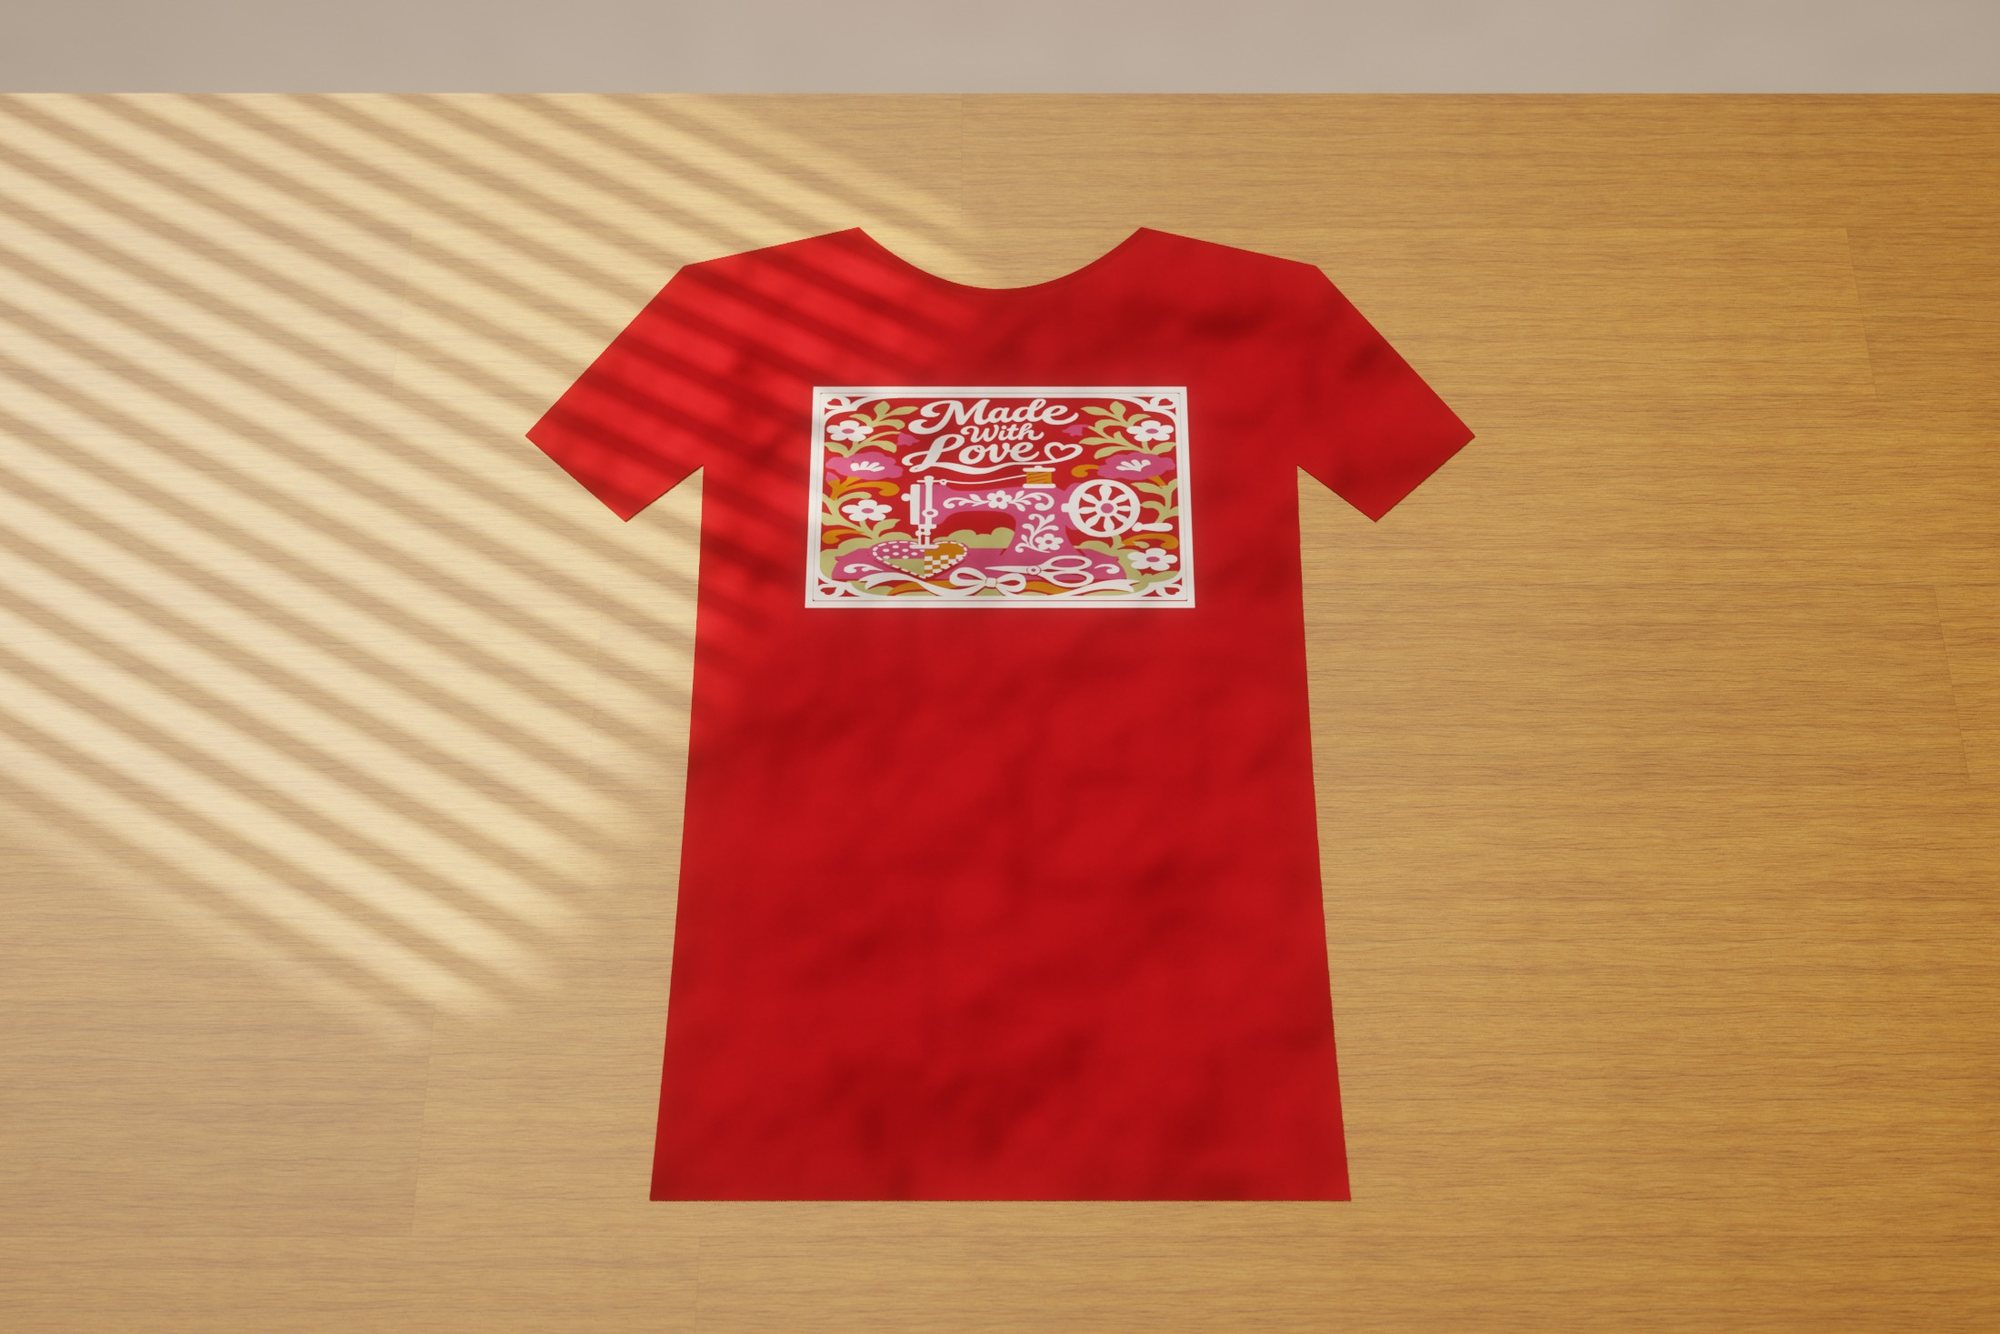 Made with Love 2
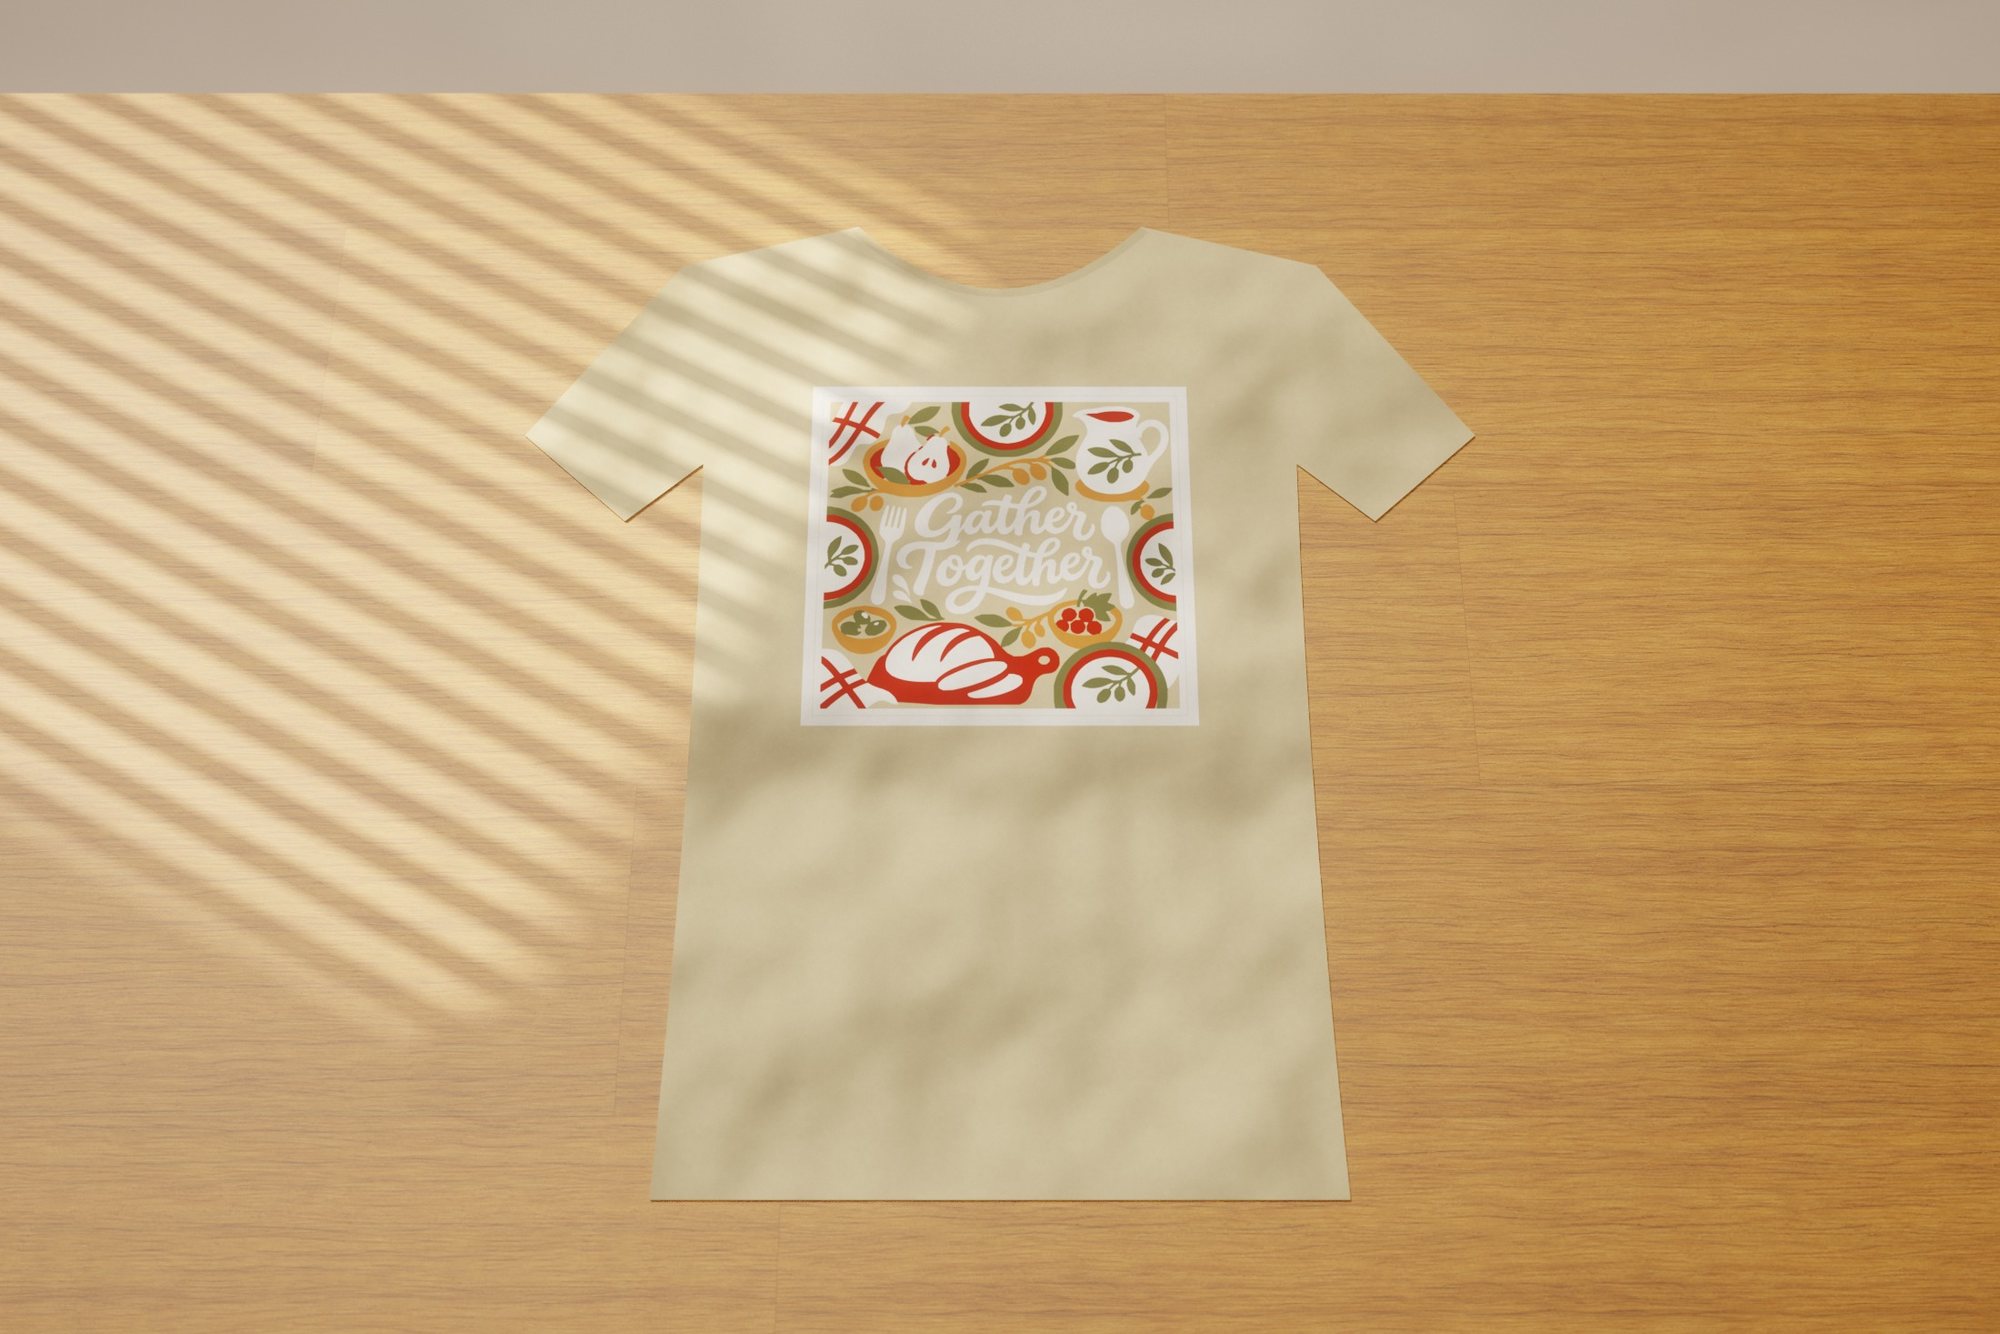 Gather Together
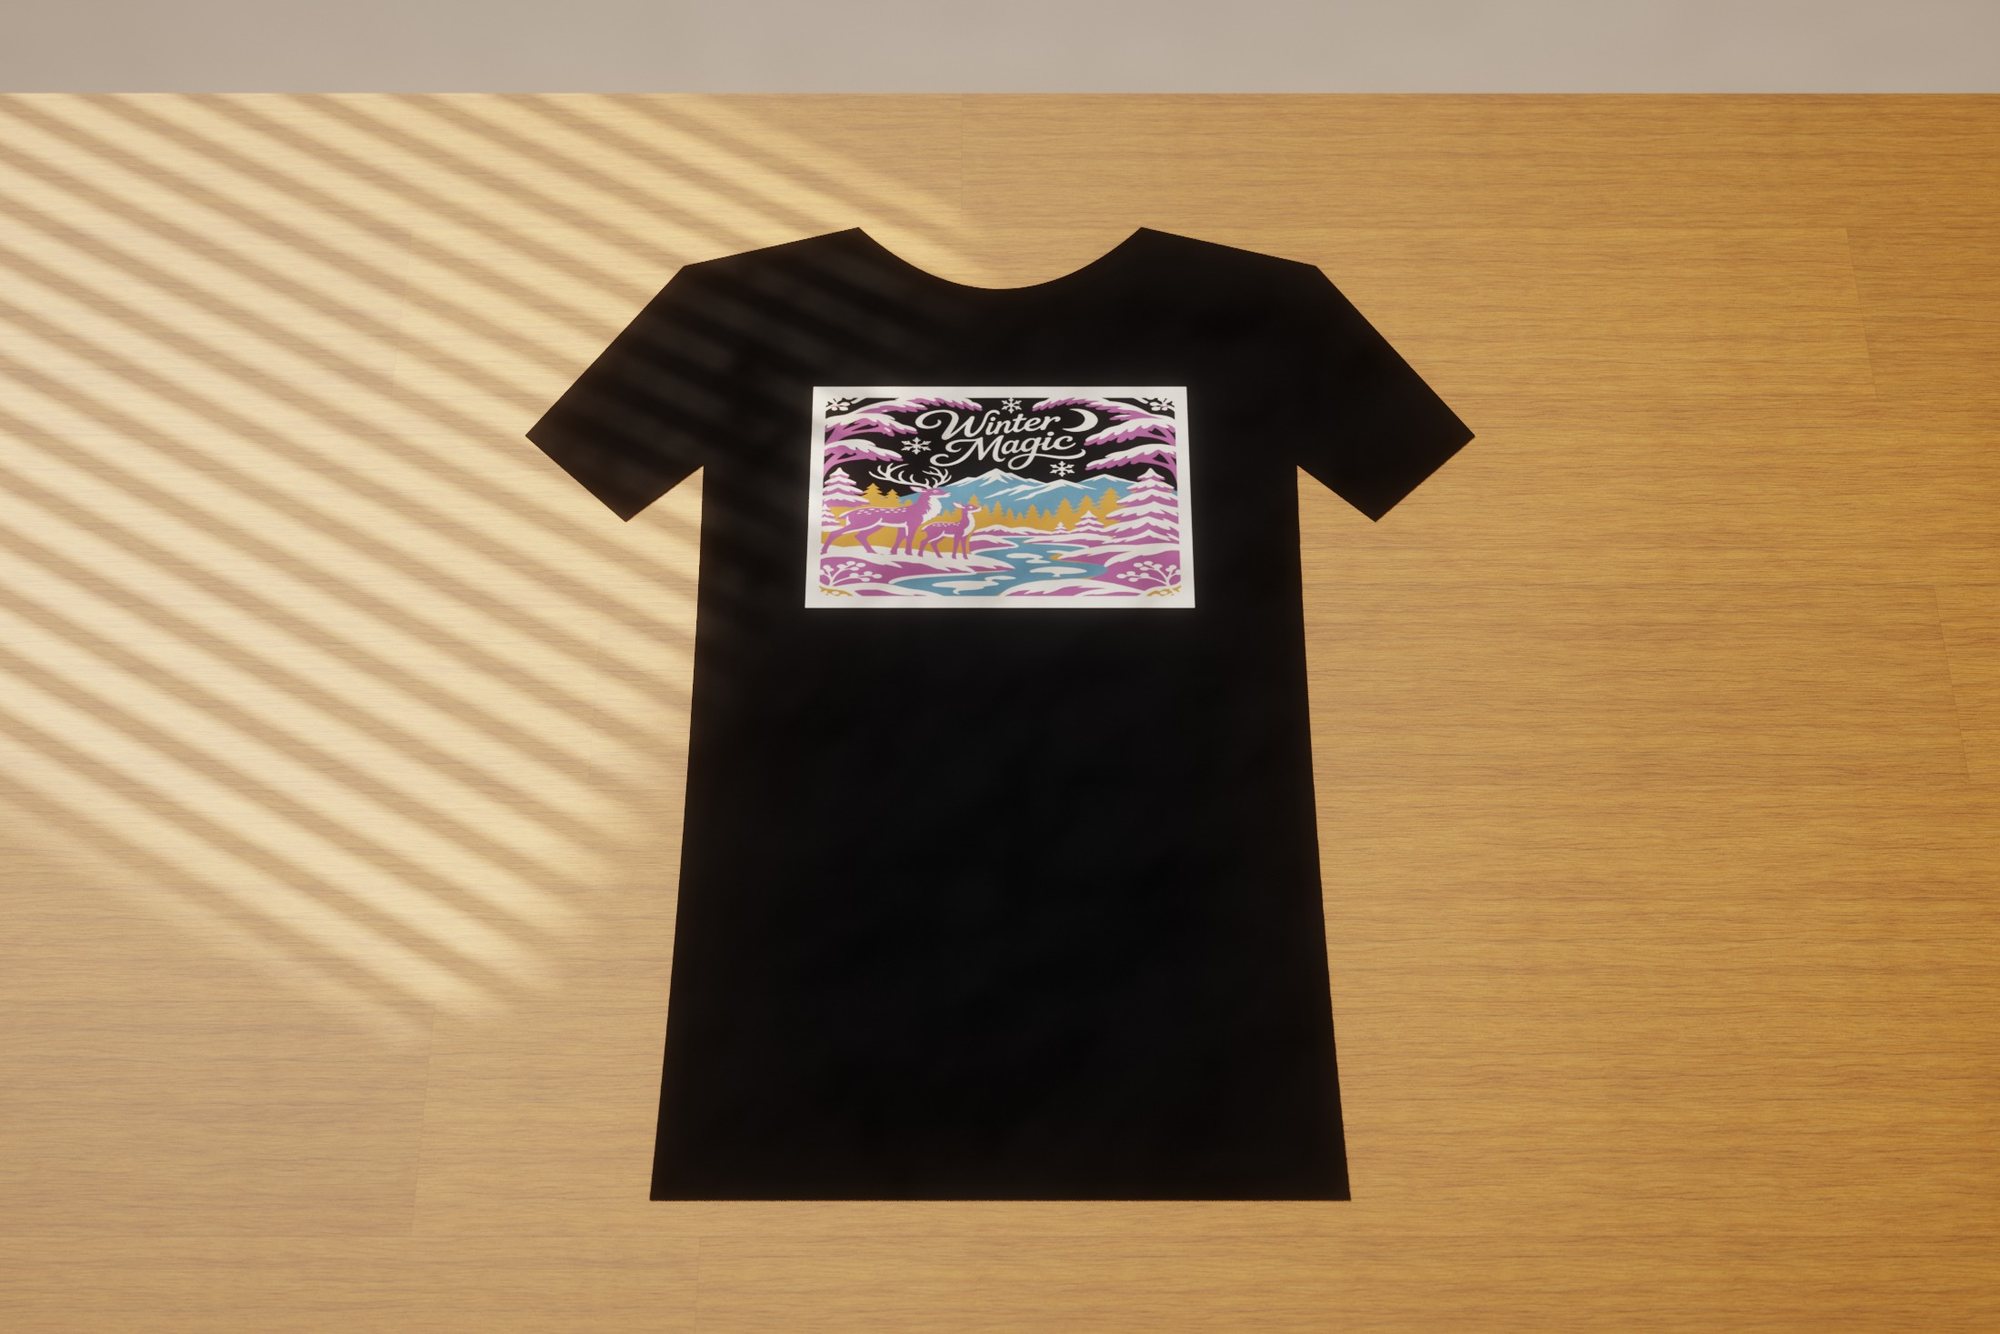 Winter Magic
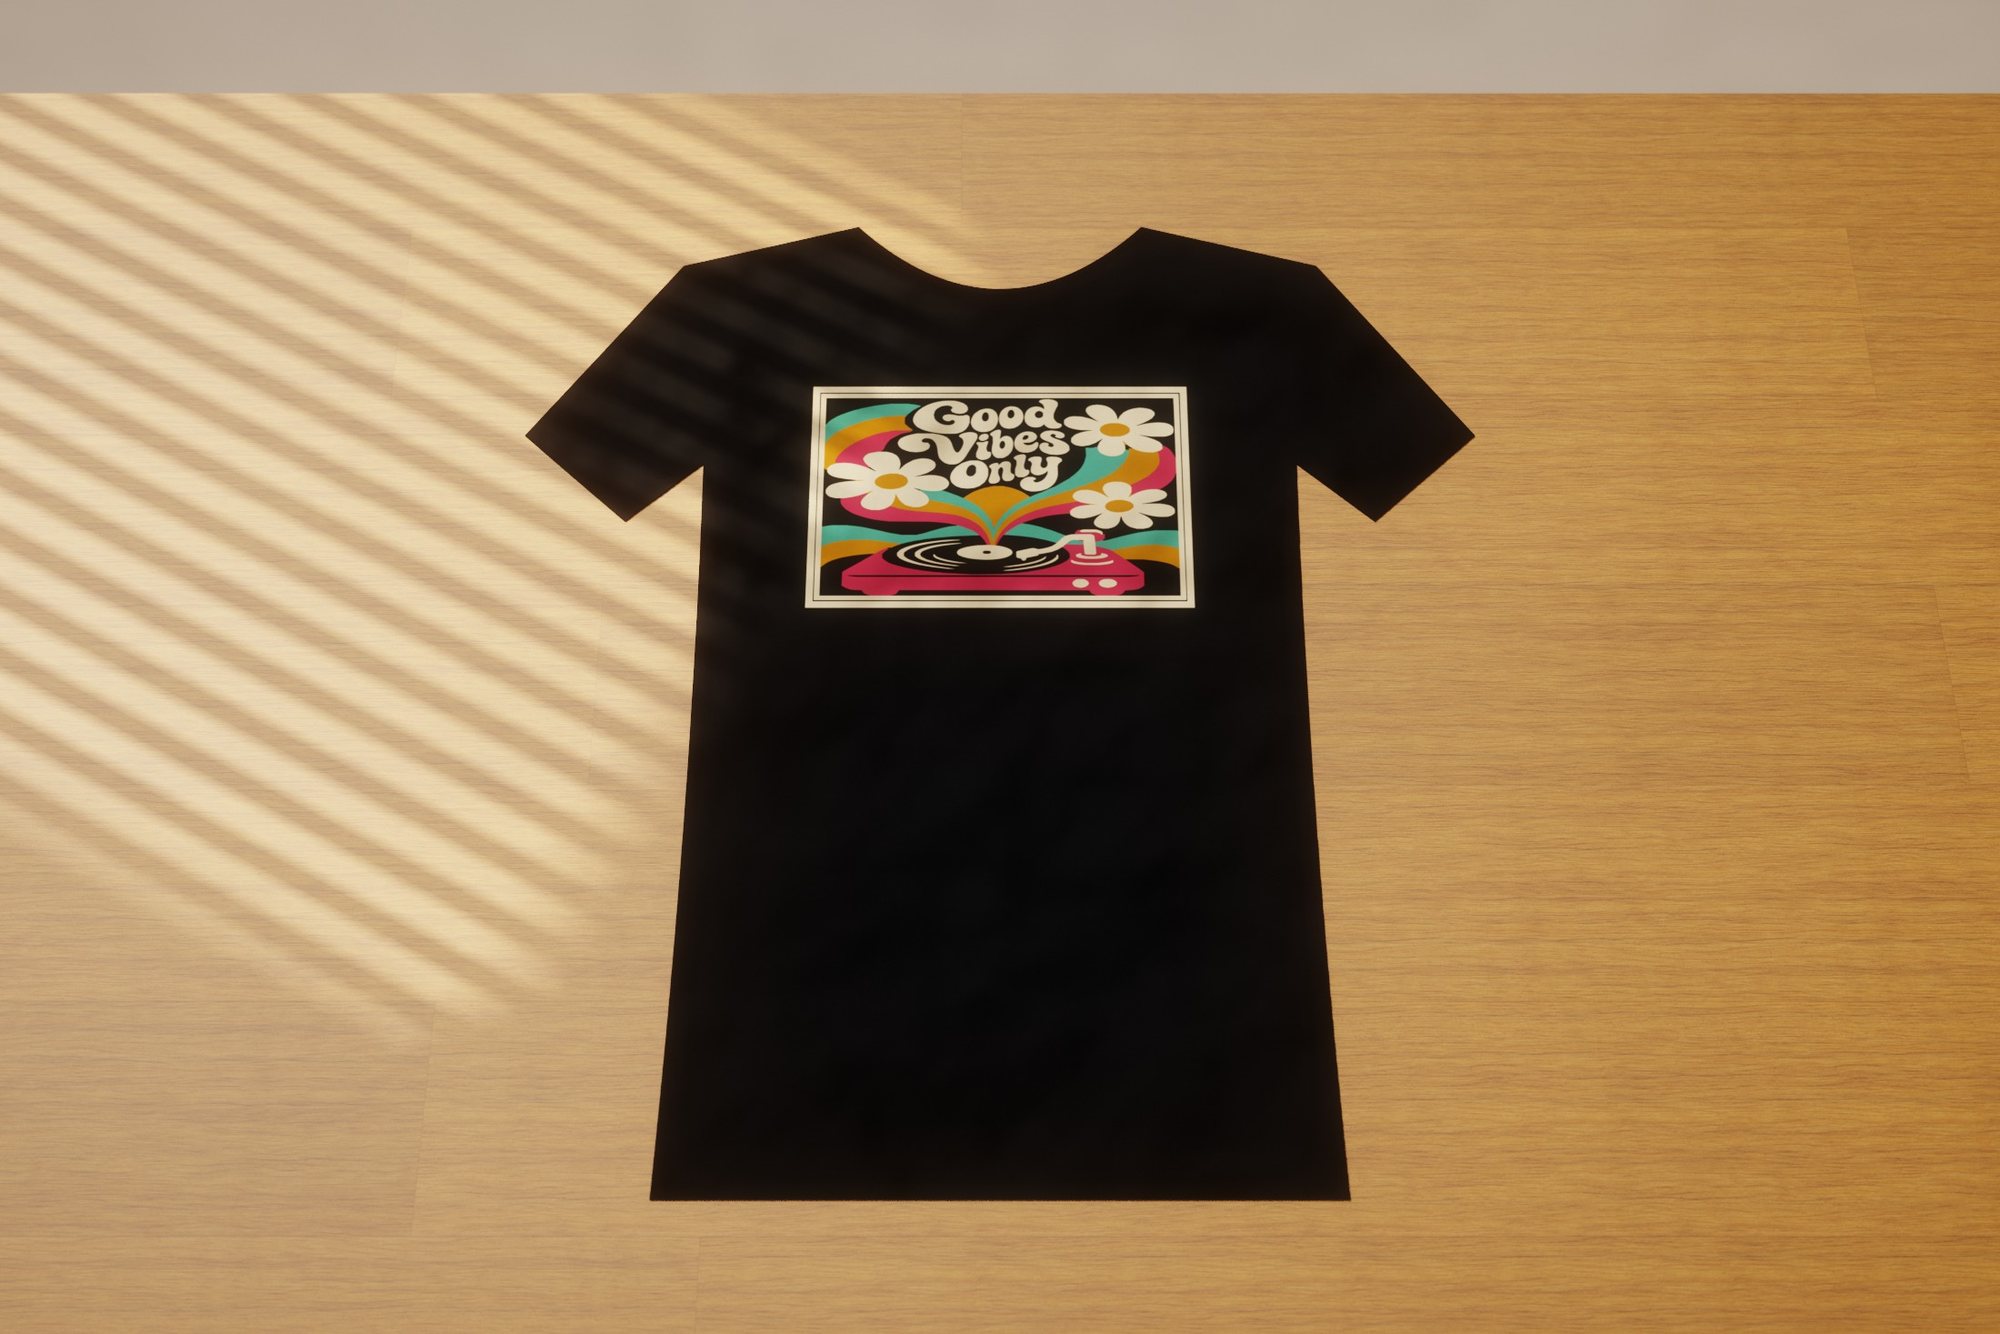 Good Vibes Only
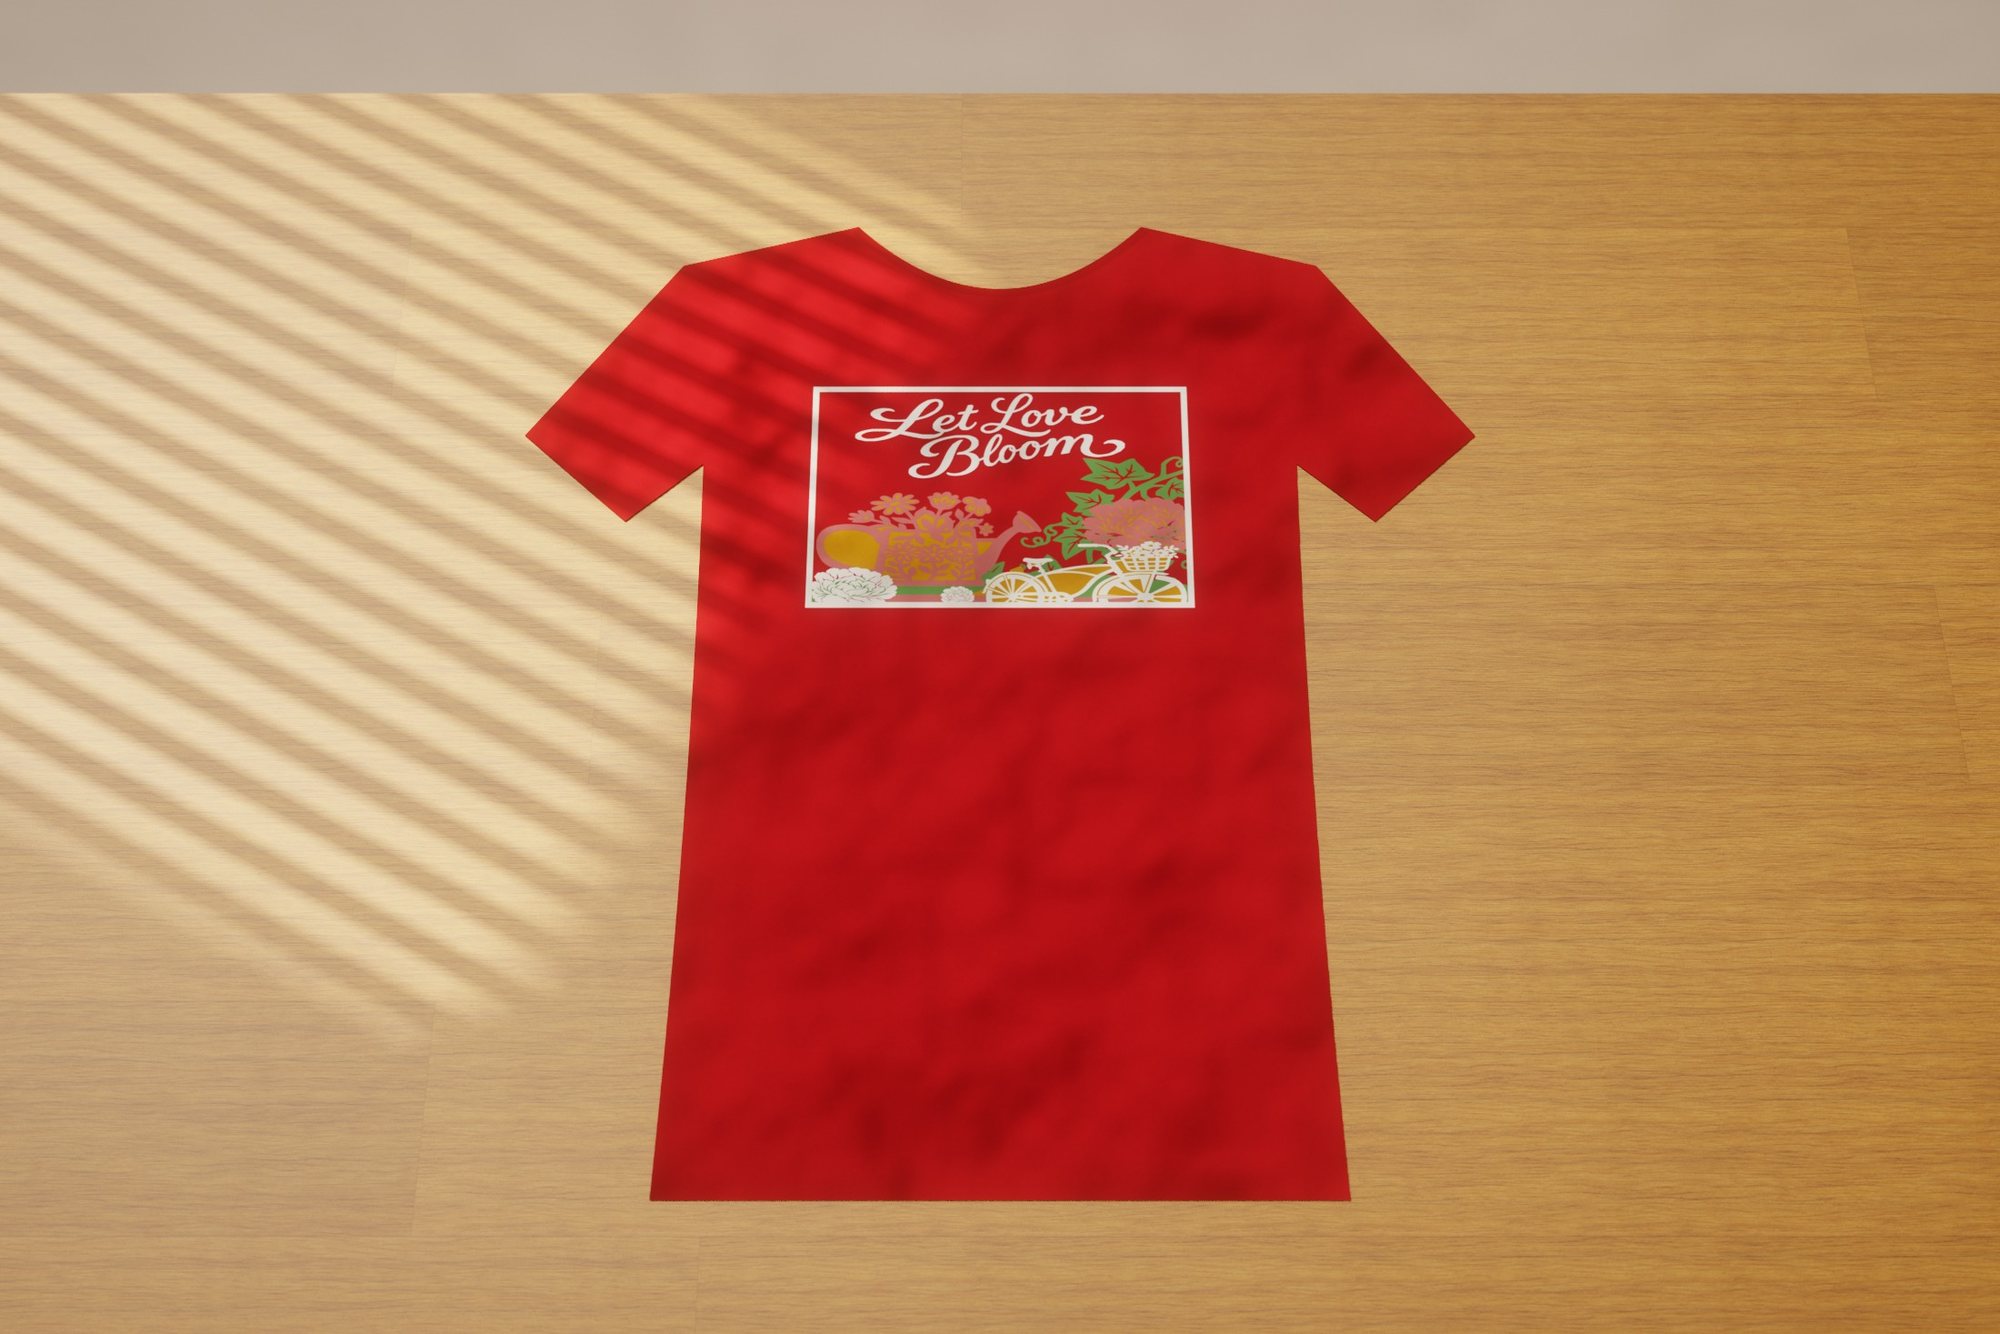 Blooming Joy
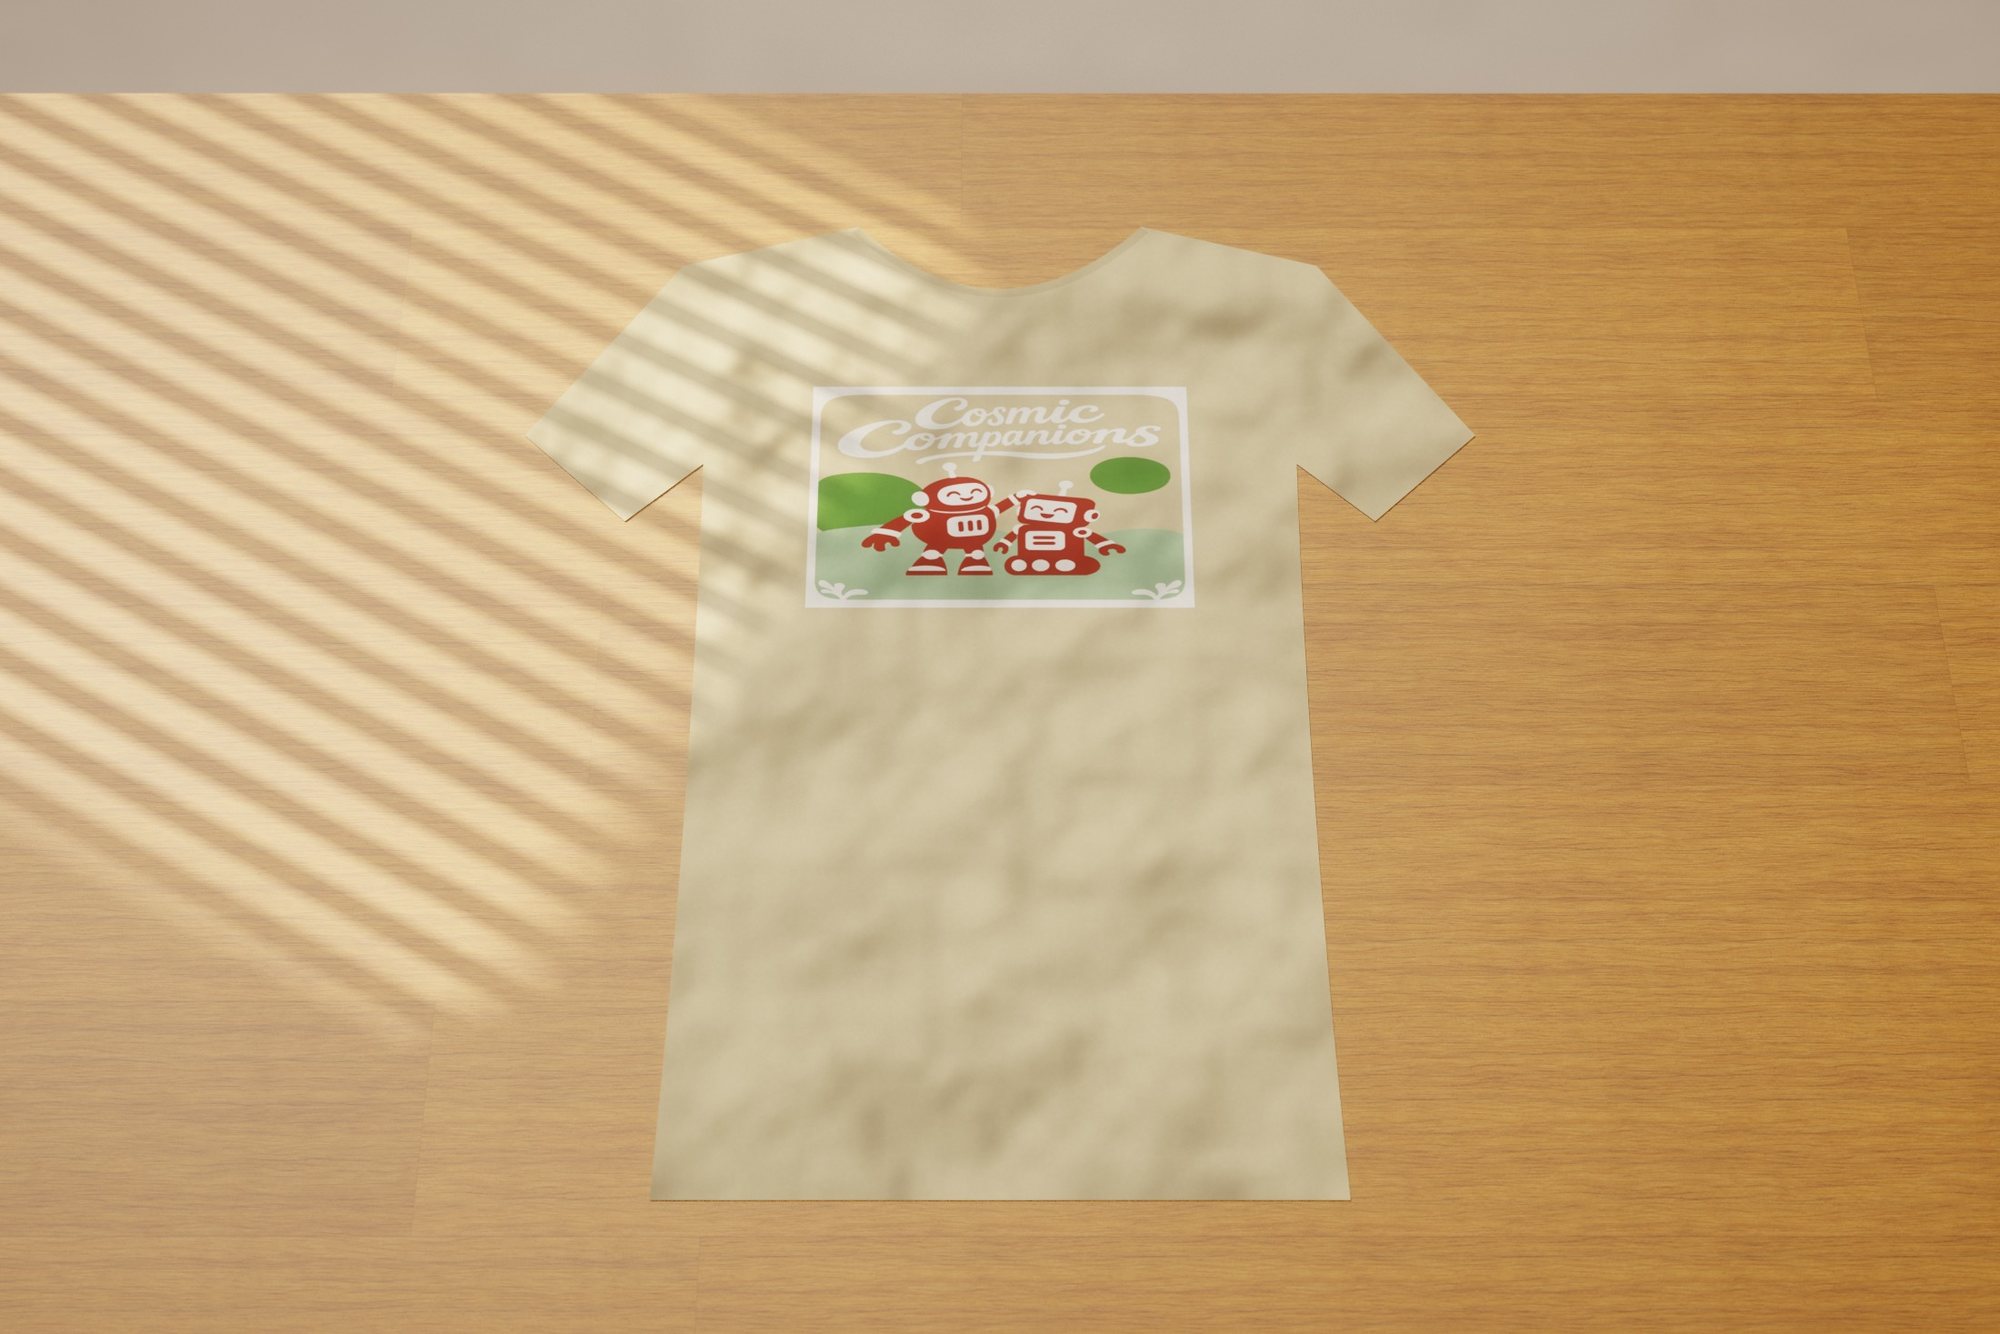 Cosmic Companions
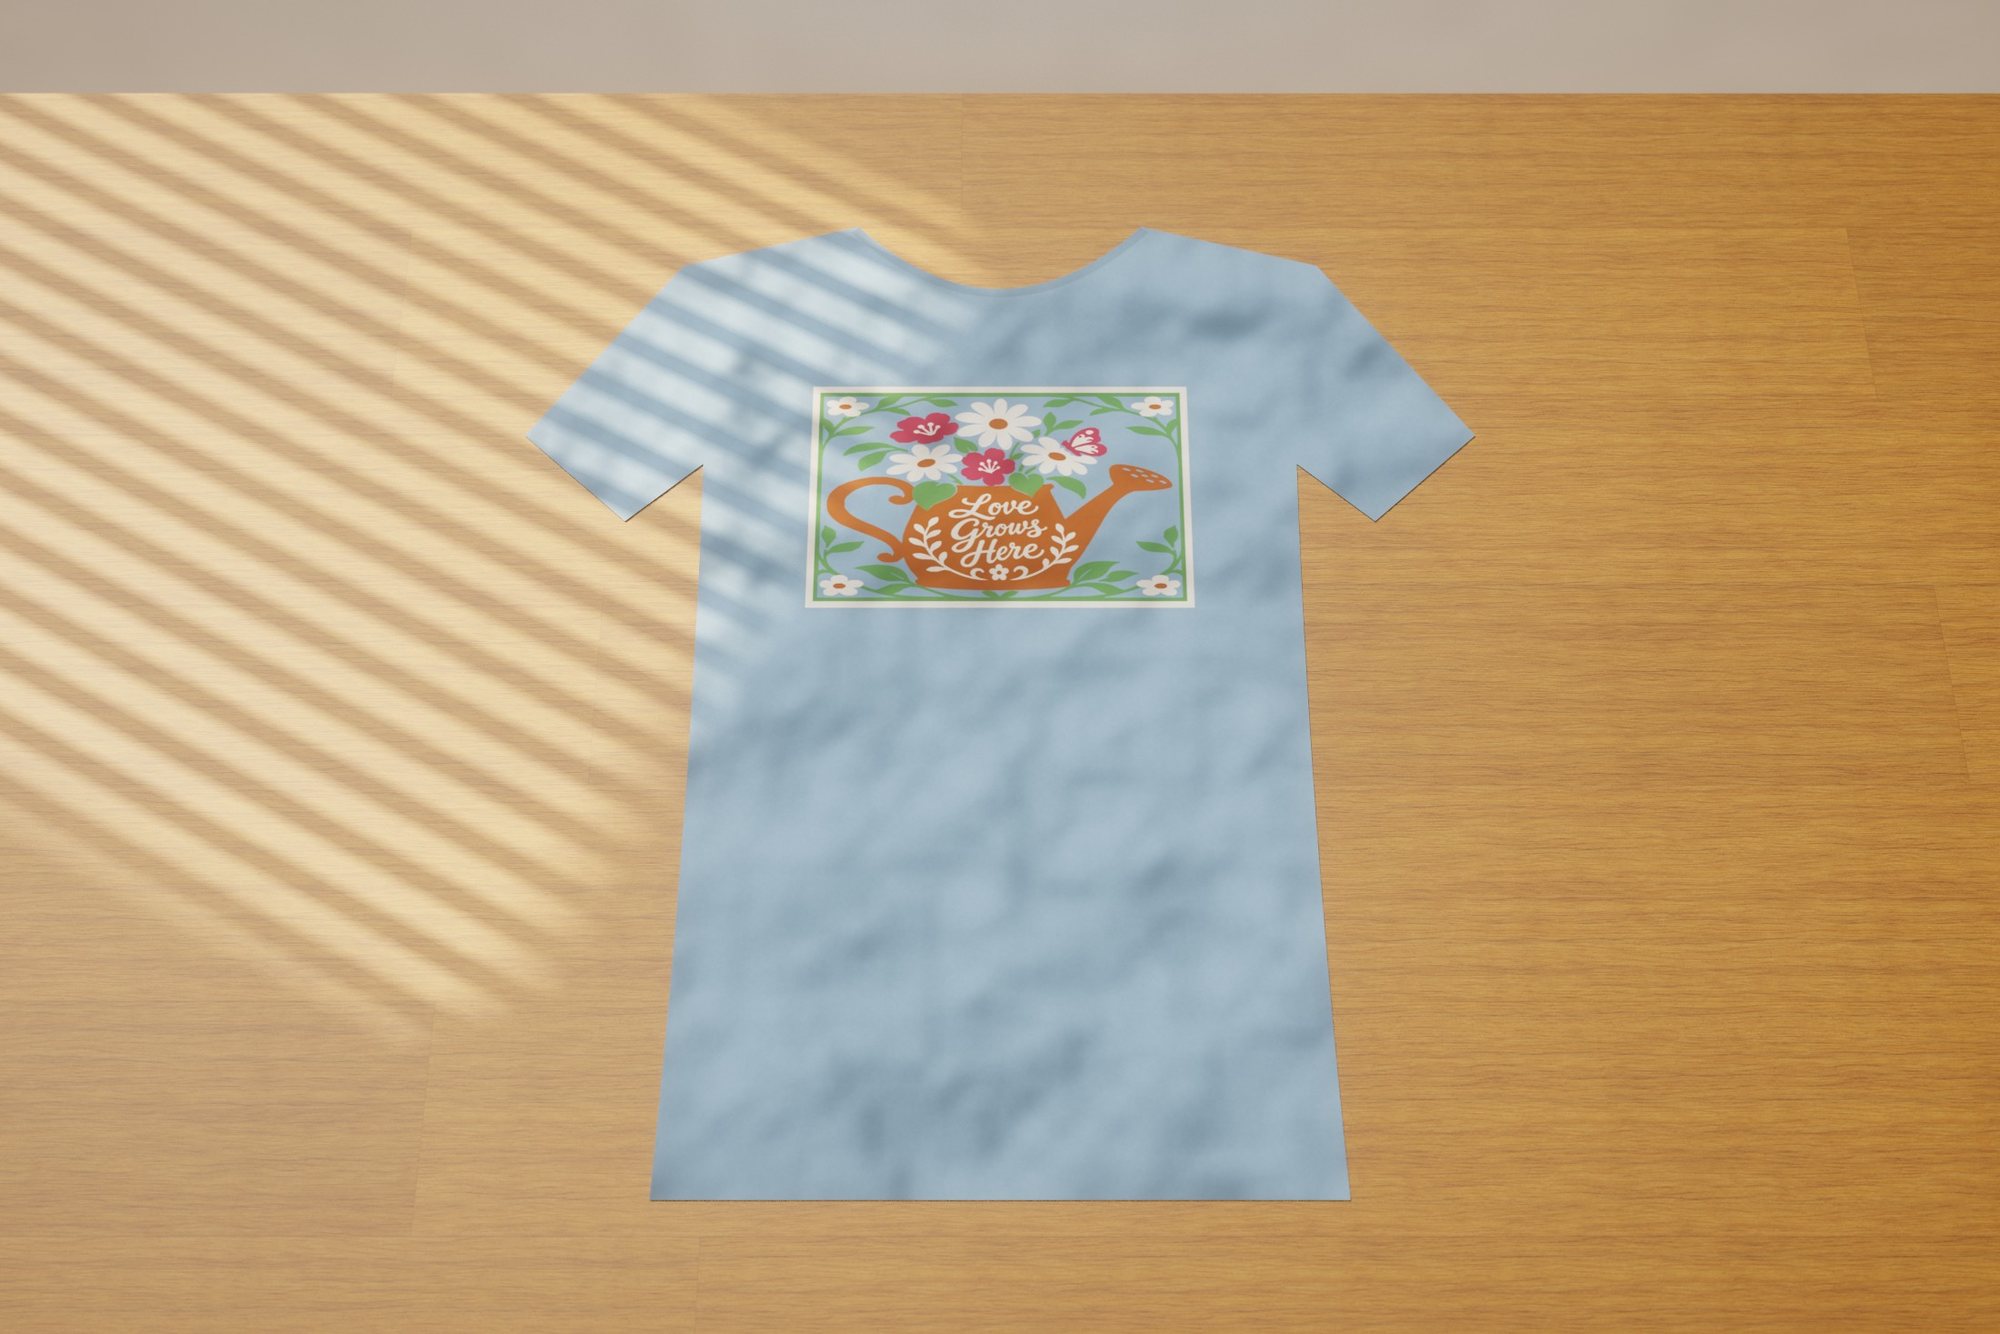 Love Grows Here
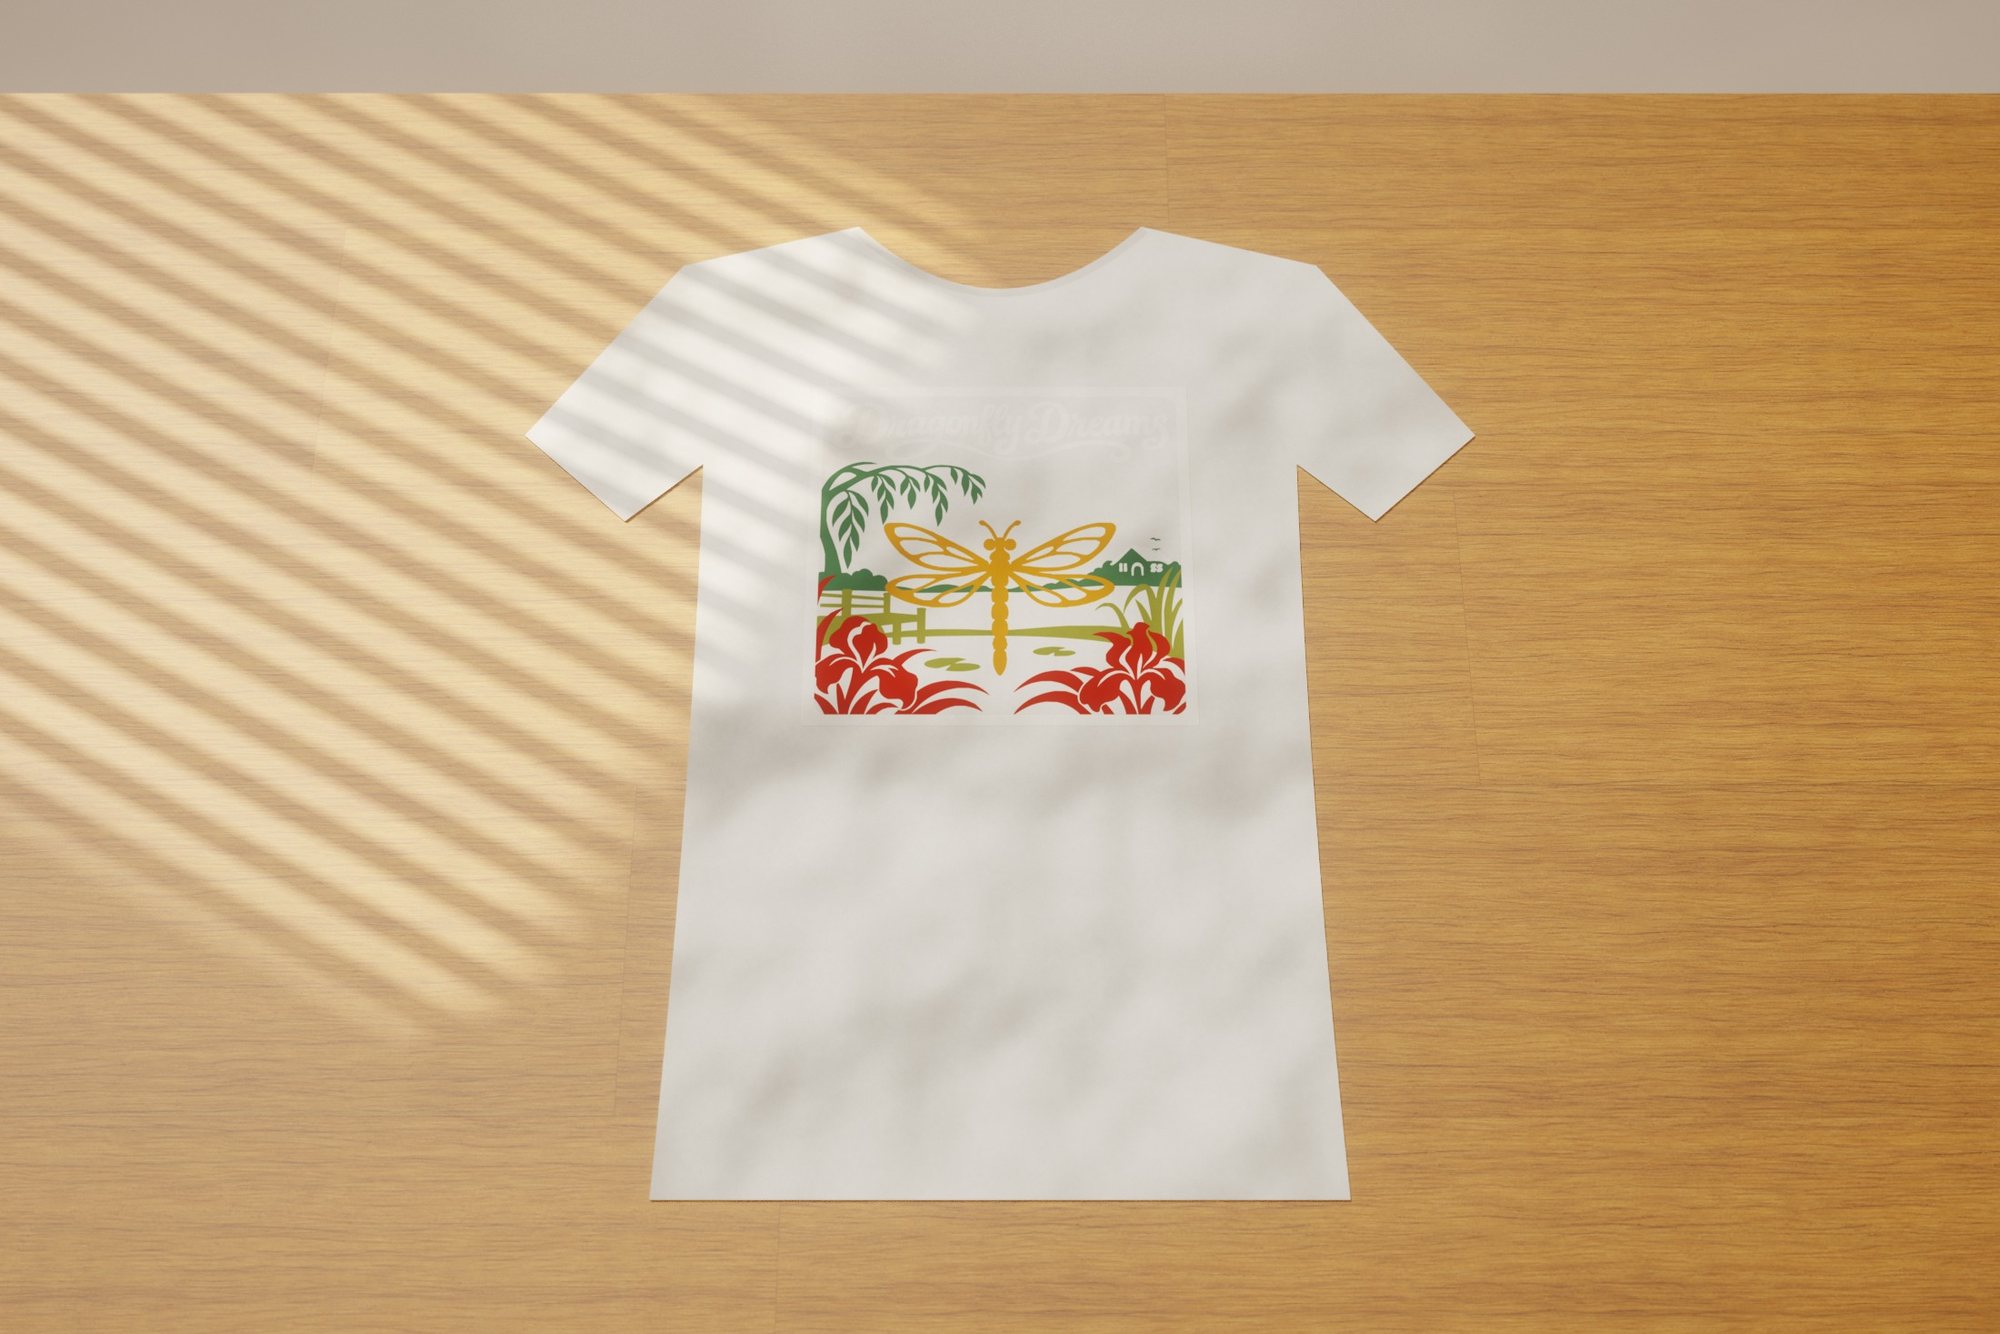 Dragonfly Dreams
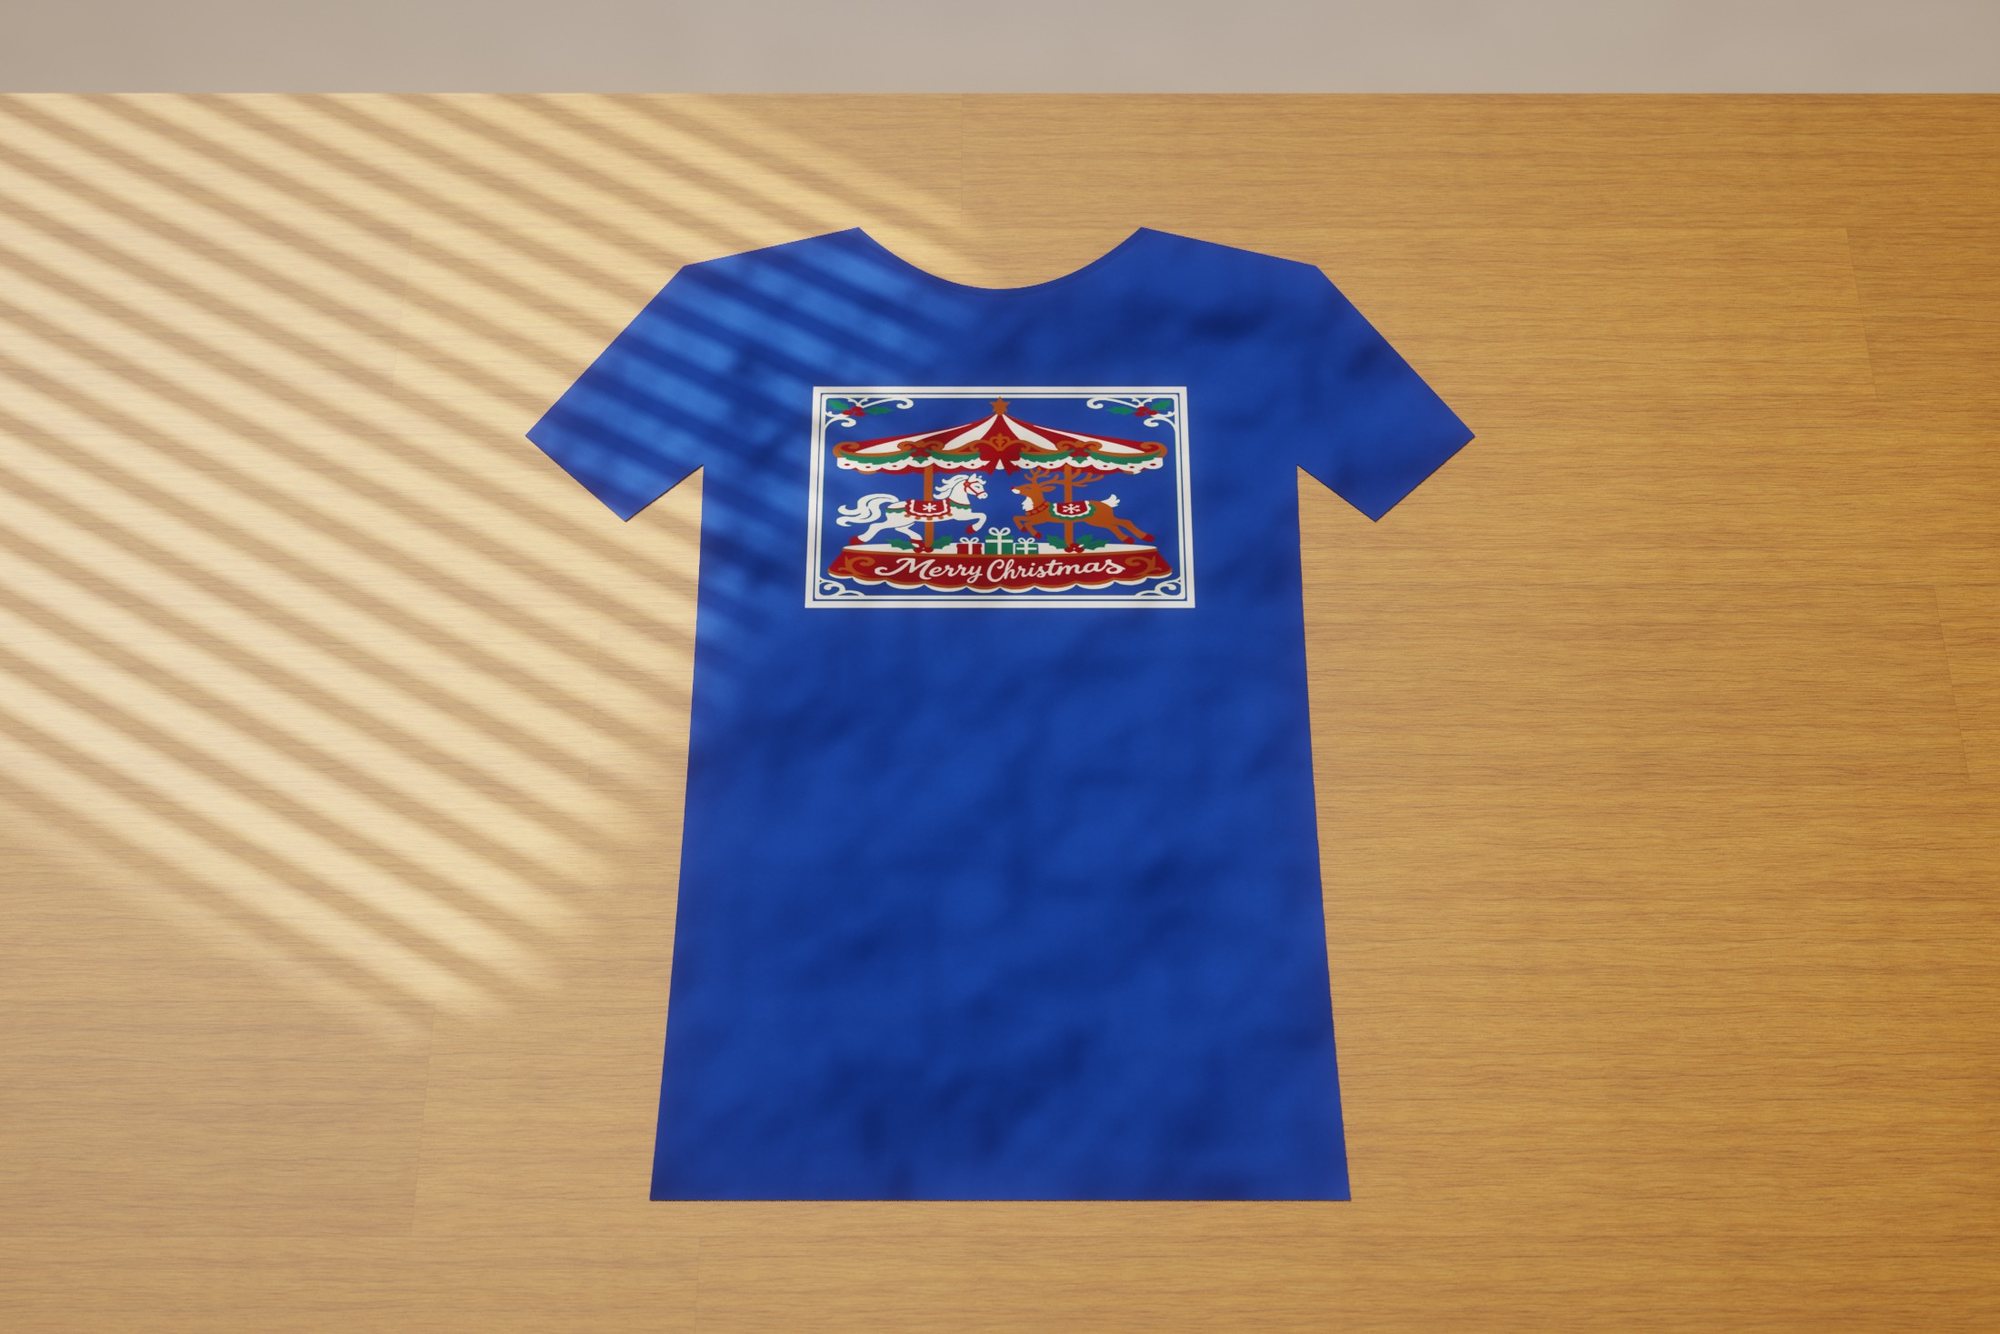 Christmas Carousel
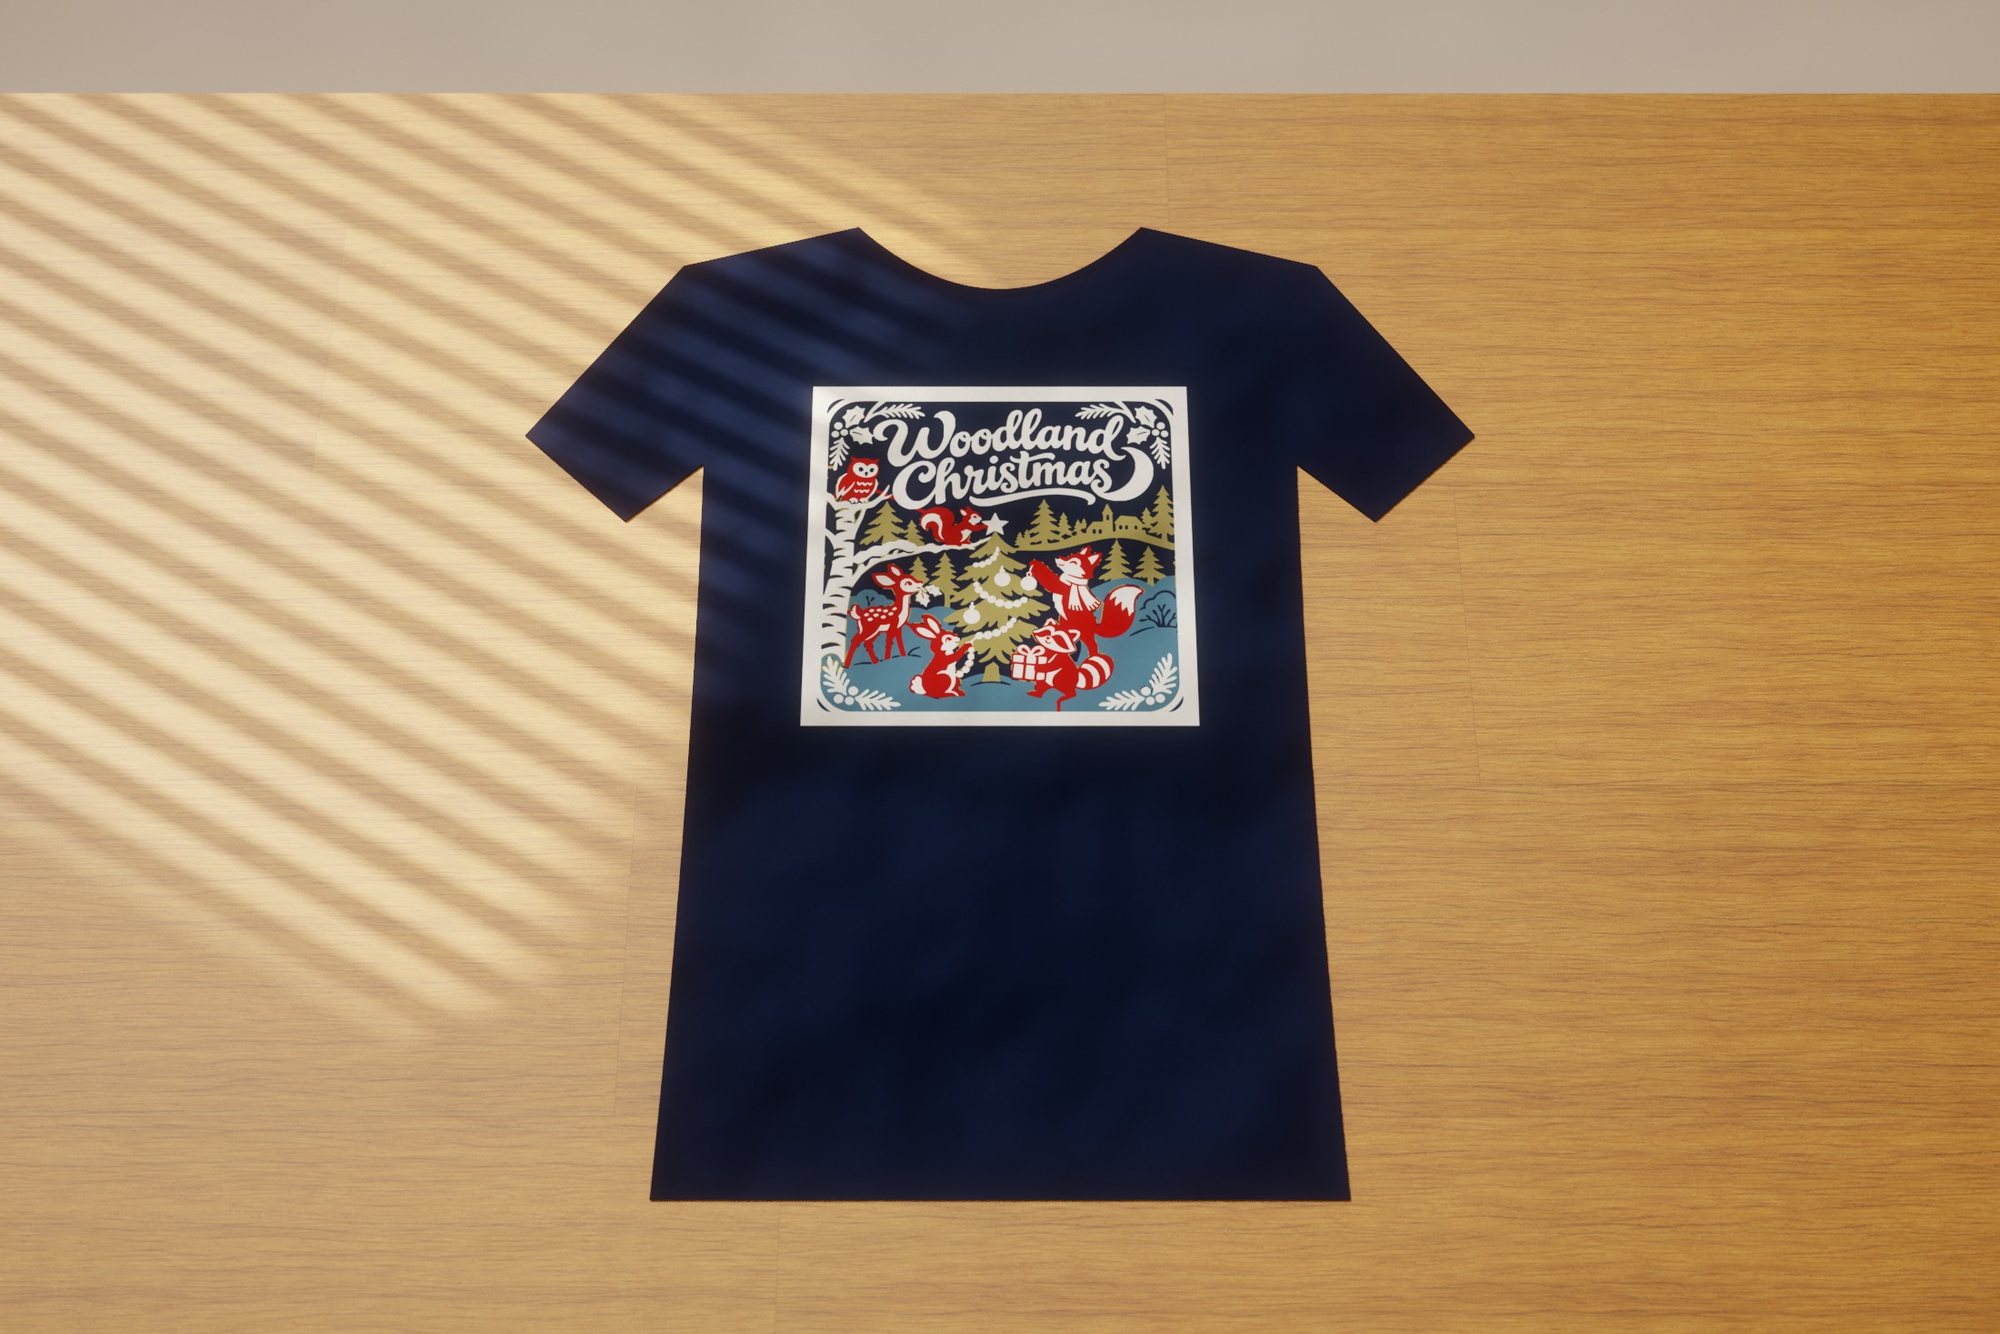 Woodland Christmas
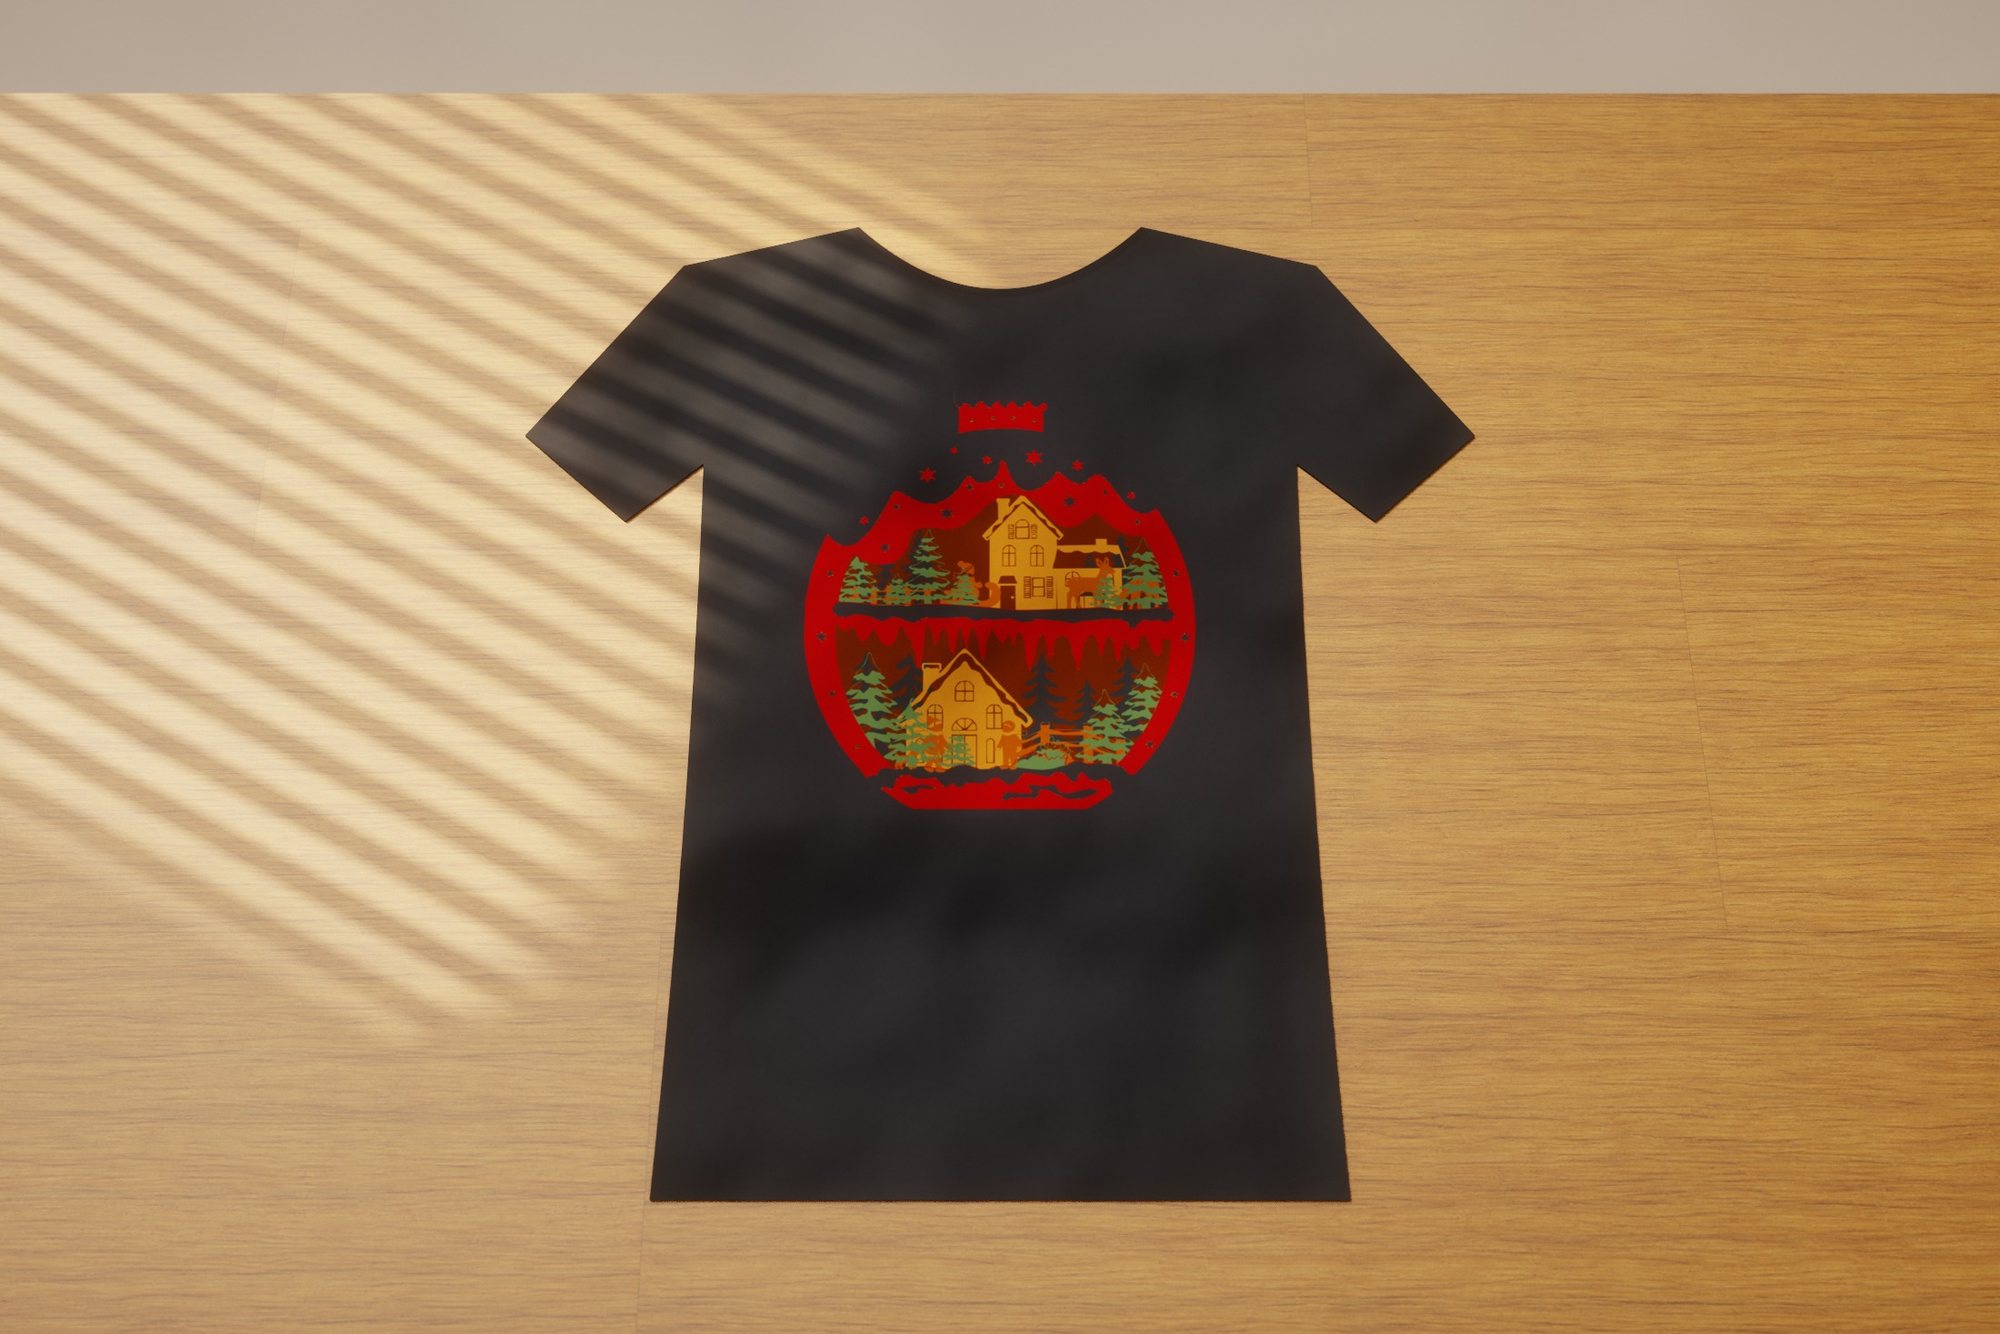 Christmas Village Ornament
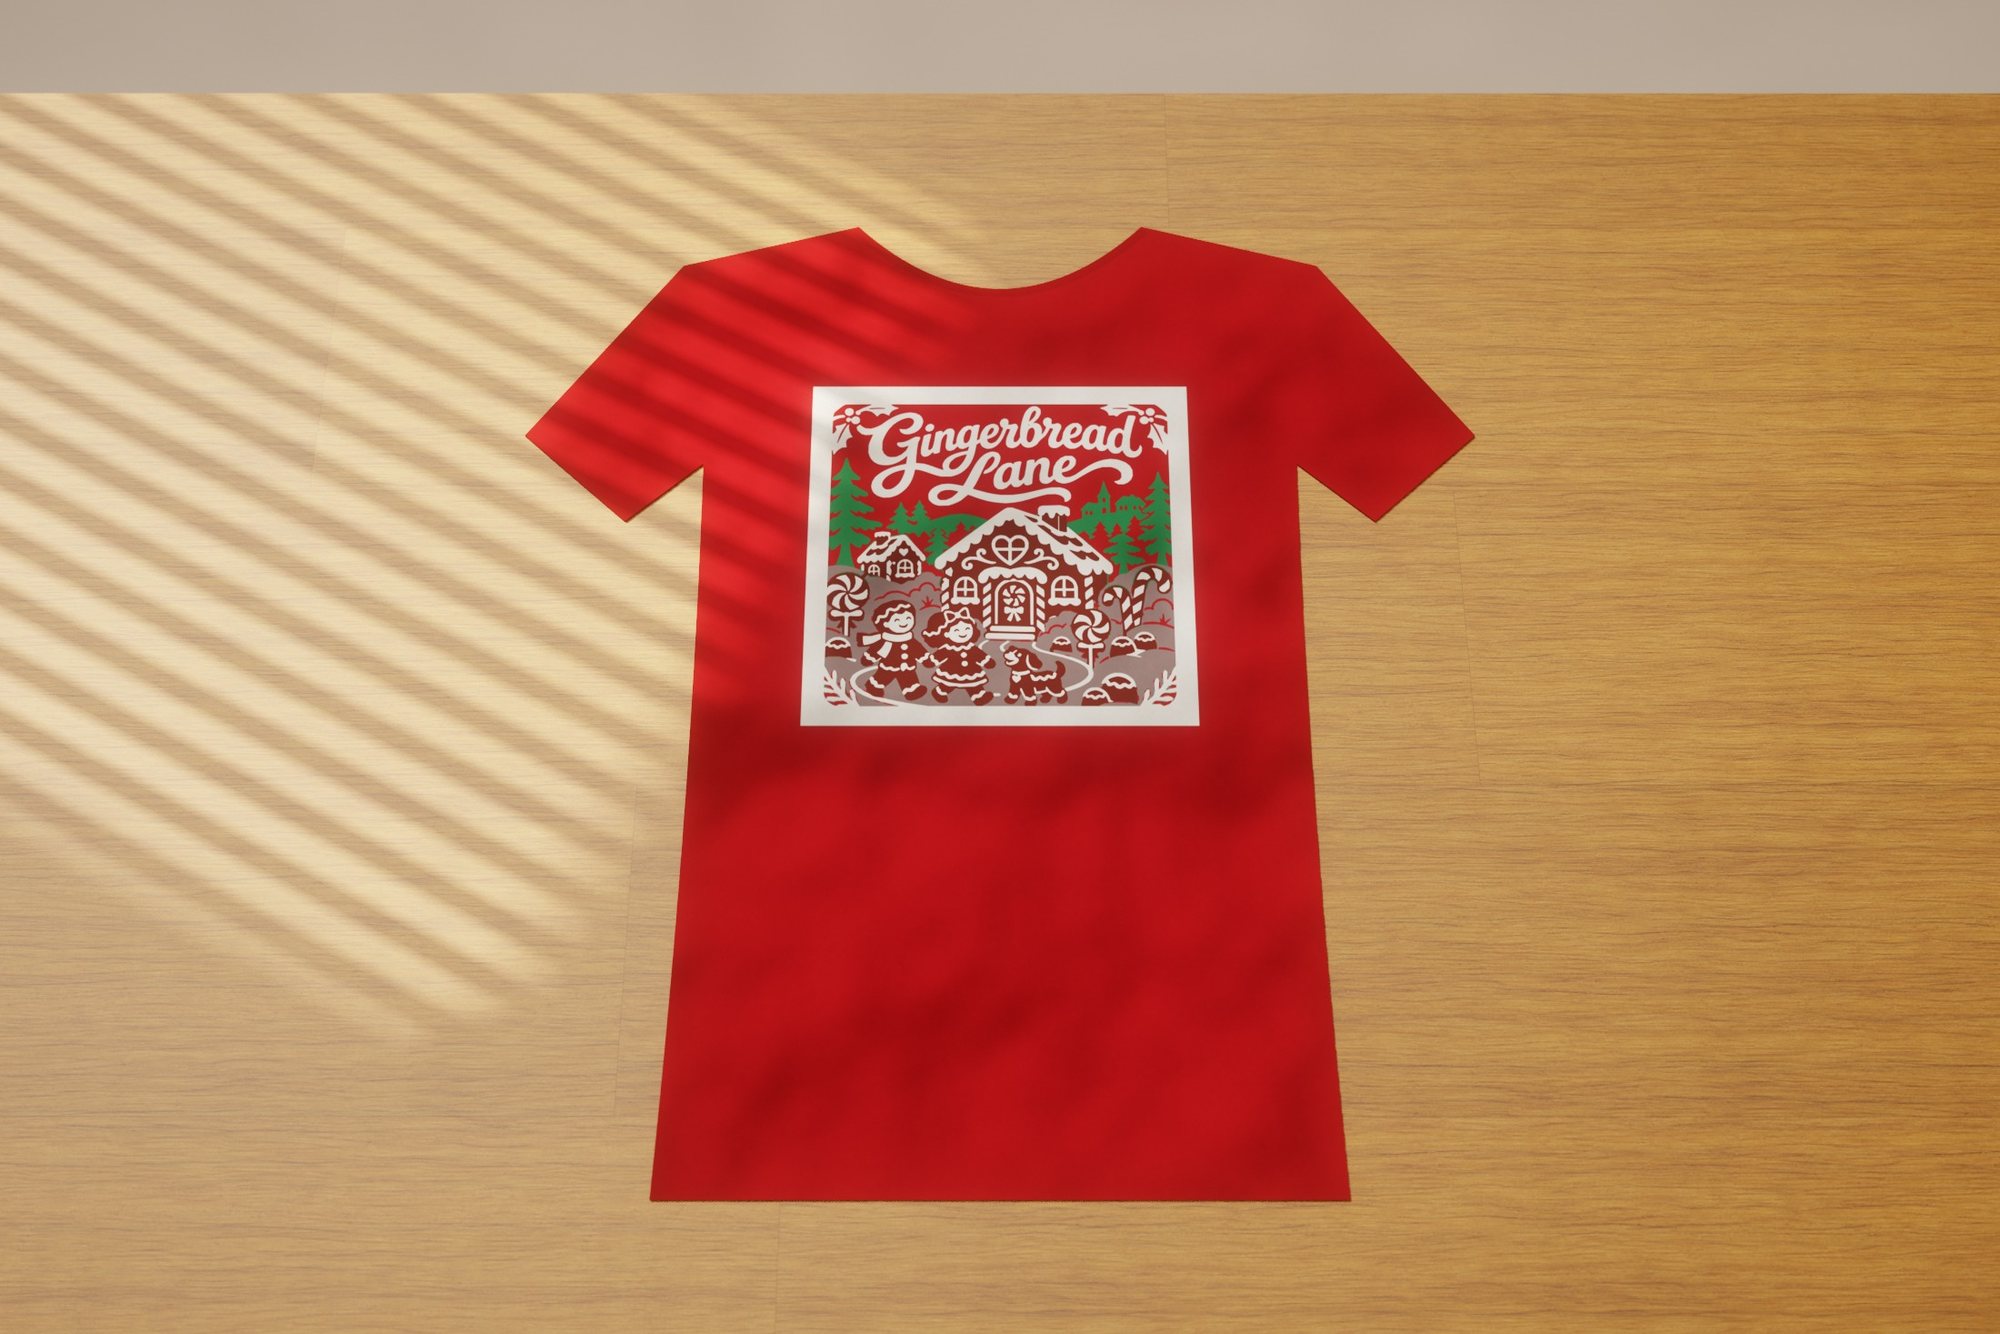 Gingerbread Lane
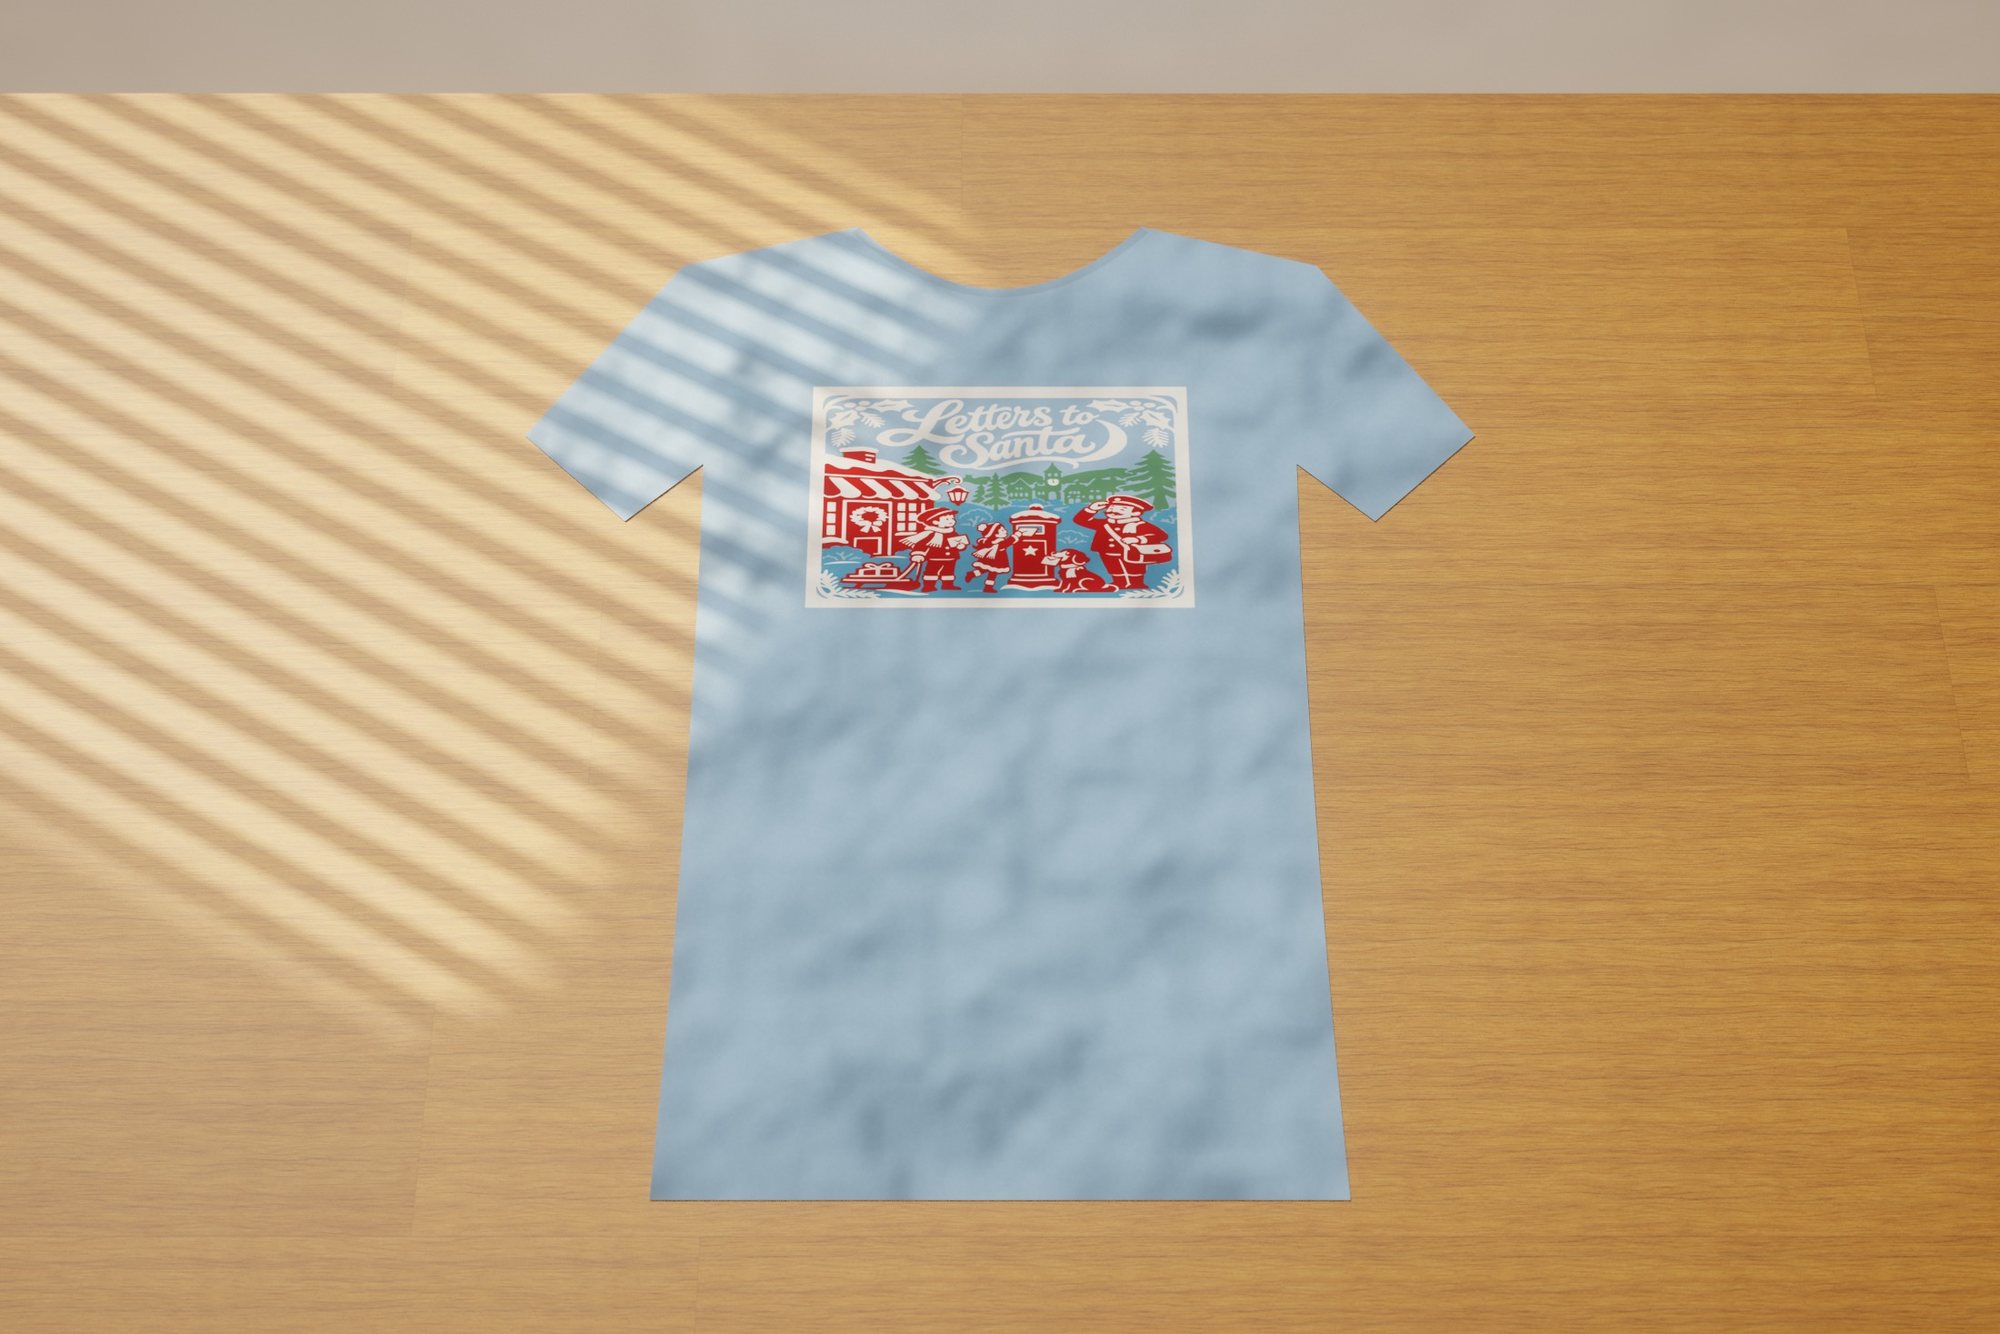 Letters to Santa
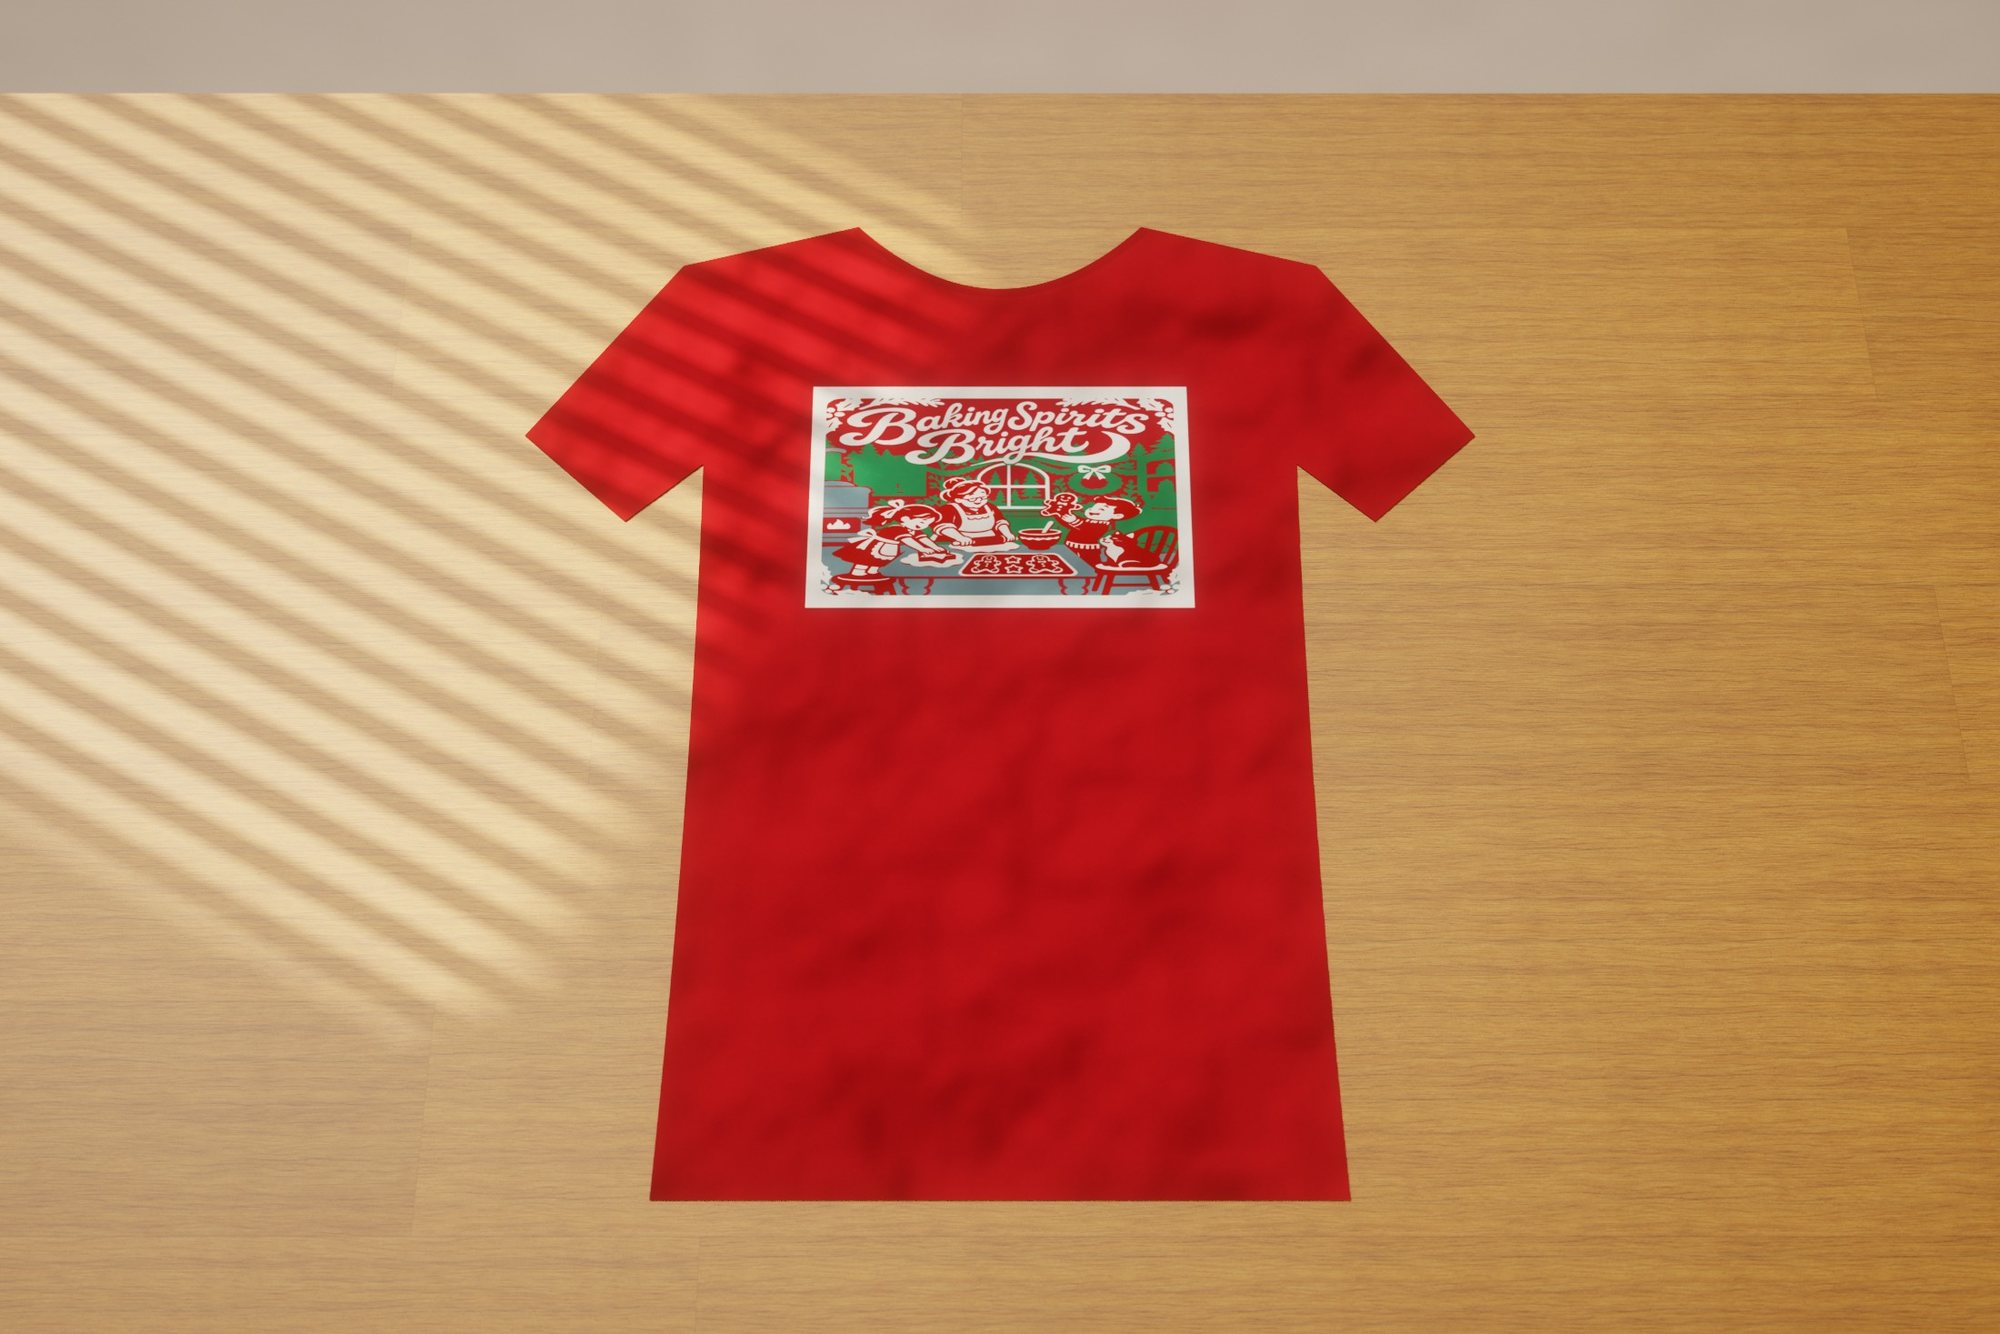 Baking Spirits Bright
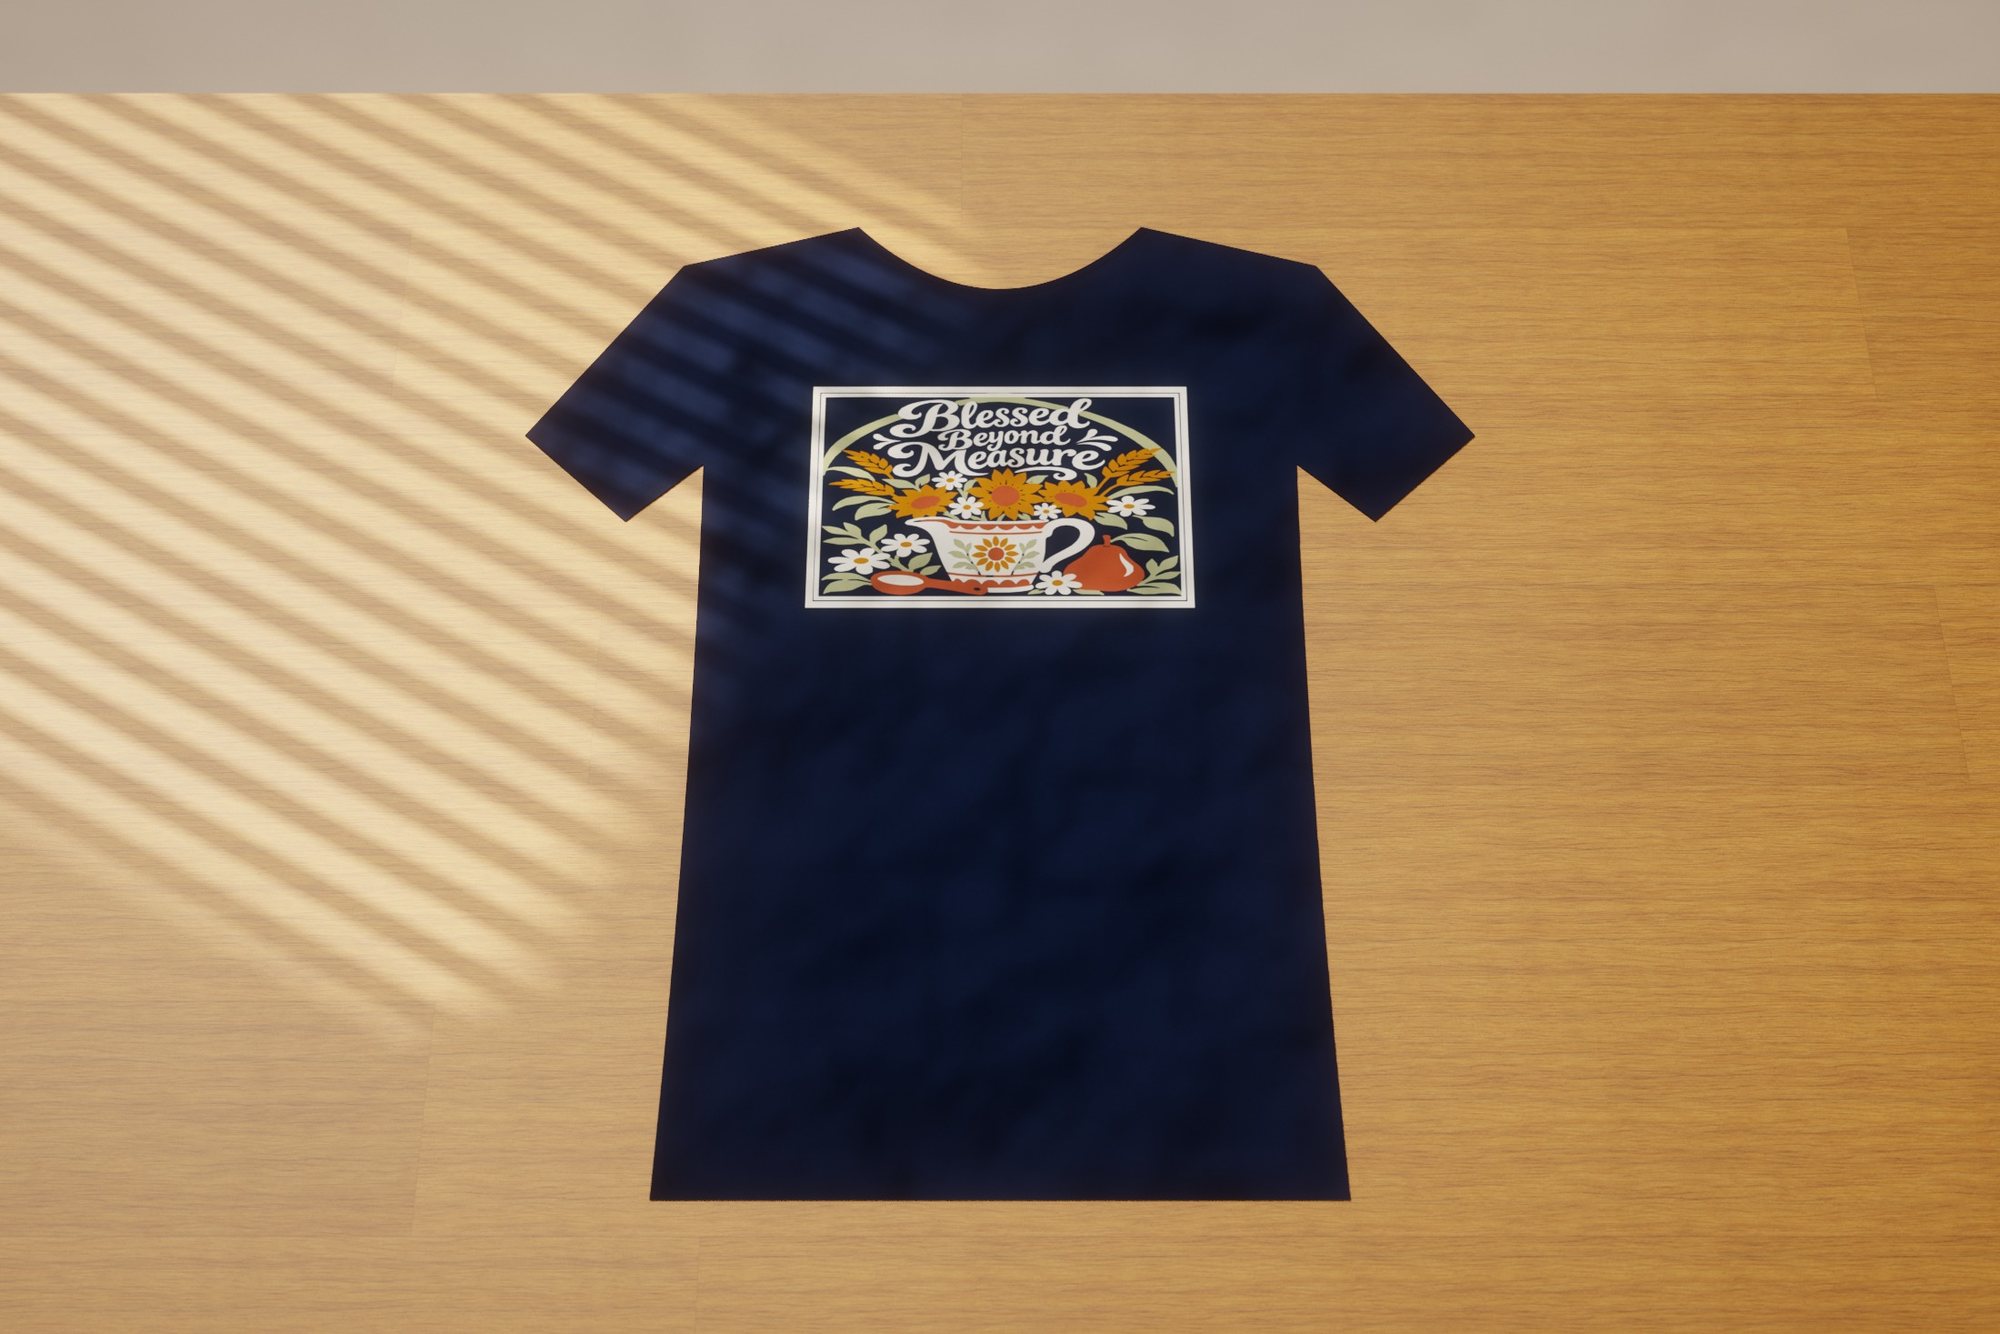 Blessed Beyond Measure
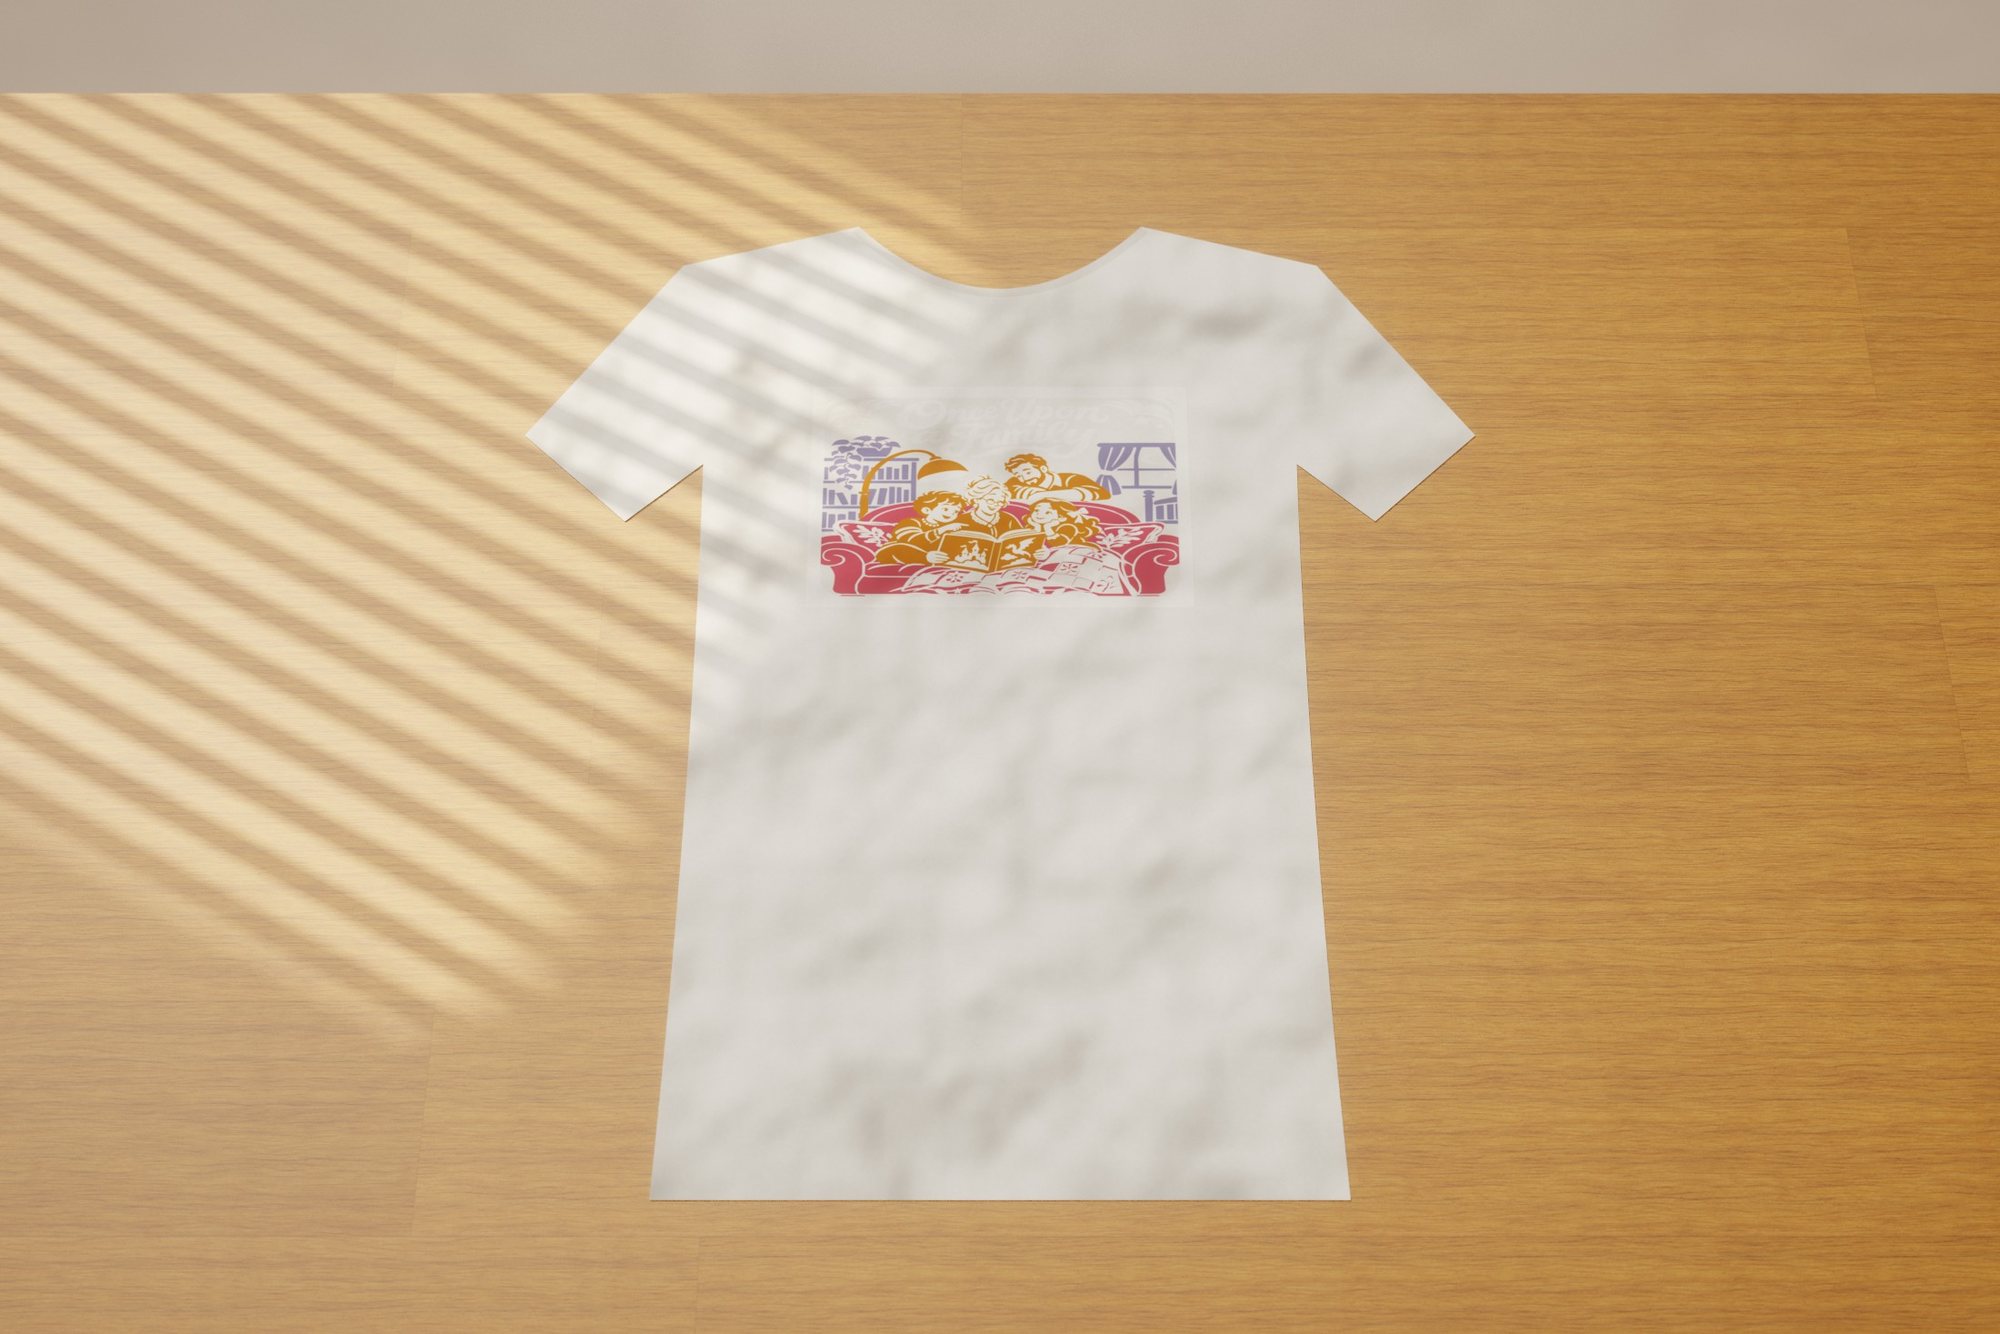 Once Upon a Family
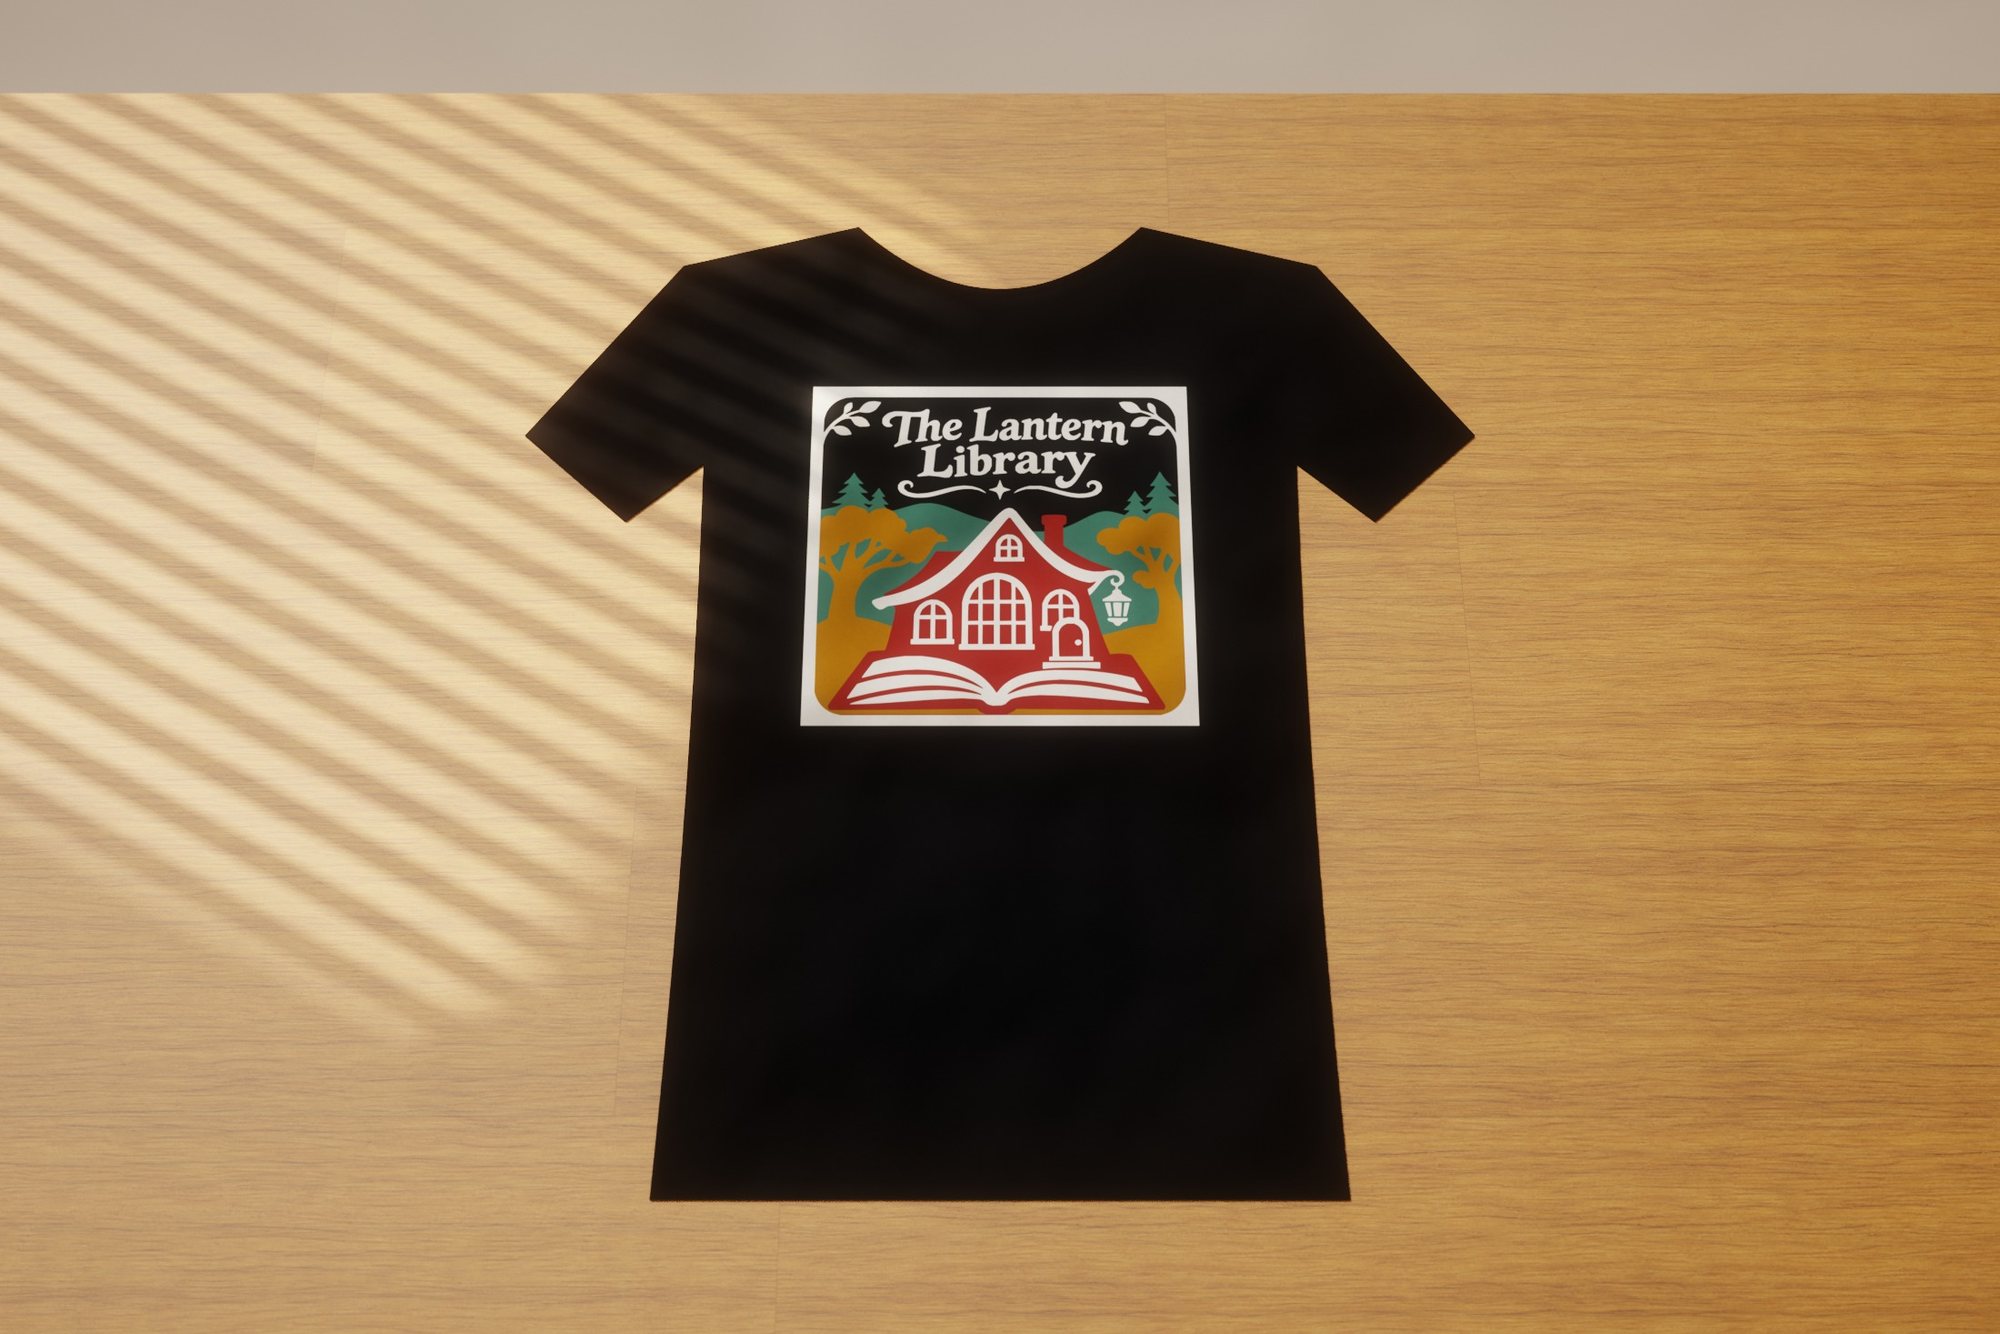 The Lantern Library
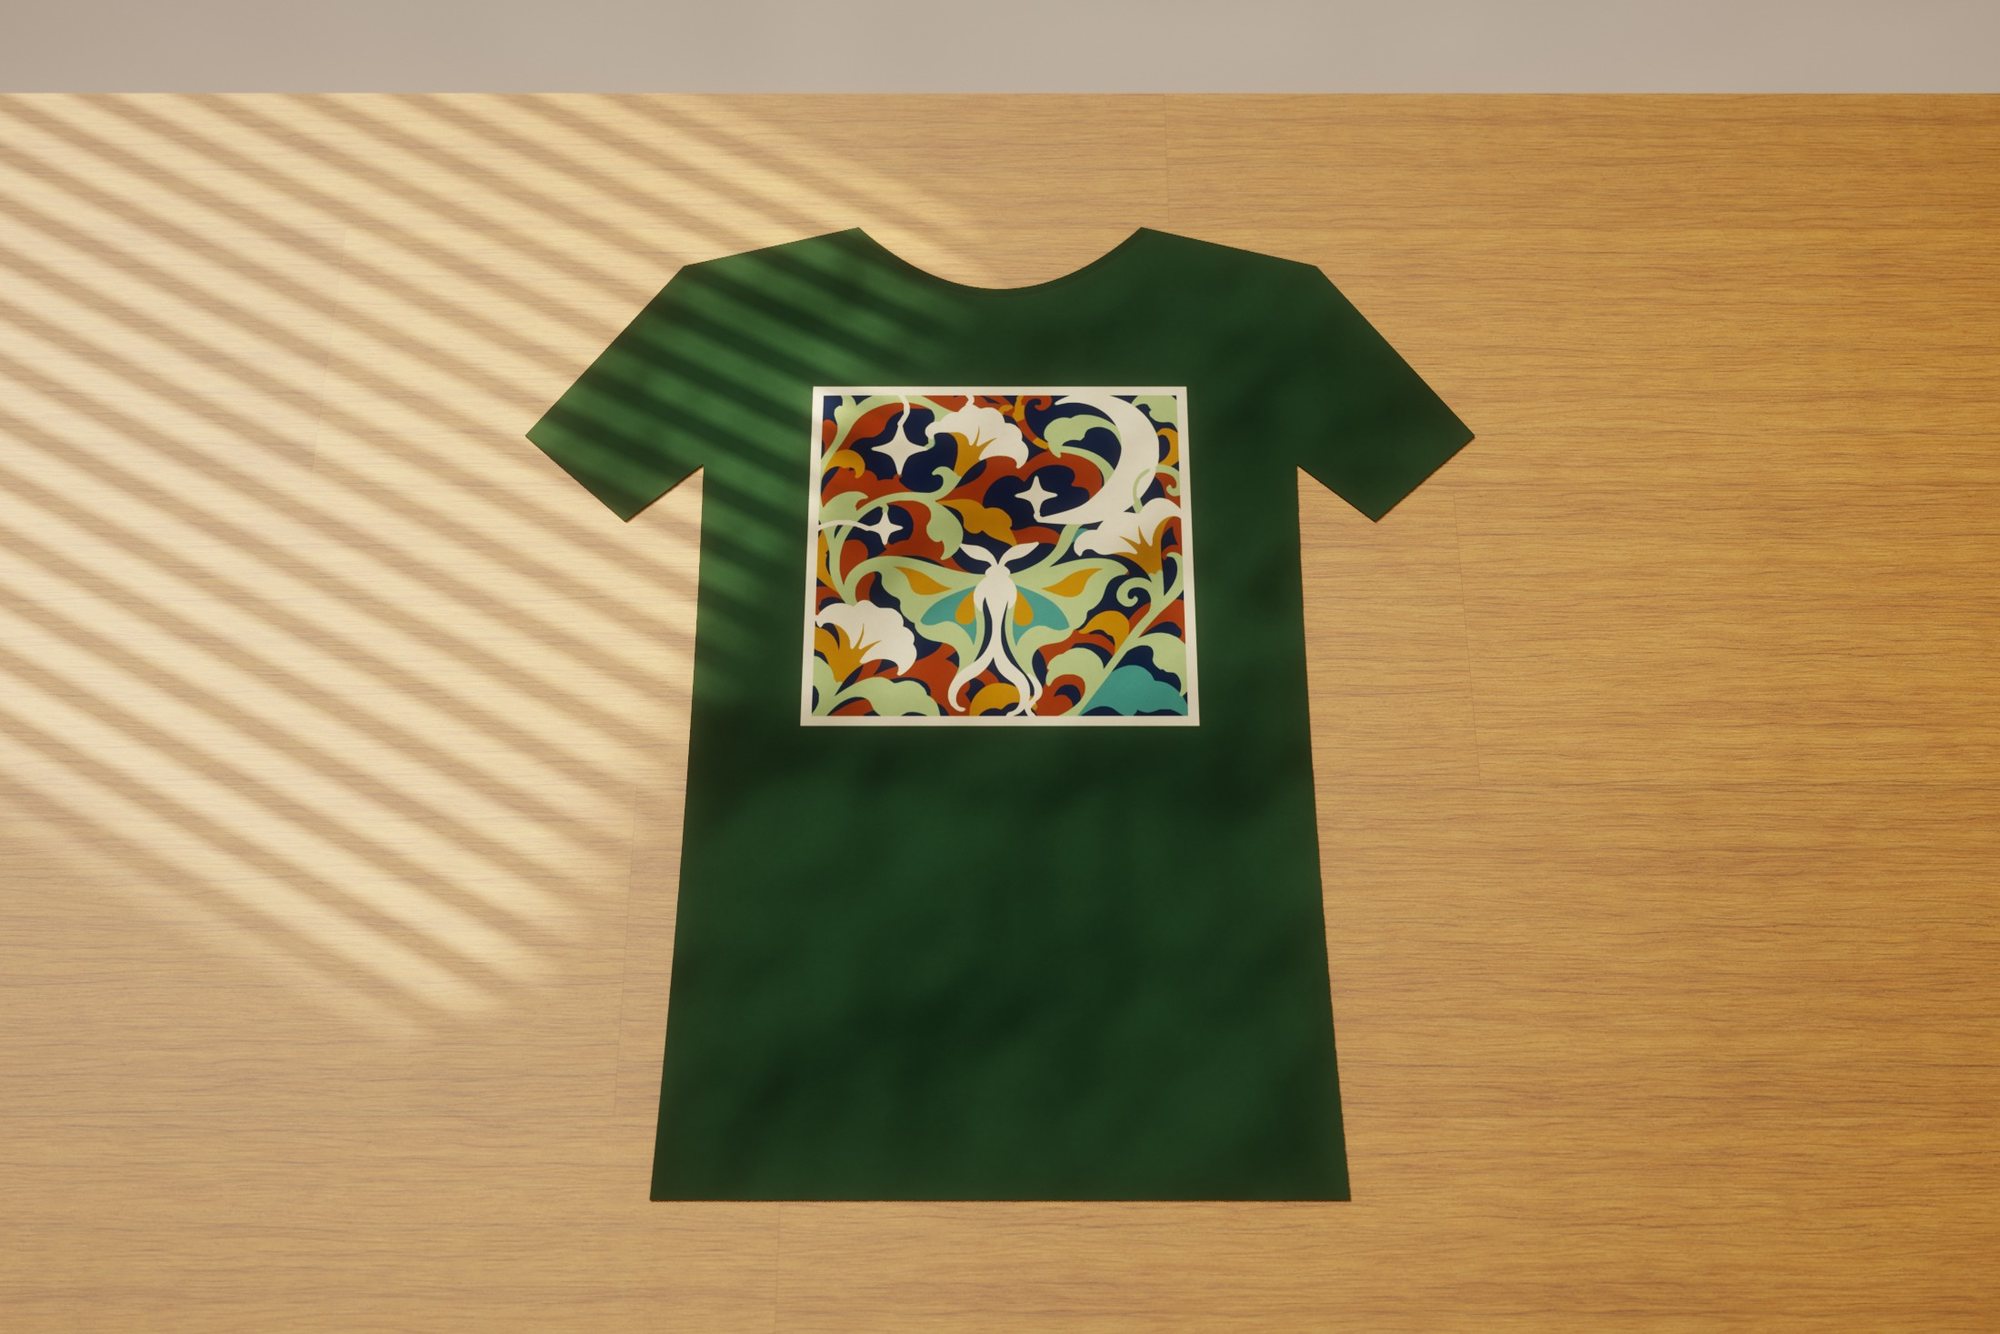 Celestial Garden
Here Comes the Sun · 1 of 24 designs
Physical project / Edge-Lit Signs
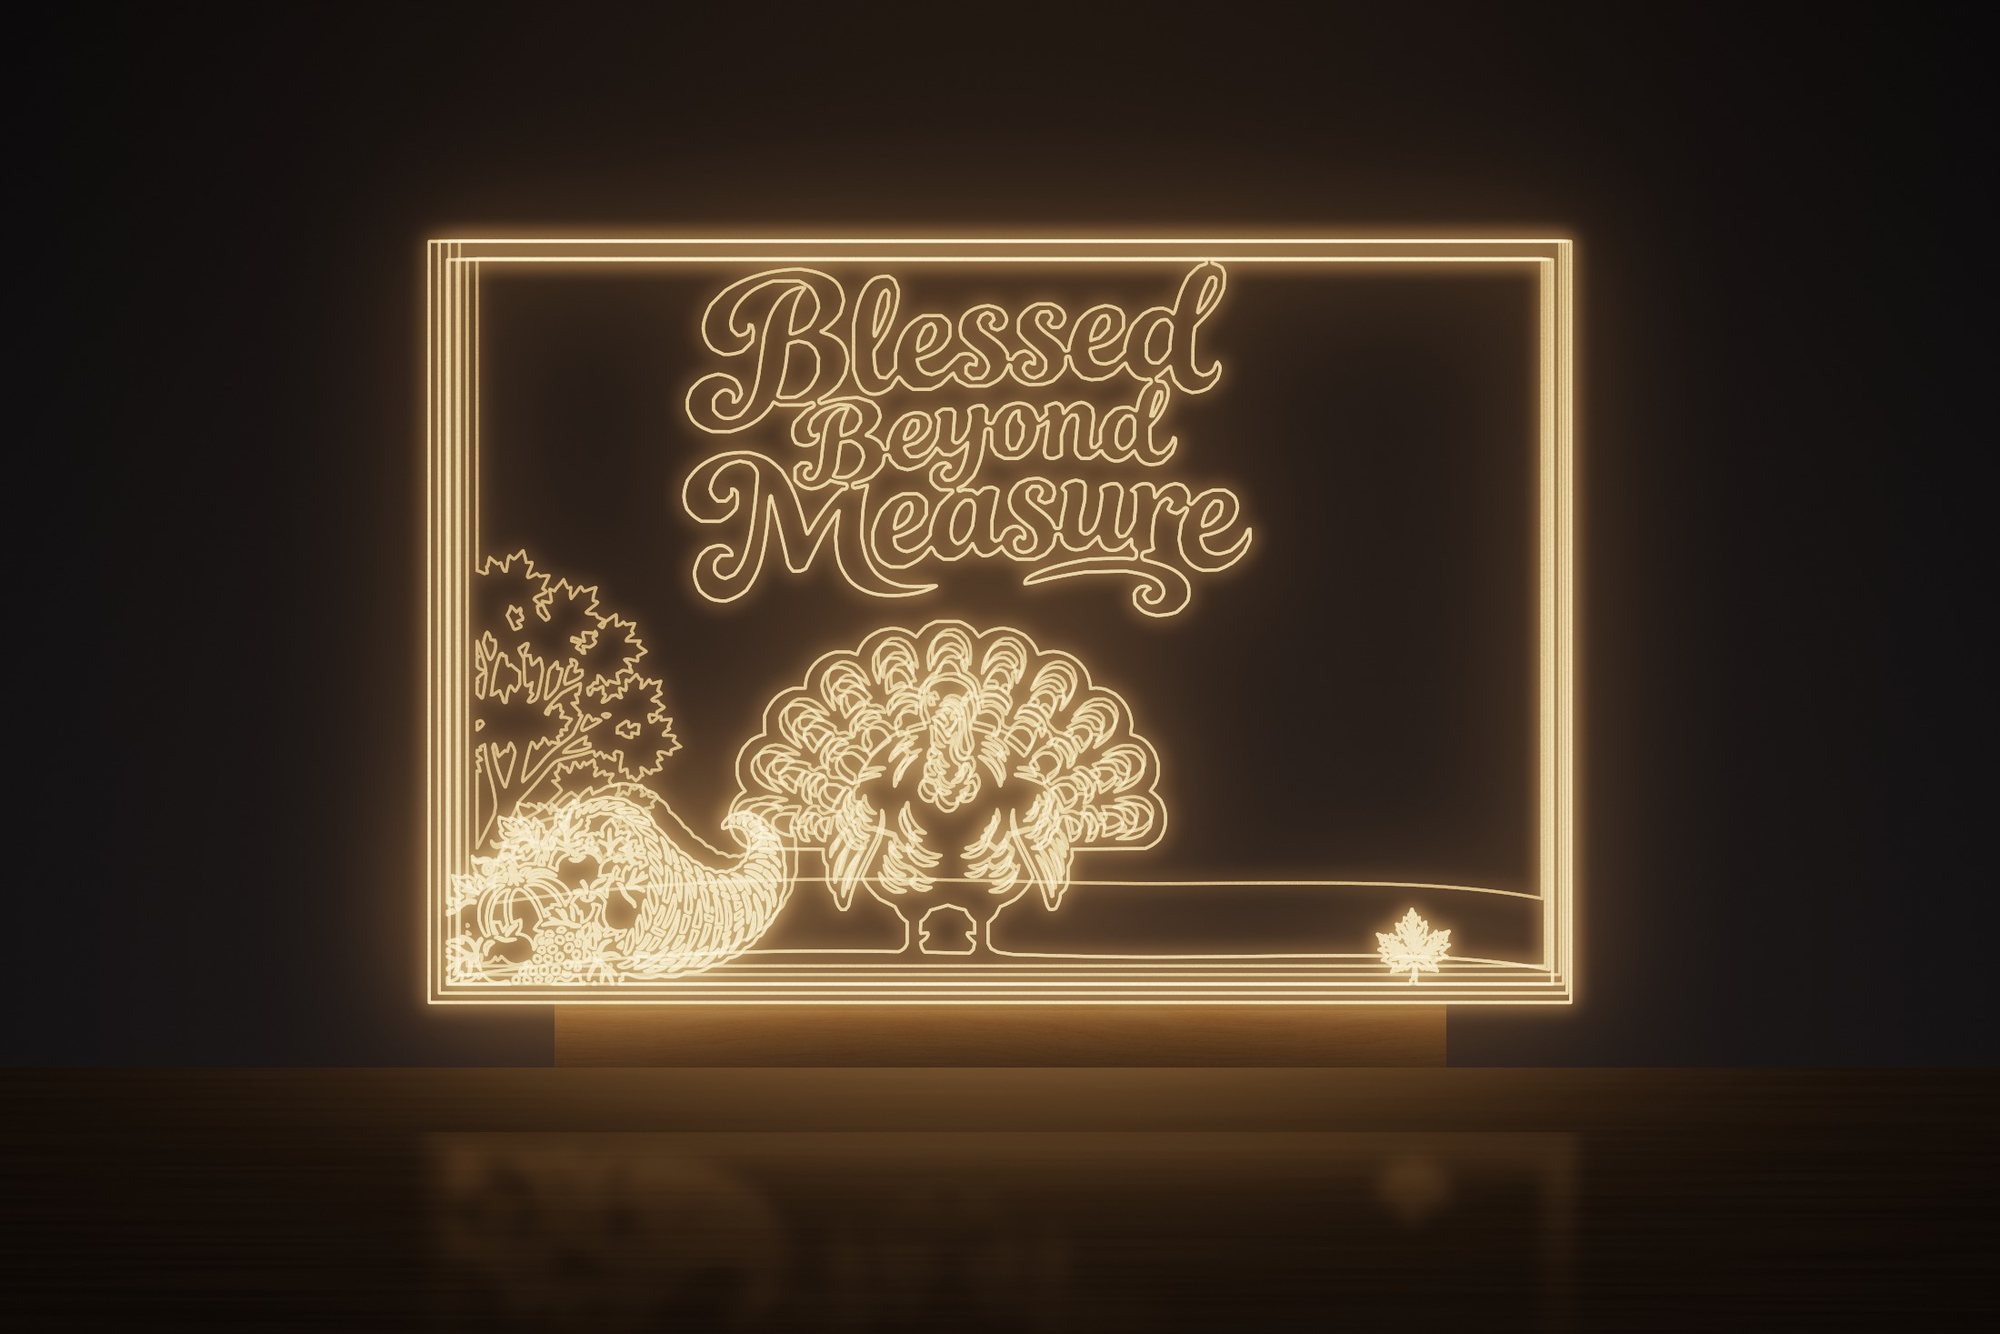
See the scene drawn in light. These renderings show the artwork engraved into acrylic panels and illuminated from an LED base.
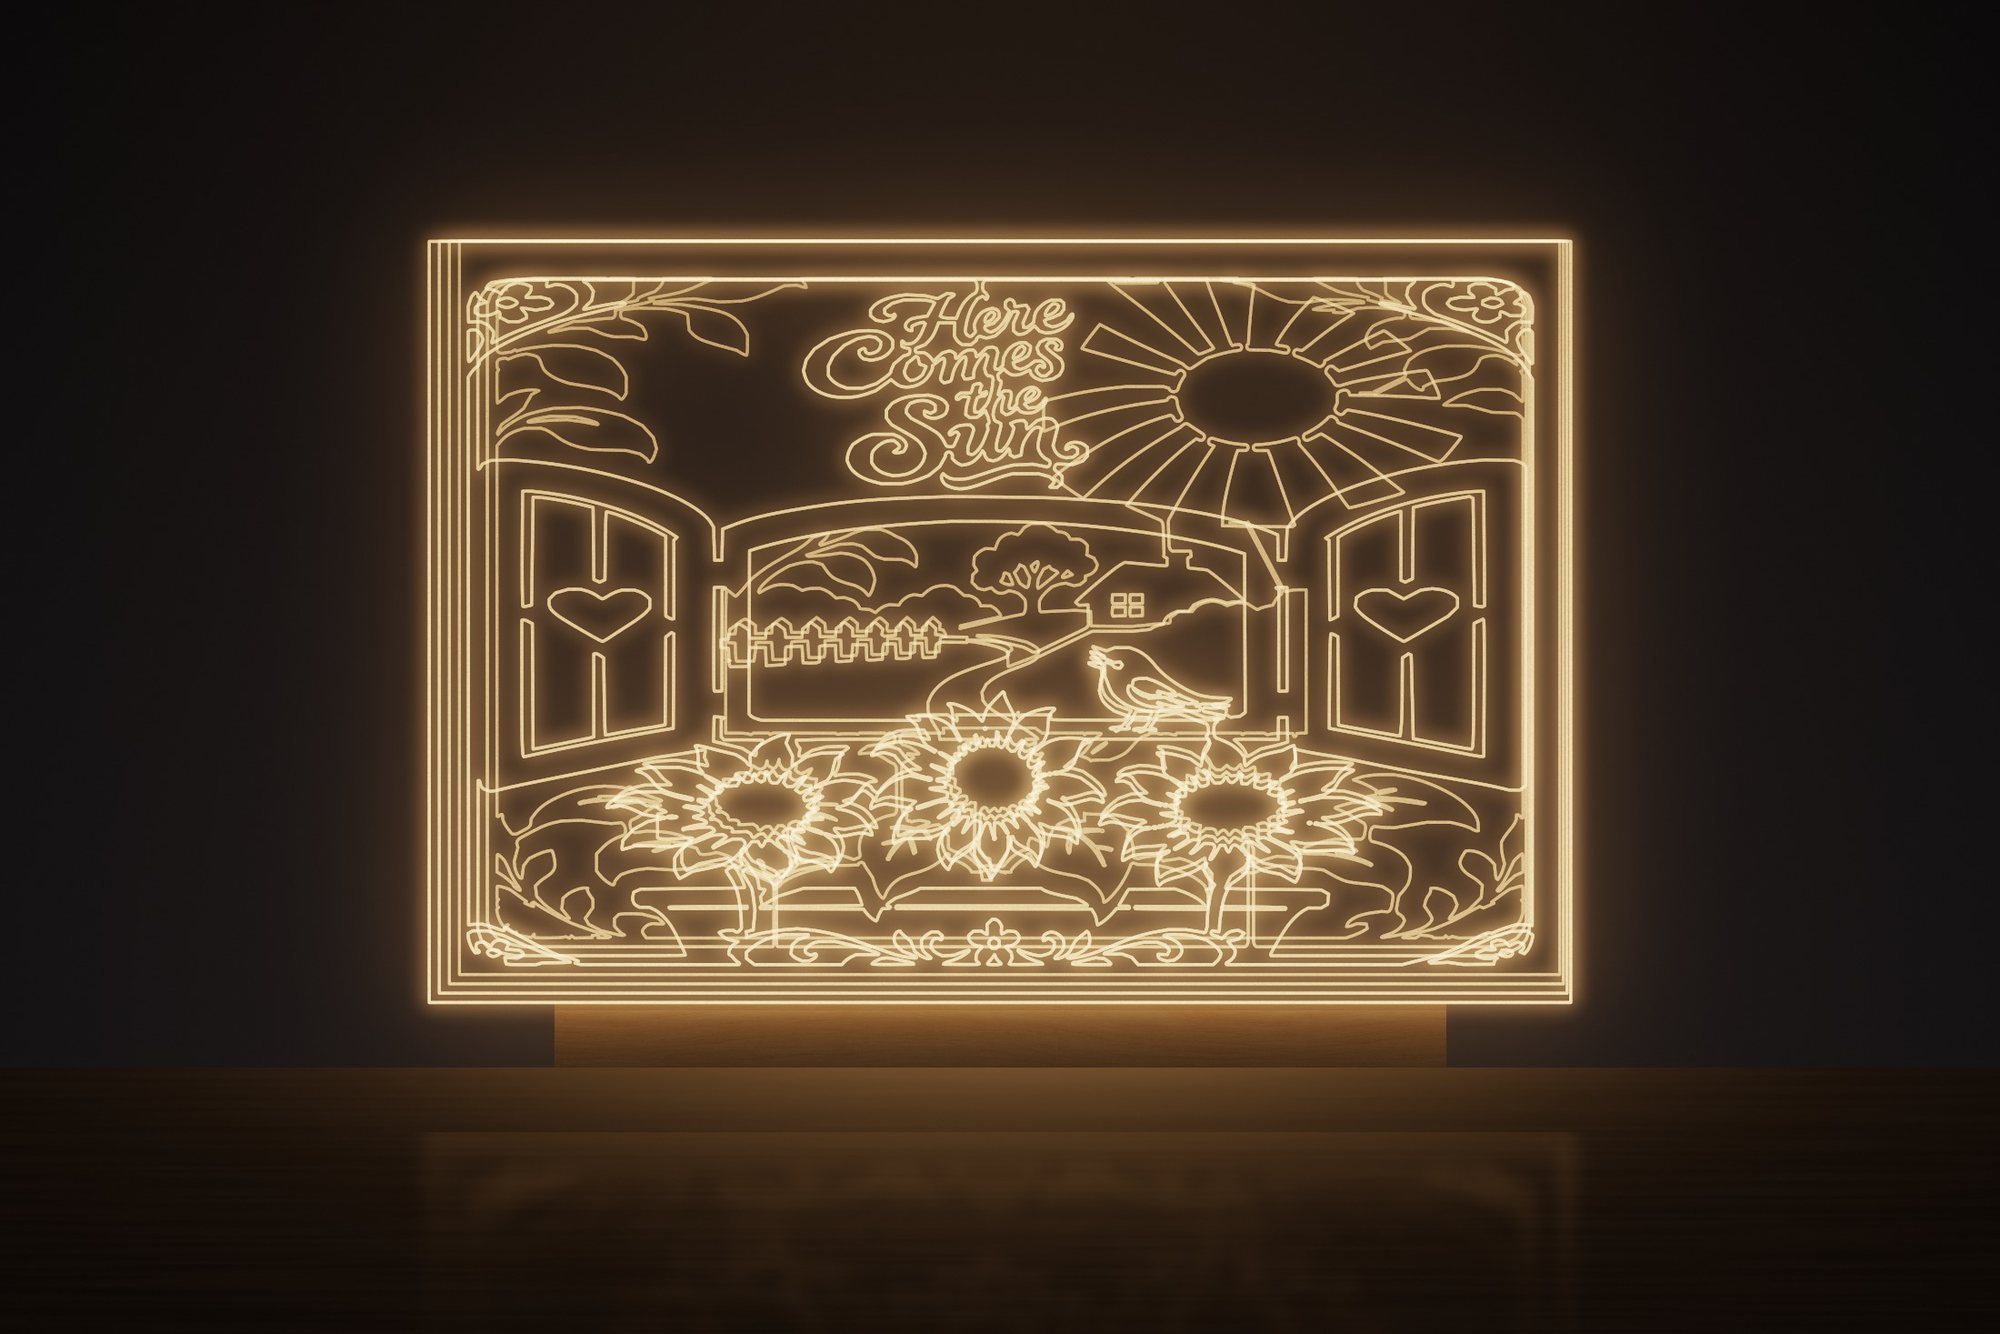 Here Comes the Sun
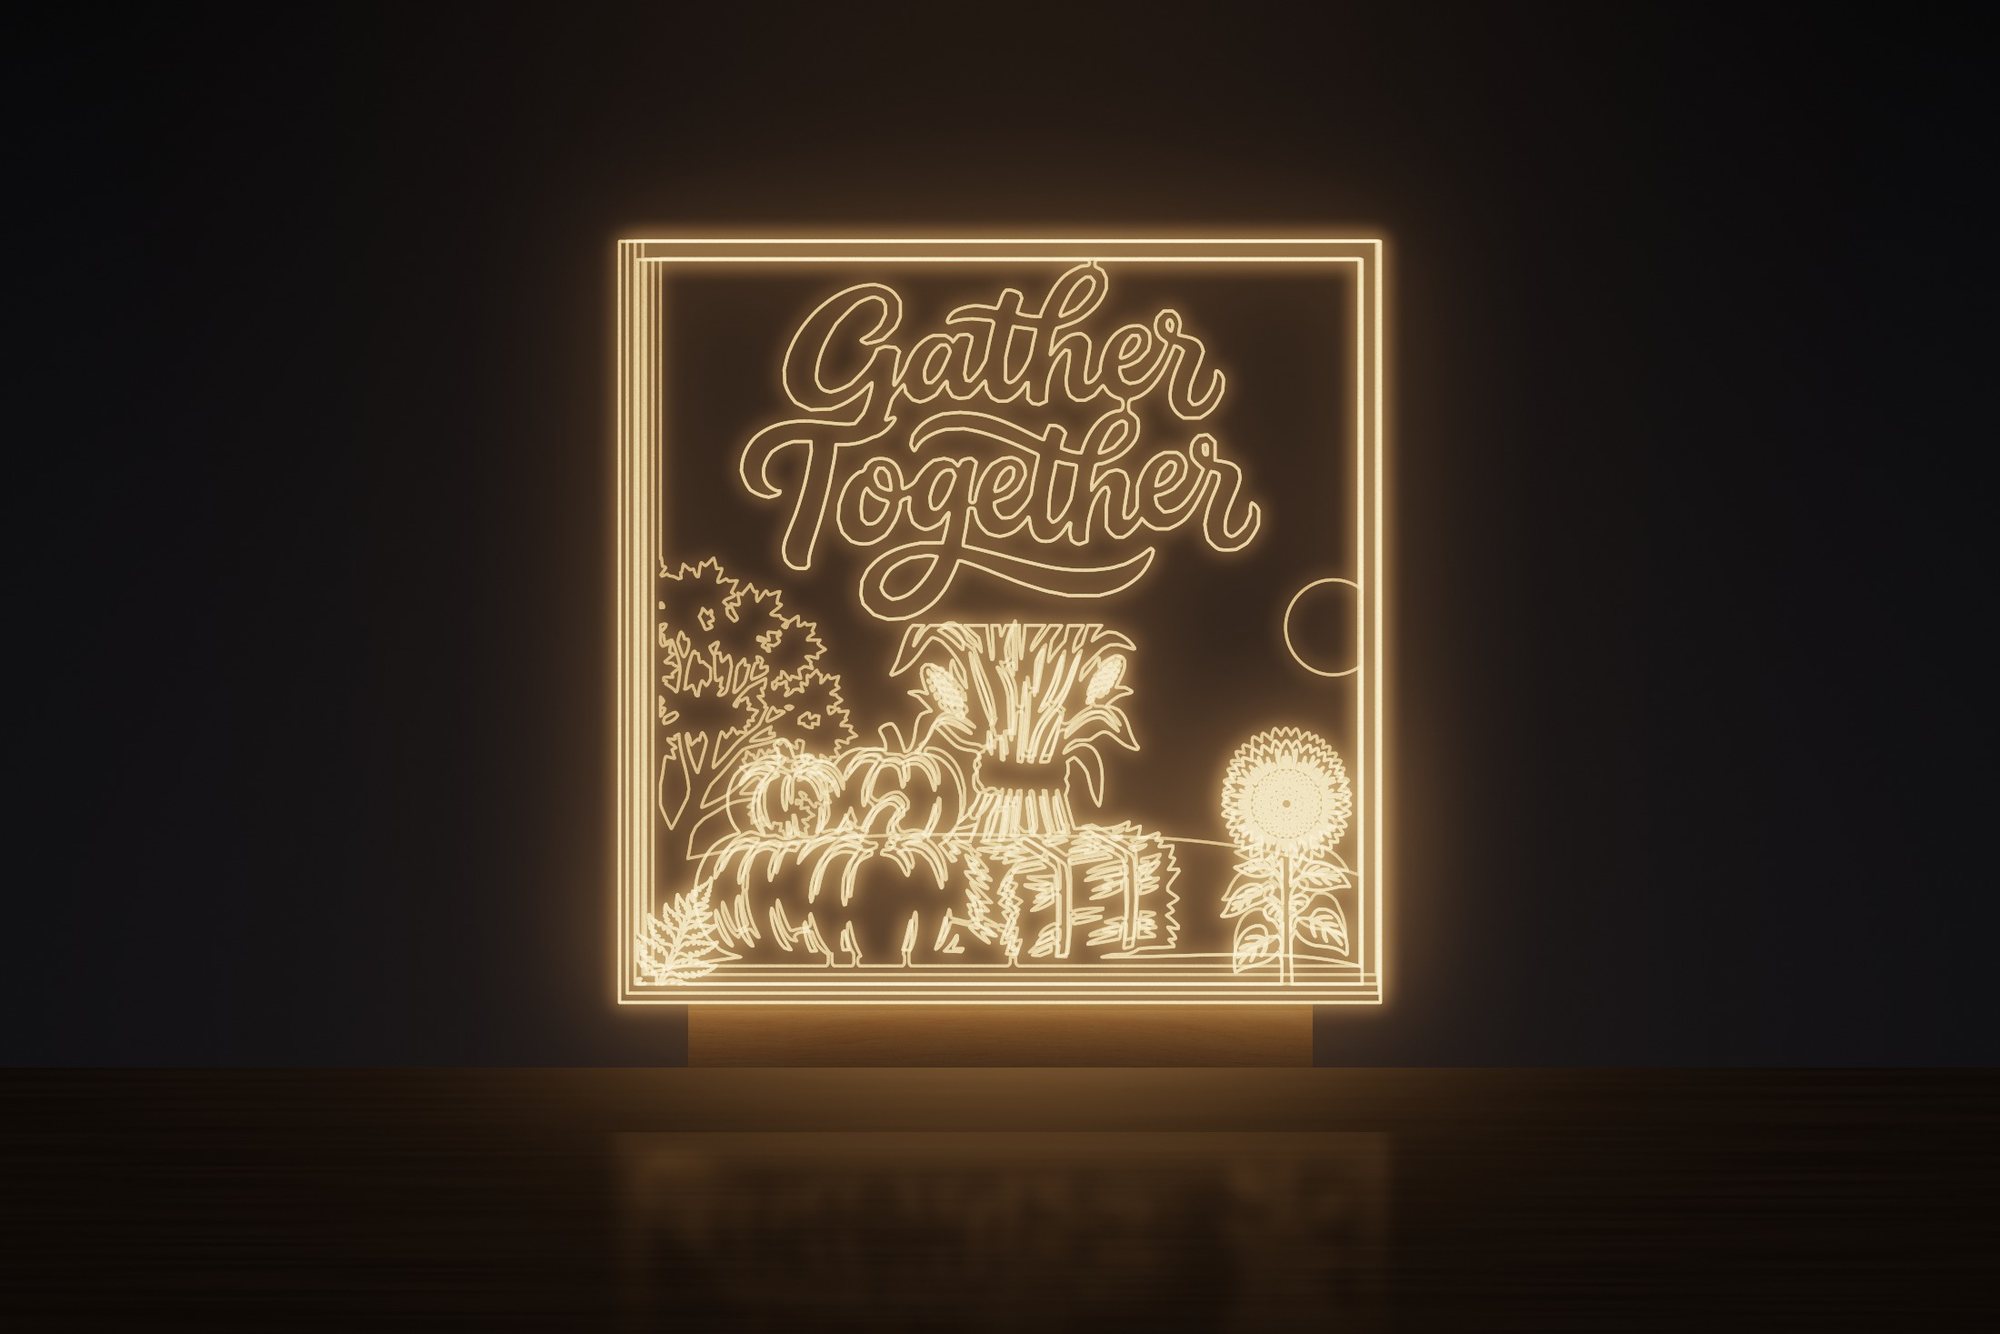 Thanksgiving Bounty
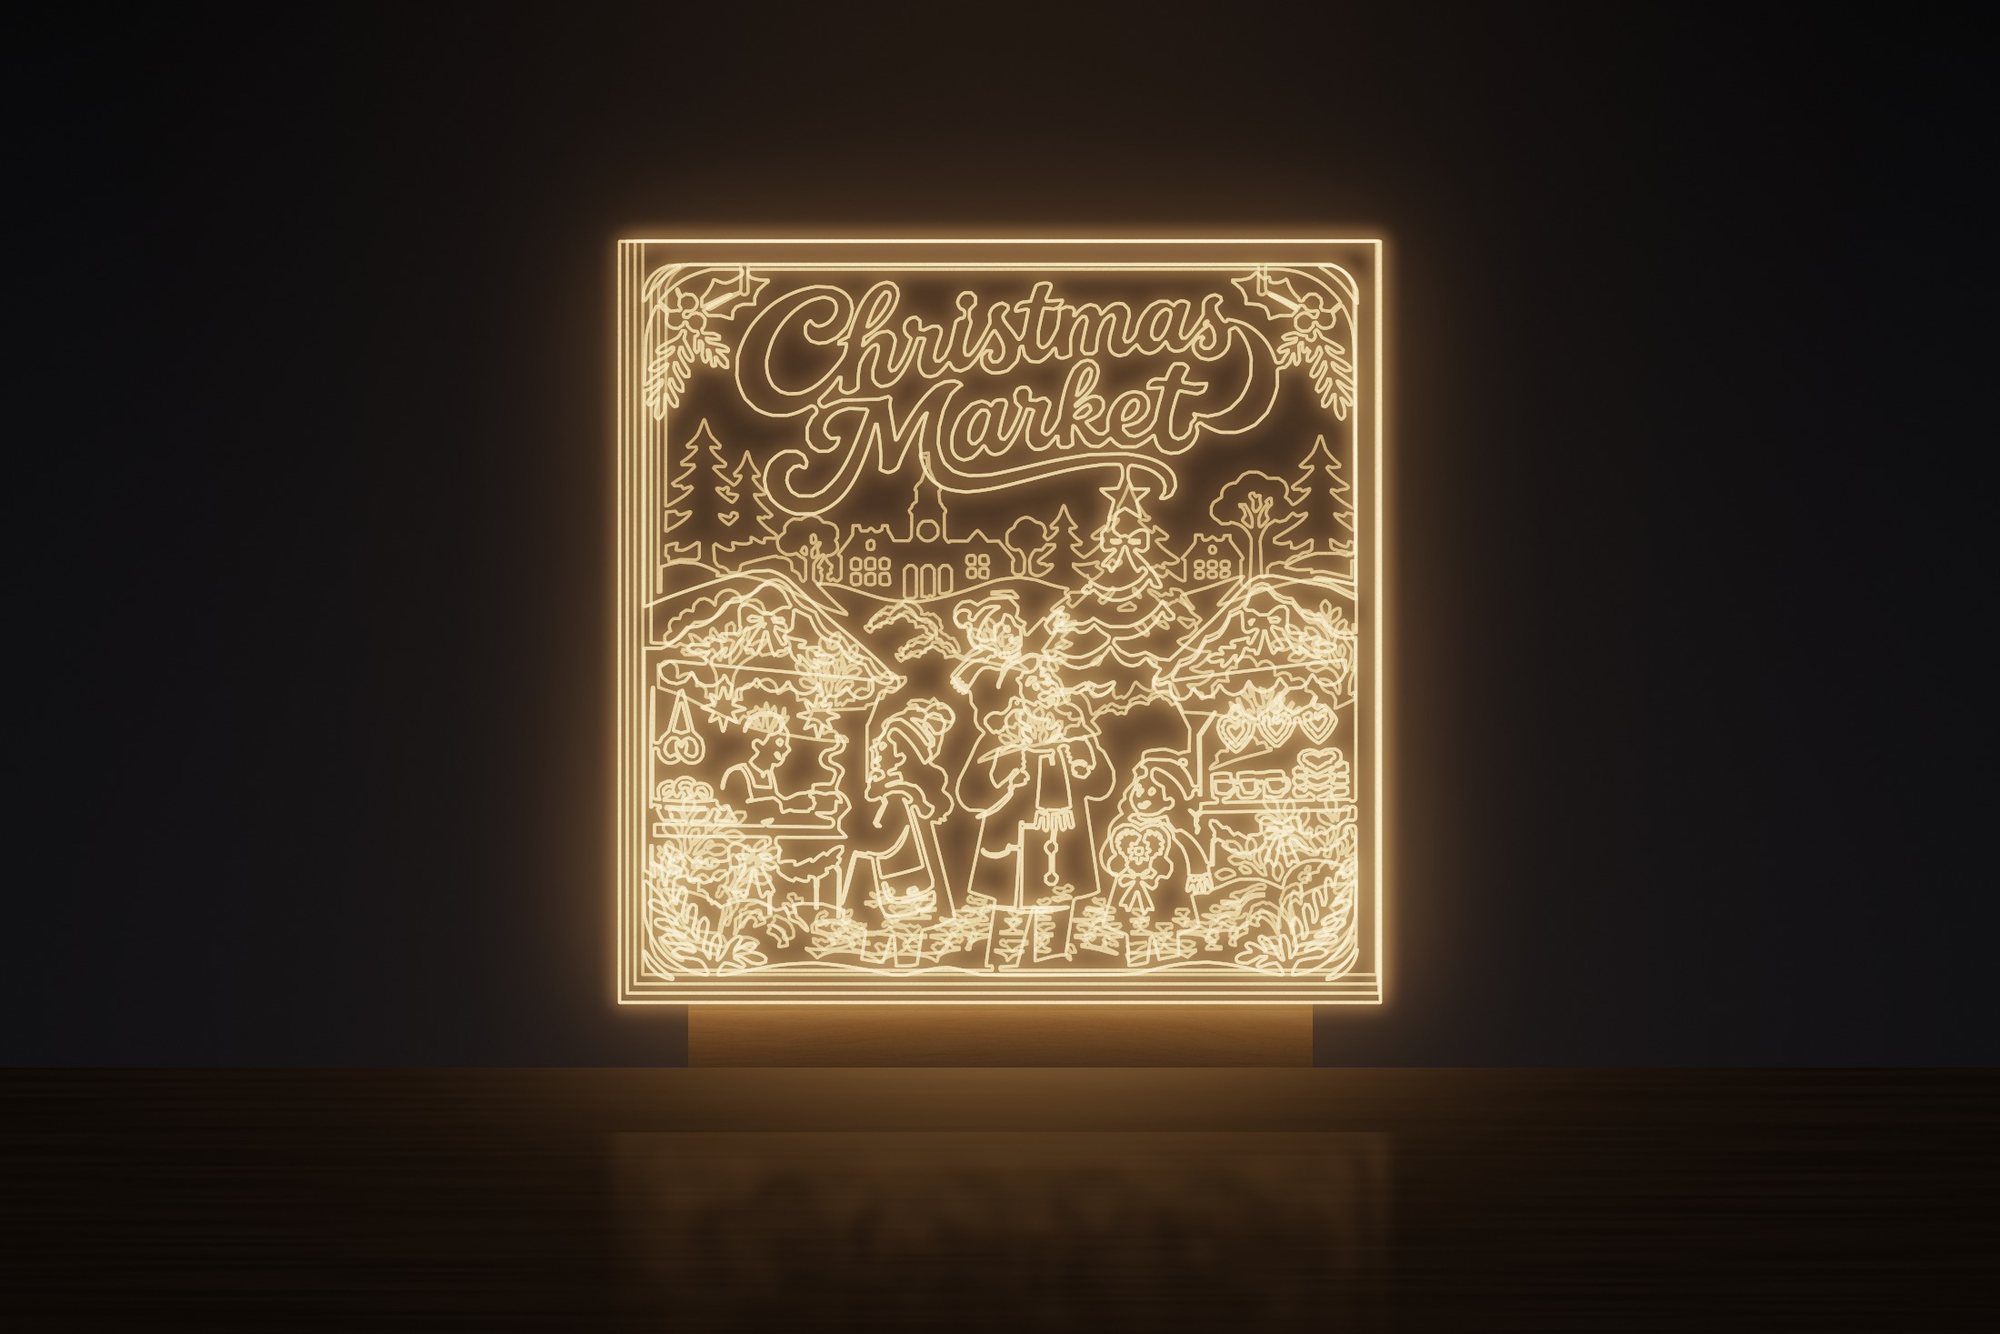 Christmas Market
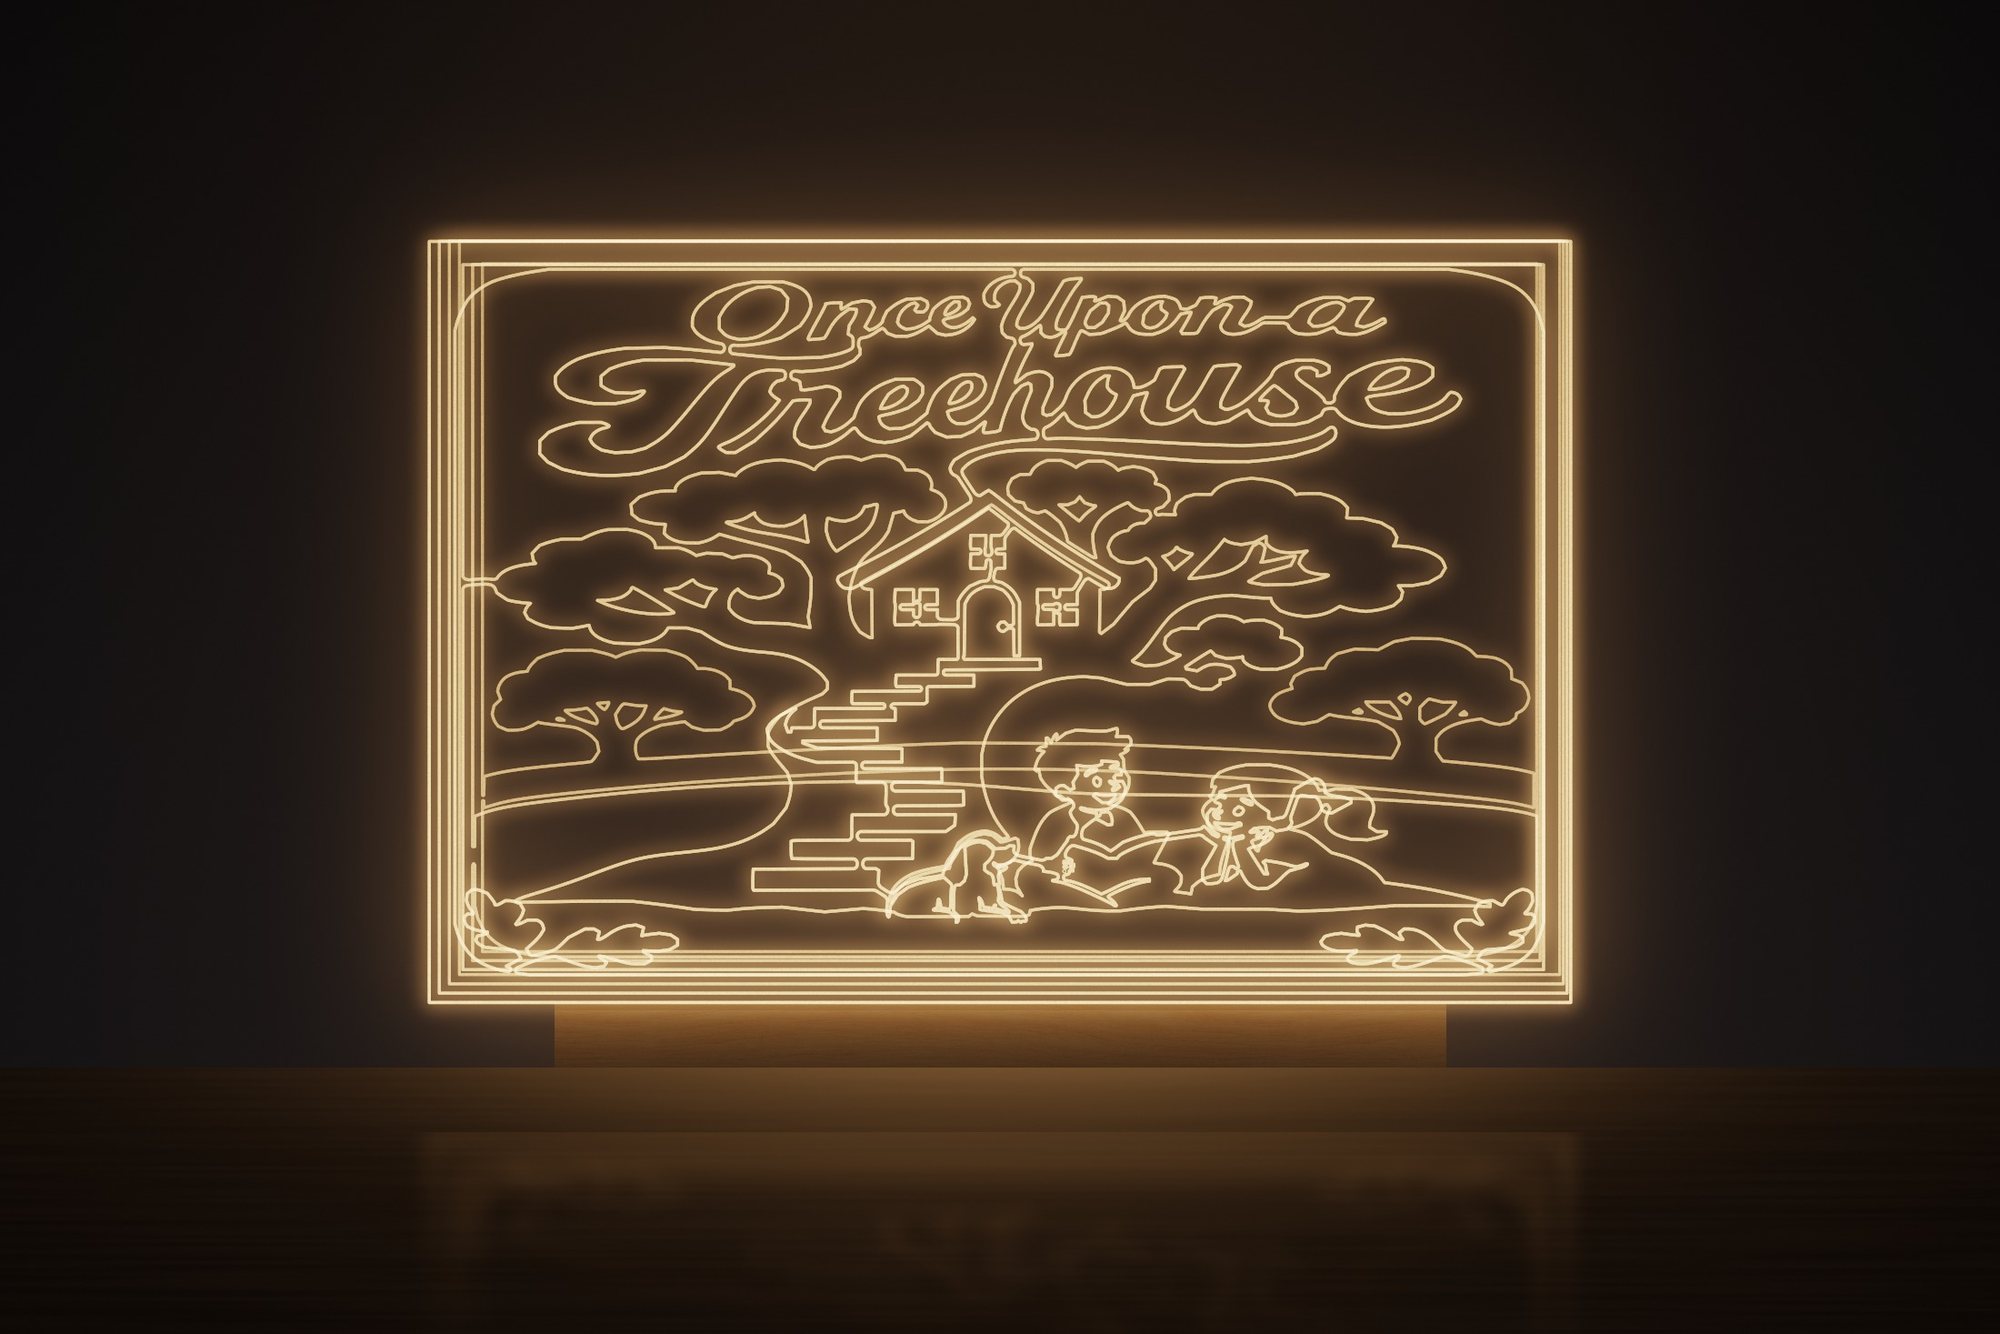 Once Upon a Treehouse
 Grateful Gathering
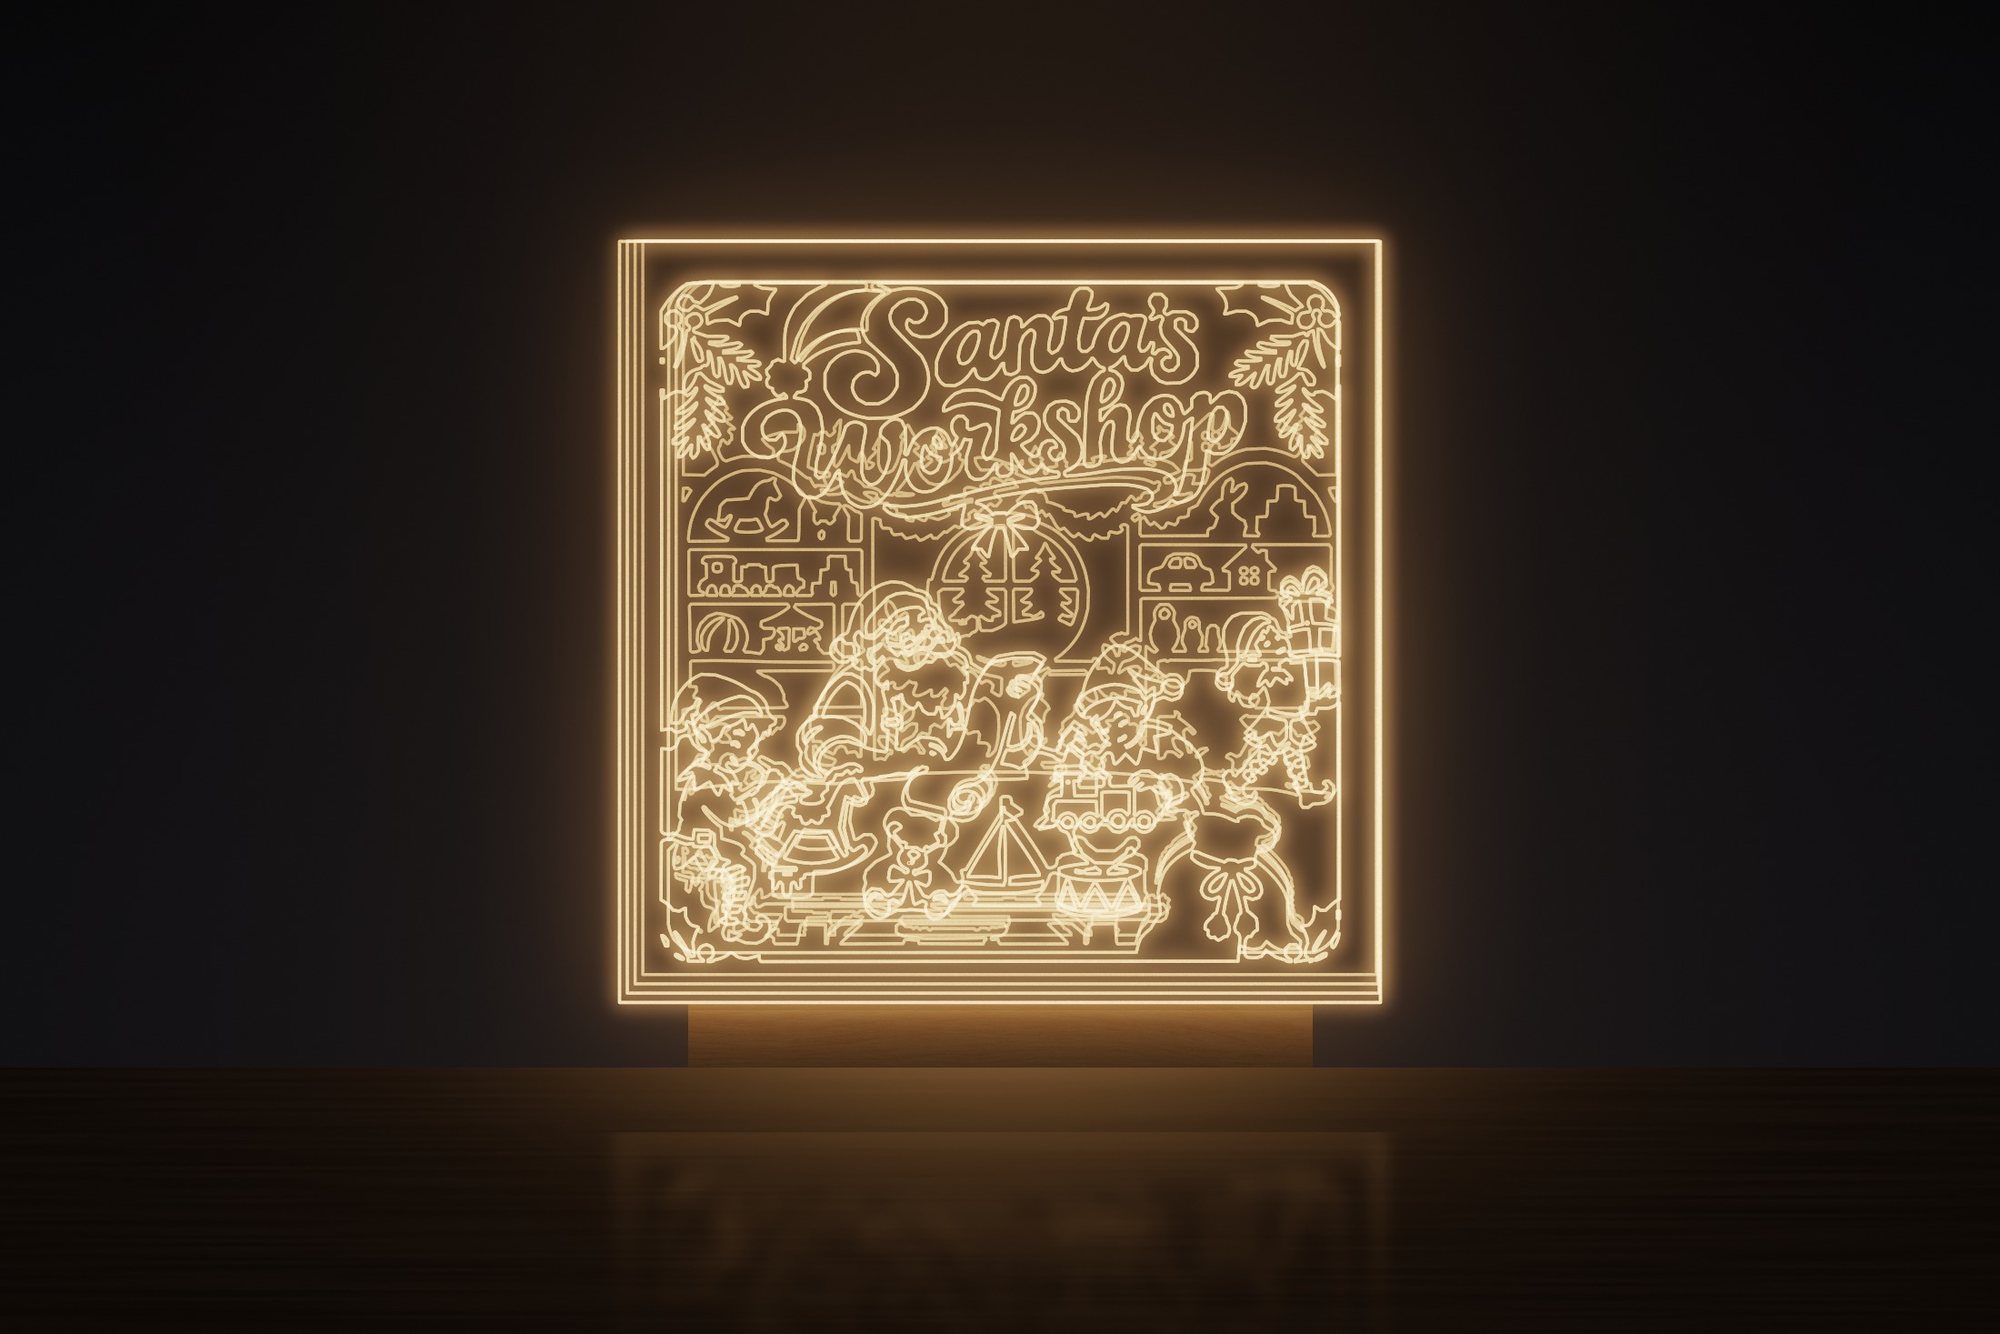 Santa's Workshop
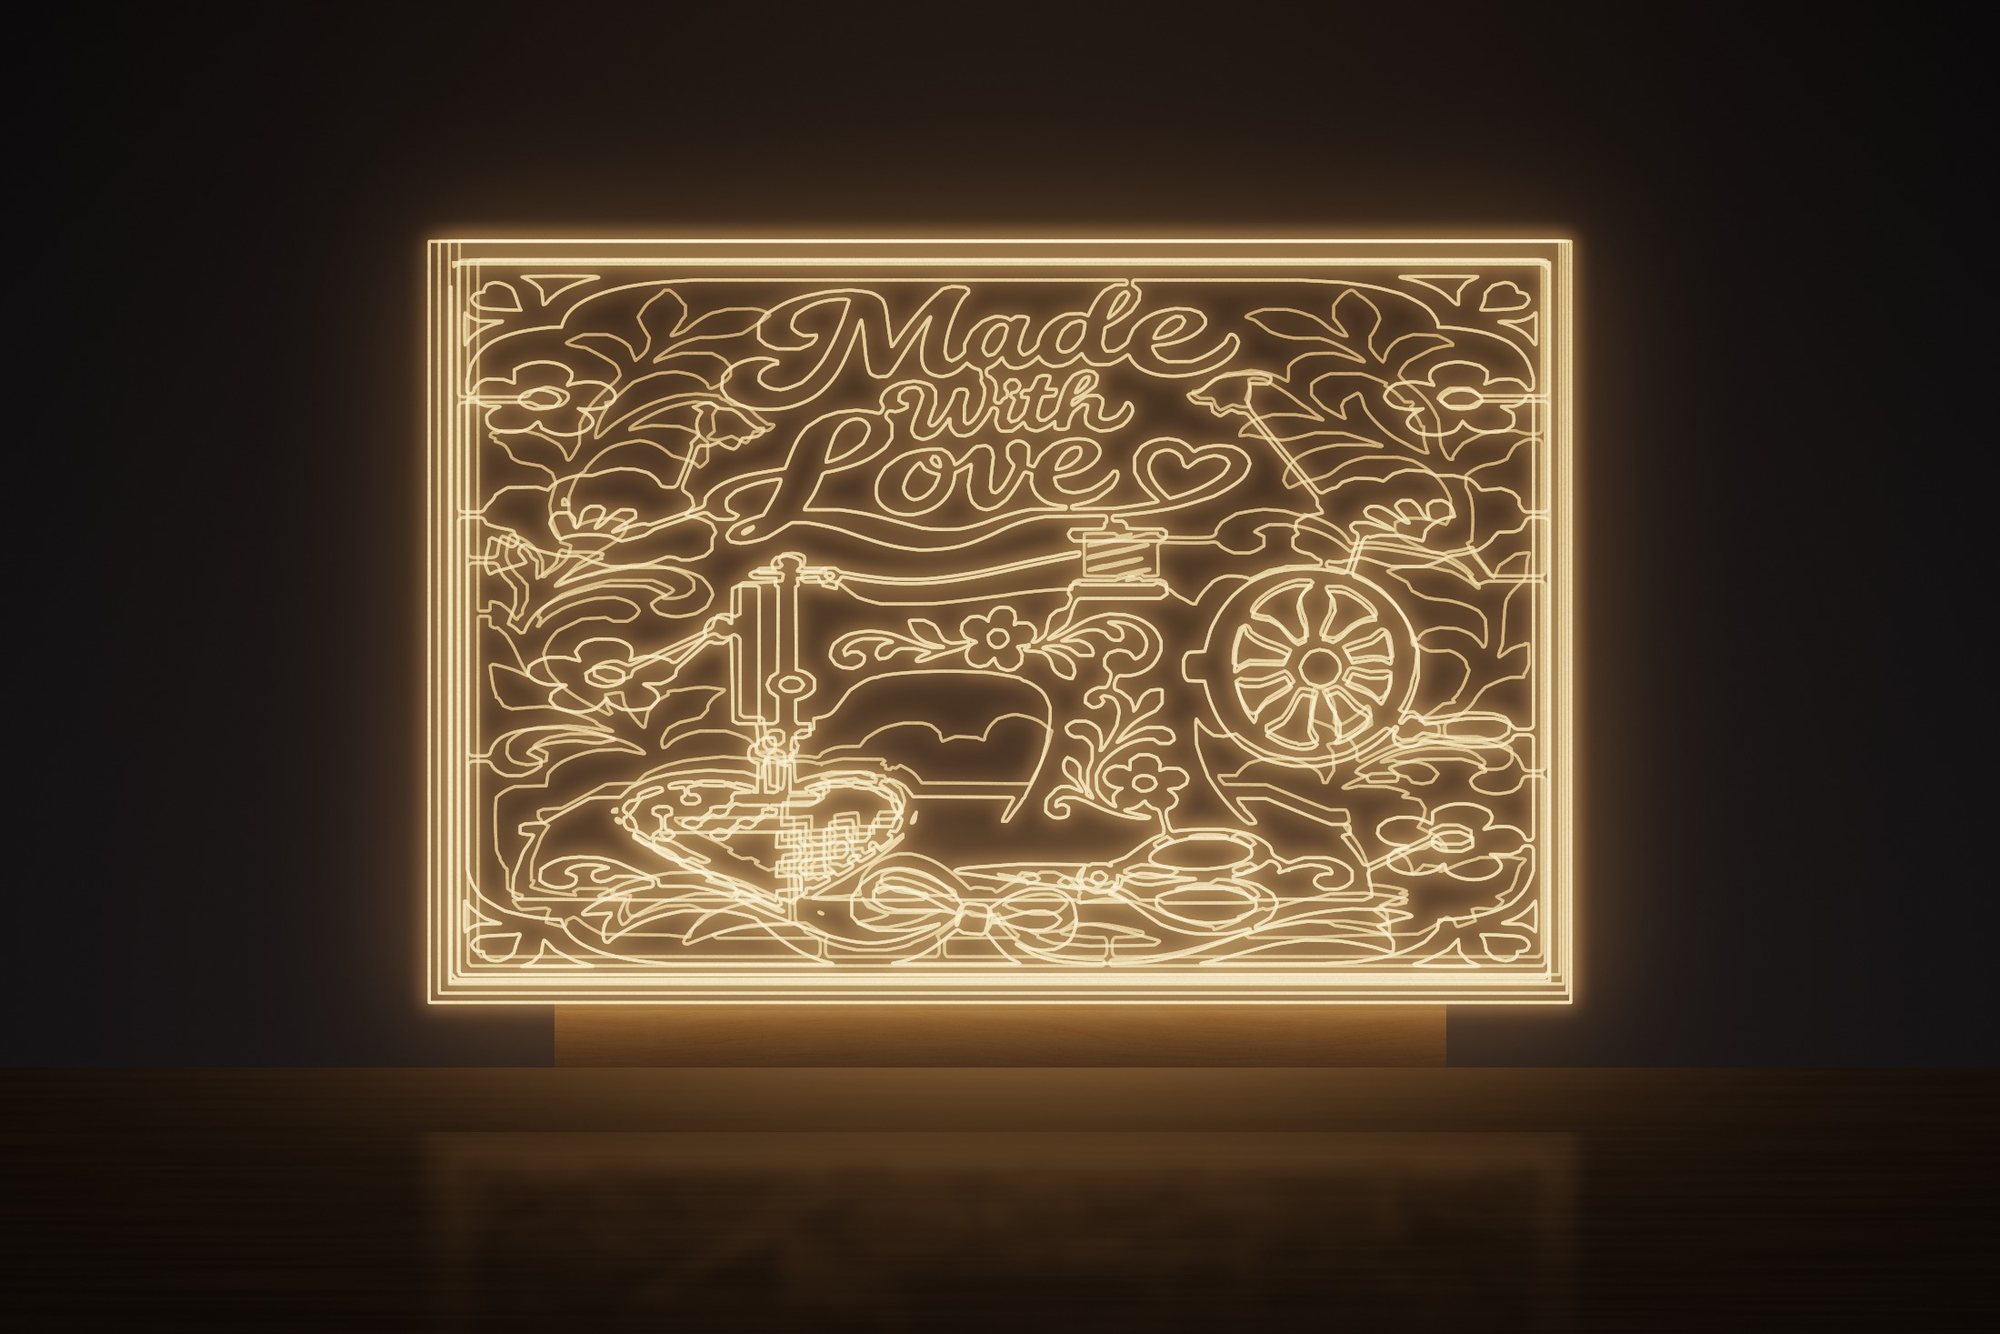 Made with Love 2
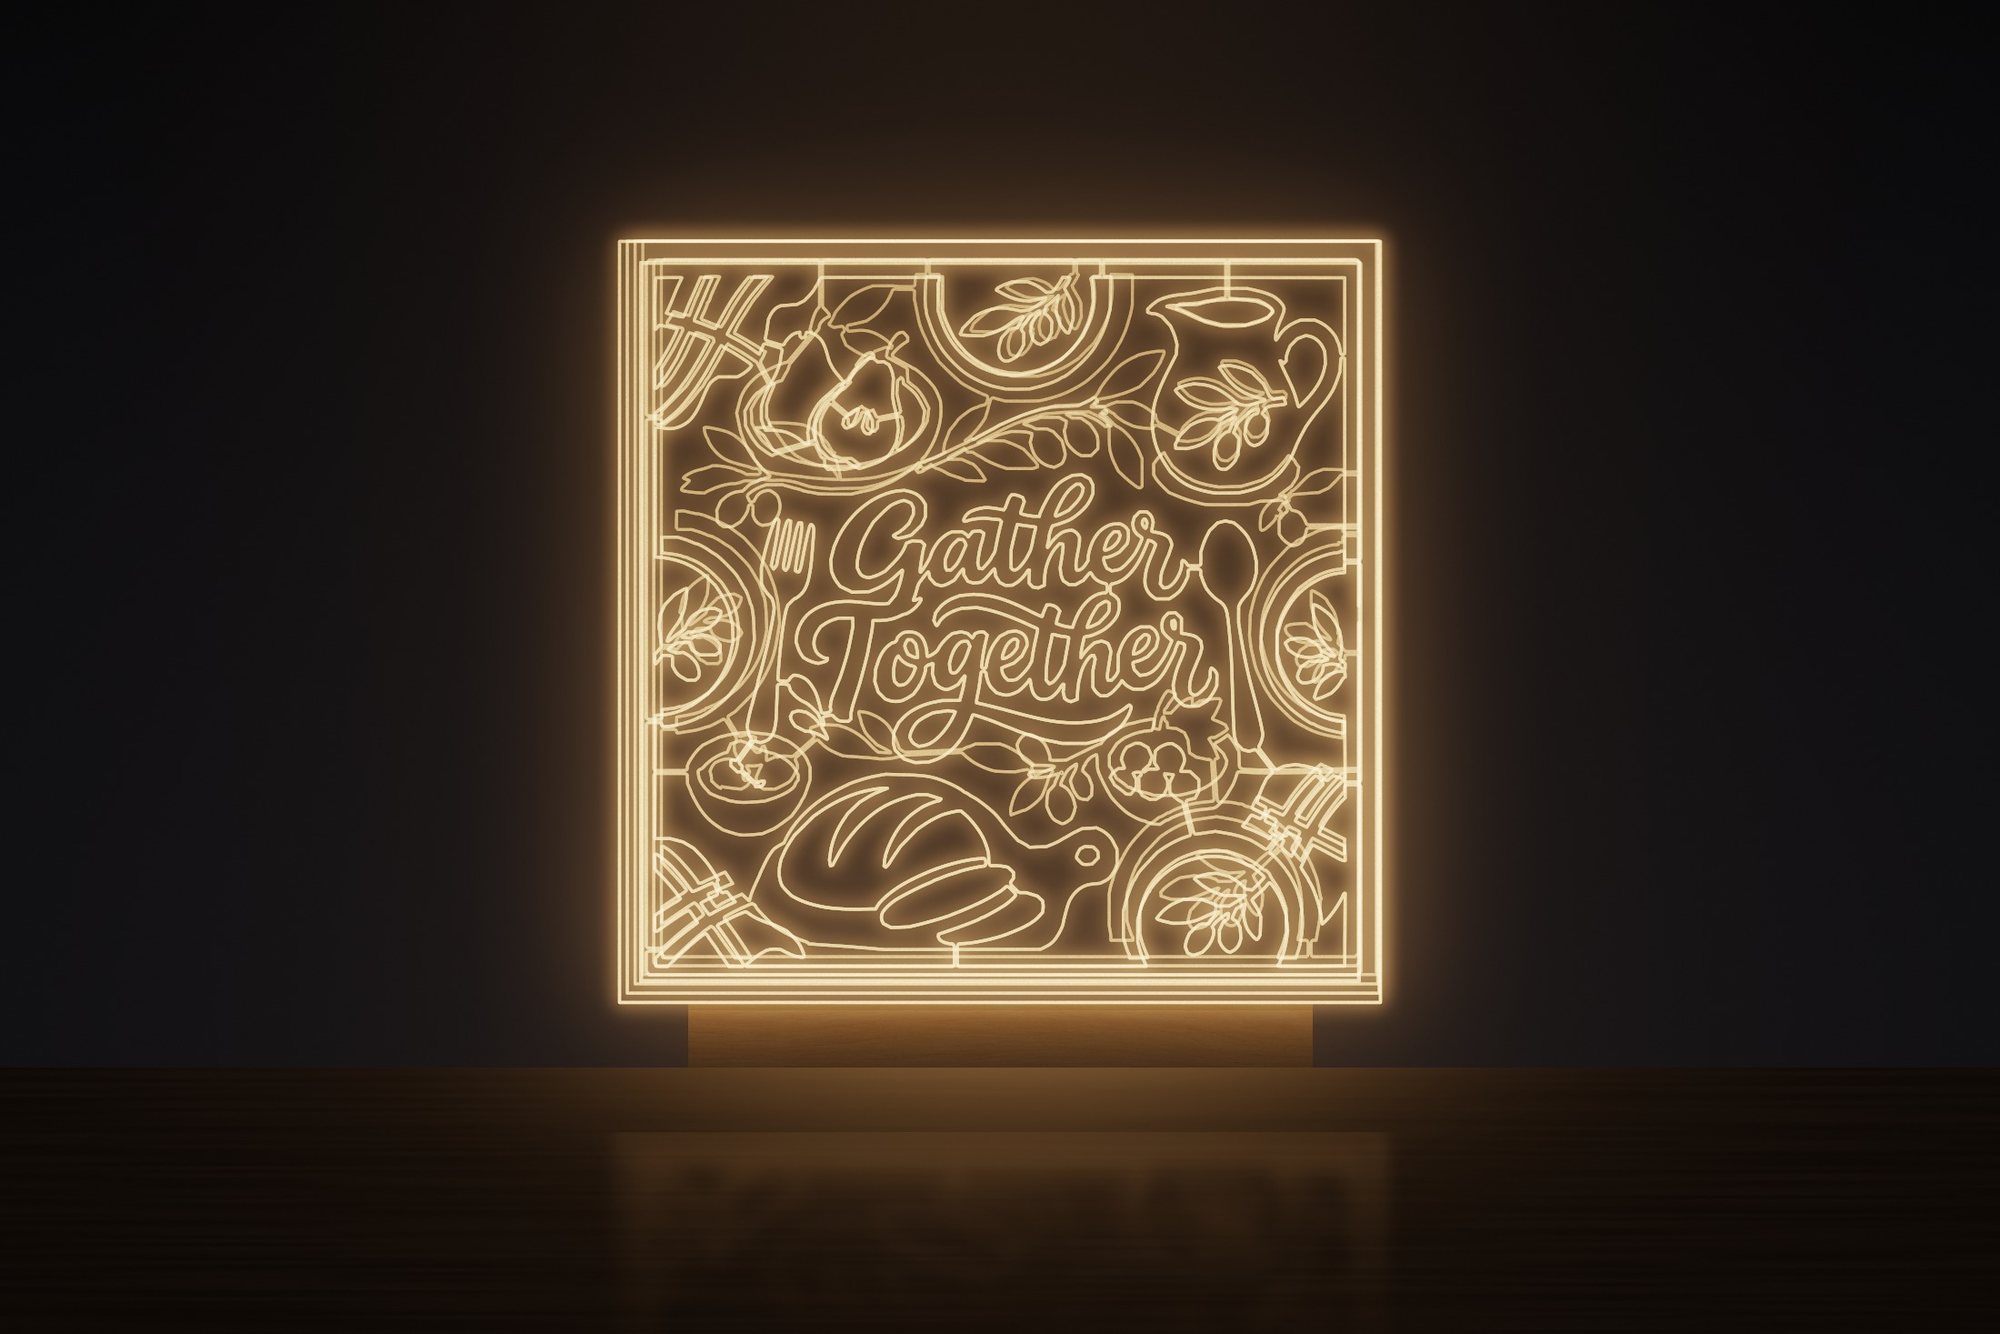 Gather Together
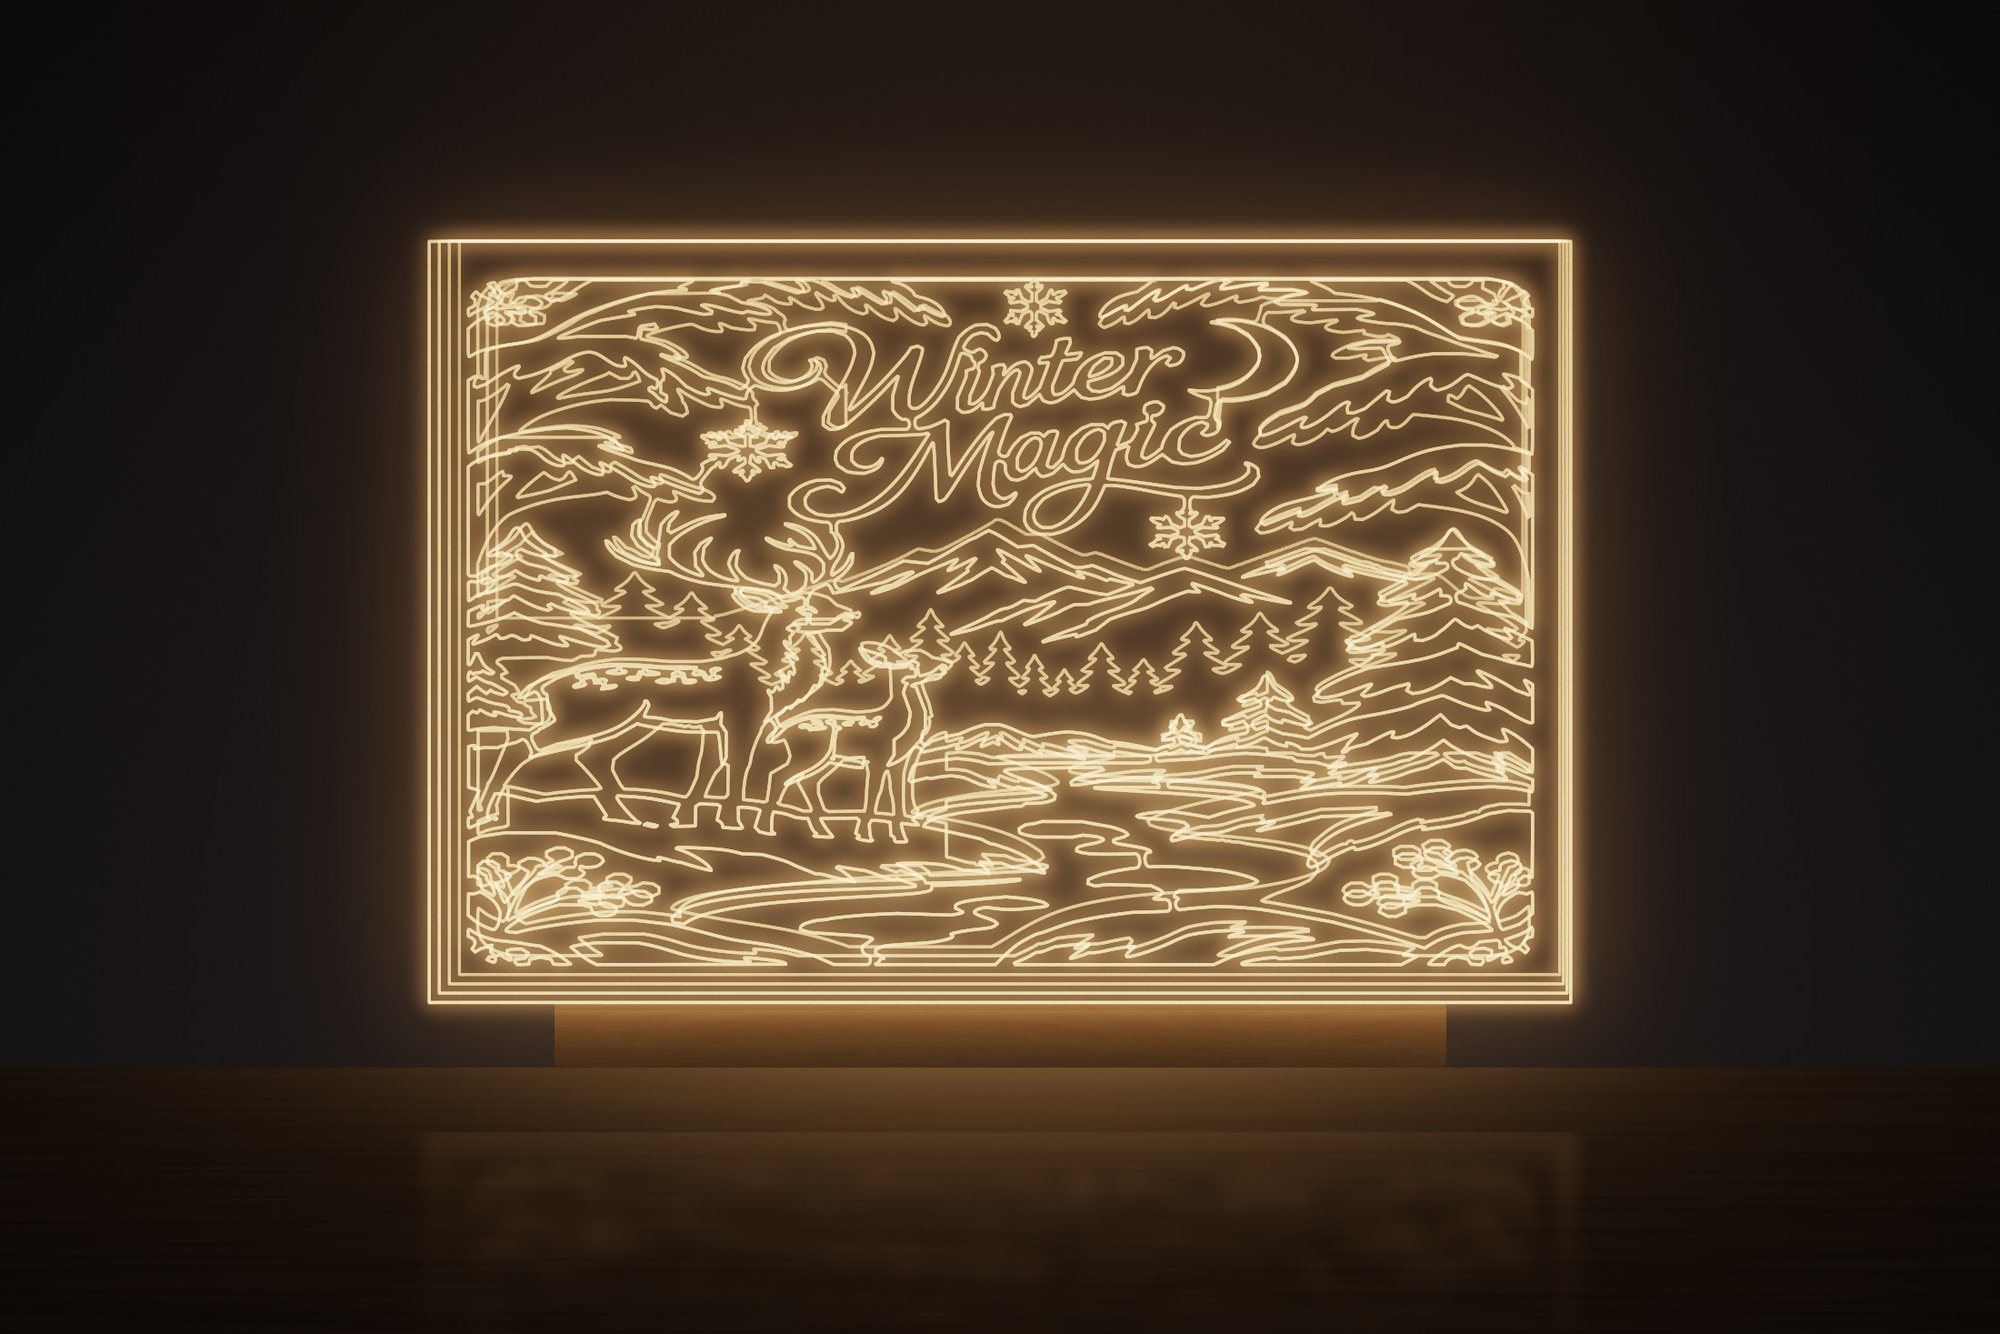 Winter Magic
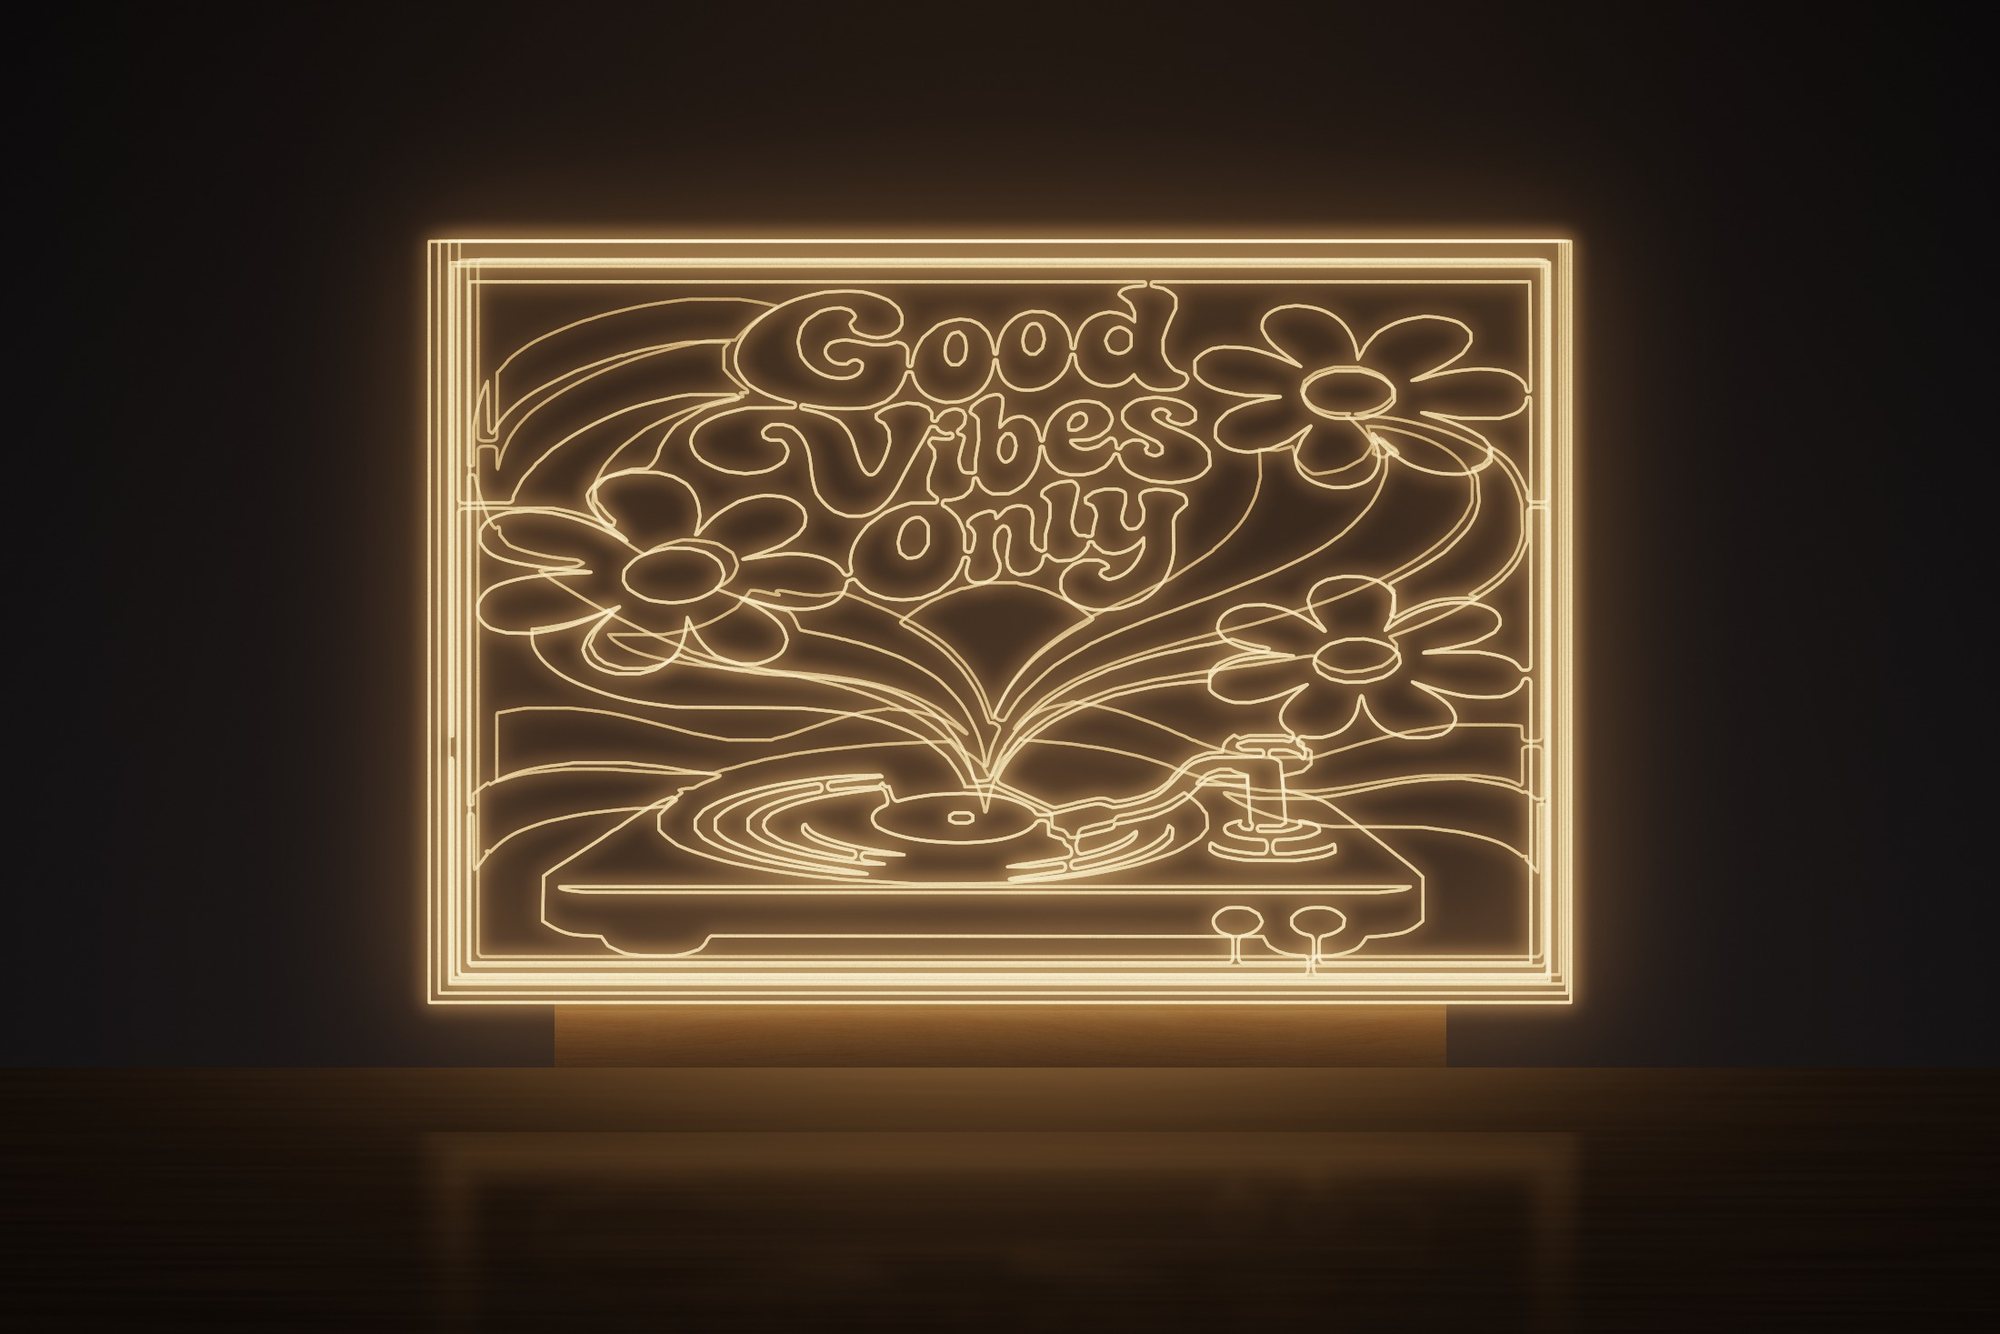 Good Vibes Only
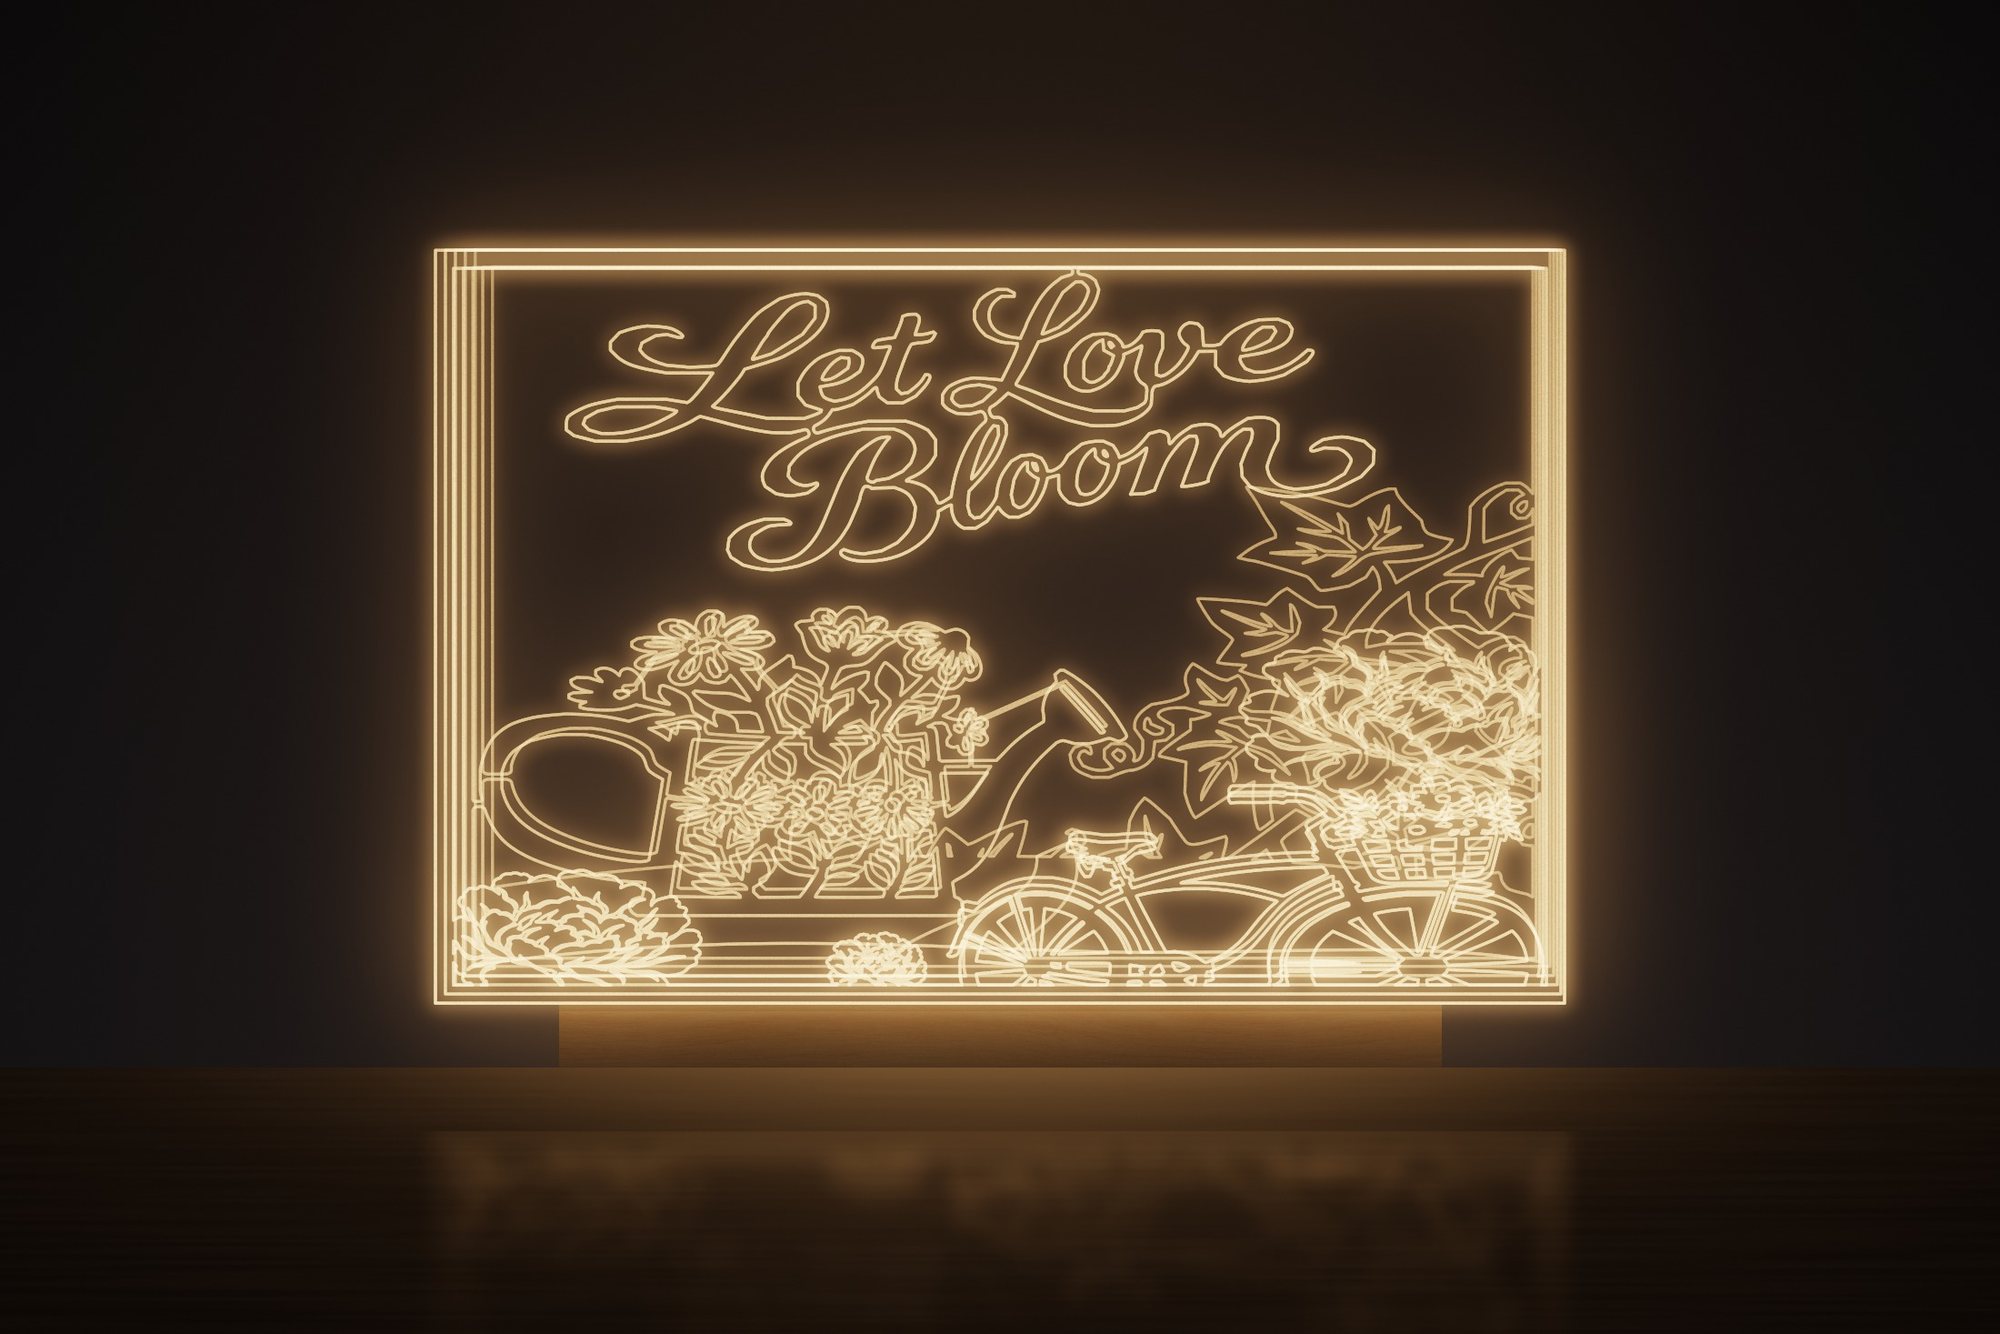 Blooming Joy
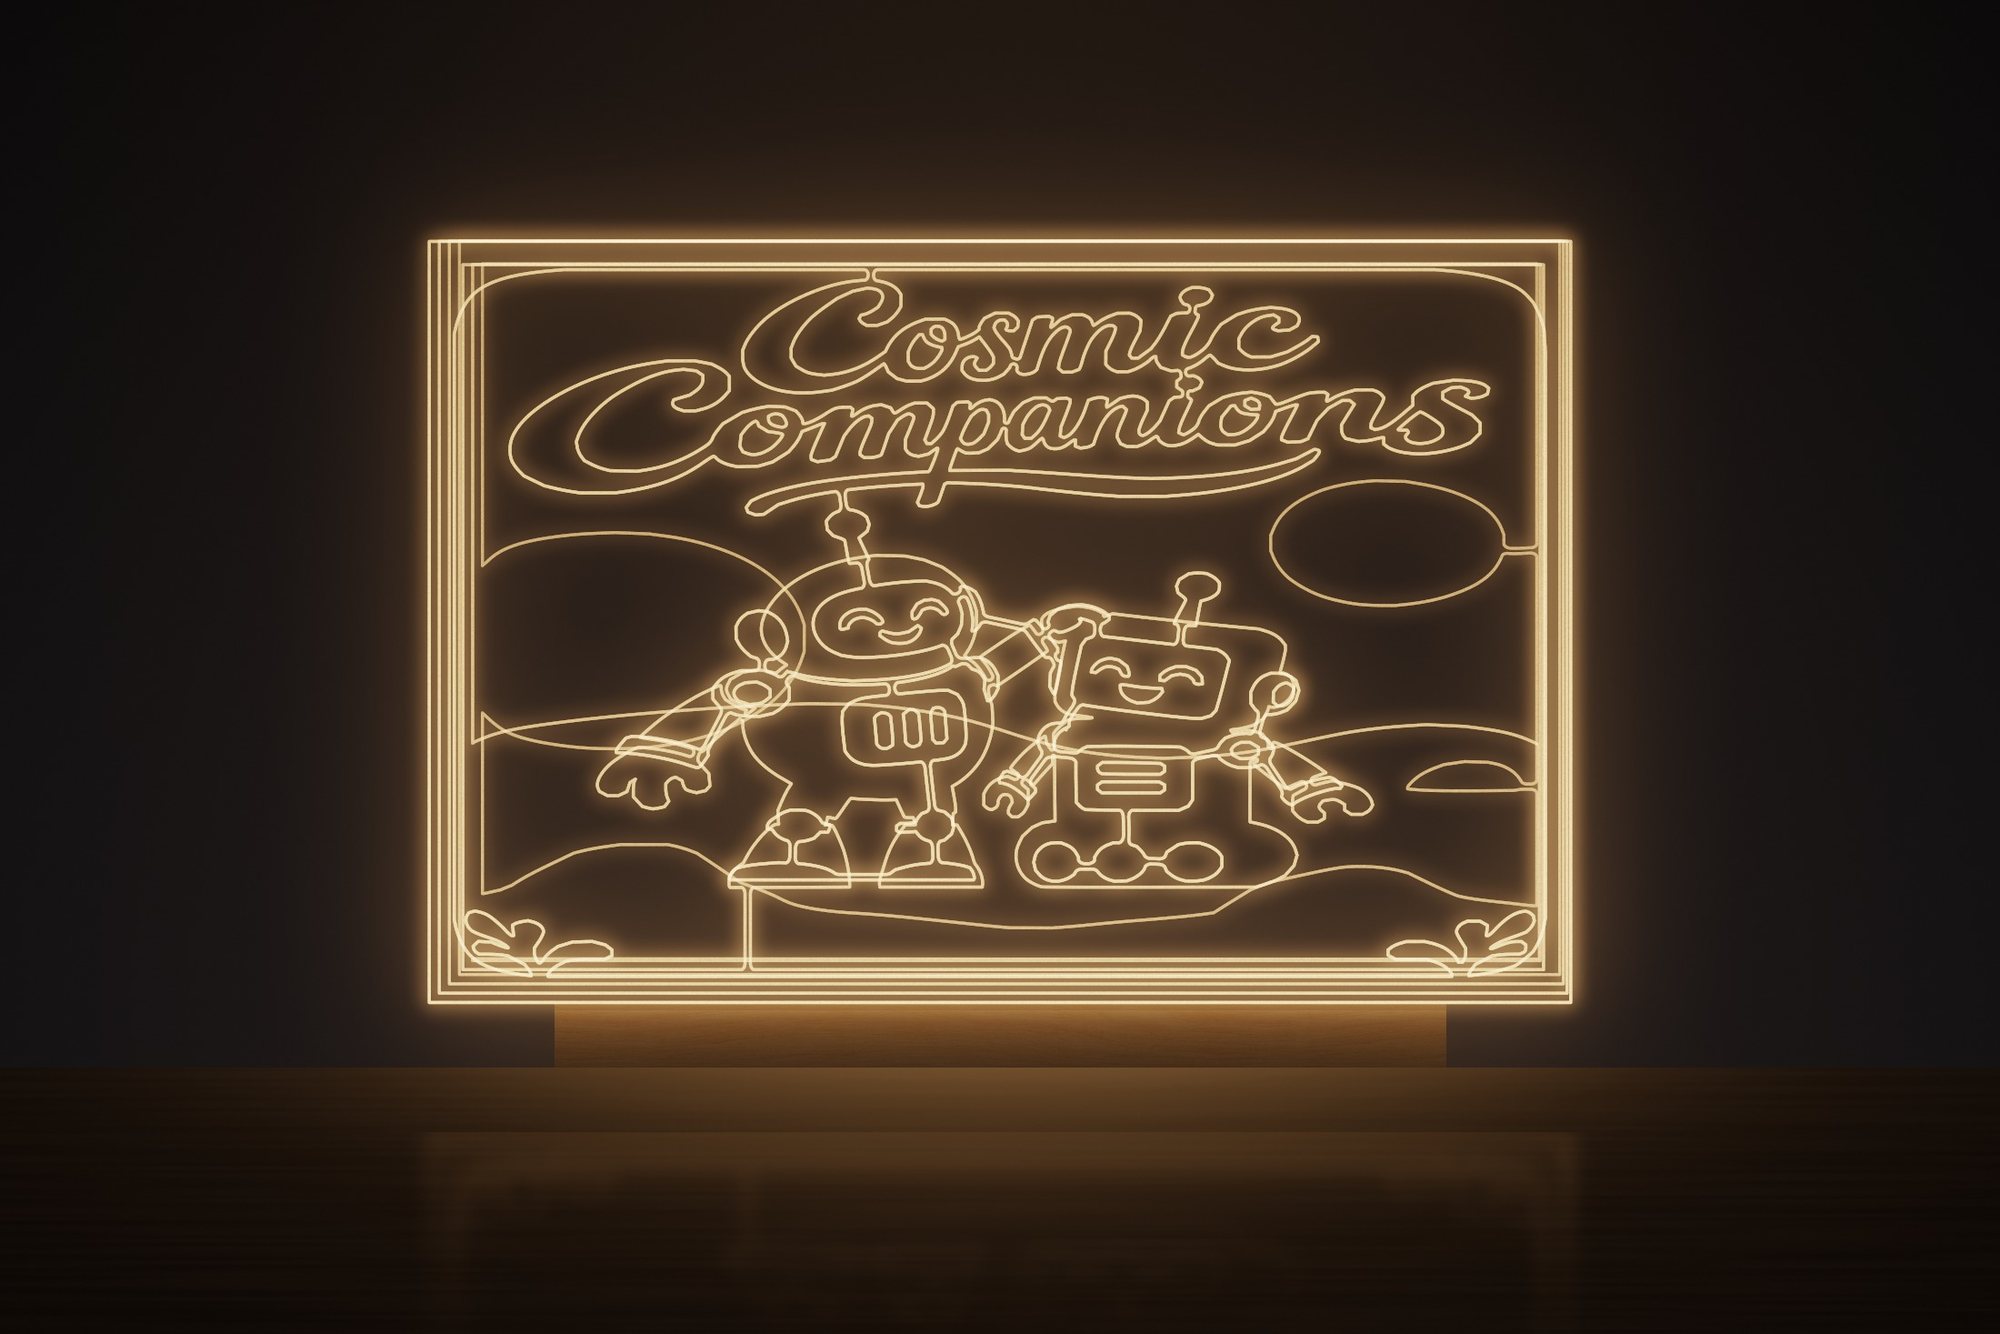 Cosmic Companions
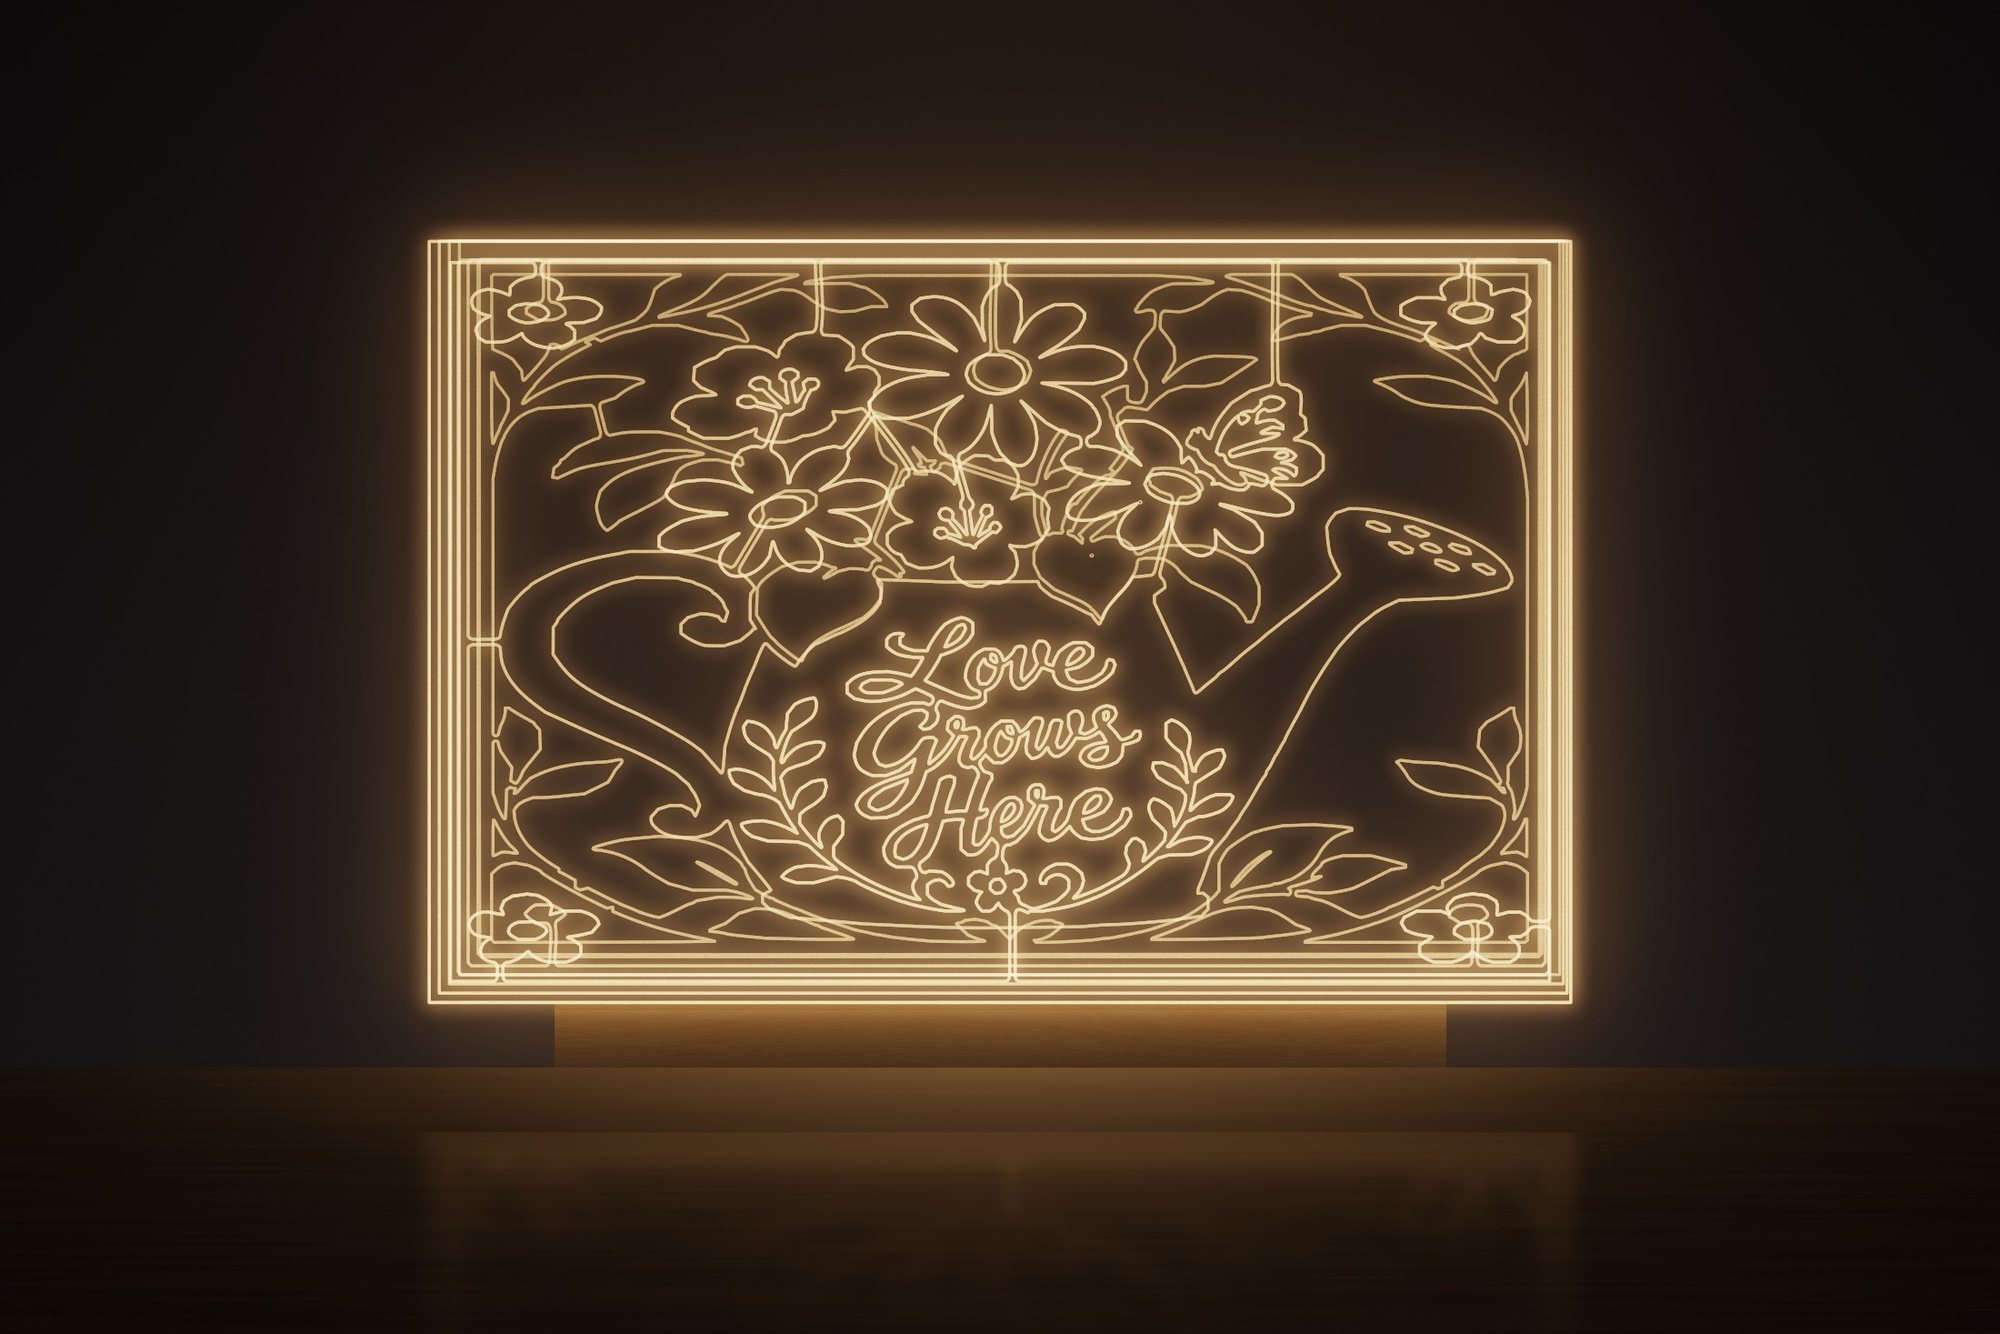 Love Grows Here
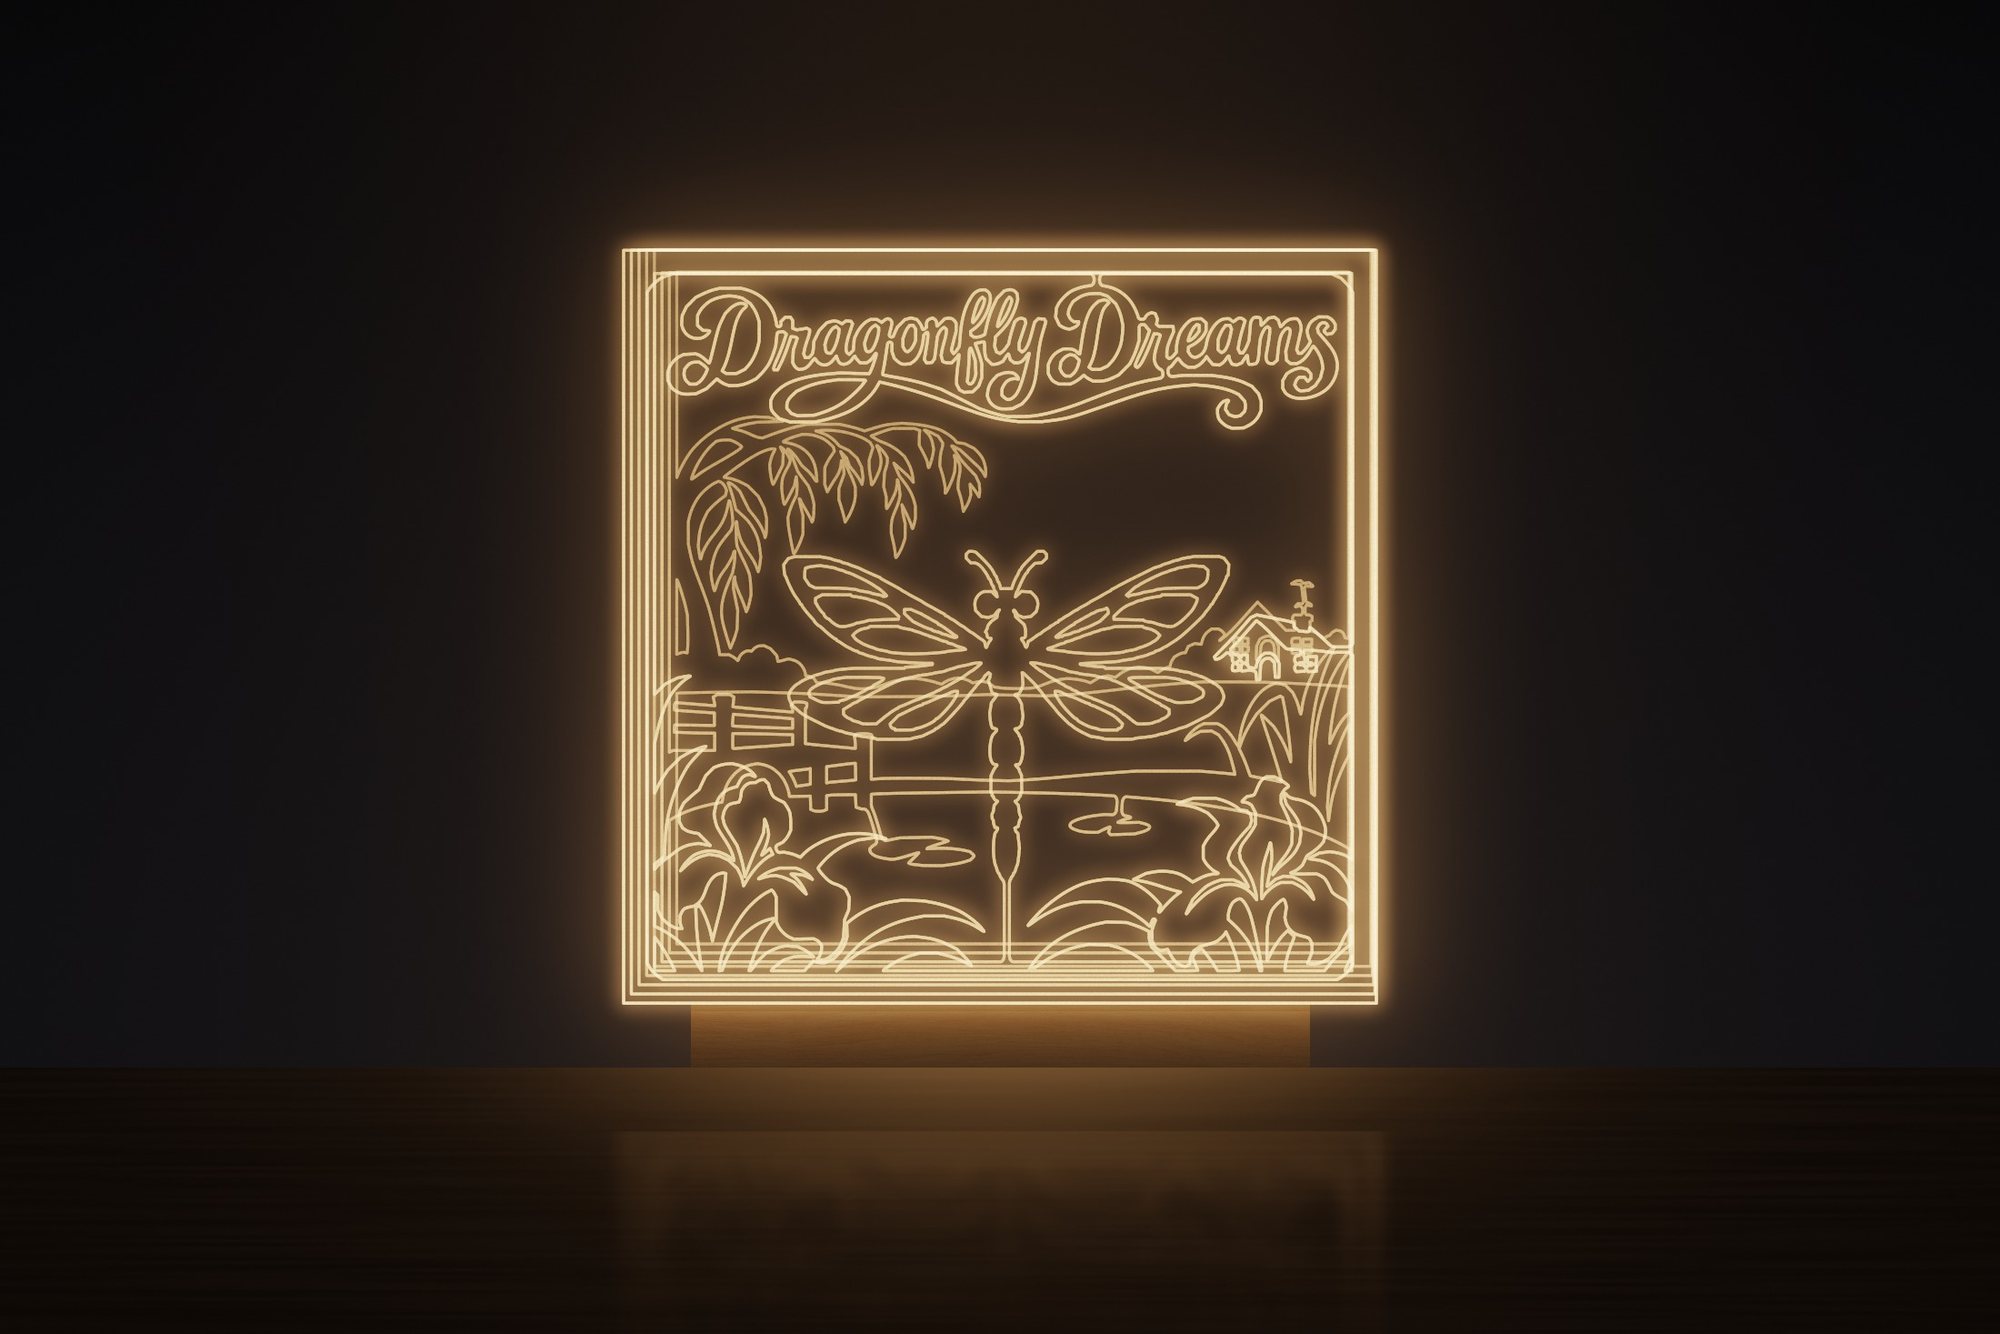 Dragonfly Dreams
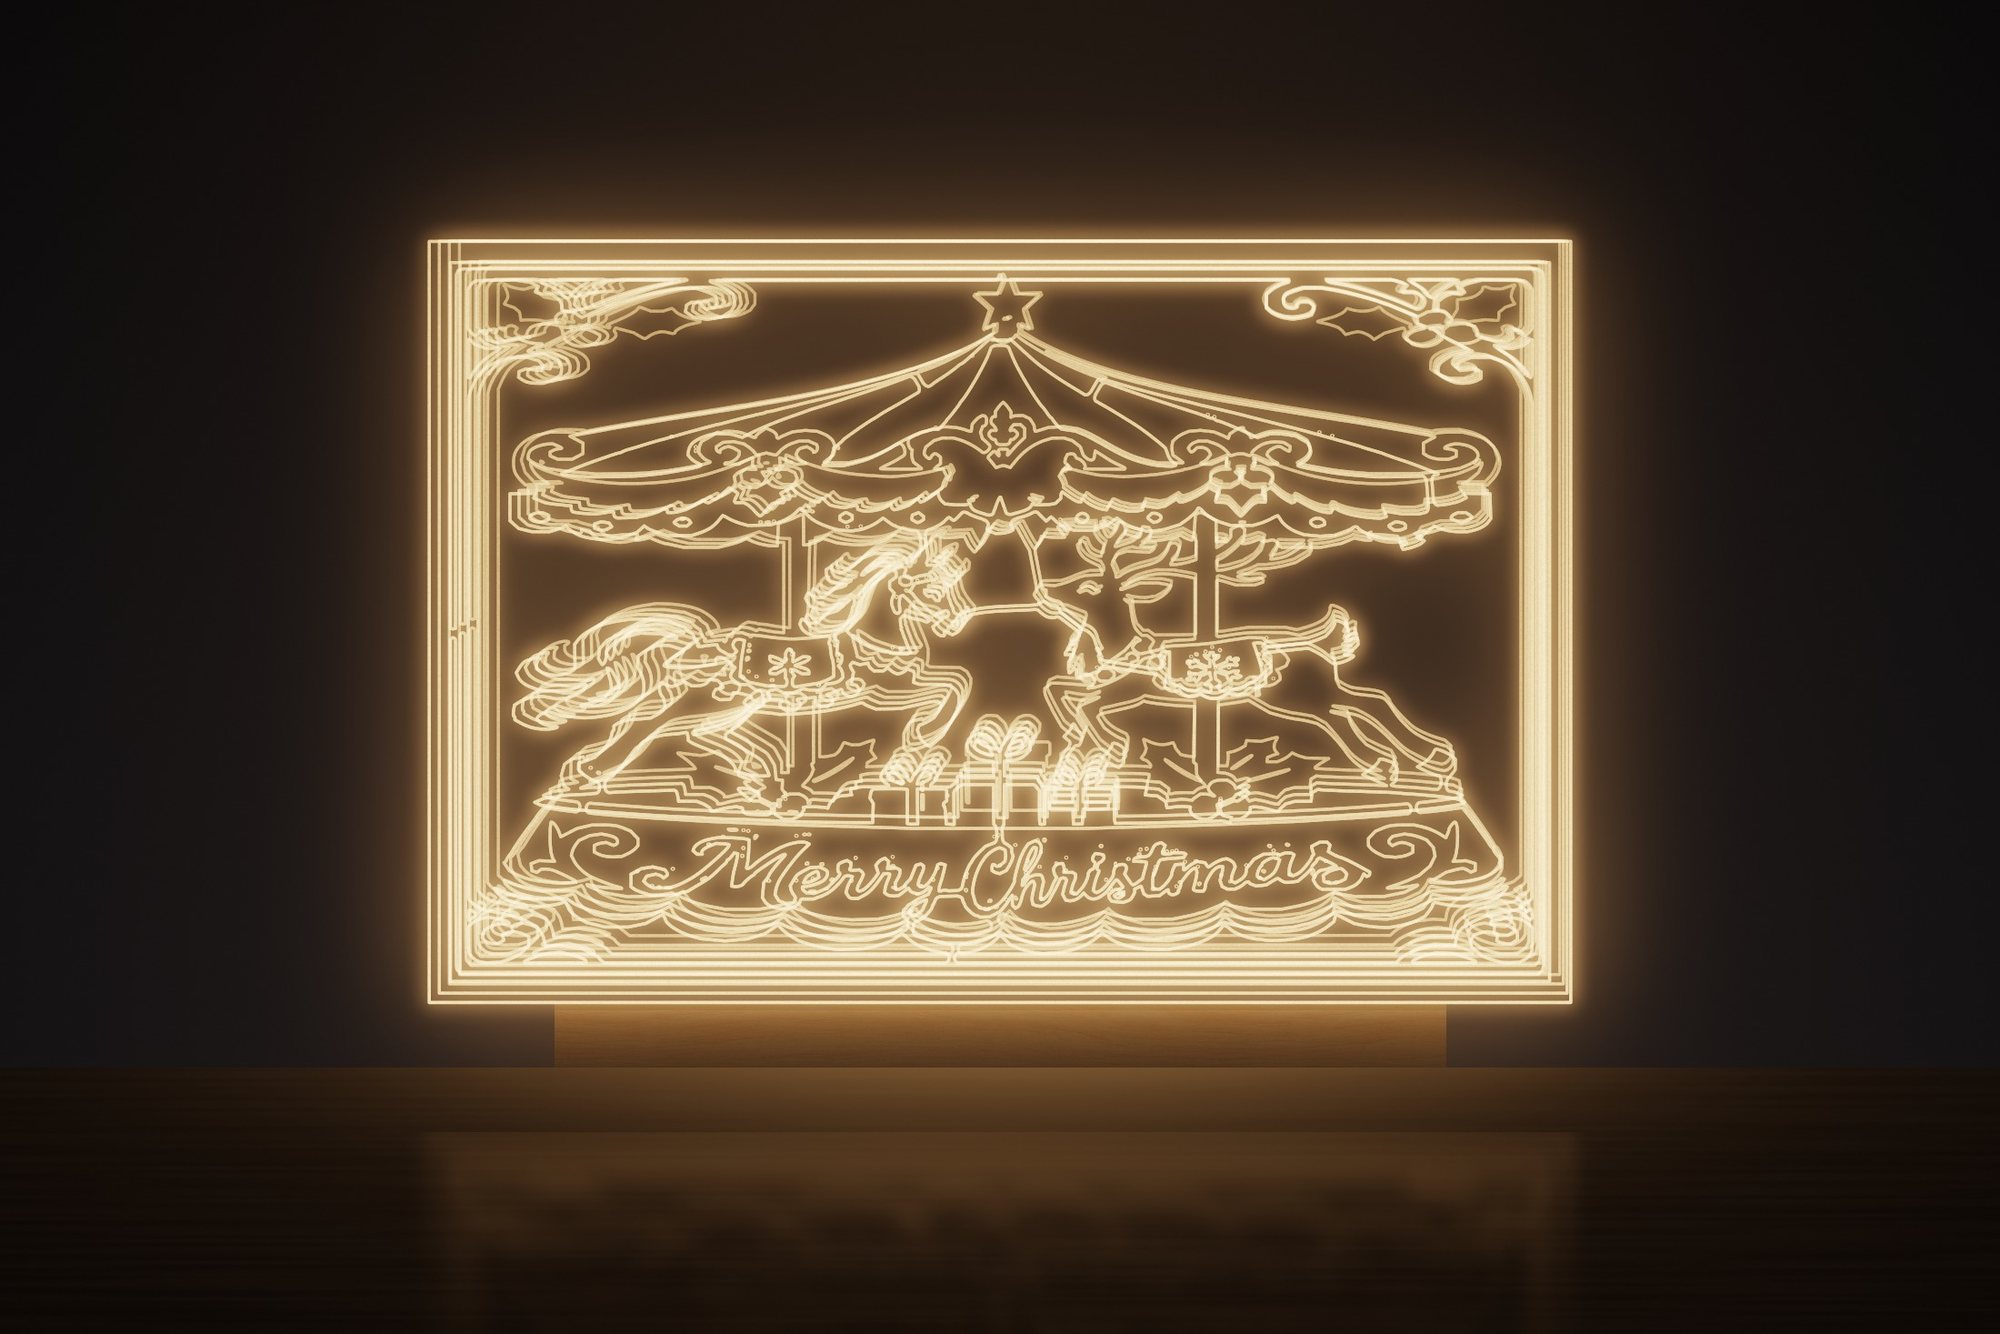 Christmas Carousel
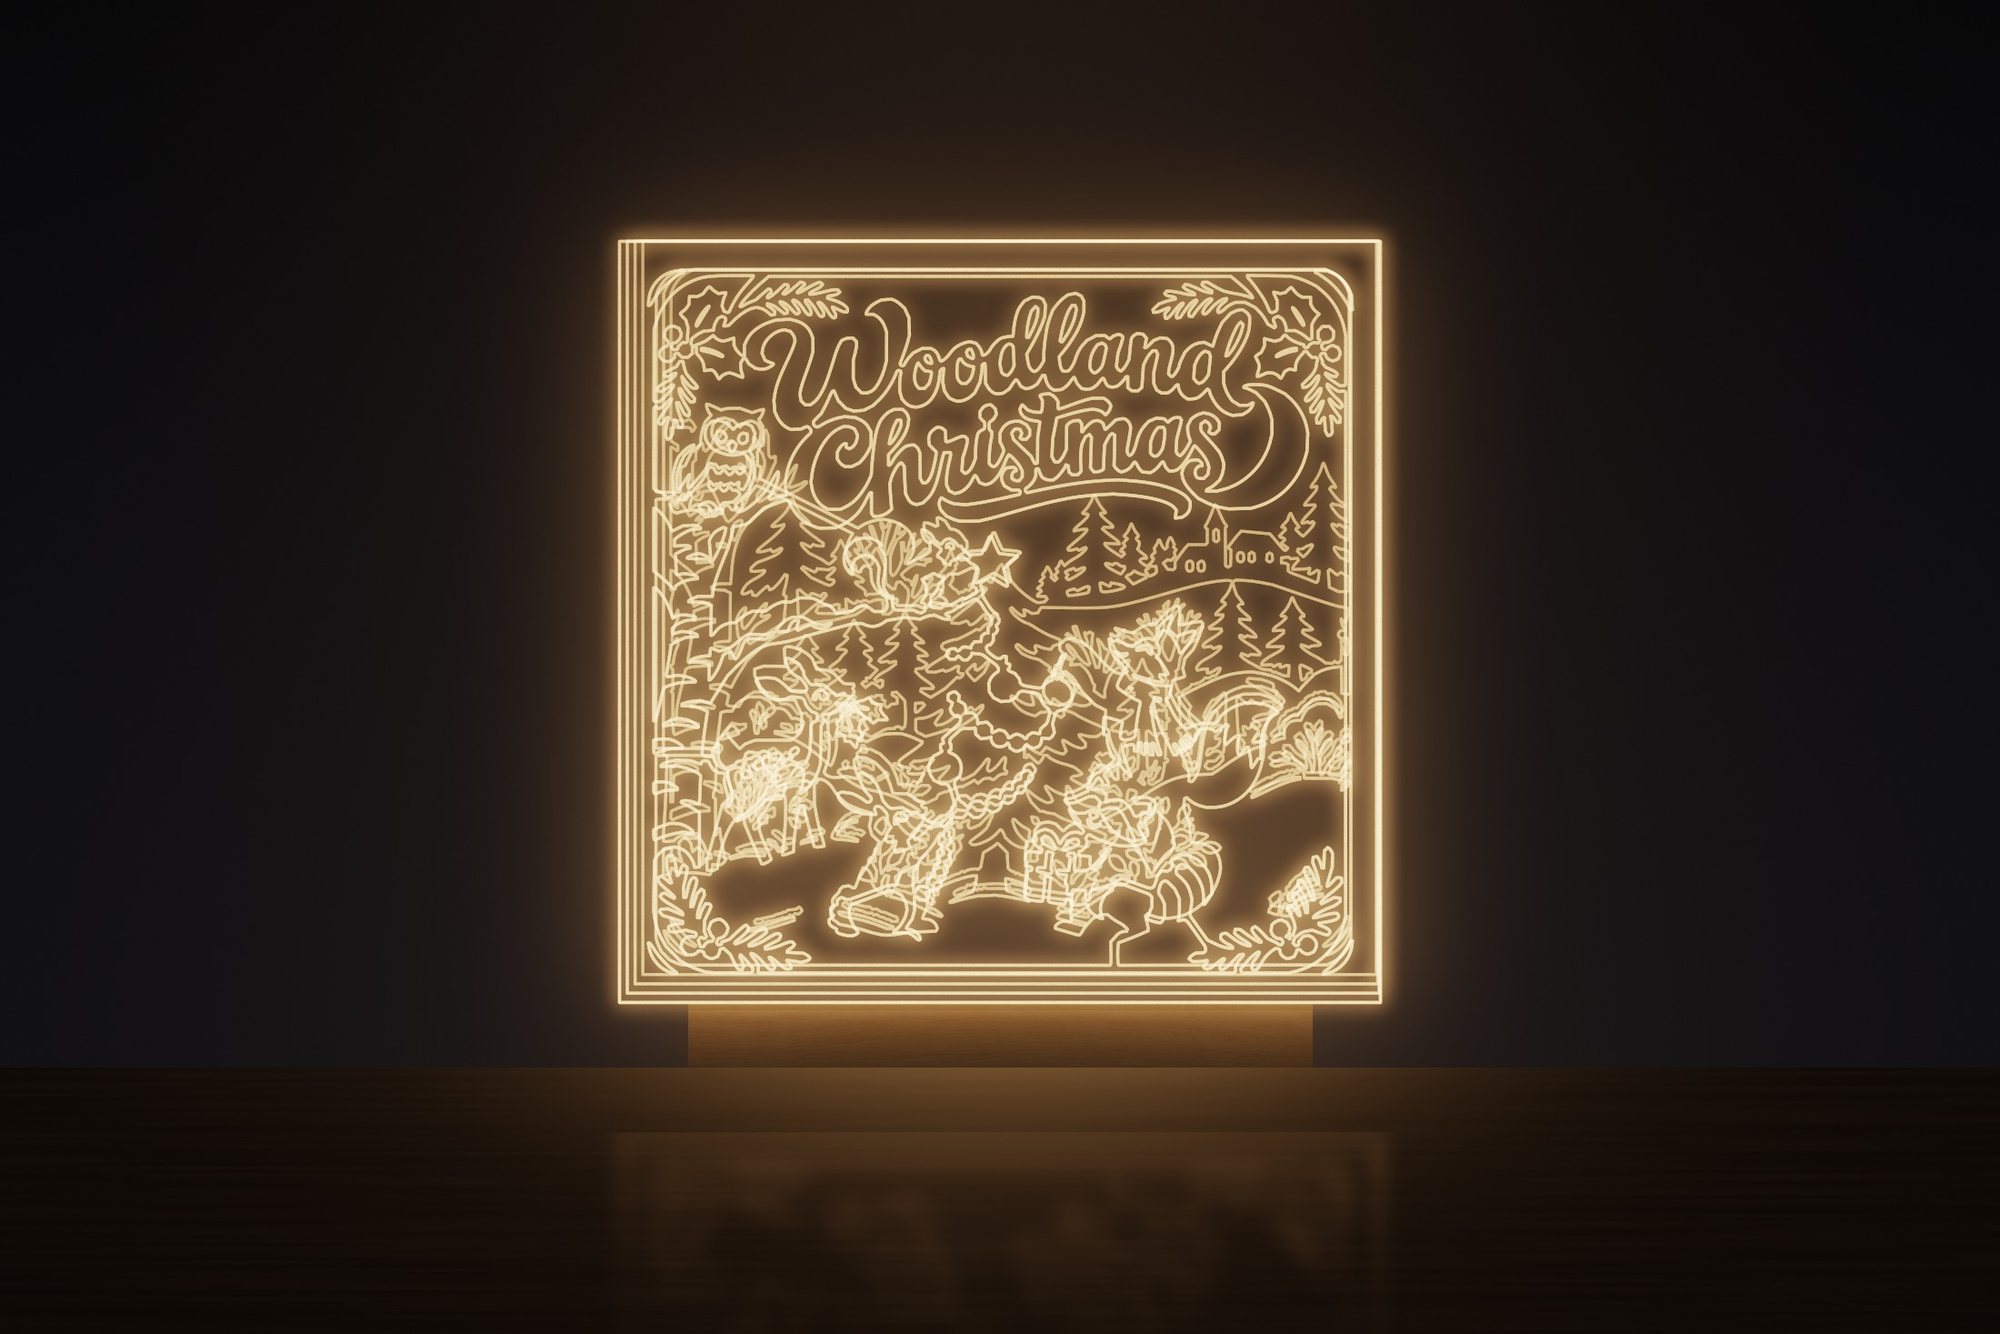 Woodland Christmas
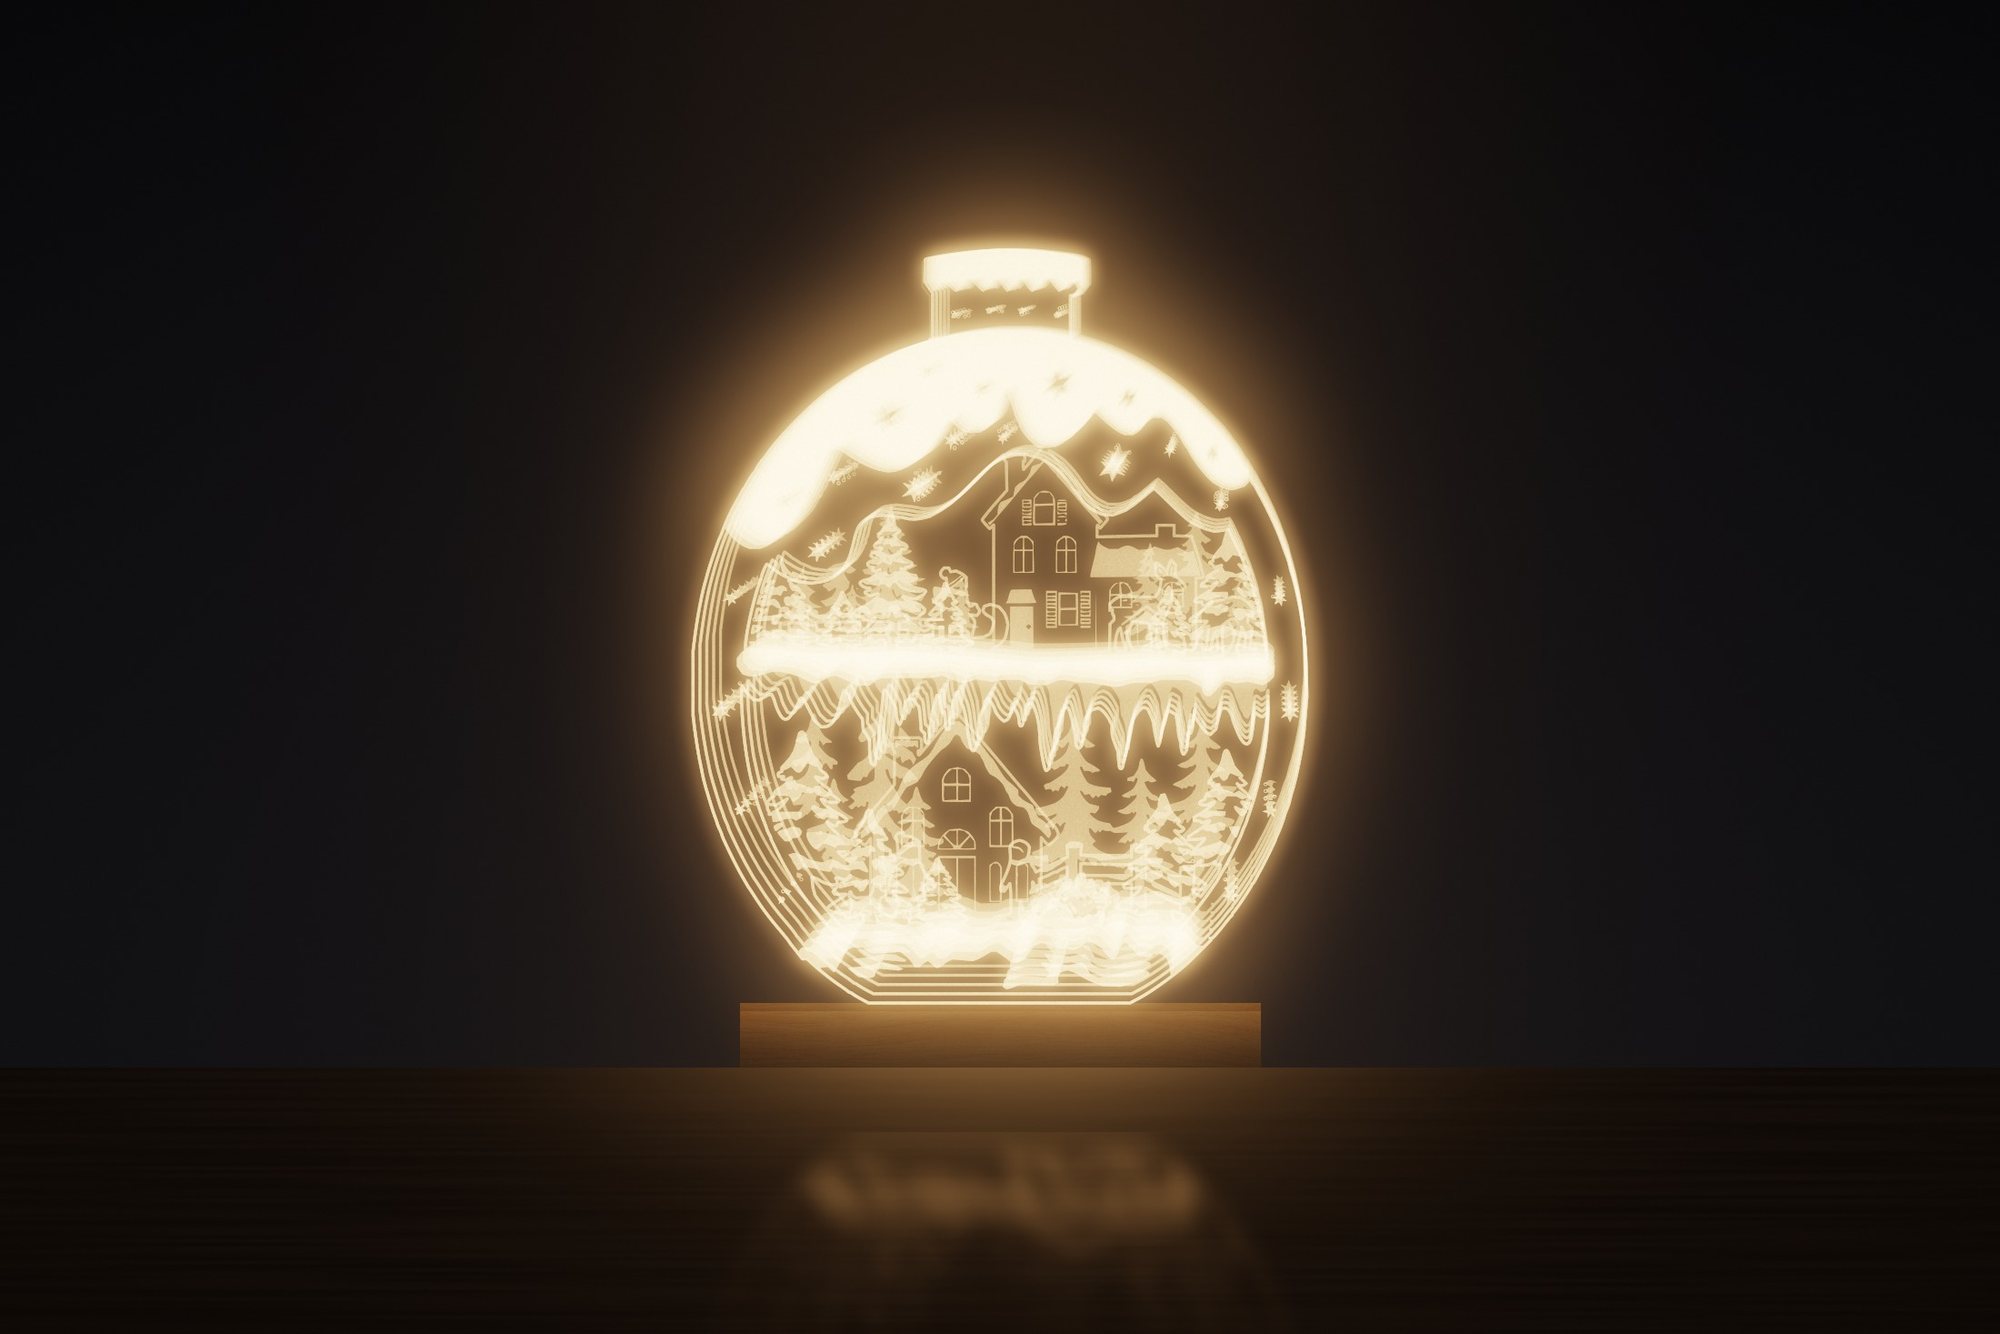 Christmas Village Ornament
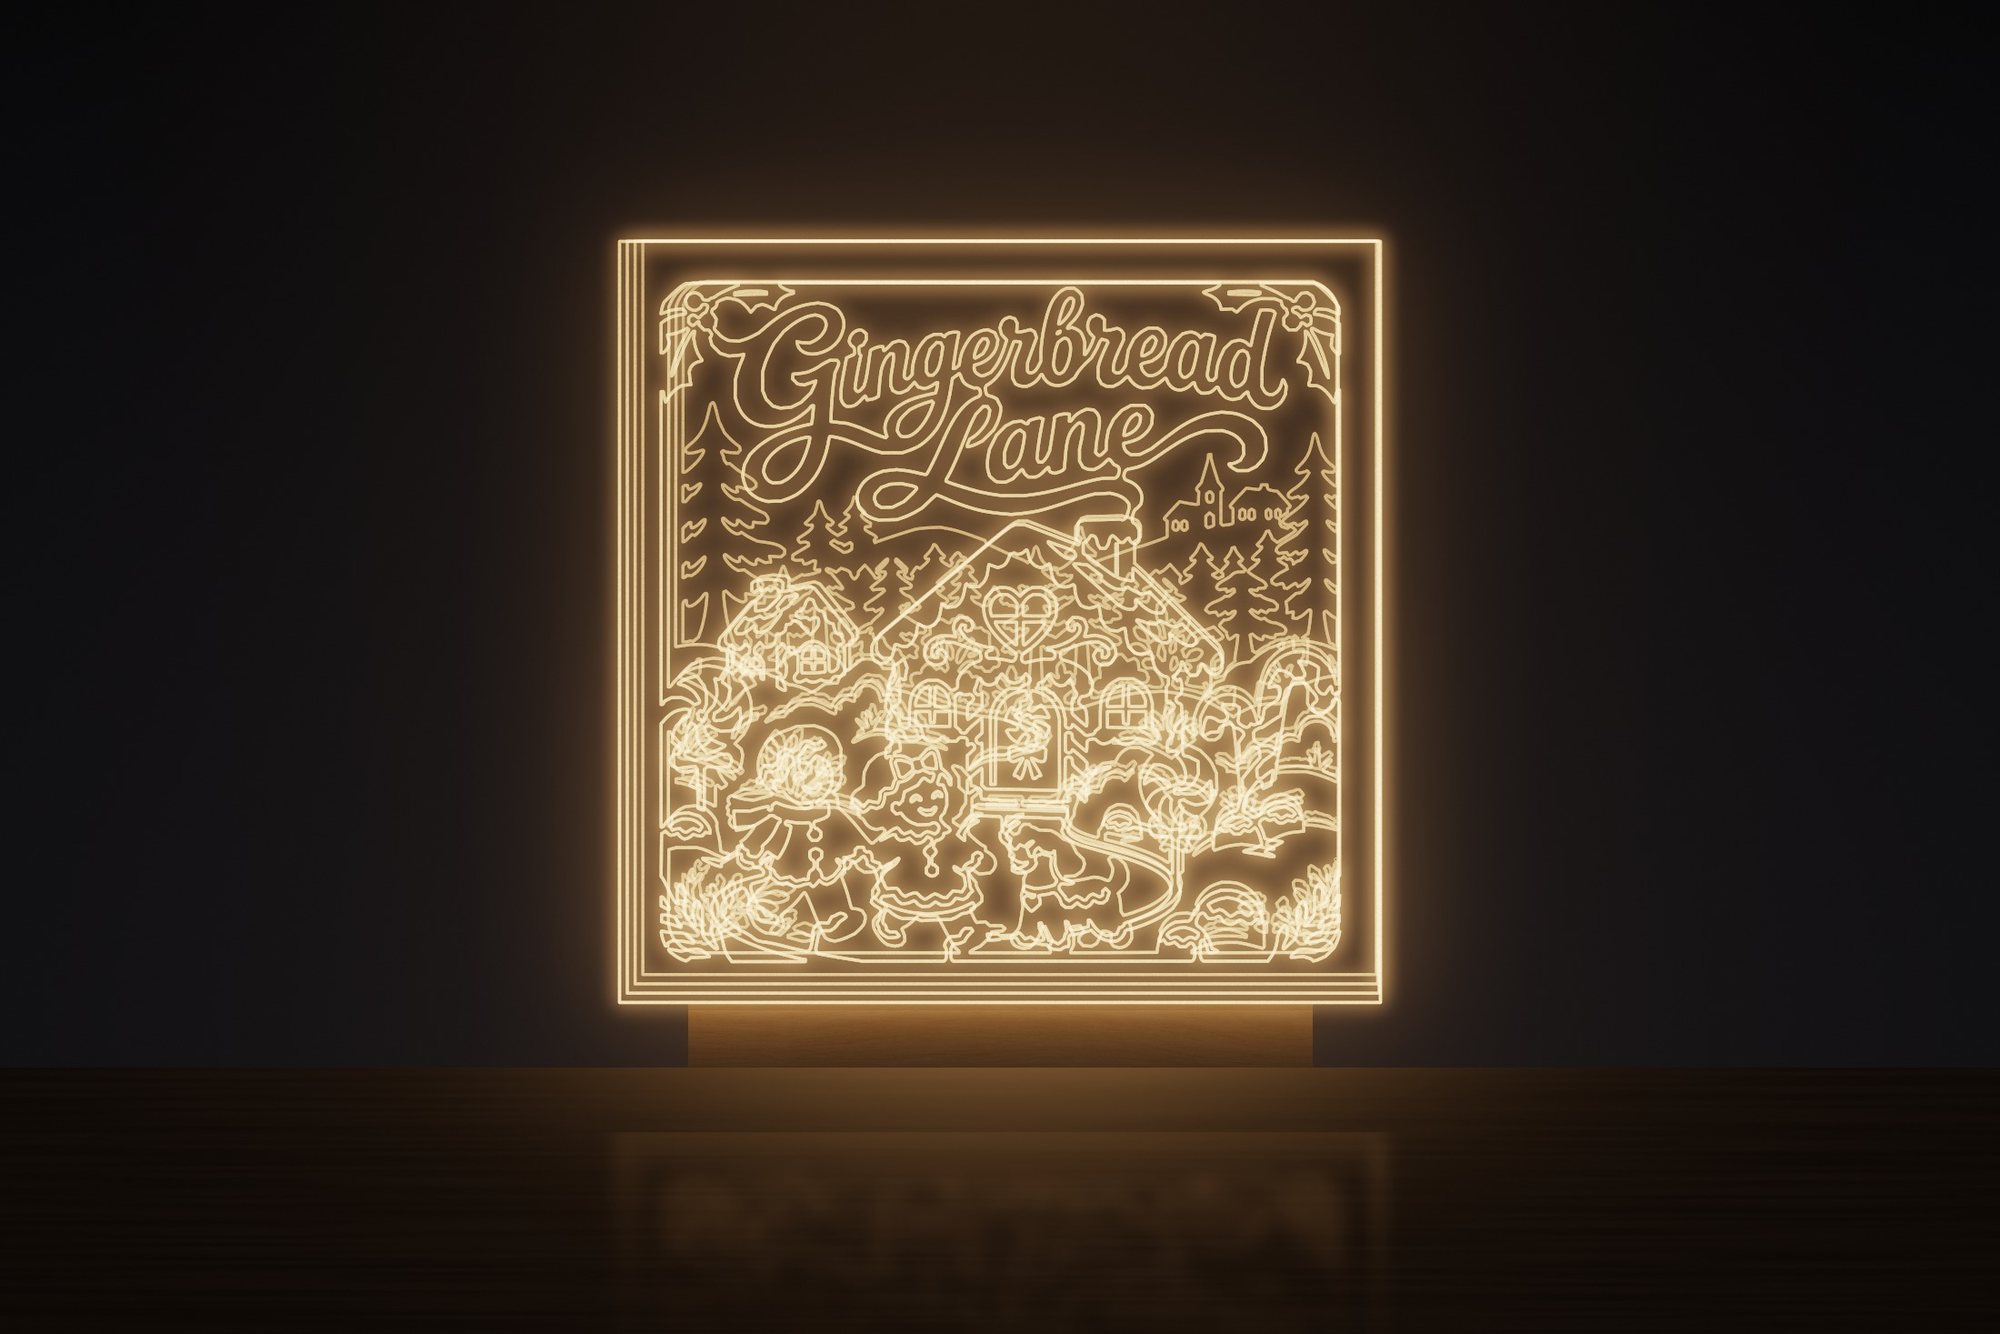 Gingerbread Lane
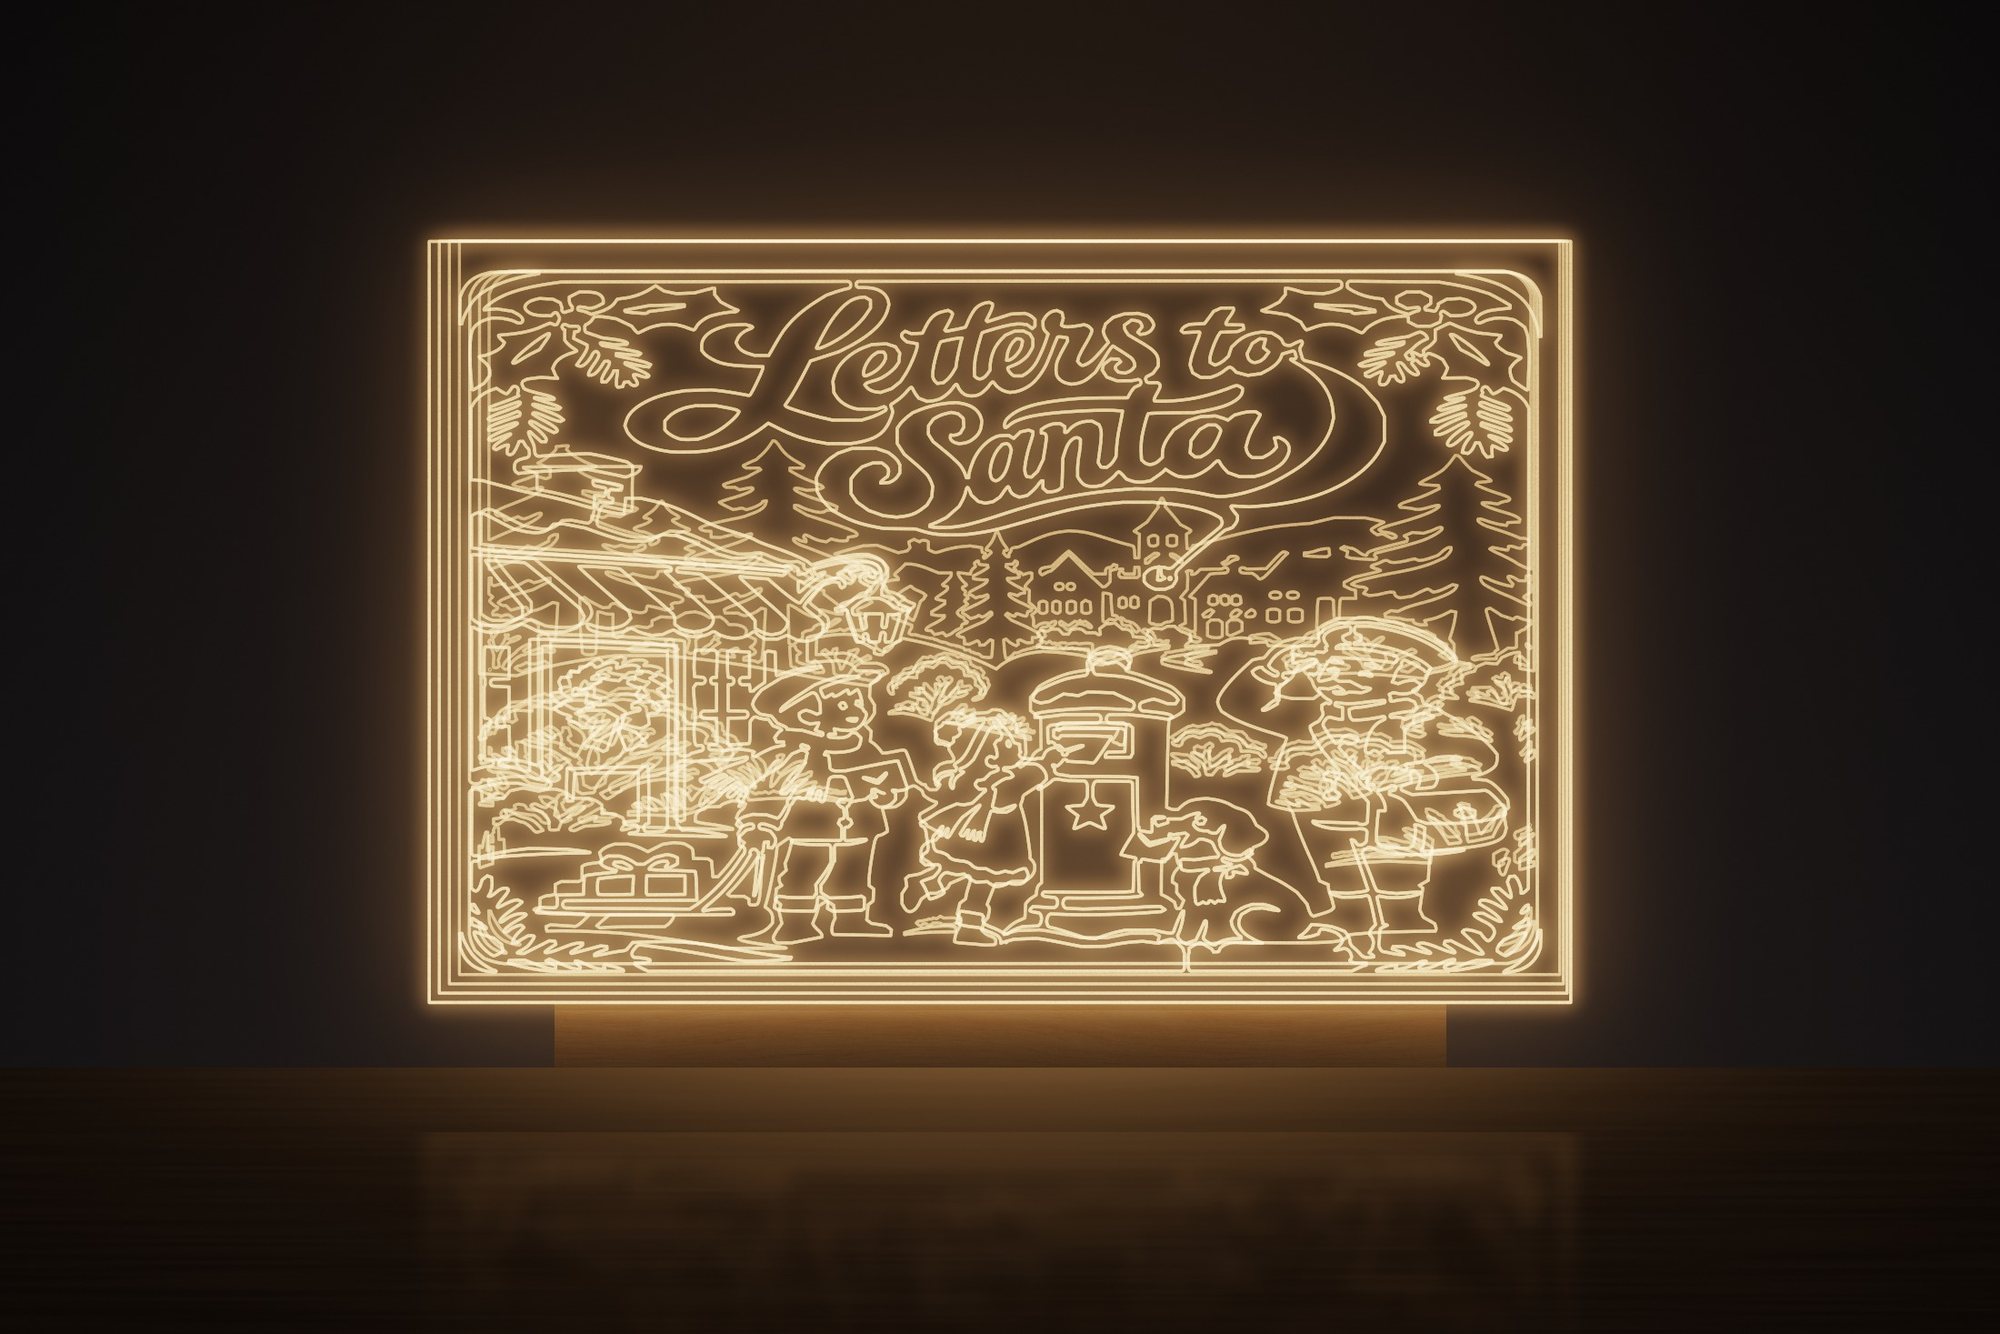 Letters to Santa
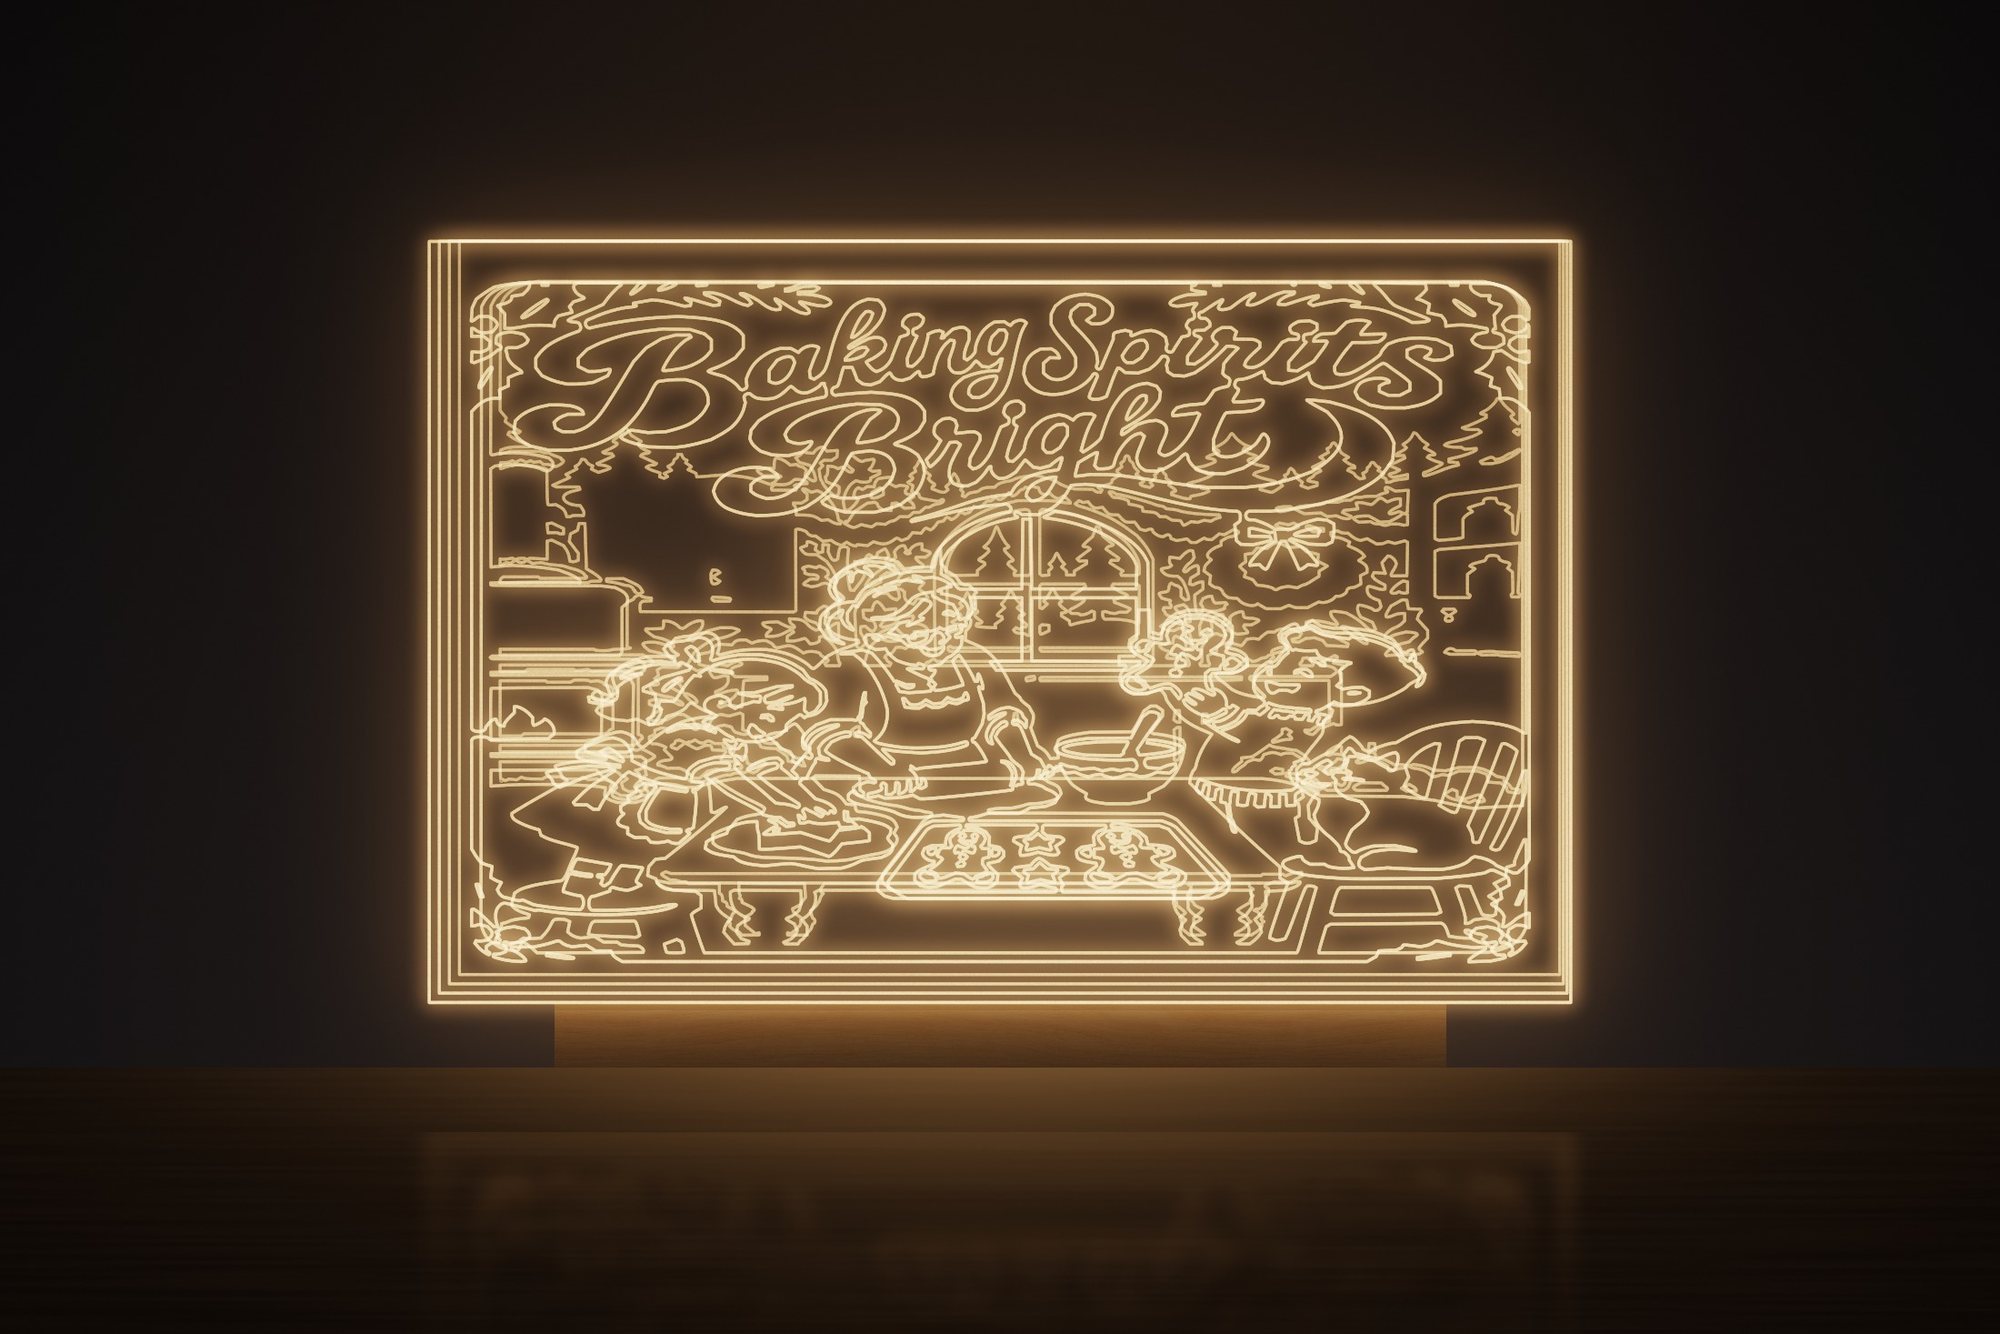 Baking Spirits Bright
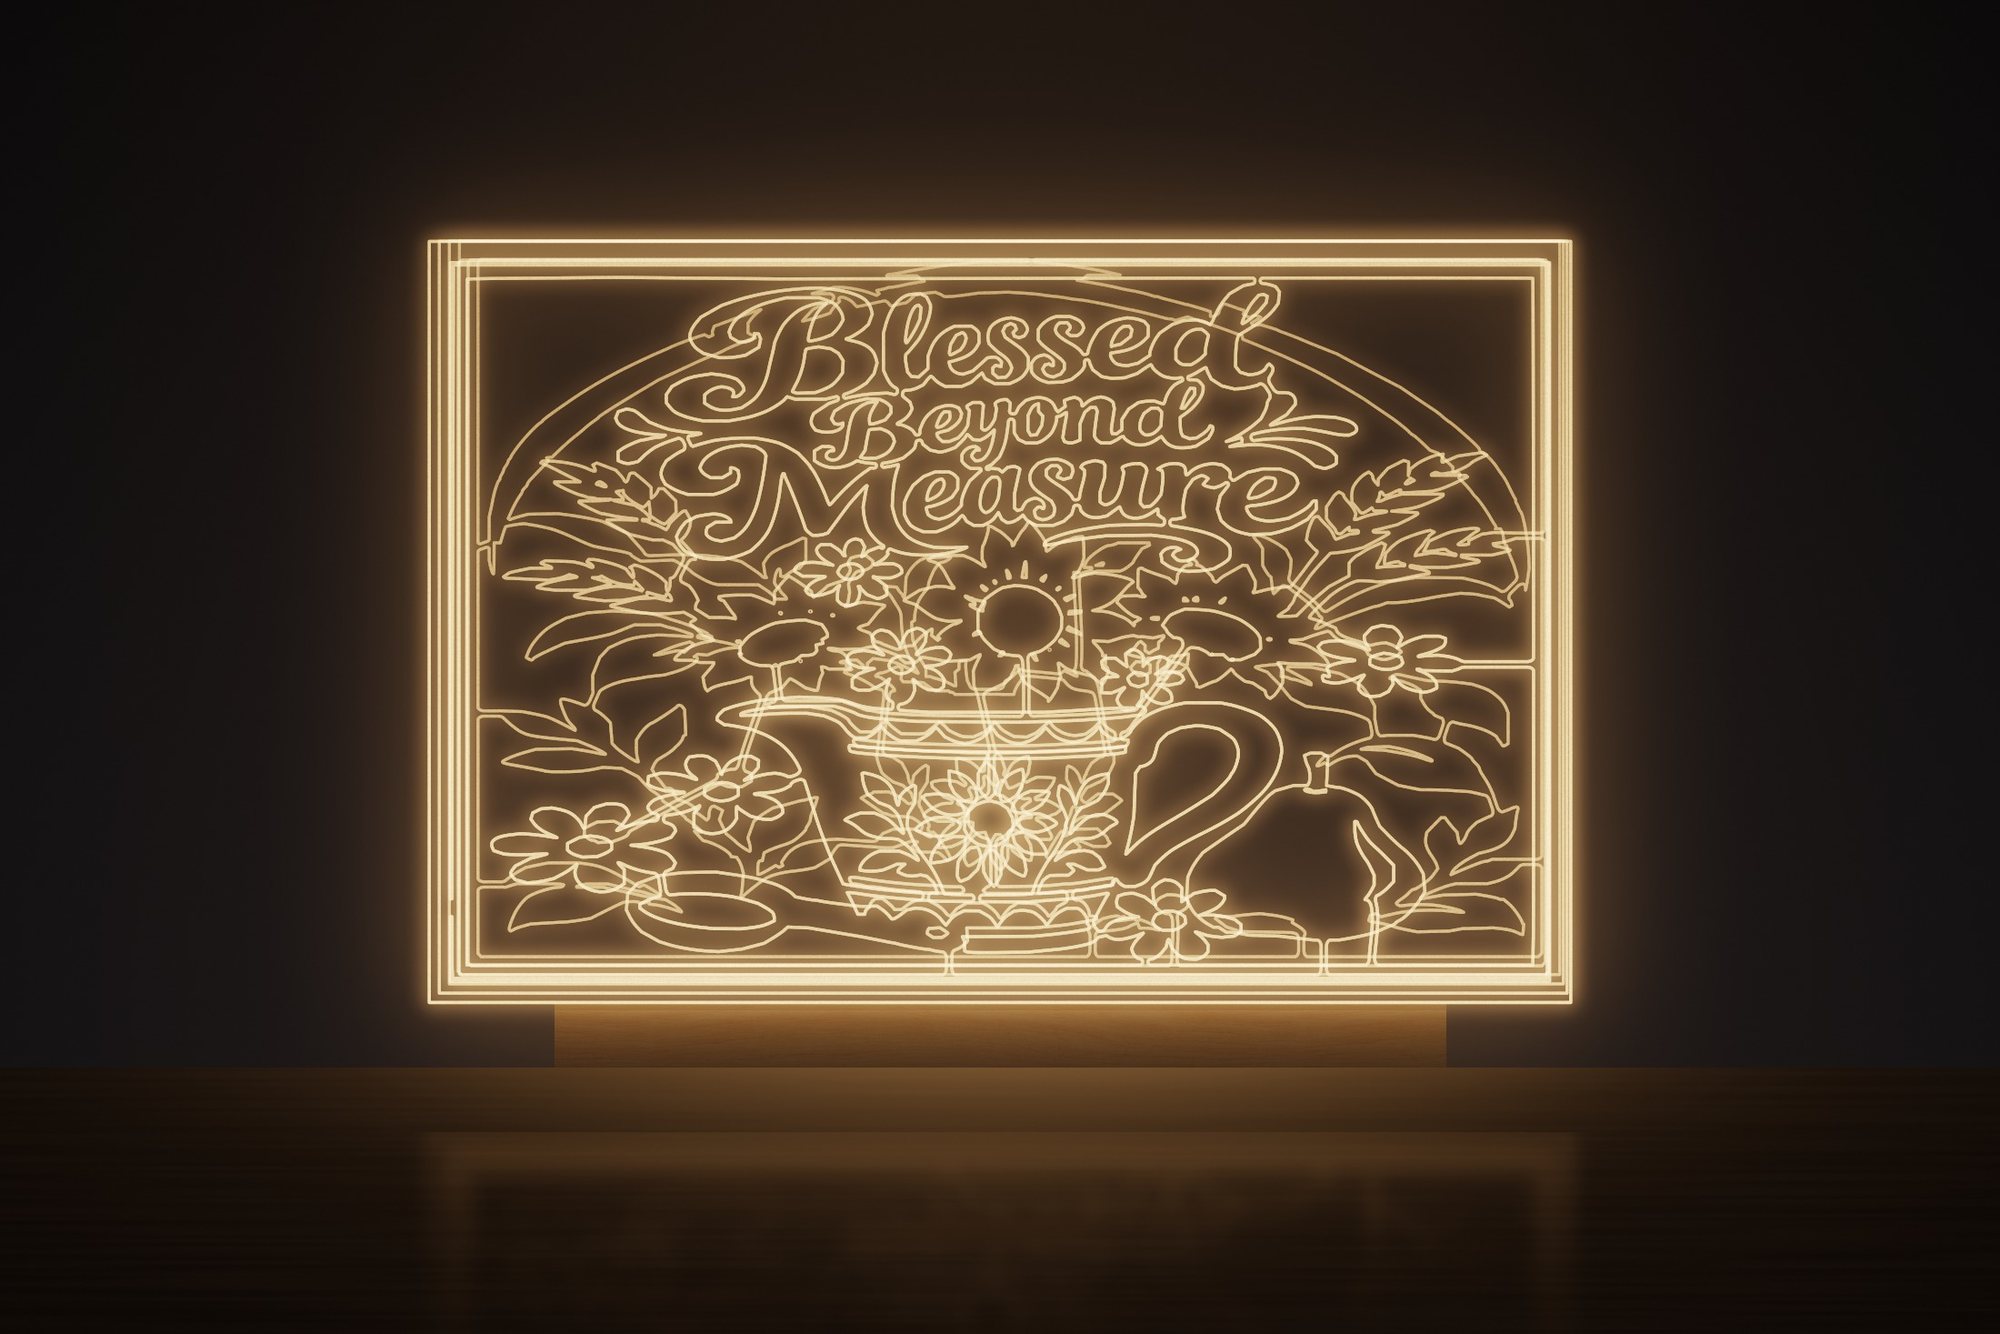 Blessed Beyond Measure
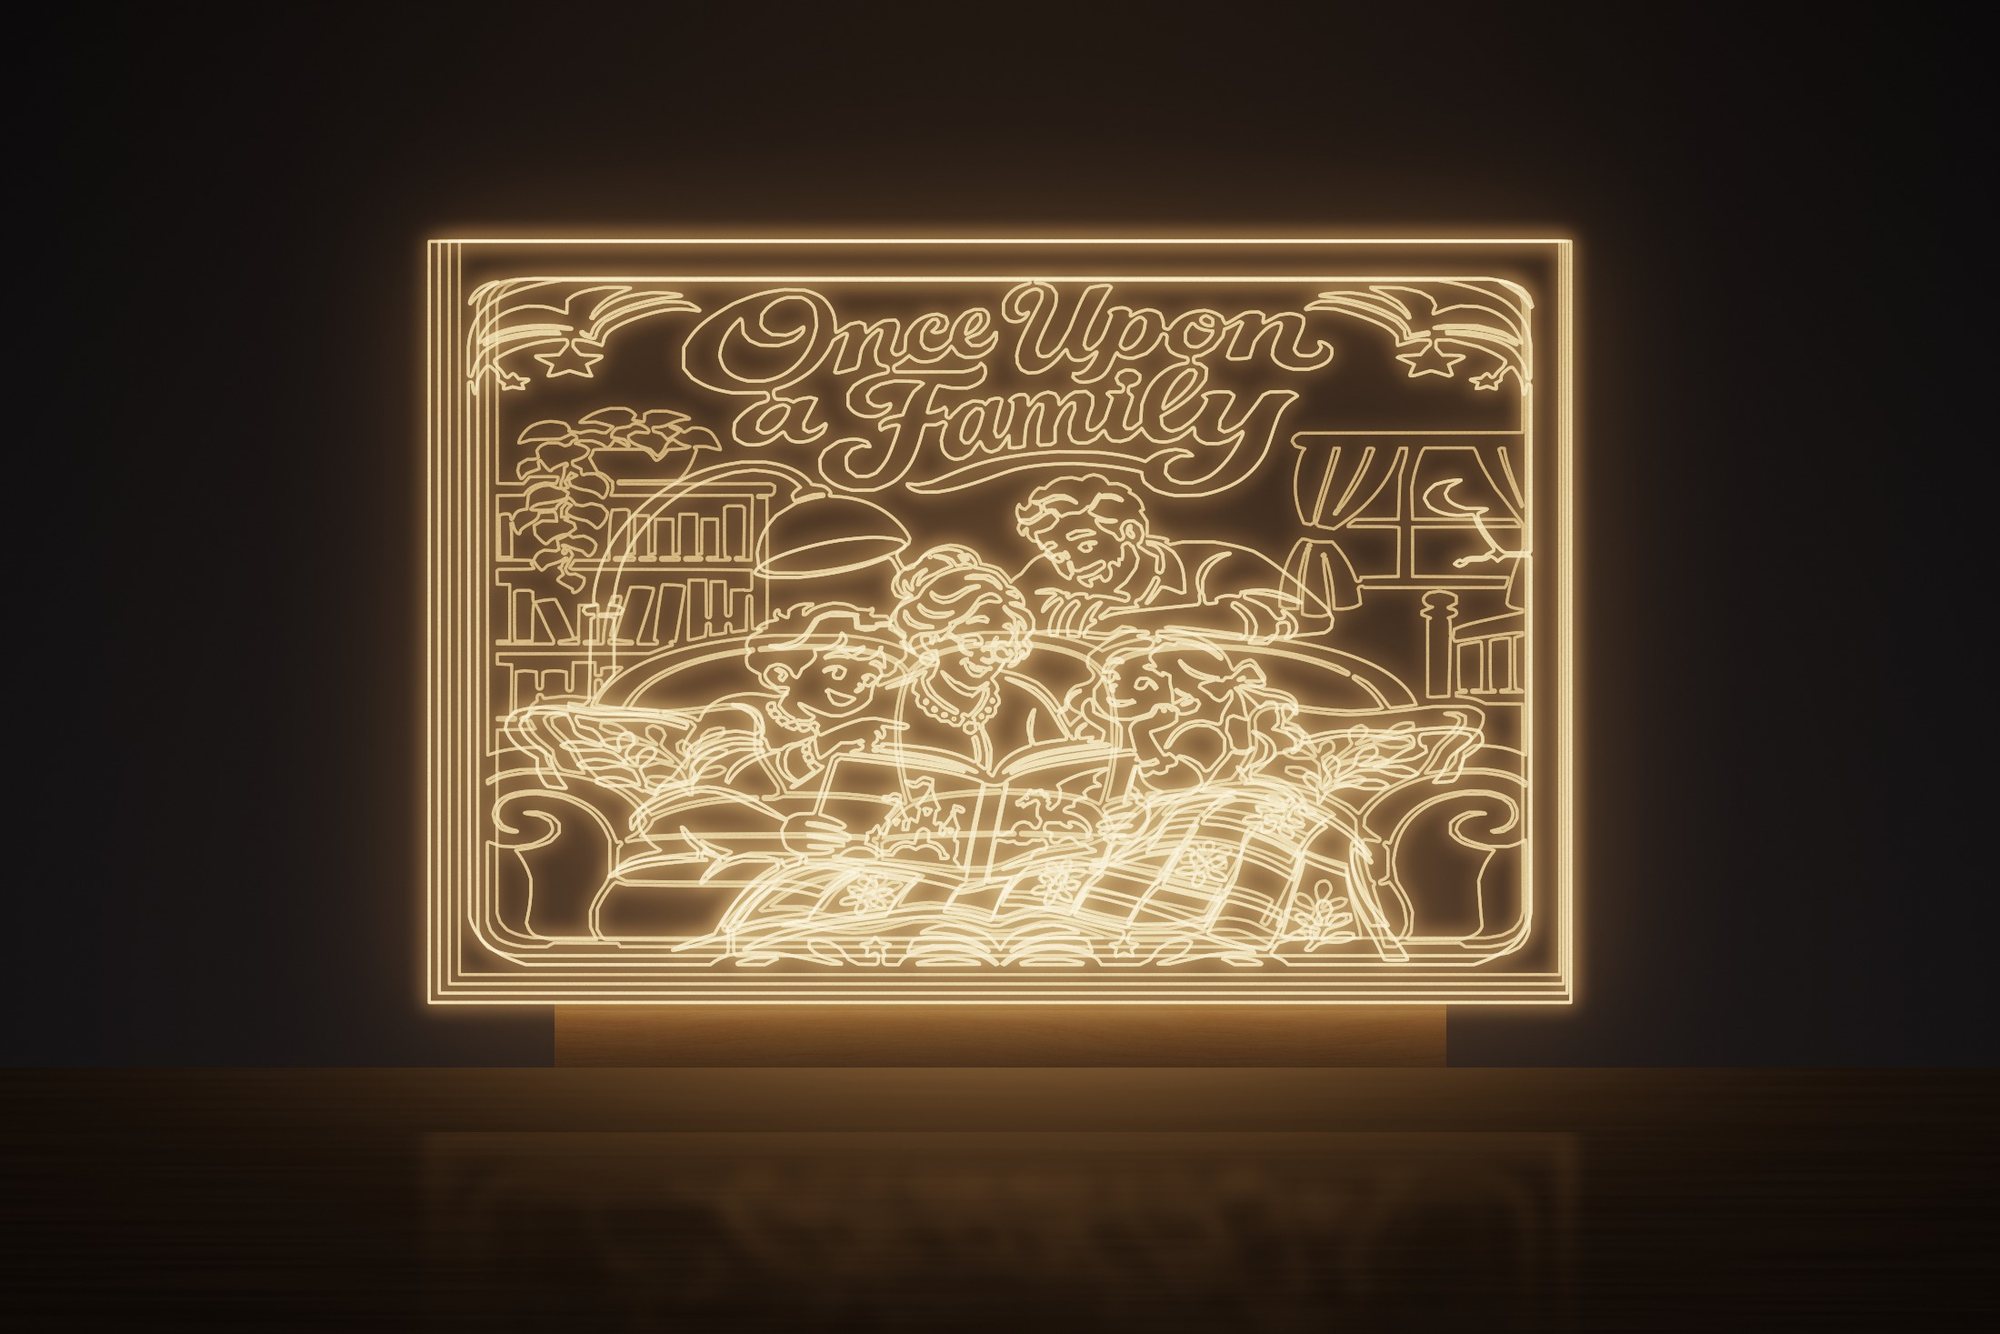 Once Upon a Family
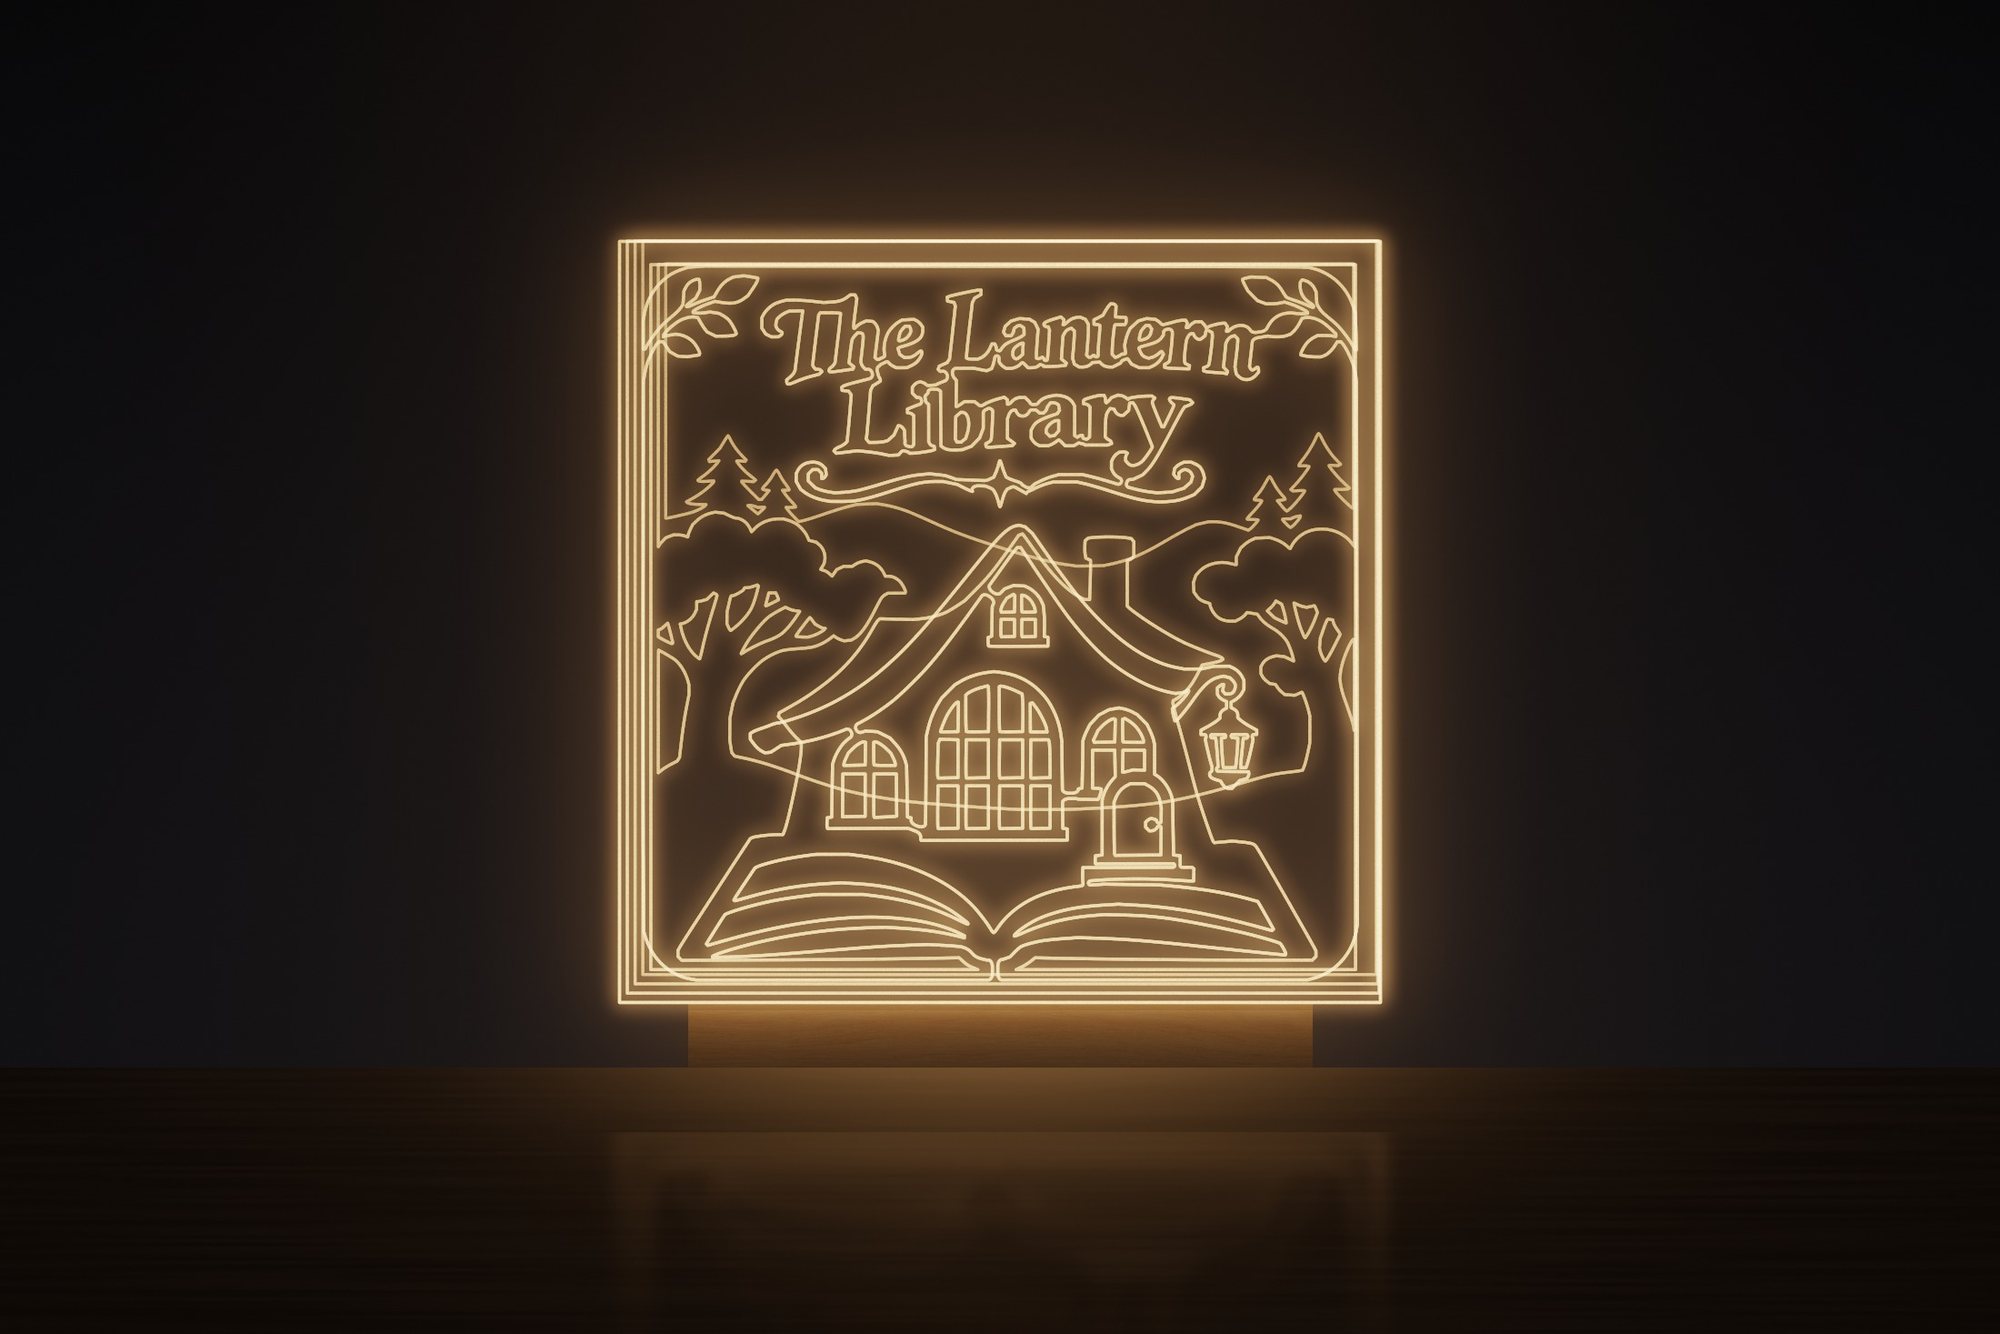 The Lantern Library
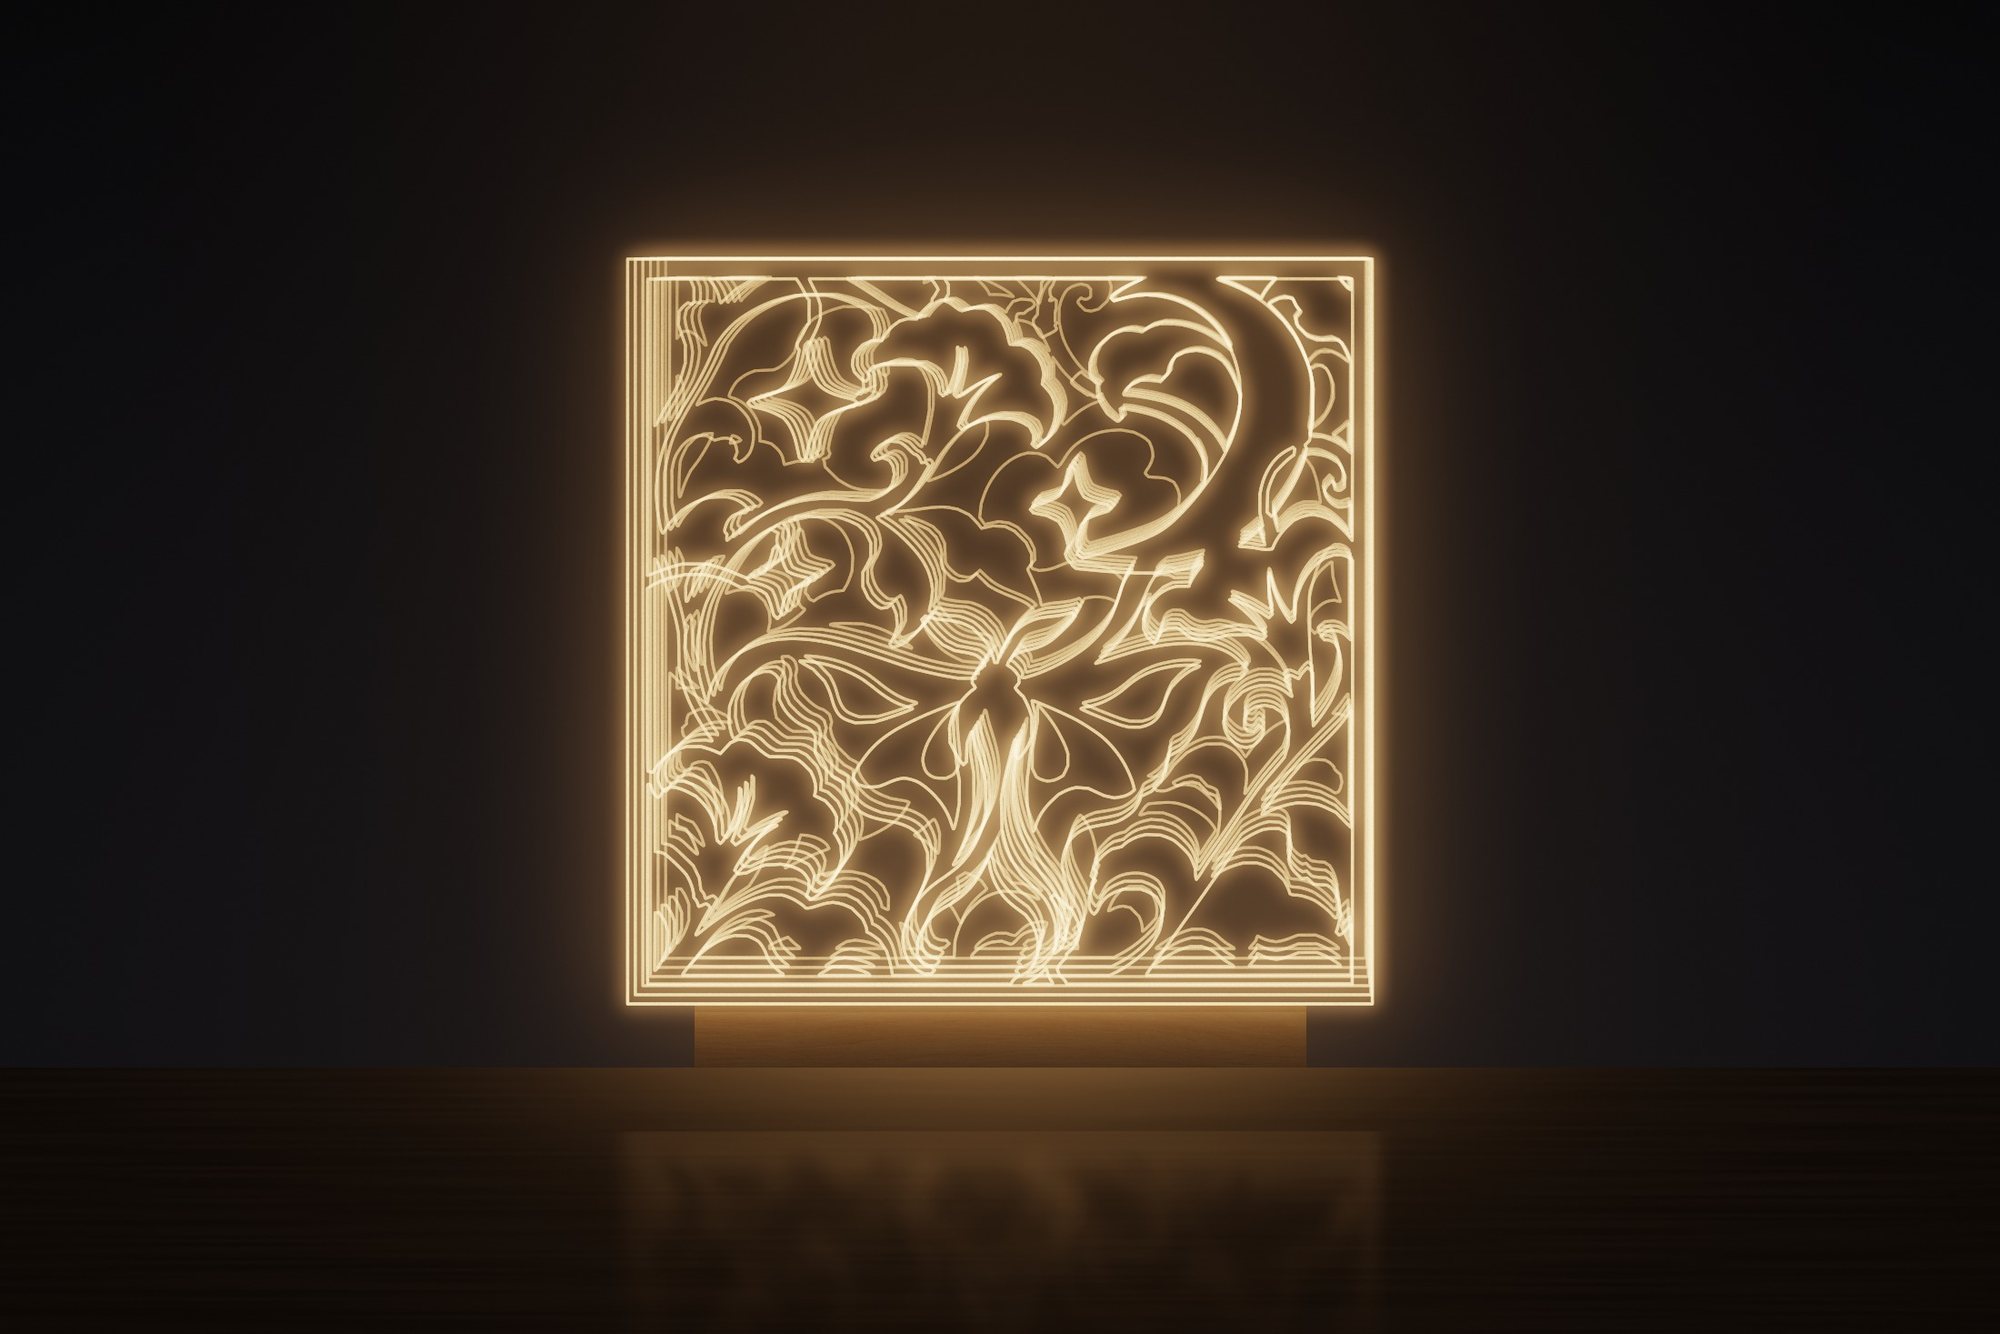 Celestial Garden
Here Comes the Sun · 1 of 24 designs
Woodcut Studio project renderings show how your finished designs and loose pieces can look. Use the exported artwork, appropriate materials, and project instructions to make your own physical version. You can also save any scene as an image for a digital display.
Start somewhere wonderful
These are a few of the 800+ presets included with Woodcut Studio.
Start with a preset, then add your own lettering, swap in library shapes, or rearrange the layers to tell your own story.
Showing 16 preset examples.
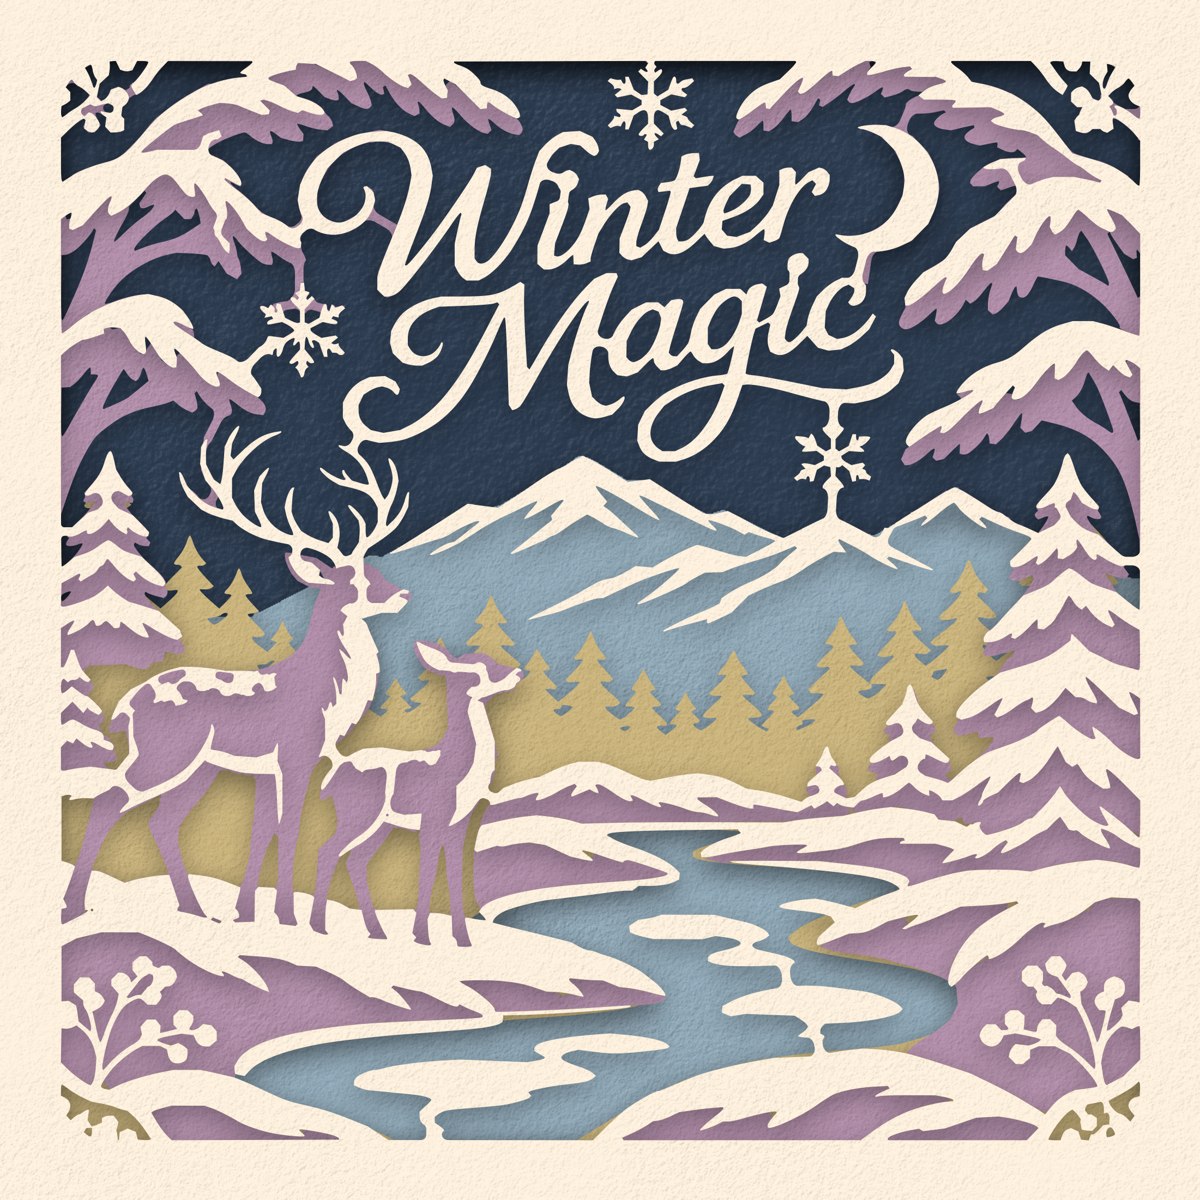
Winter Magic Holidays
 Take the Scenic Route Outdoors
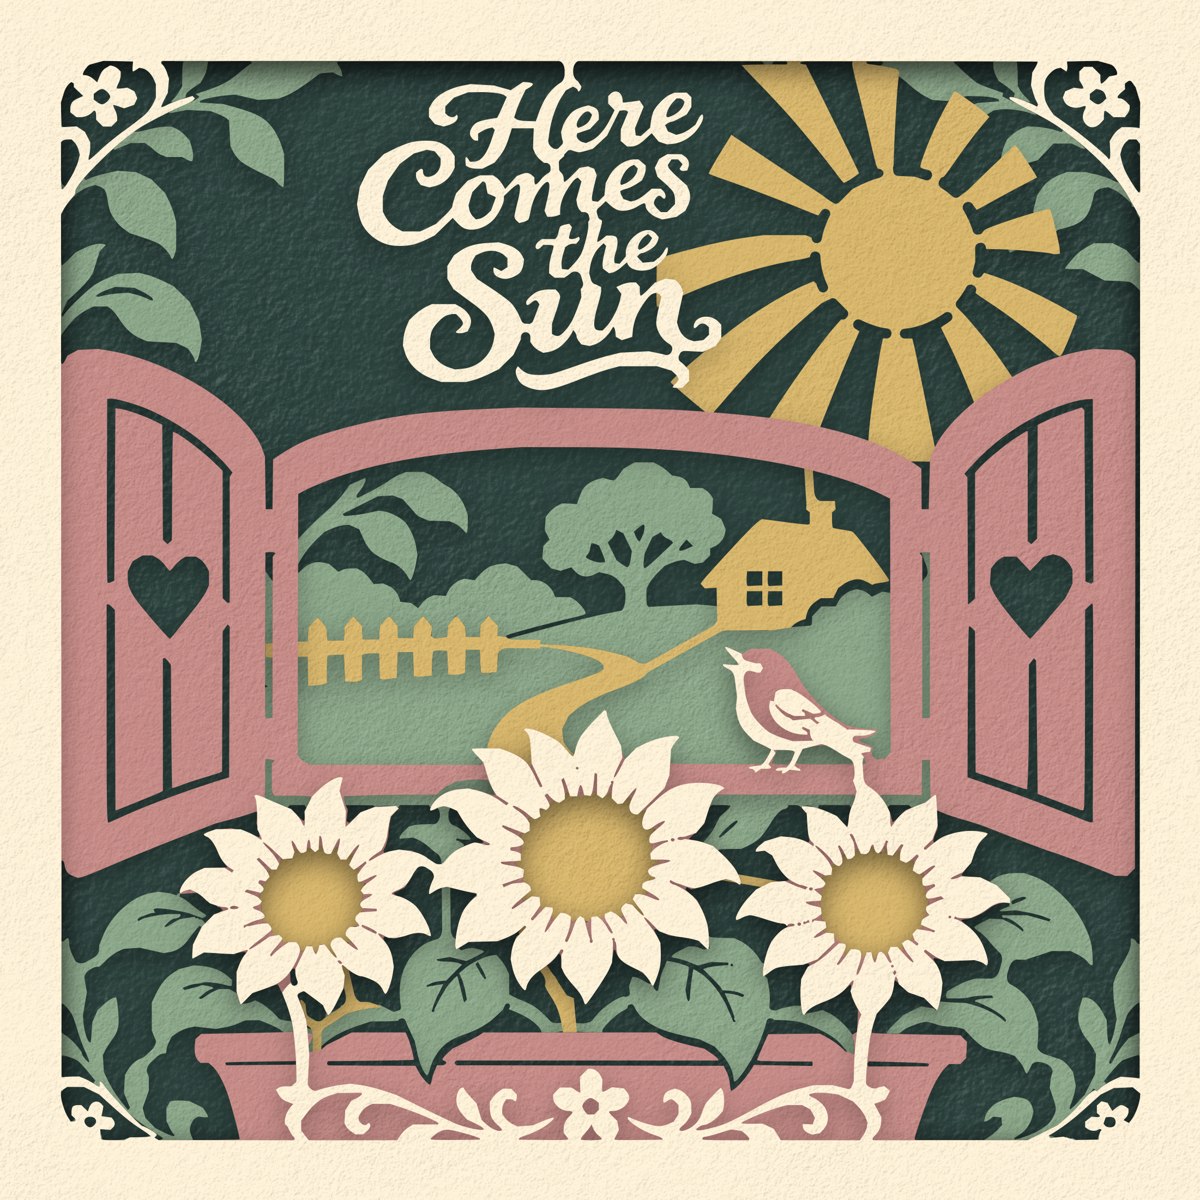 Here Comes the Sun Everyday moments
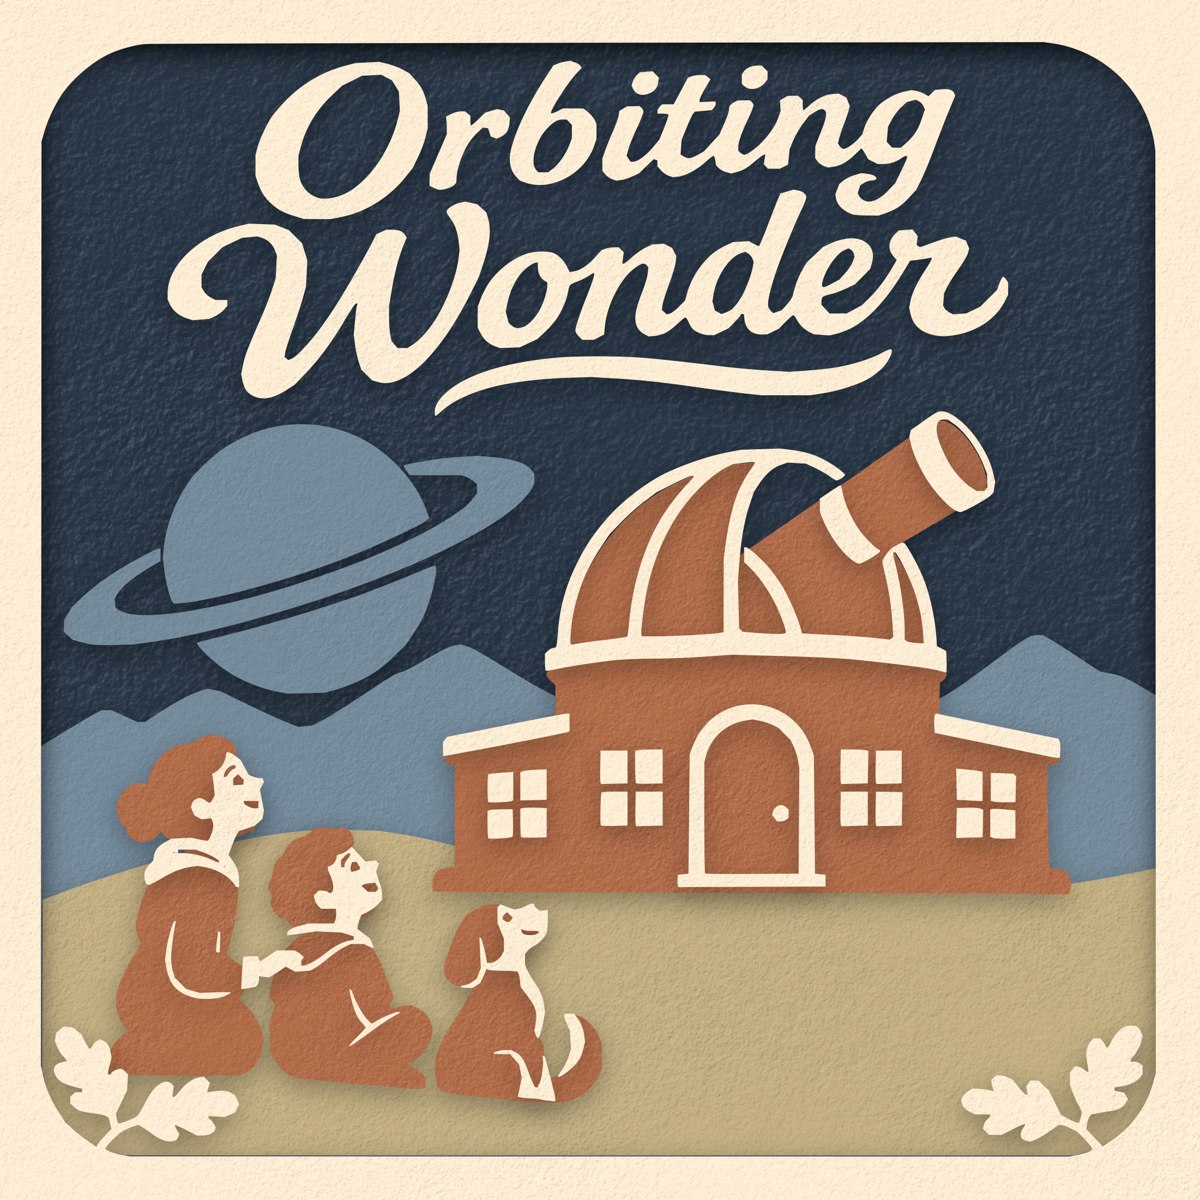 Orbiting Wonder Space & wonder
 Alaska Hiking Together Outdoors
 Popcorn and Pajamas Everyday moments
 Home Is the Open Road Outdoors
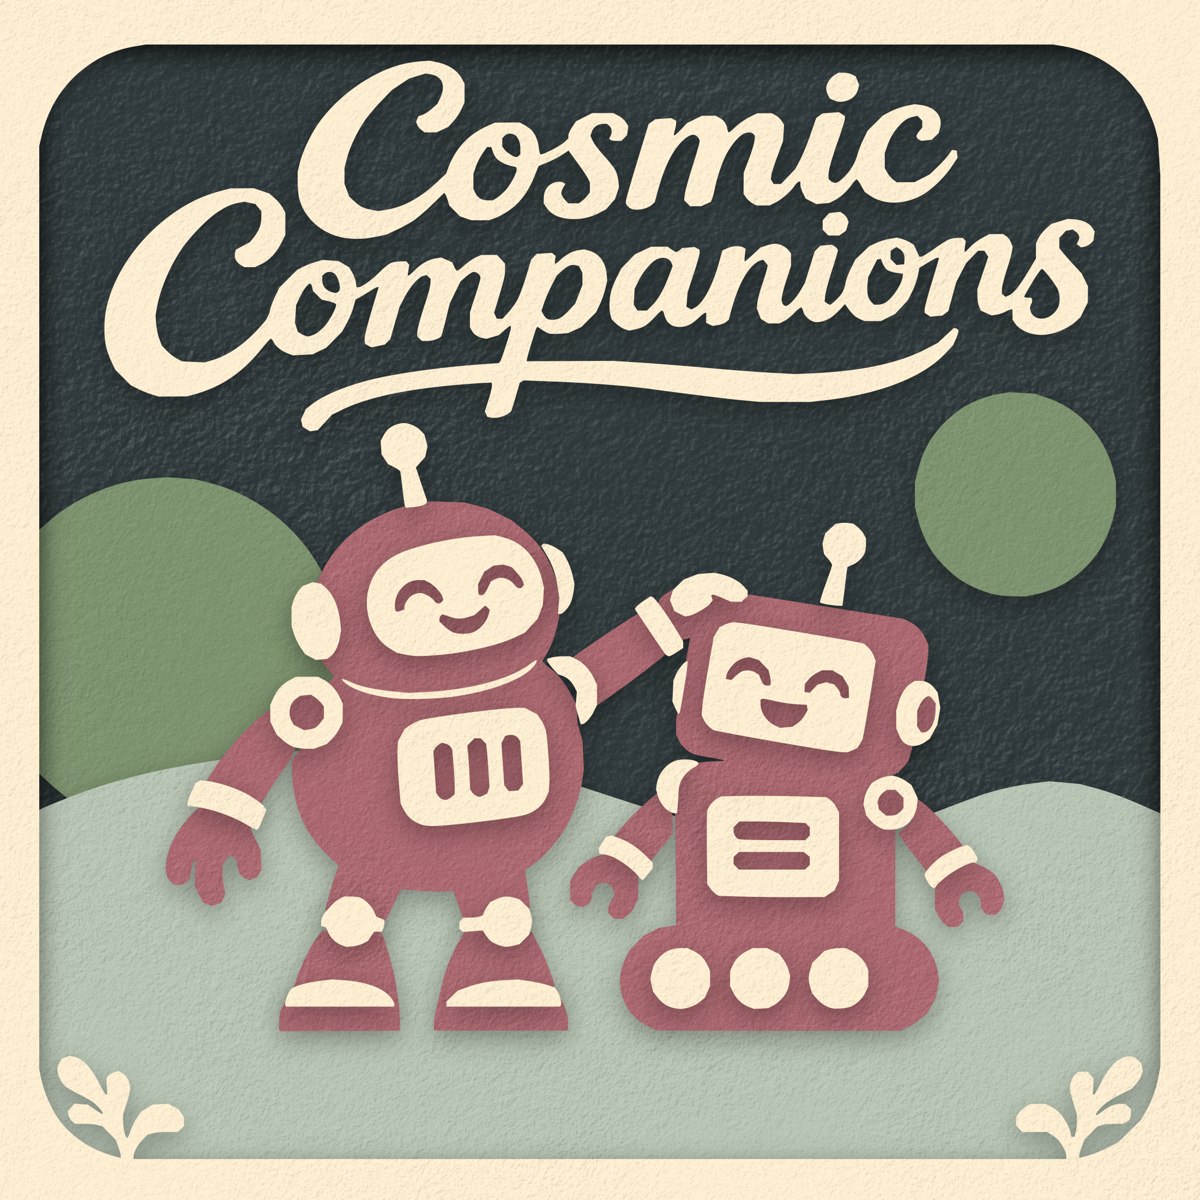 Cosmic Companions Space & wonder
 Christmas Market Holidays
 Books and Blooms Everyday moments
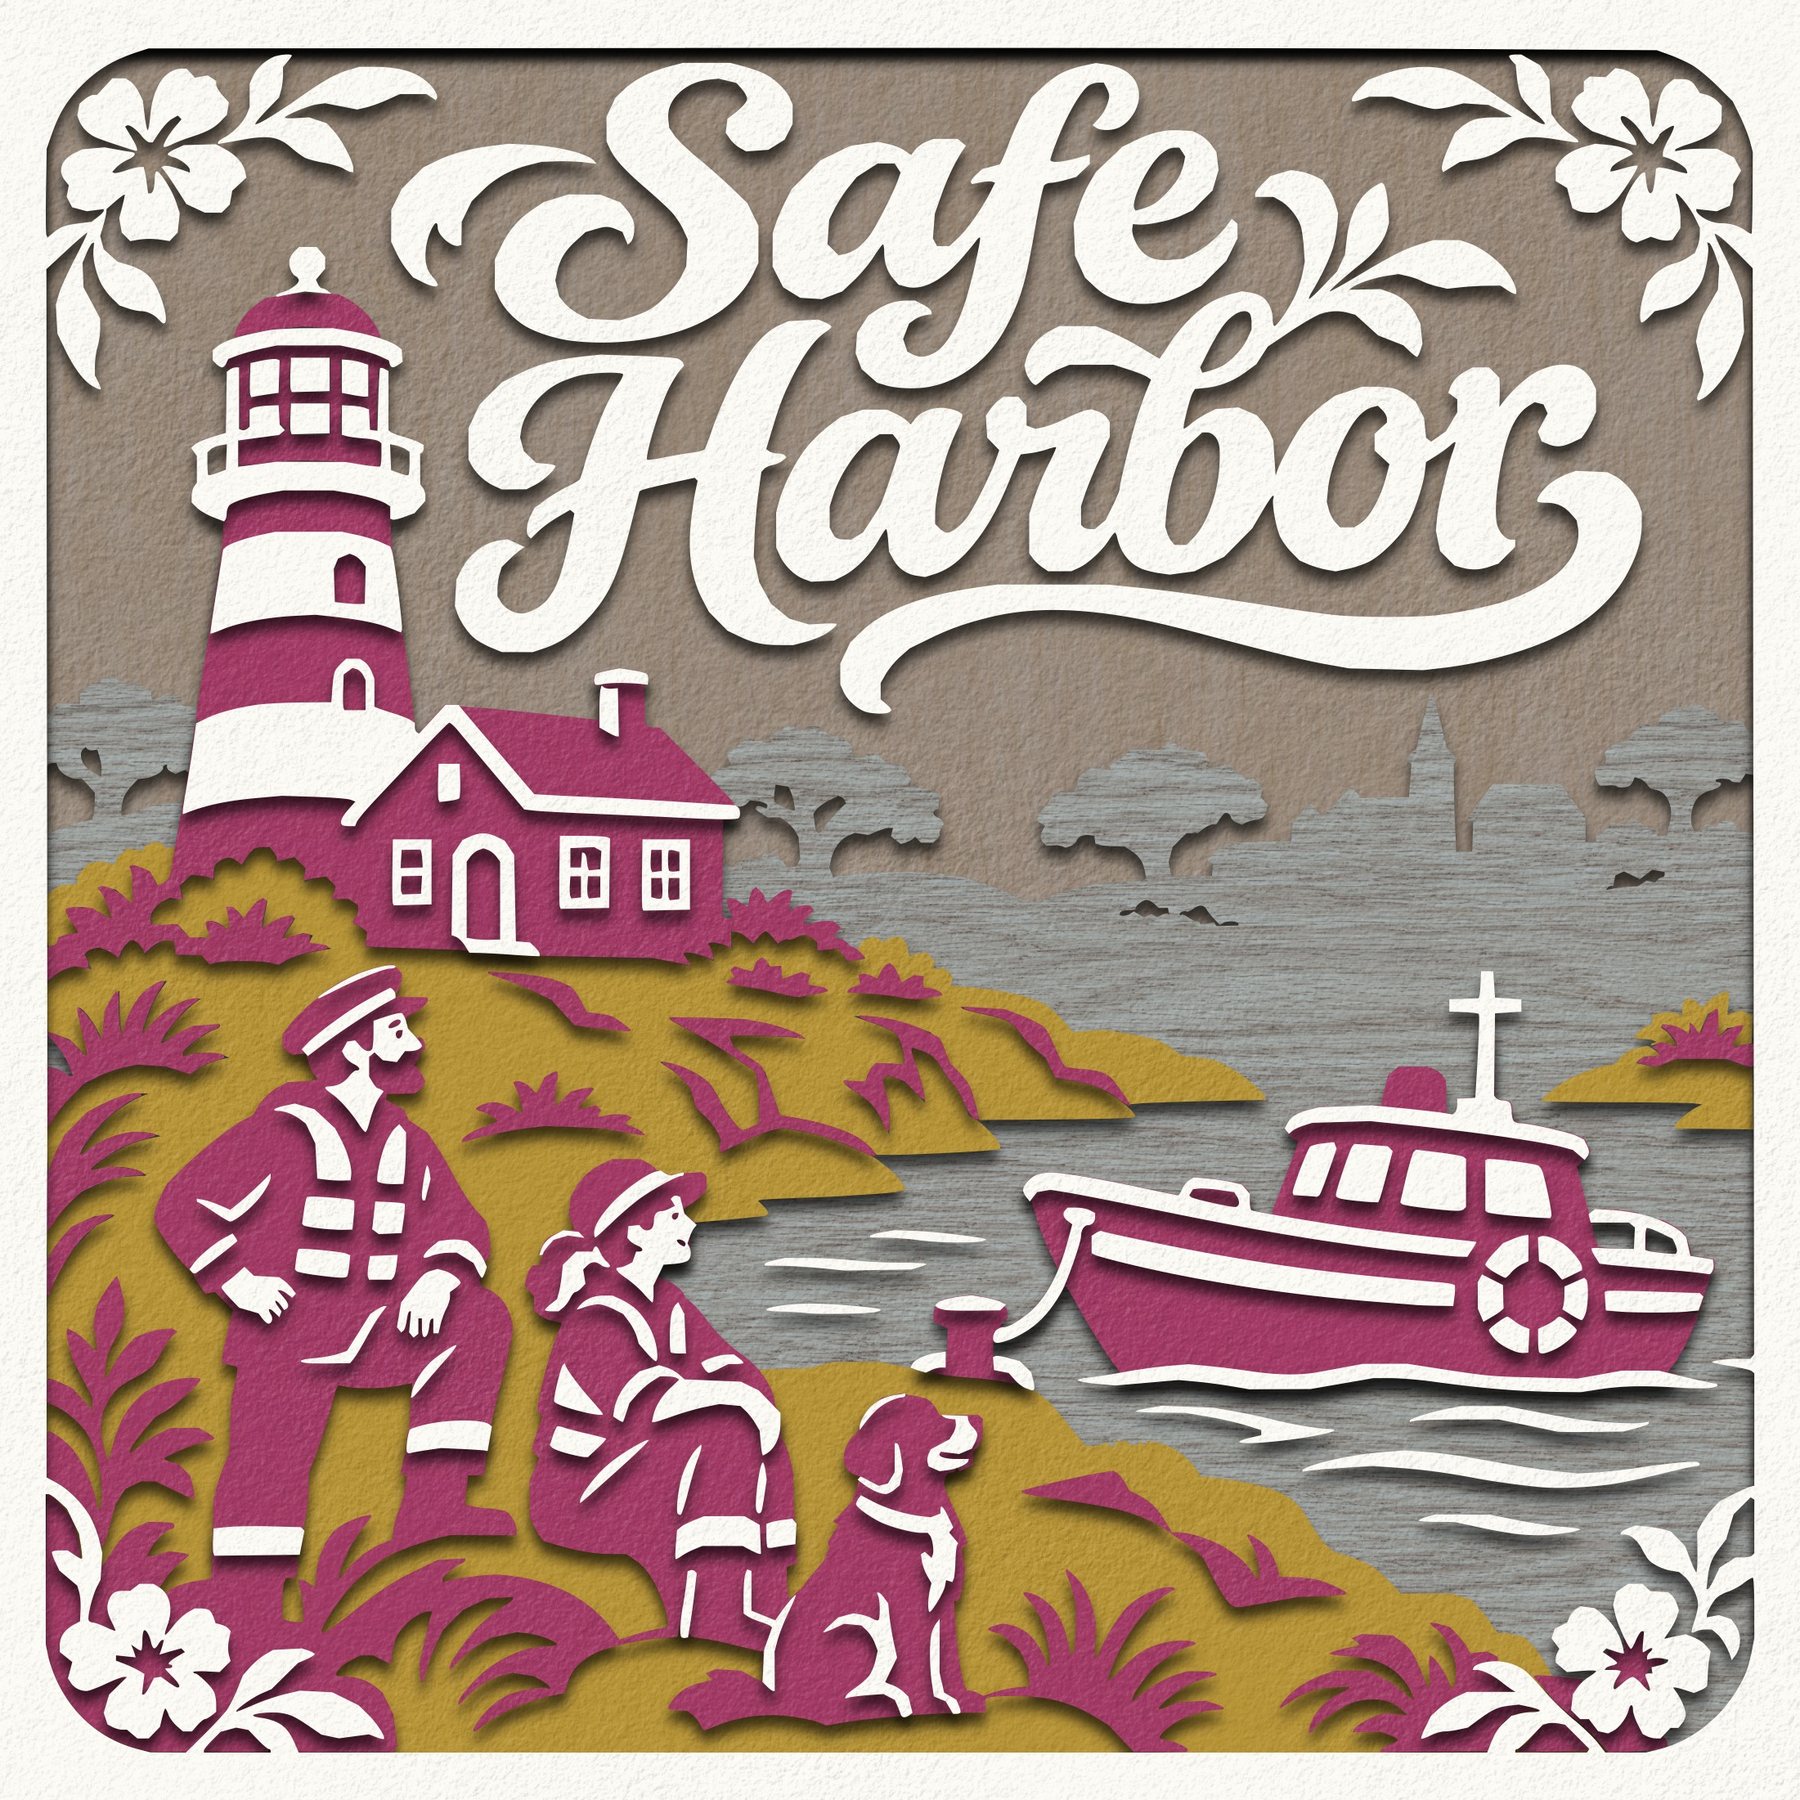 Safe Harbor Outdoors
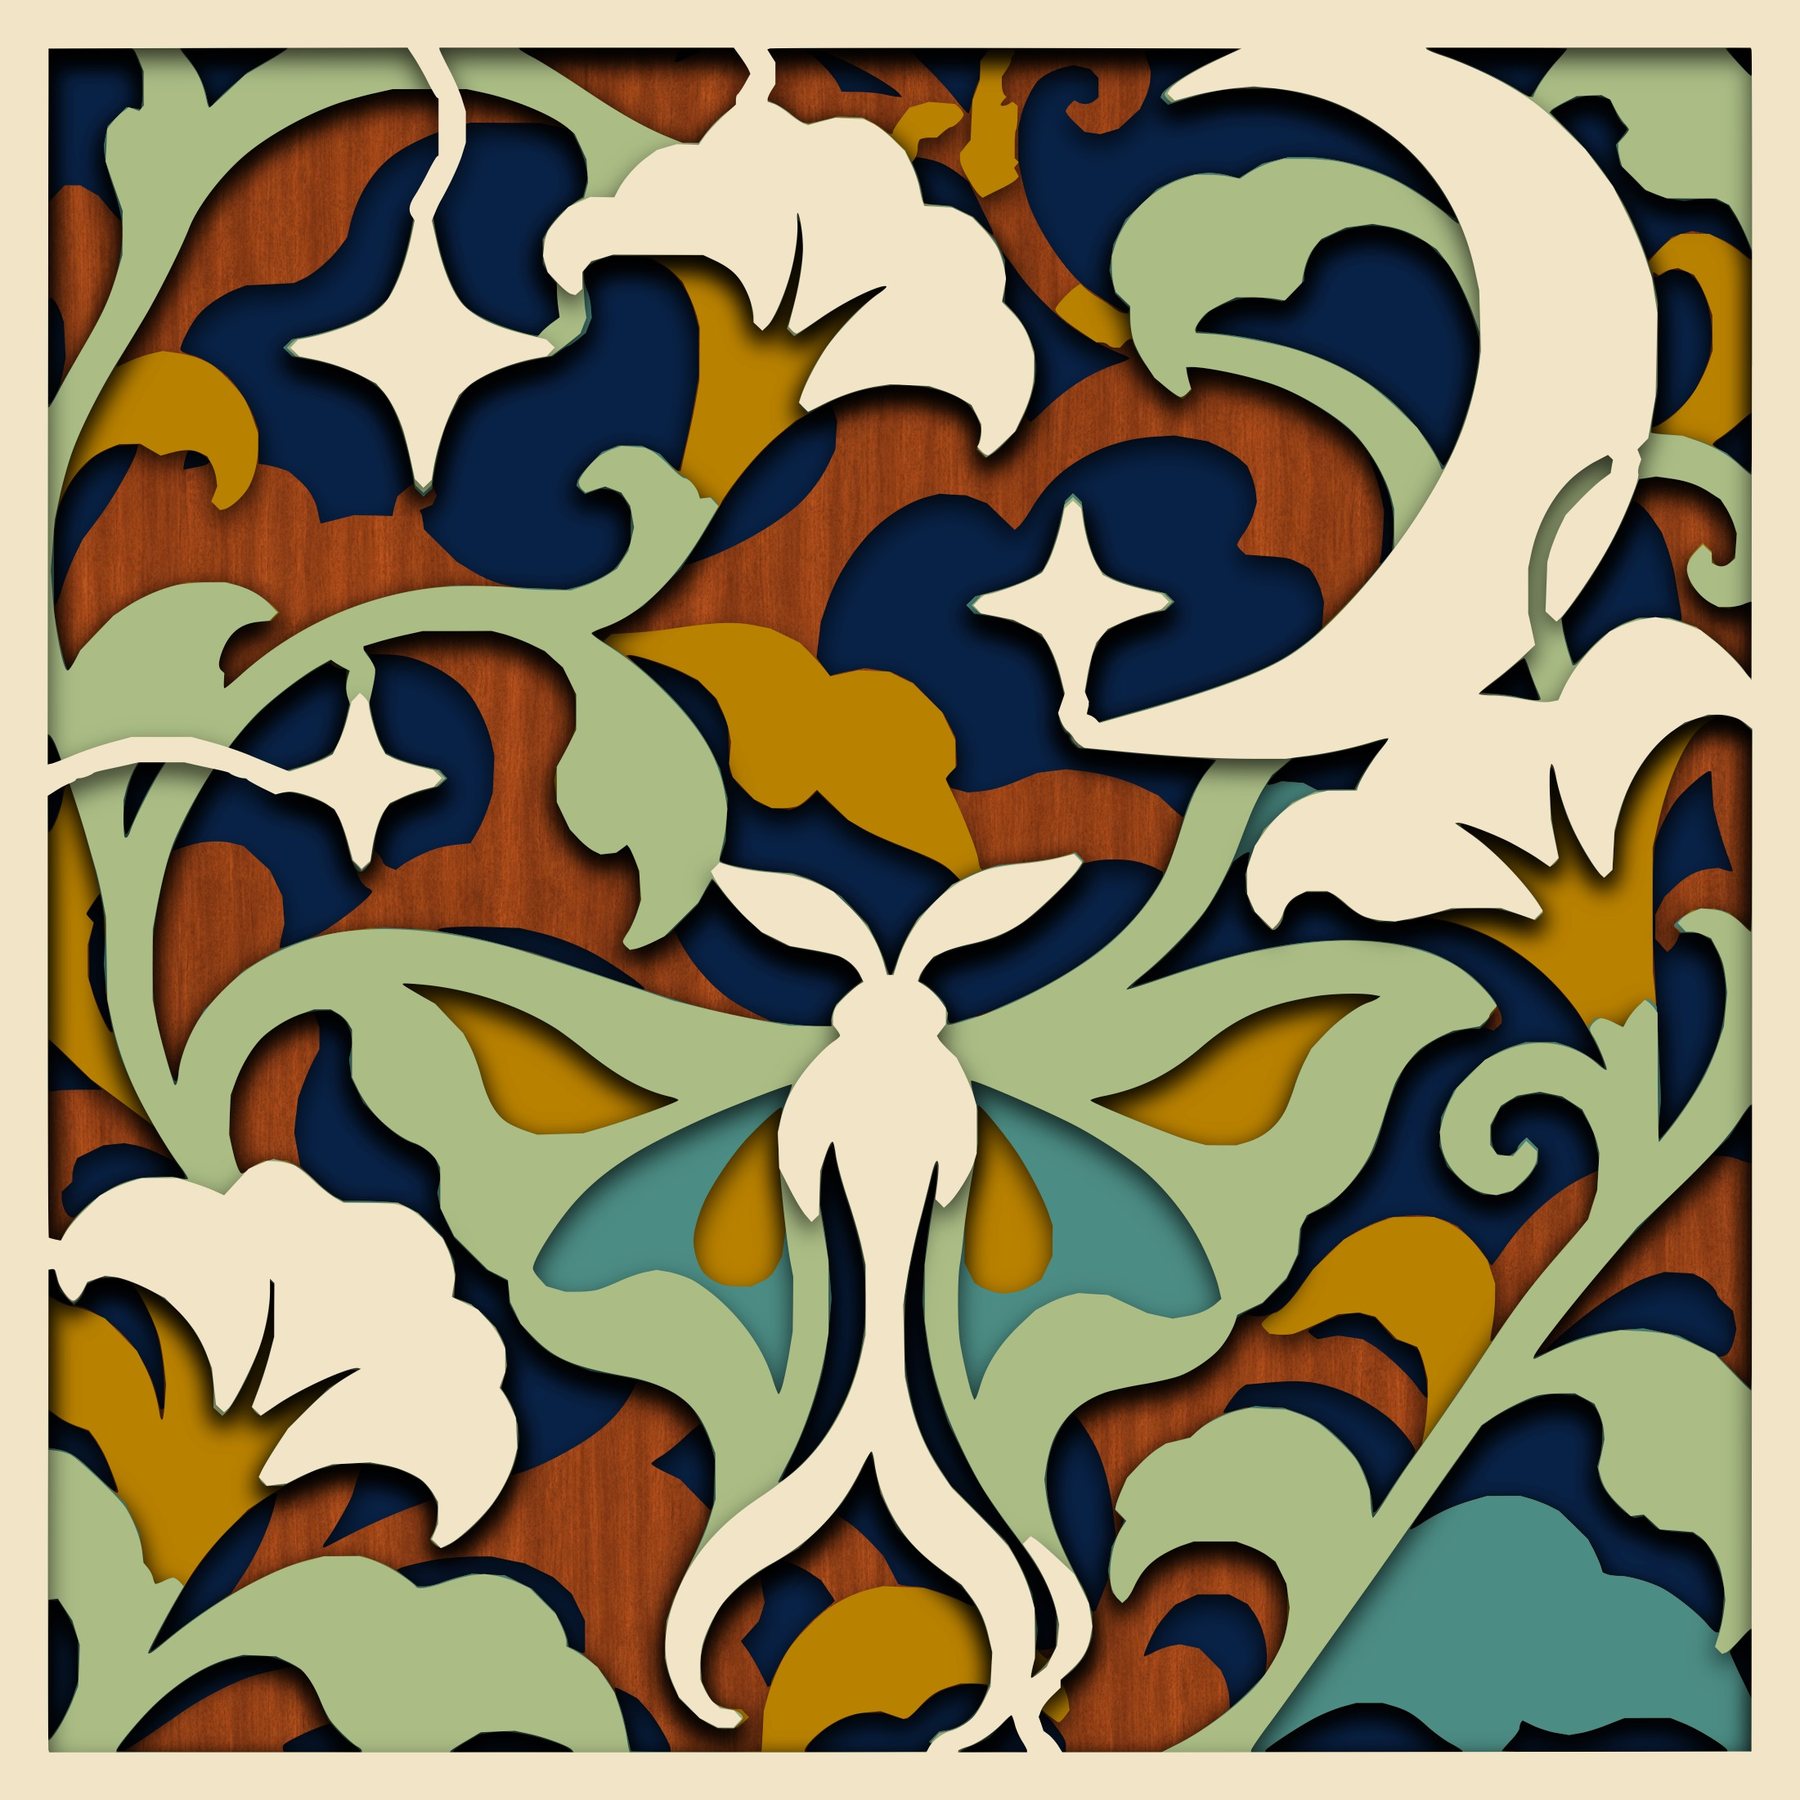 Celestial Garden Space & wonder
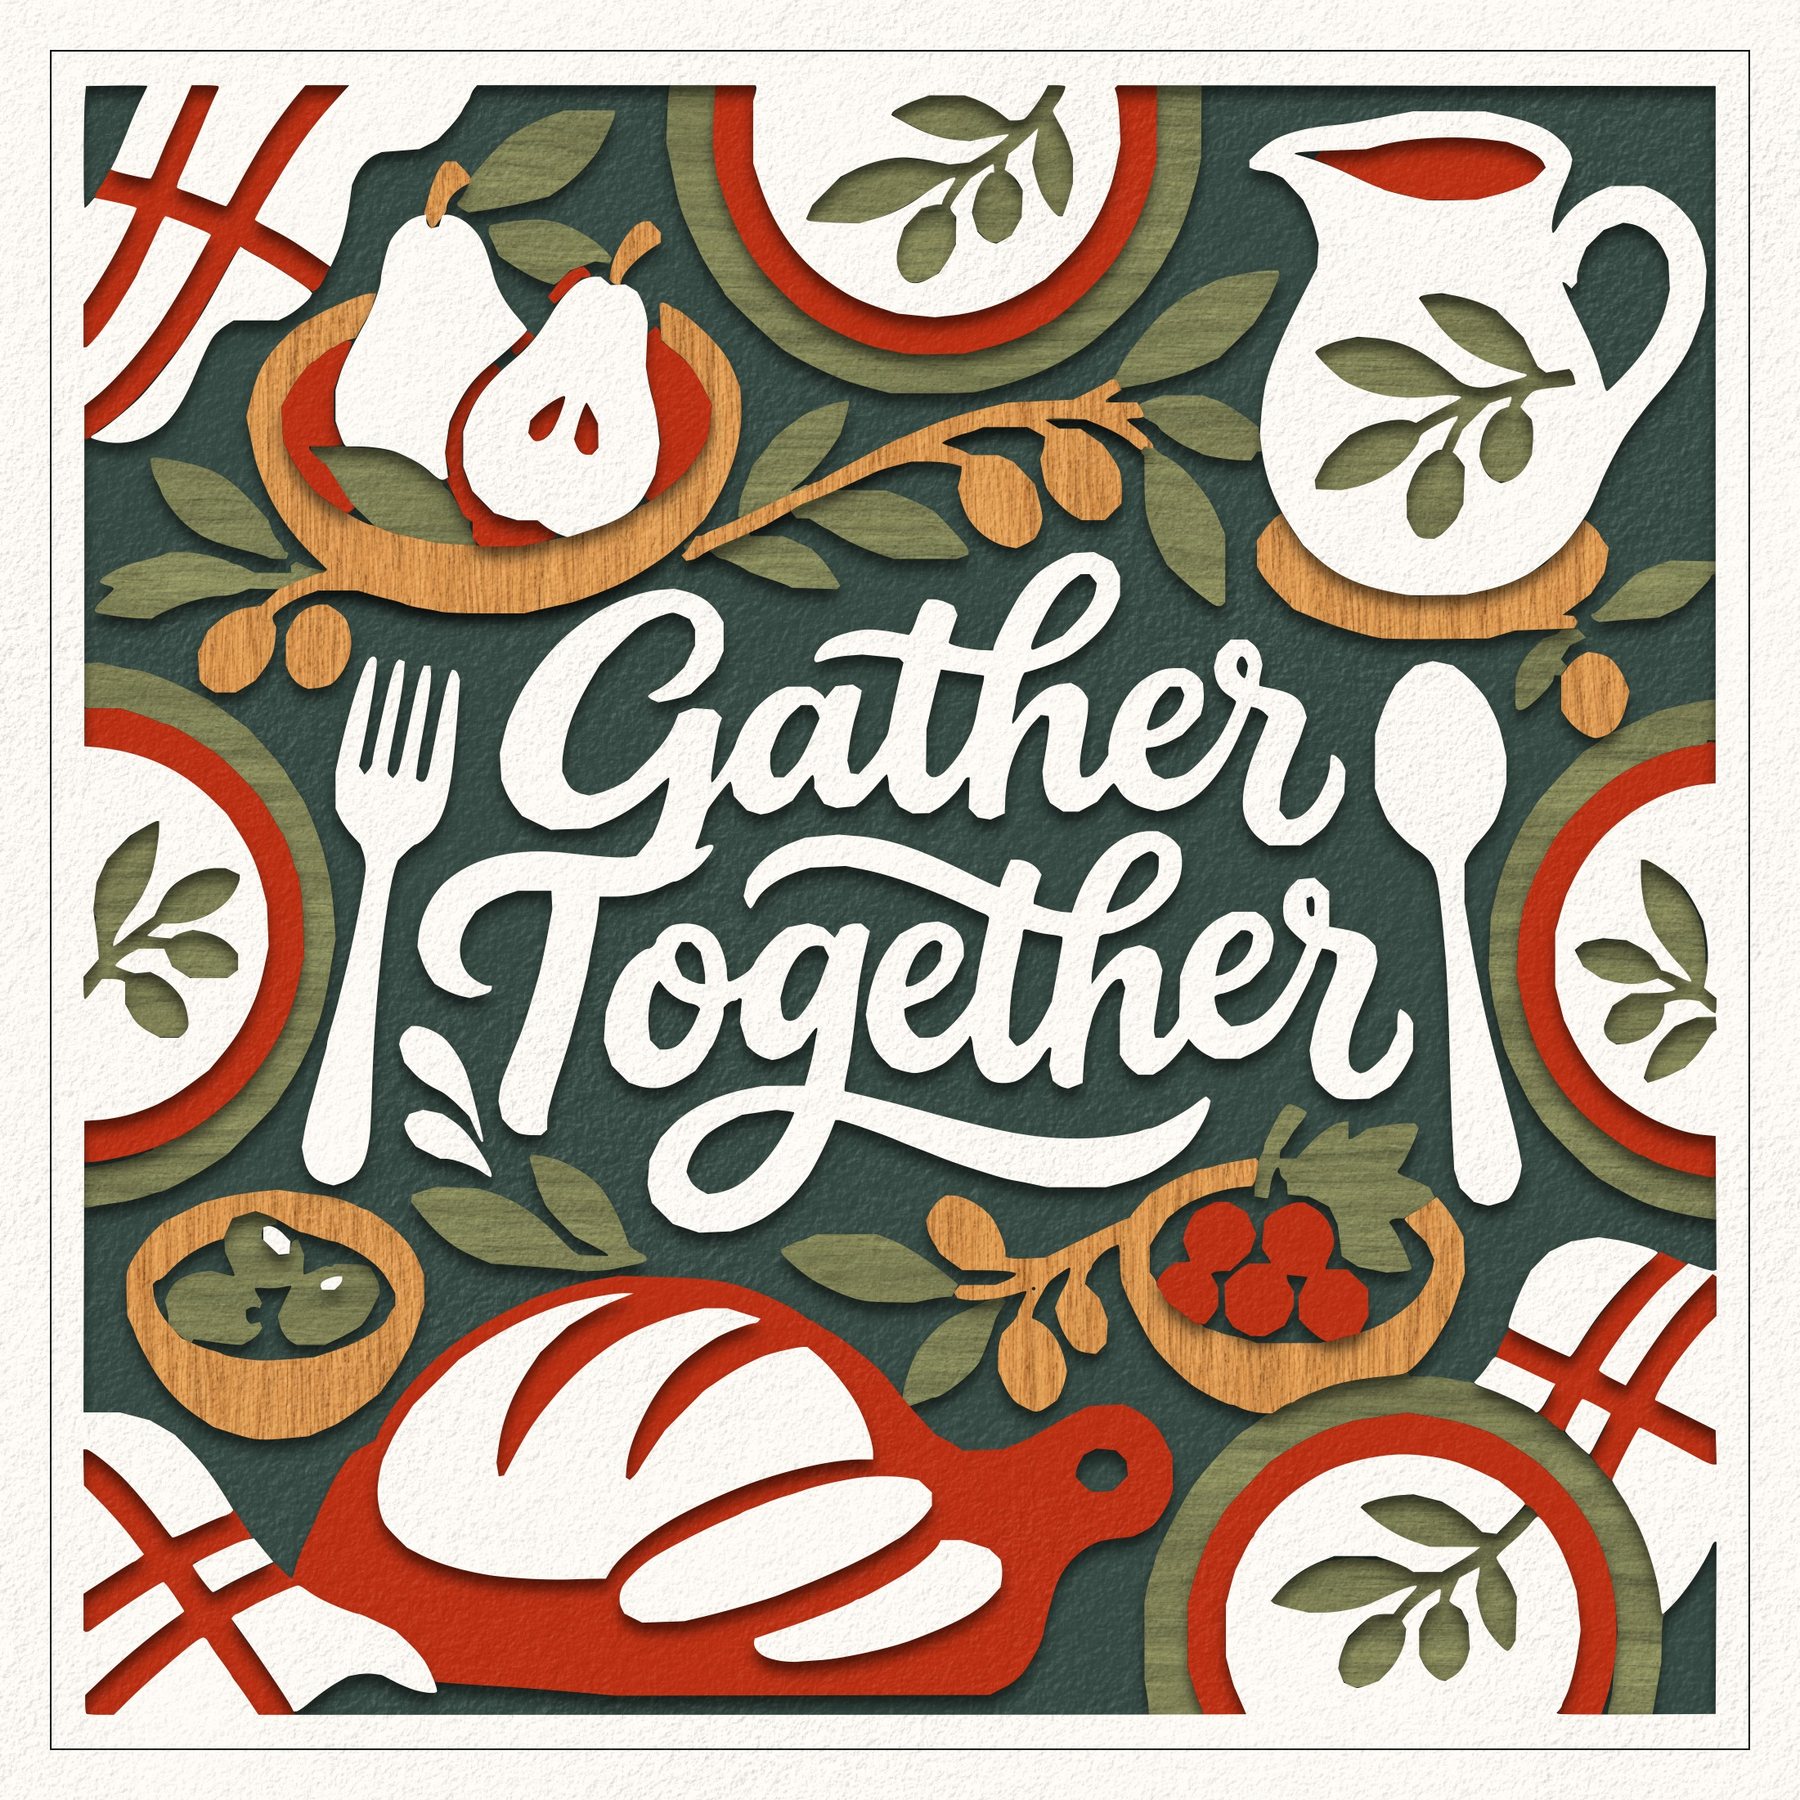 Gather Together Holidays
 Meet Me at the Ballpark Everyday moments
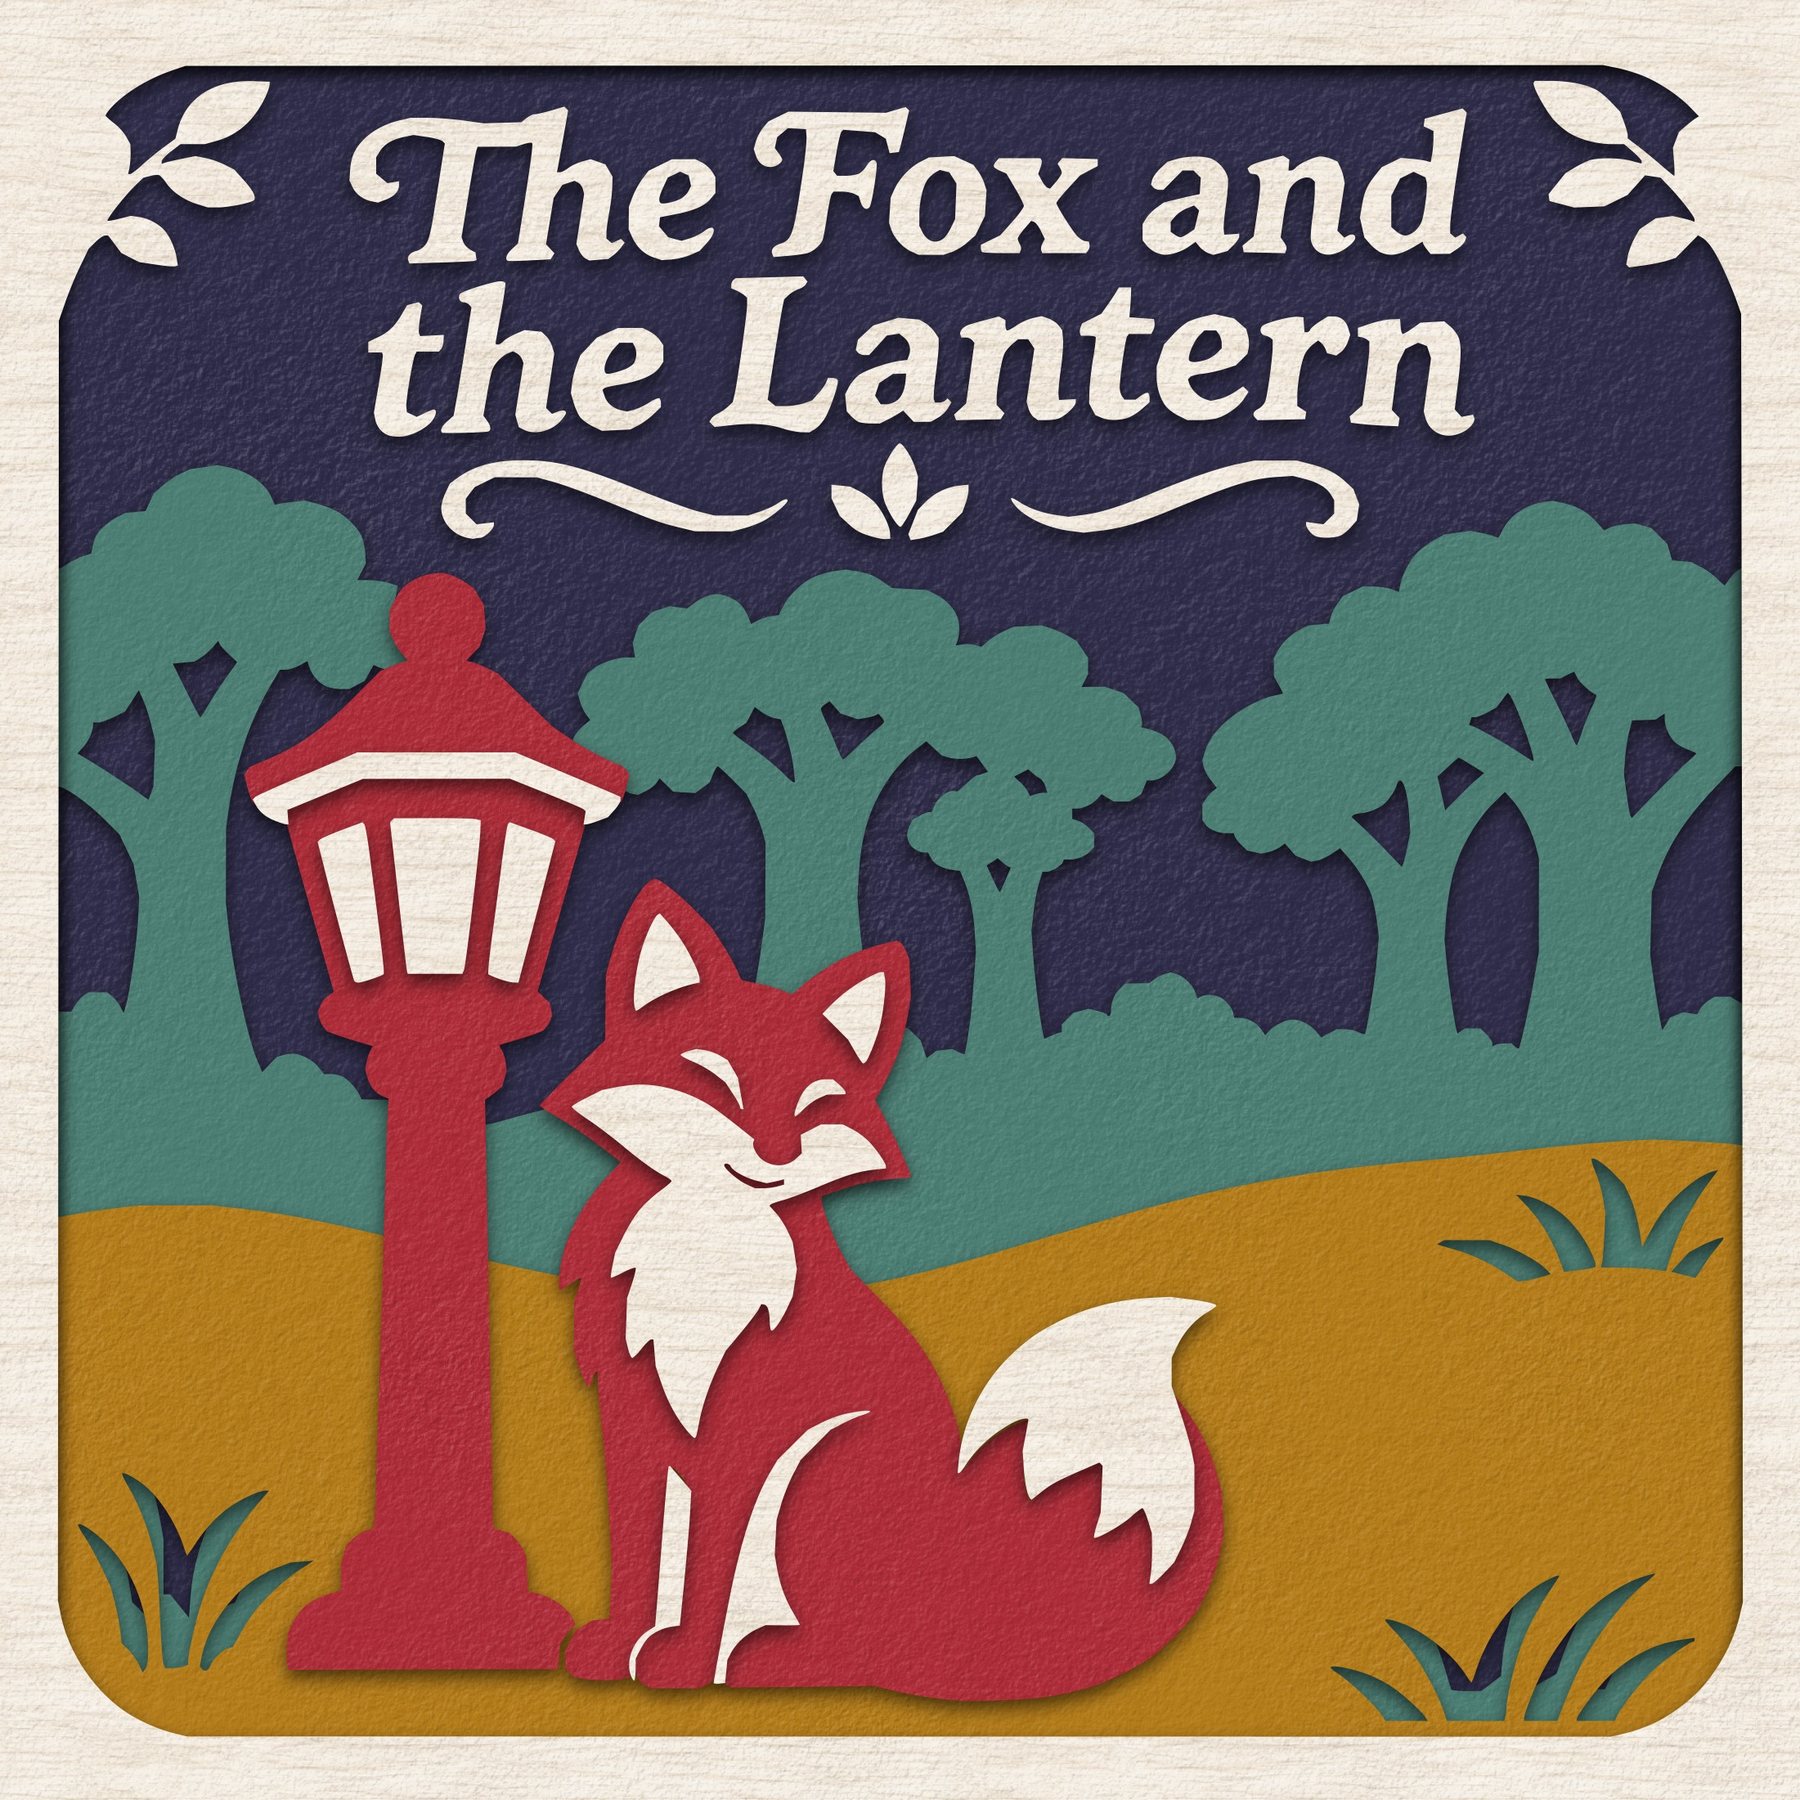 The Fox and the Lantern Space & wonder
 Woodland Christmas Holidays
A small selection of Woodcut Studio scene presets. Click any scene for a closer look.
From the library of 800+ presets
Browse 100 selected presets in two views. See each scene as a lit lightbox or as straight-on artwork for a digital display or physical project. Open a scene to switch views and zoom in.
Thanksgiving BountyThanksgiving & autumn
Christmas MarketChristmas
Once Upon a TreehouseIntricate designs
Gather TogetherThanksgiving & autumn
Santa's WorkshopChristmas
The Lantern LibraryIntricate designs
Grateful GatheringThanksgiving & autumn
Gingerbread LaneChristmas
Celestial GardenIntricate designs
Blessed Beyond MeasureThanksgiving & autumn
Letters to SantaChristmas
Made with Love 2Intricate designs
Winter MagicChristmas
Here Comes the SunNature & gardens
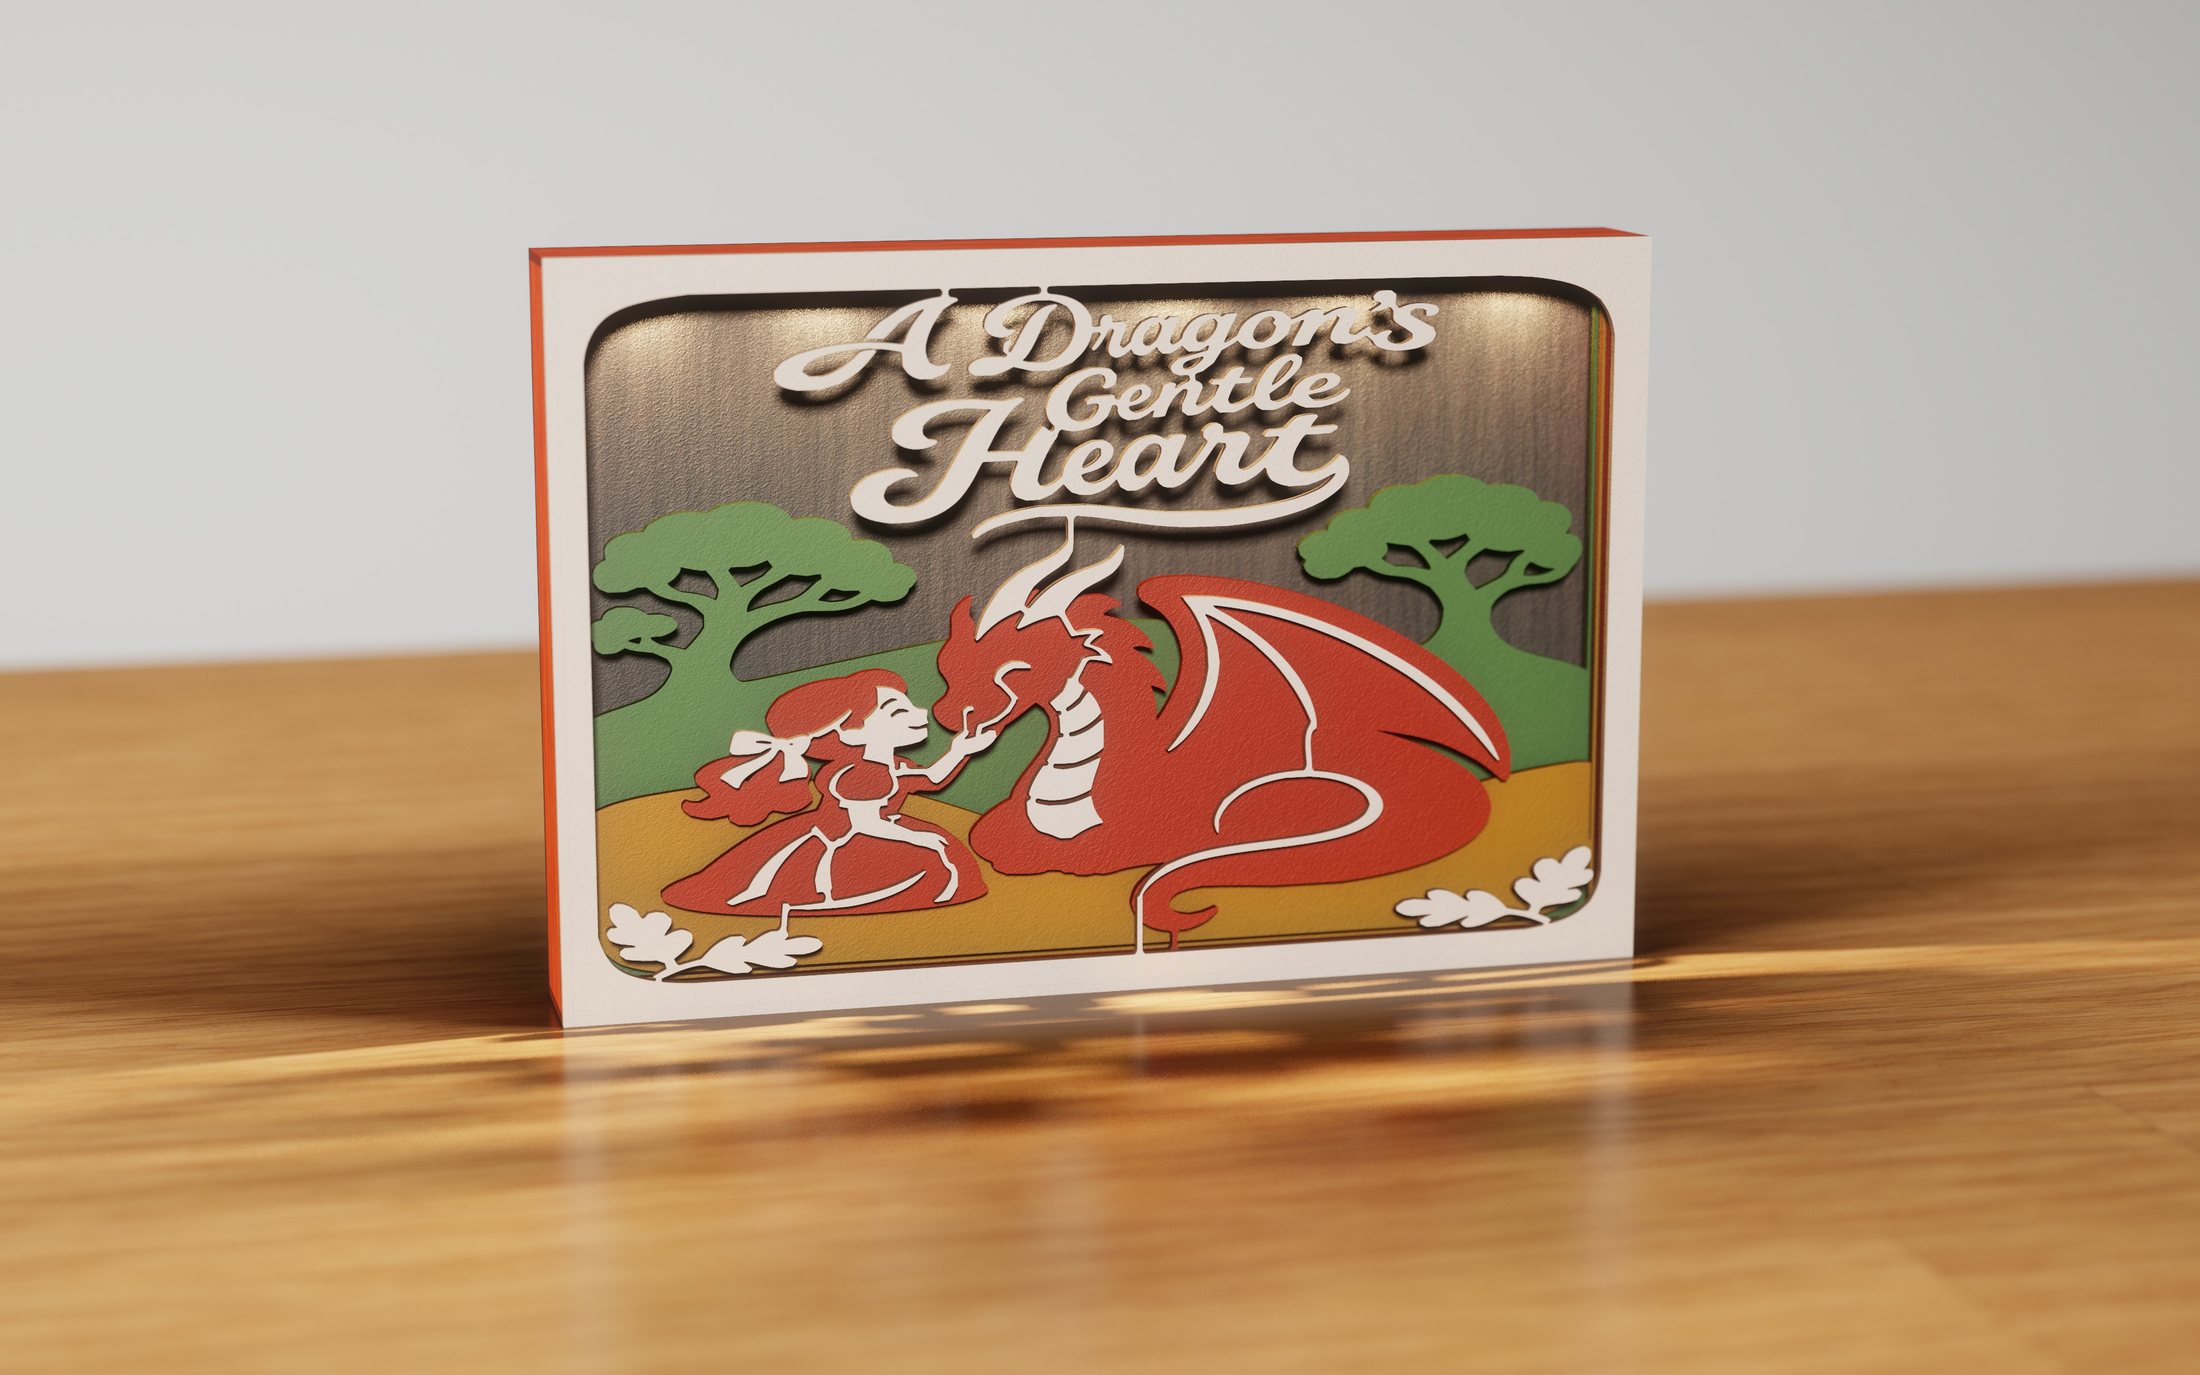 A Dragon's Gentle HeartFantasy & space
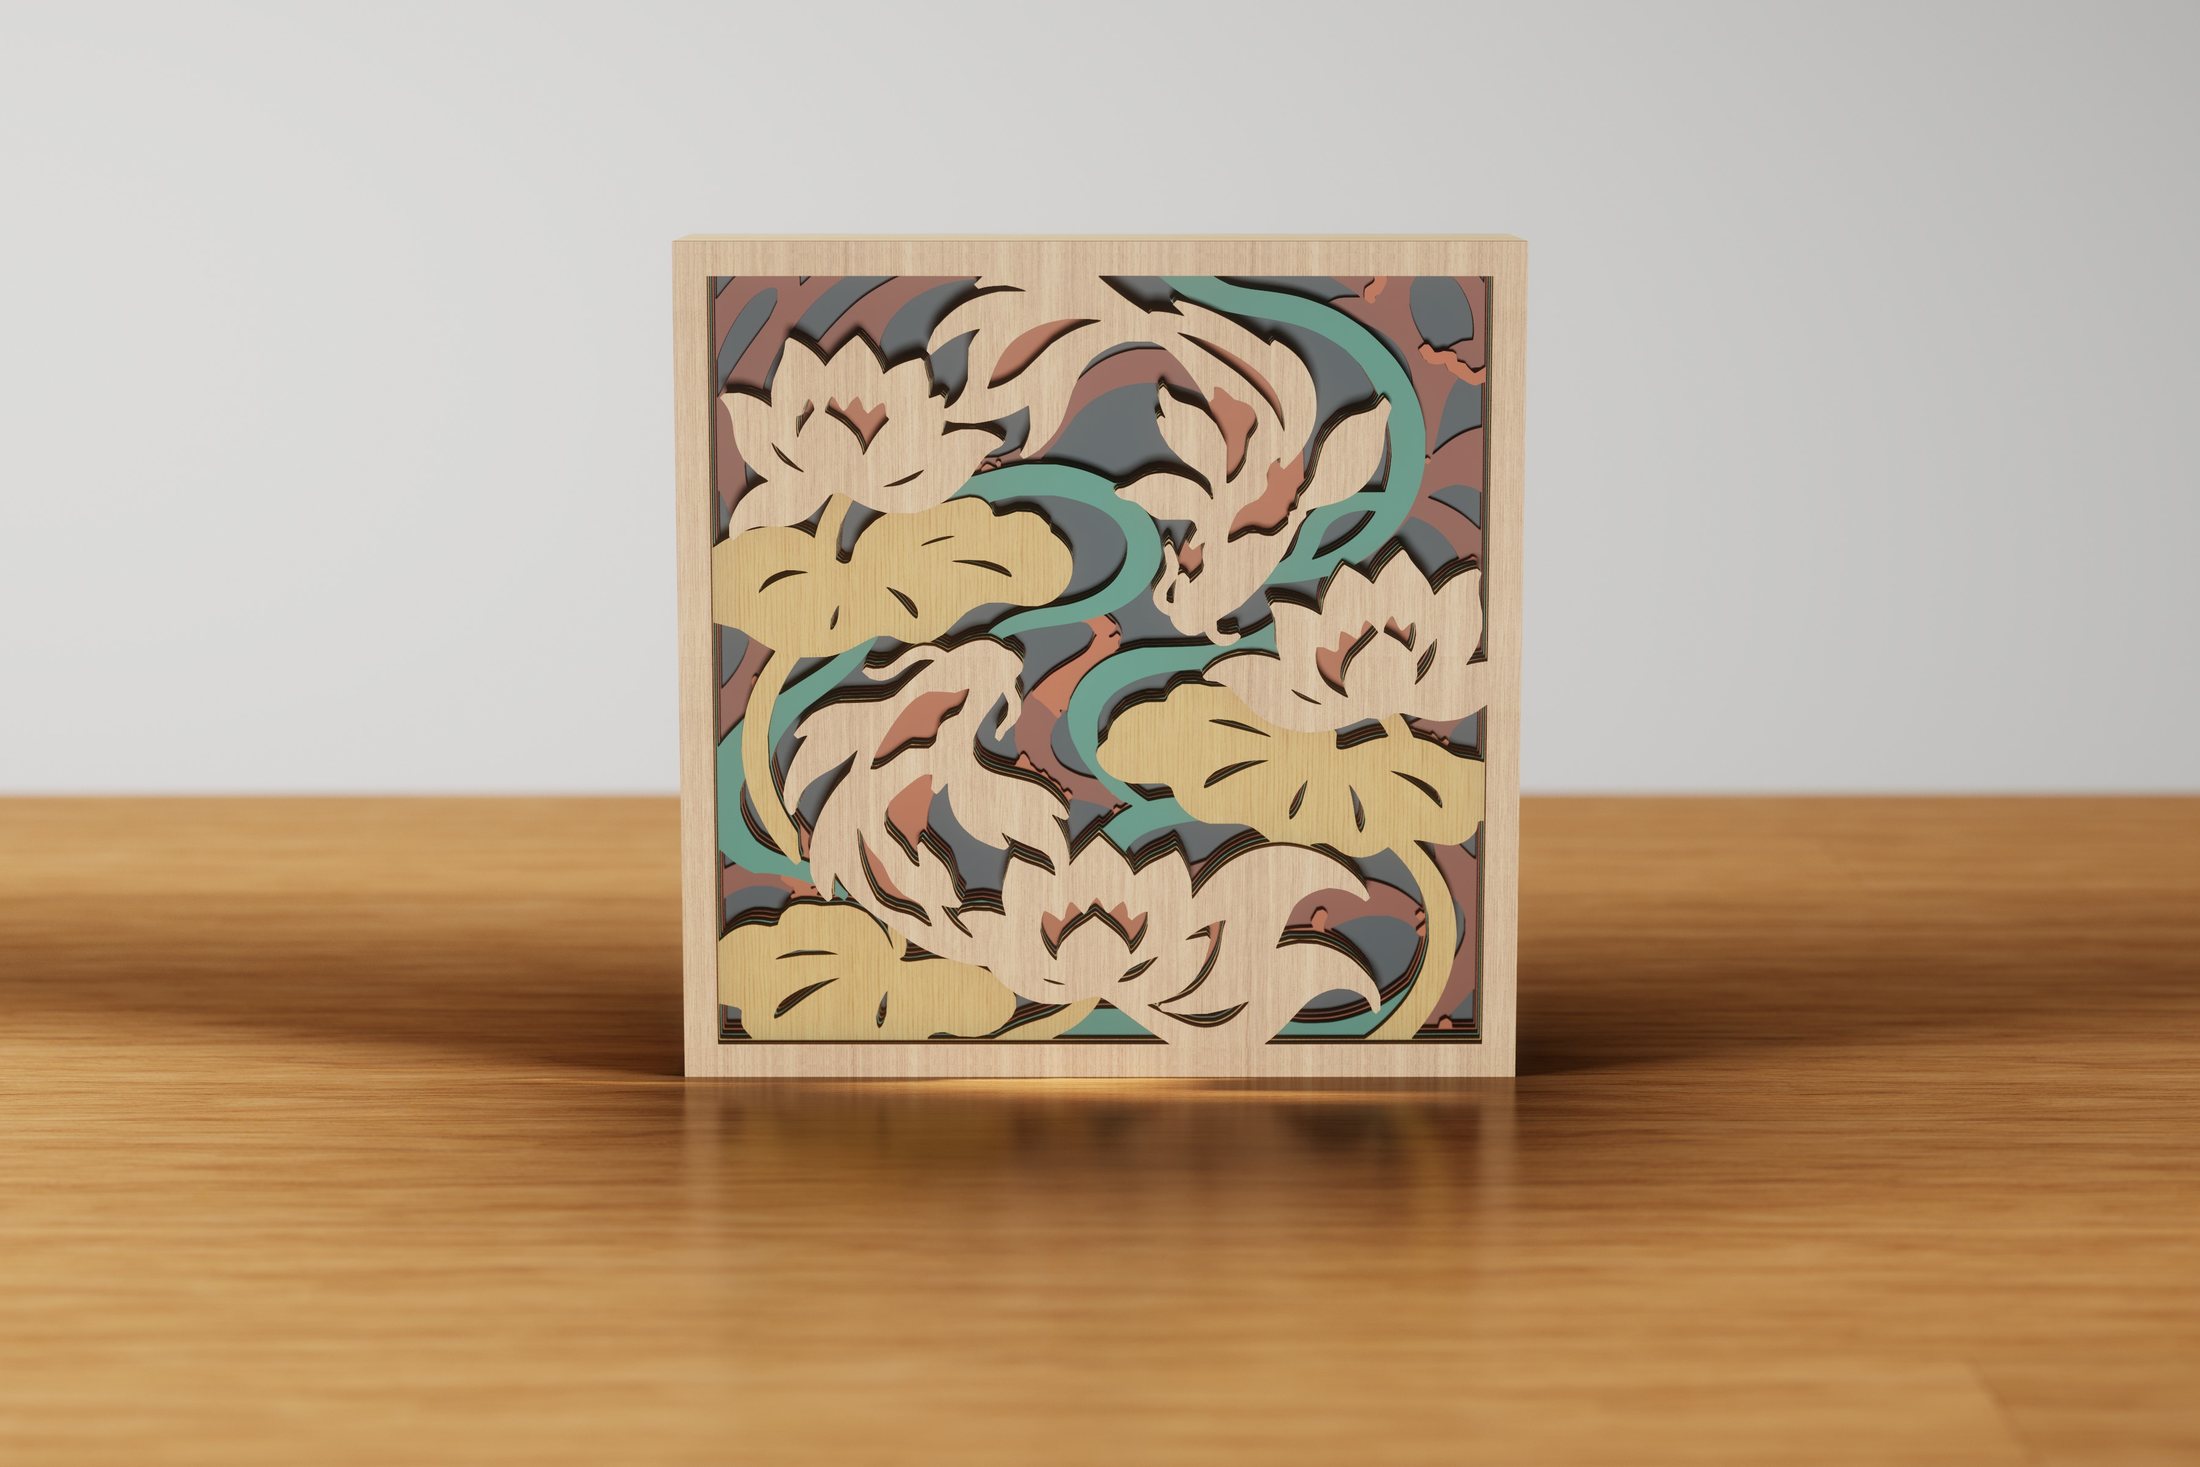 Koi LotusNature & gardens
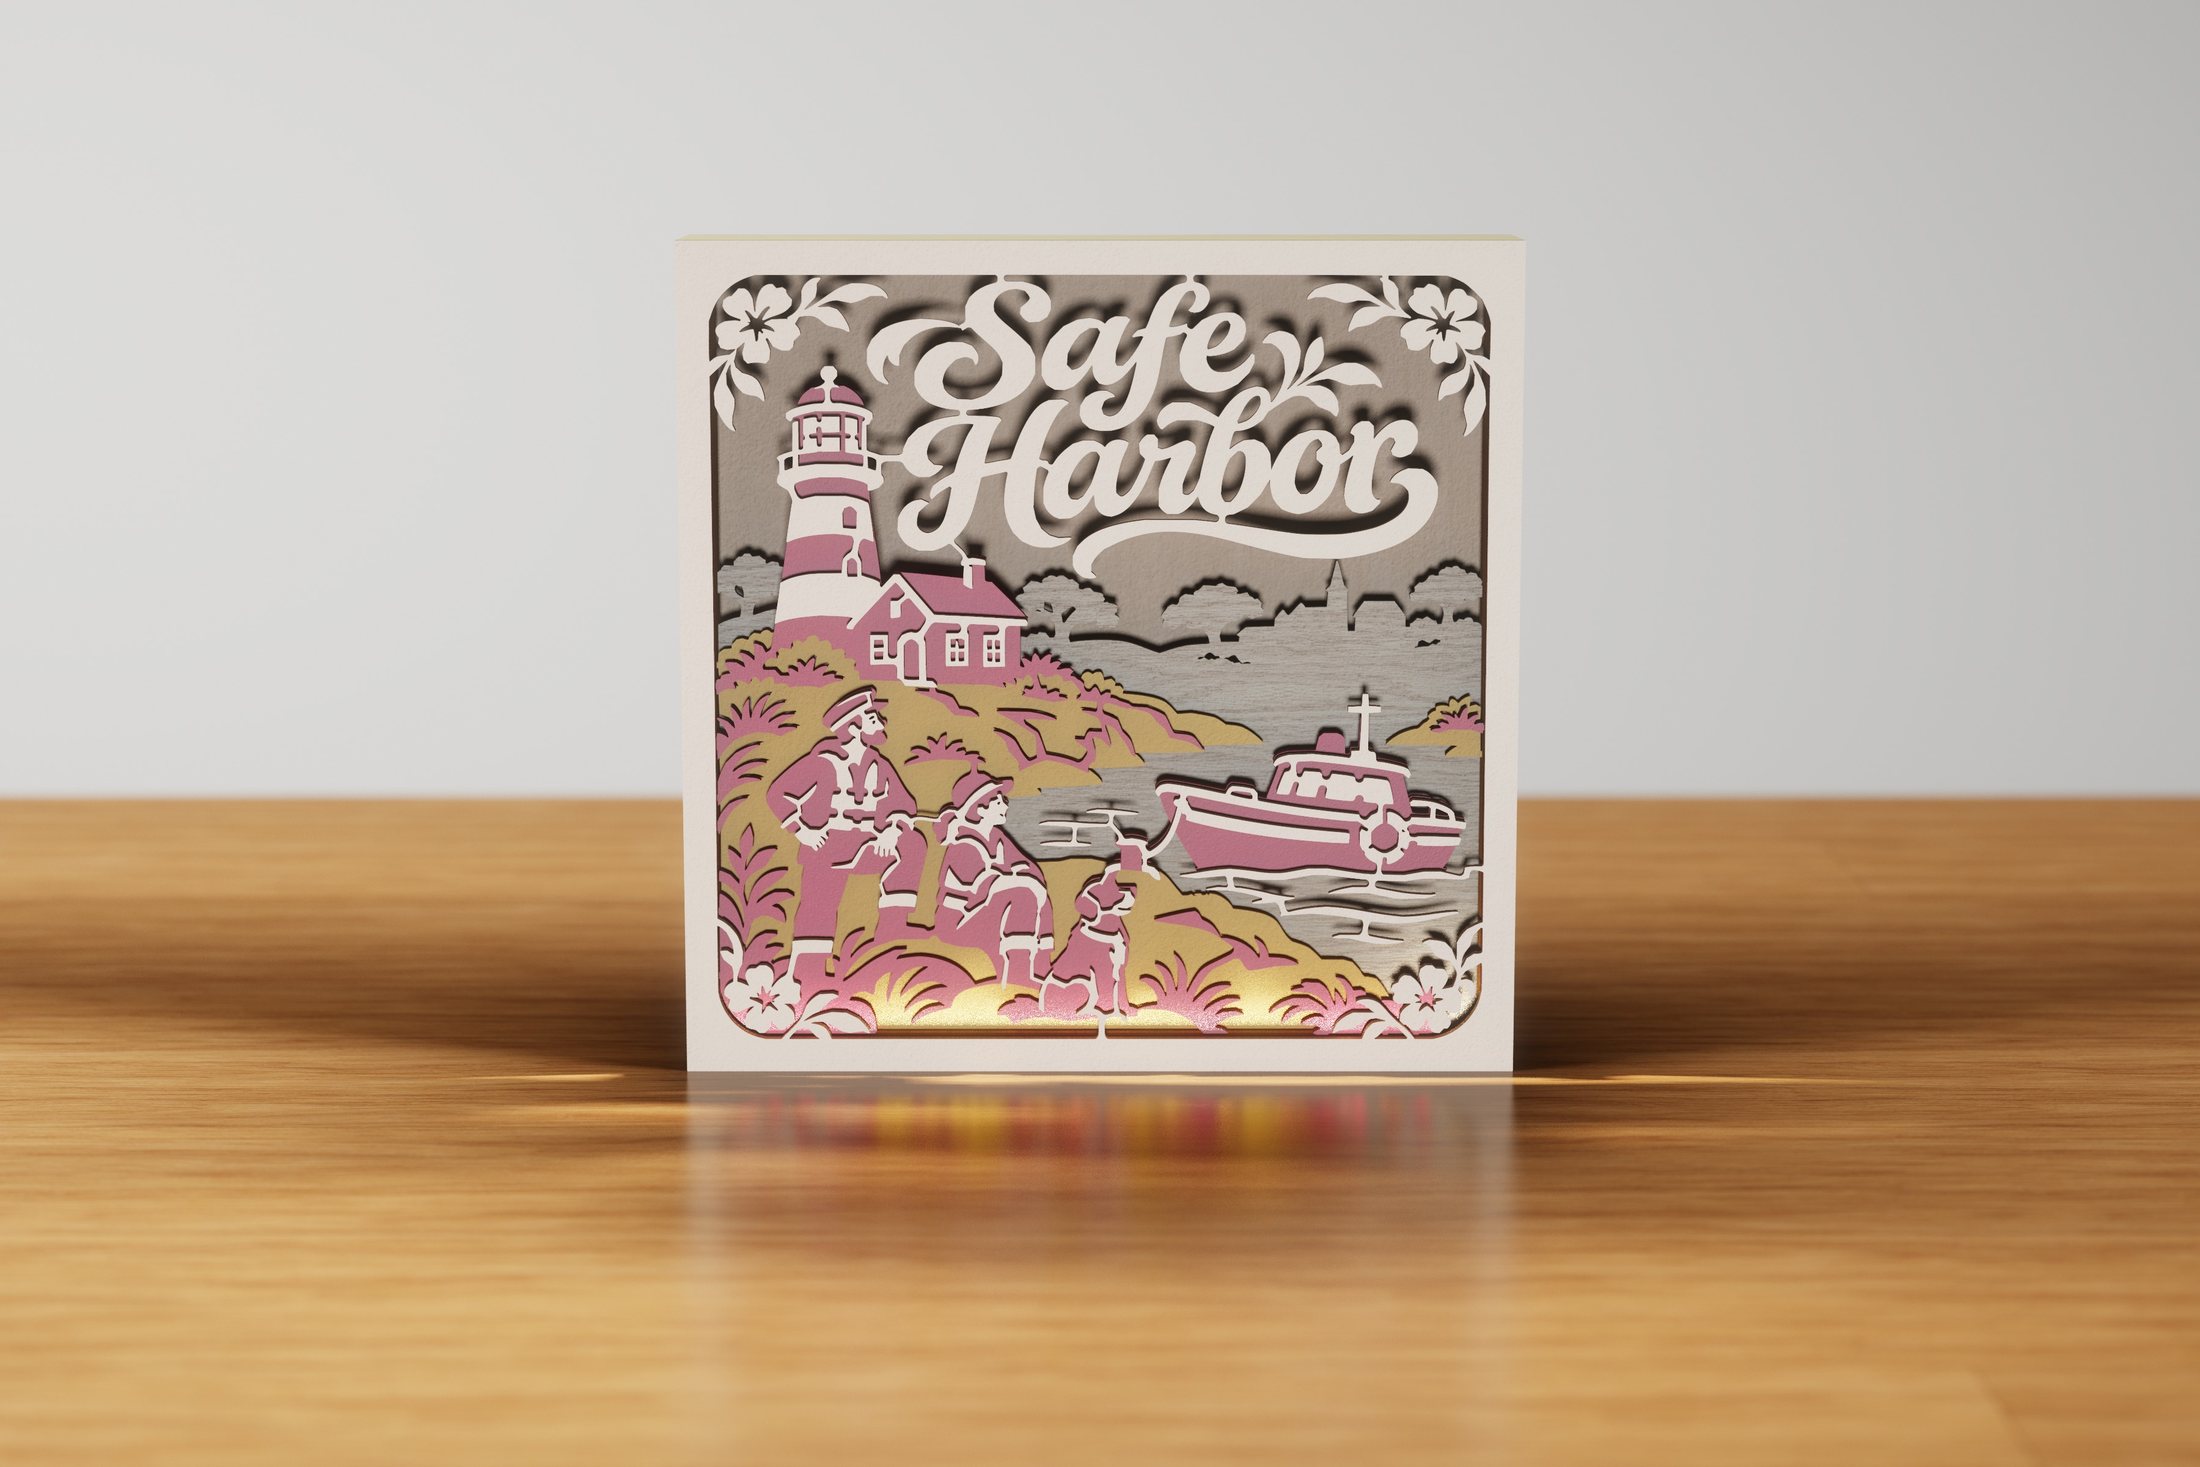 Safe HarborTravel & adventure
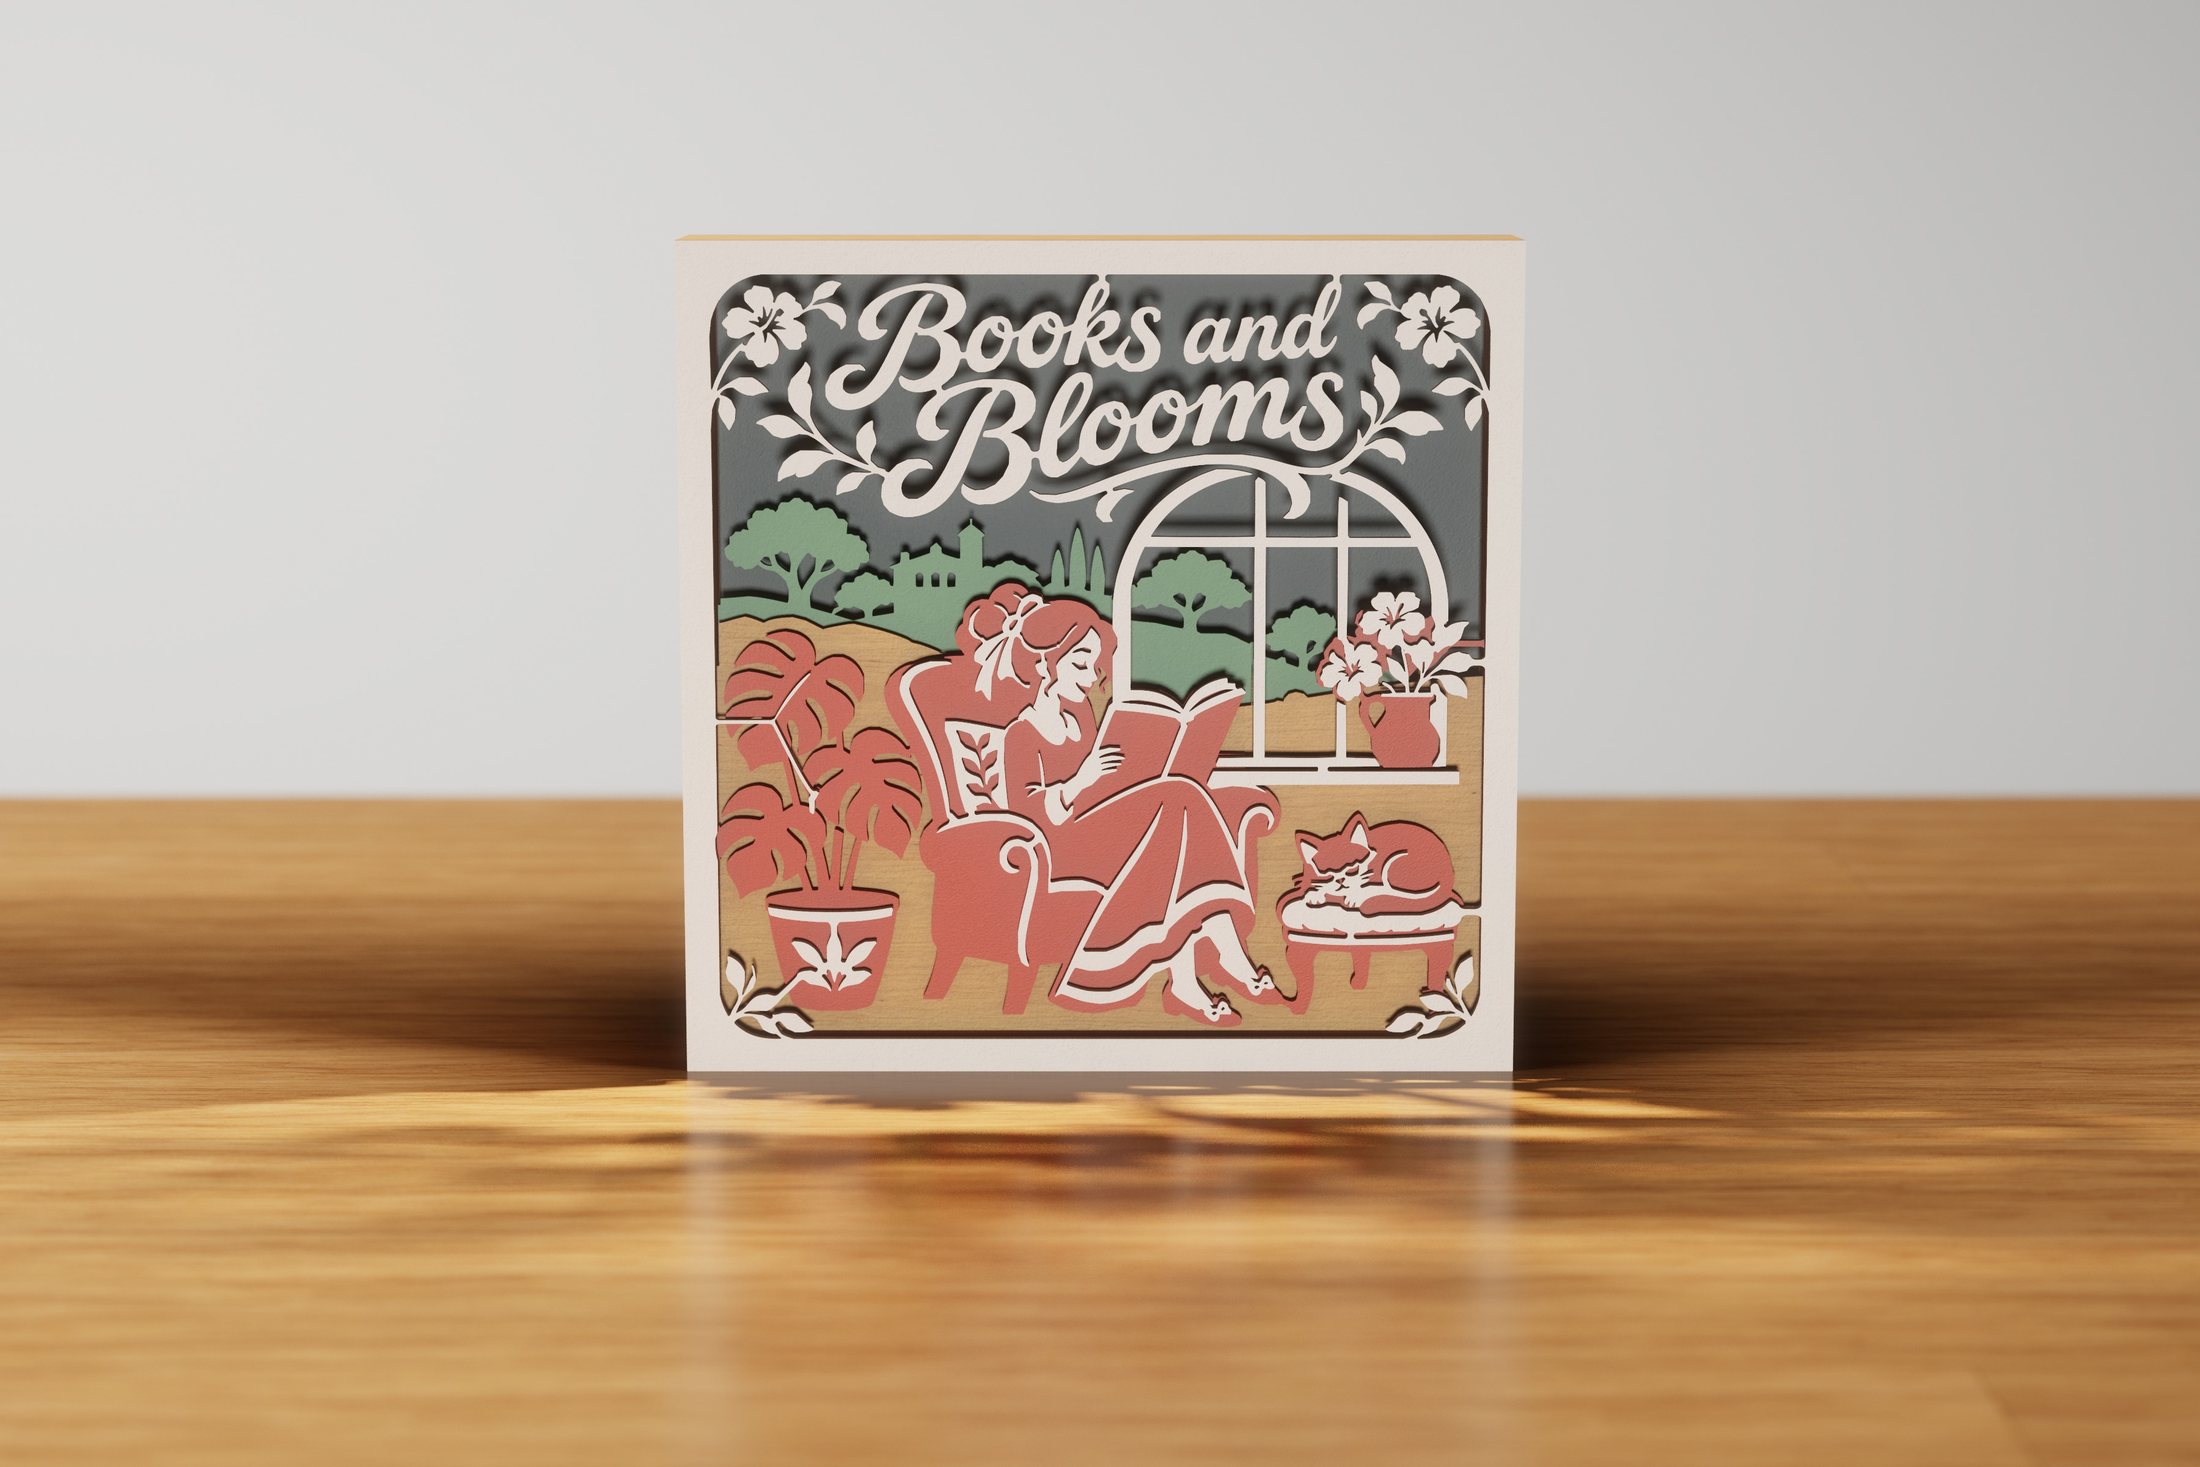 Books and BloomsHome & heart
Good Vibes OnlyHome & heart
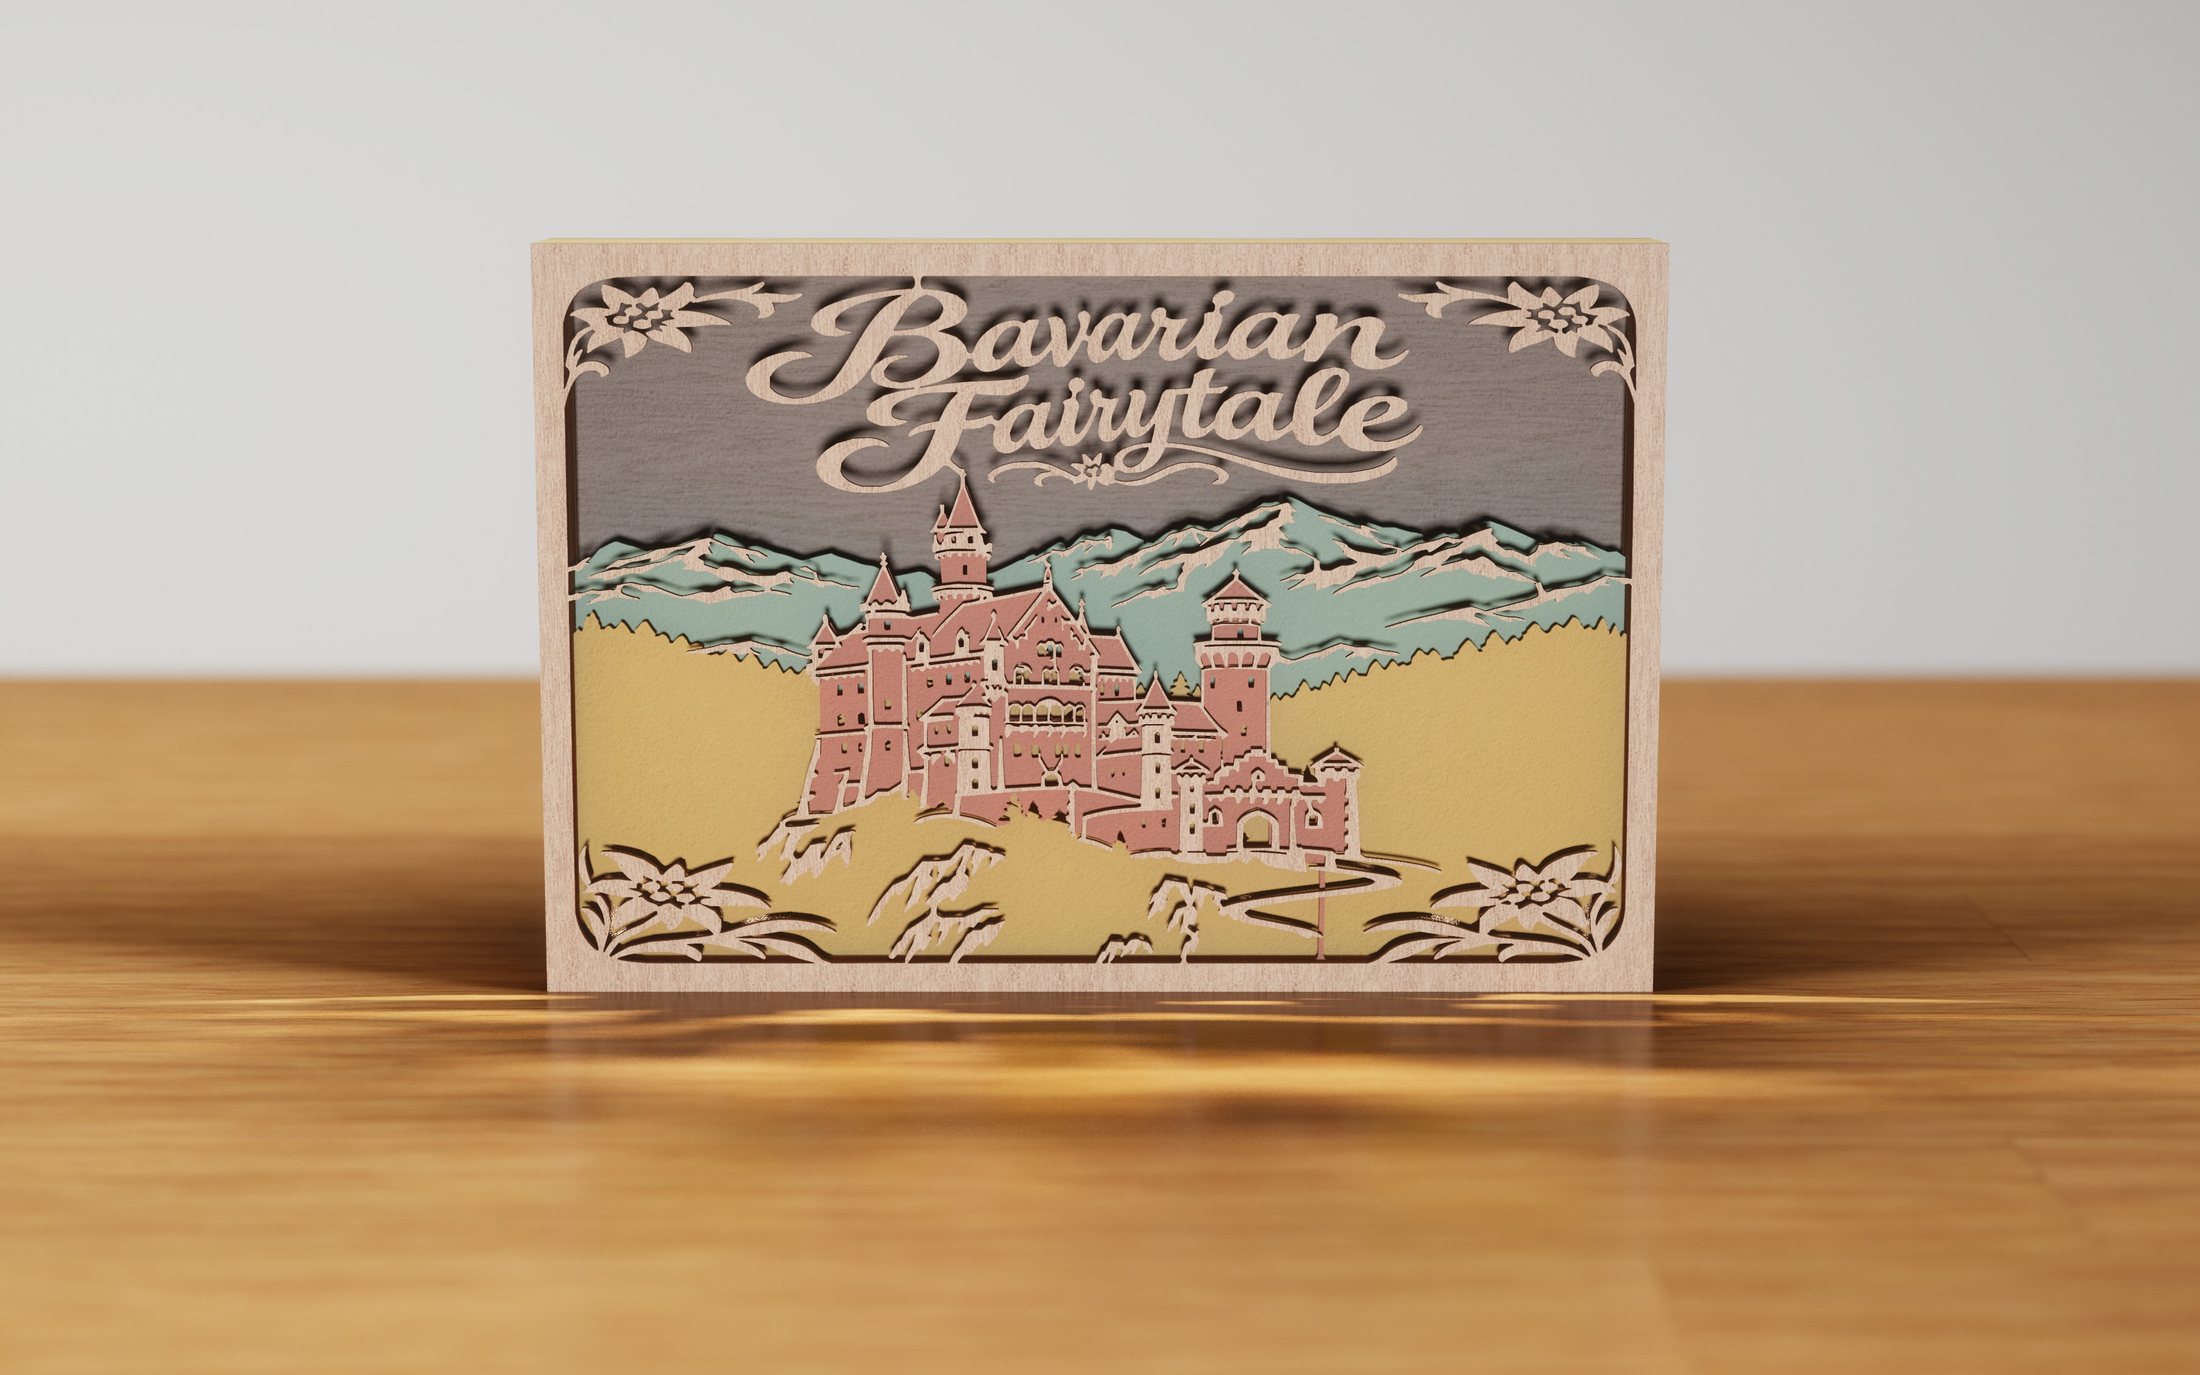 Bavarian FairytaleTravel & adventure
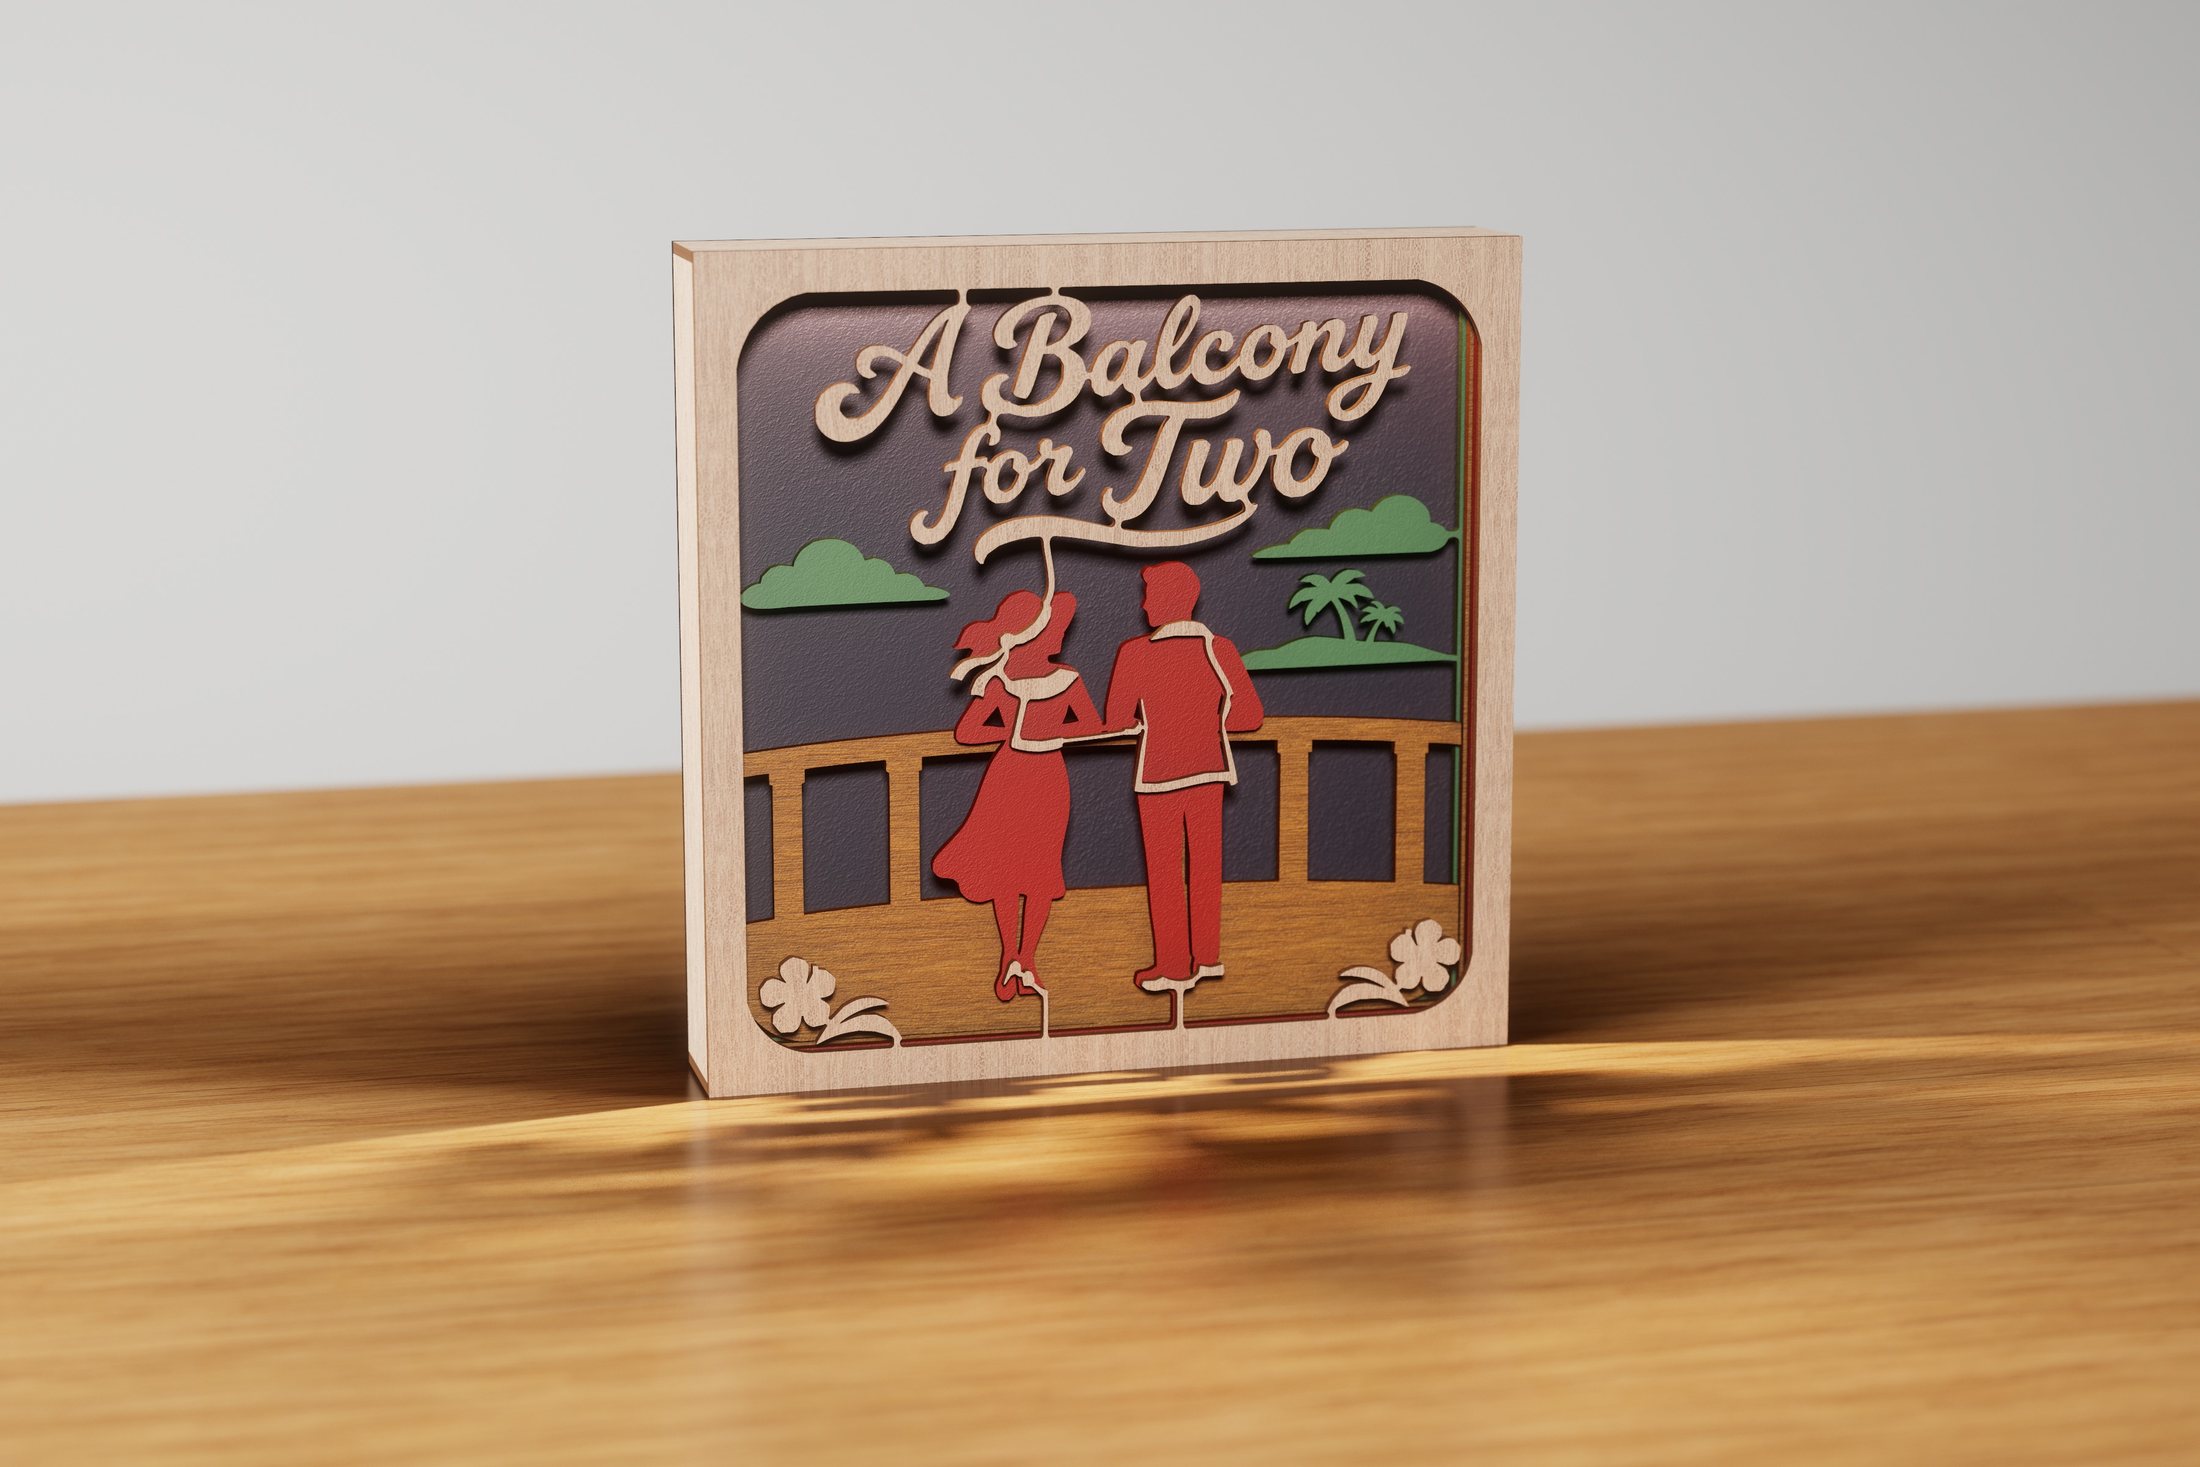 A Balcony for TwoHome & heart
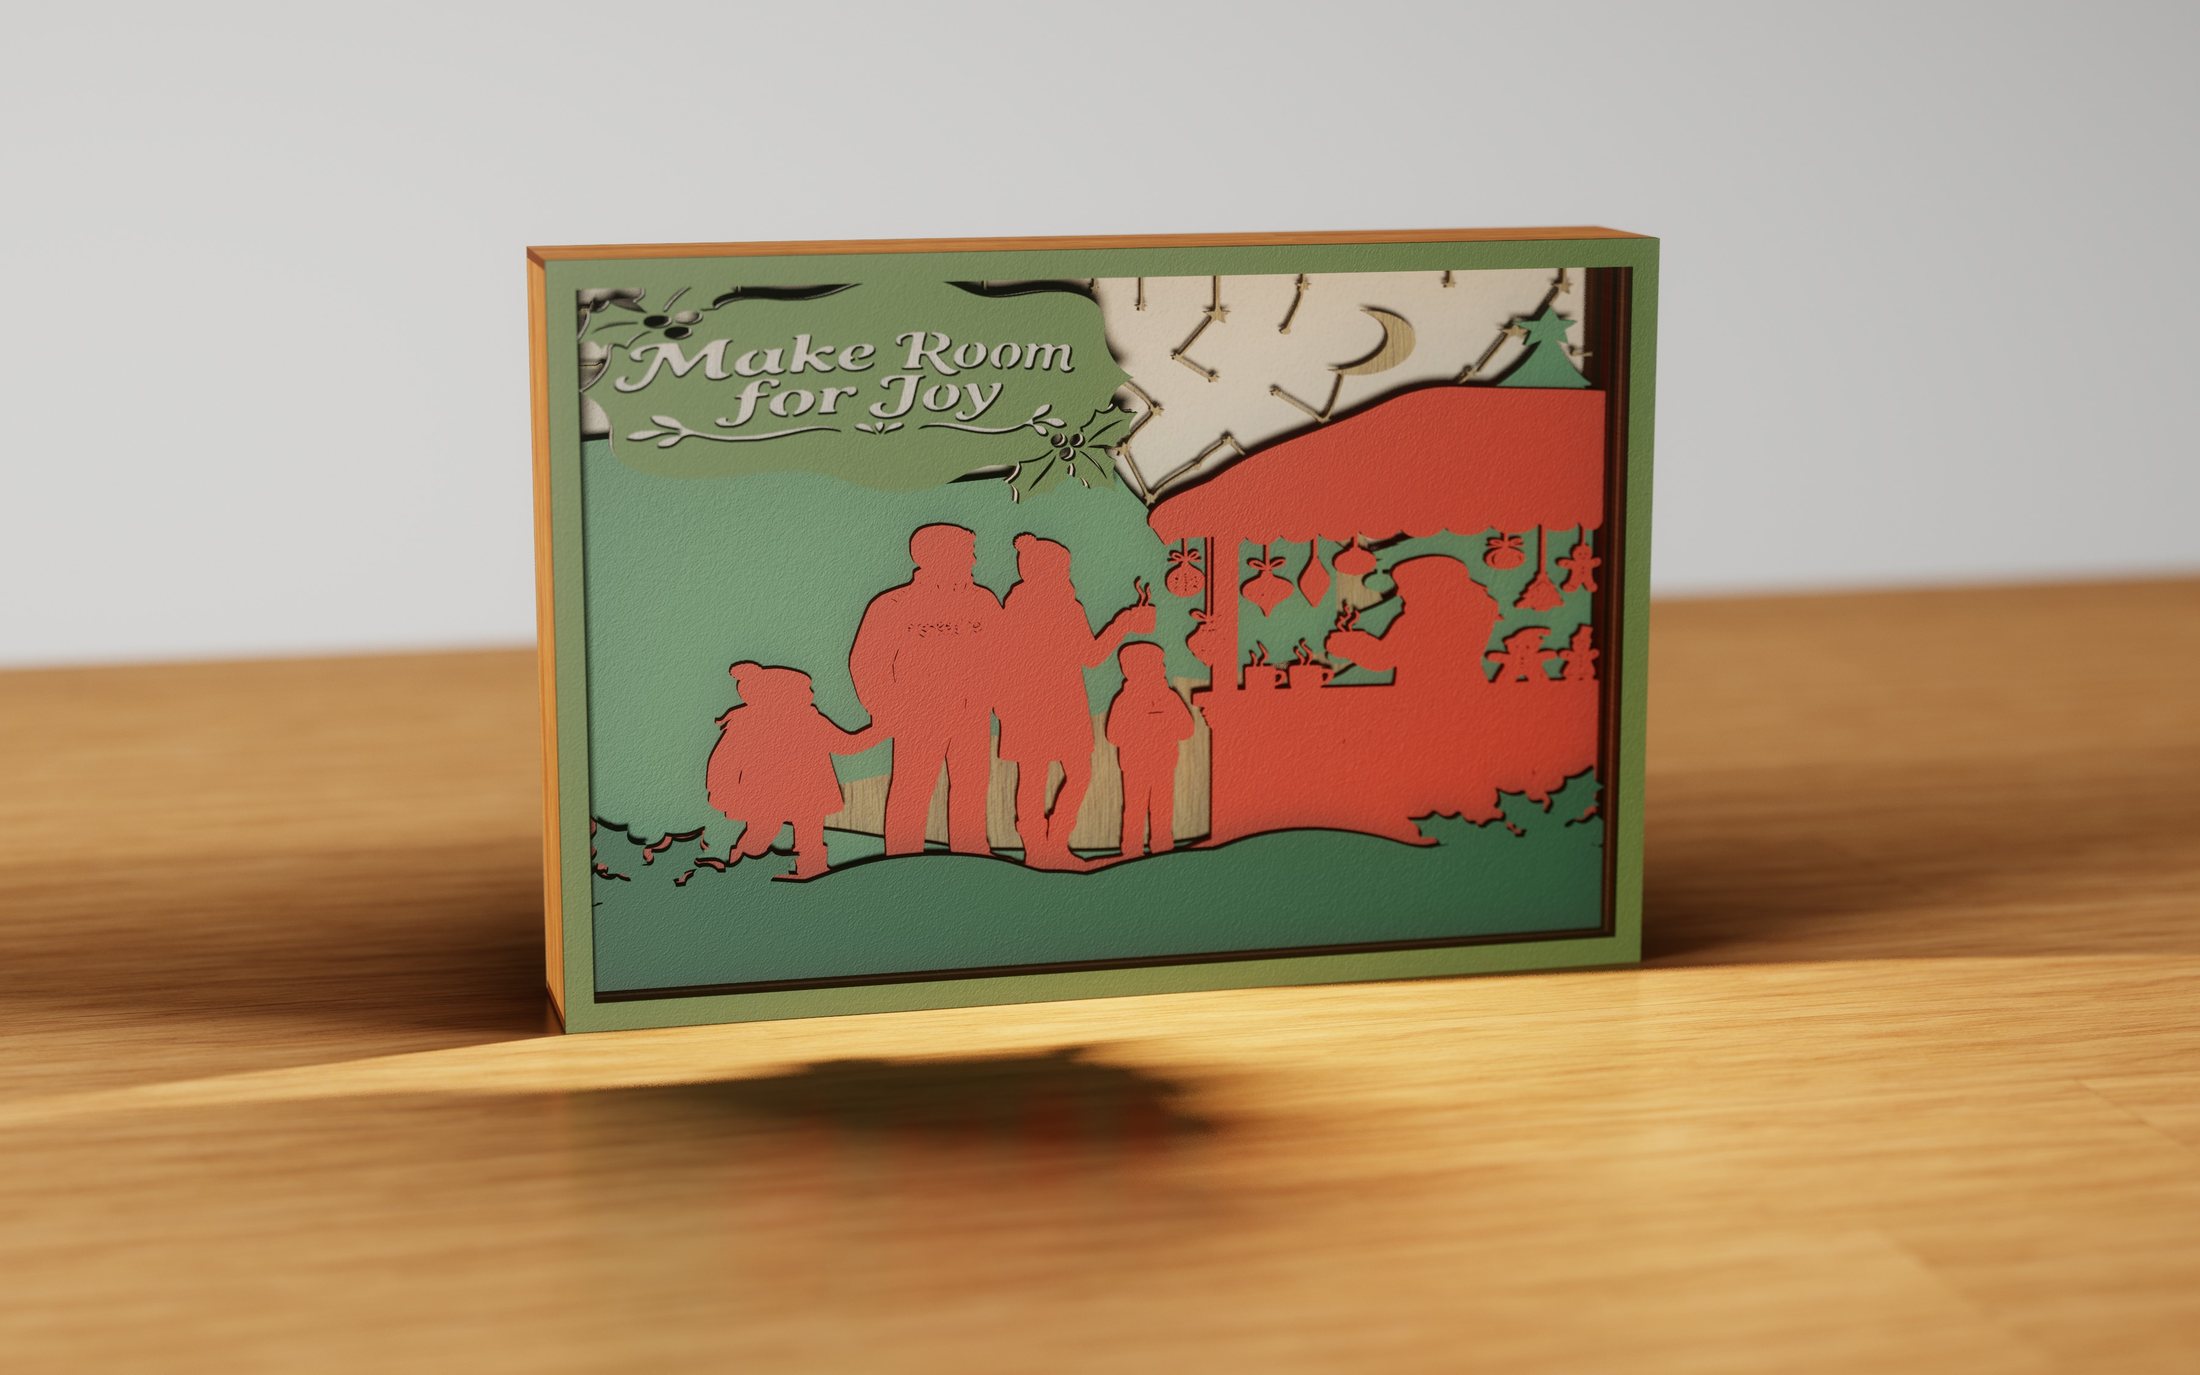 Christmas Market MagicChristmas
Christmas CarouselChristmas
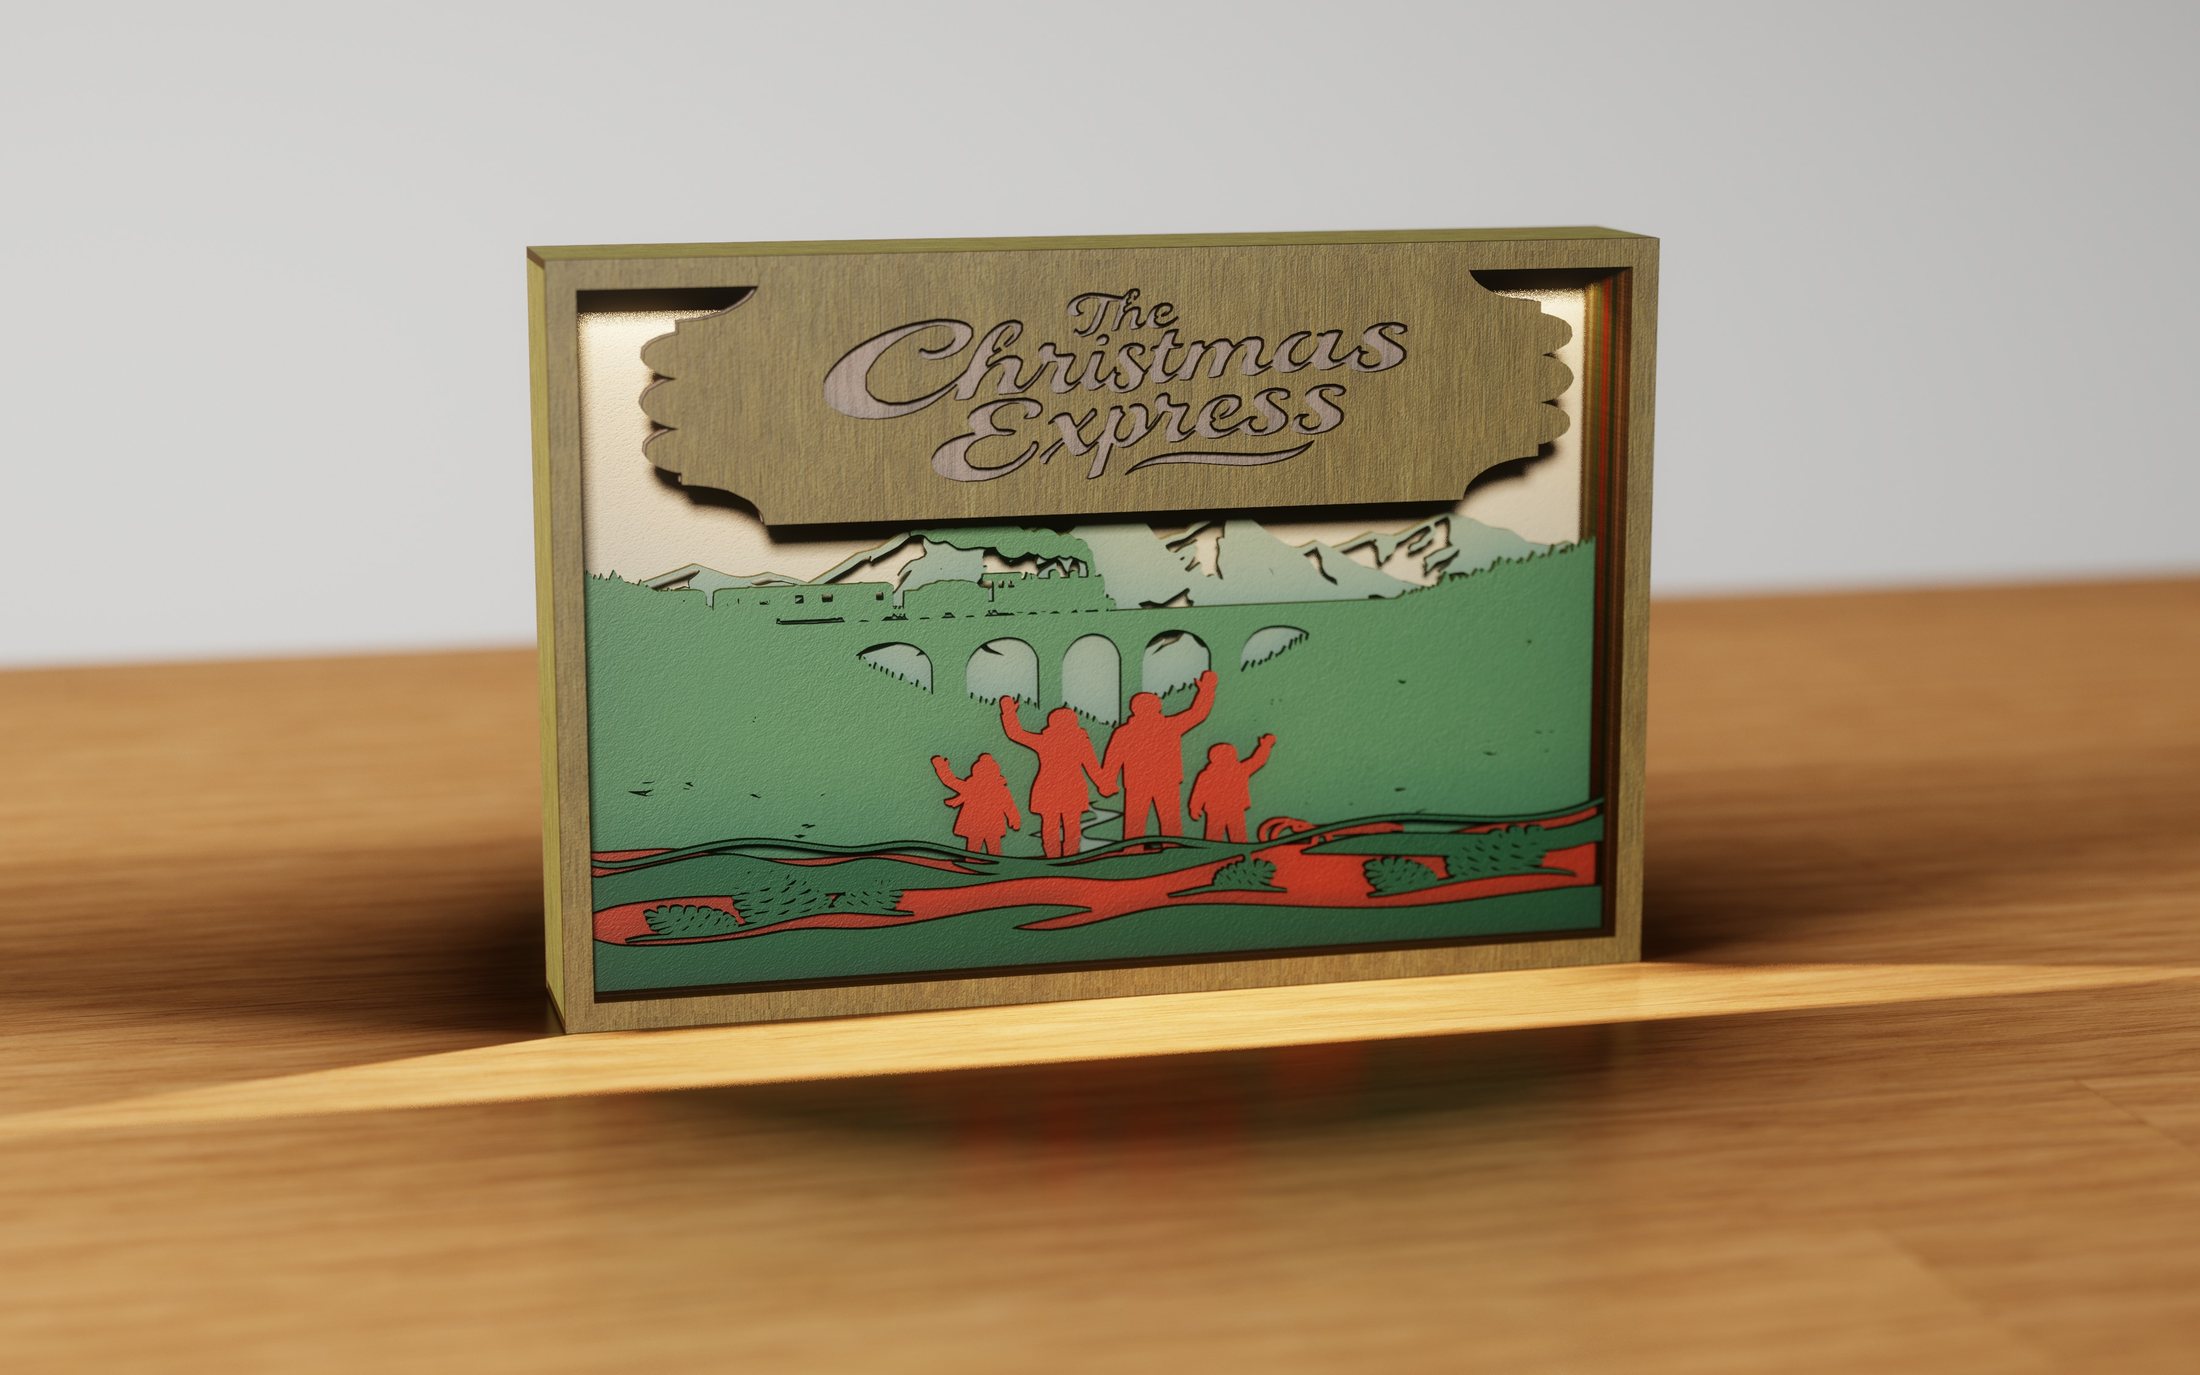 Christmas Valley ExpressChristmas
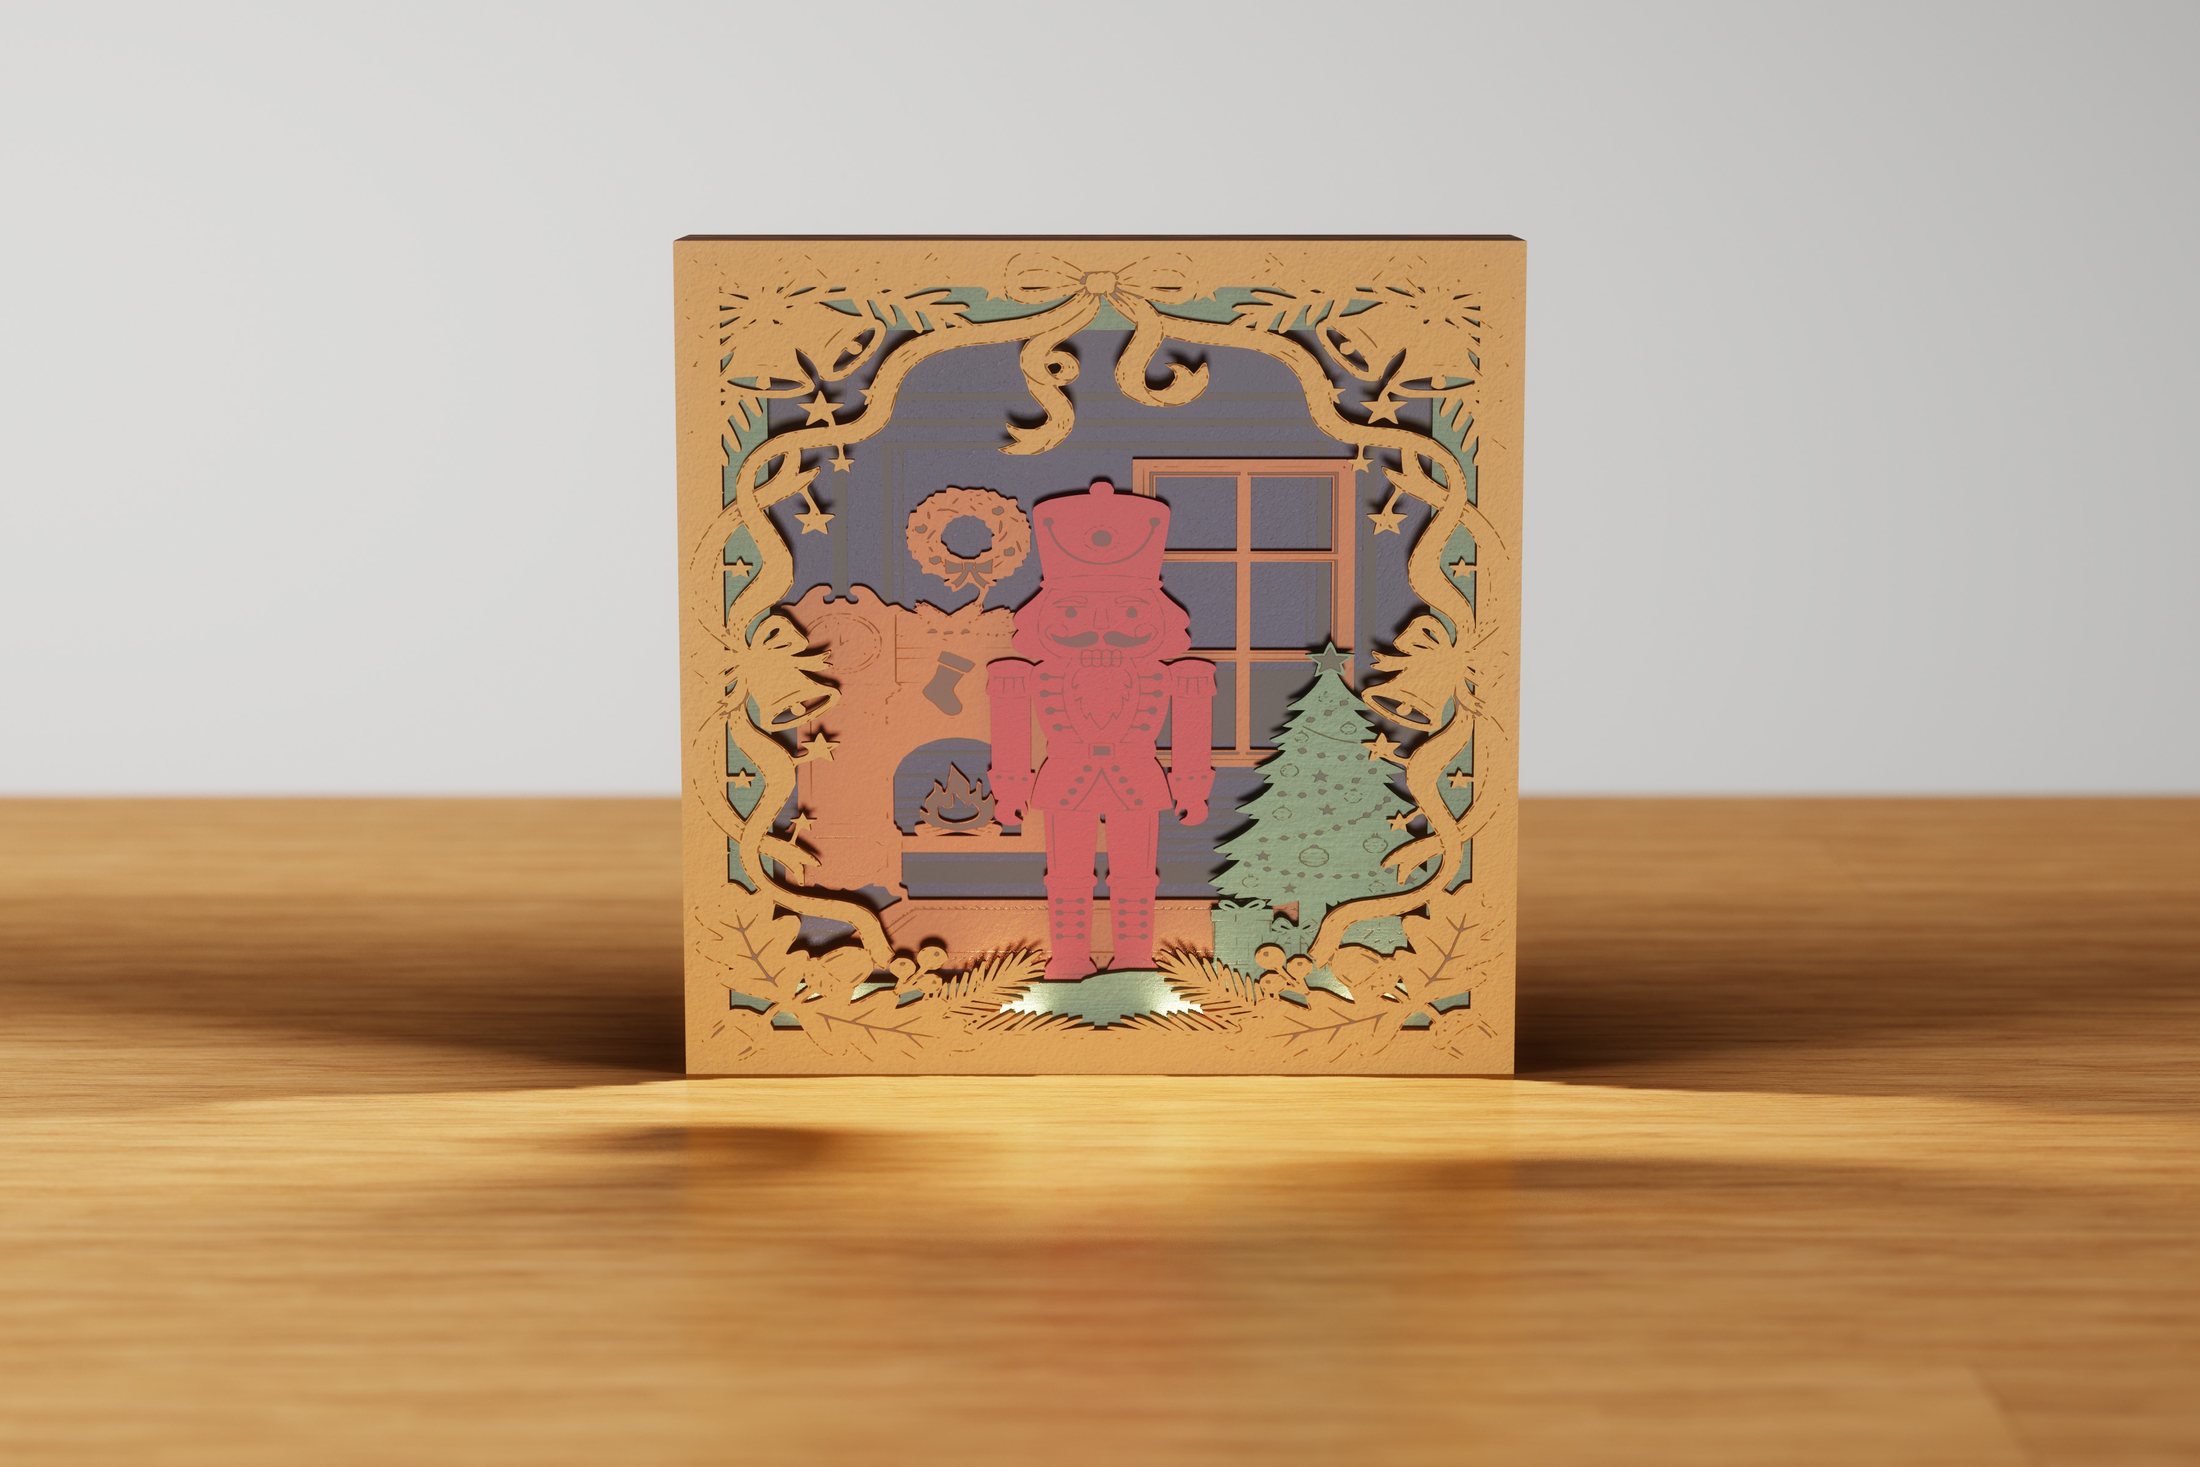 Nutcracker ChristmasChristmas
Woodland ChristmasChristmas
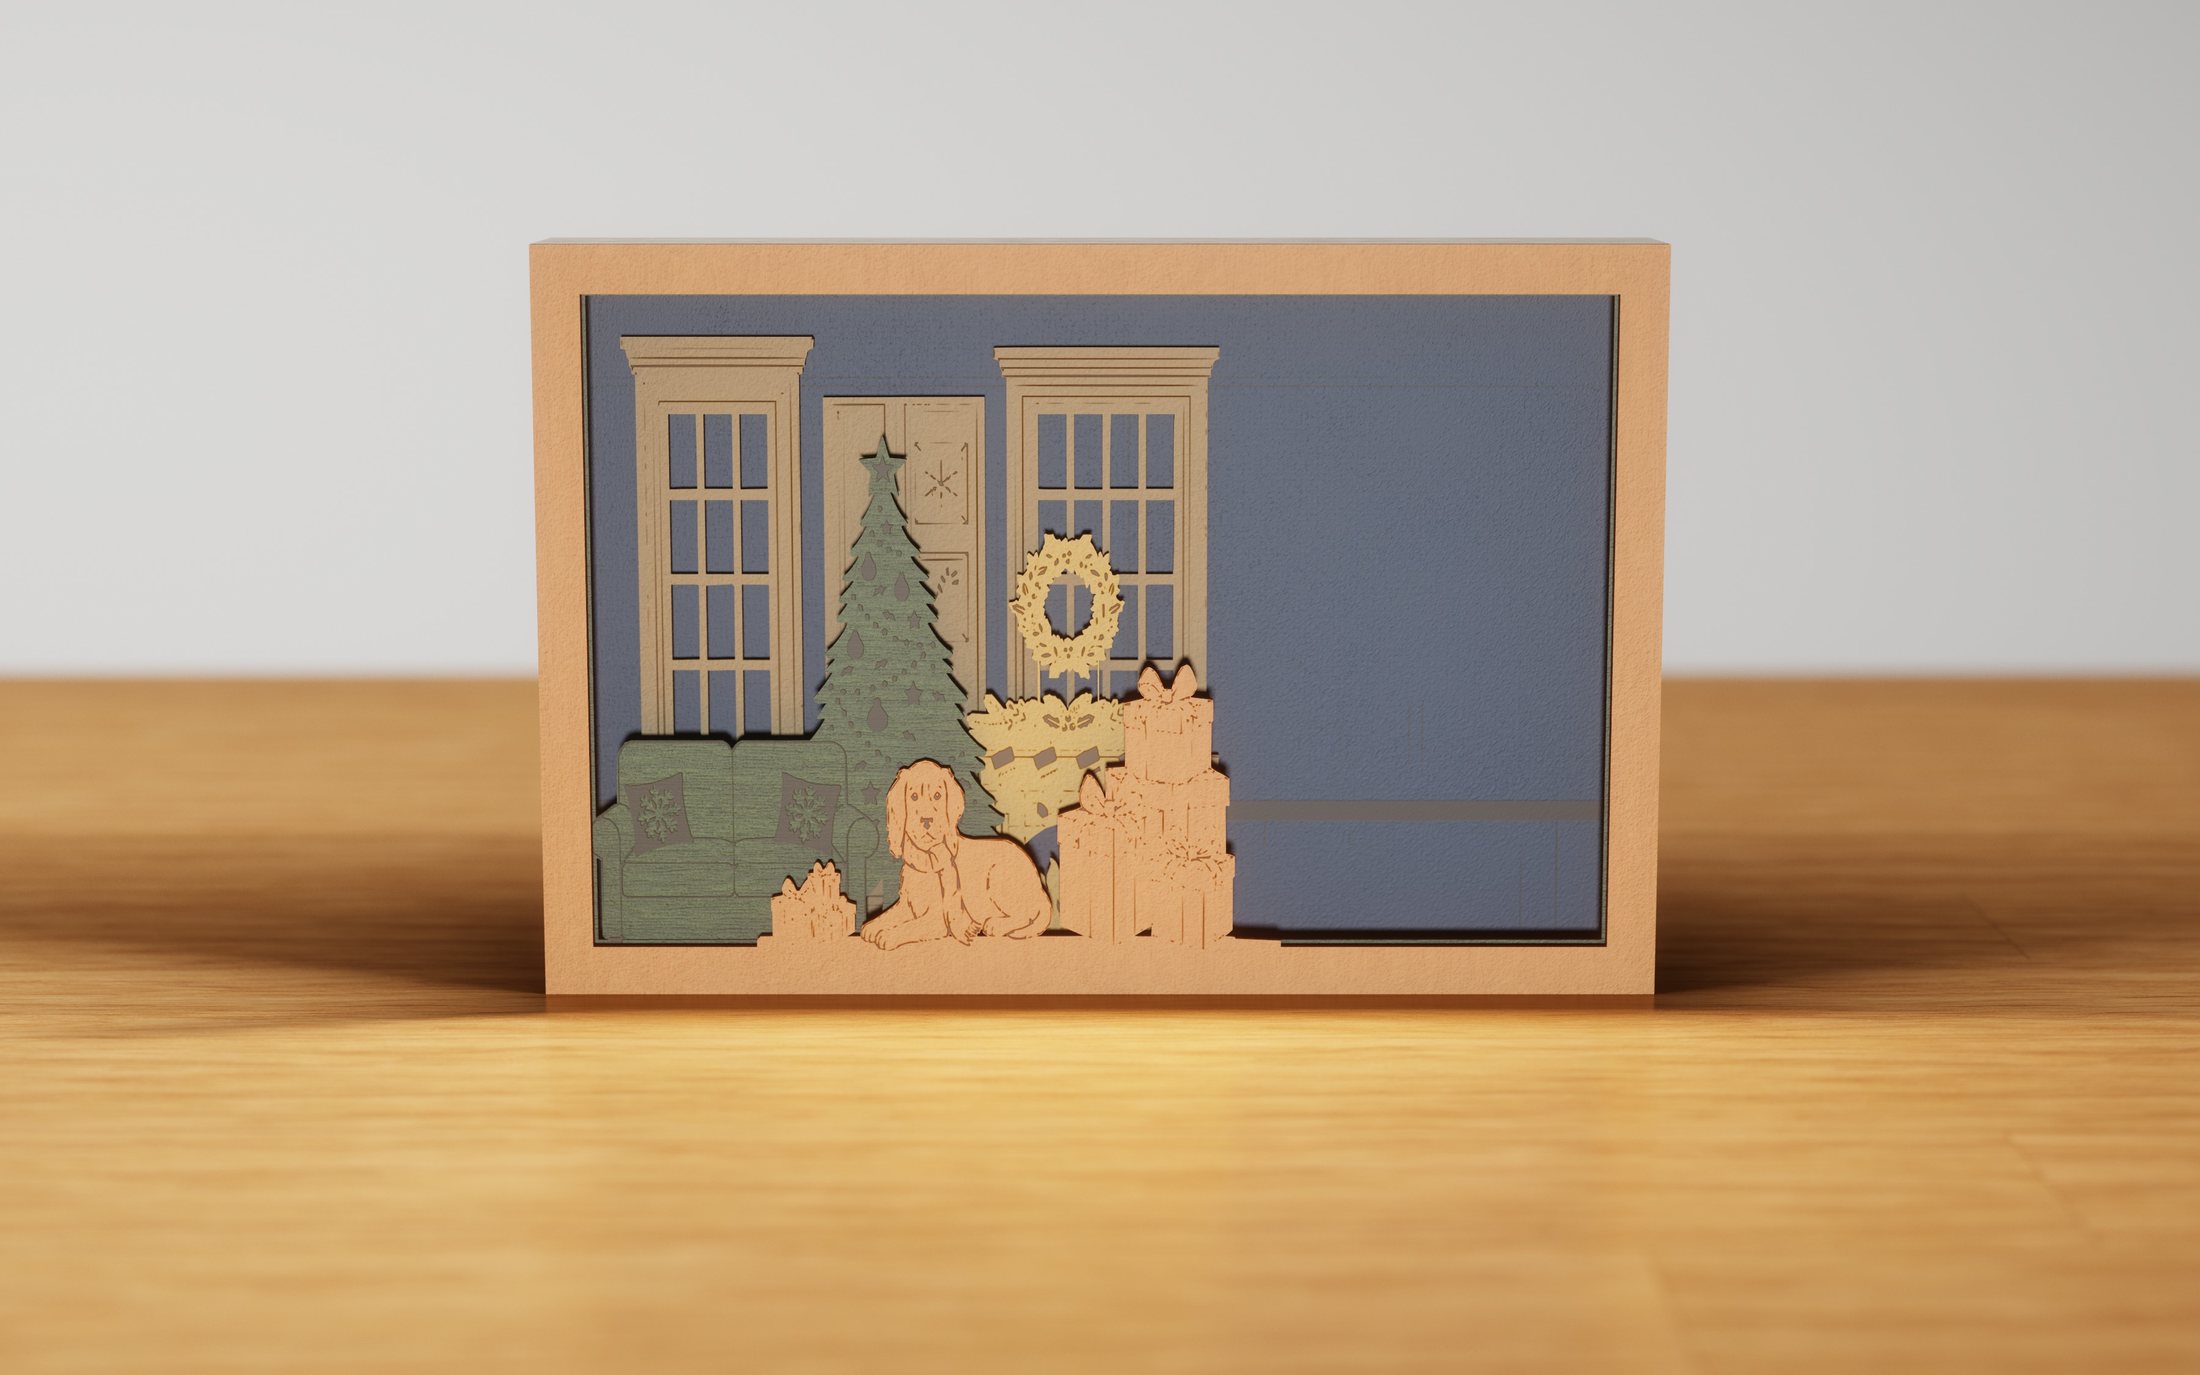 Cozy Christmas RoomChristmas
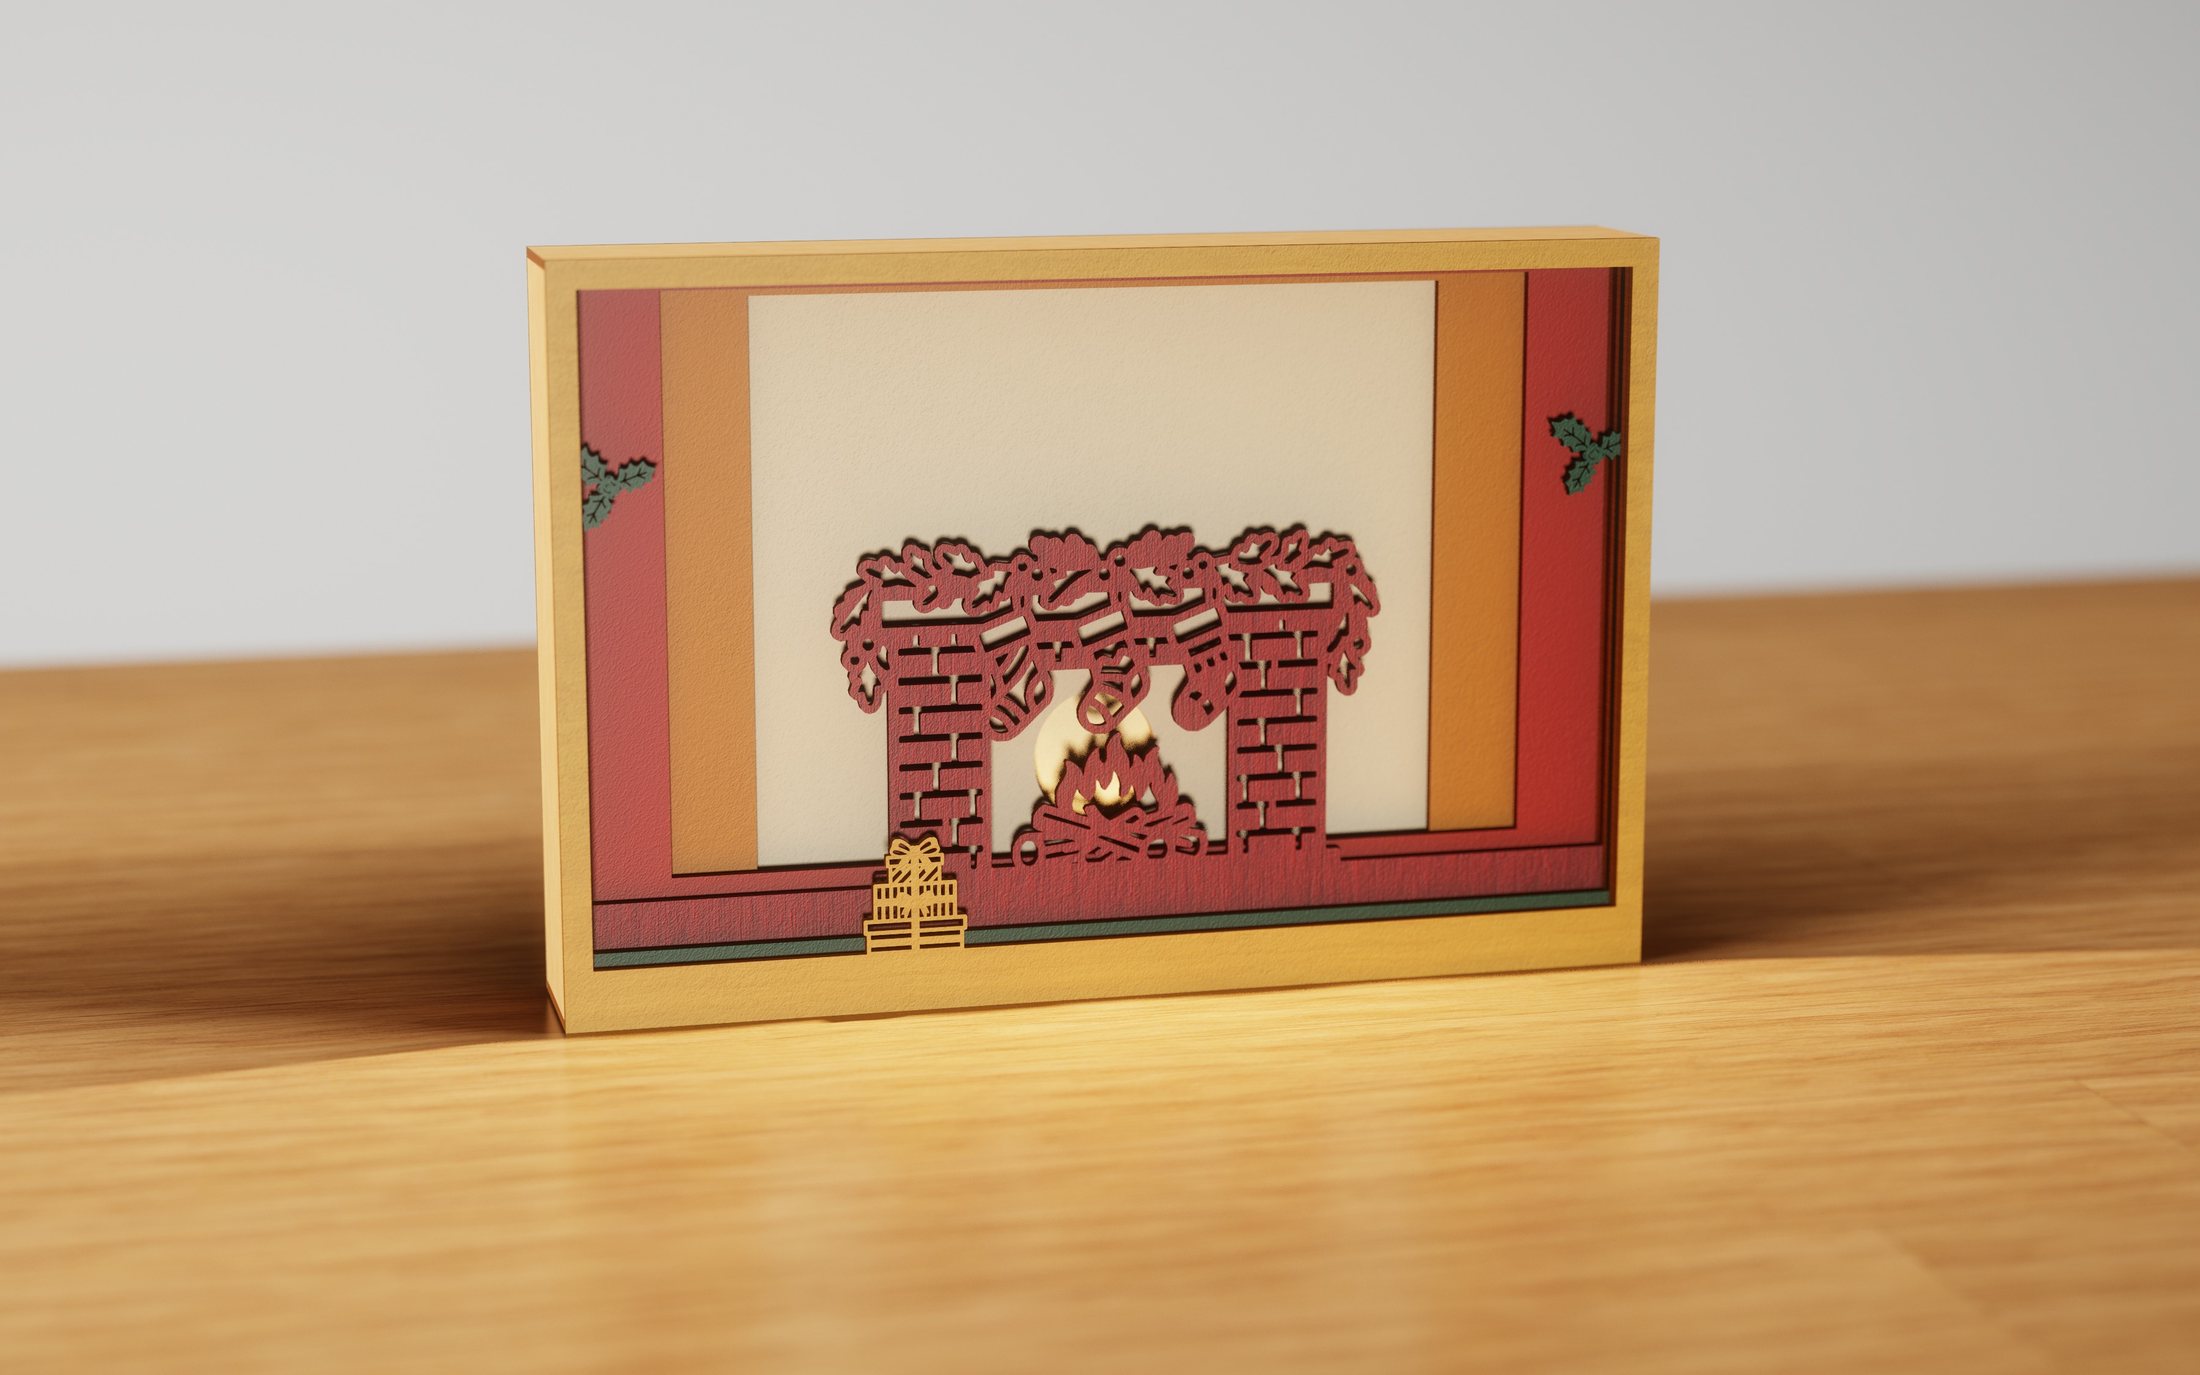 Christmas FireplaceChristmas
Christmas Village OrnamentChristmas
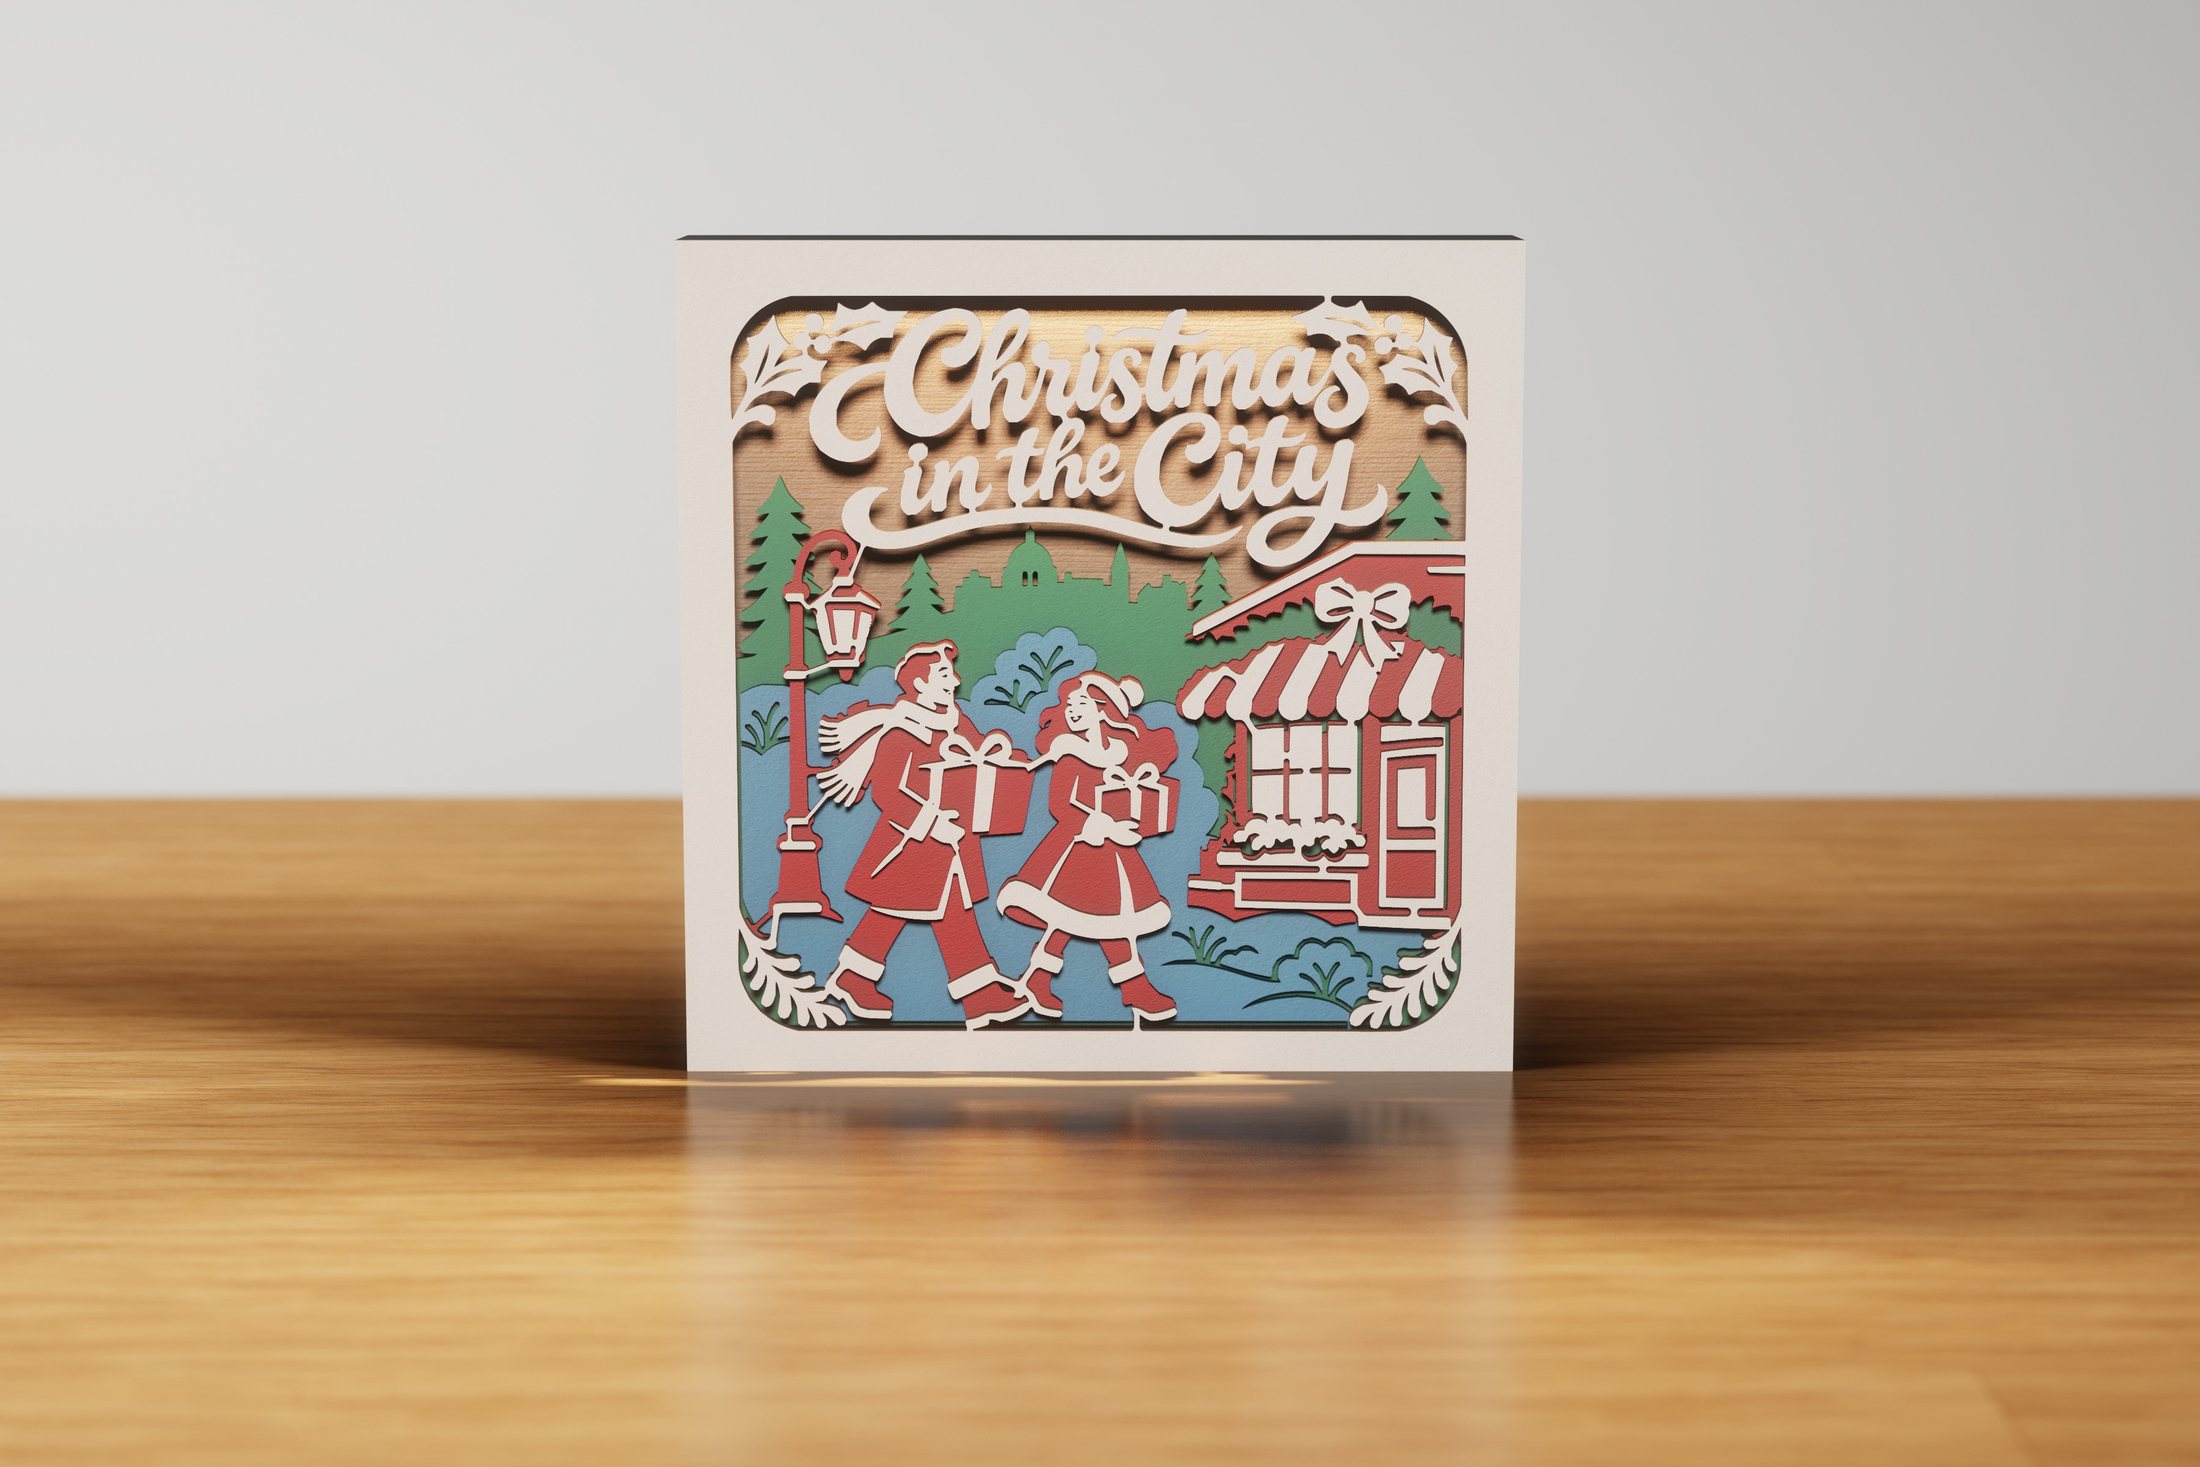 Christmas in the CityChristmas
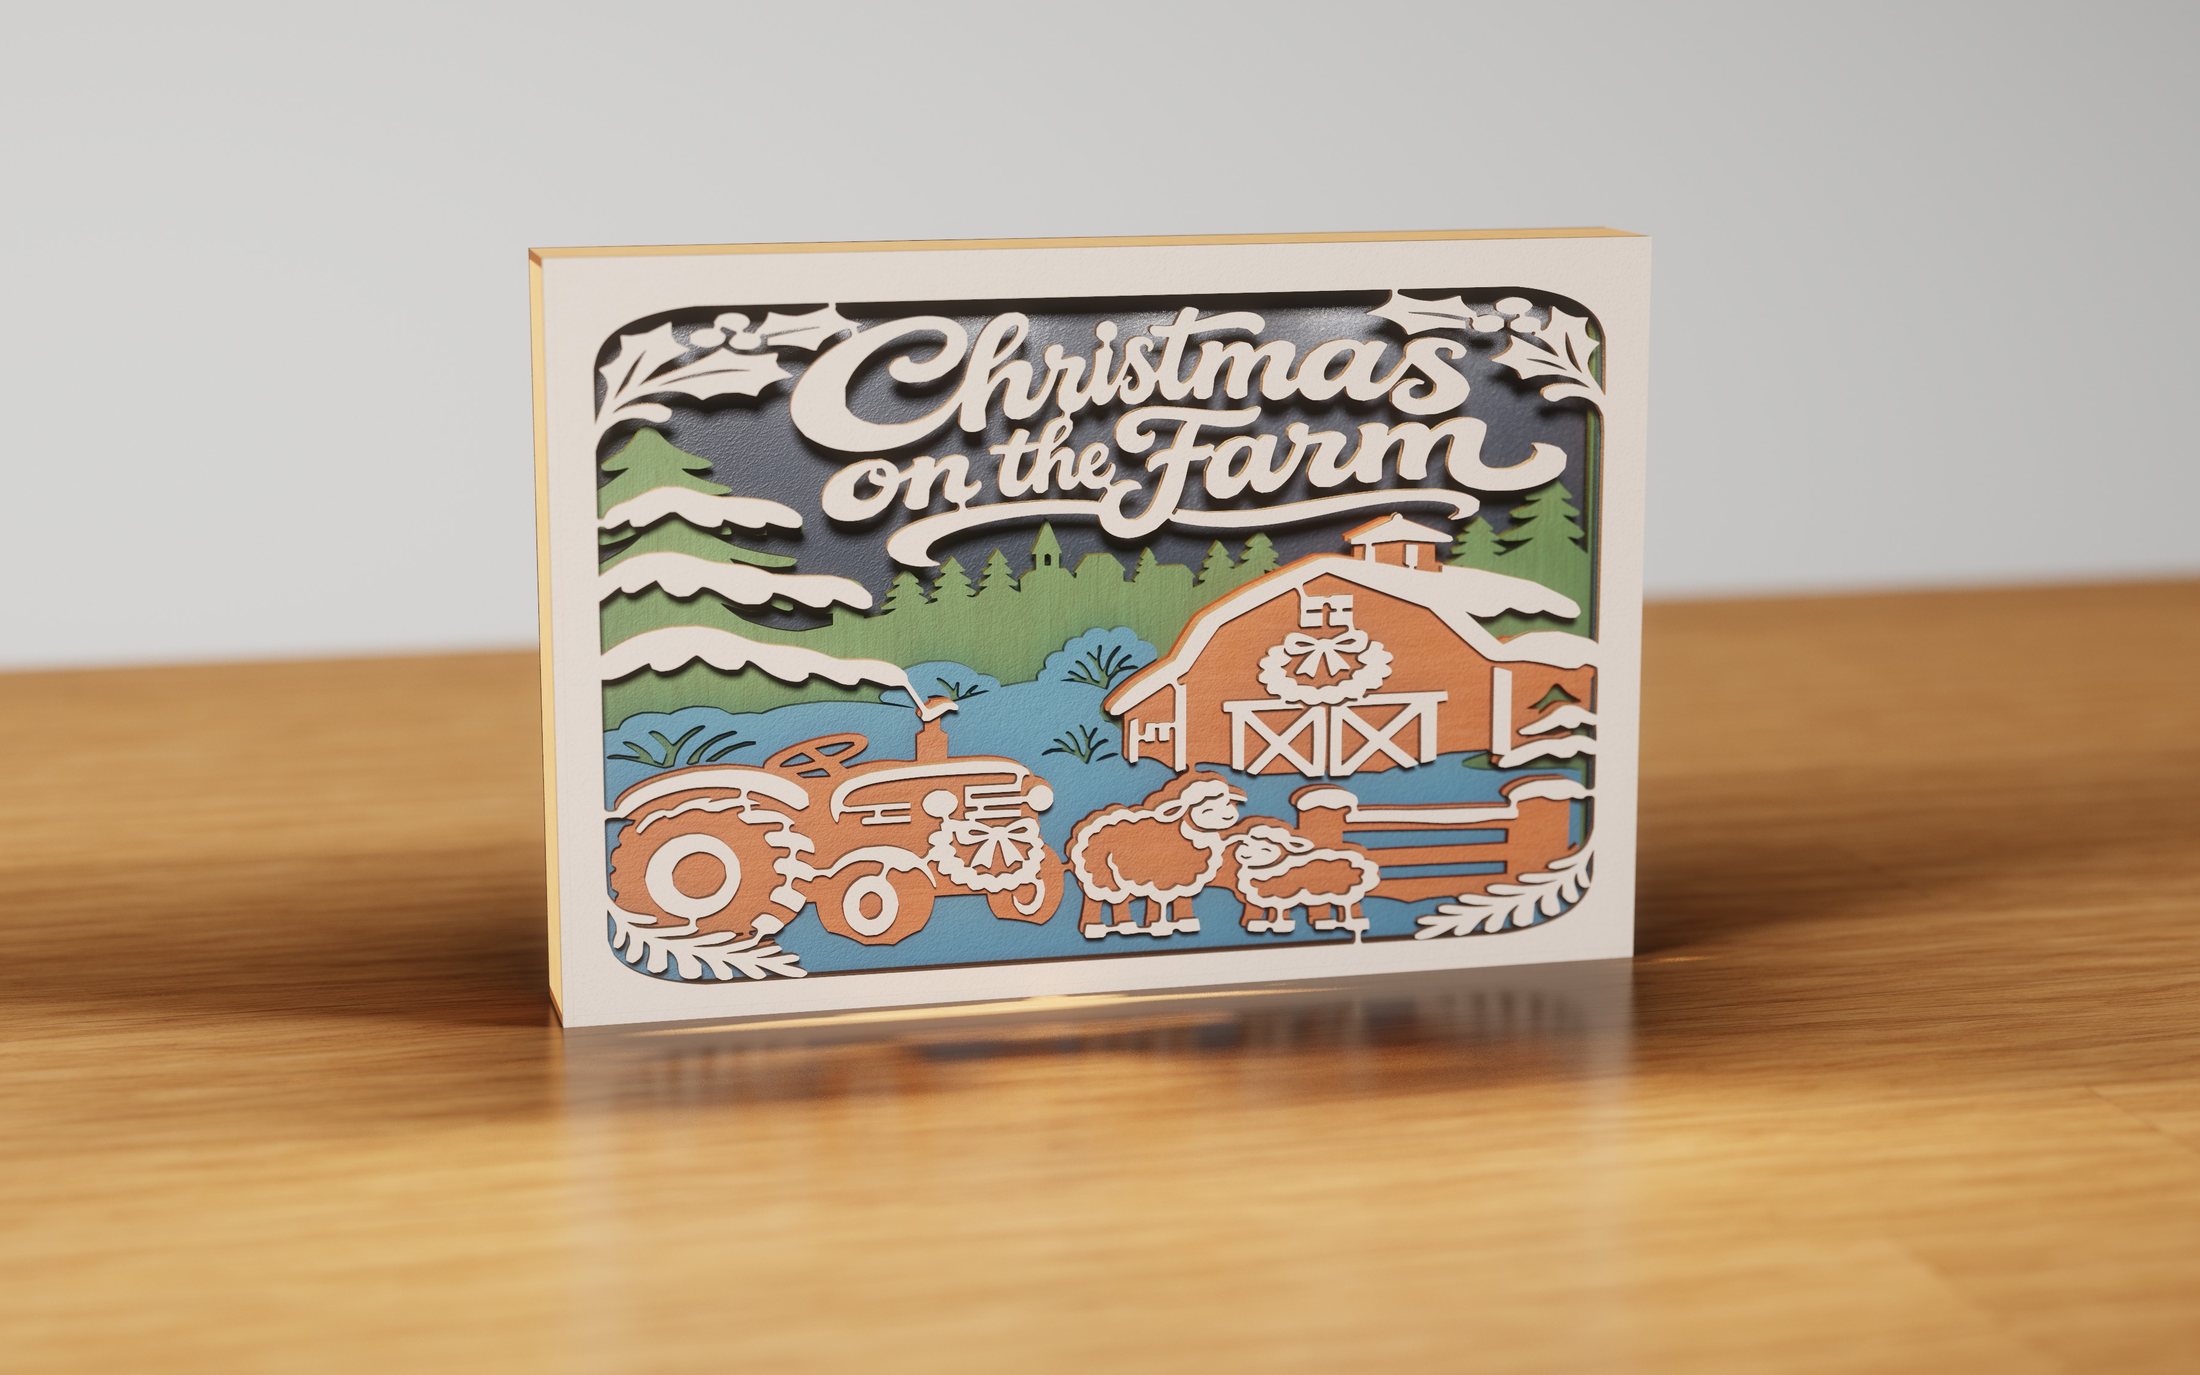 Christmas on the FarmChristmas
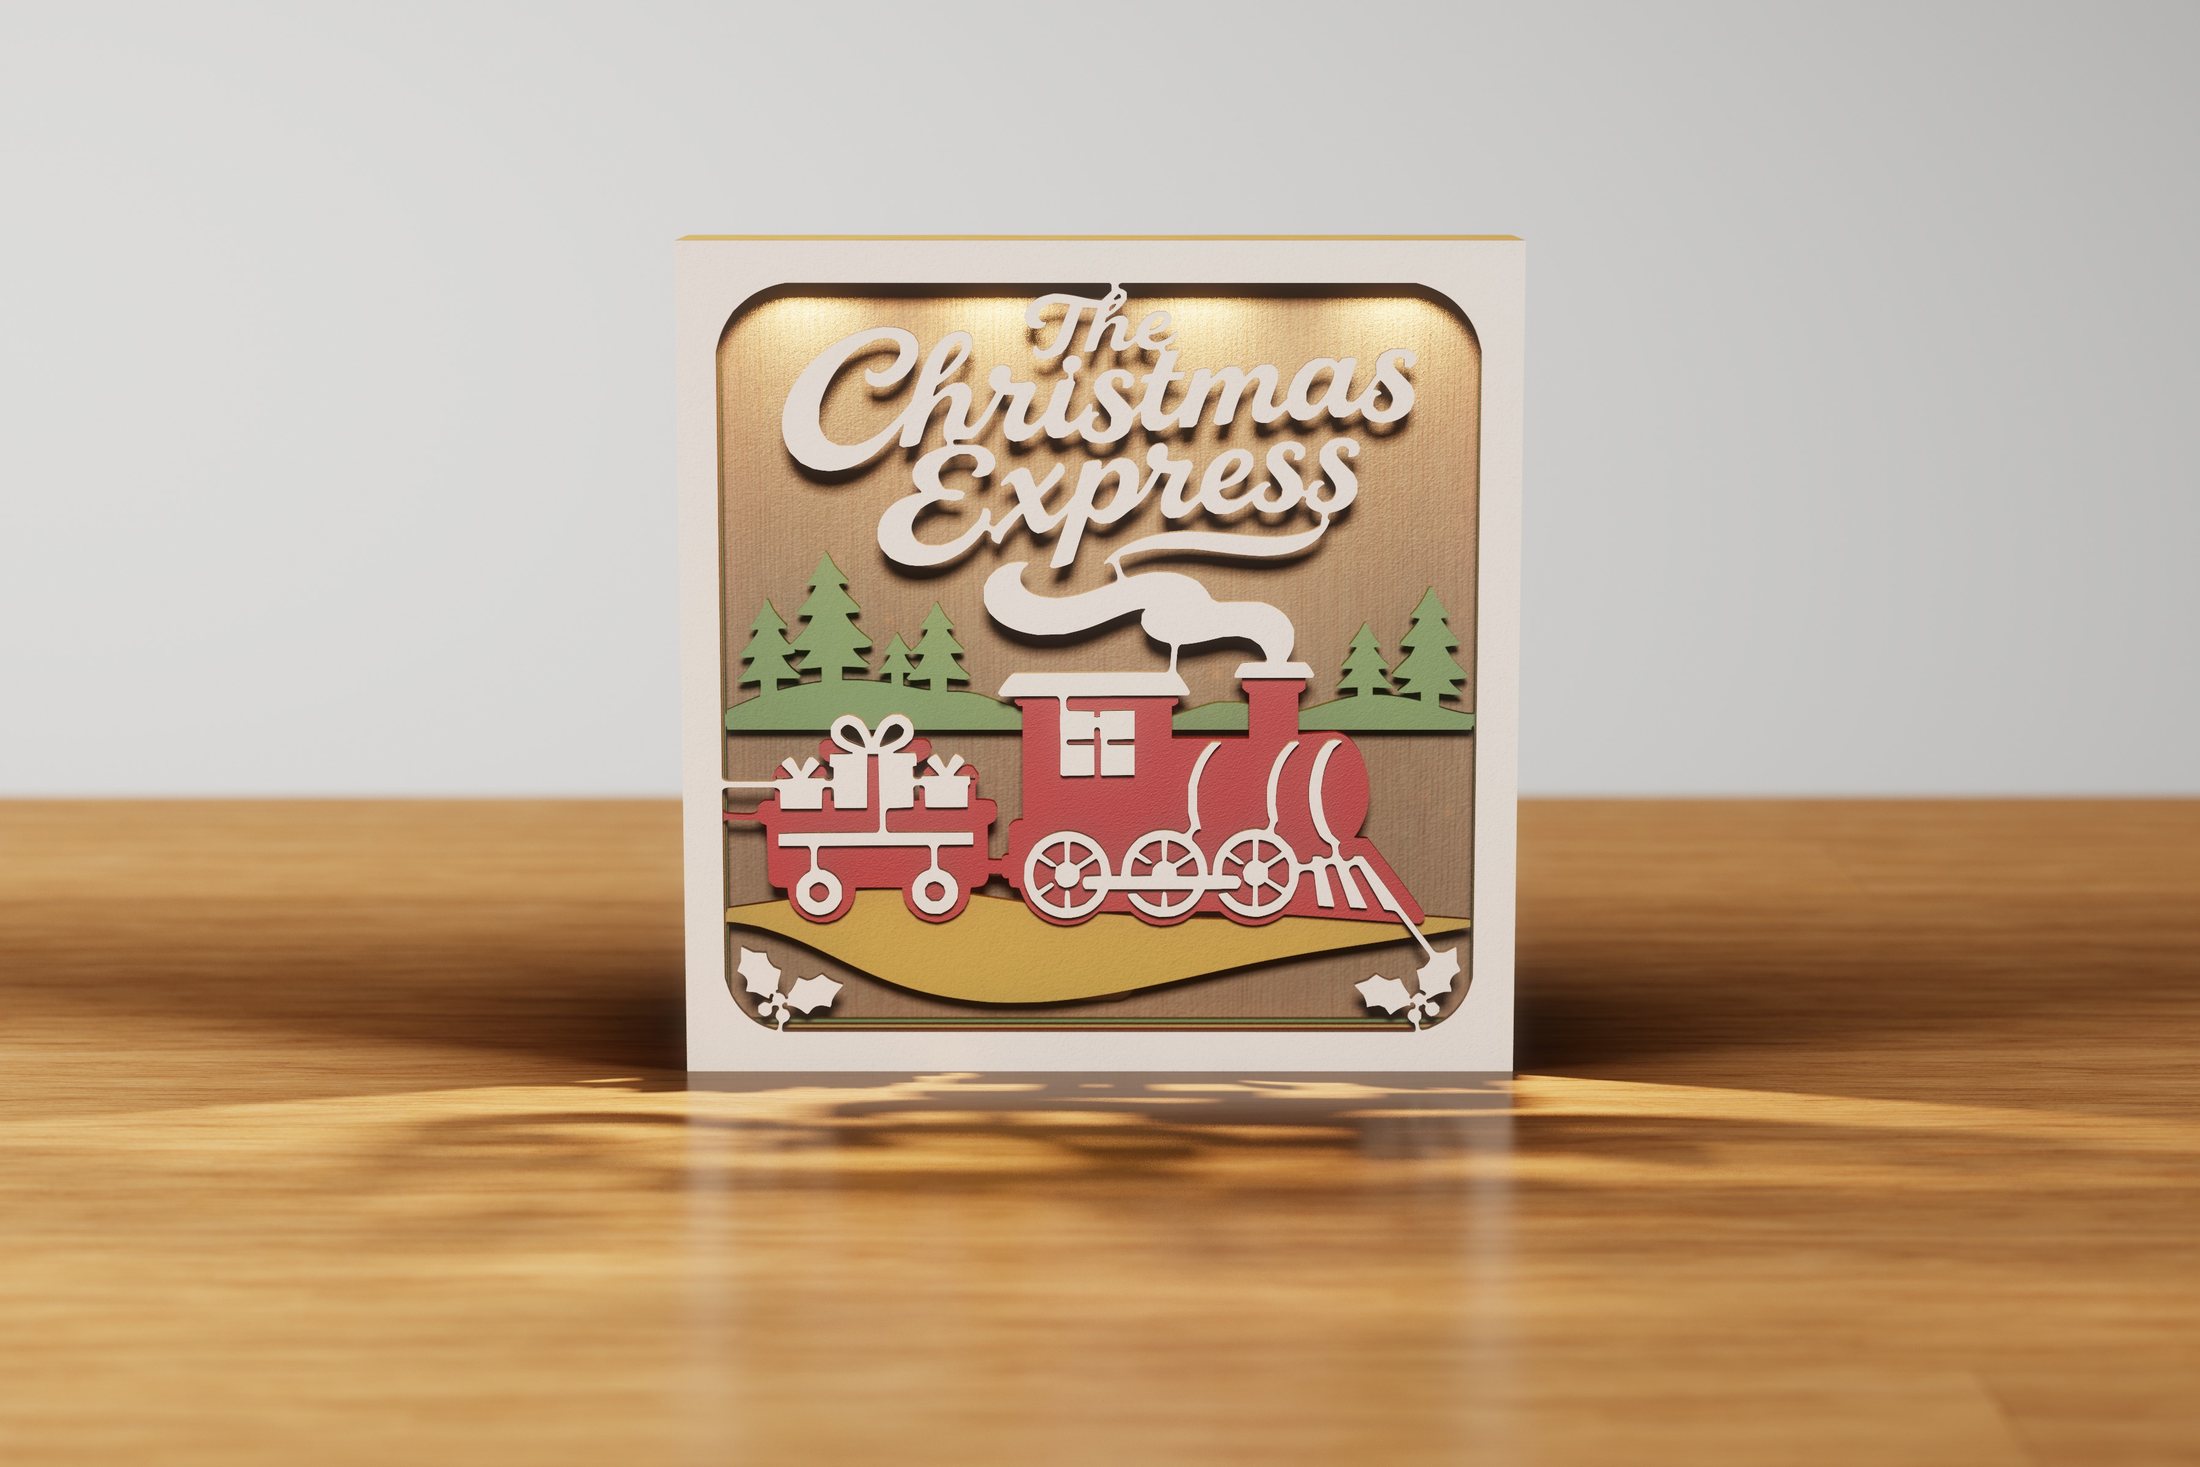 The Christmas ExpressChristmas
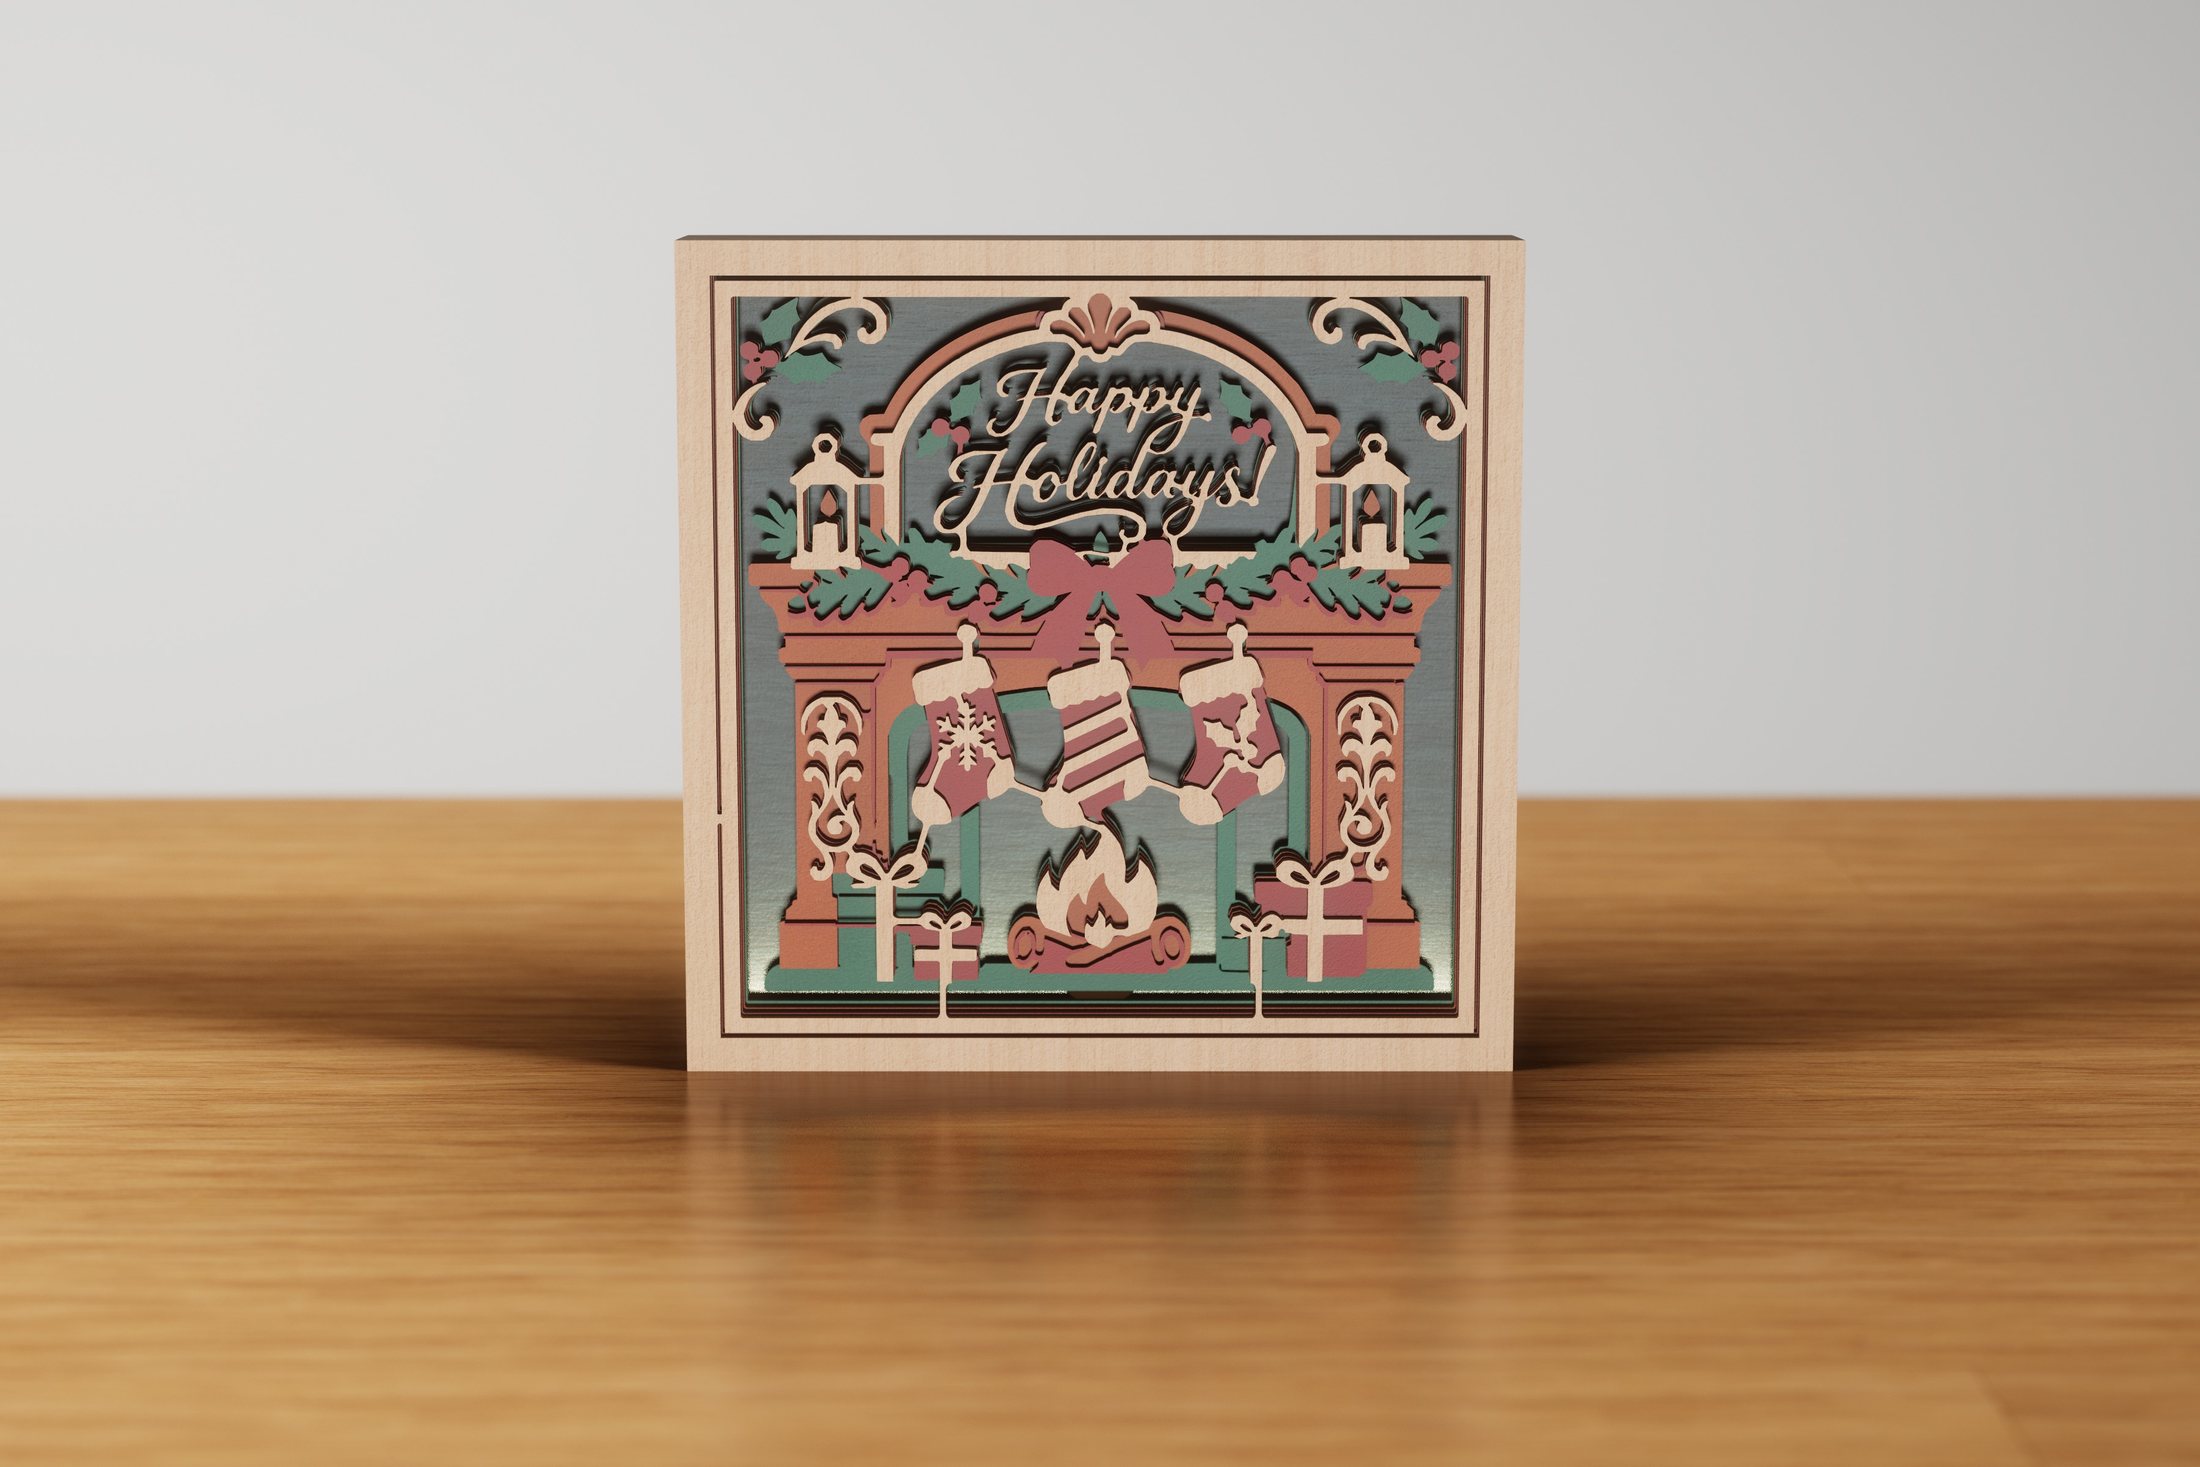 Stocking Mantel MagicChristmas
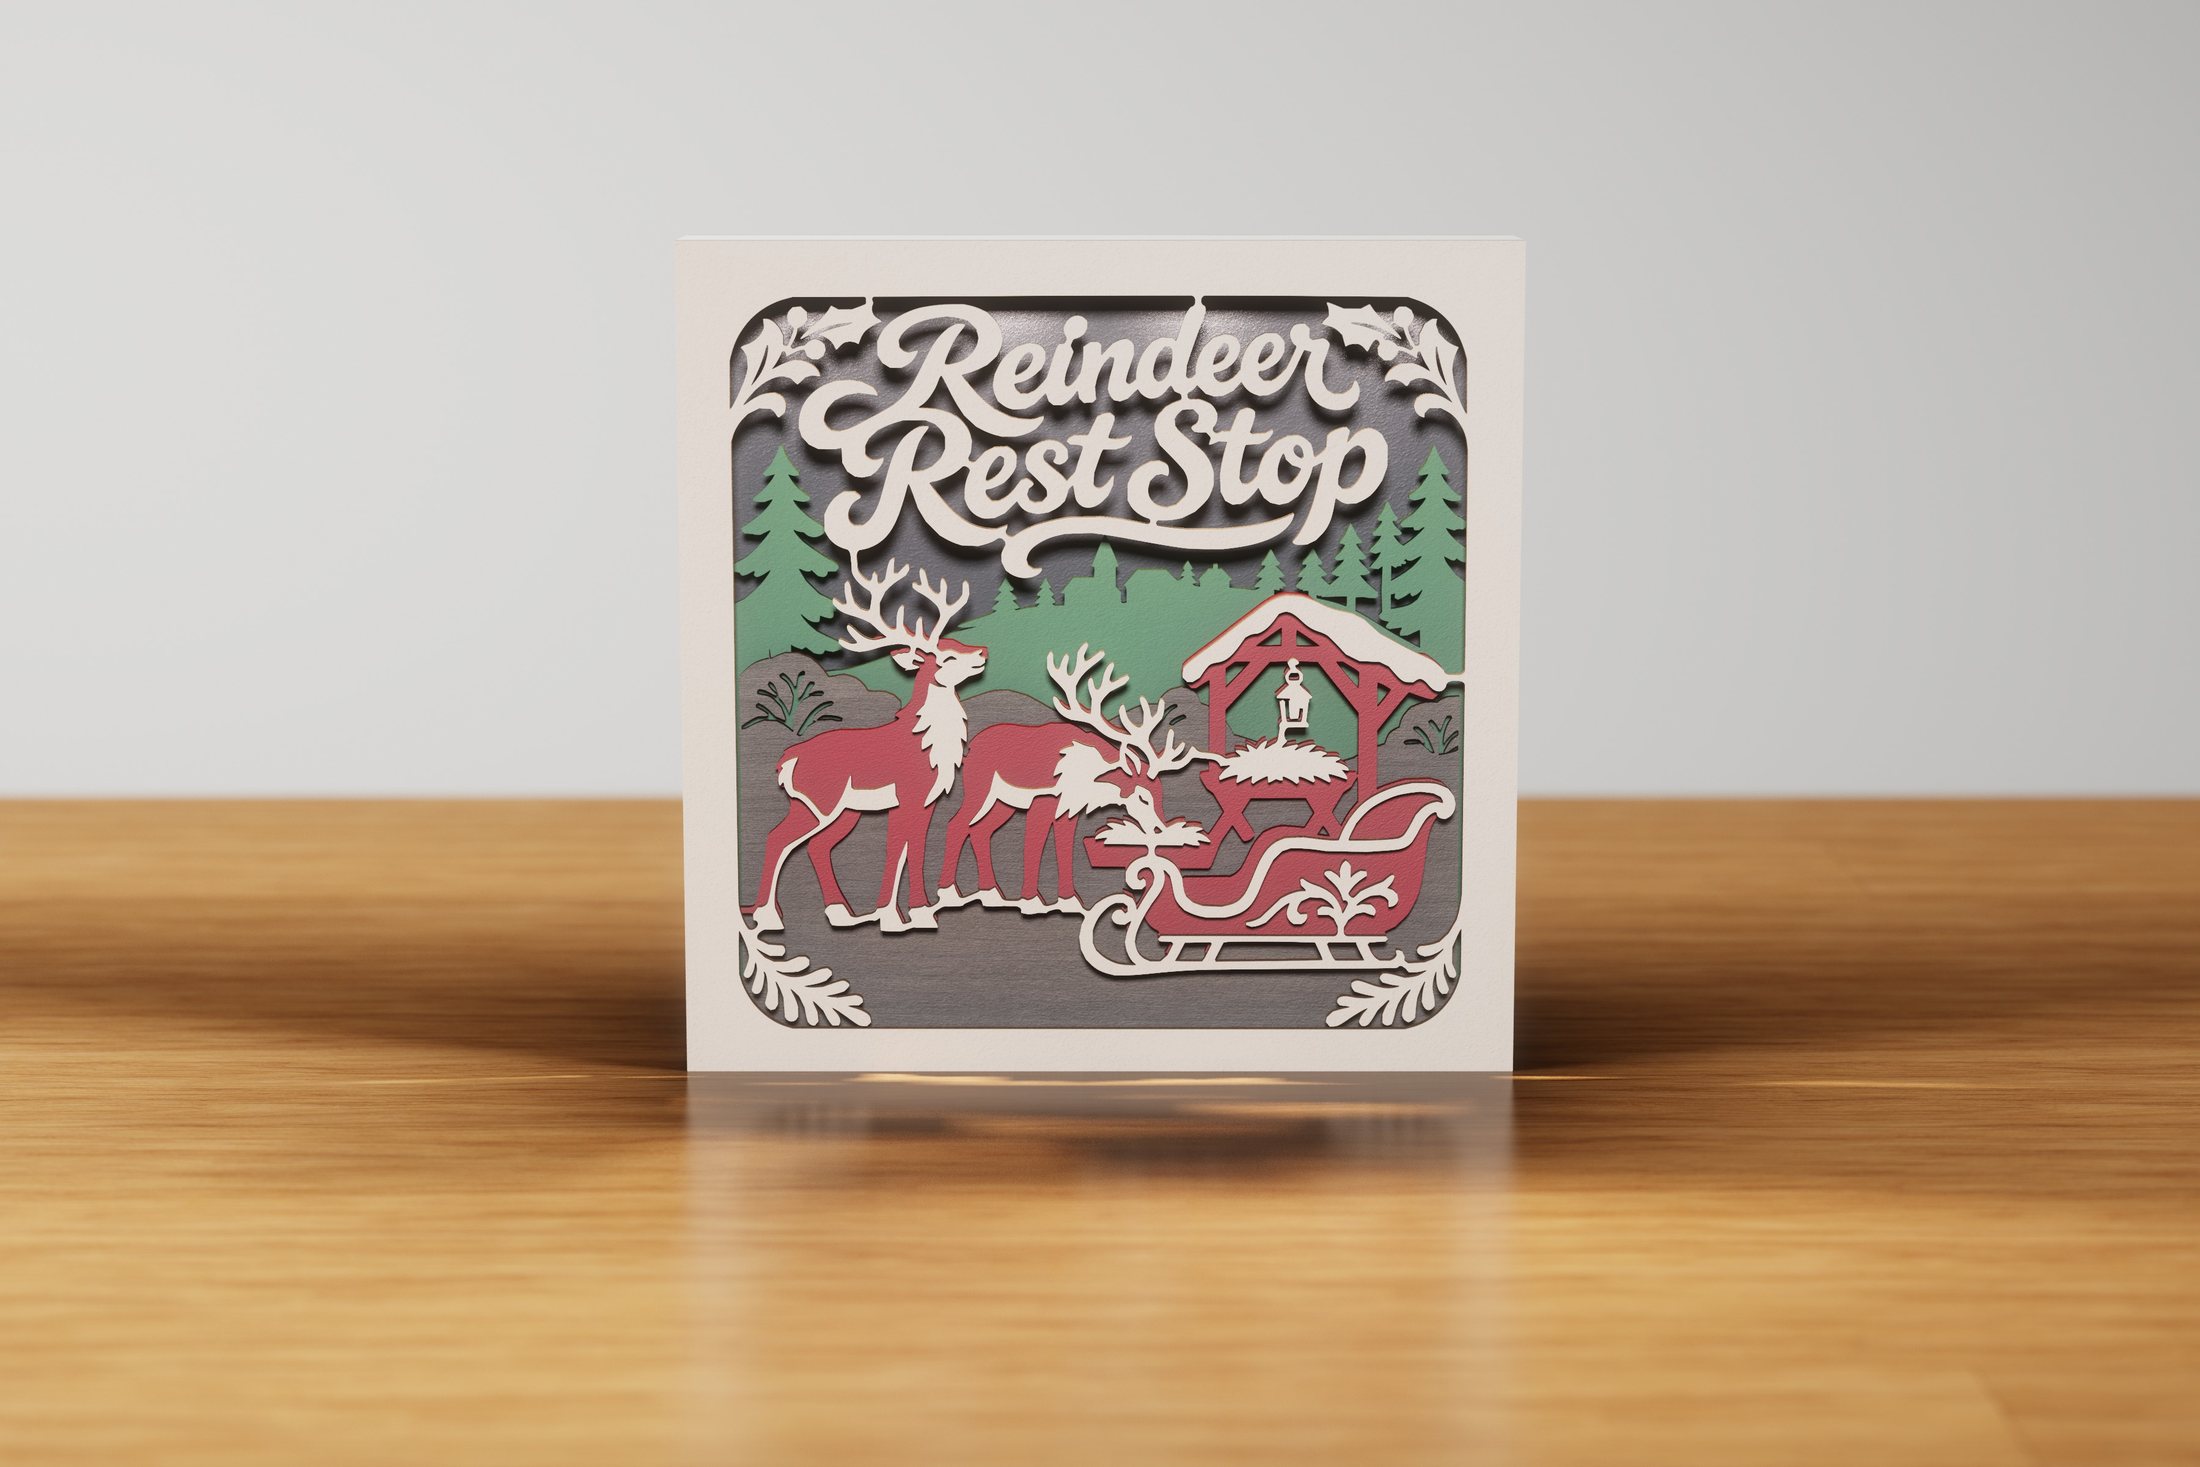 Reindeer Rest StopChristmas
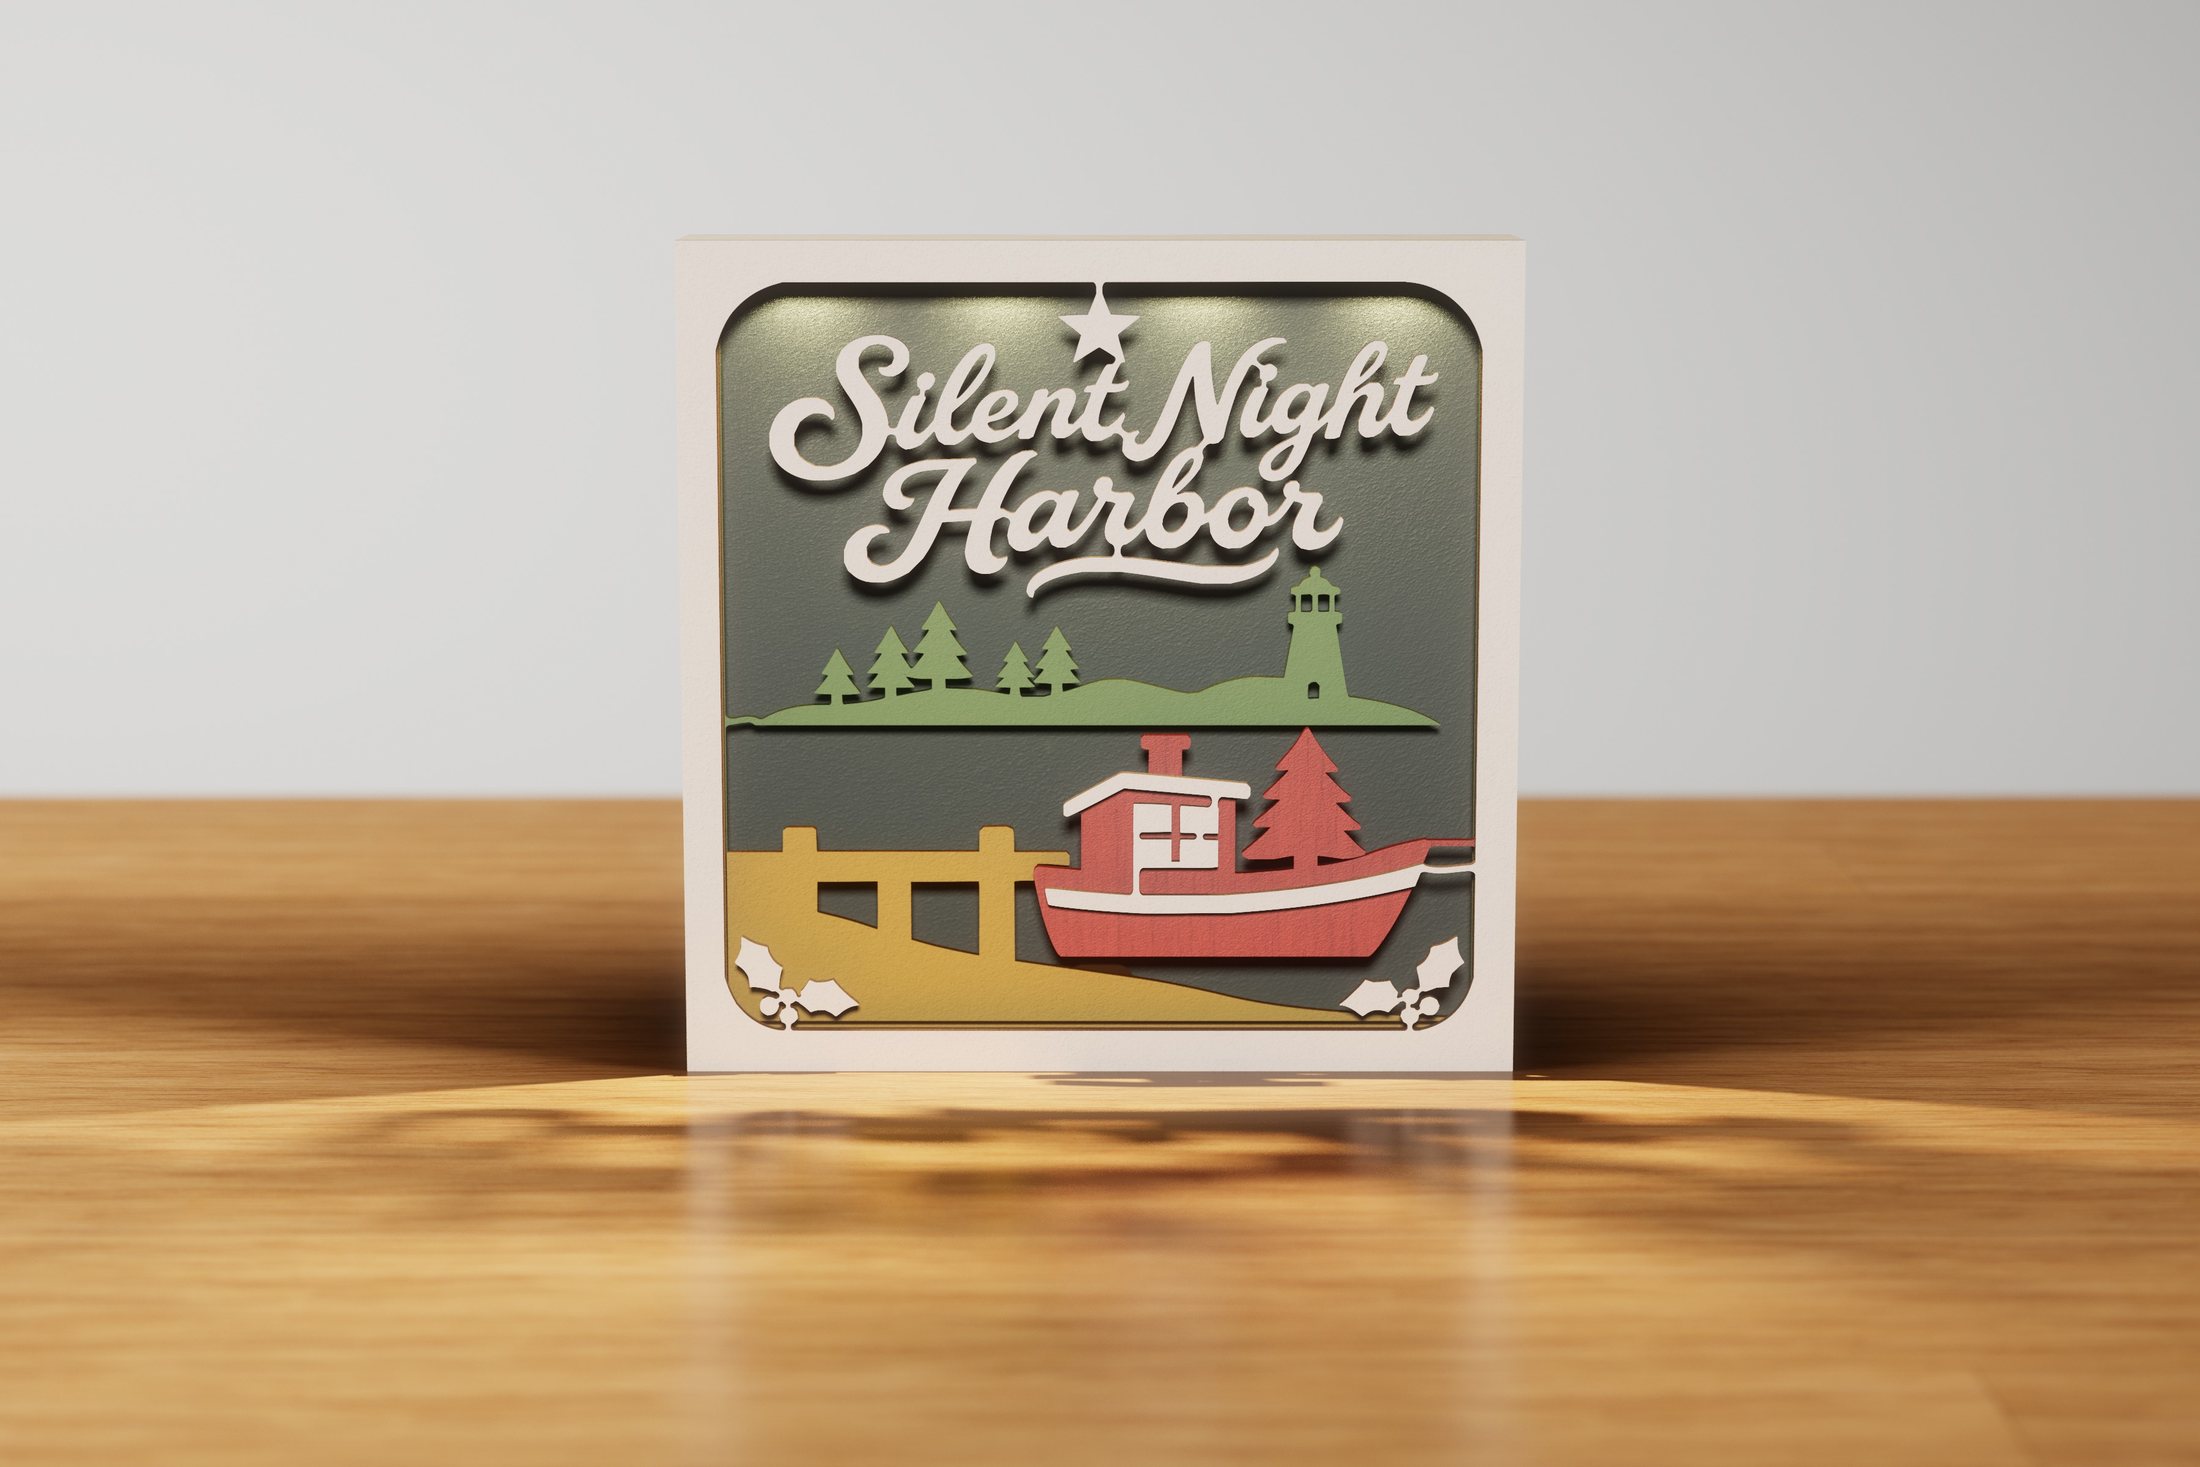 Silent Night HarborChristmas
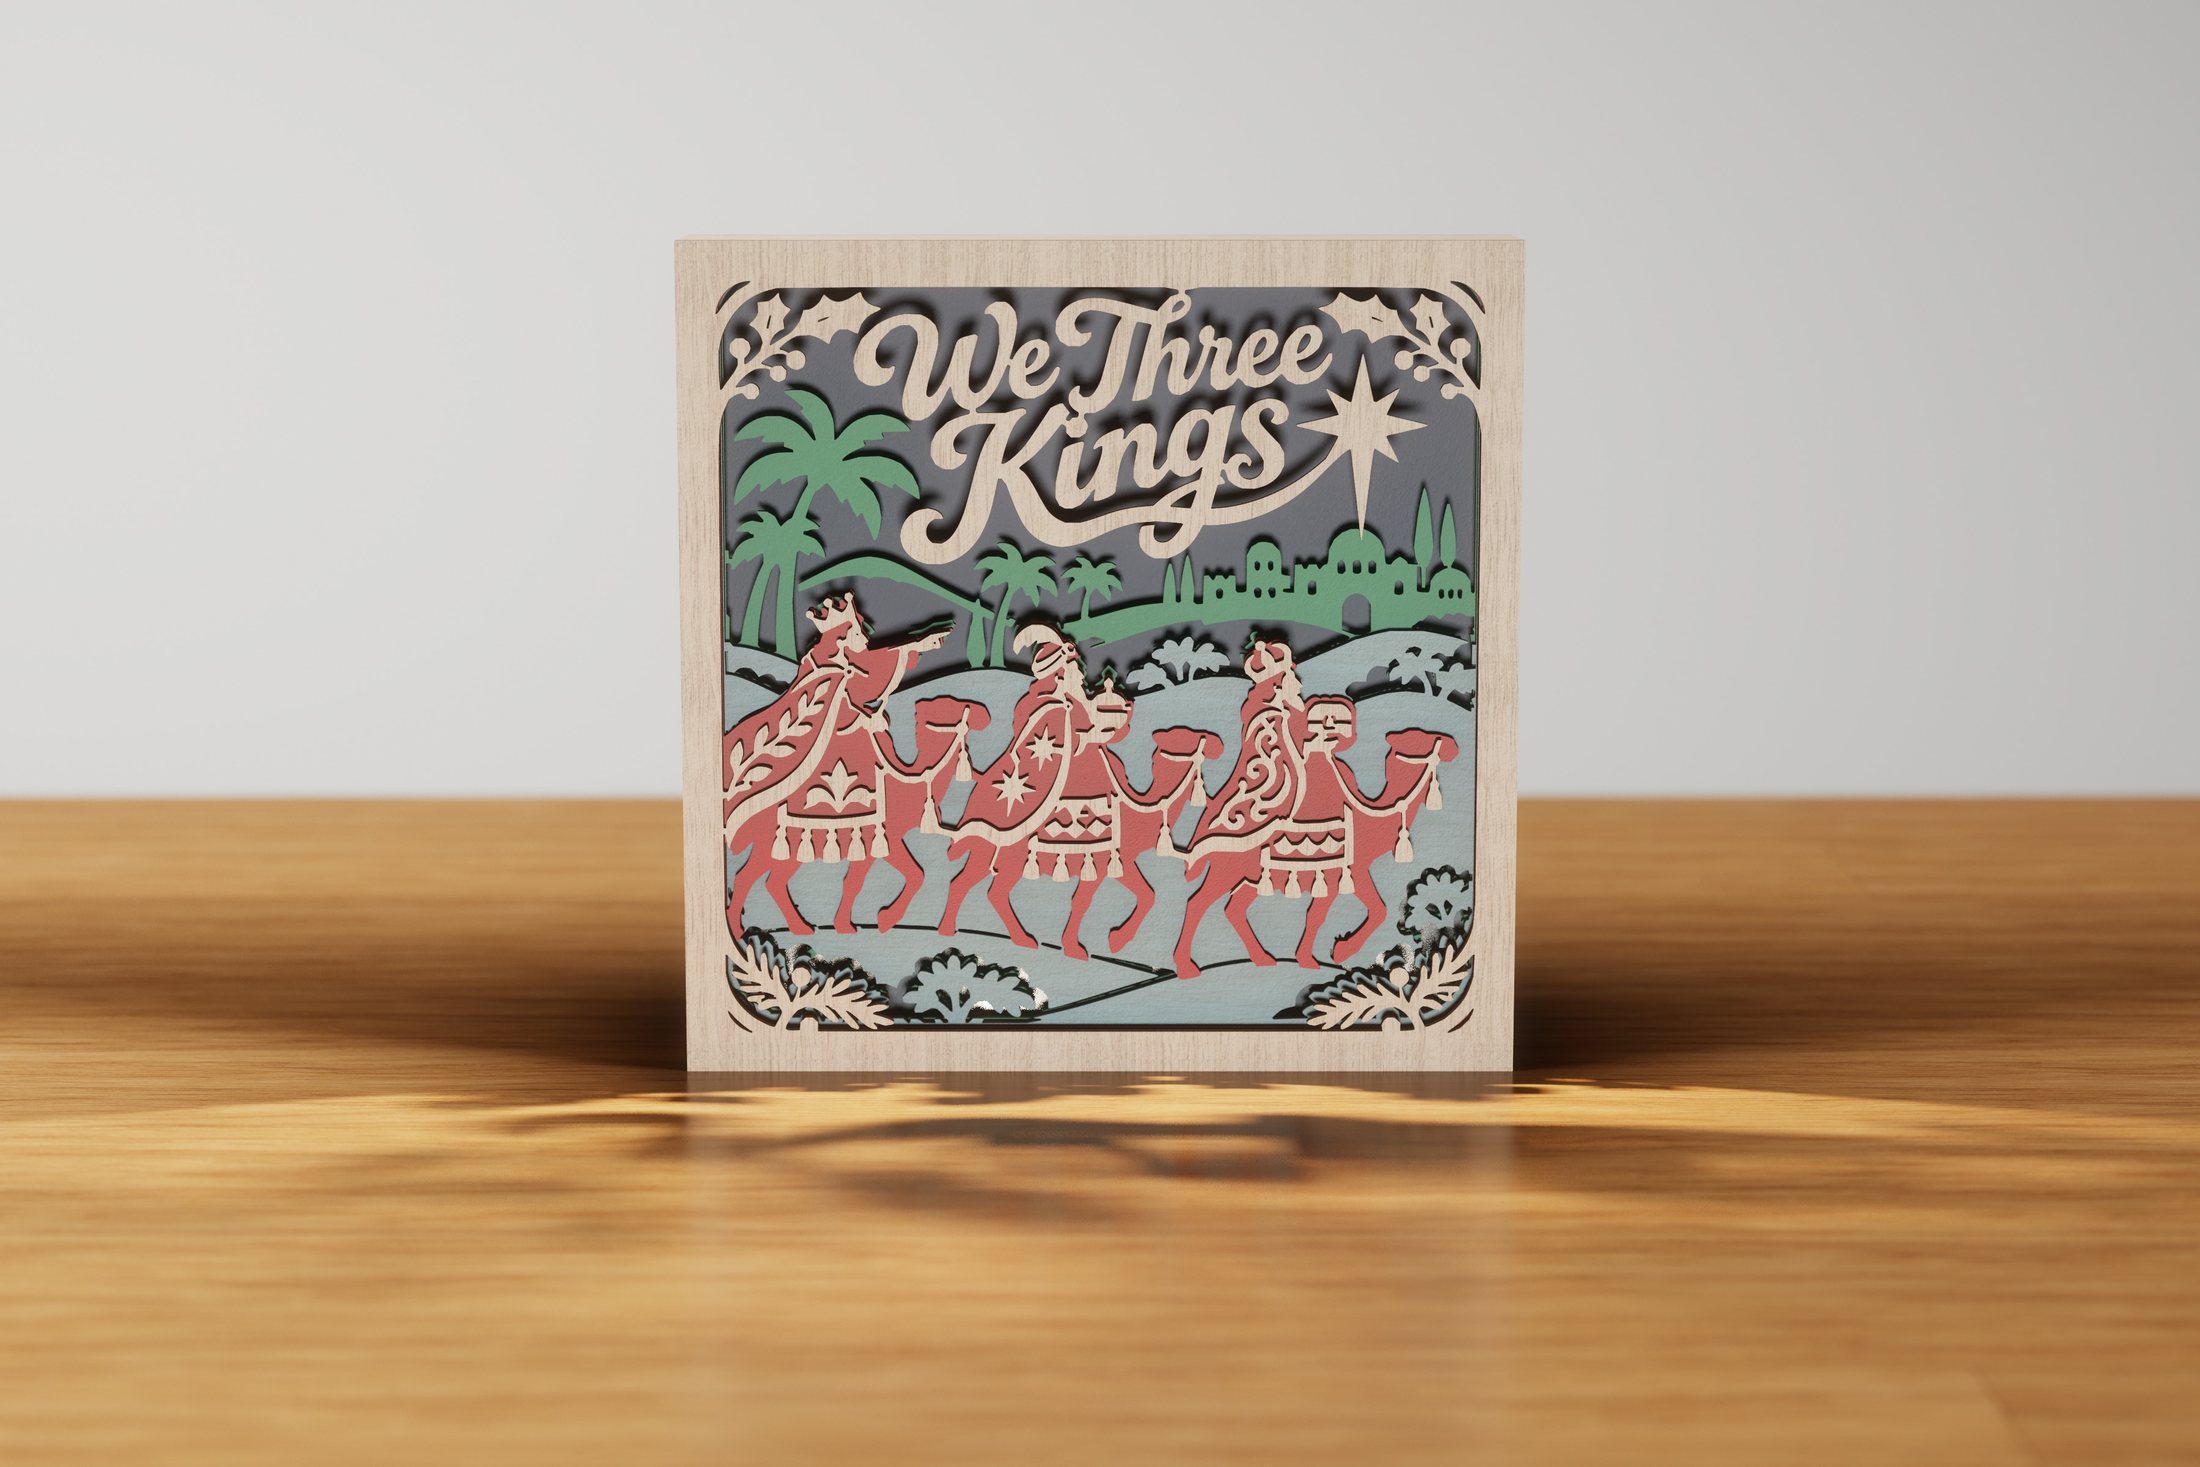 We Three KingsChristmas
Baking Spirits BrightChristmas
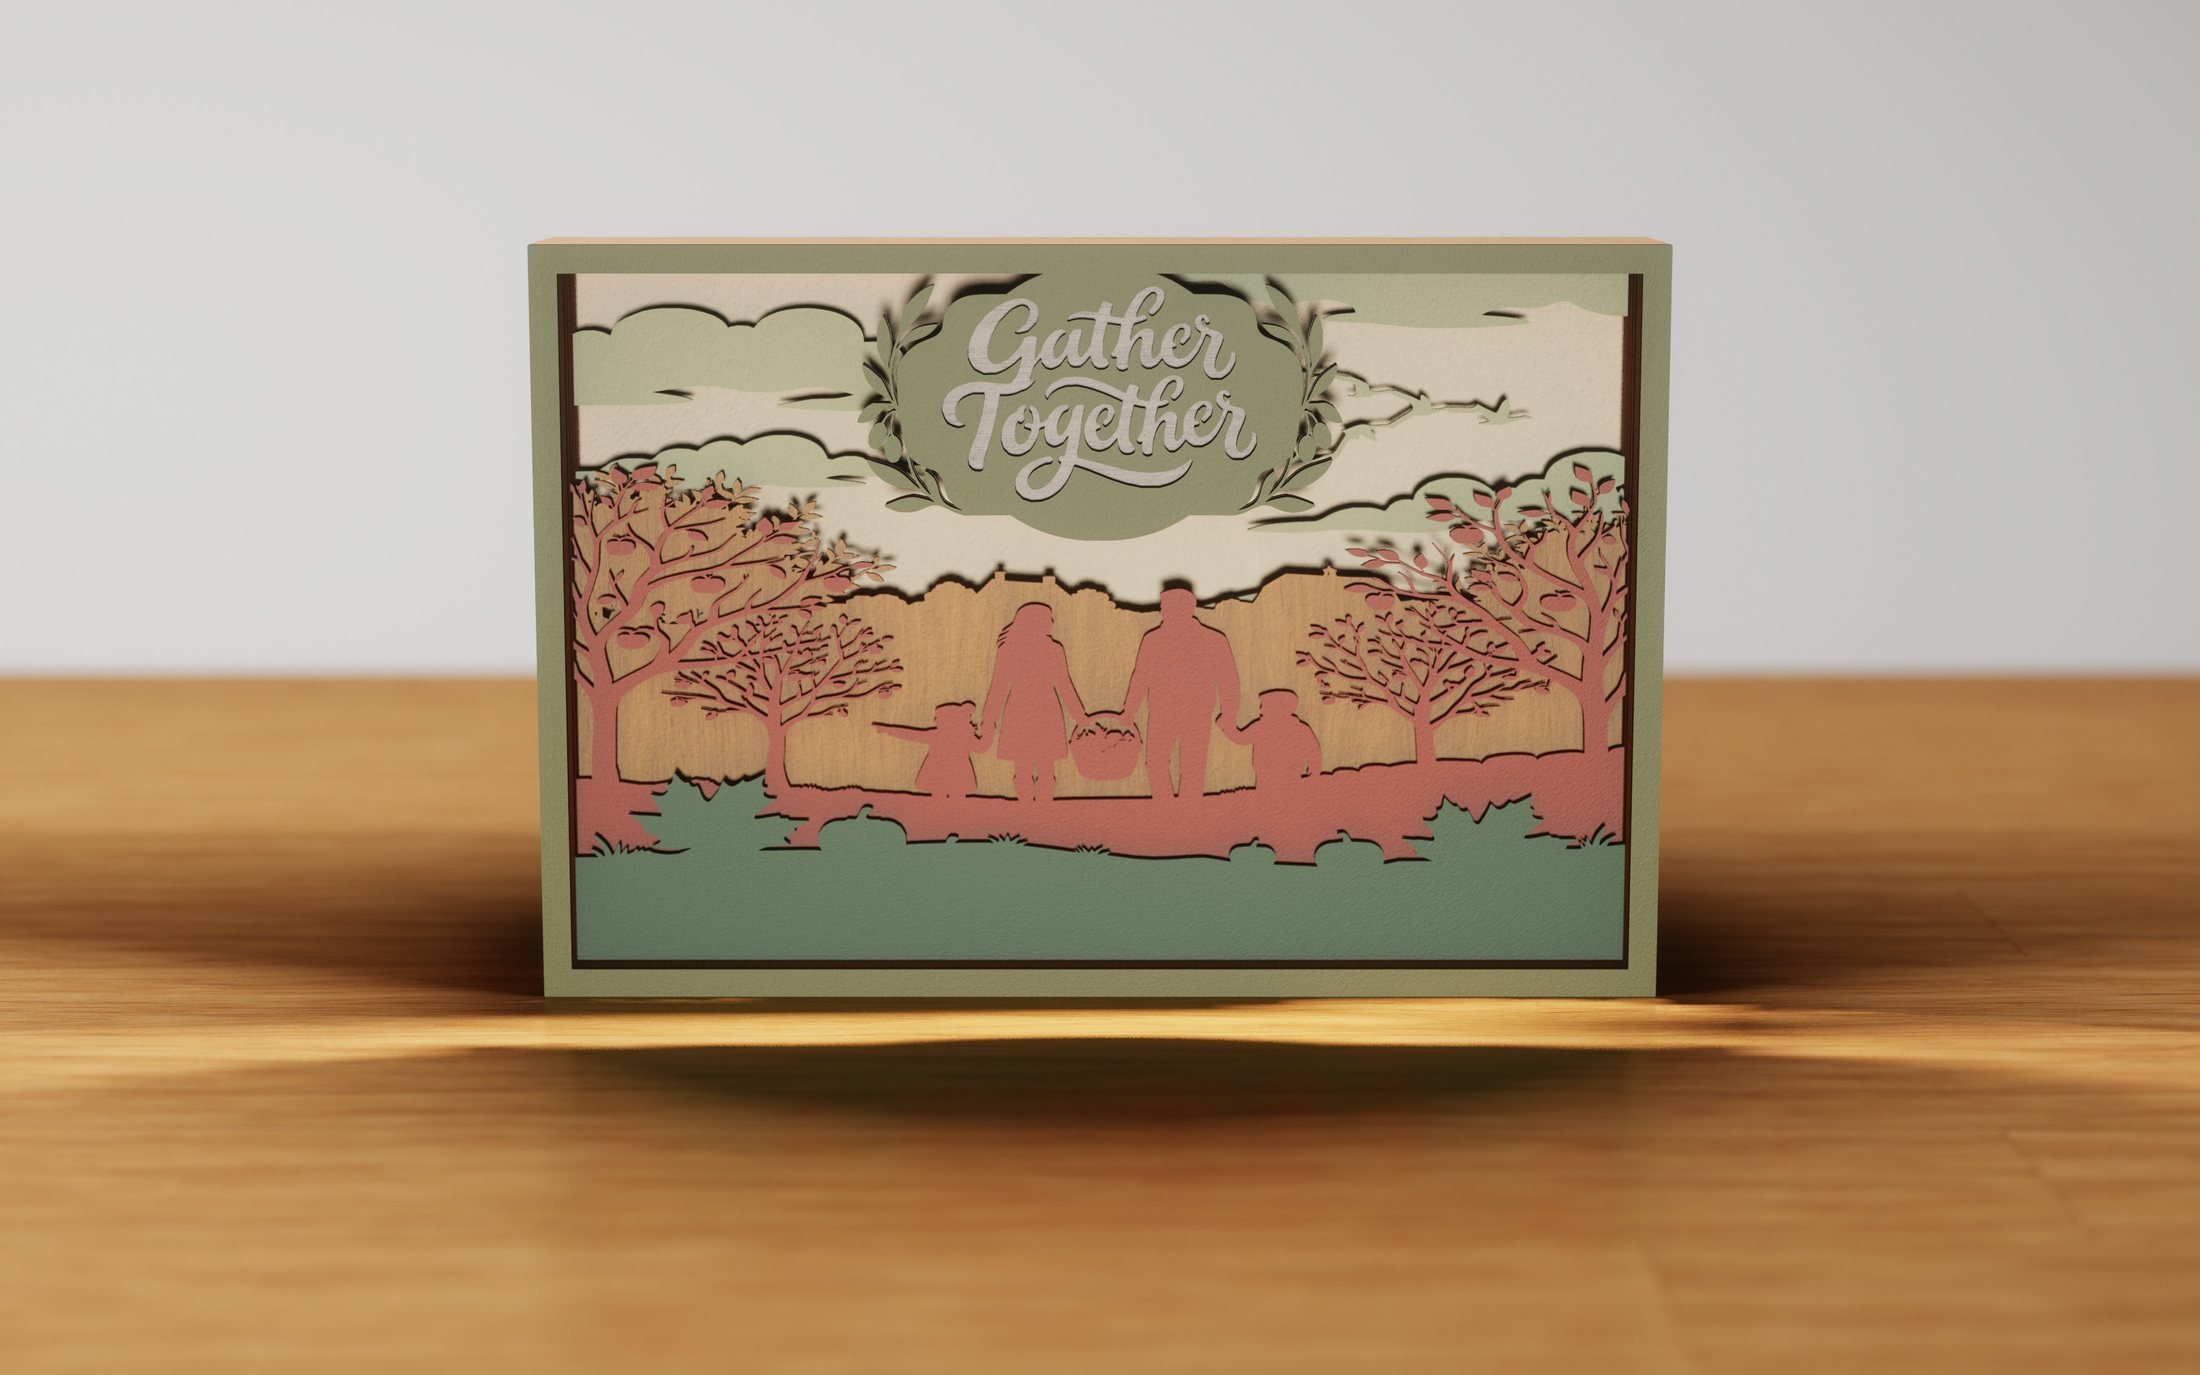 Thanksgiving Orchard WalkThanksgiving & autumn
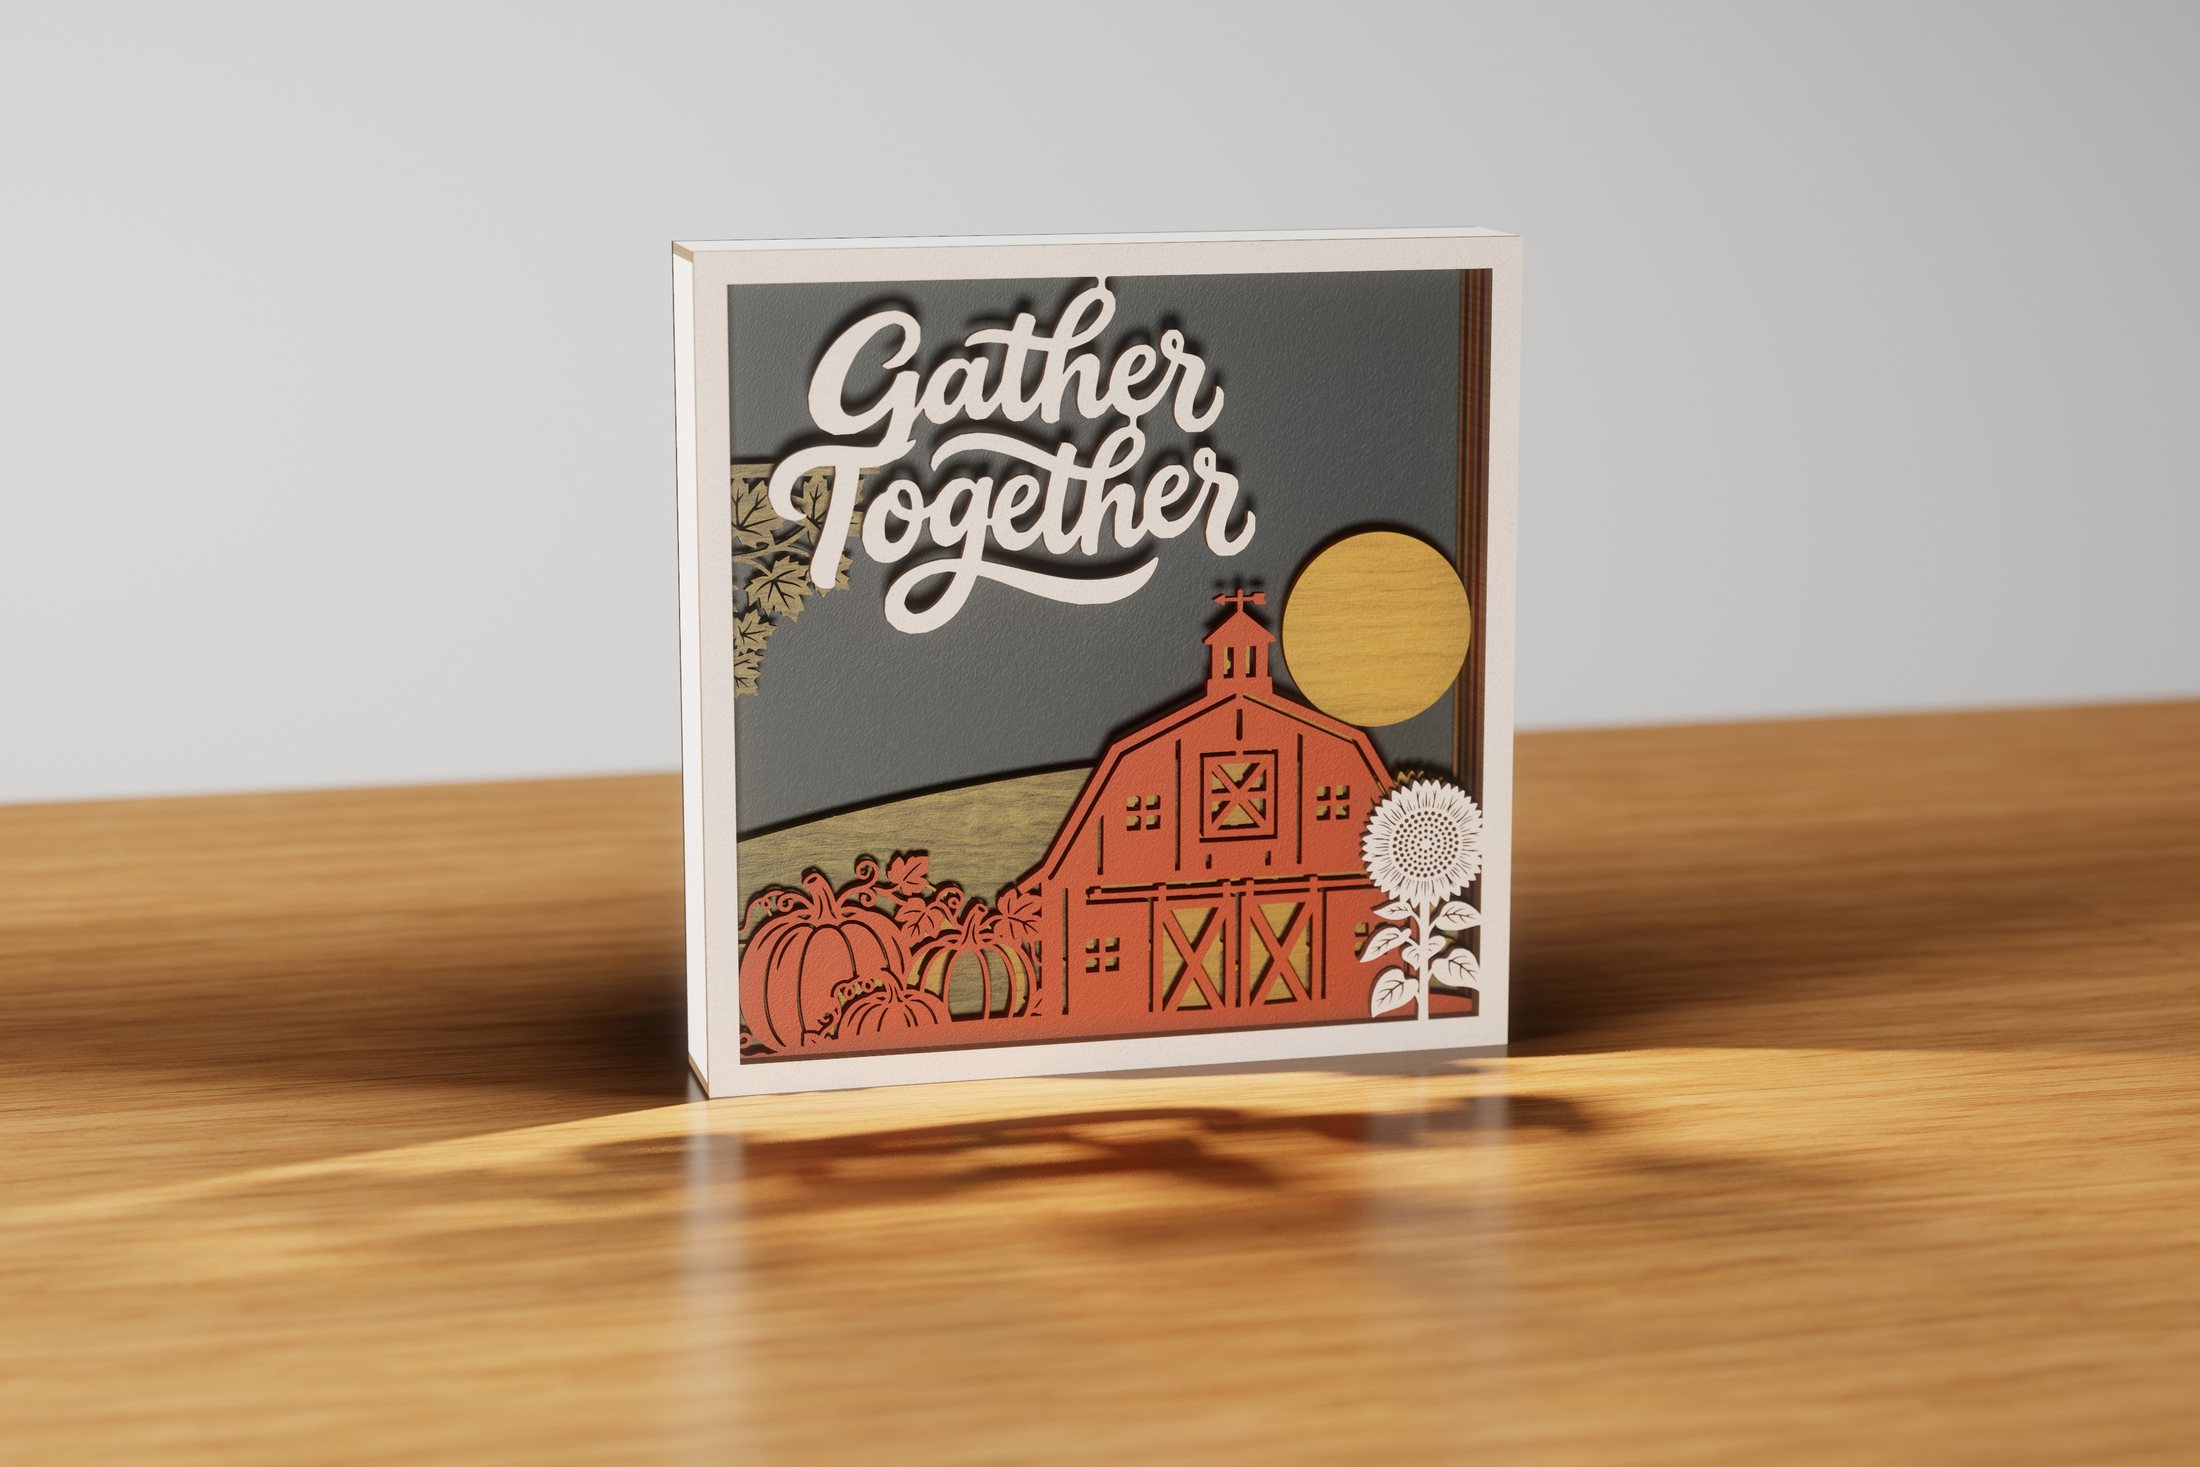 Harvest GatheringThanksgiving & autumn
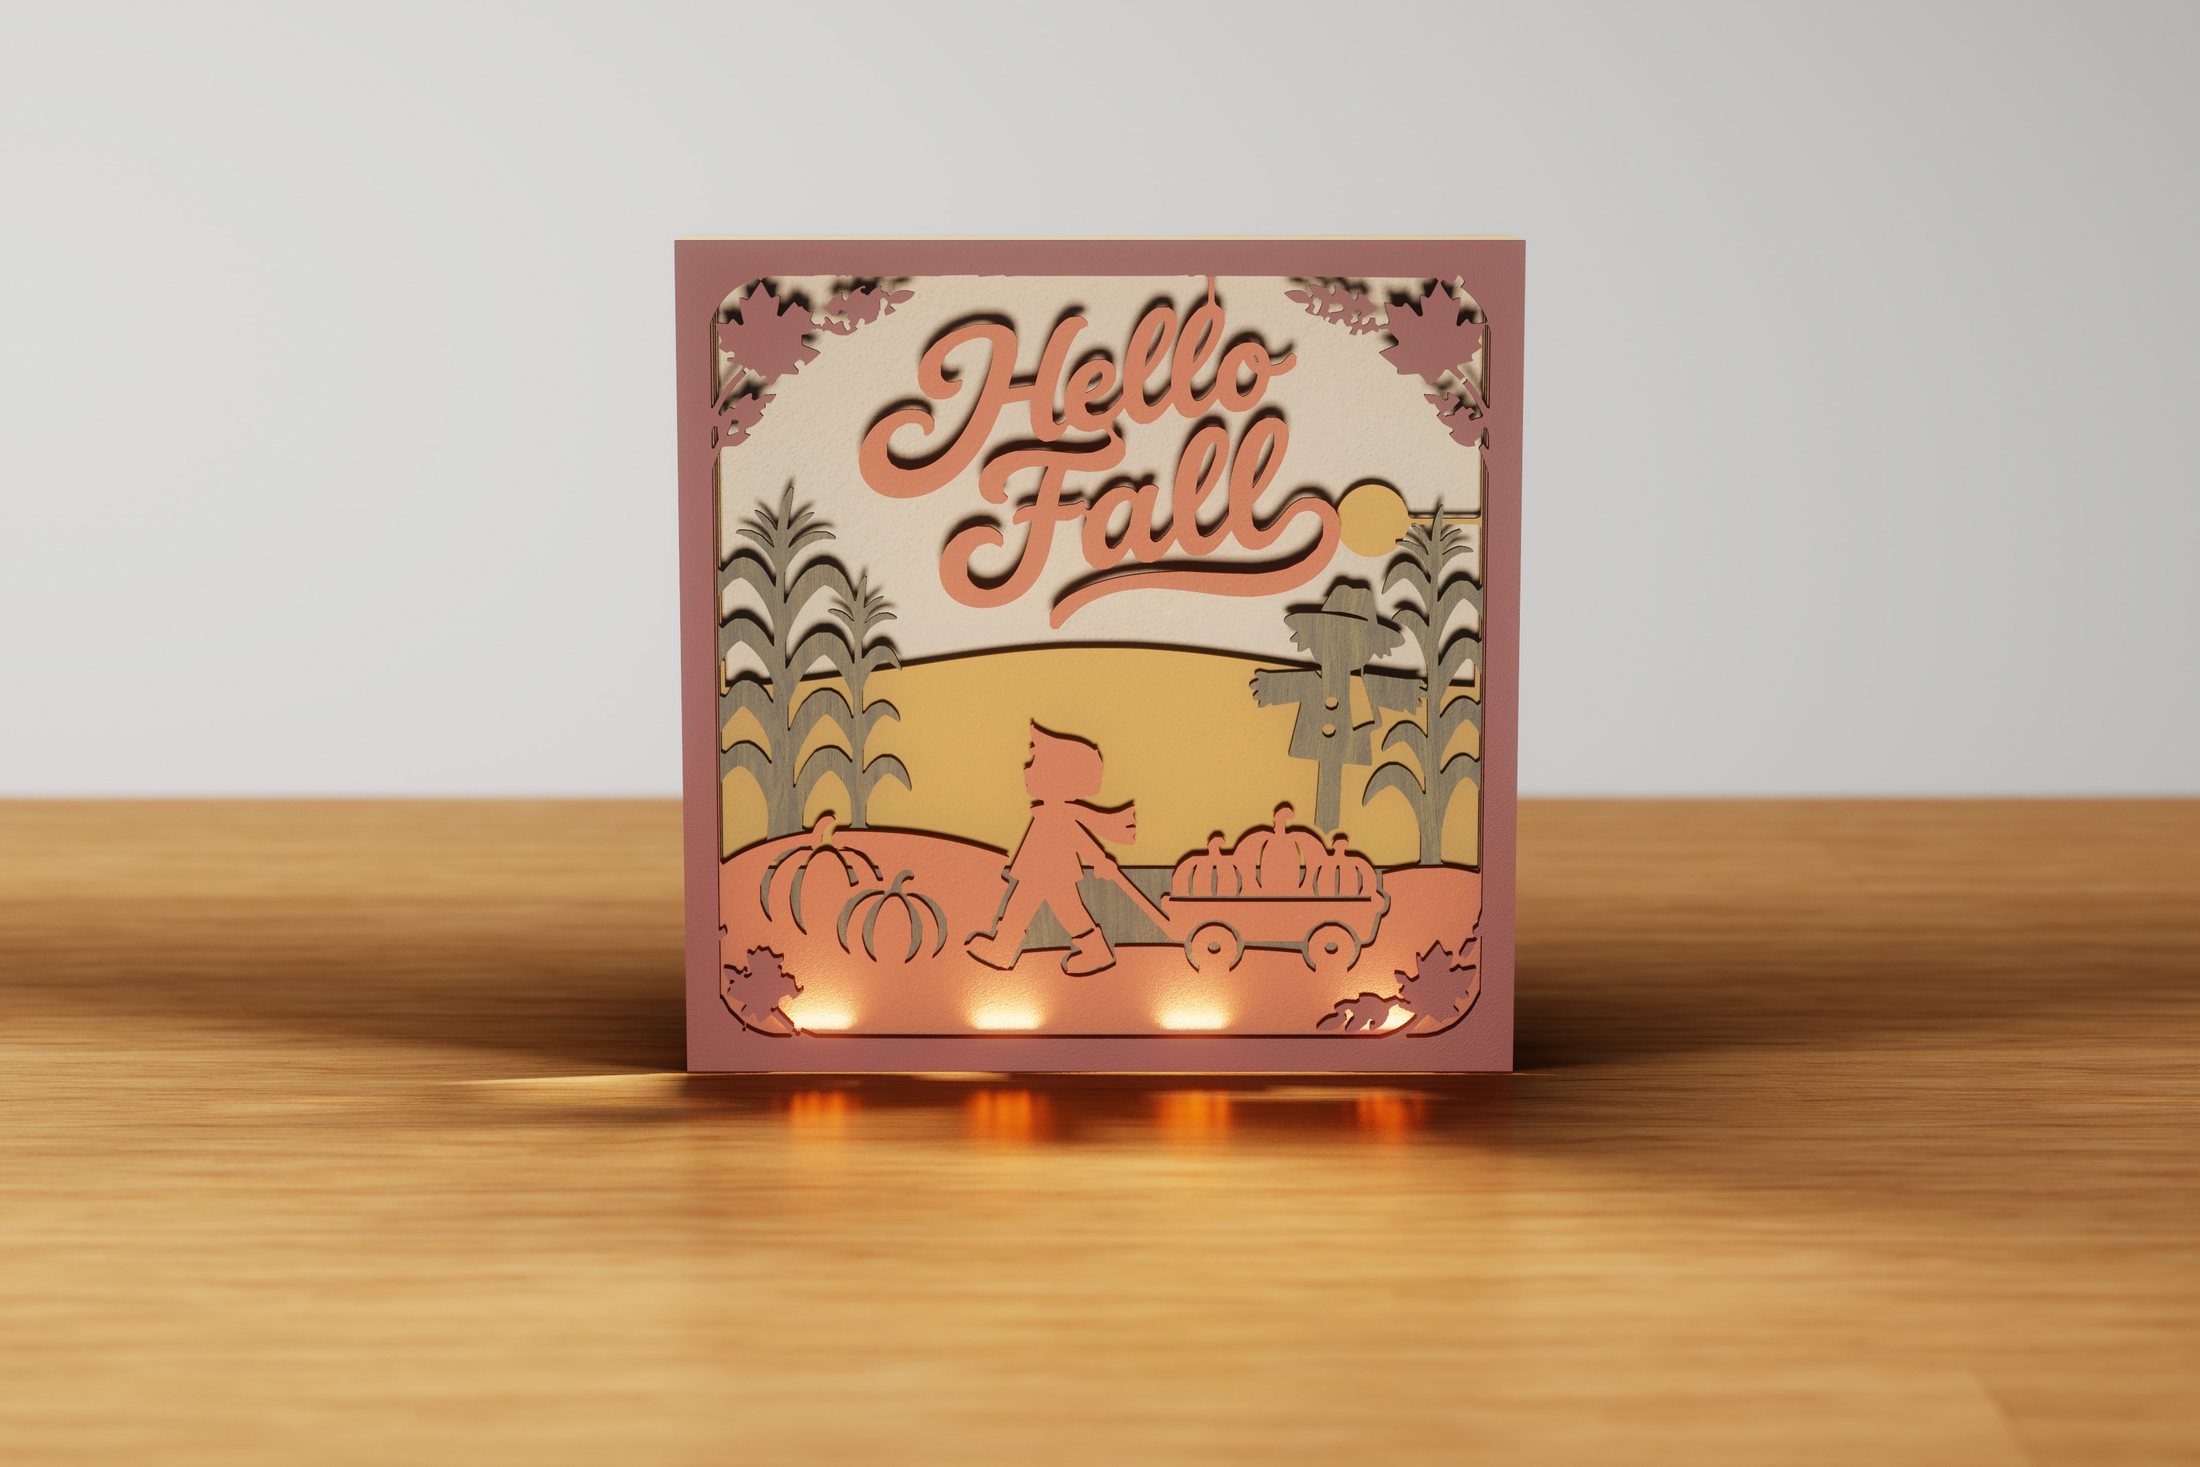 Autumn HarvestThanksgiving & autumn
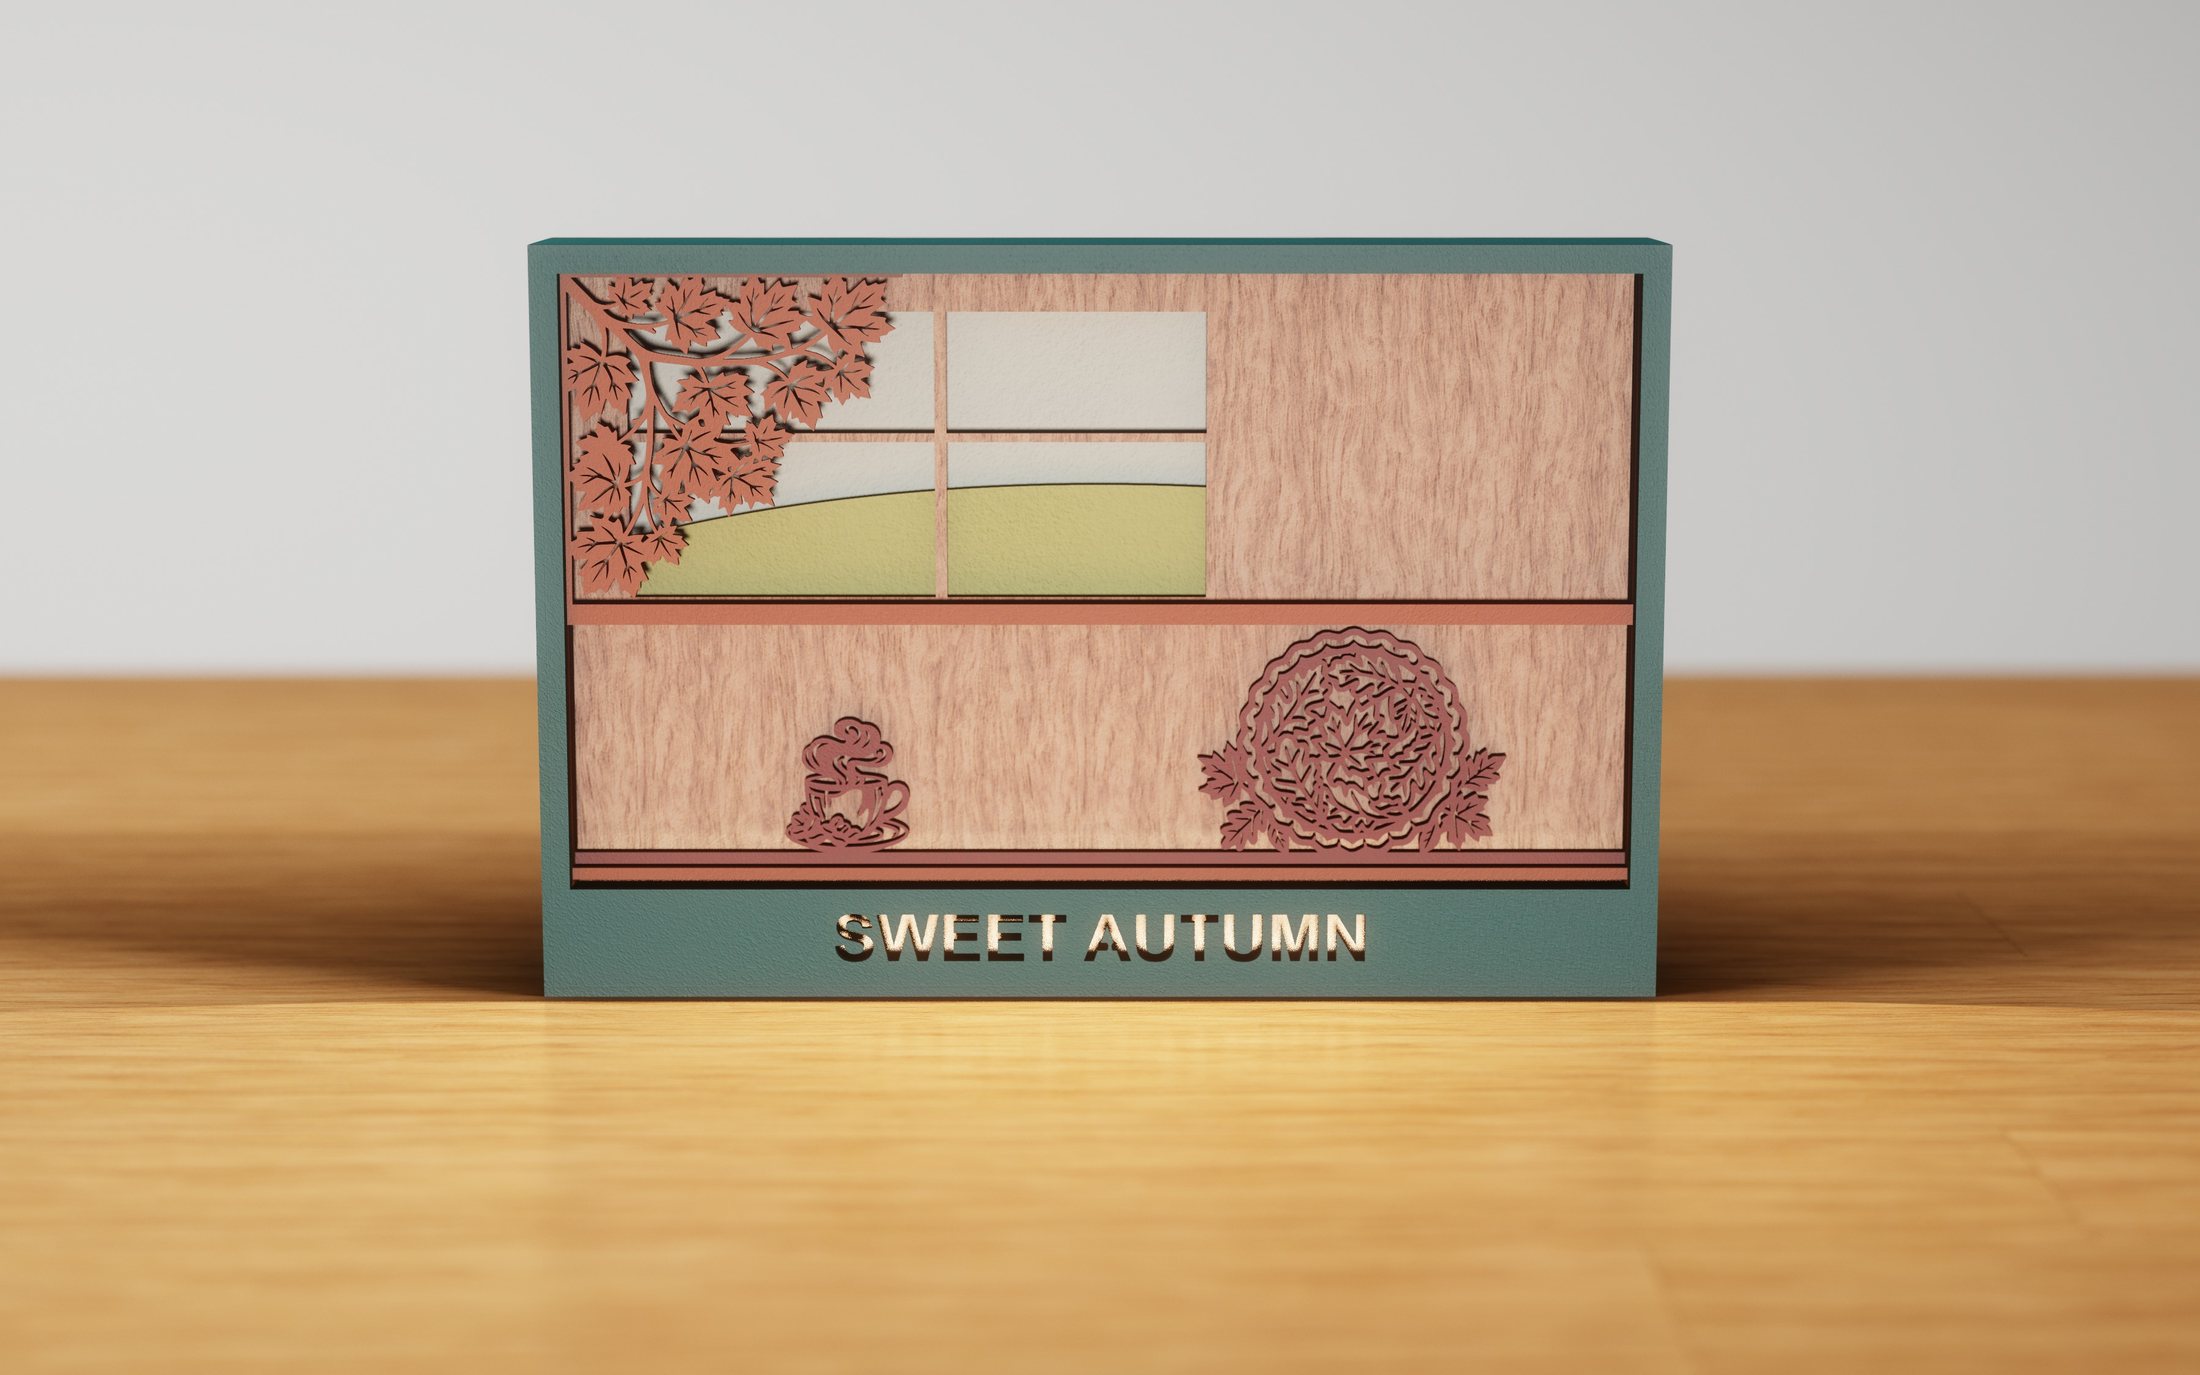 Autumn PieThanksgiving & autumn
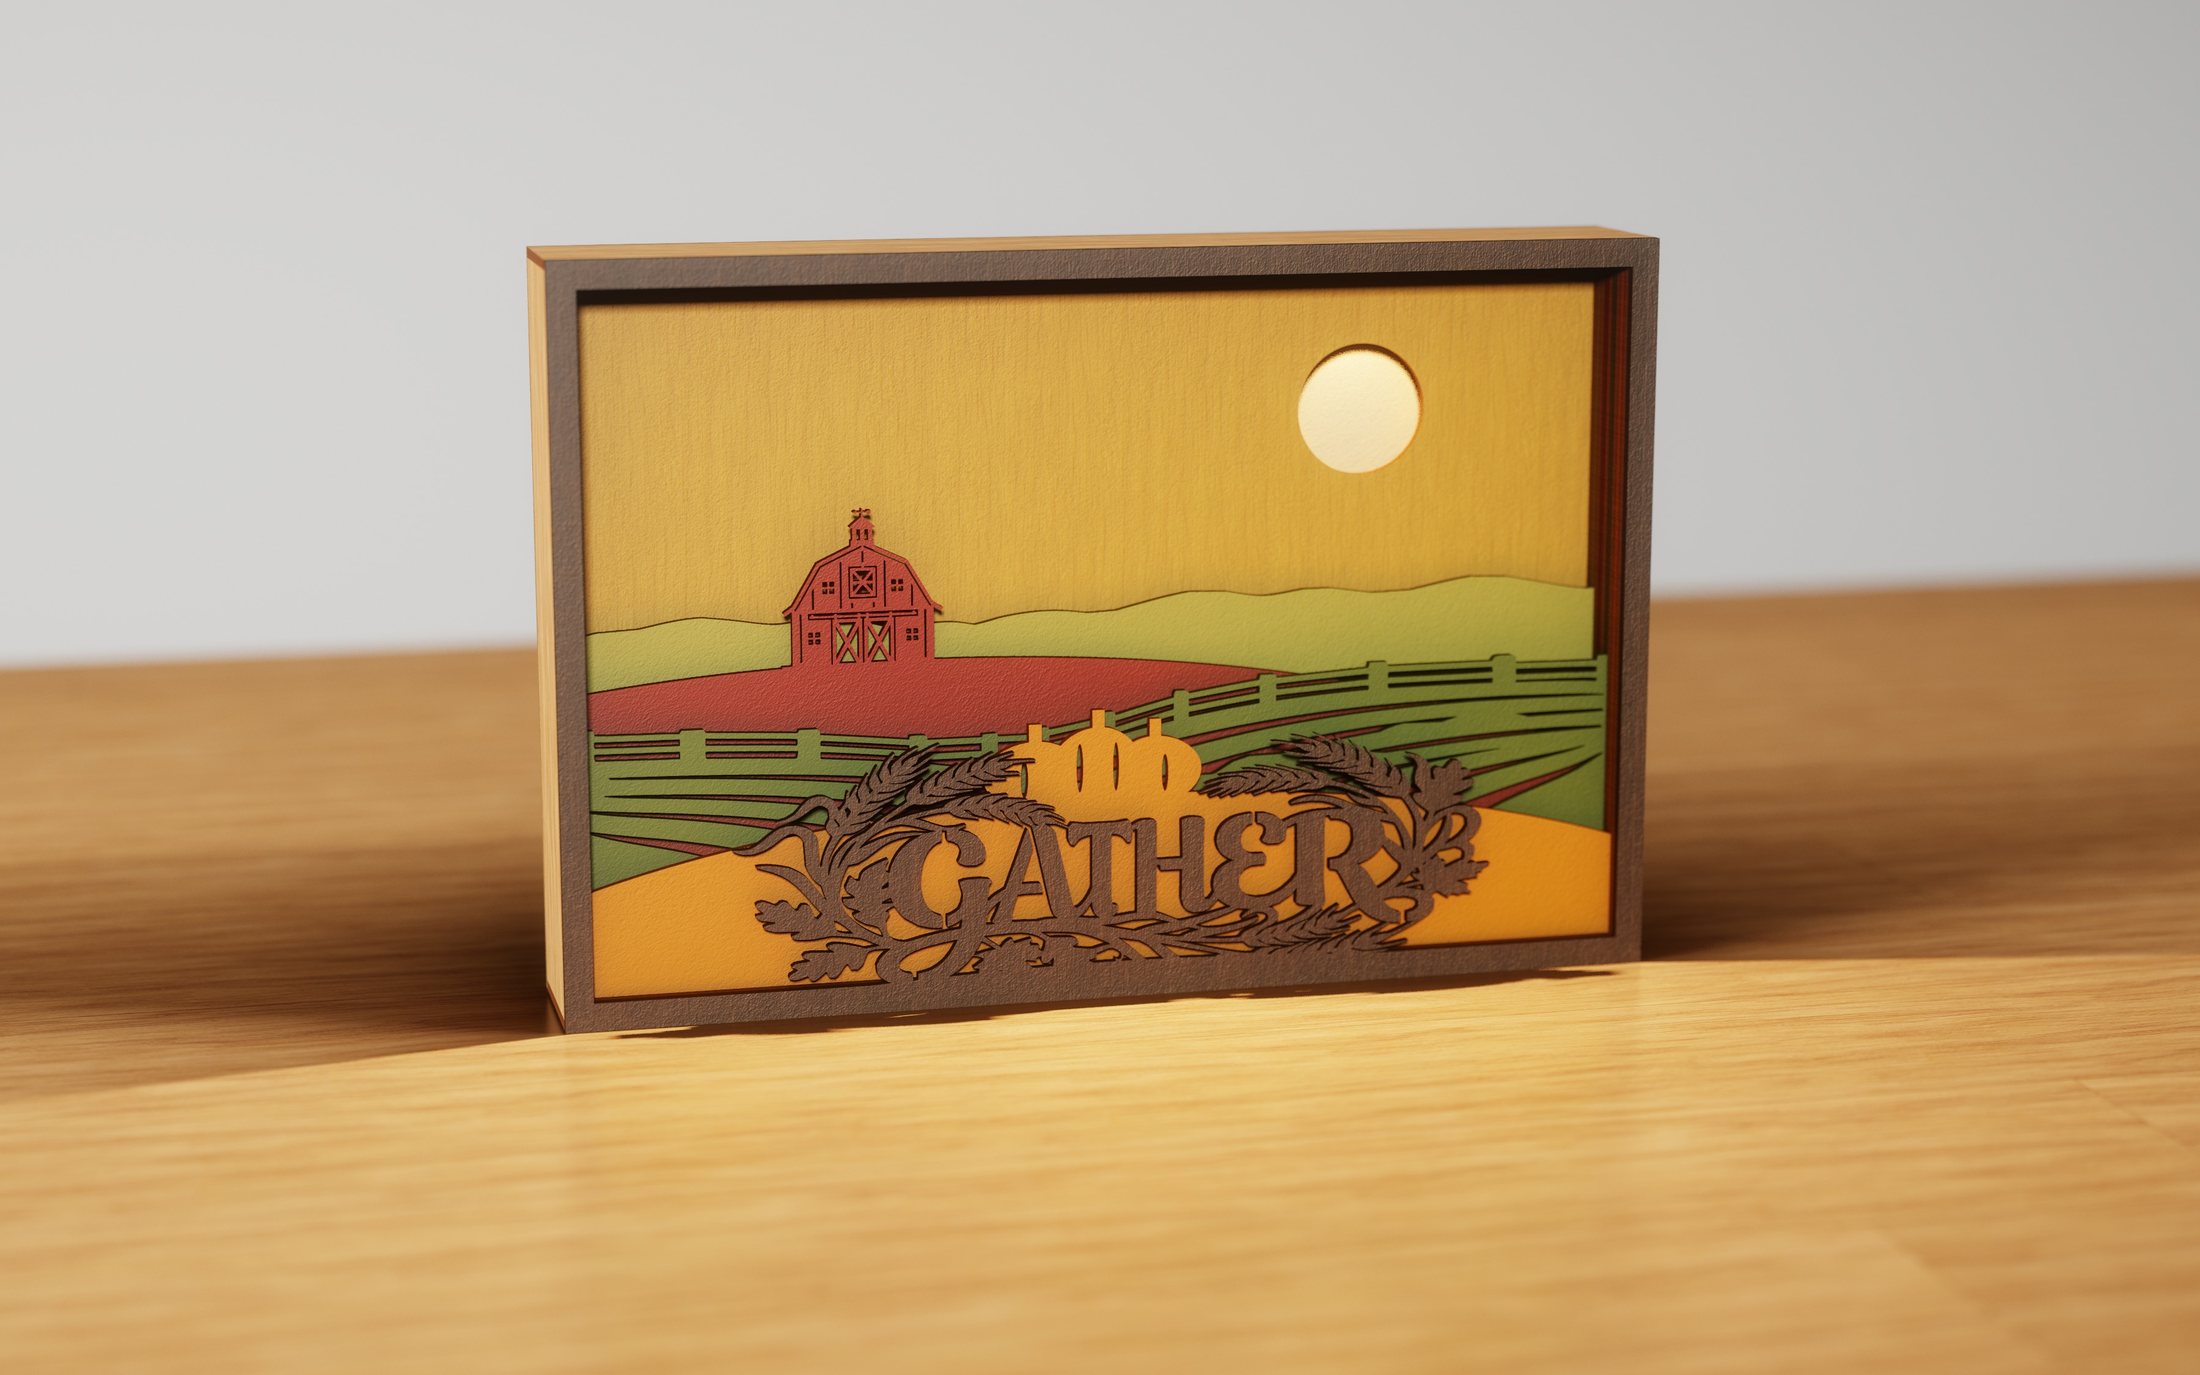 Harvest FarmThanksgiving & autumn
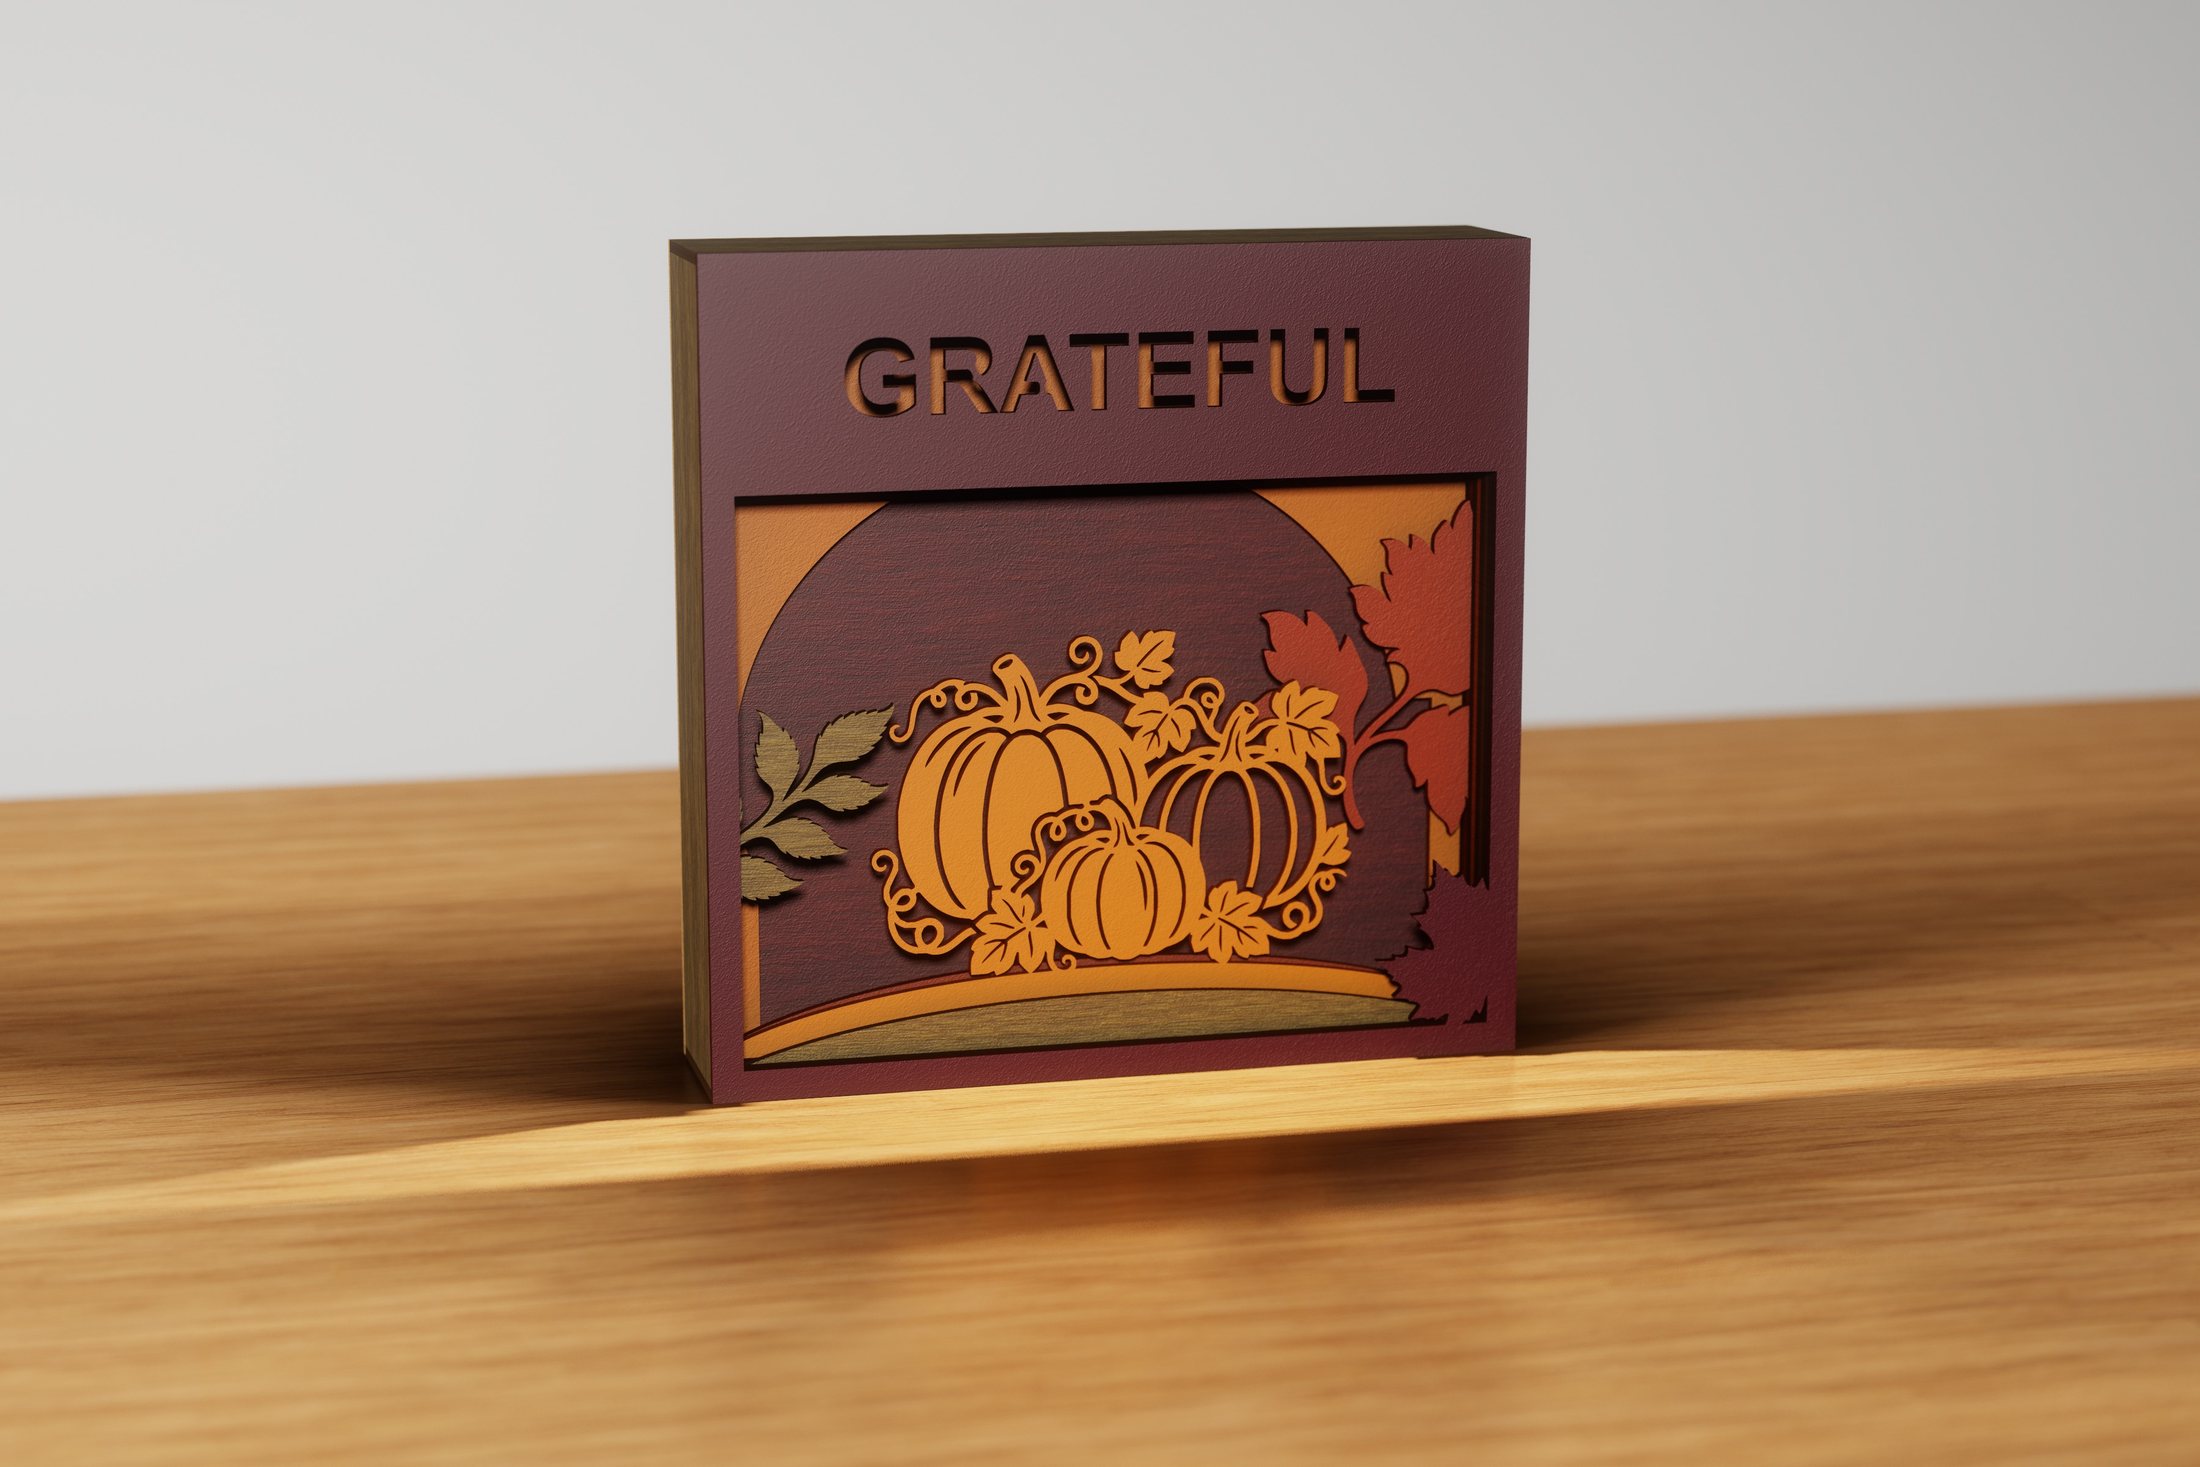 Harvest PumpkinsThanksgiving & autumn
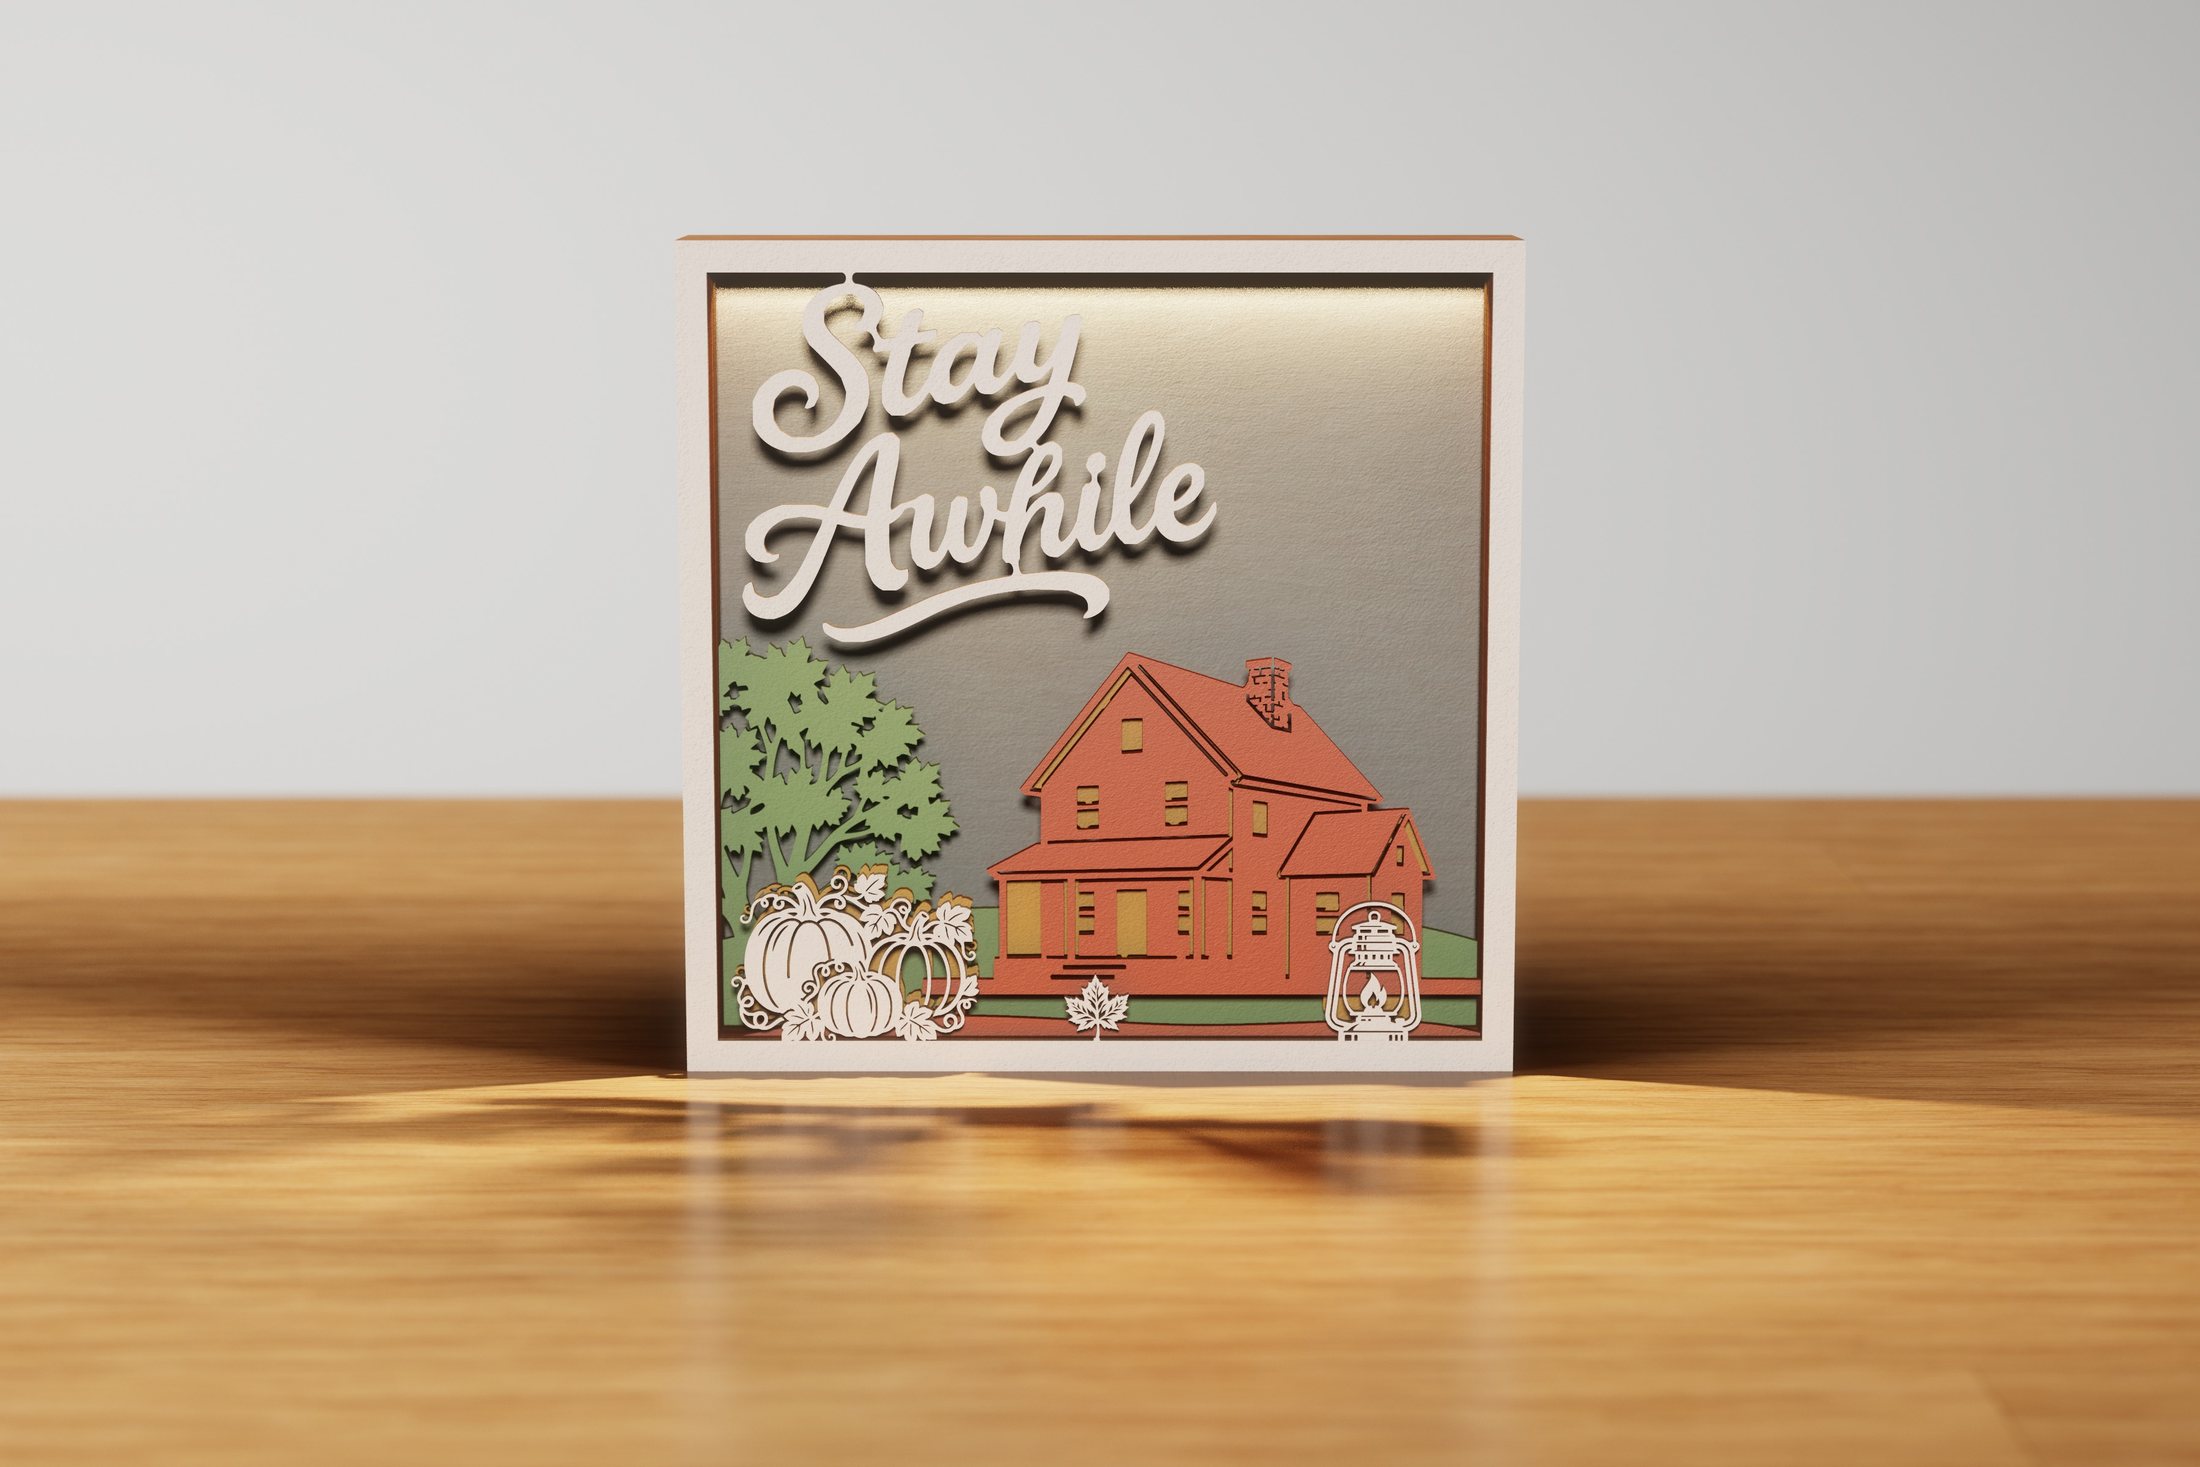 Autumn Front PorchThanksgiving & autumn
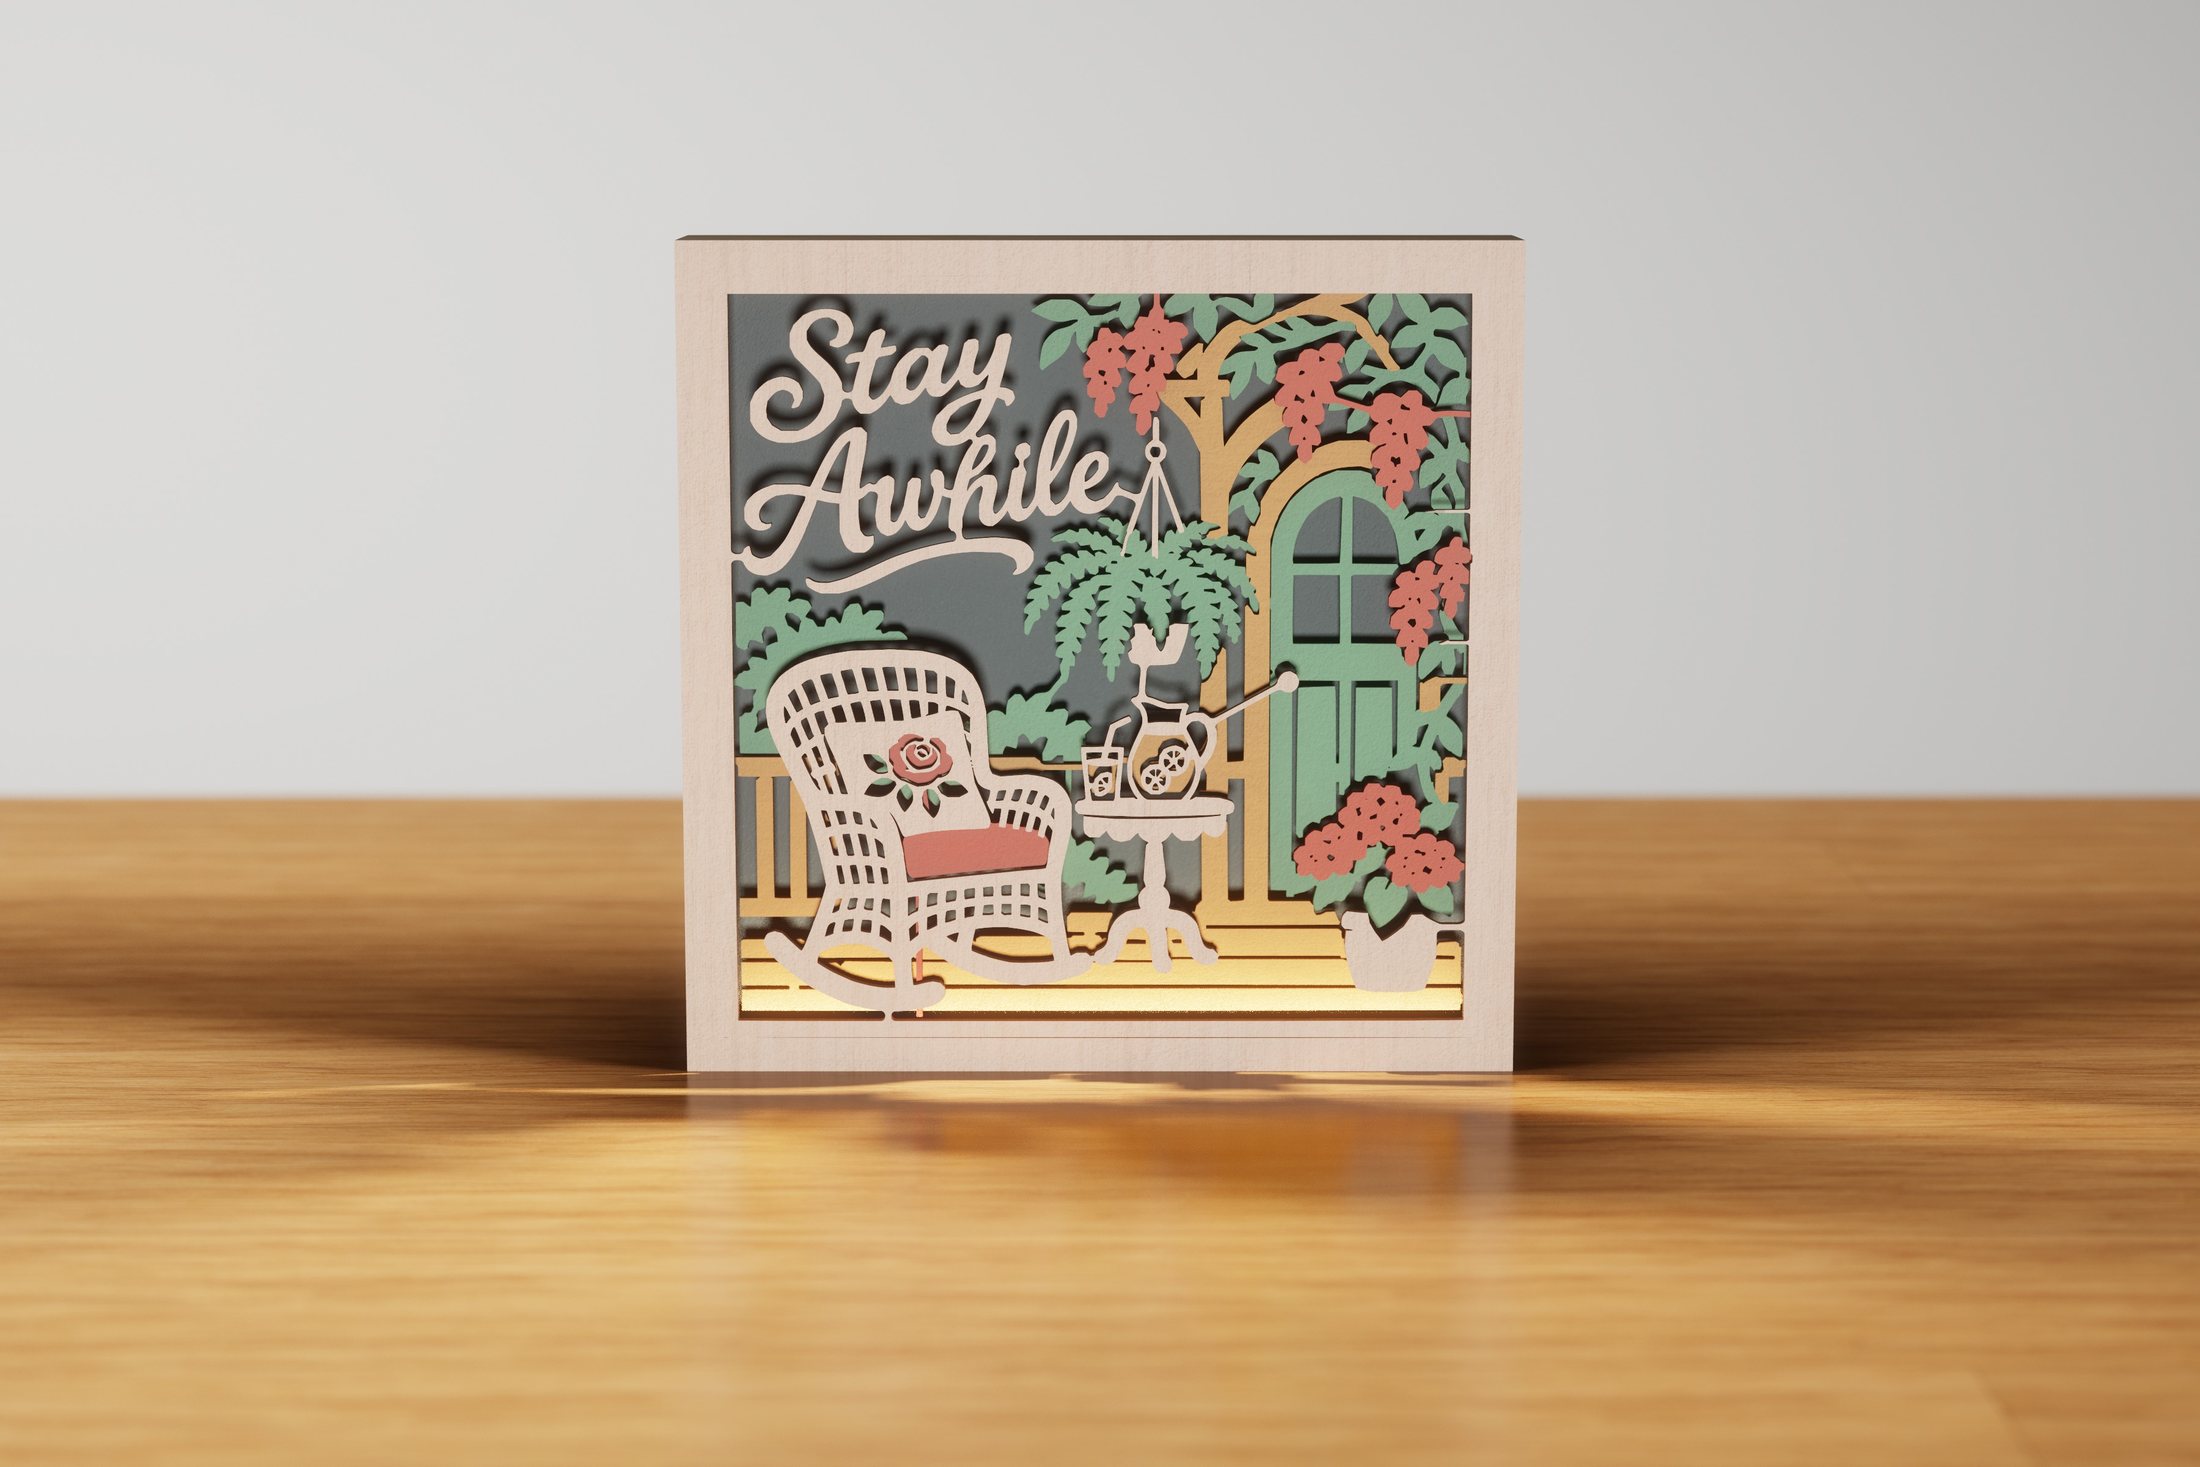 Stay AwhileThanksgiving & autumn
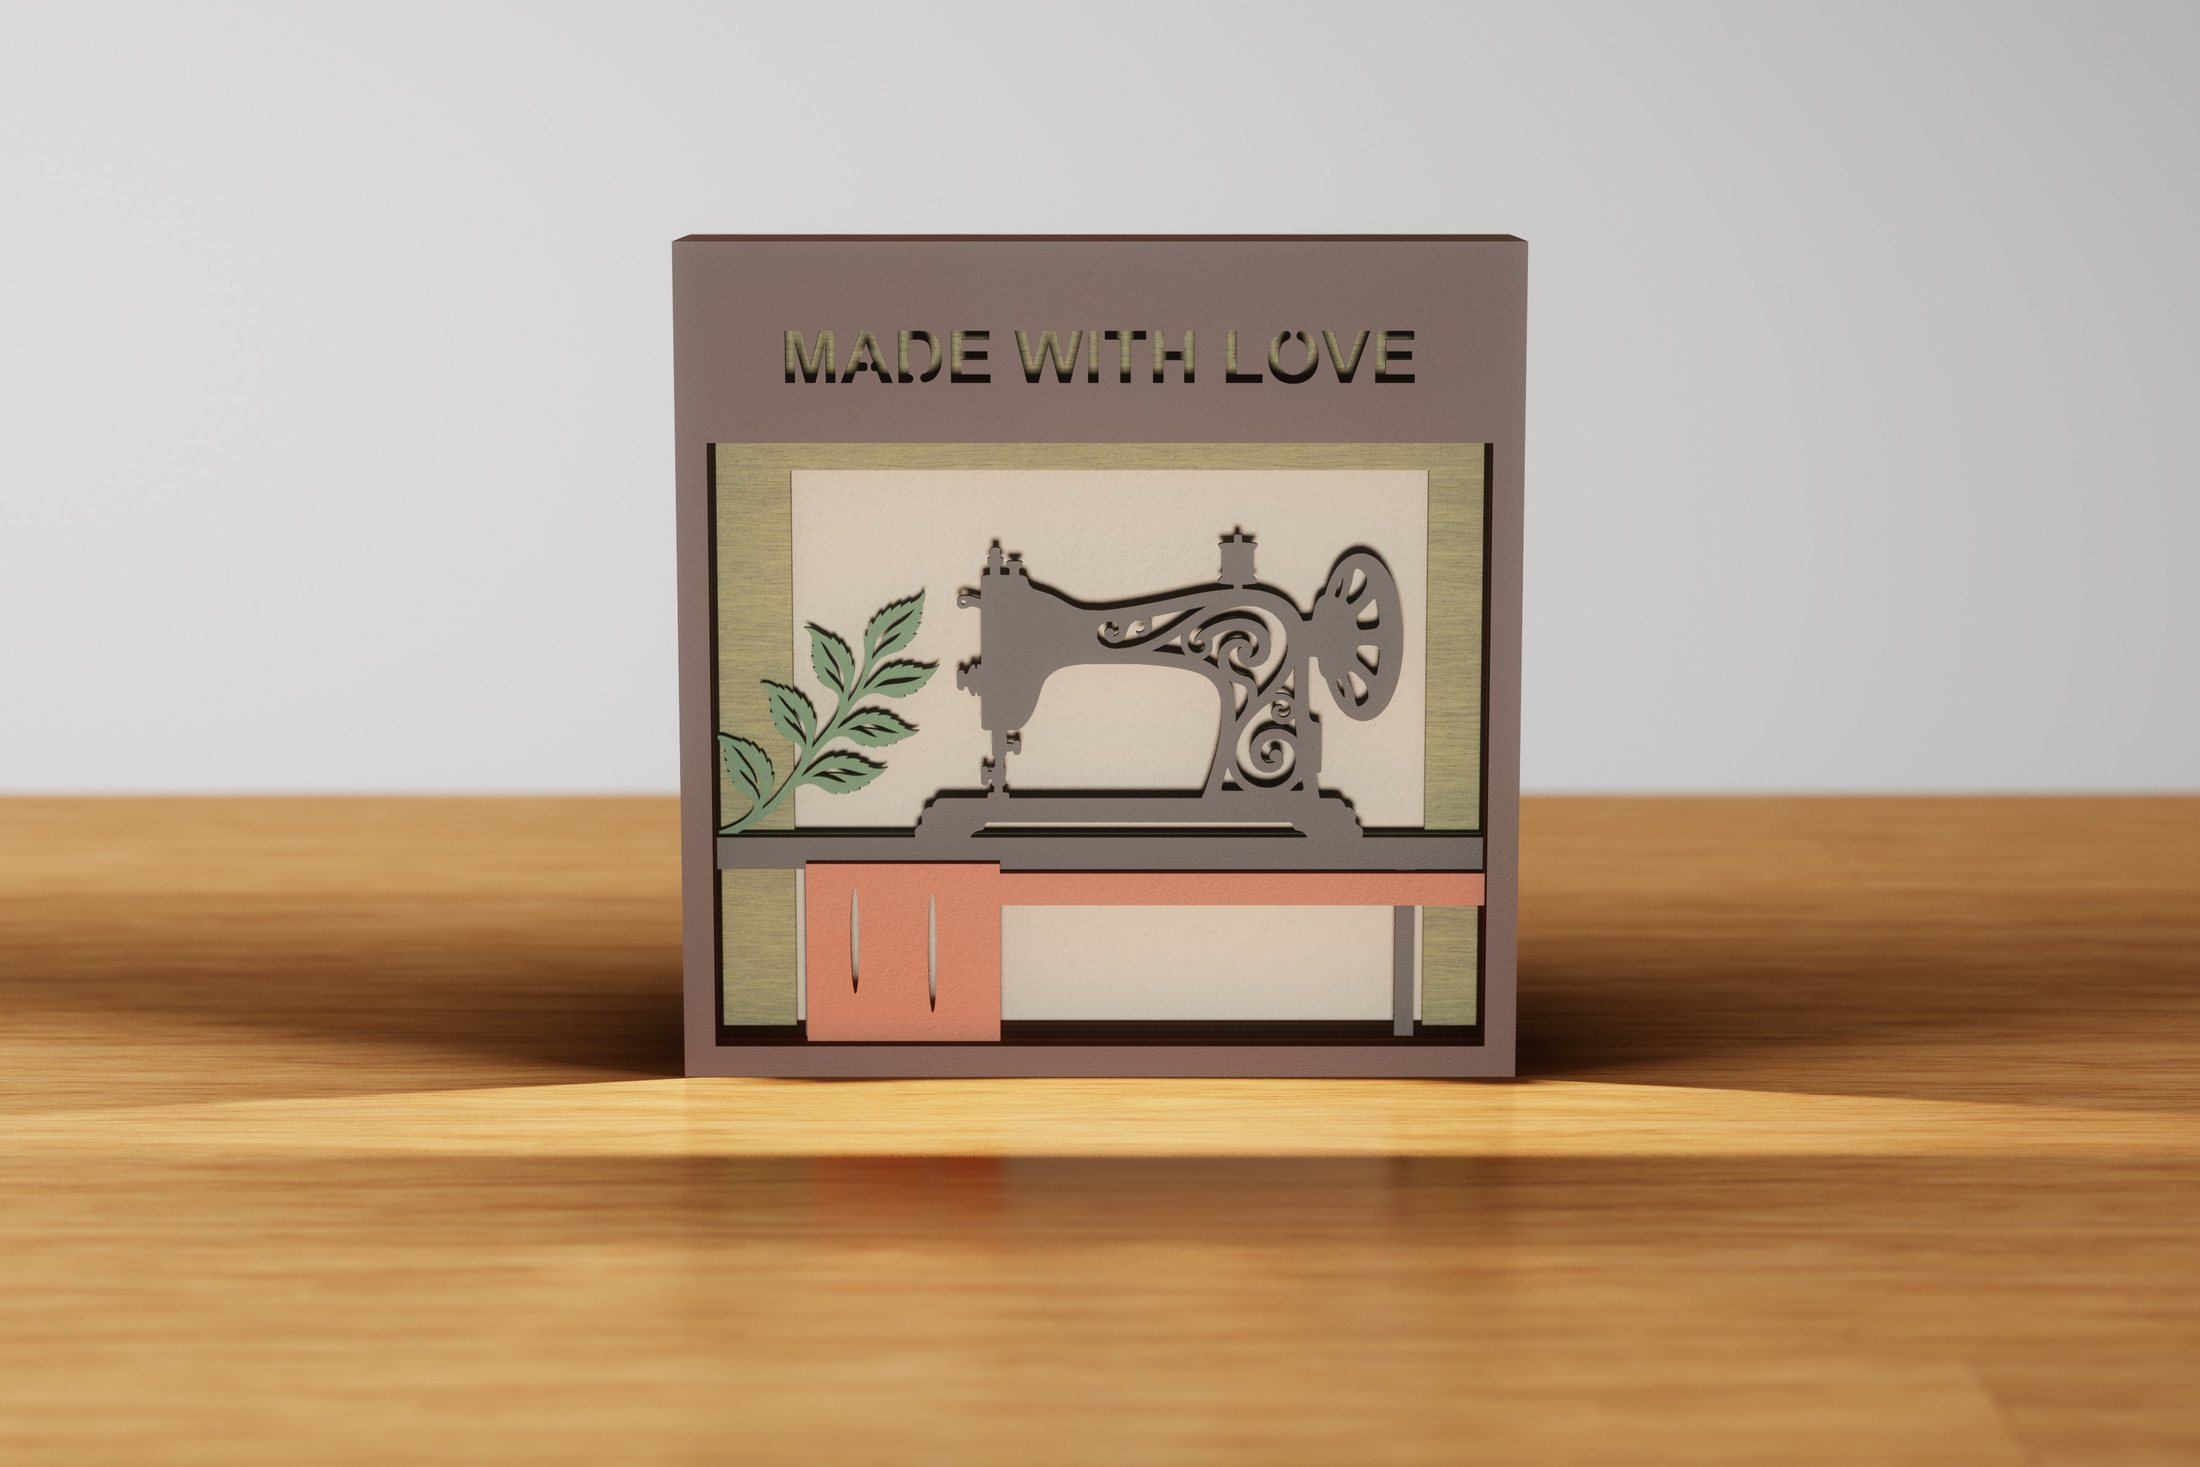 Sewing StudioIntricate designs
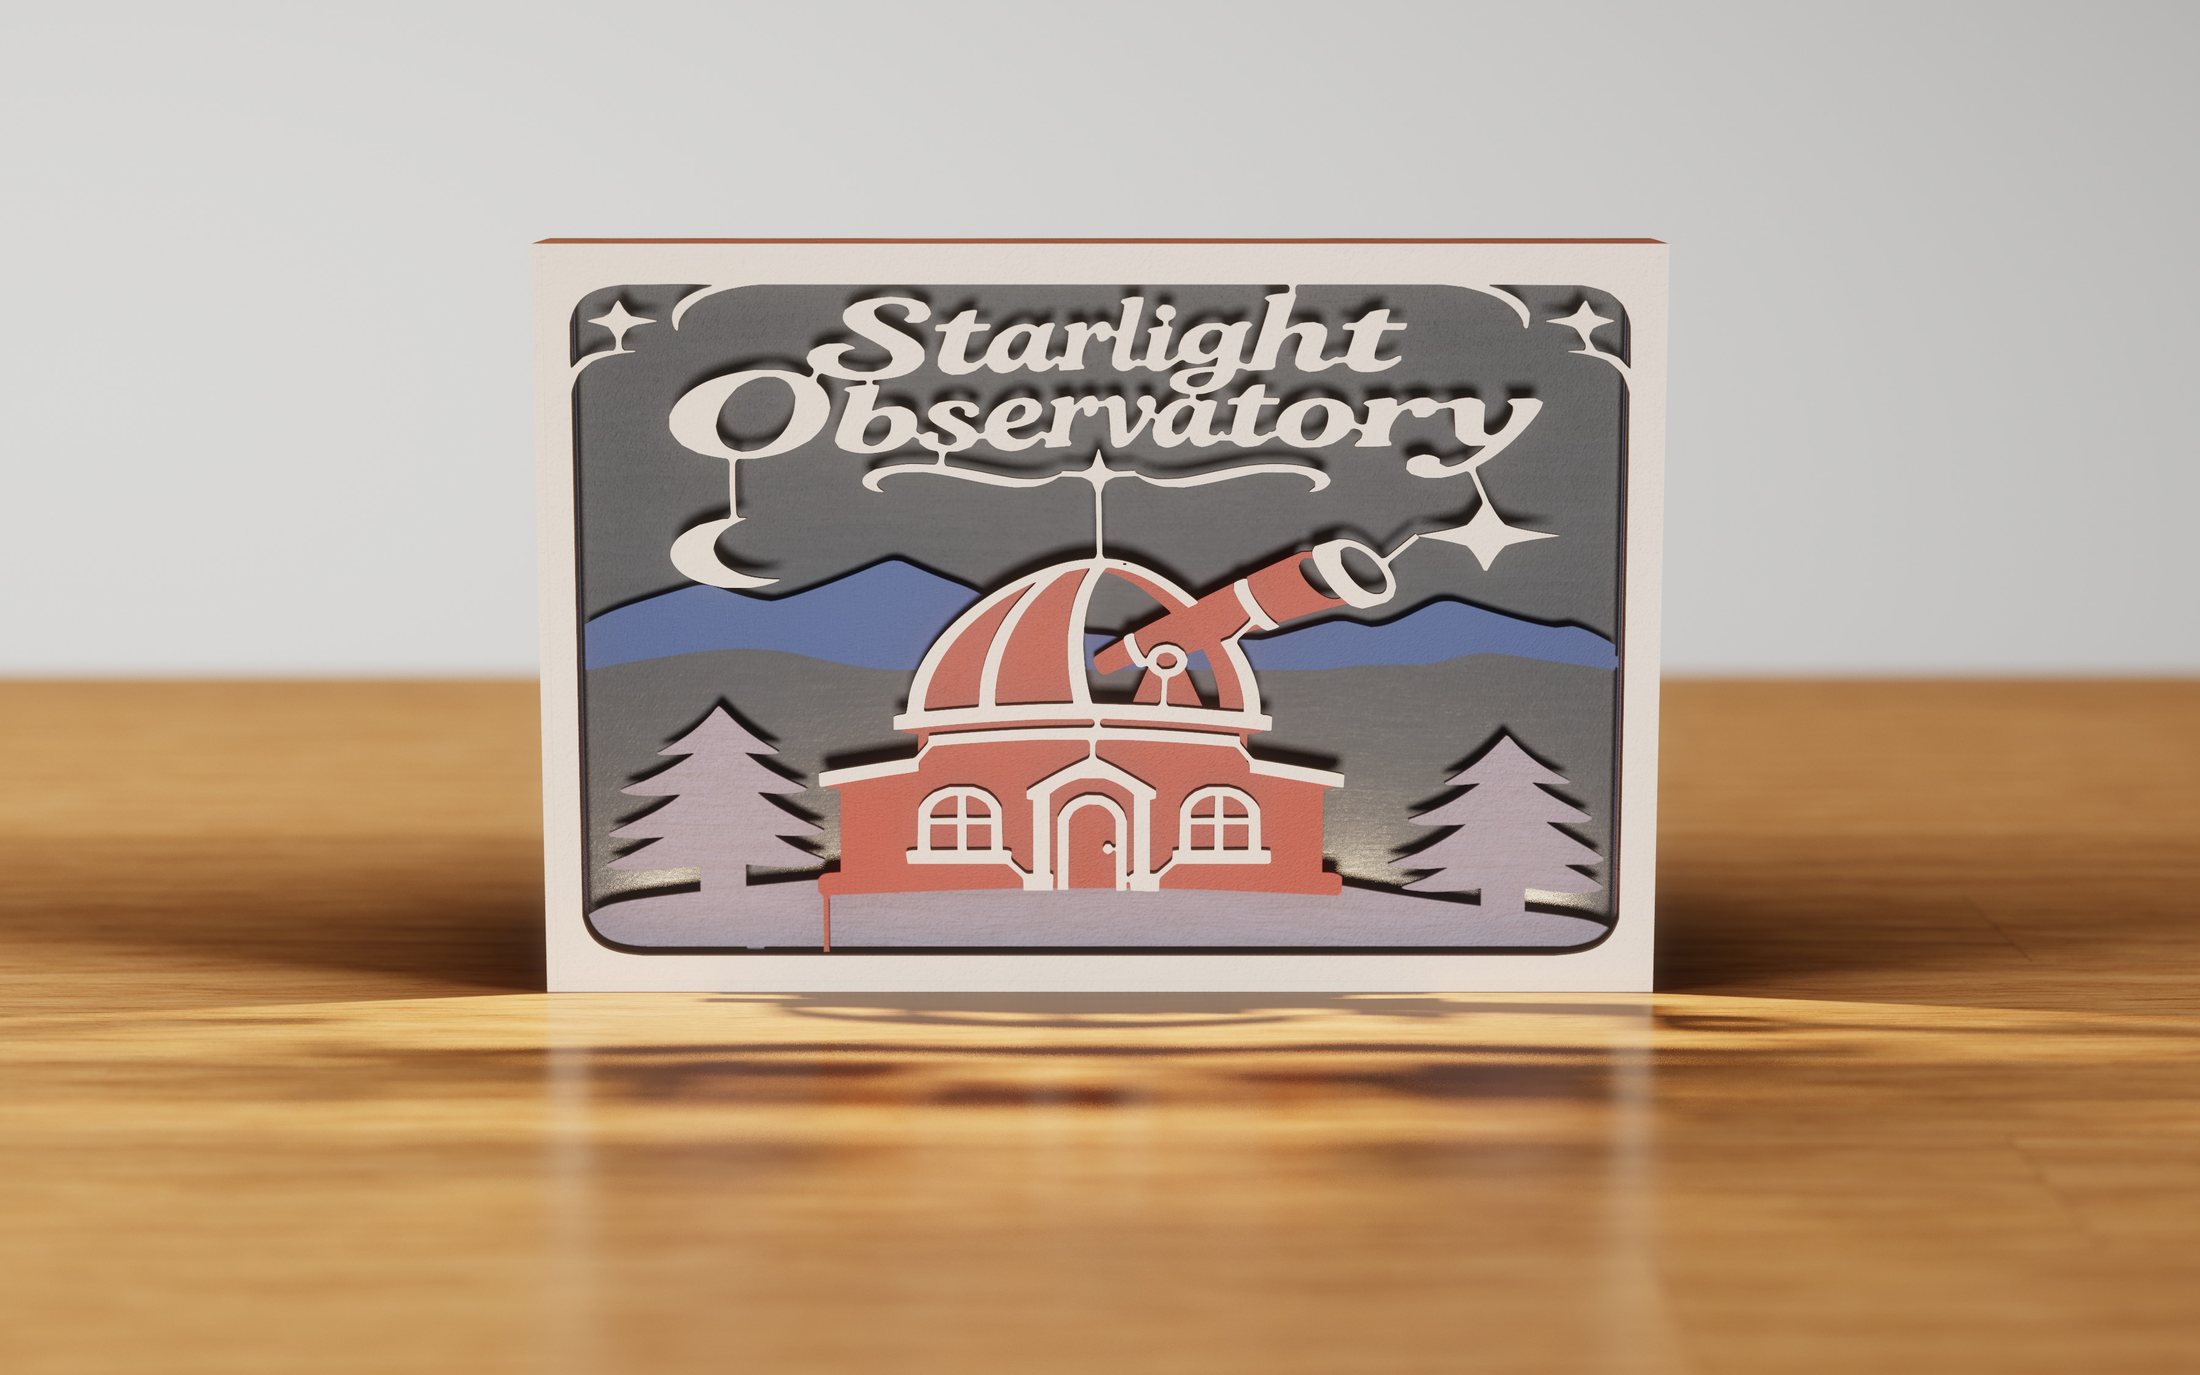 Starlight ObservatoryIntricate designs
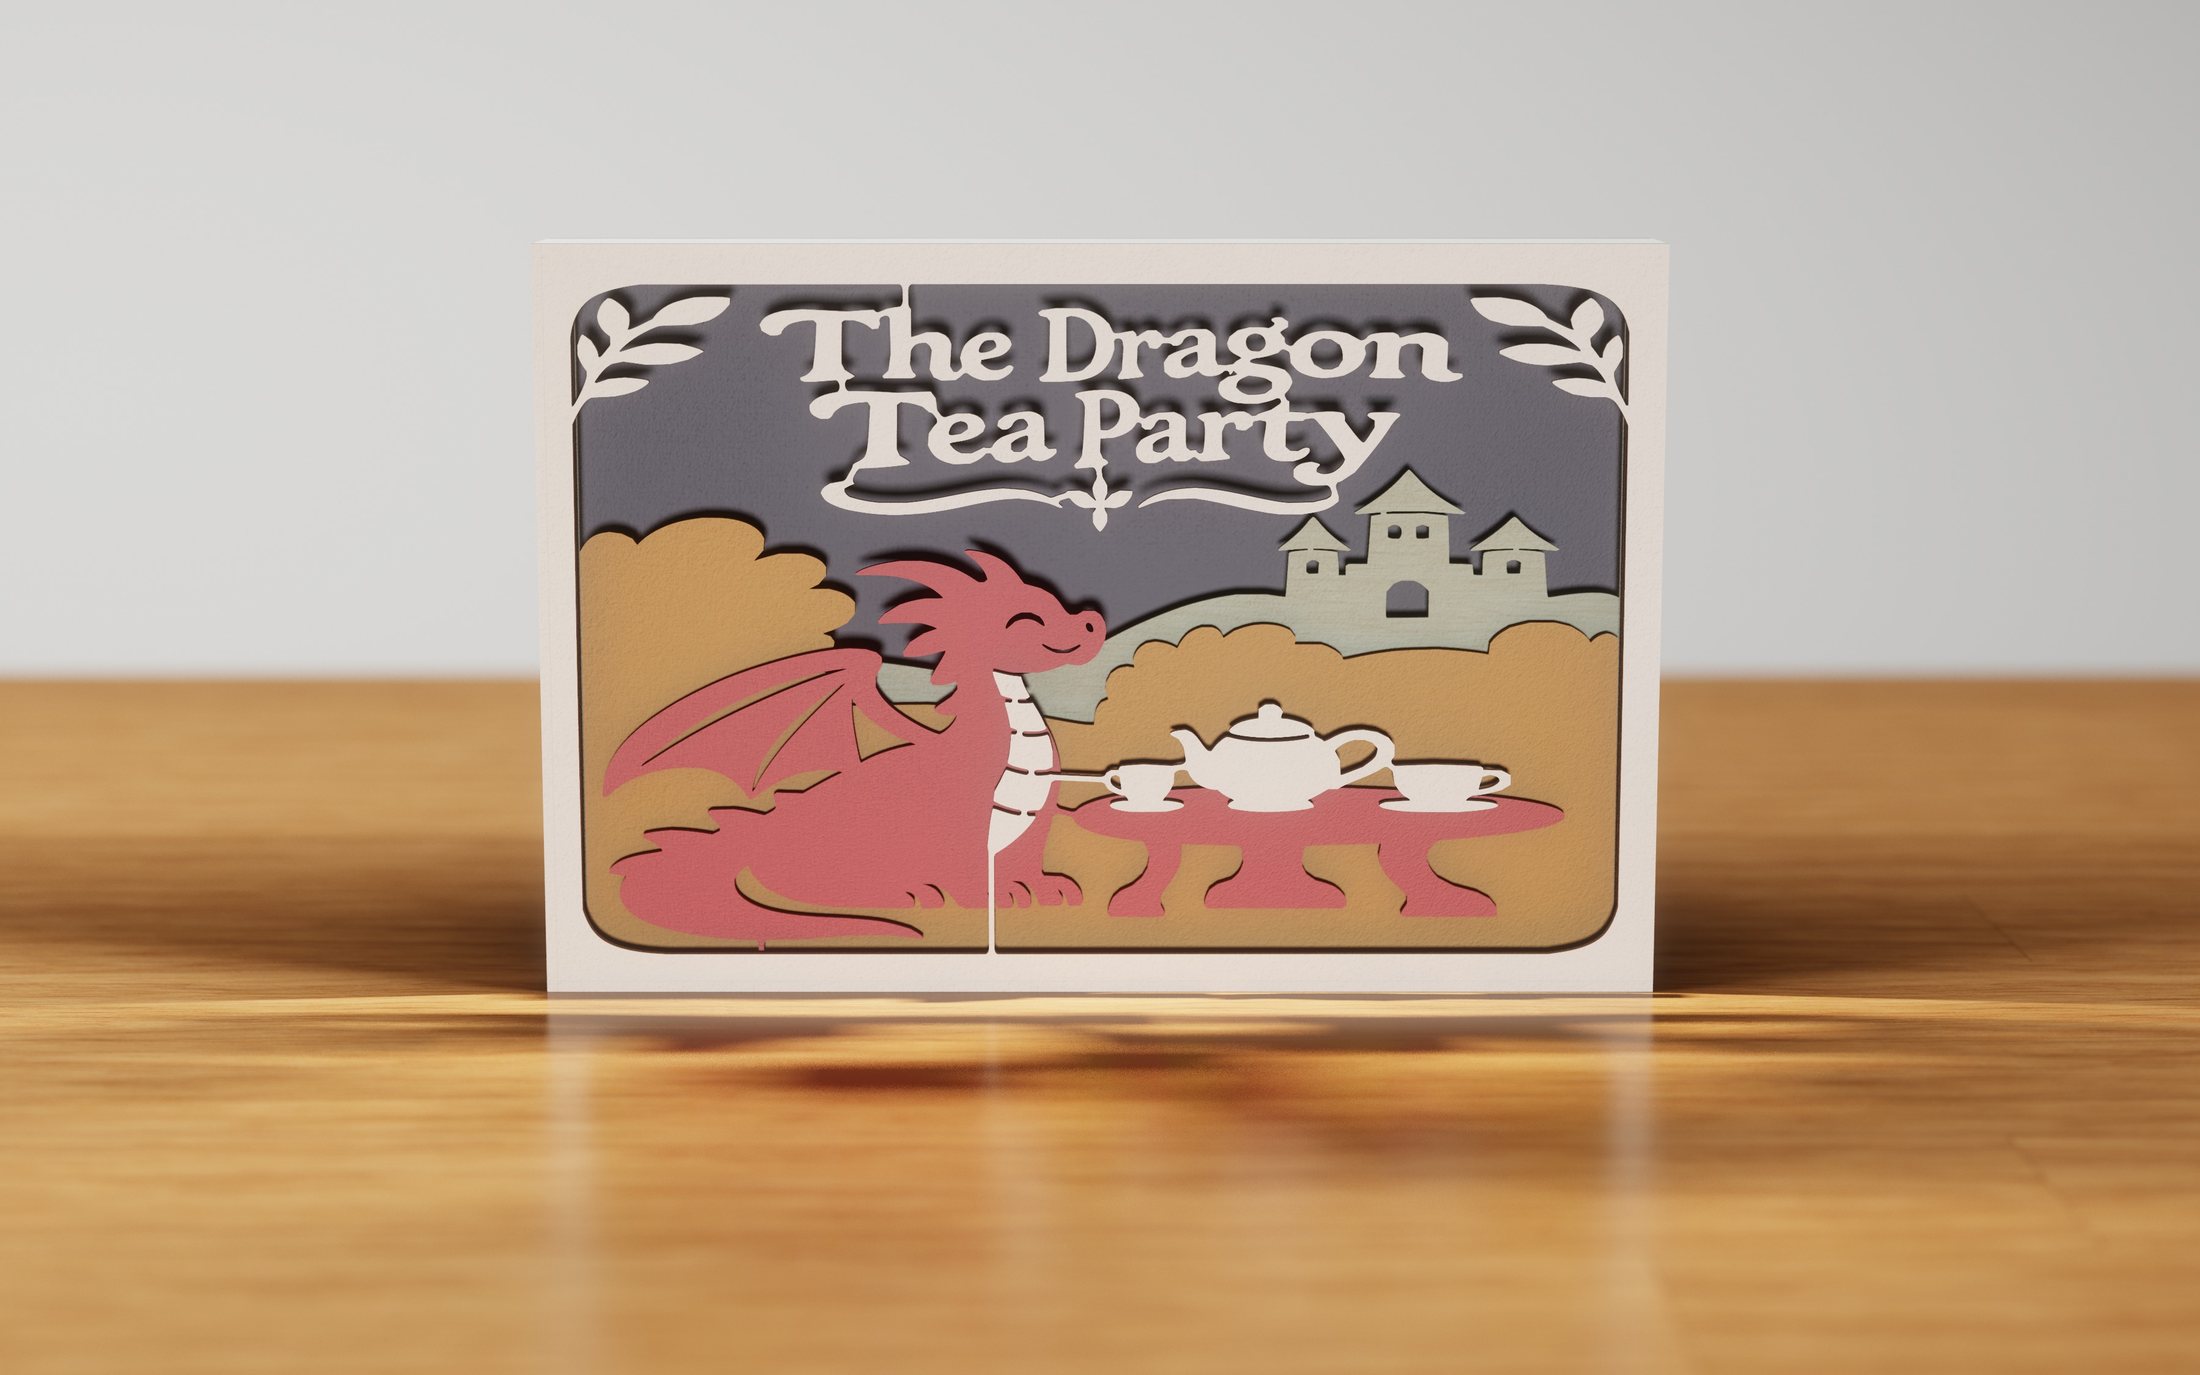 The Dragon Tea PartyIntricate designs
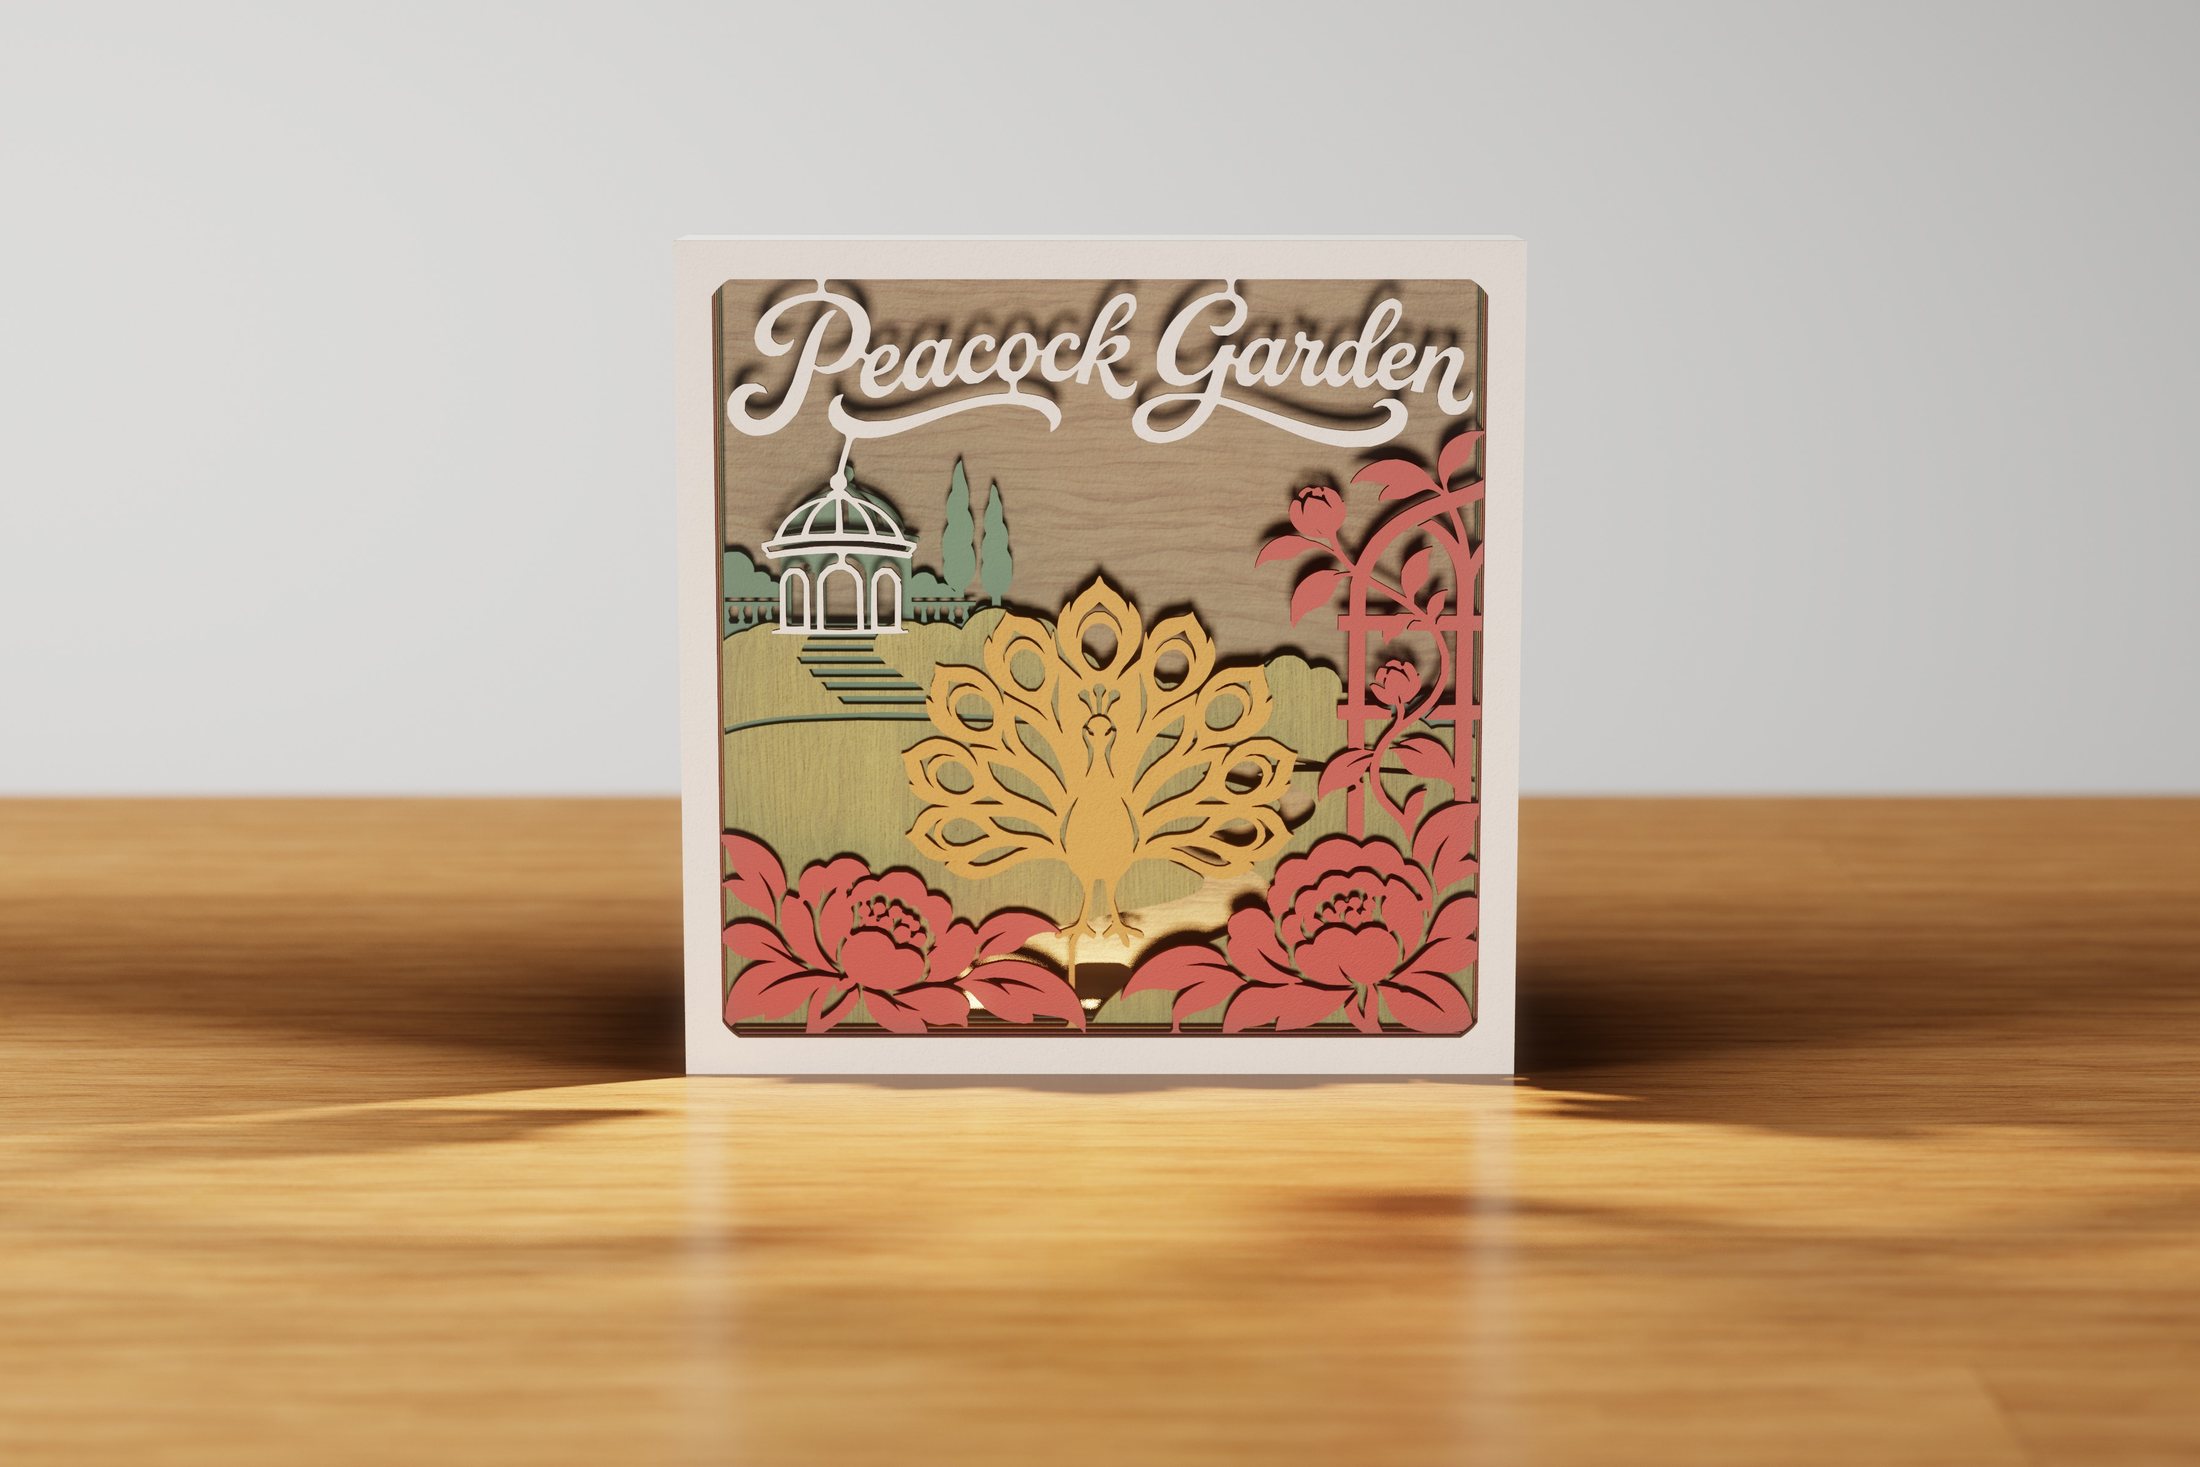 Peacock GardenIntricate designs
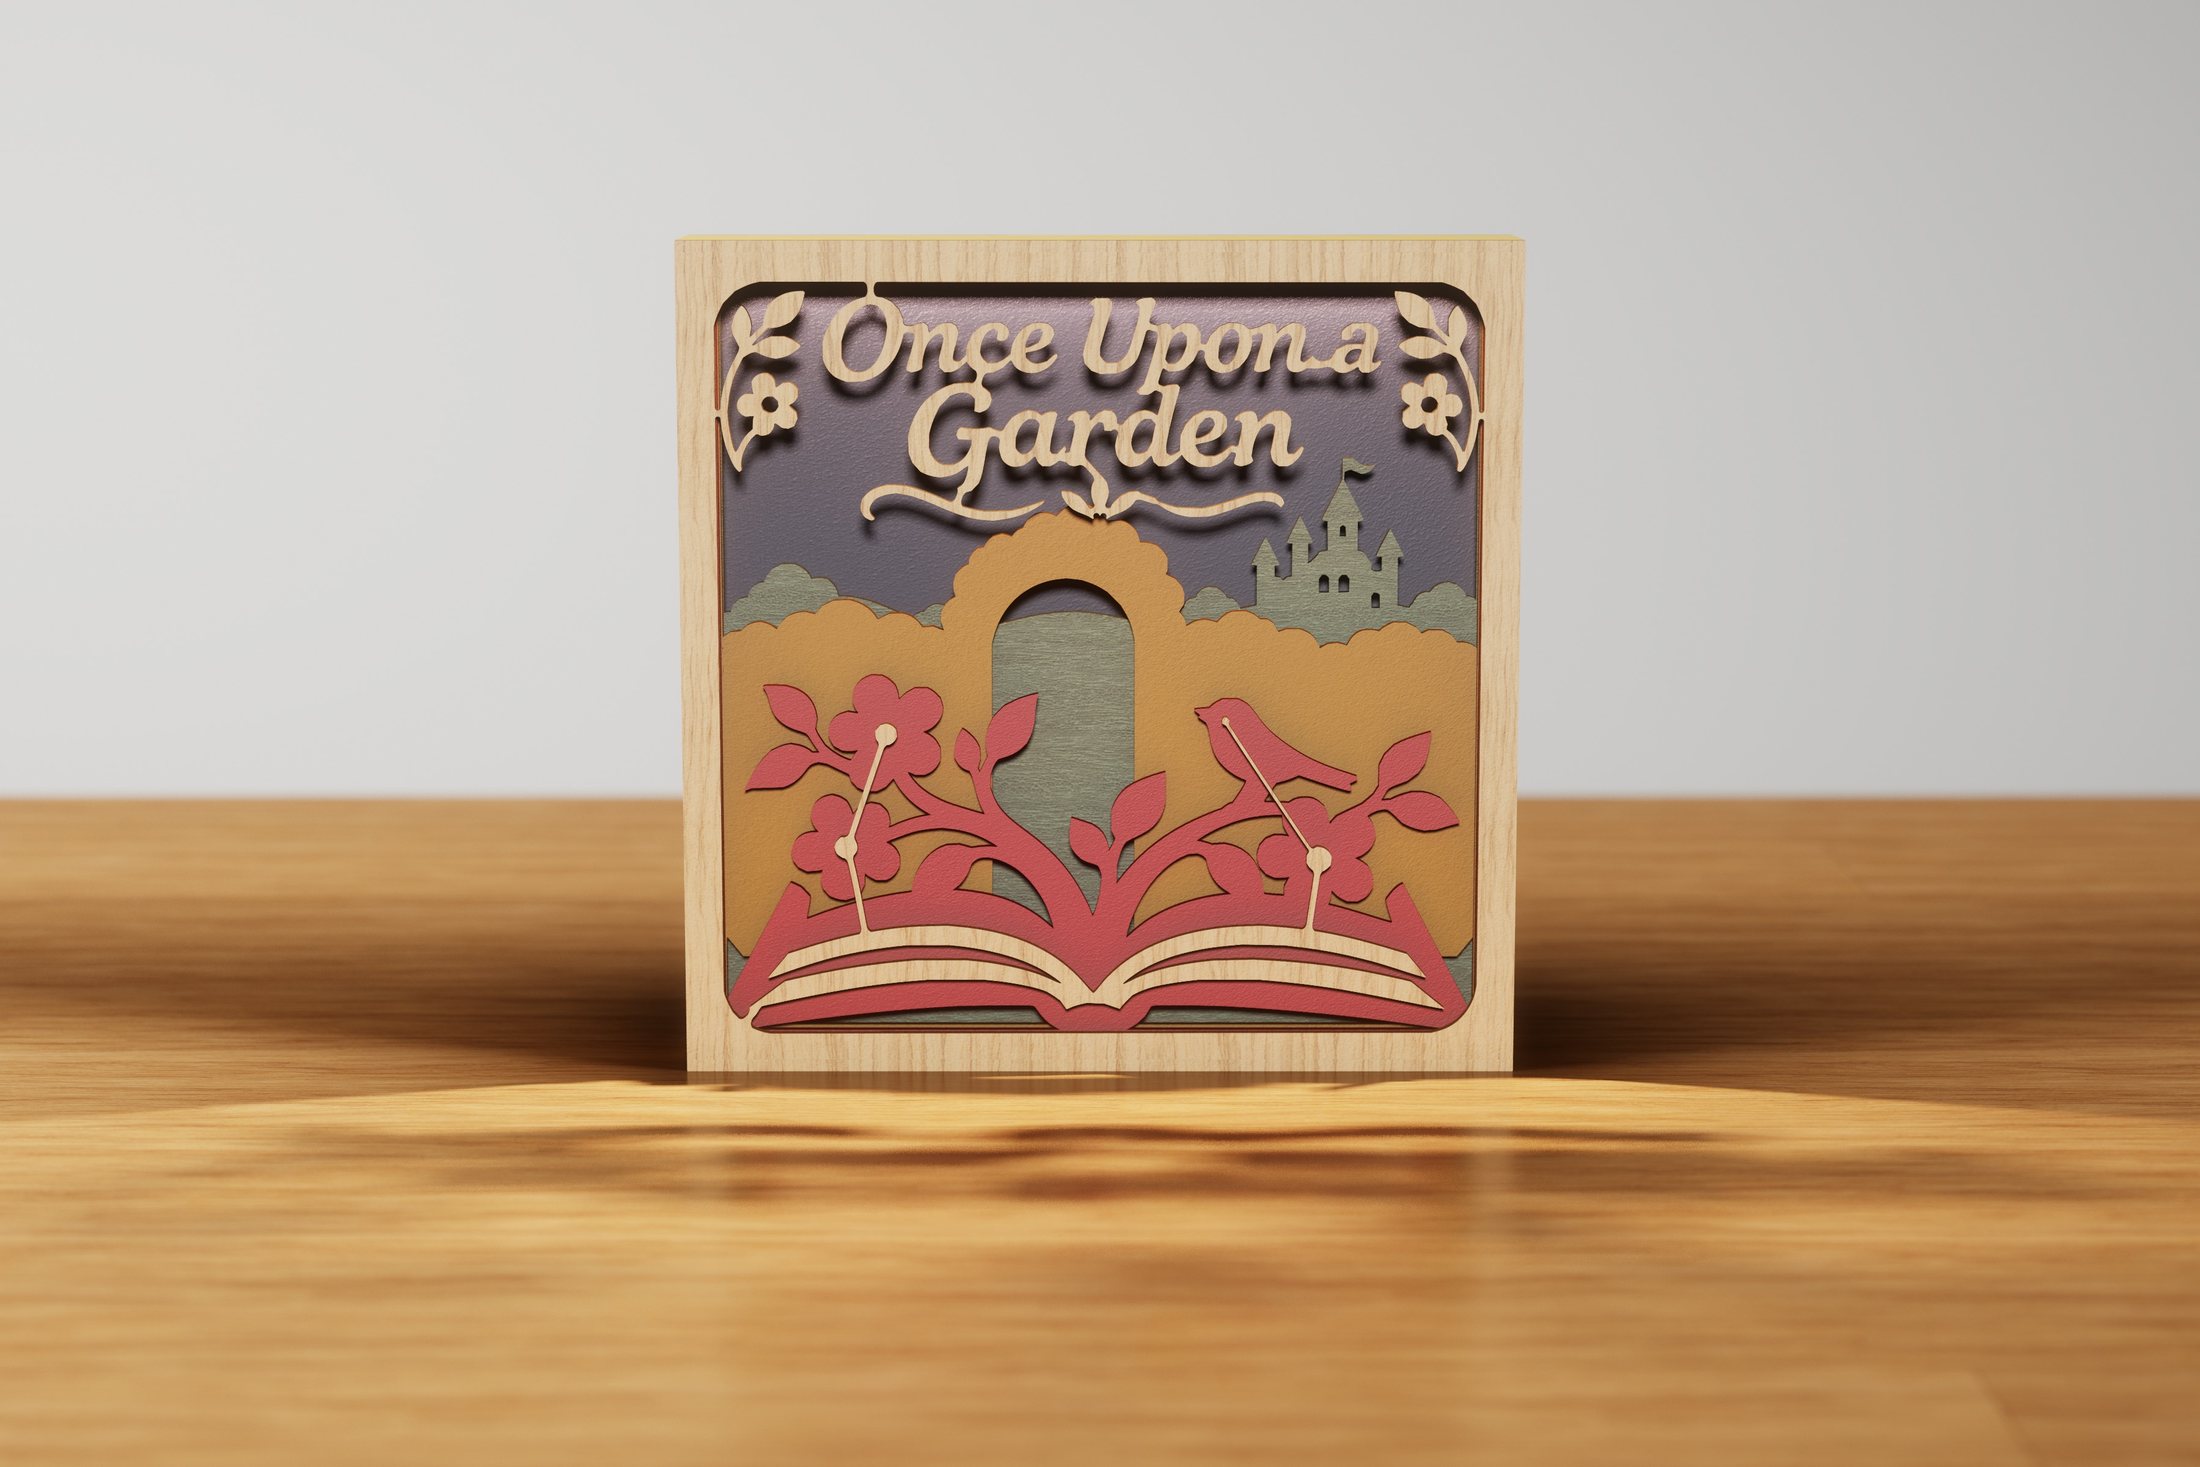 Once Upon a GardenIntricate designs
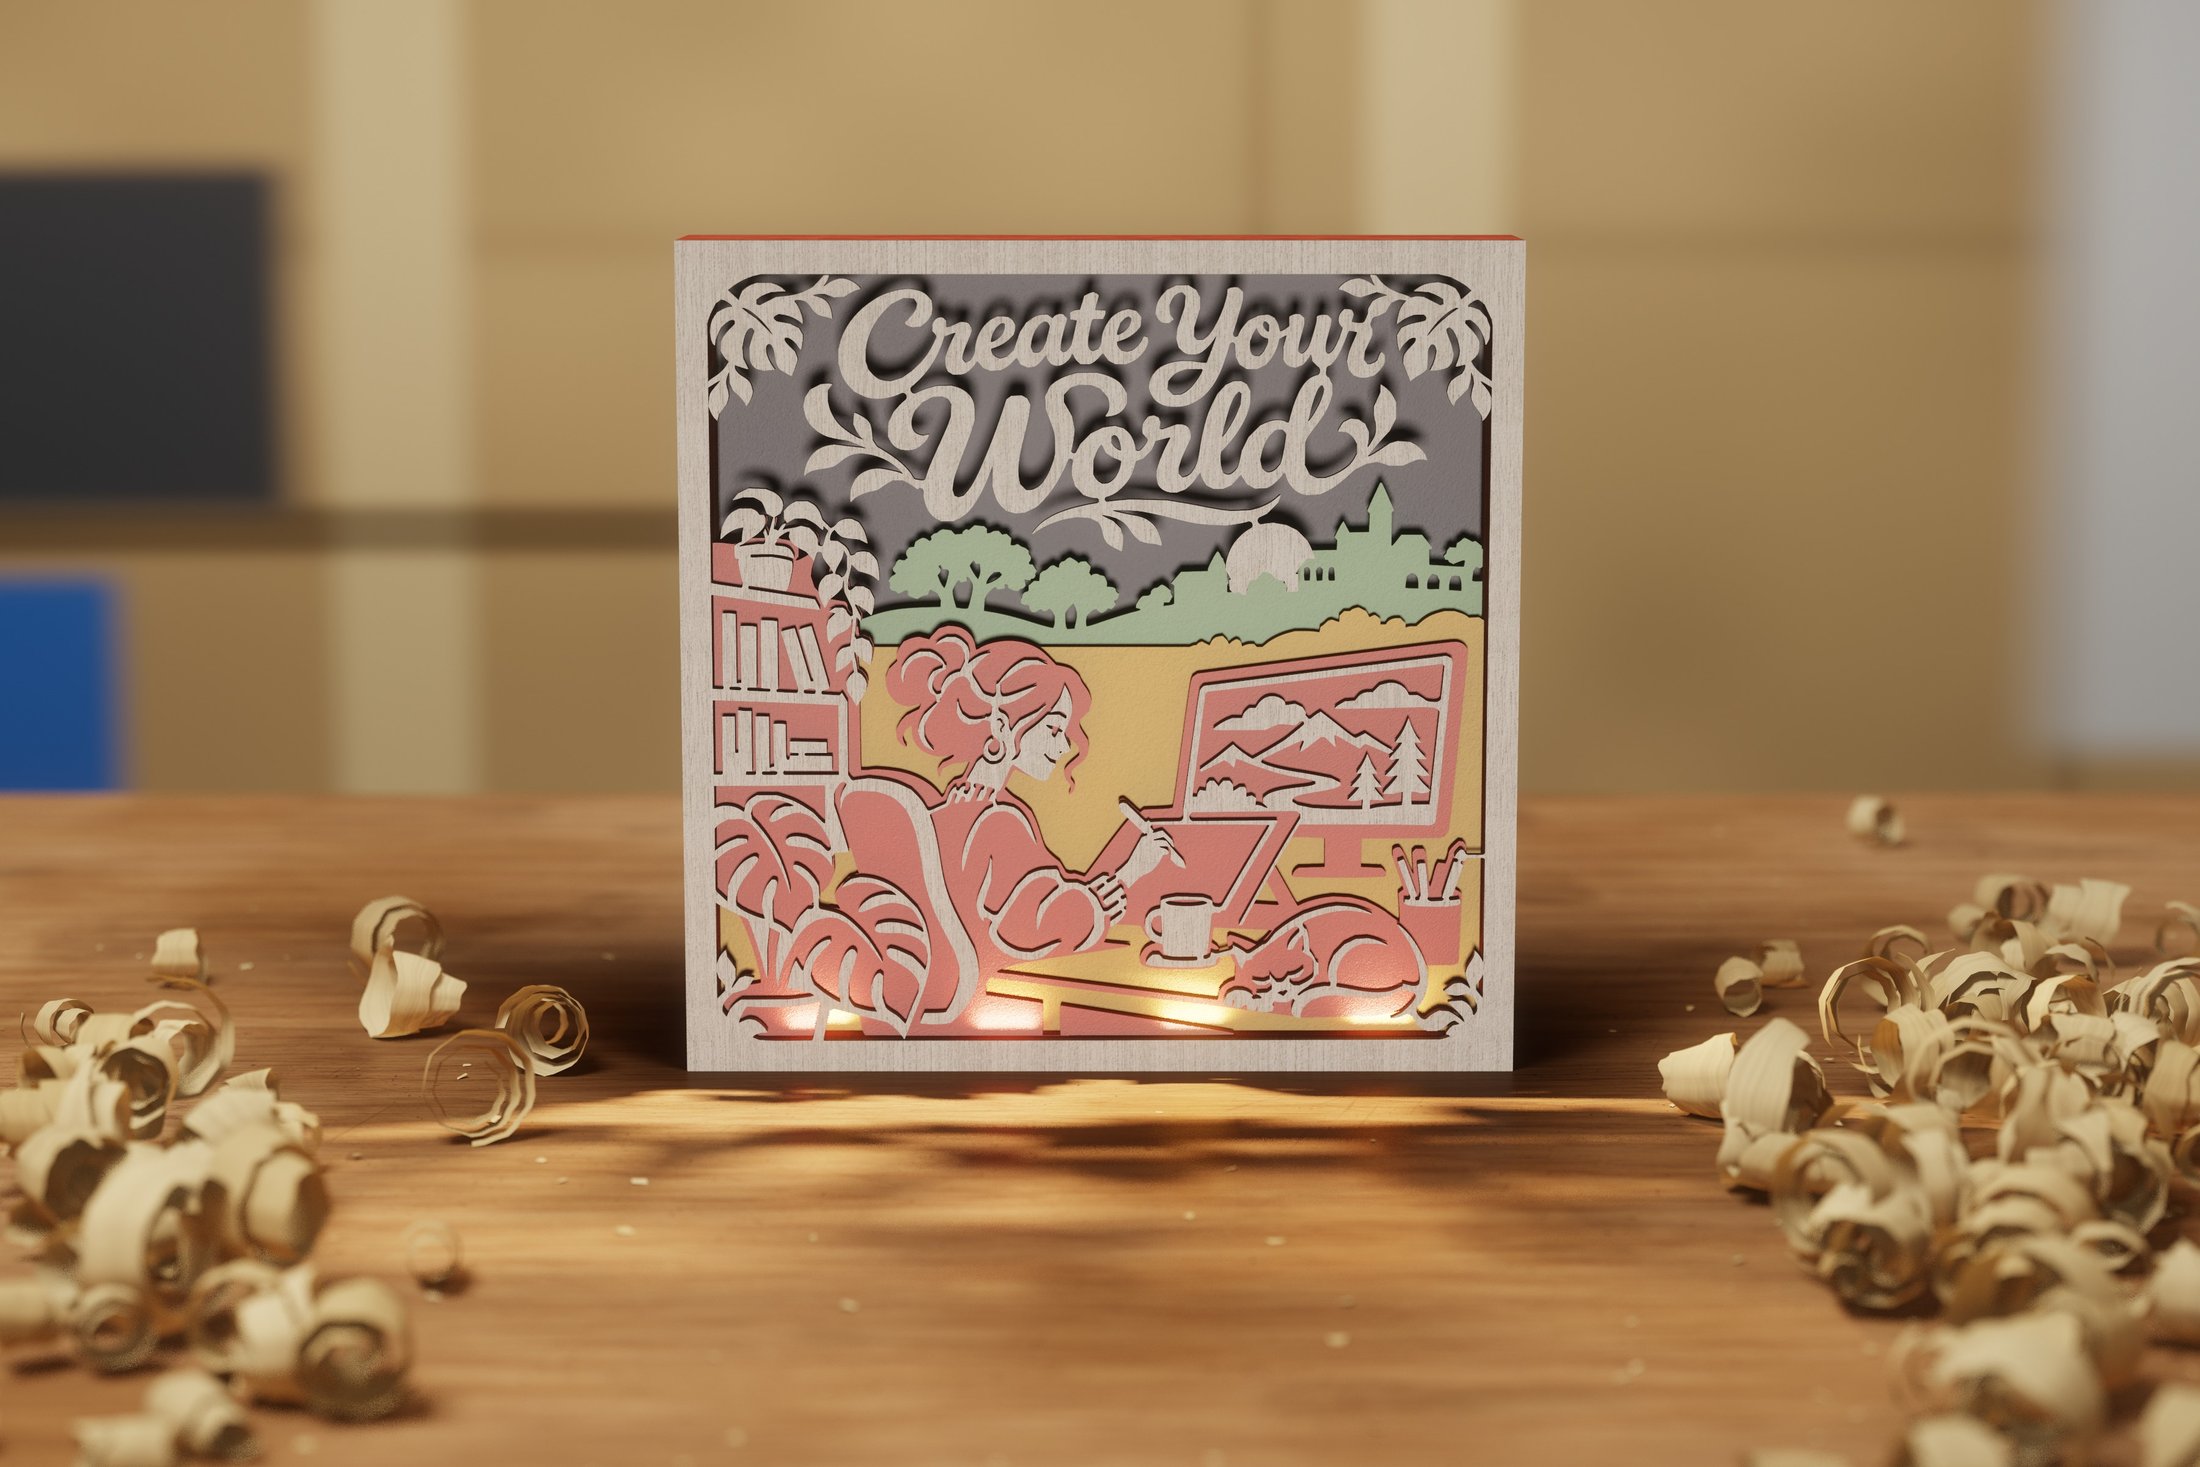 Create Your WorldIntricate designs
Once Upon a FamilyIntricate designs
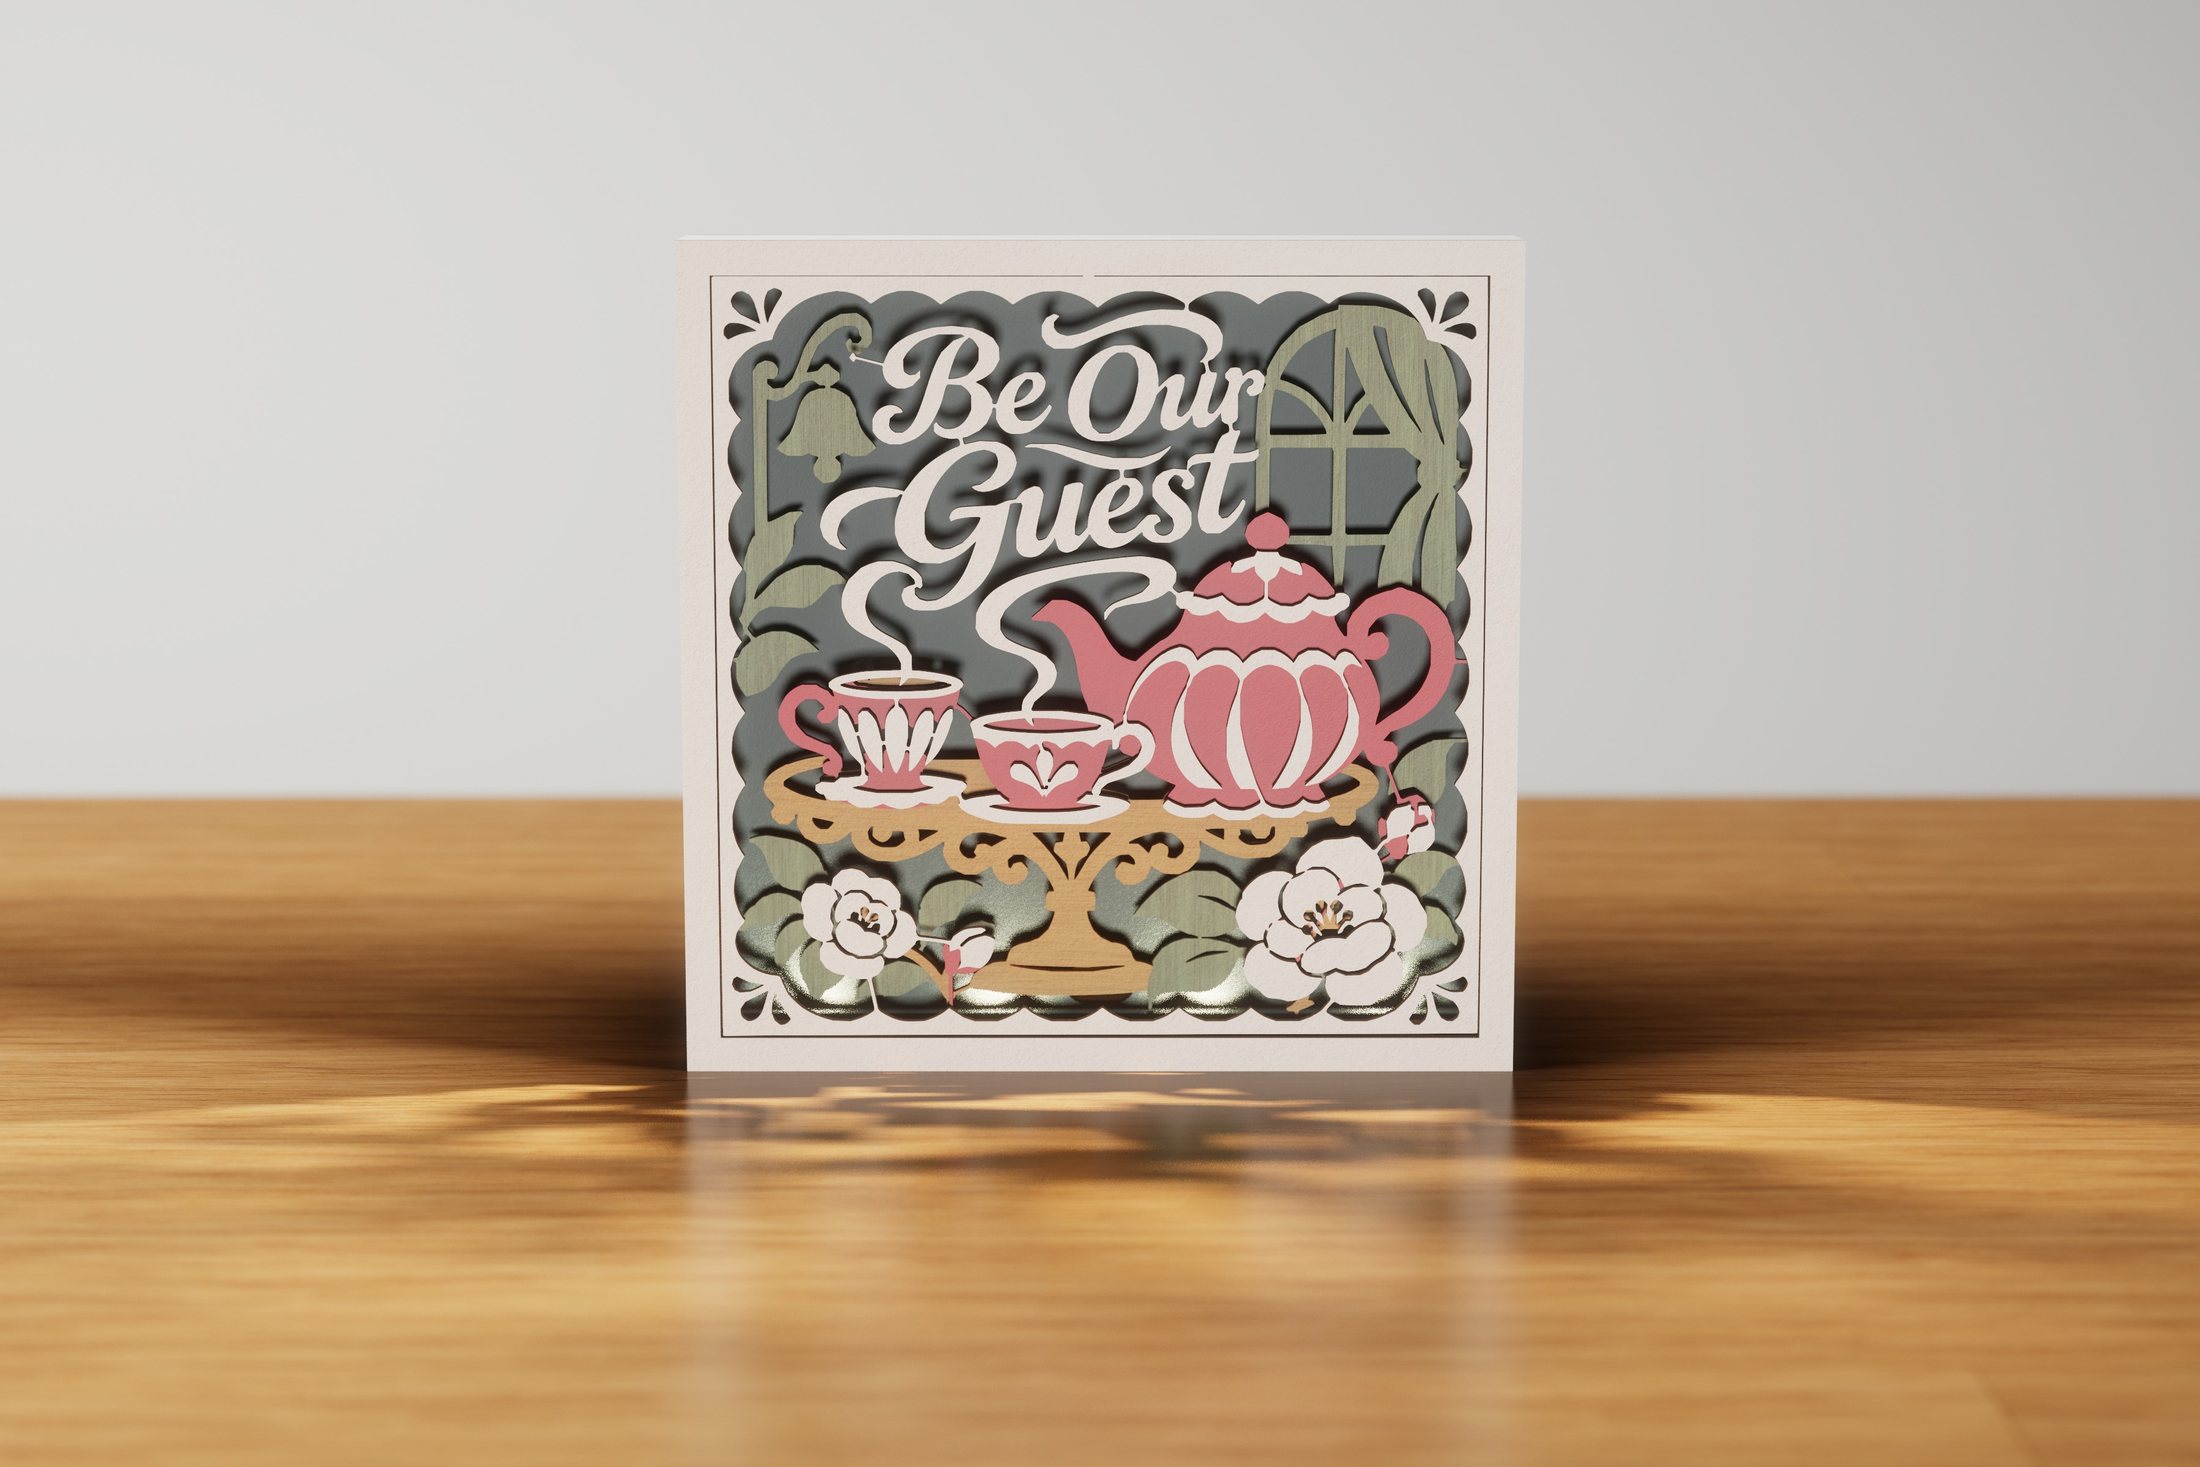 Be Our GuestIntricate designs
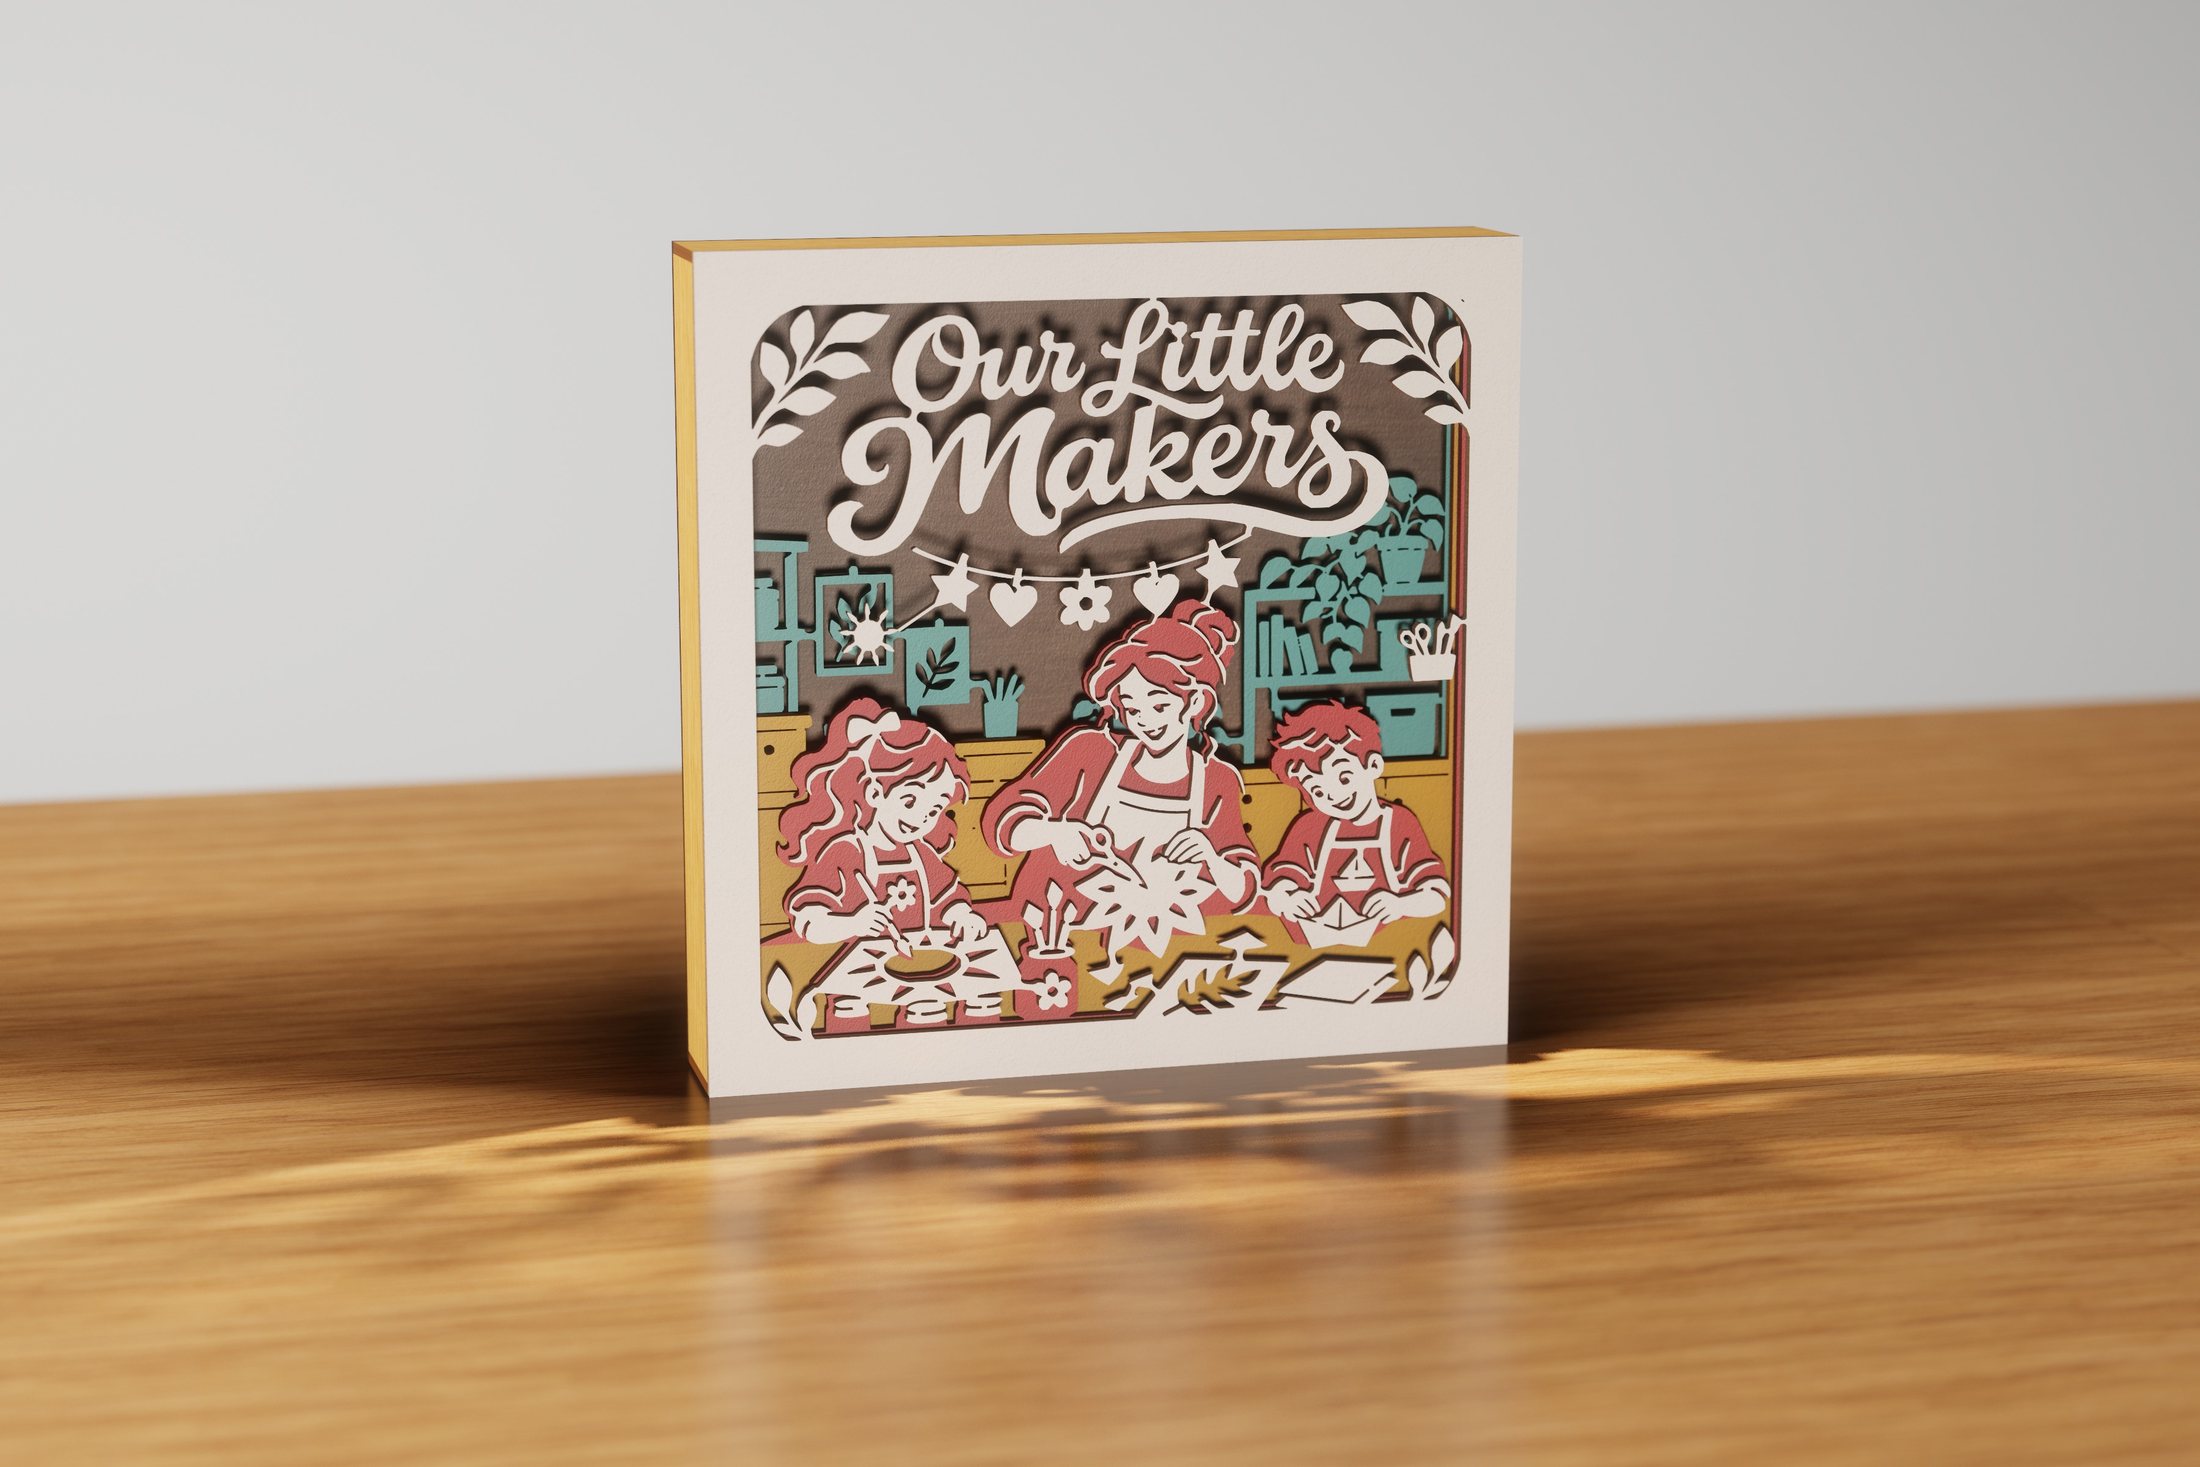 Our Little MakersIntricate designs
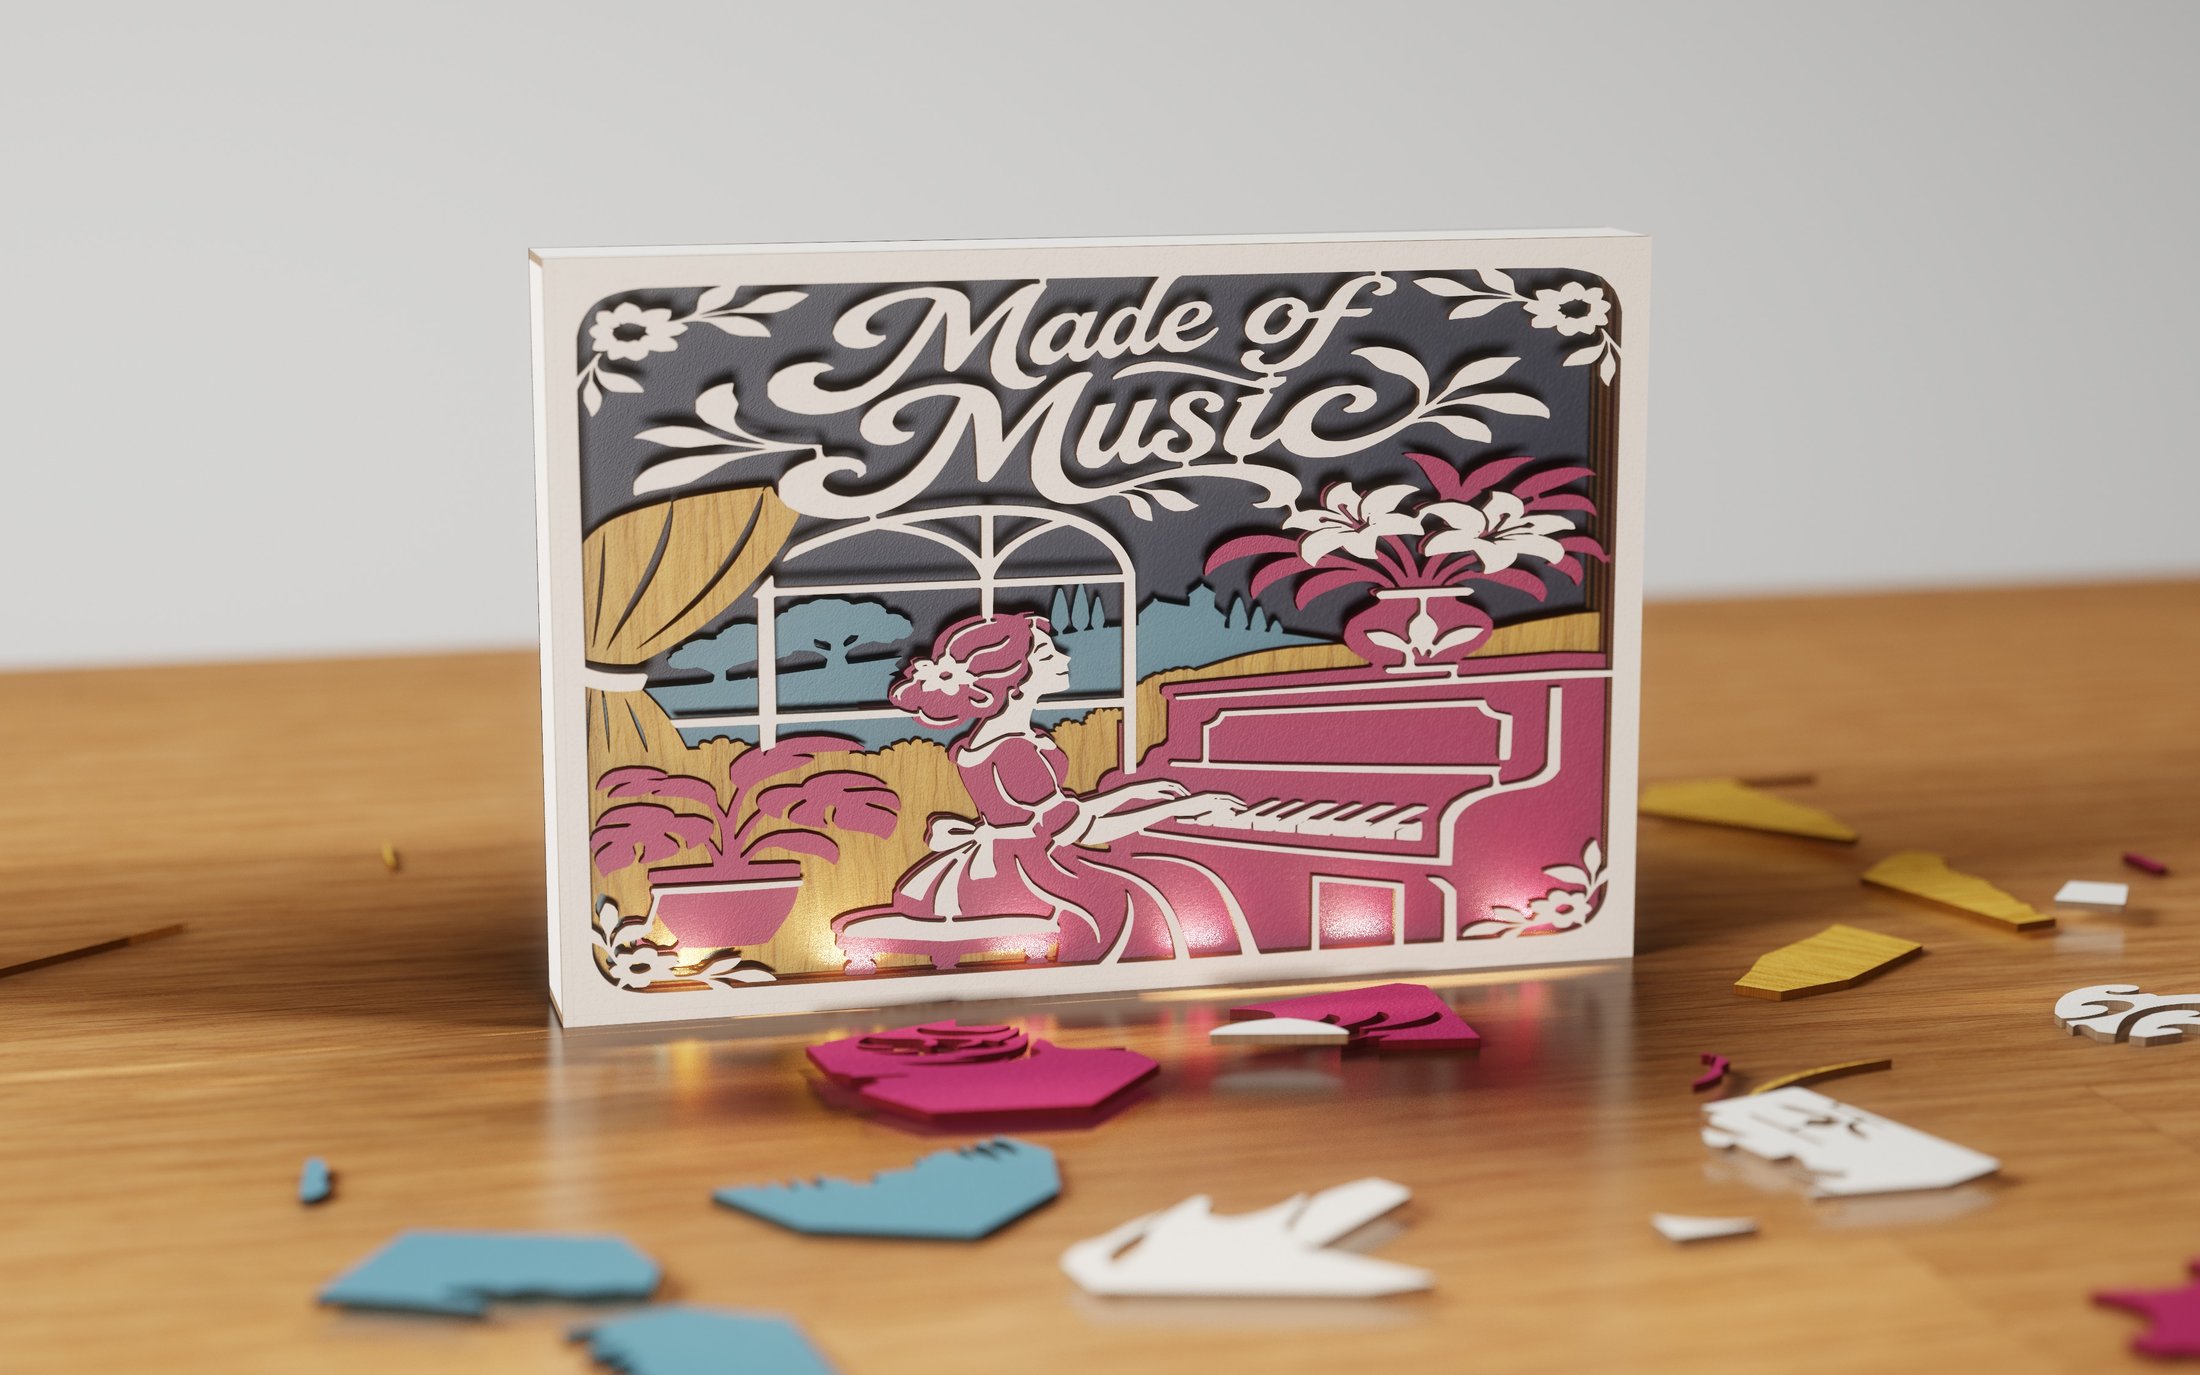 Made of MusicIntricate designs
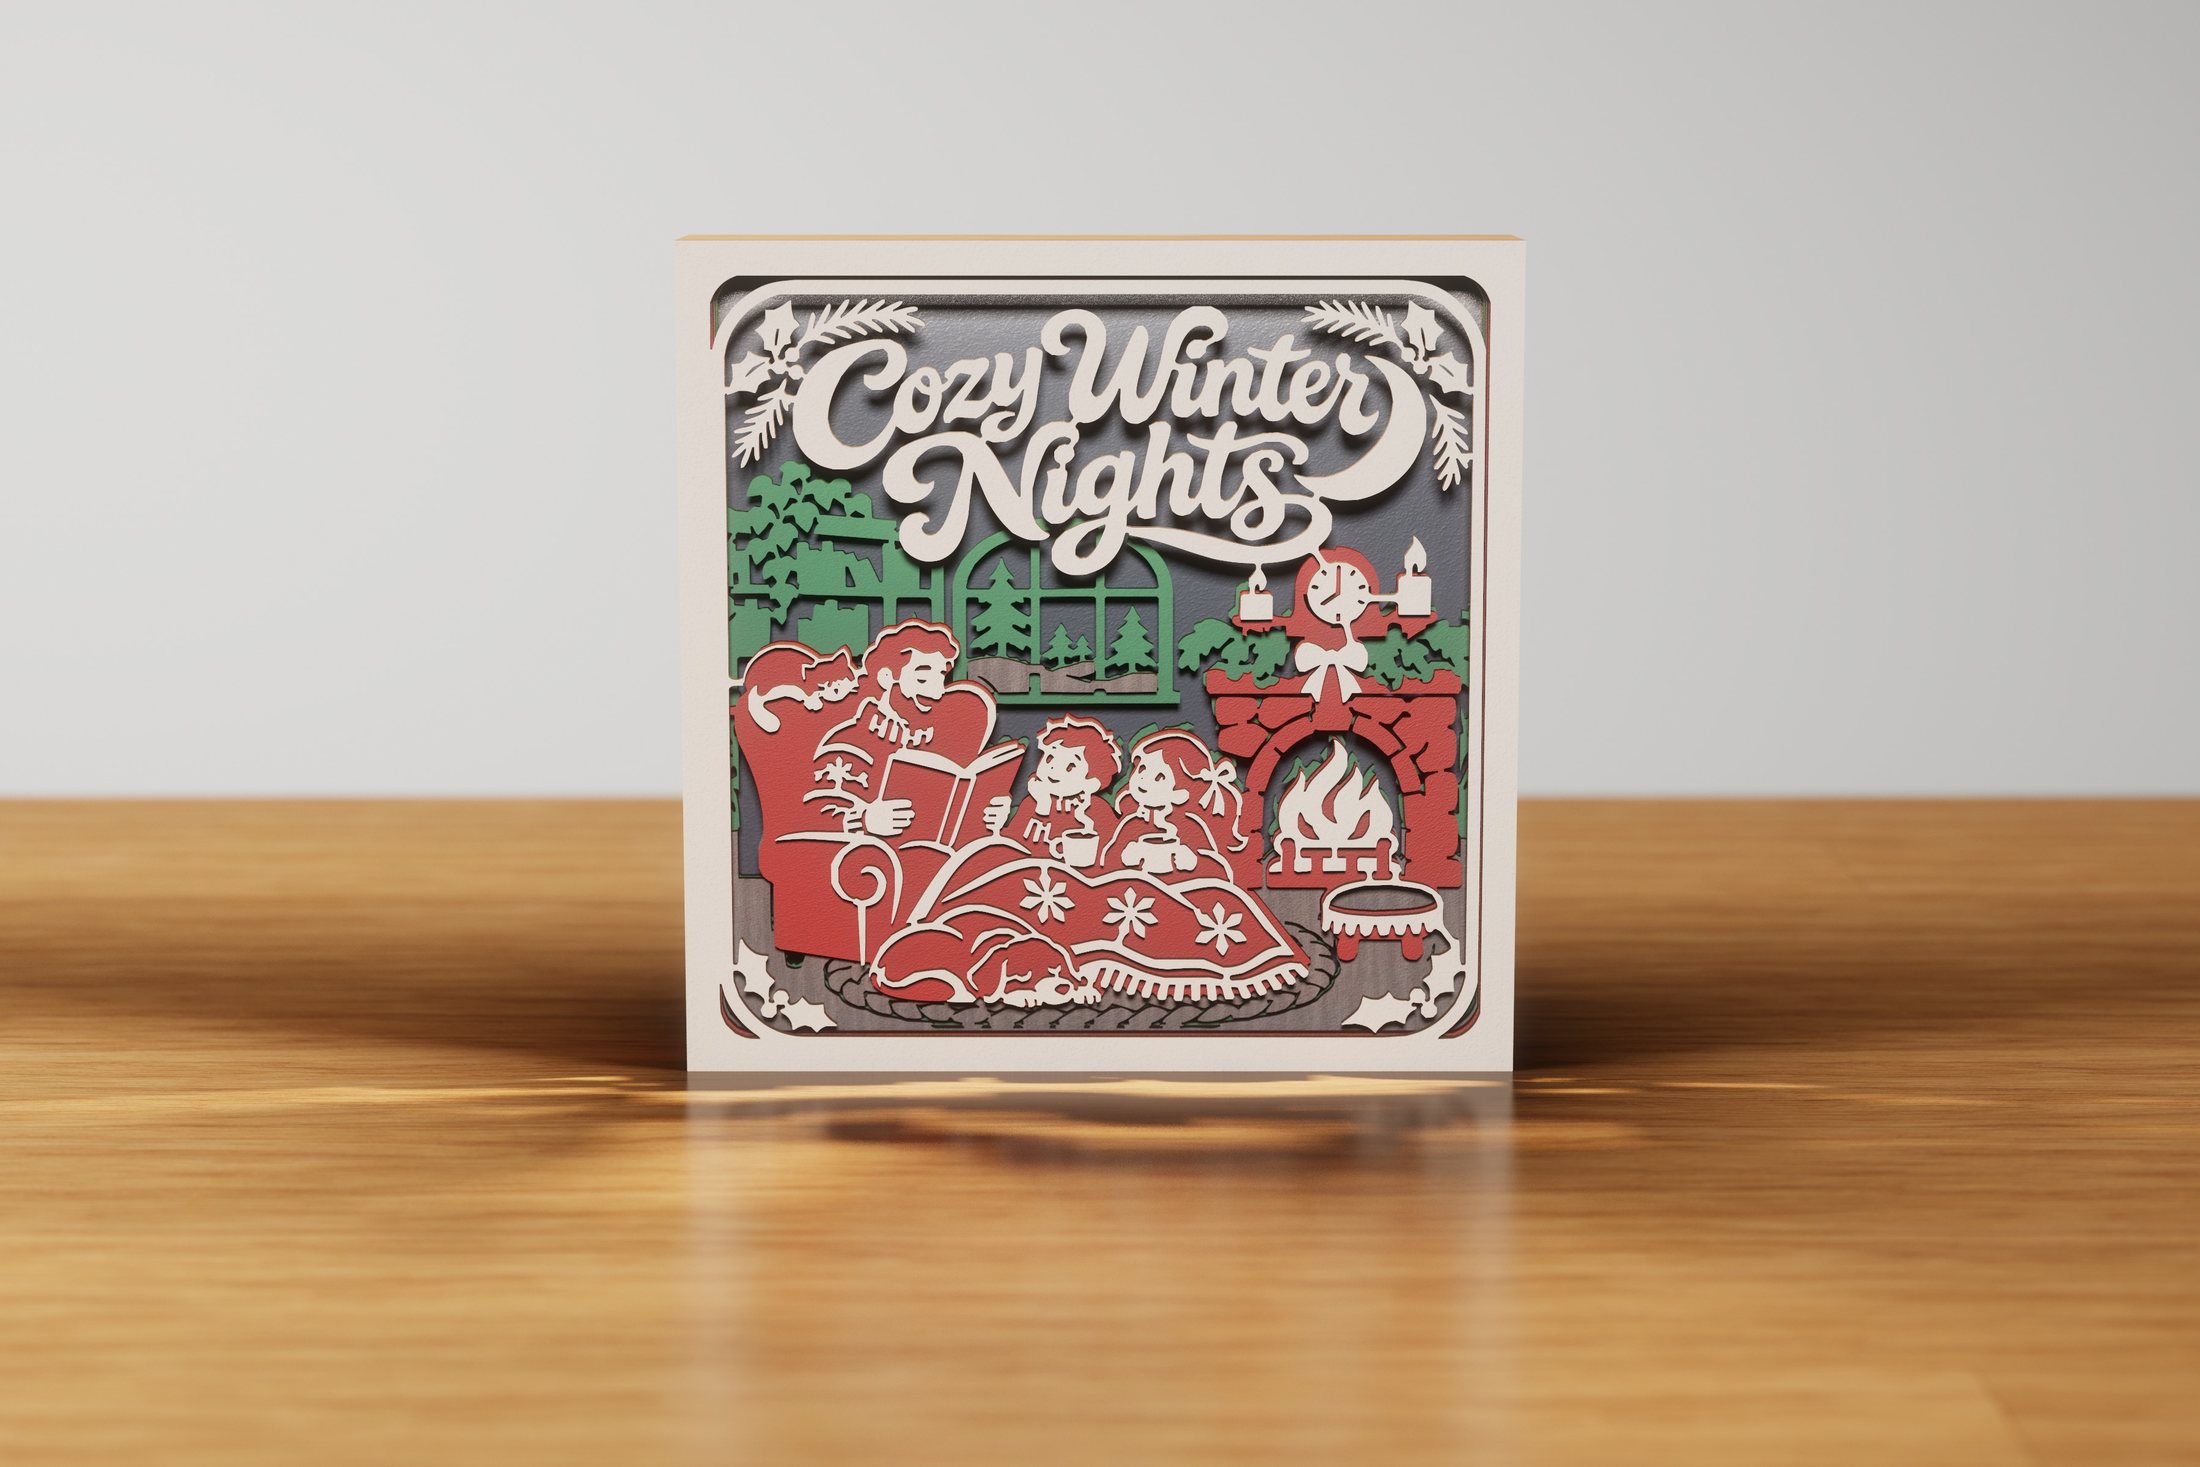 Cozy Winter NightsIntricate designs
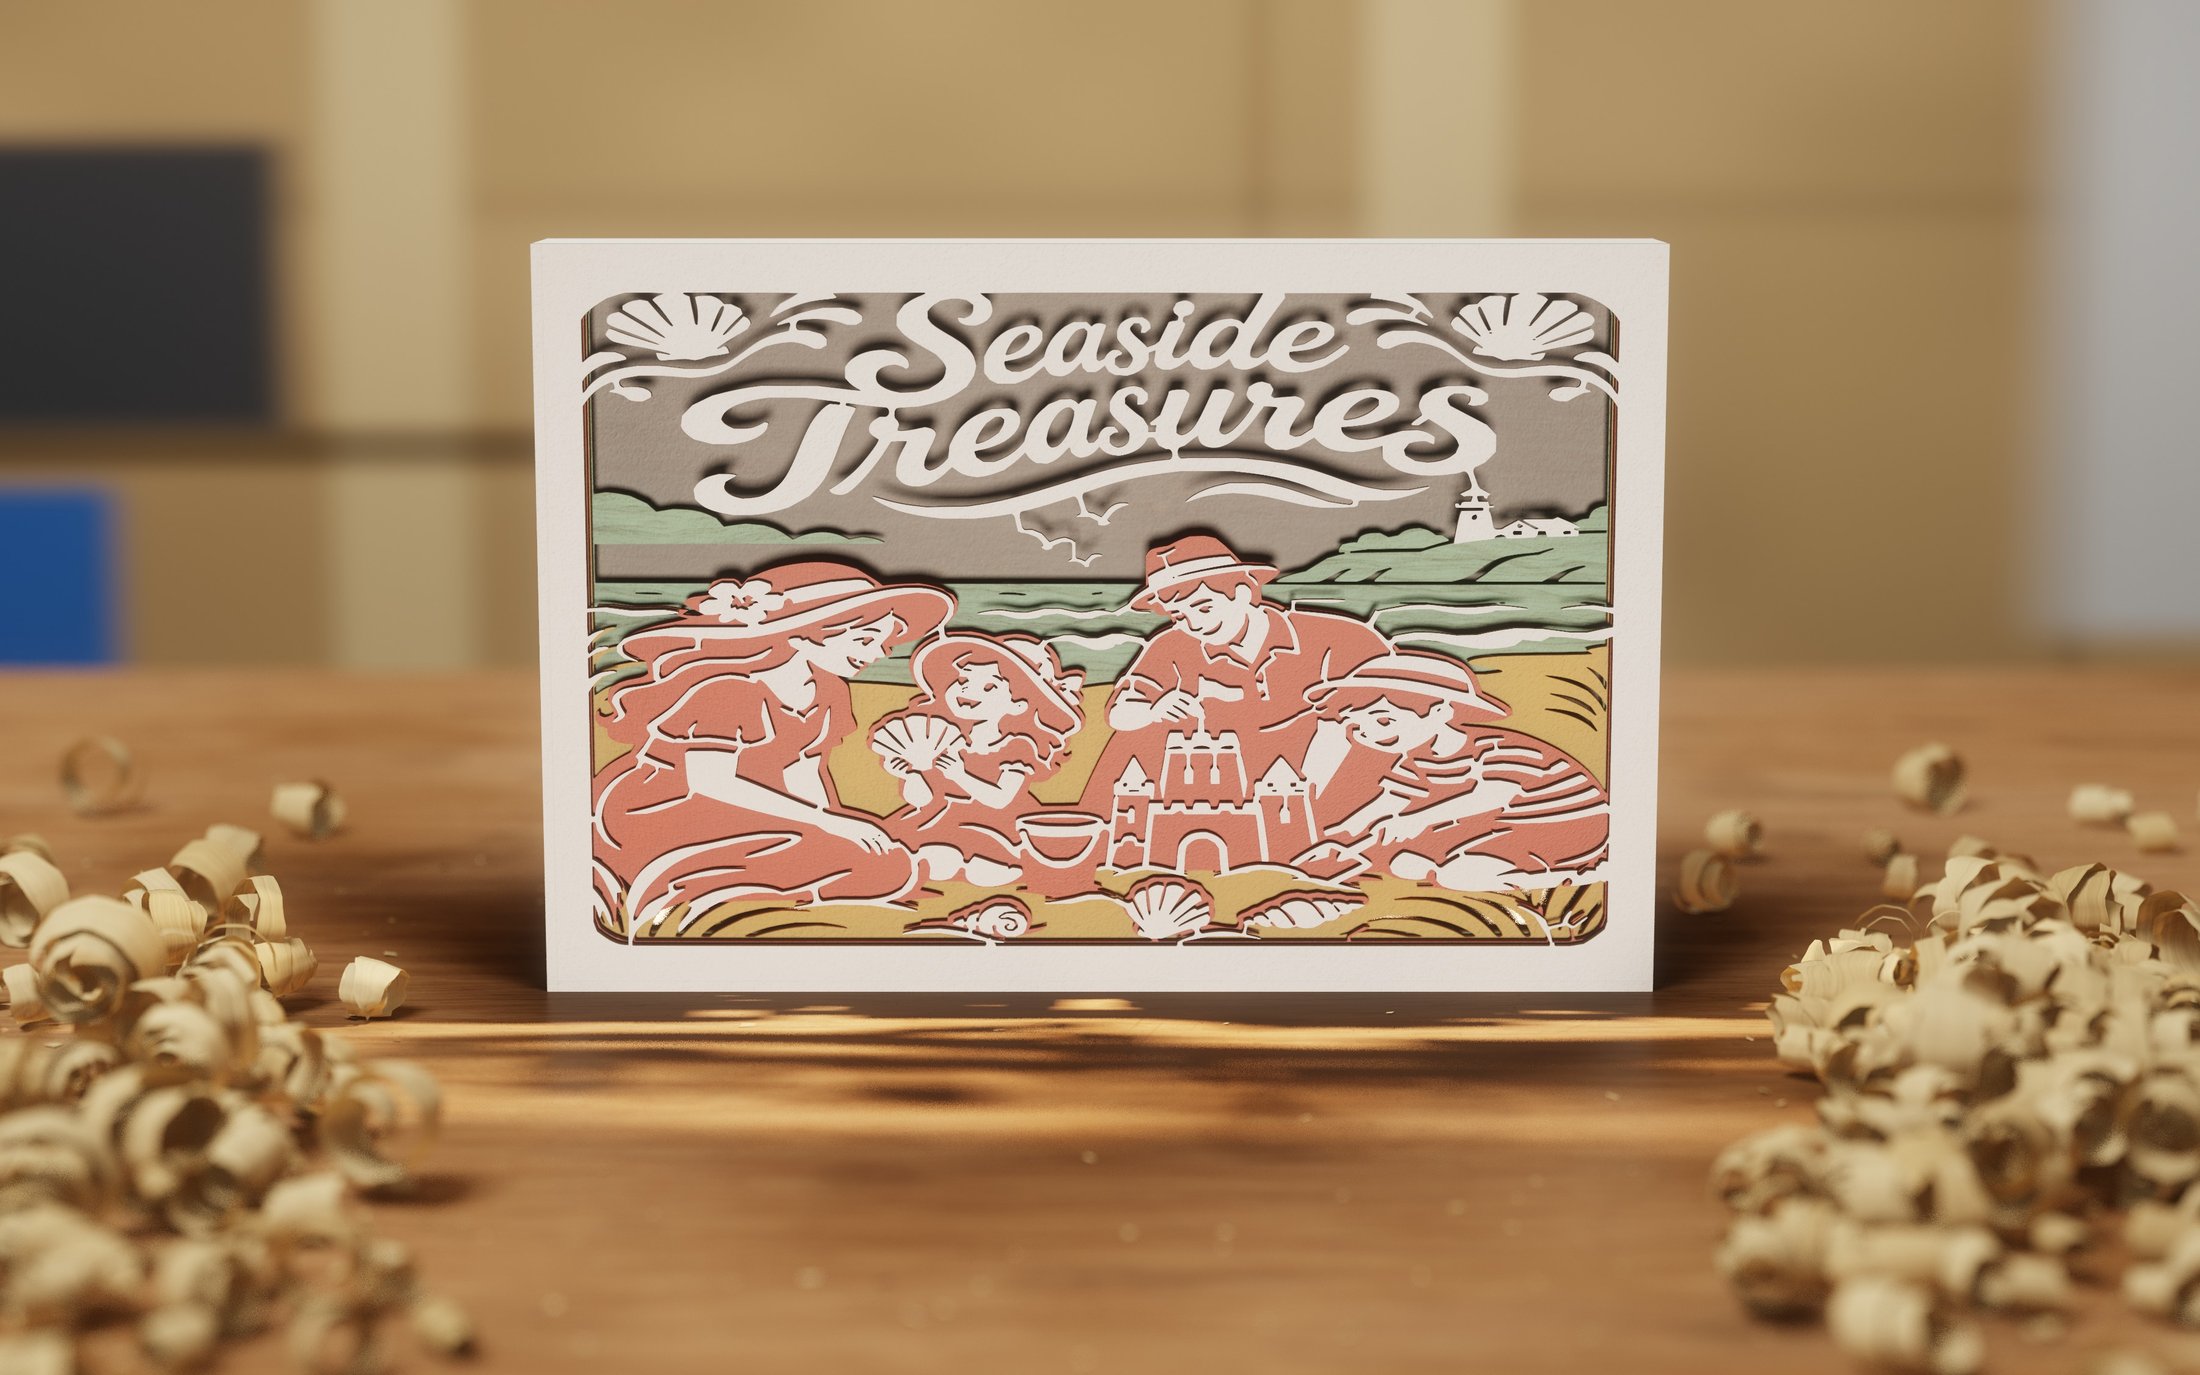 Seaside TreasuresIntricate designs
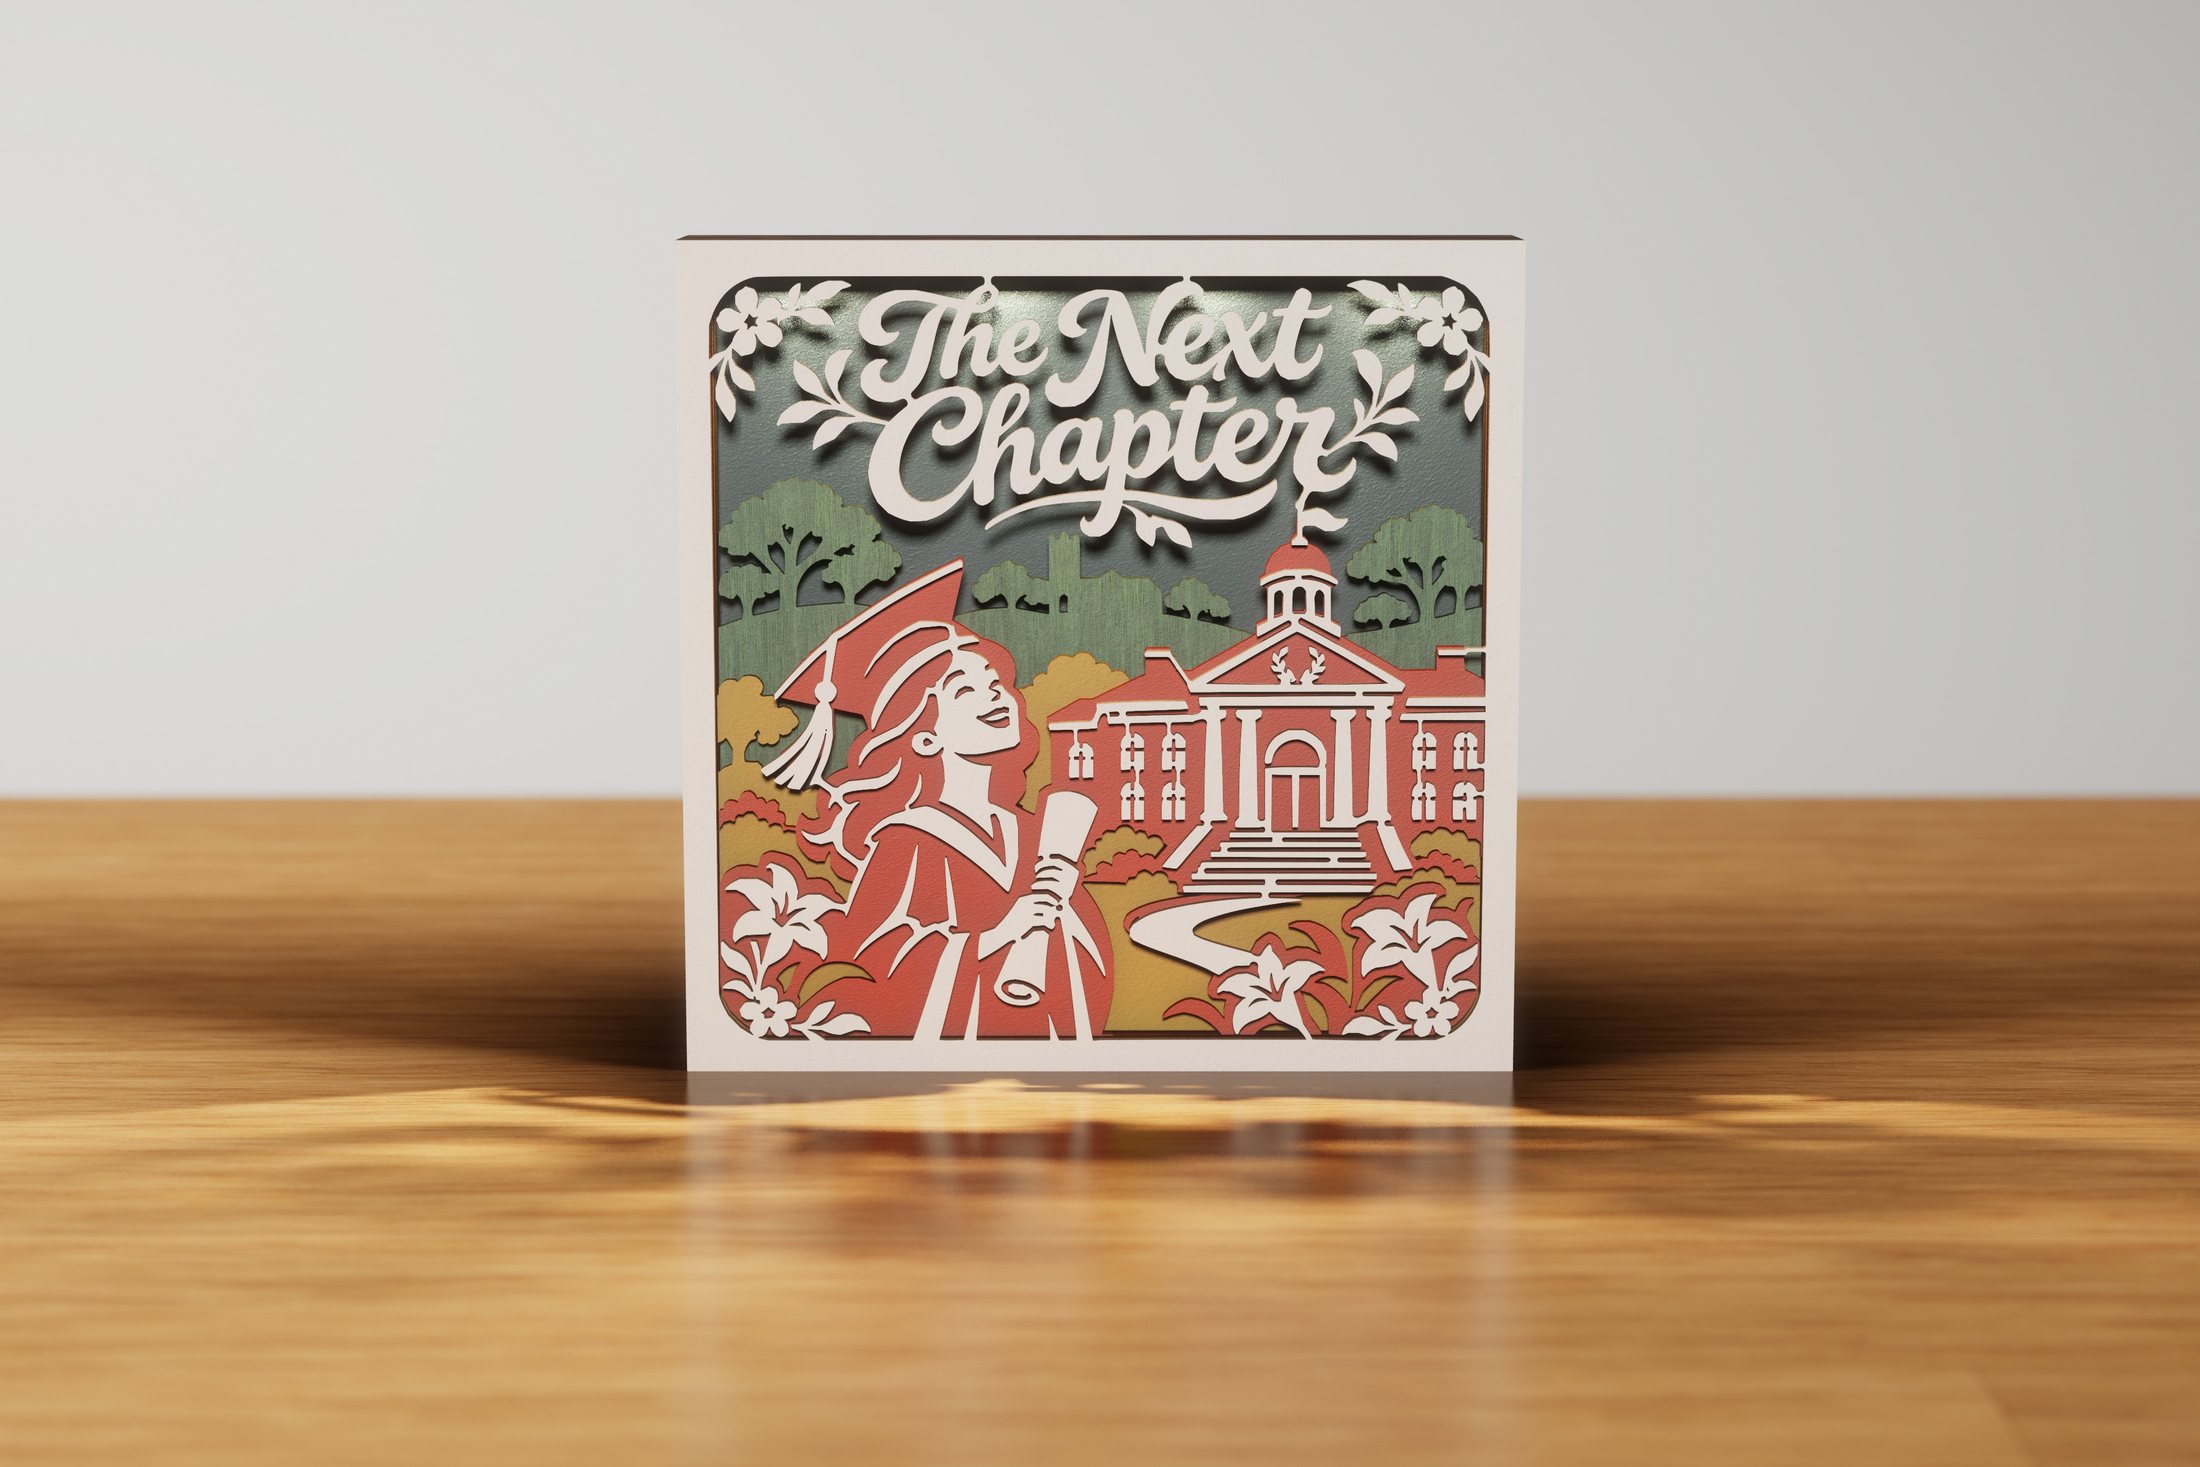 The Next ChapterIntricate designs
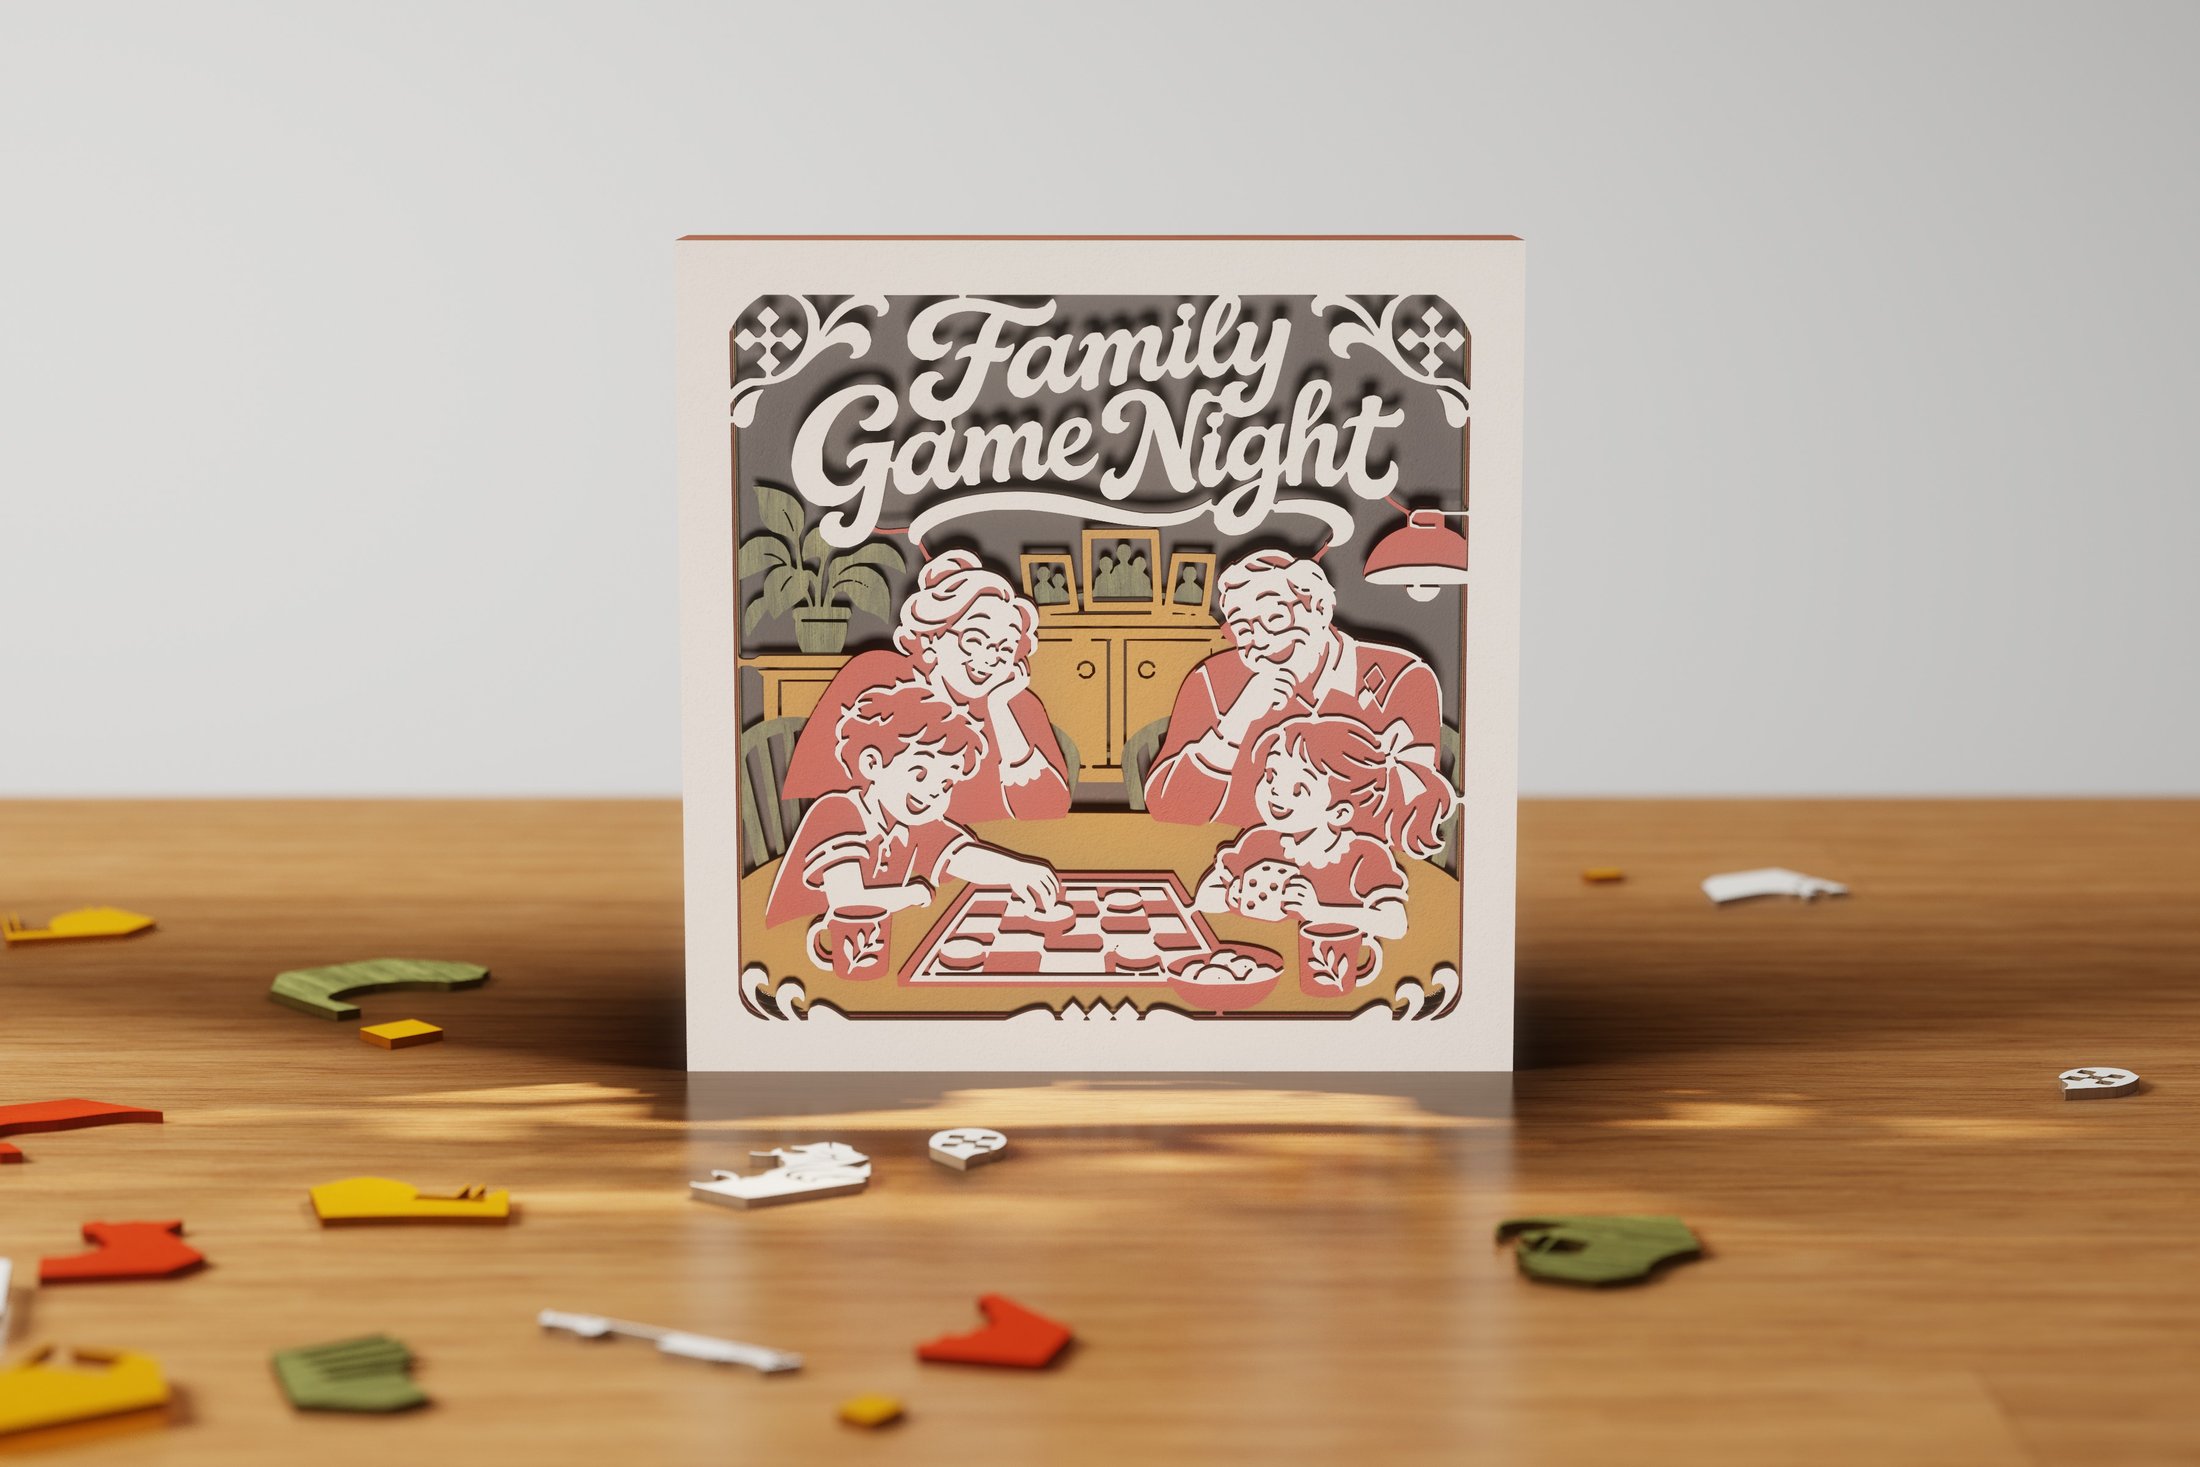 Family Game NightIntricate designs
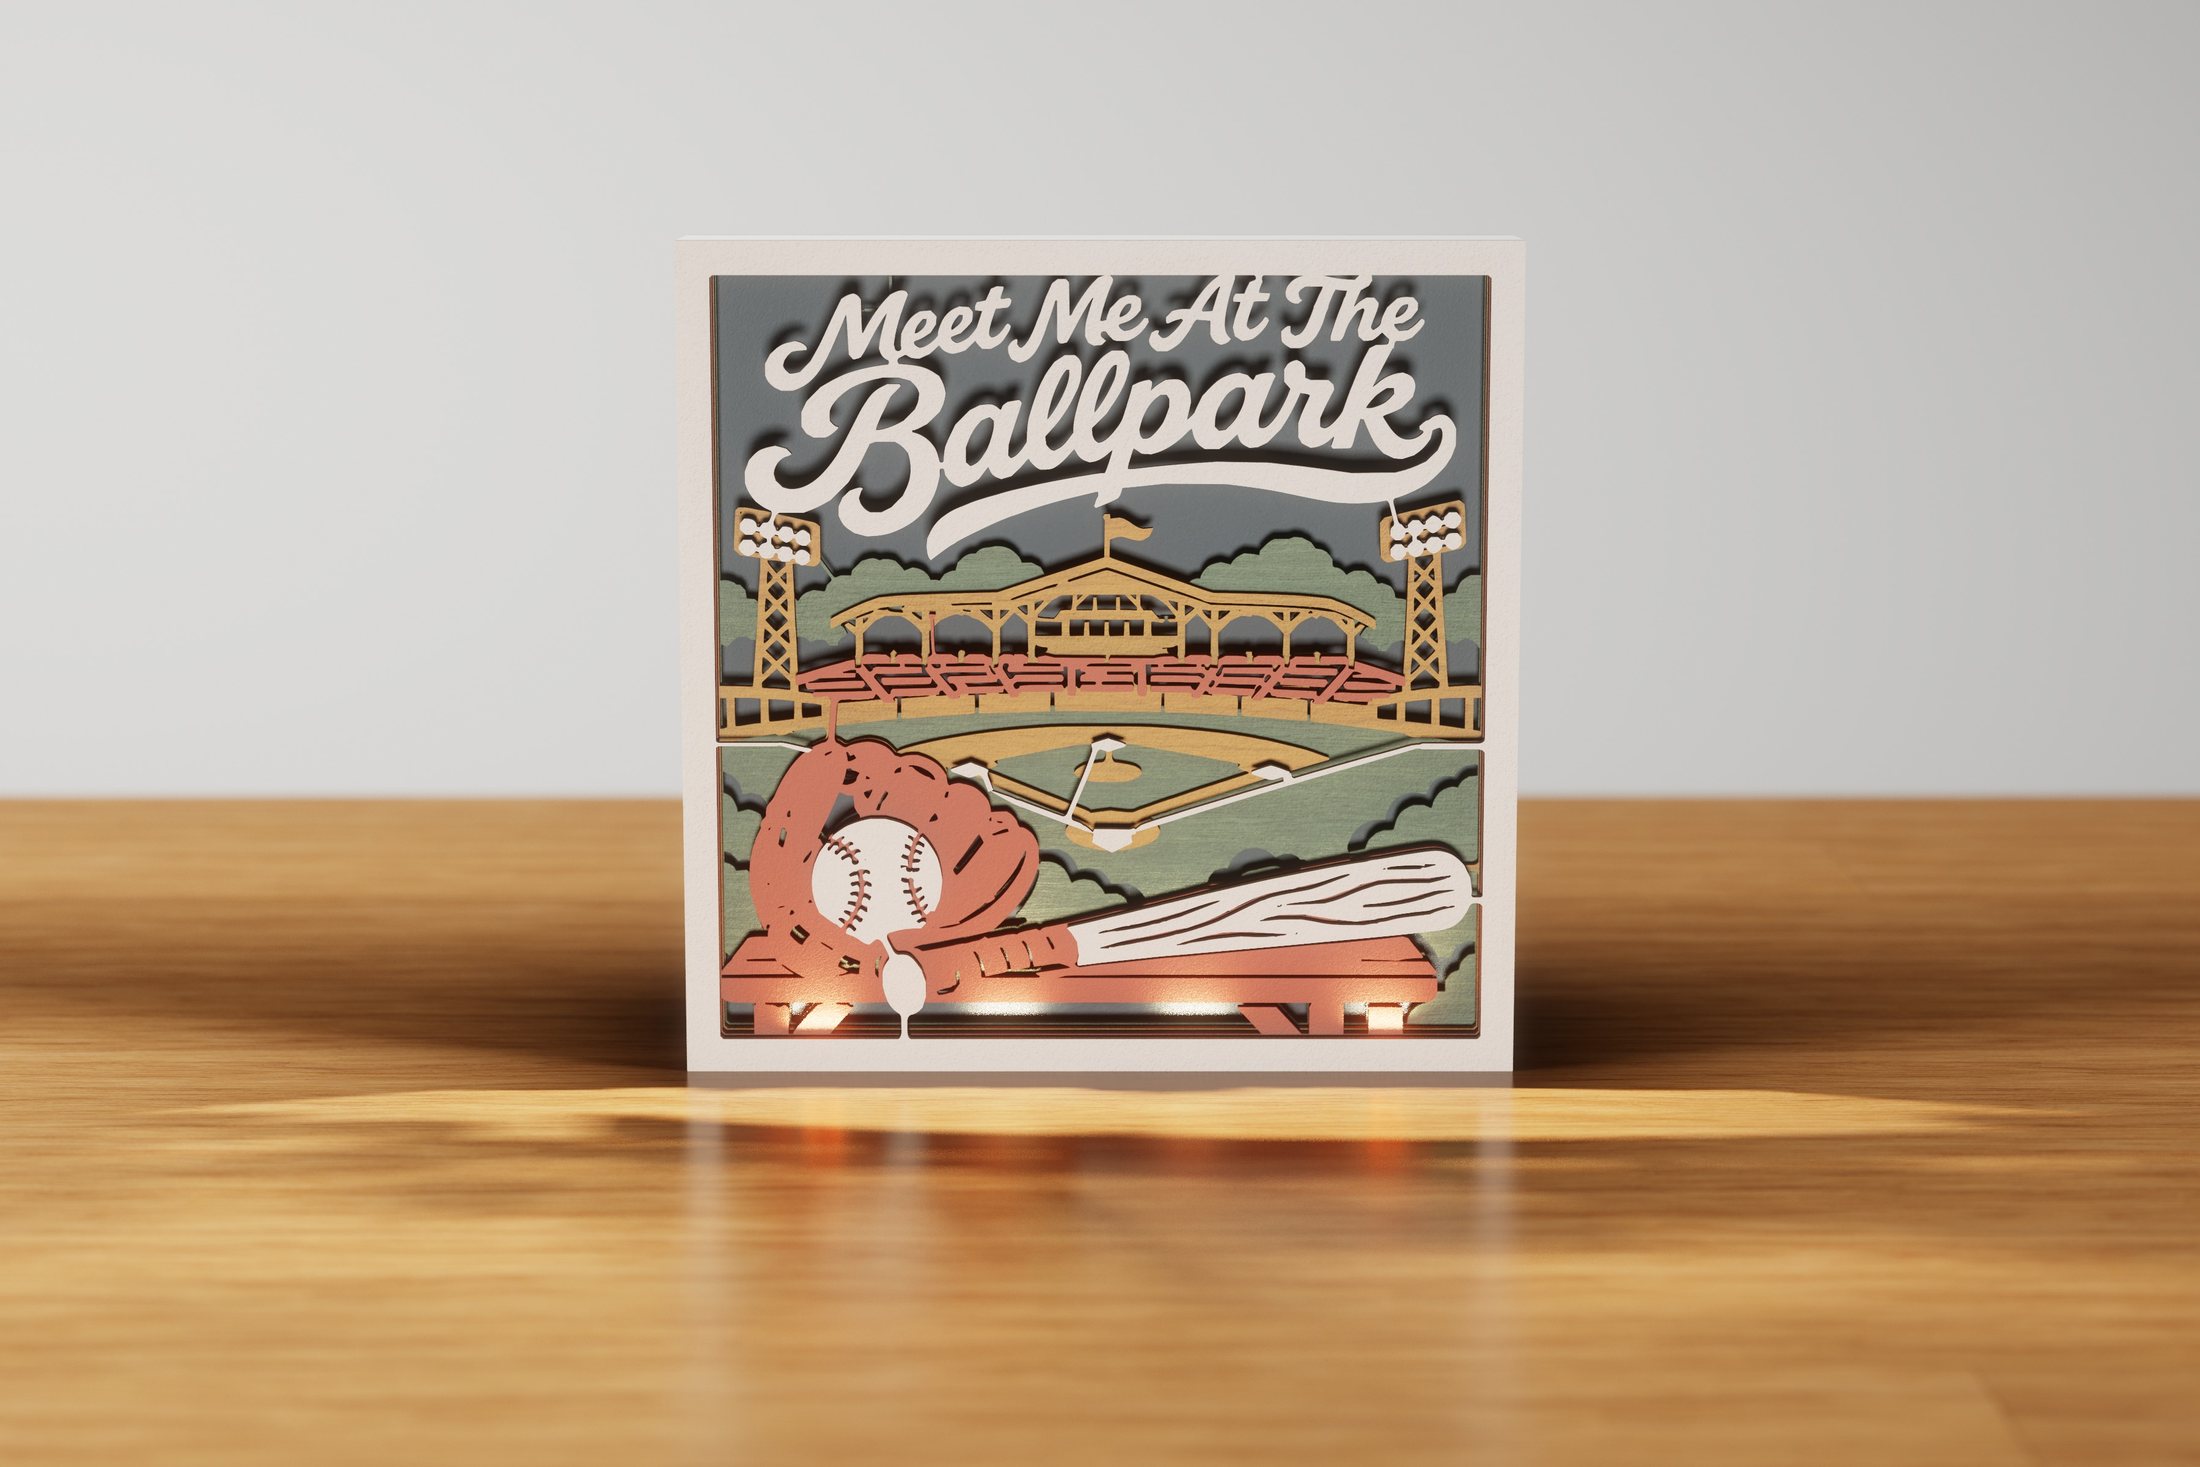 Meet Me at the BallparkHome & heart
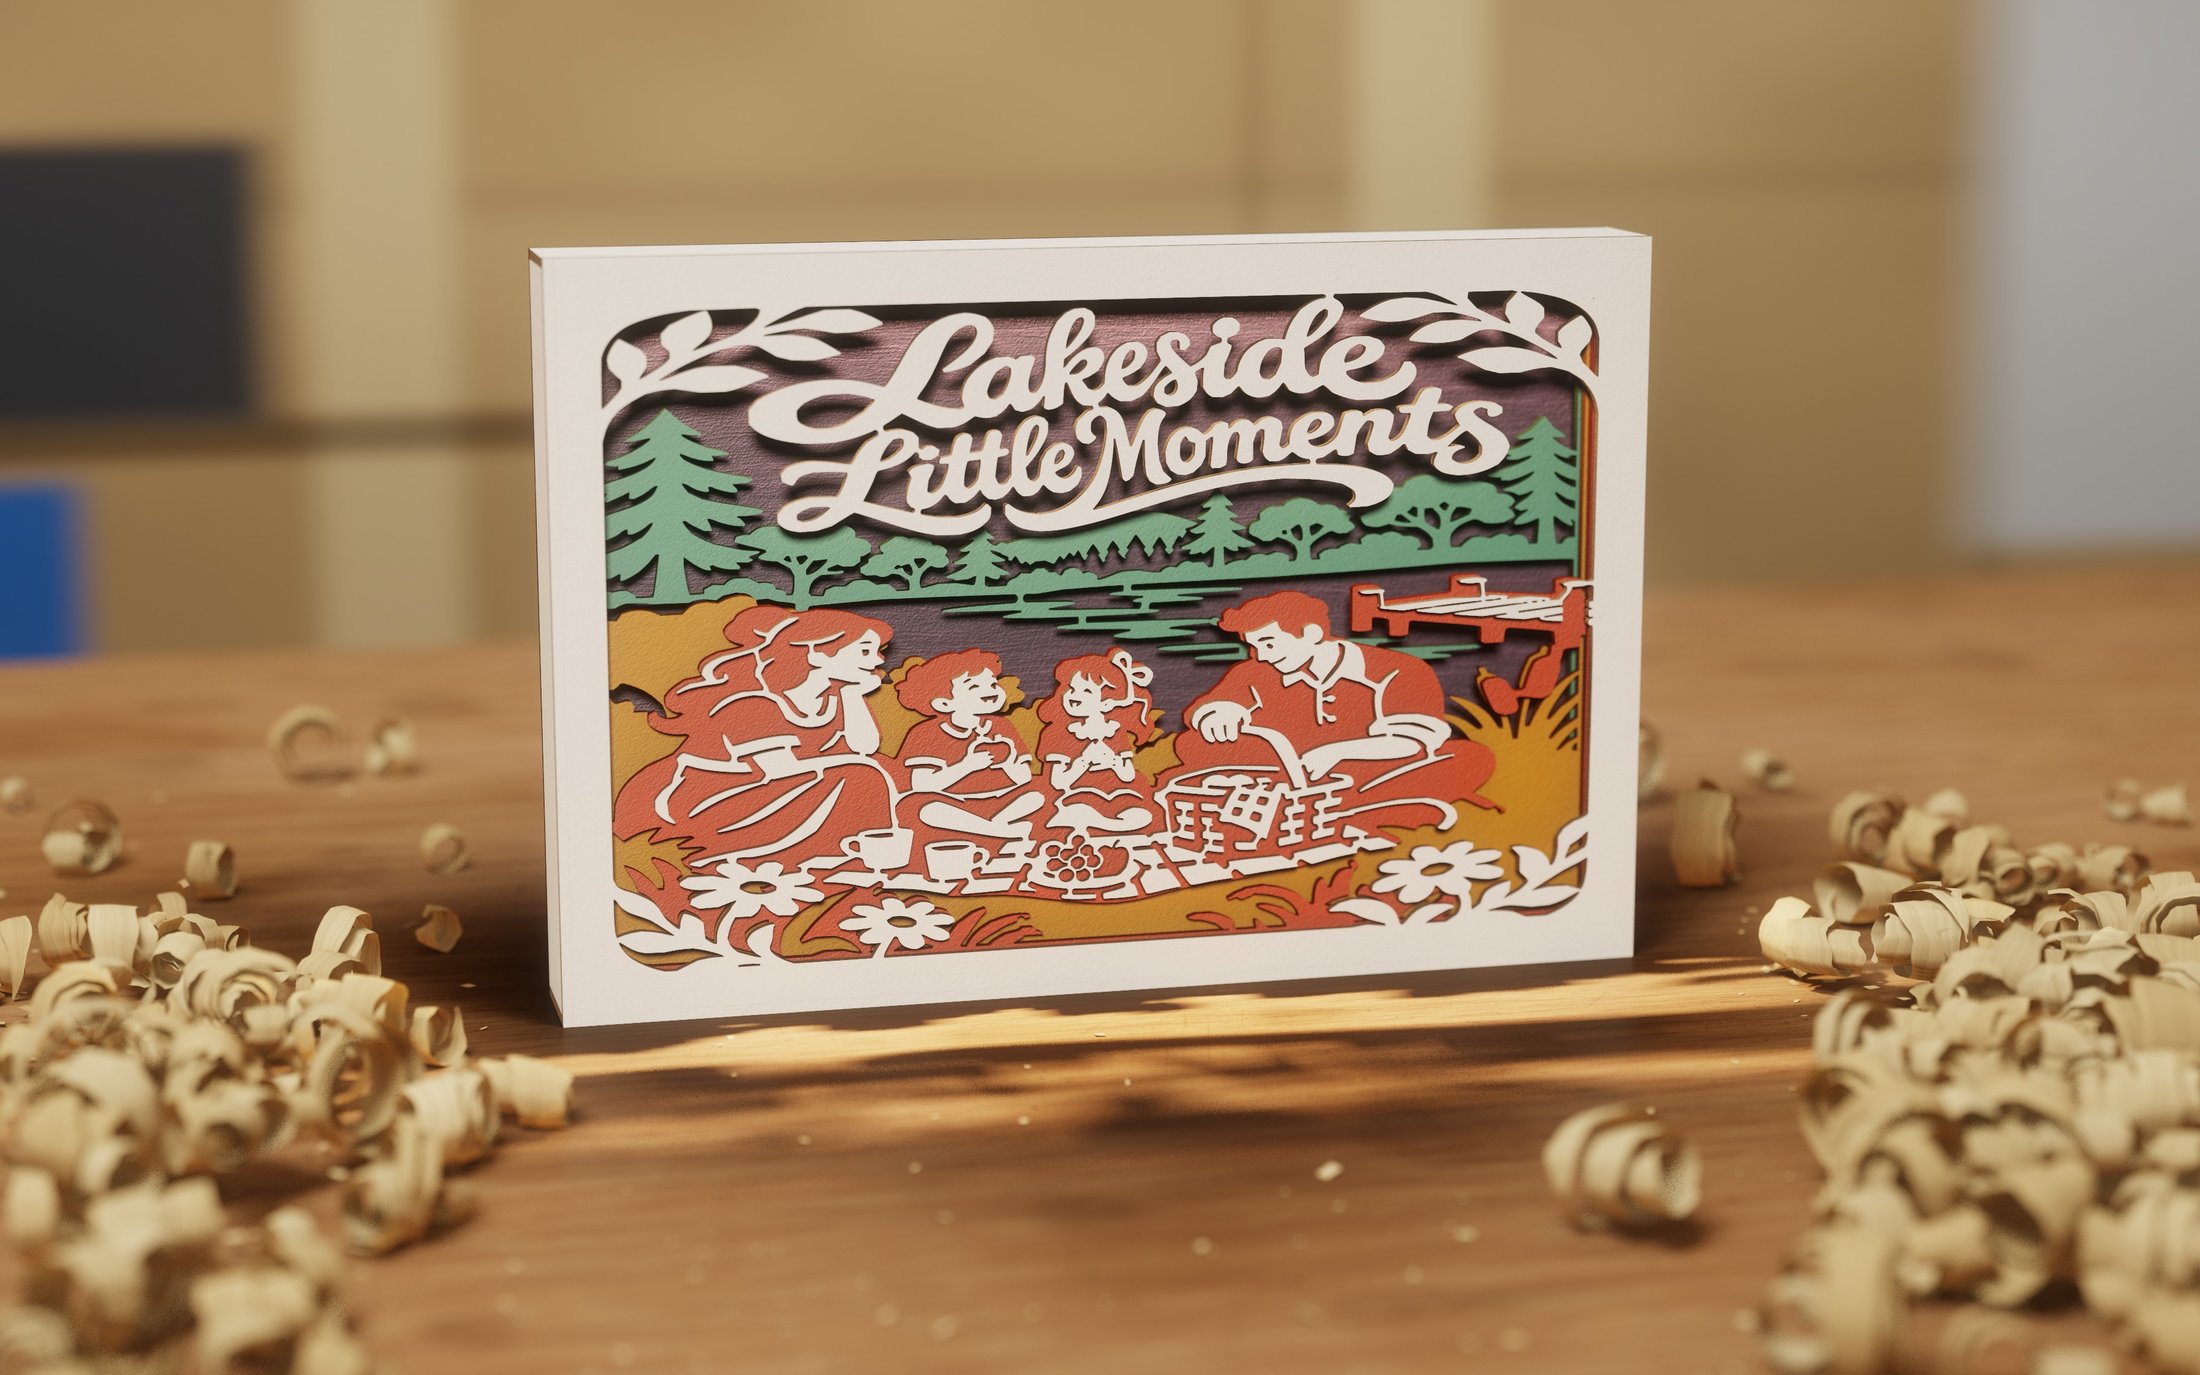 Lakeside Little MomentsTravel & adventure
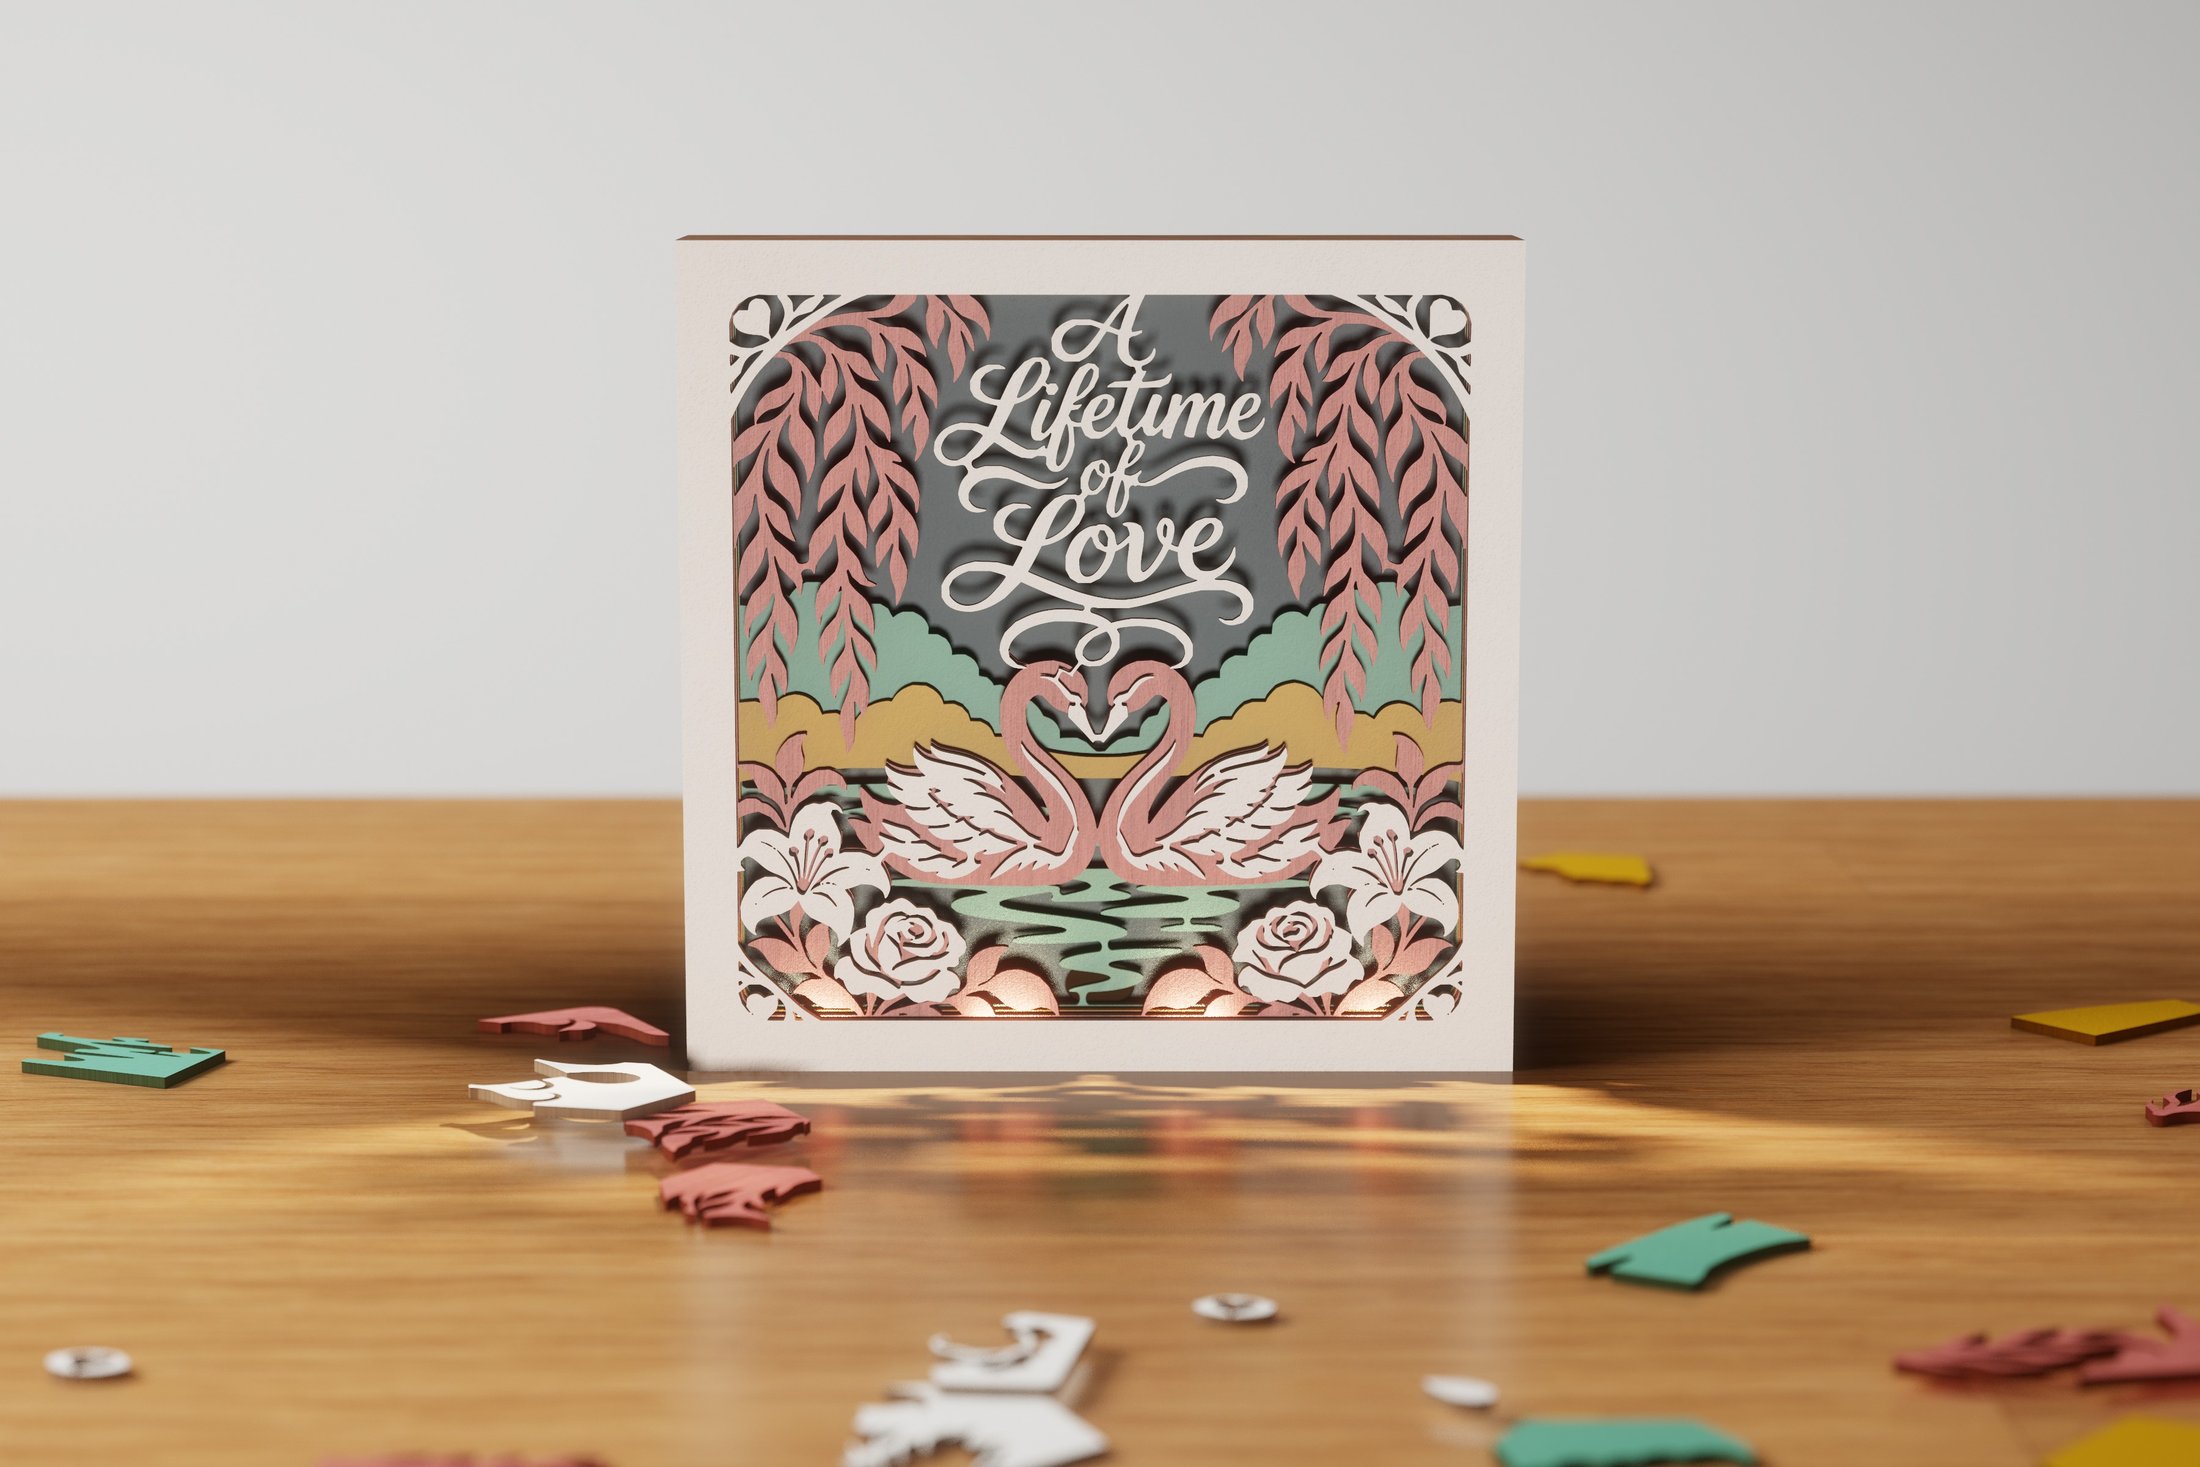 A Lifetime of LoveHome & heart
Dragonfly DreamsNature & gardens
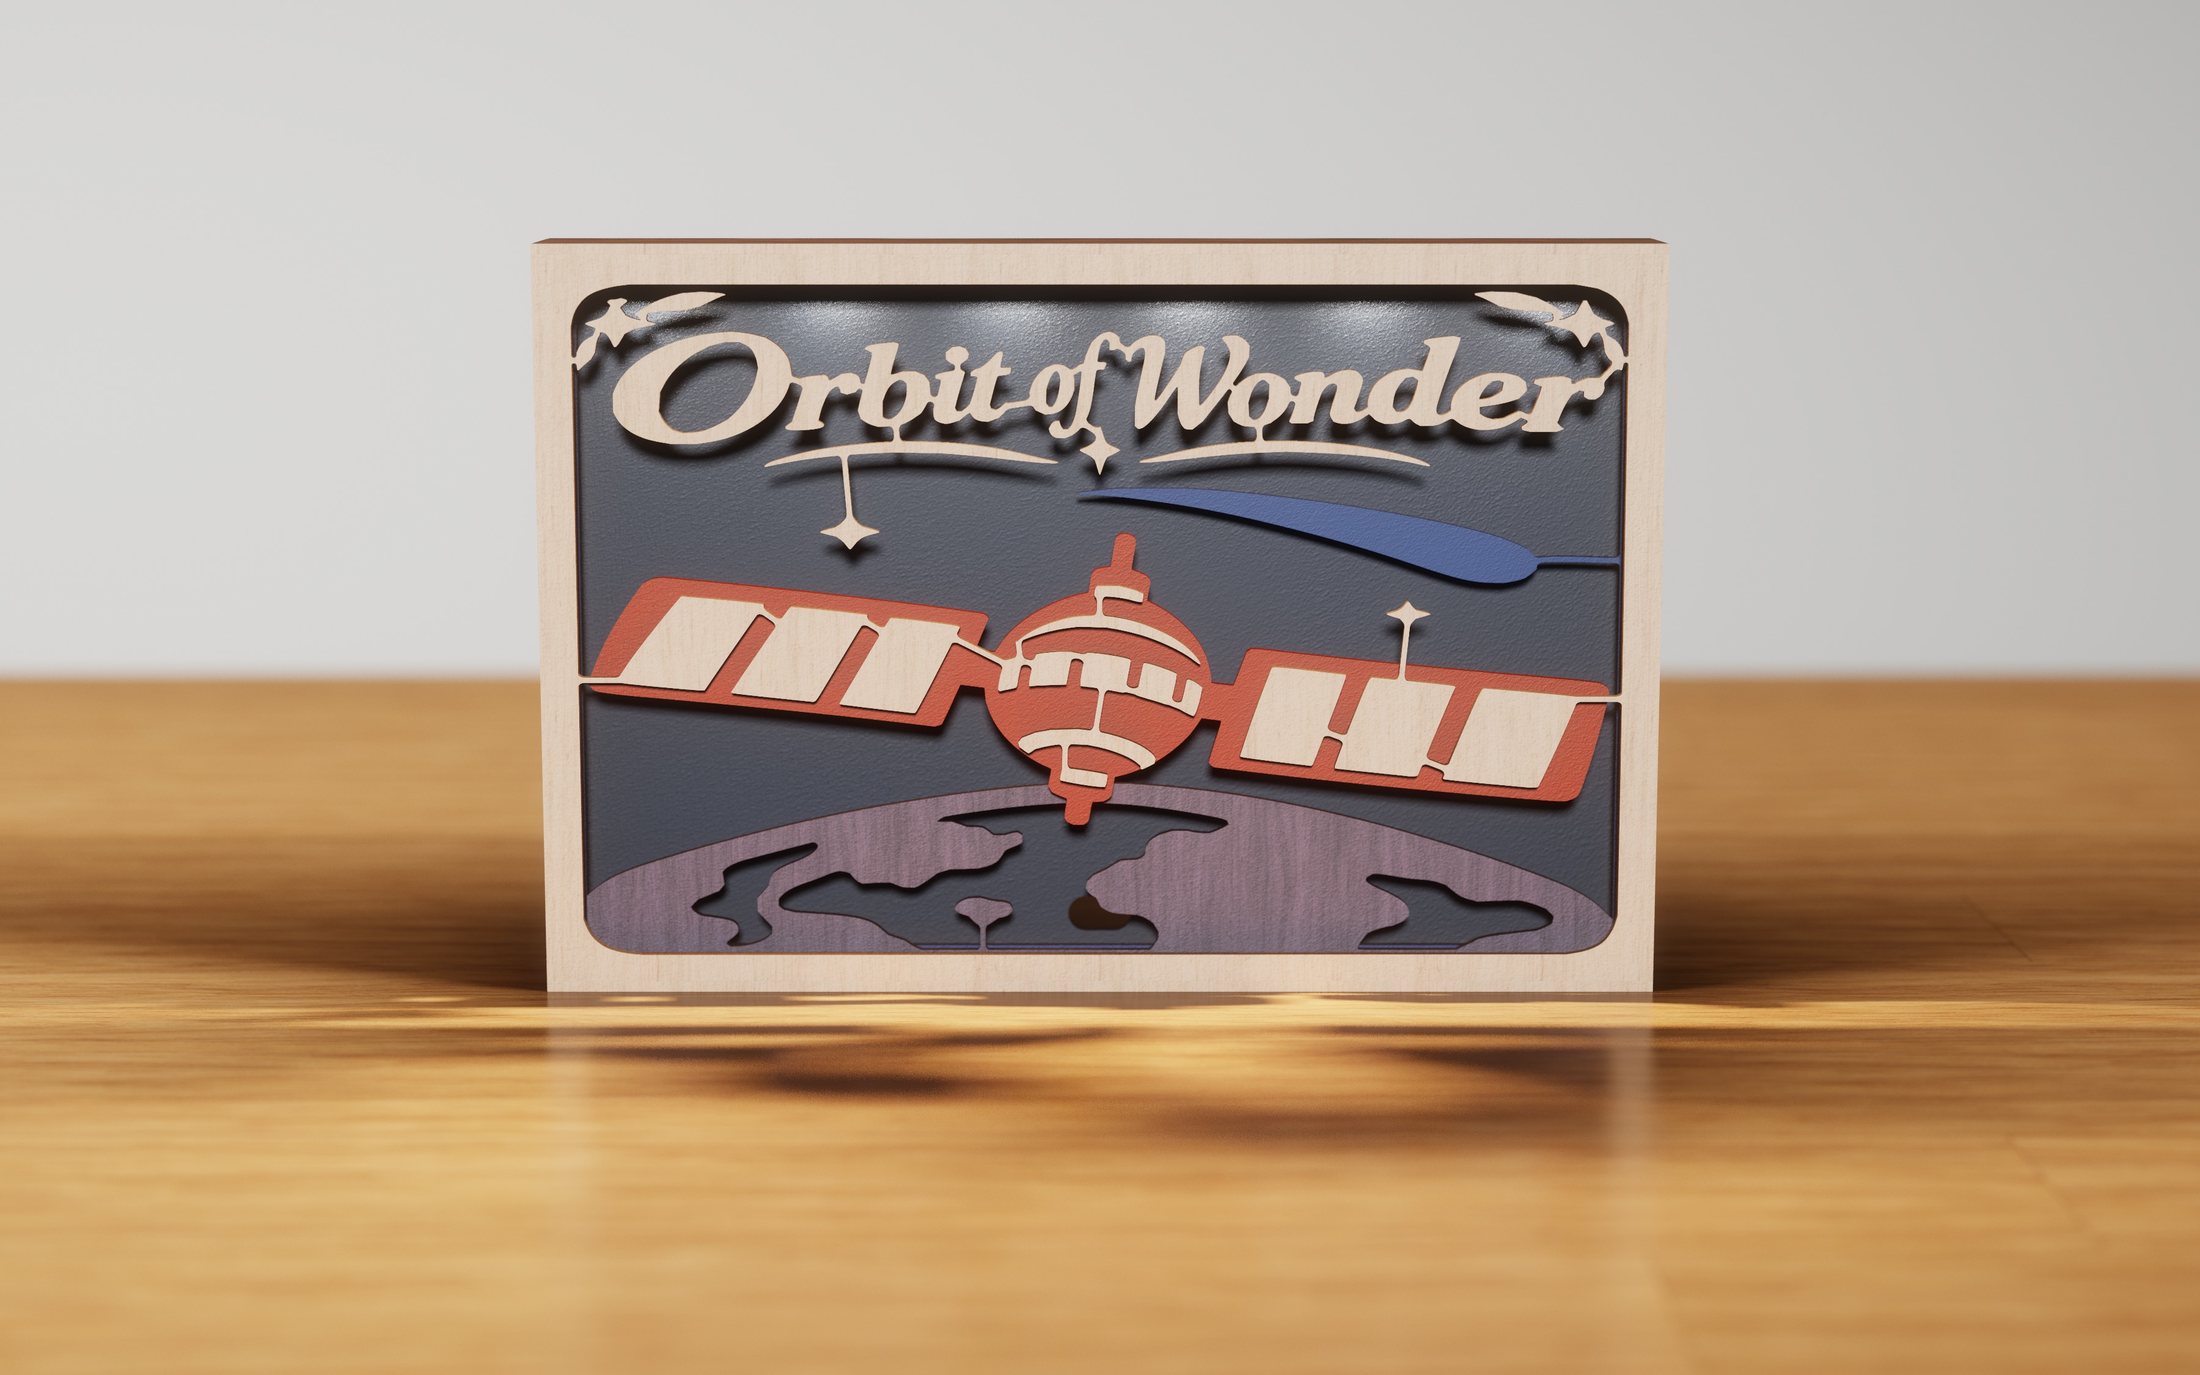 Orbit of WonderFantasy & space
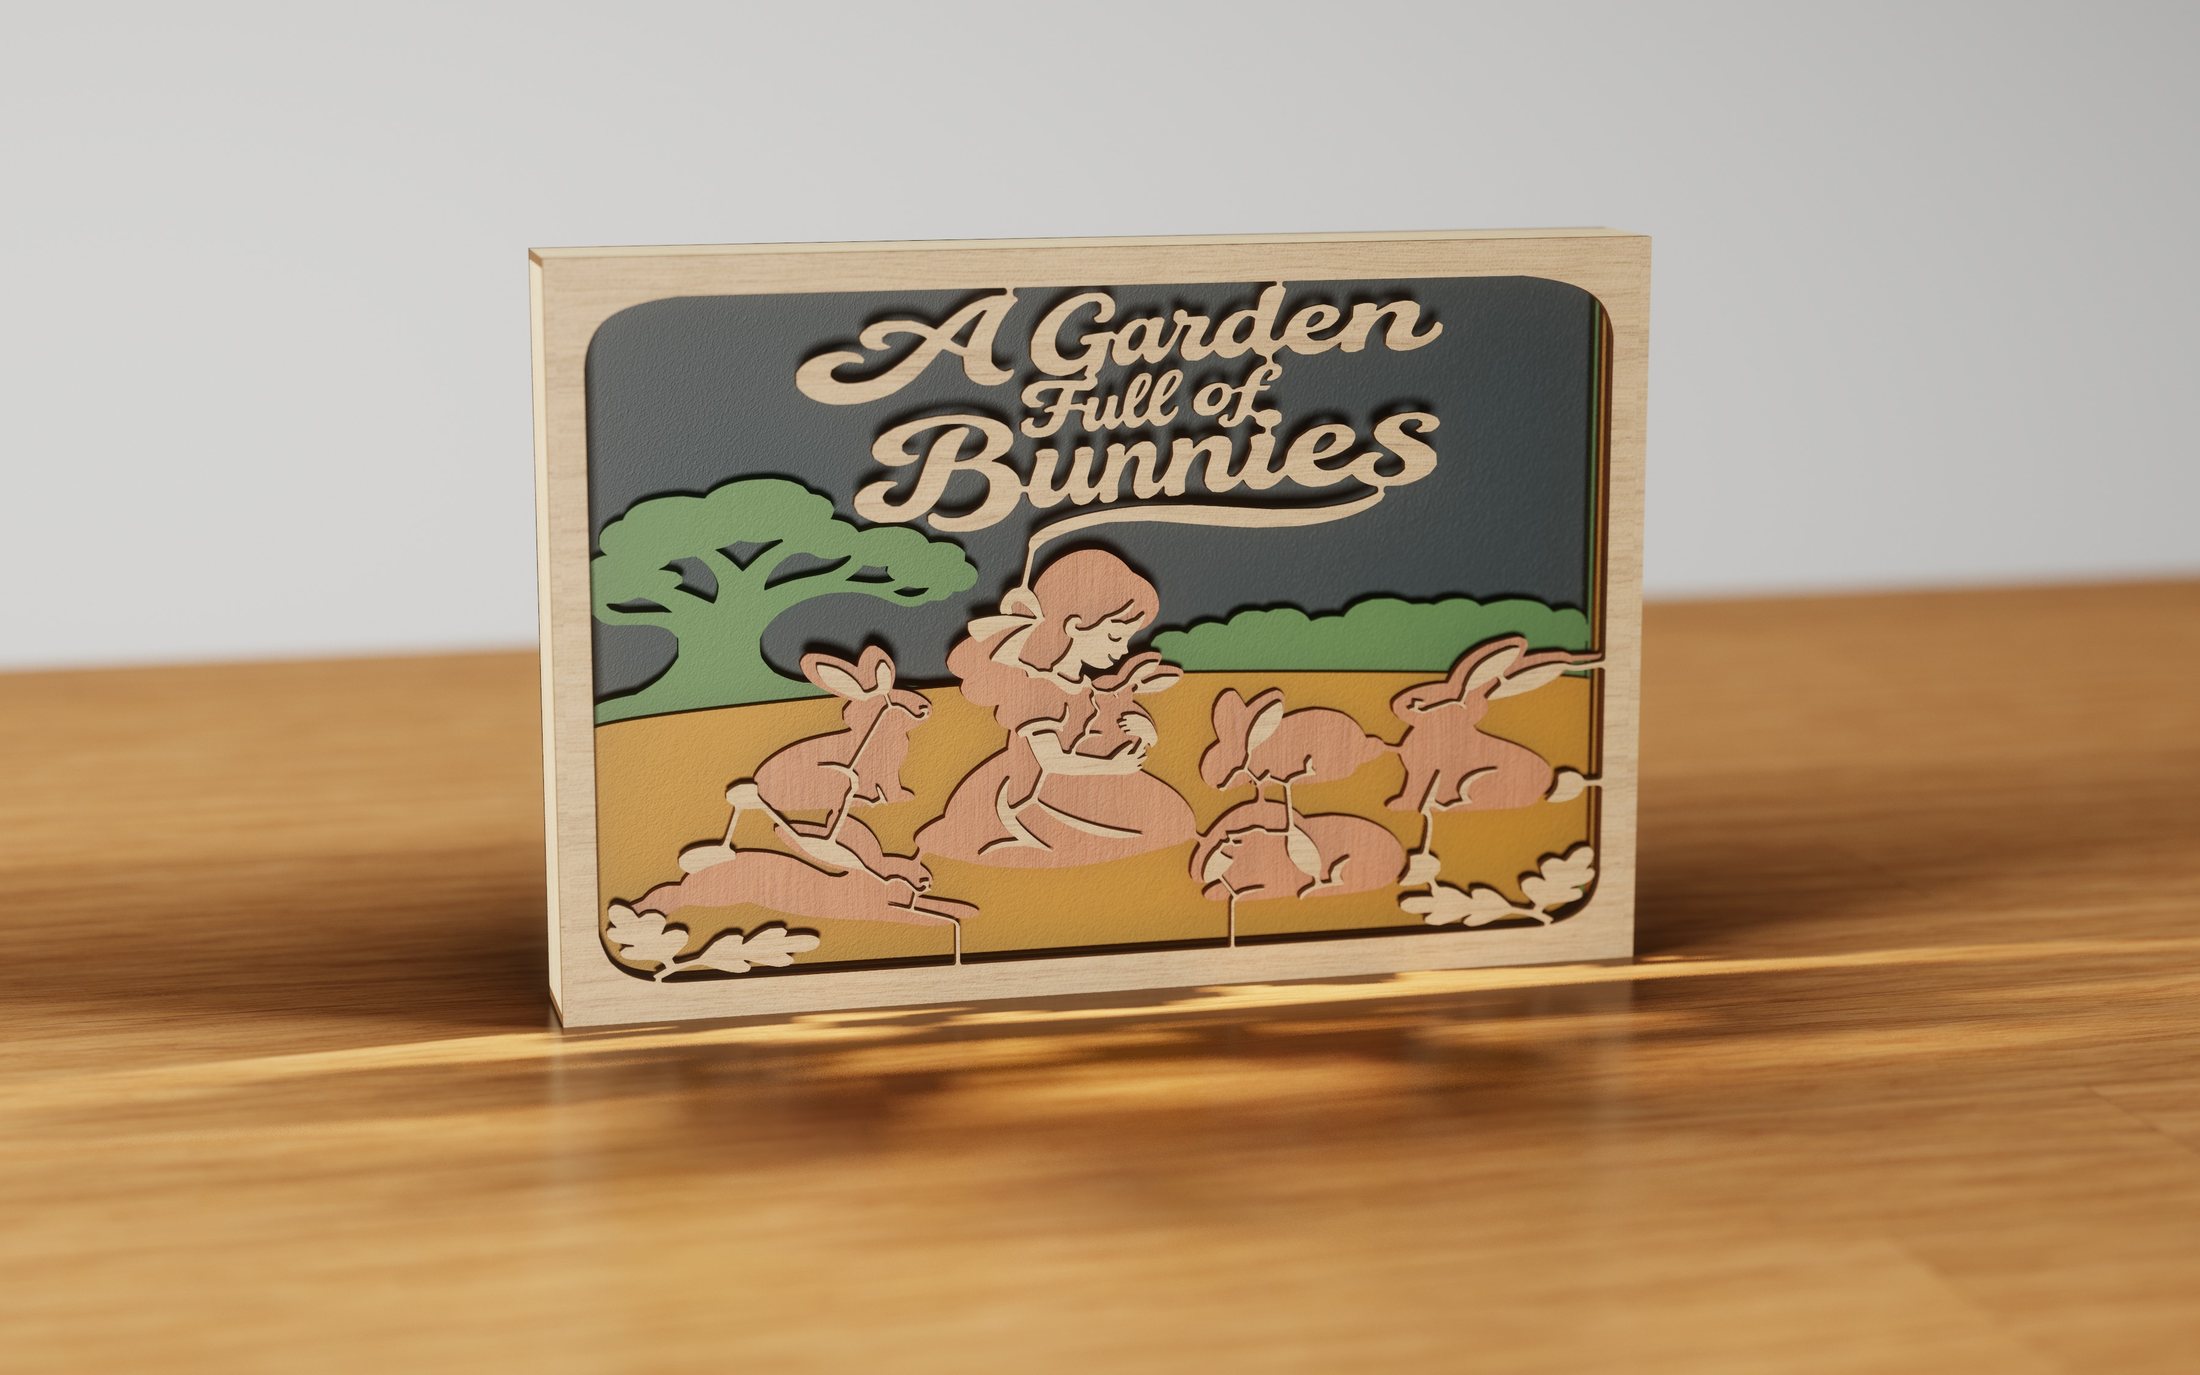 A Garden Full of BunniesNature & gardens
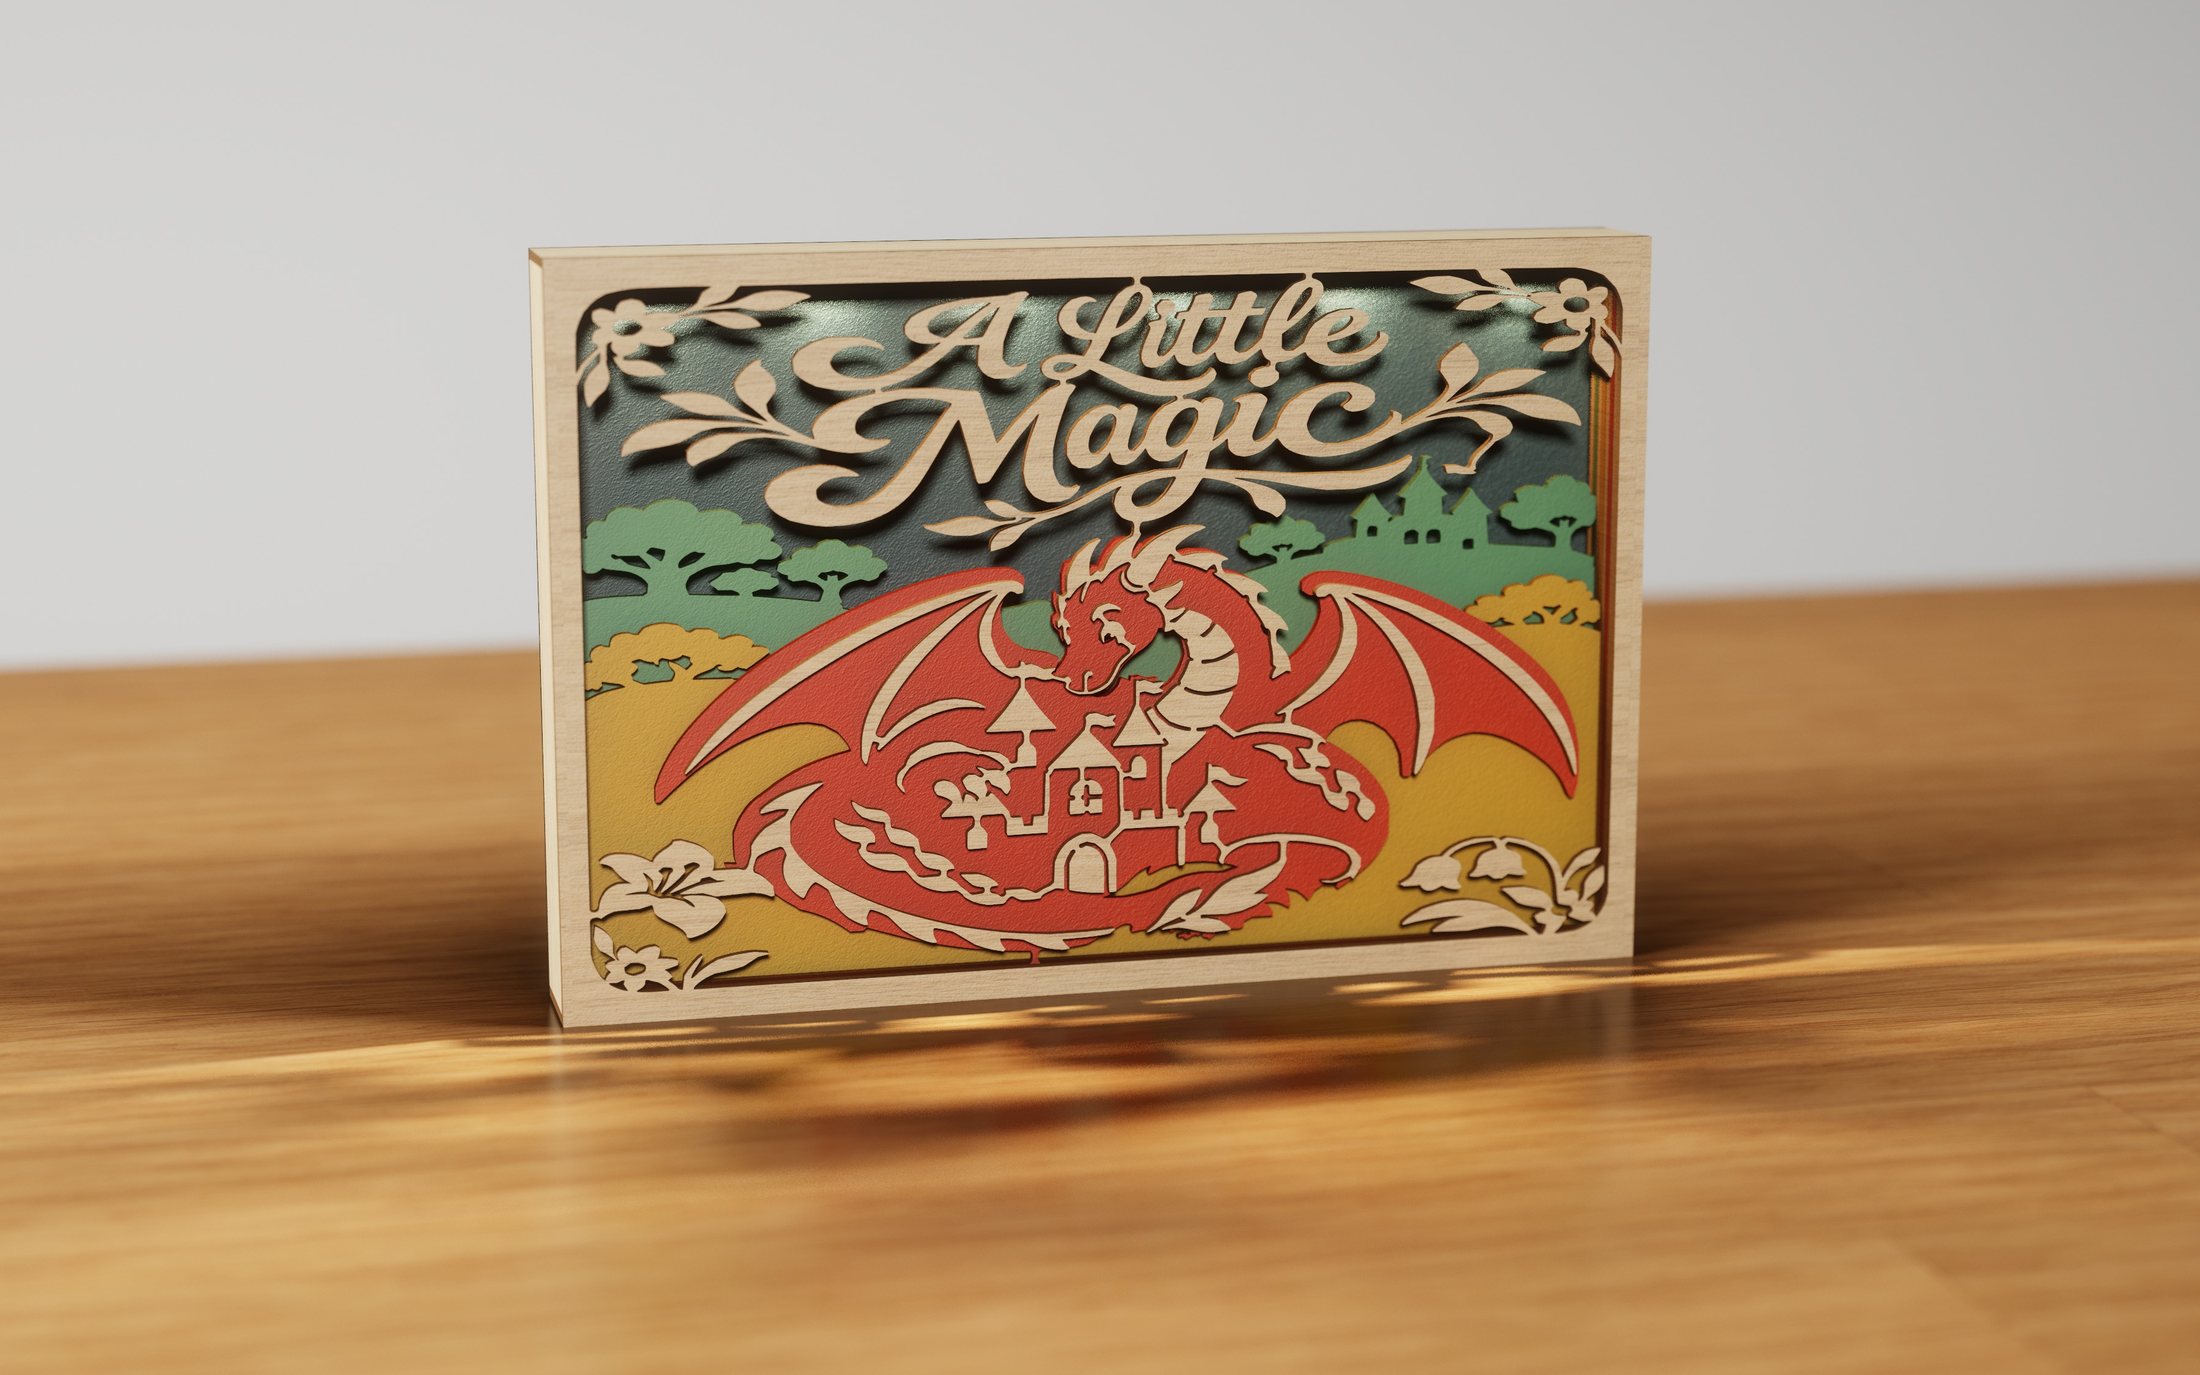 A Little MagicFantasy & space
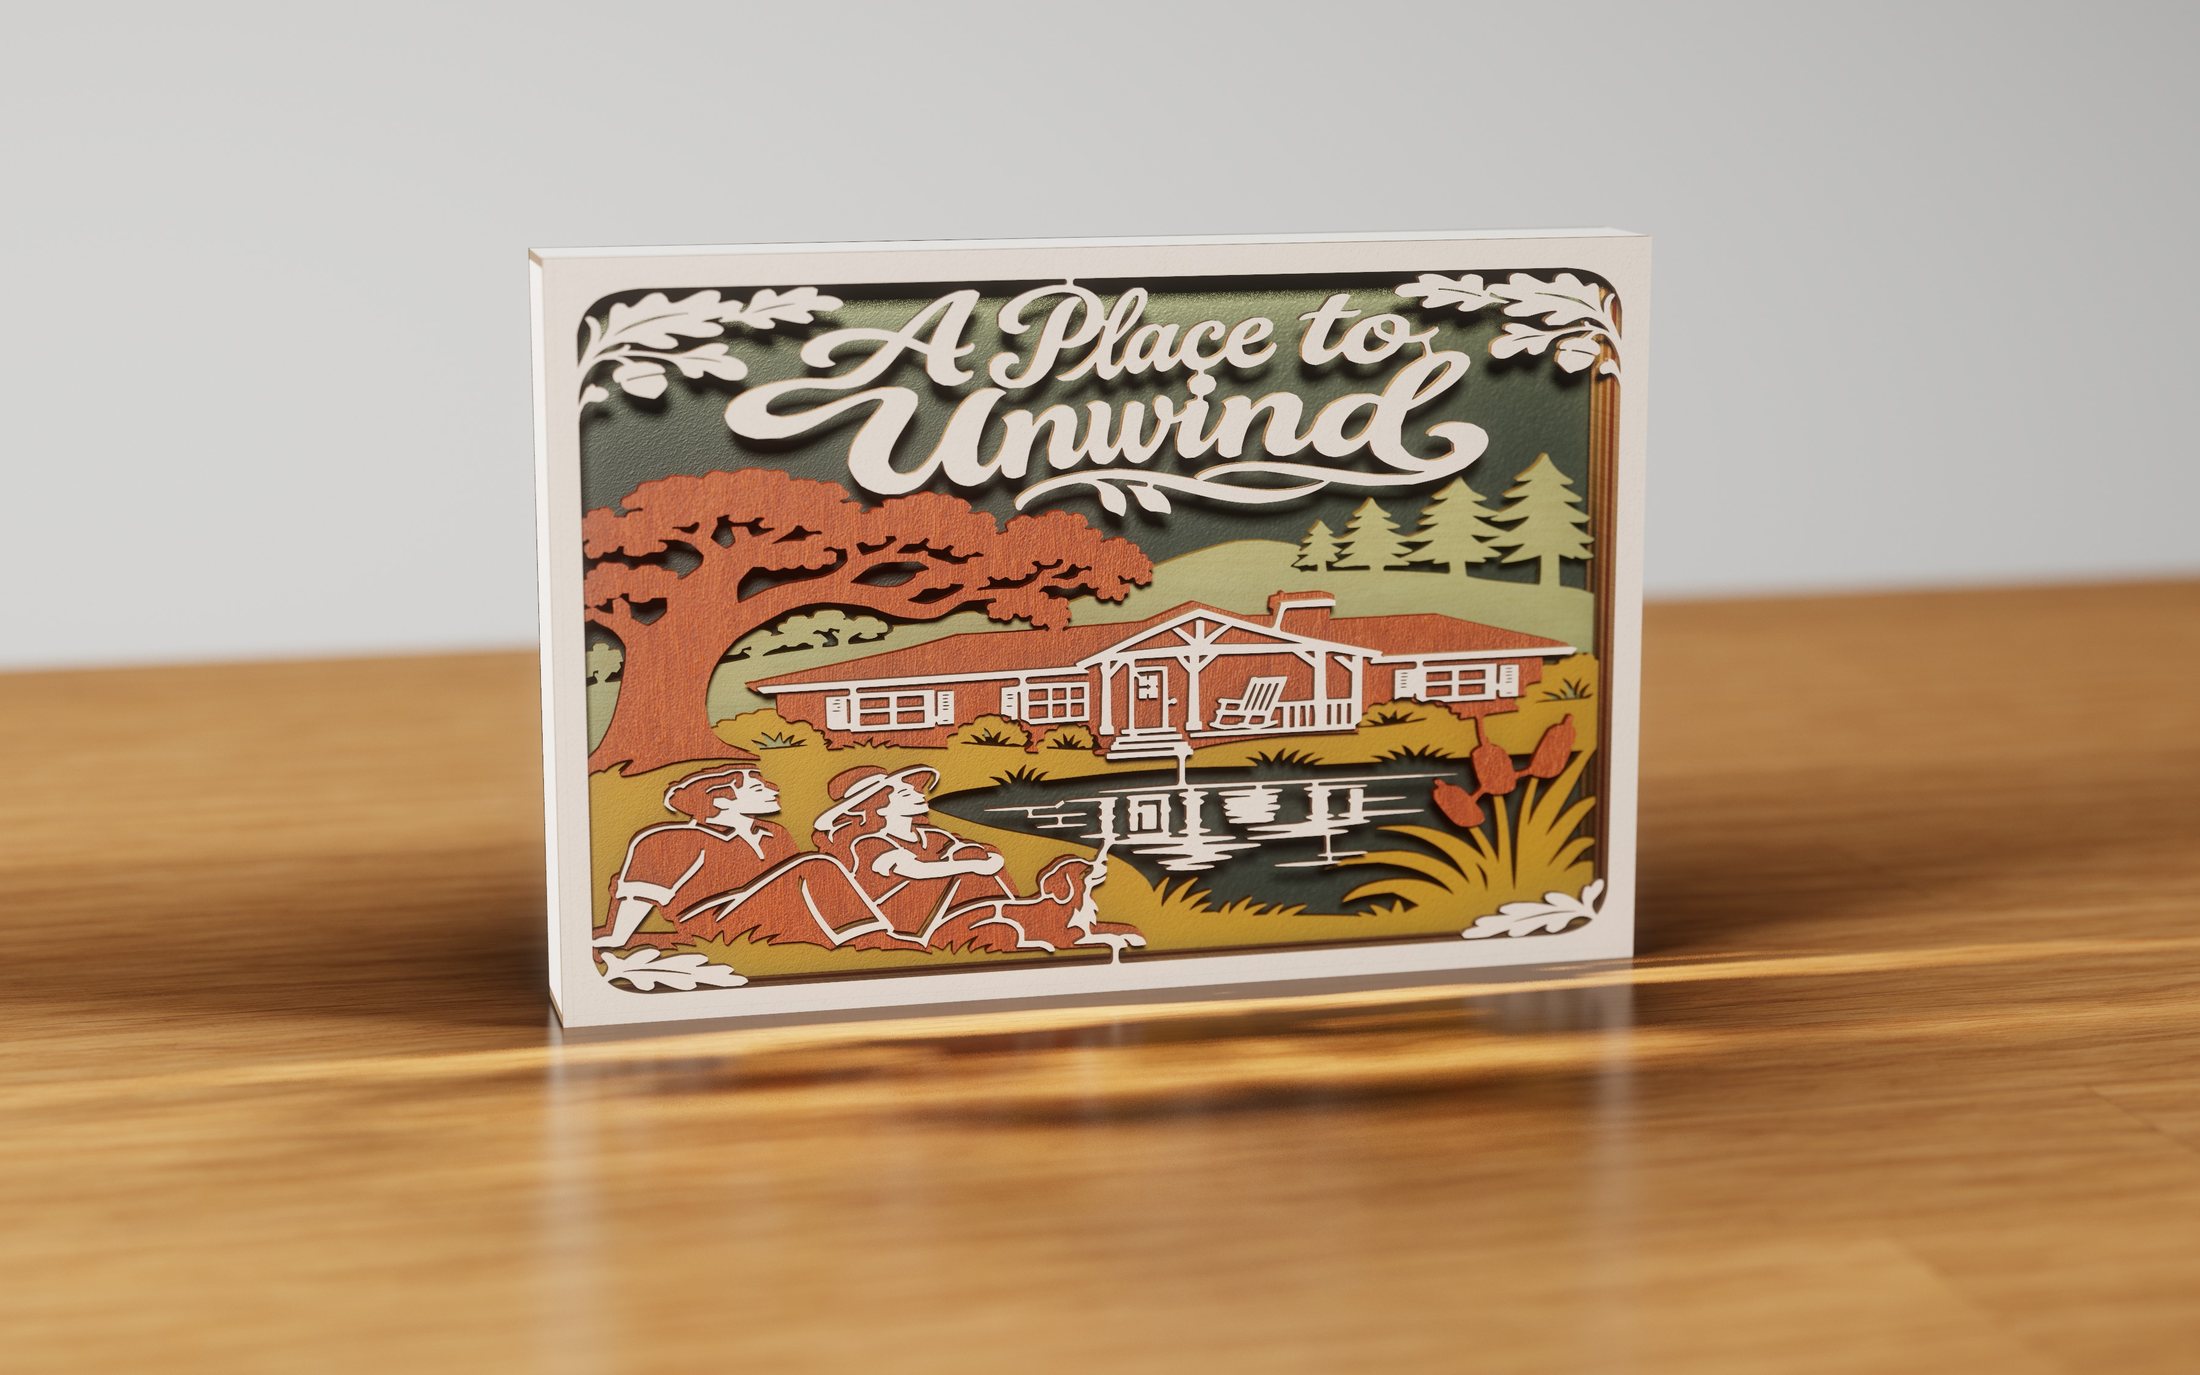 A Place to UnwindHome & heart
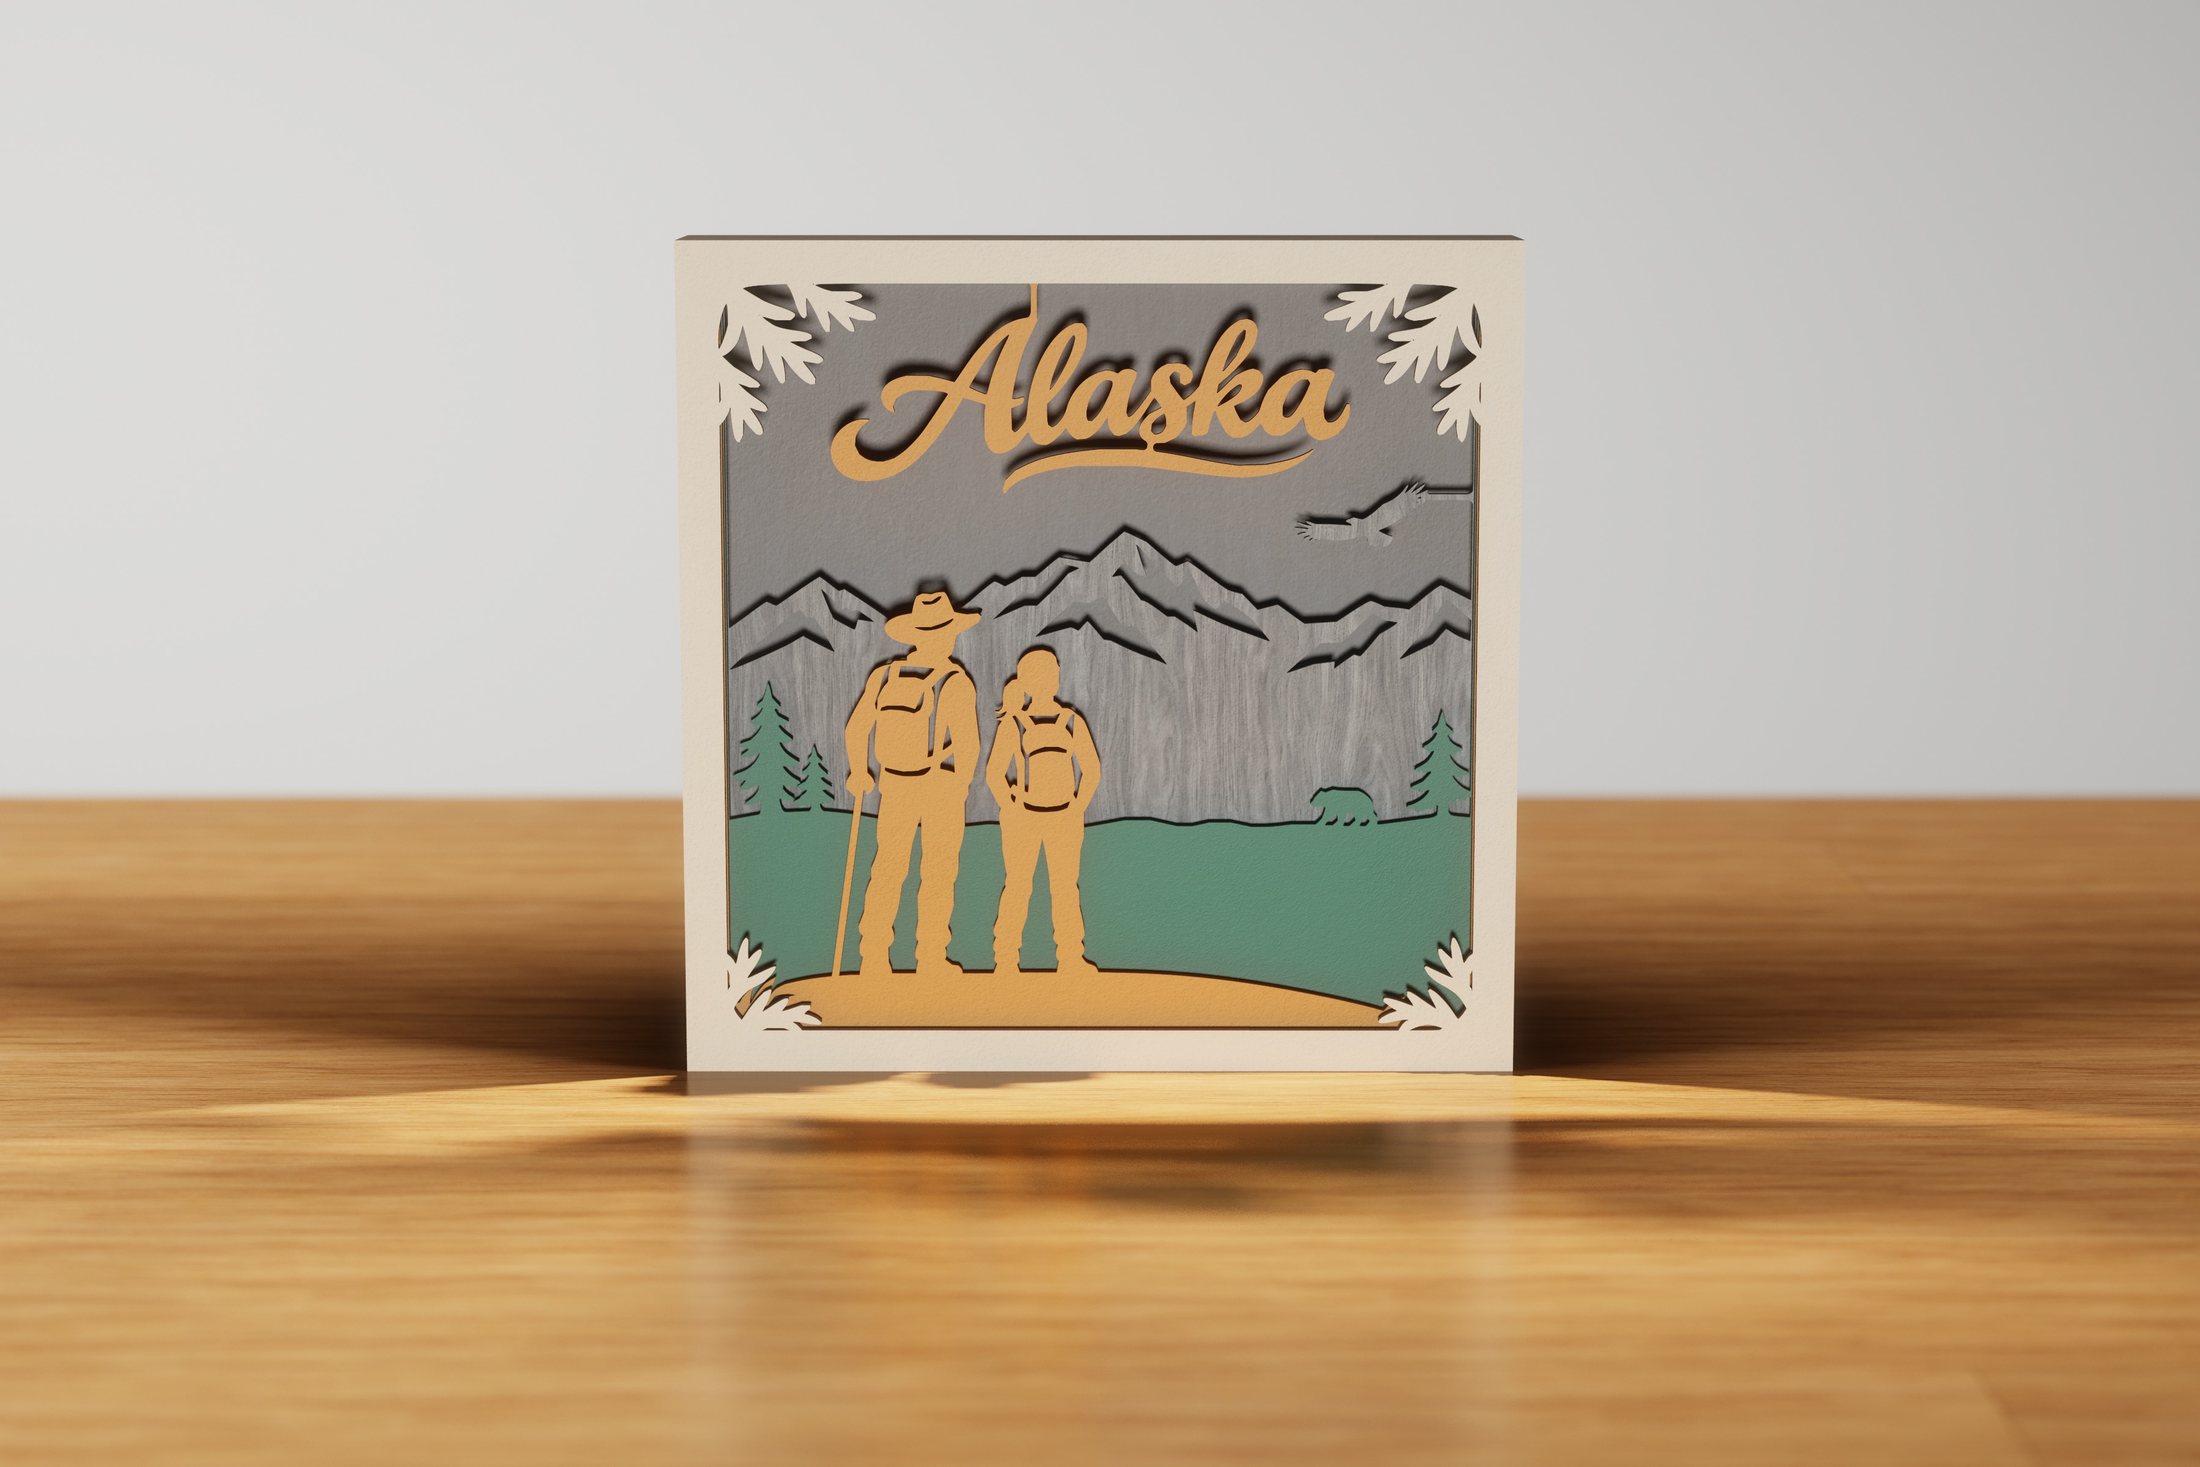 Alaska Hiking TogetherTravel & adventure
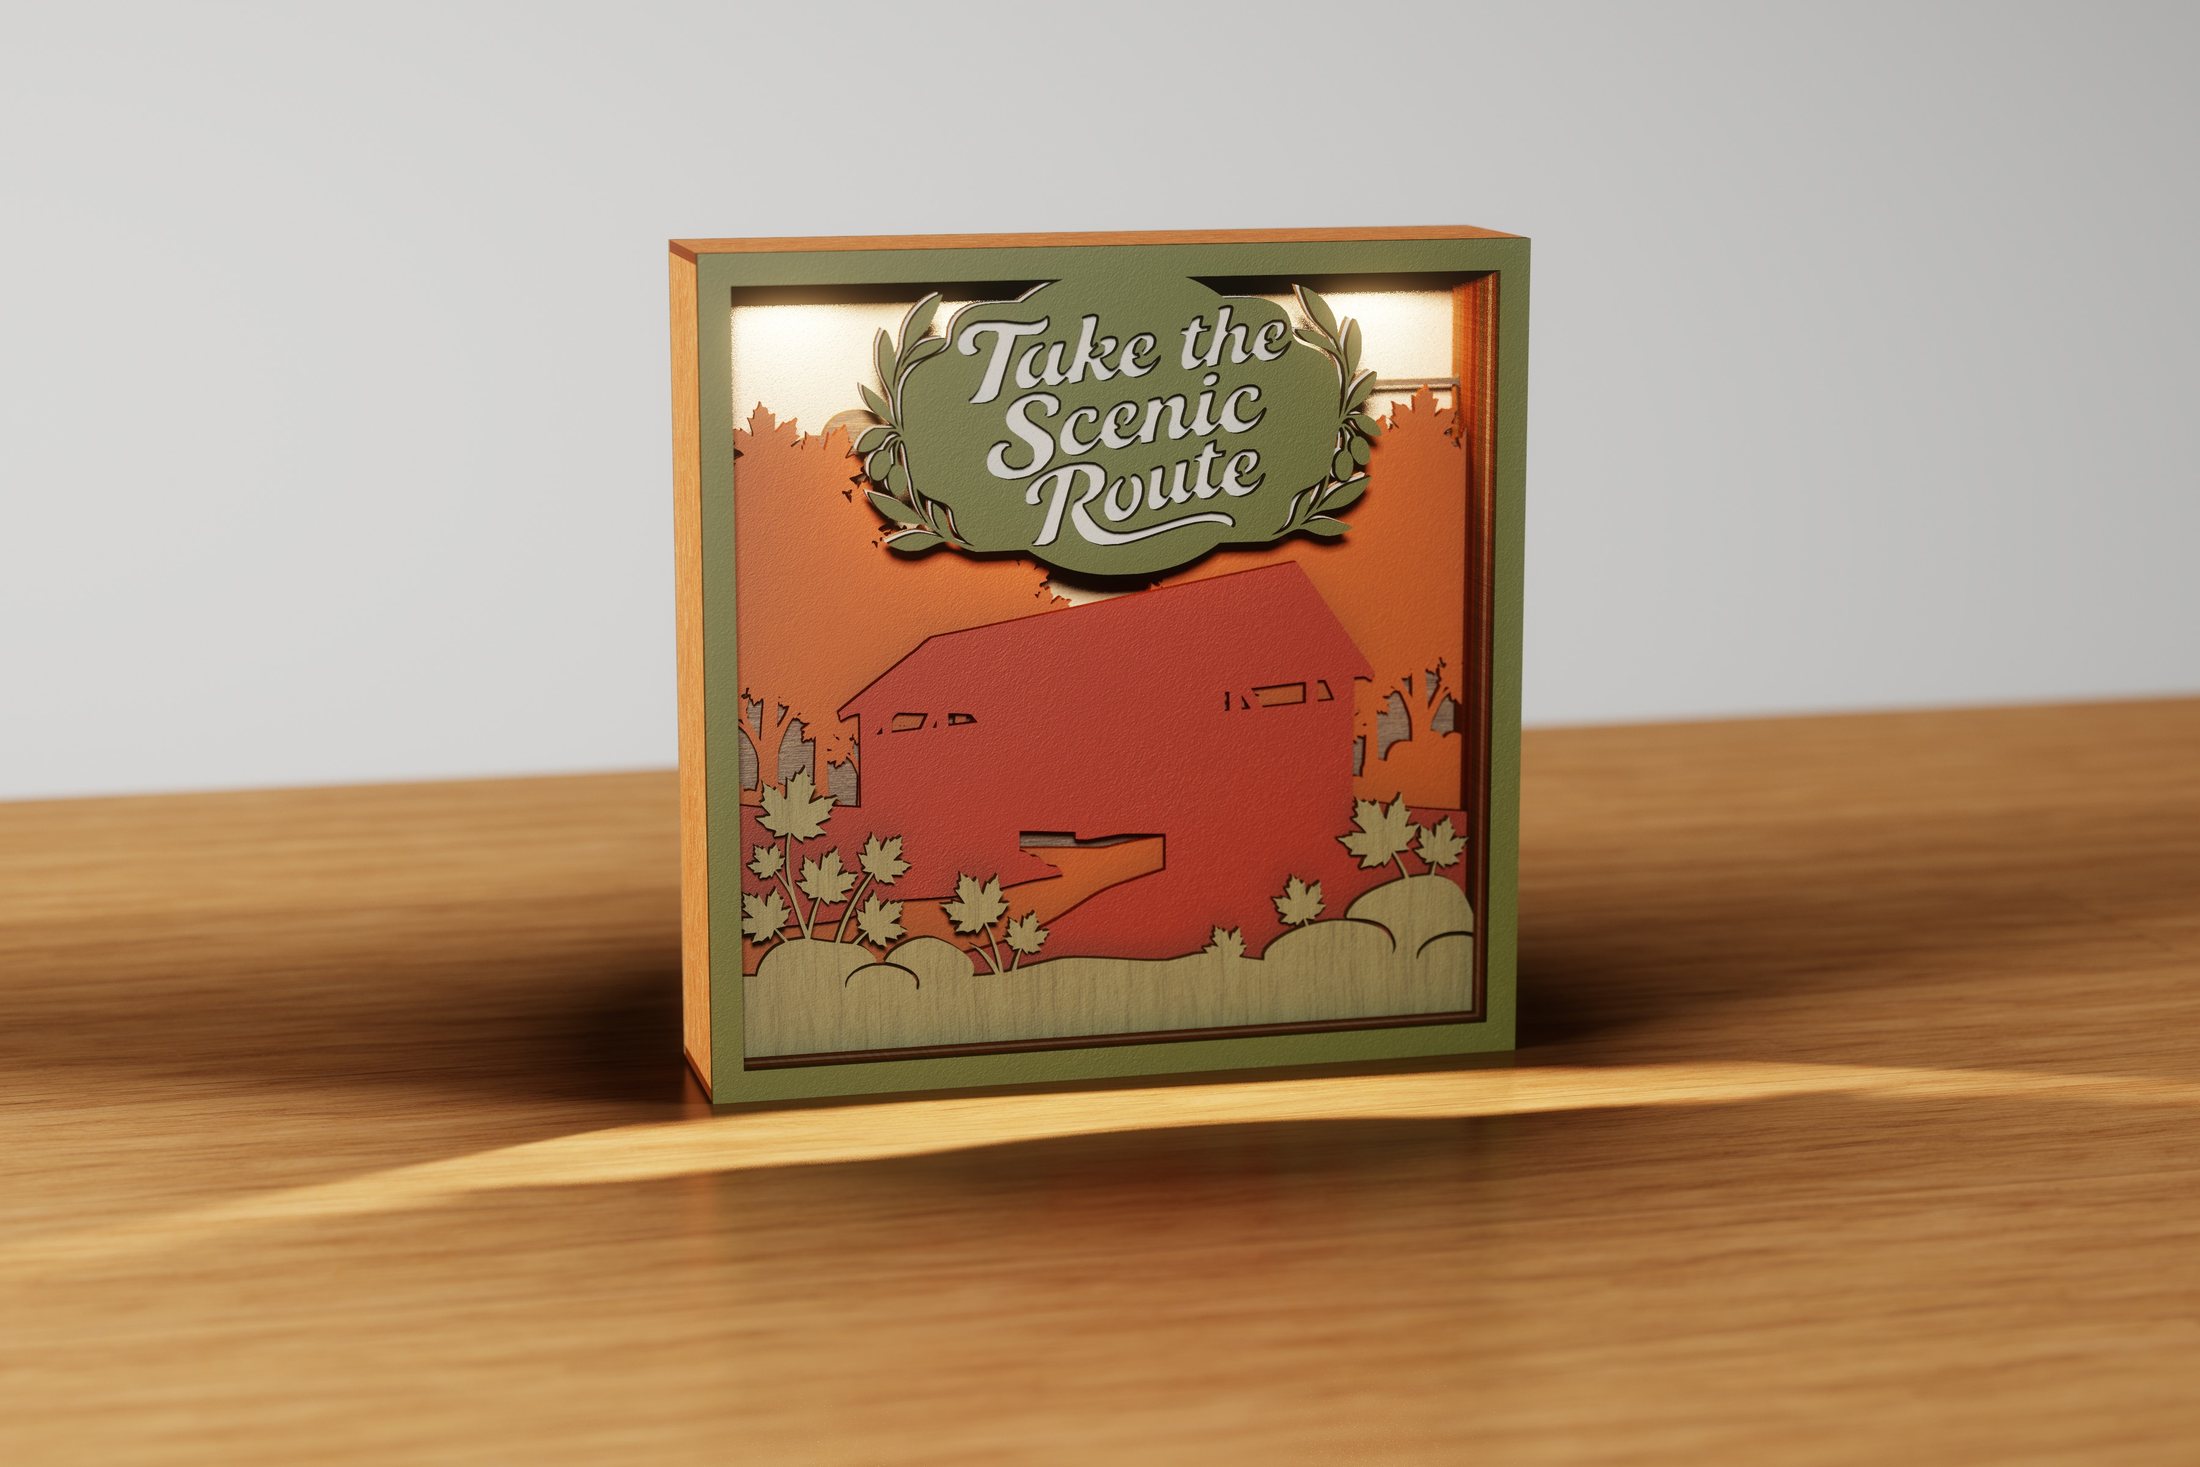 Autumn CrossingThanksgiving & autumn
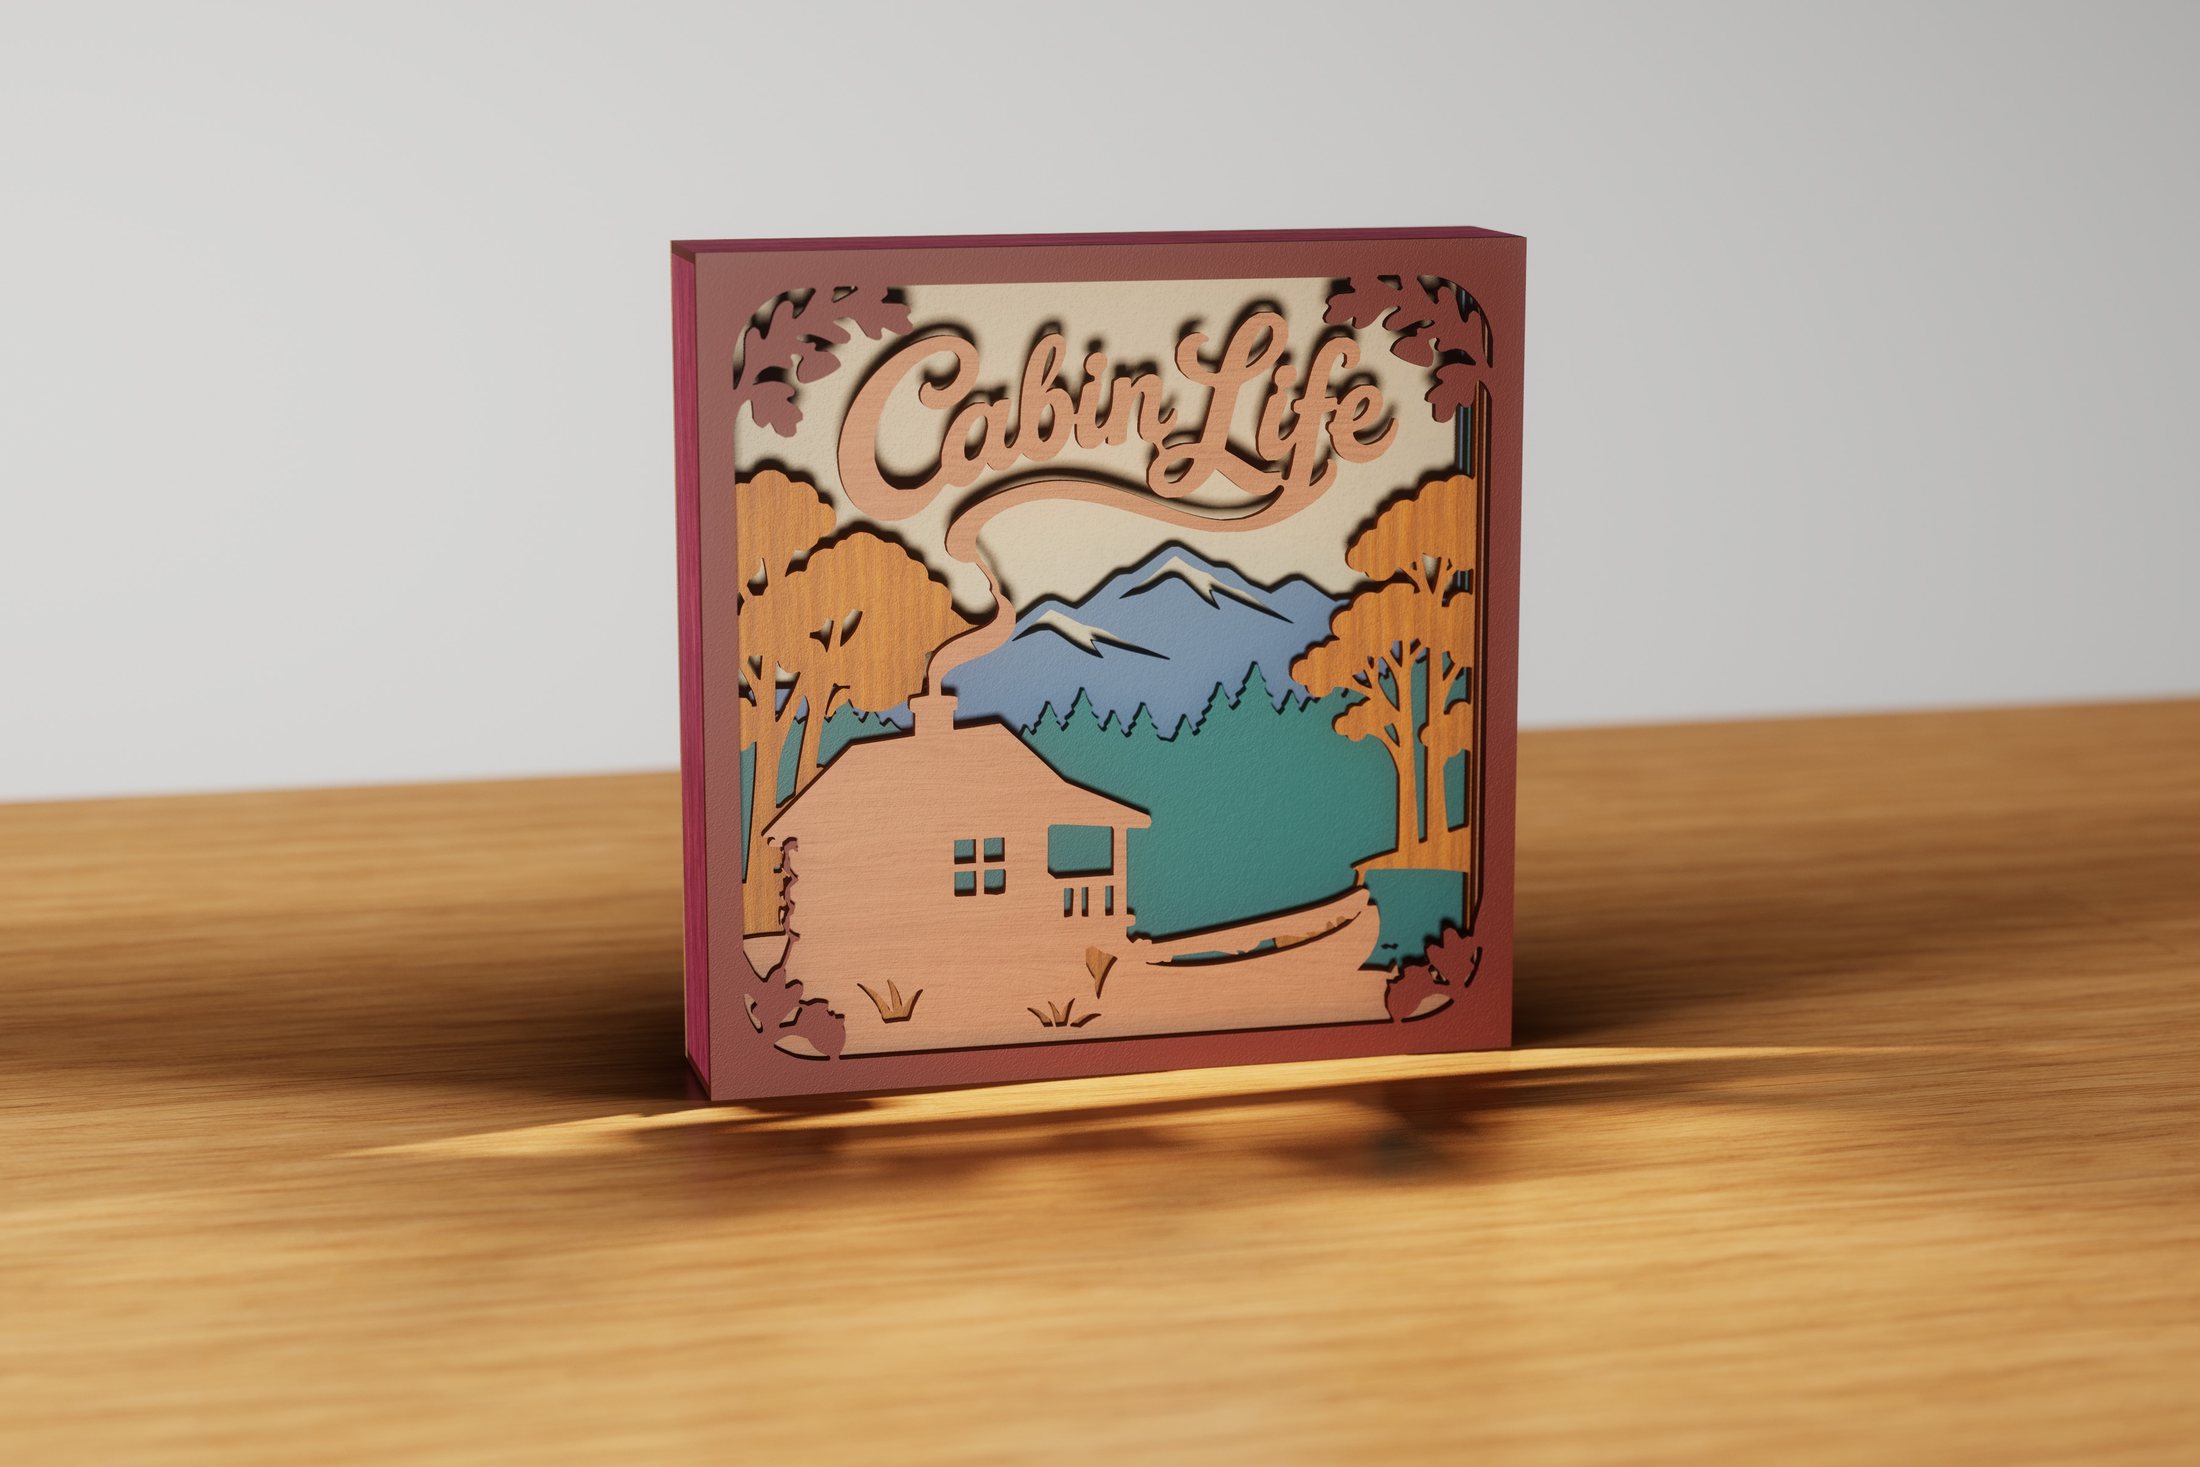 Cabin LifeTravel & adventure
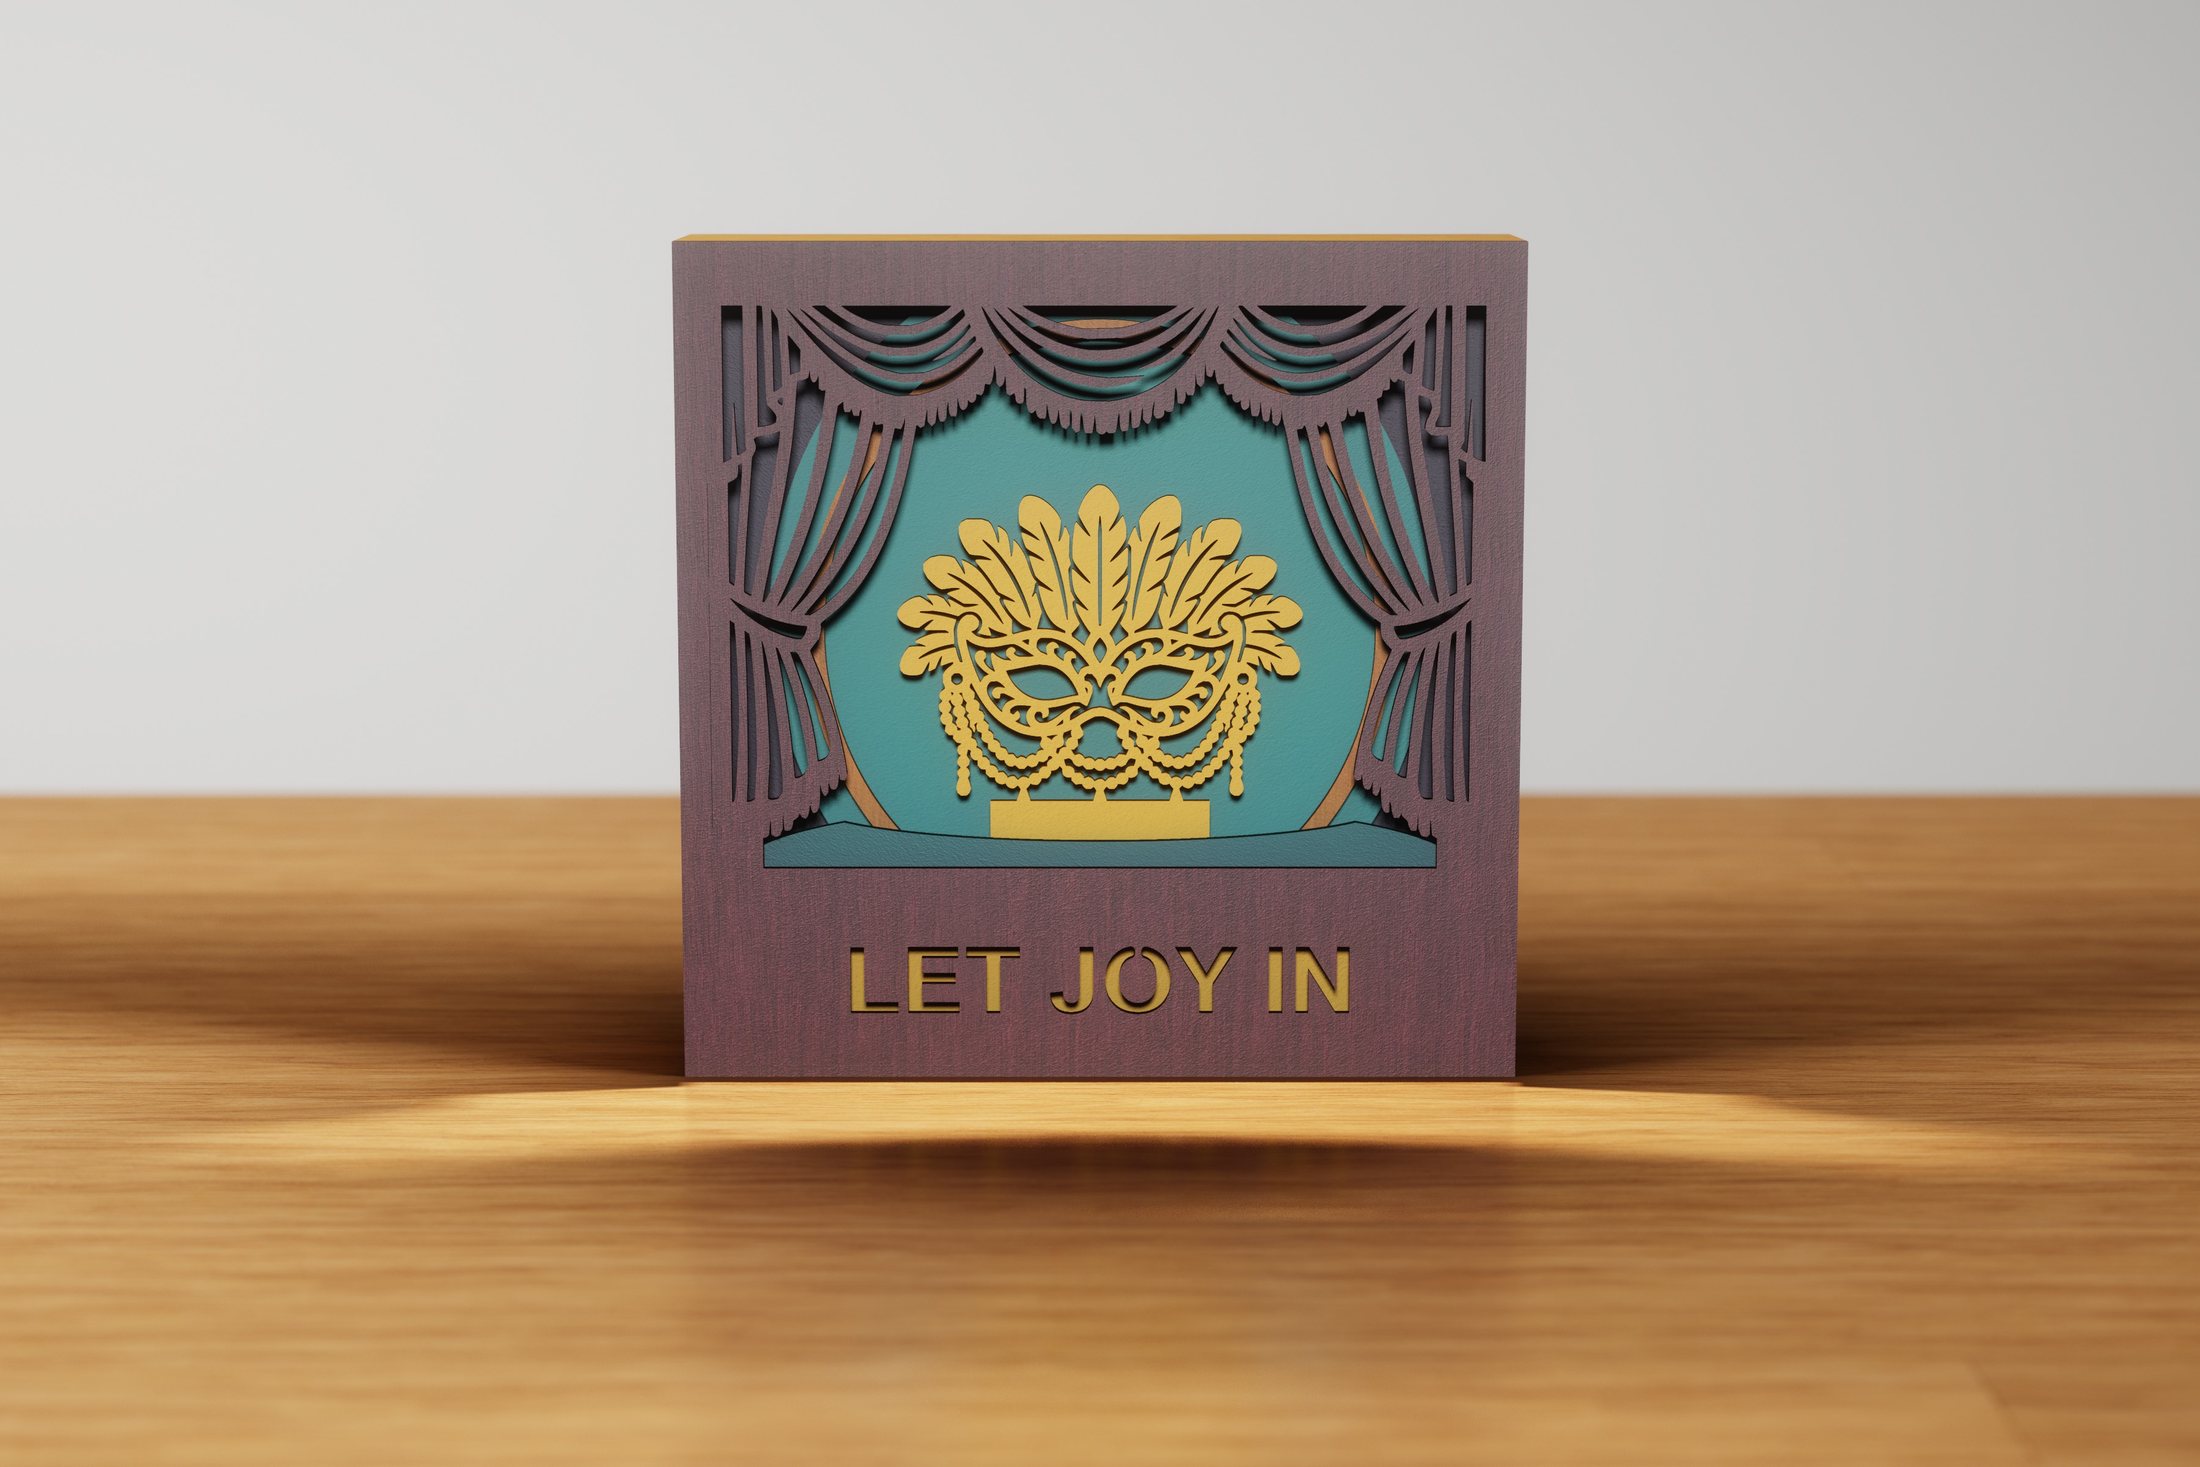 Carnival MaskFantasy & space
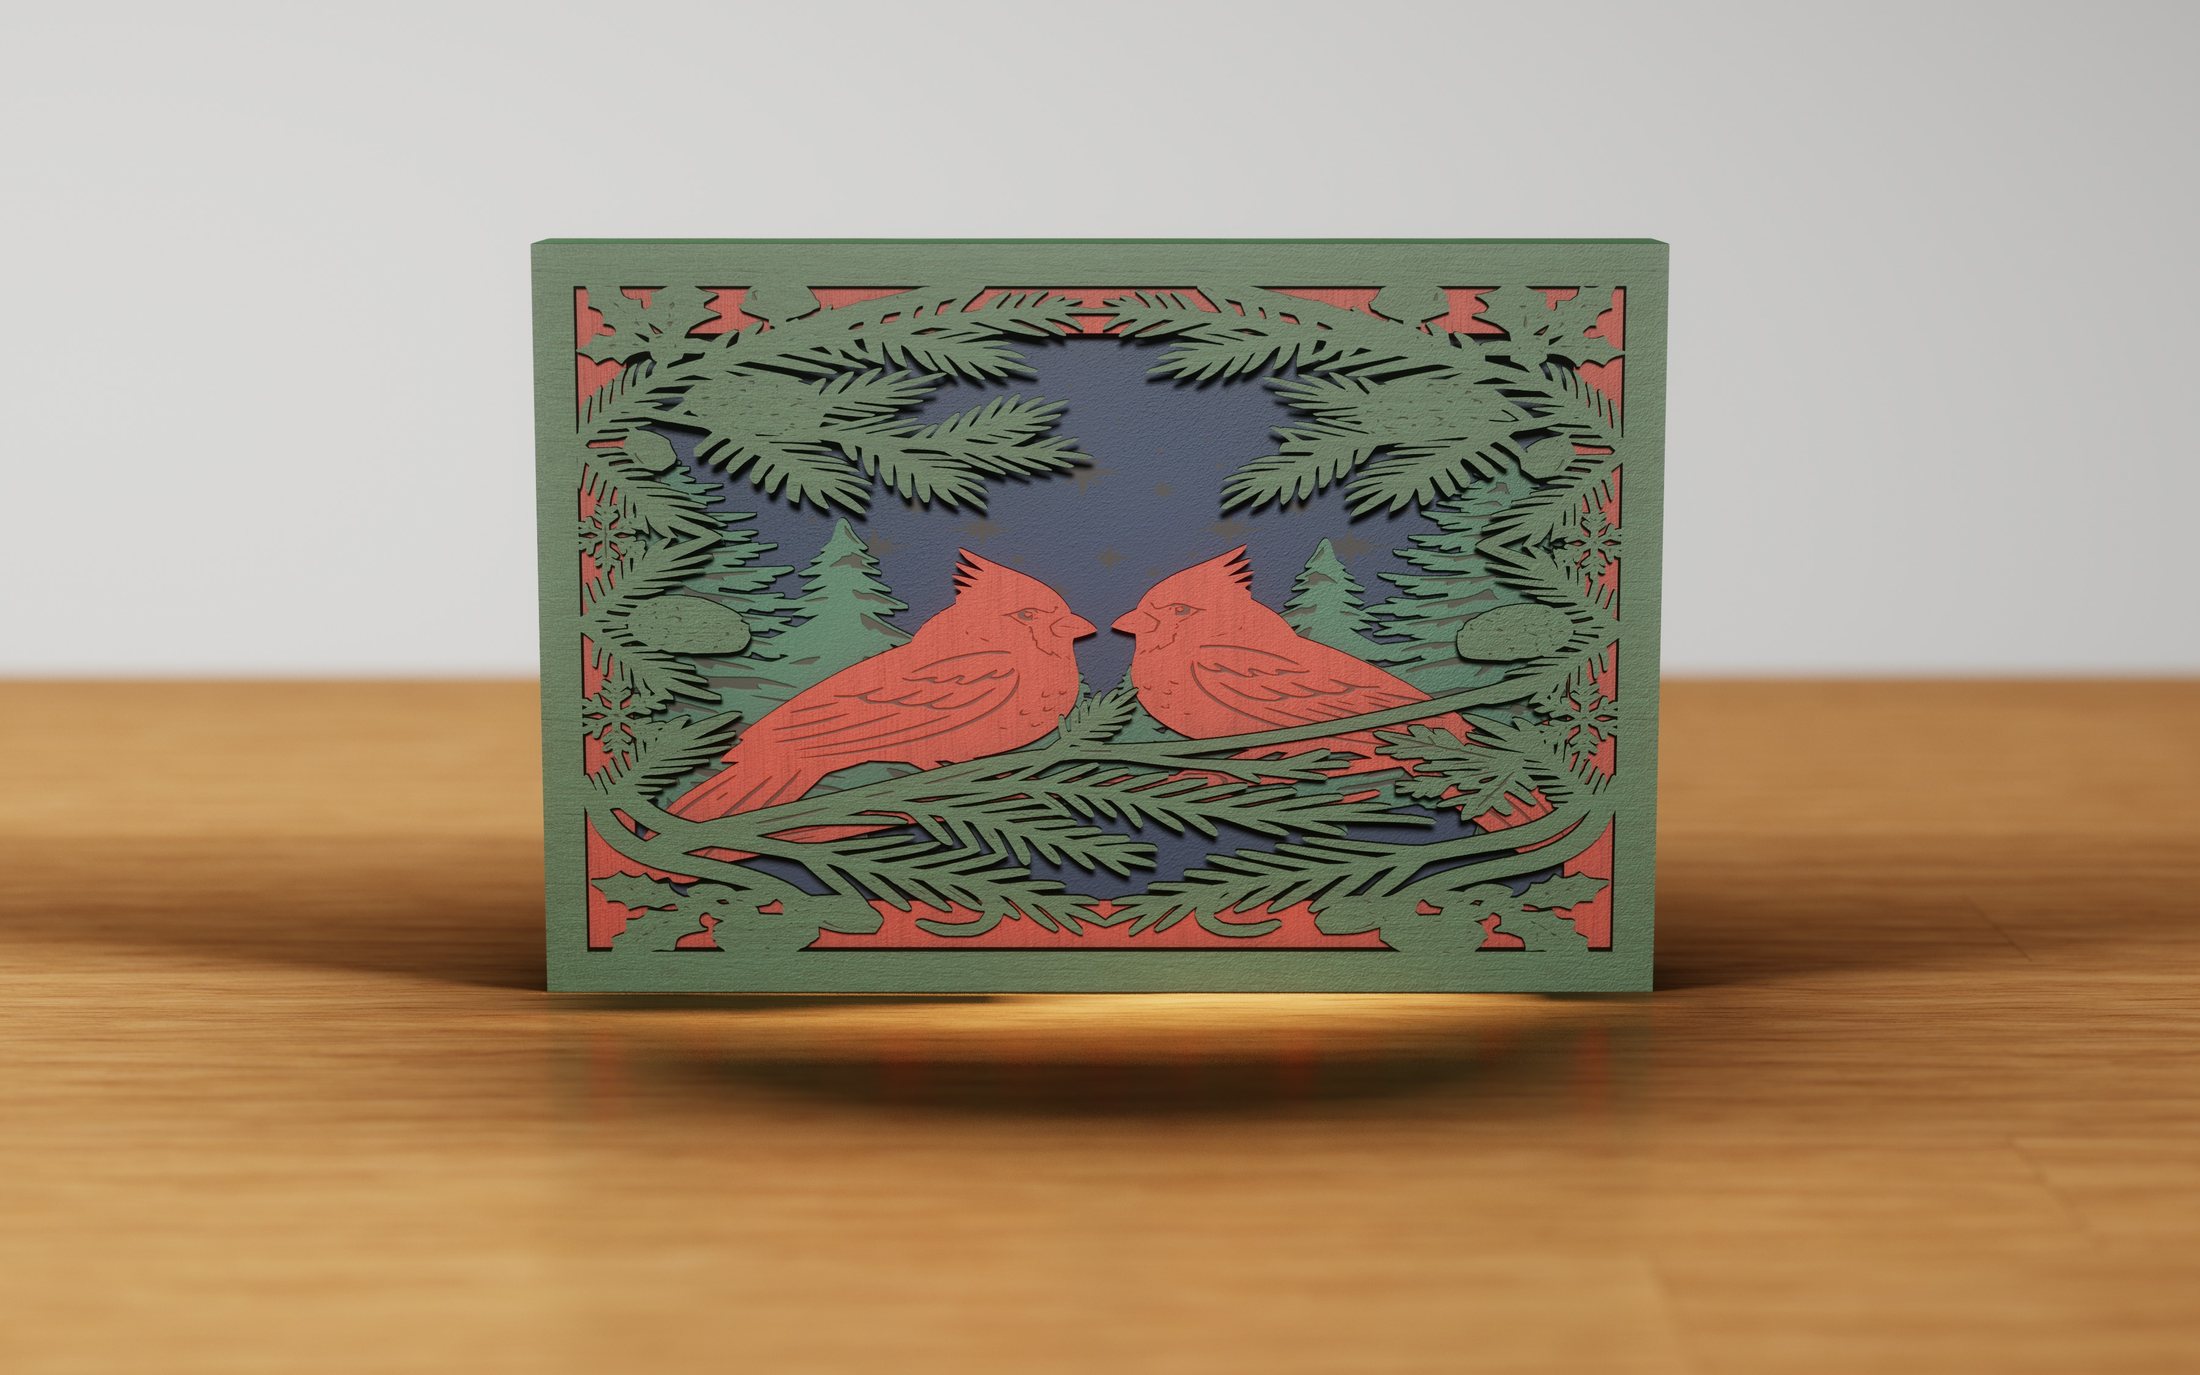 Christmas CardinalsChristmas
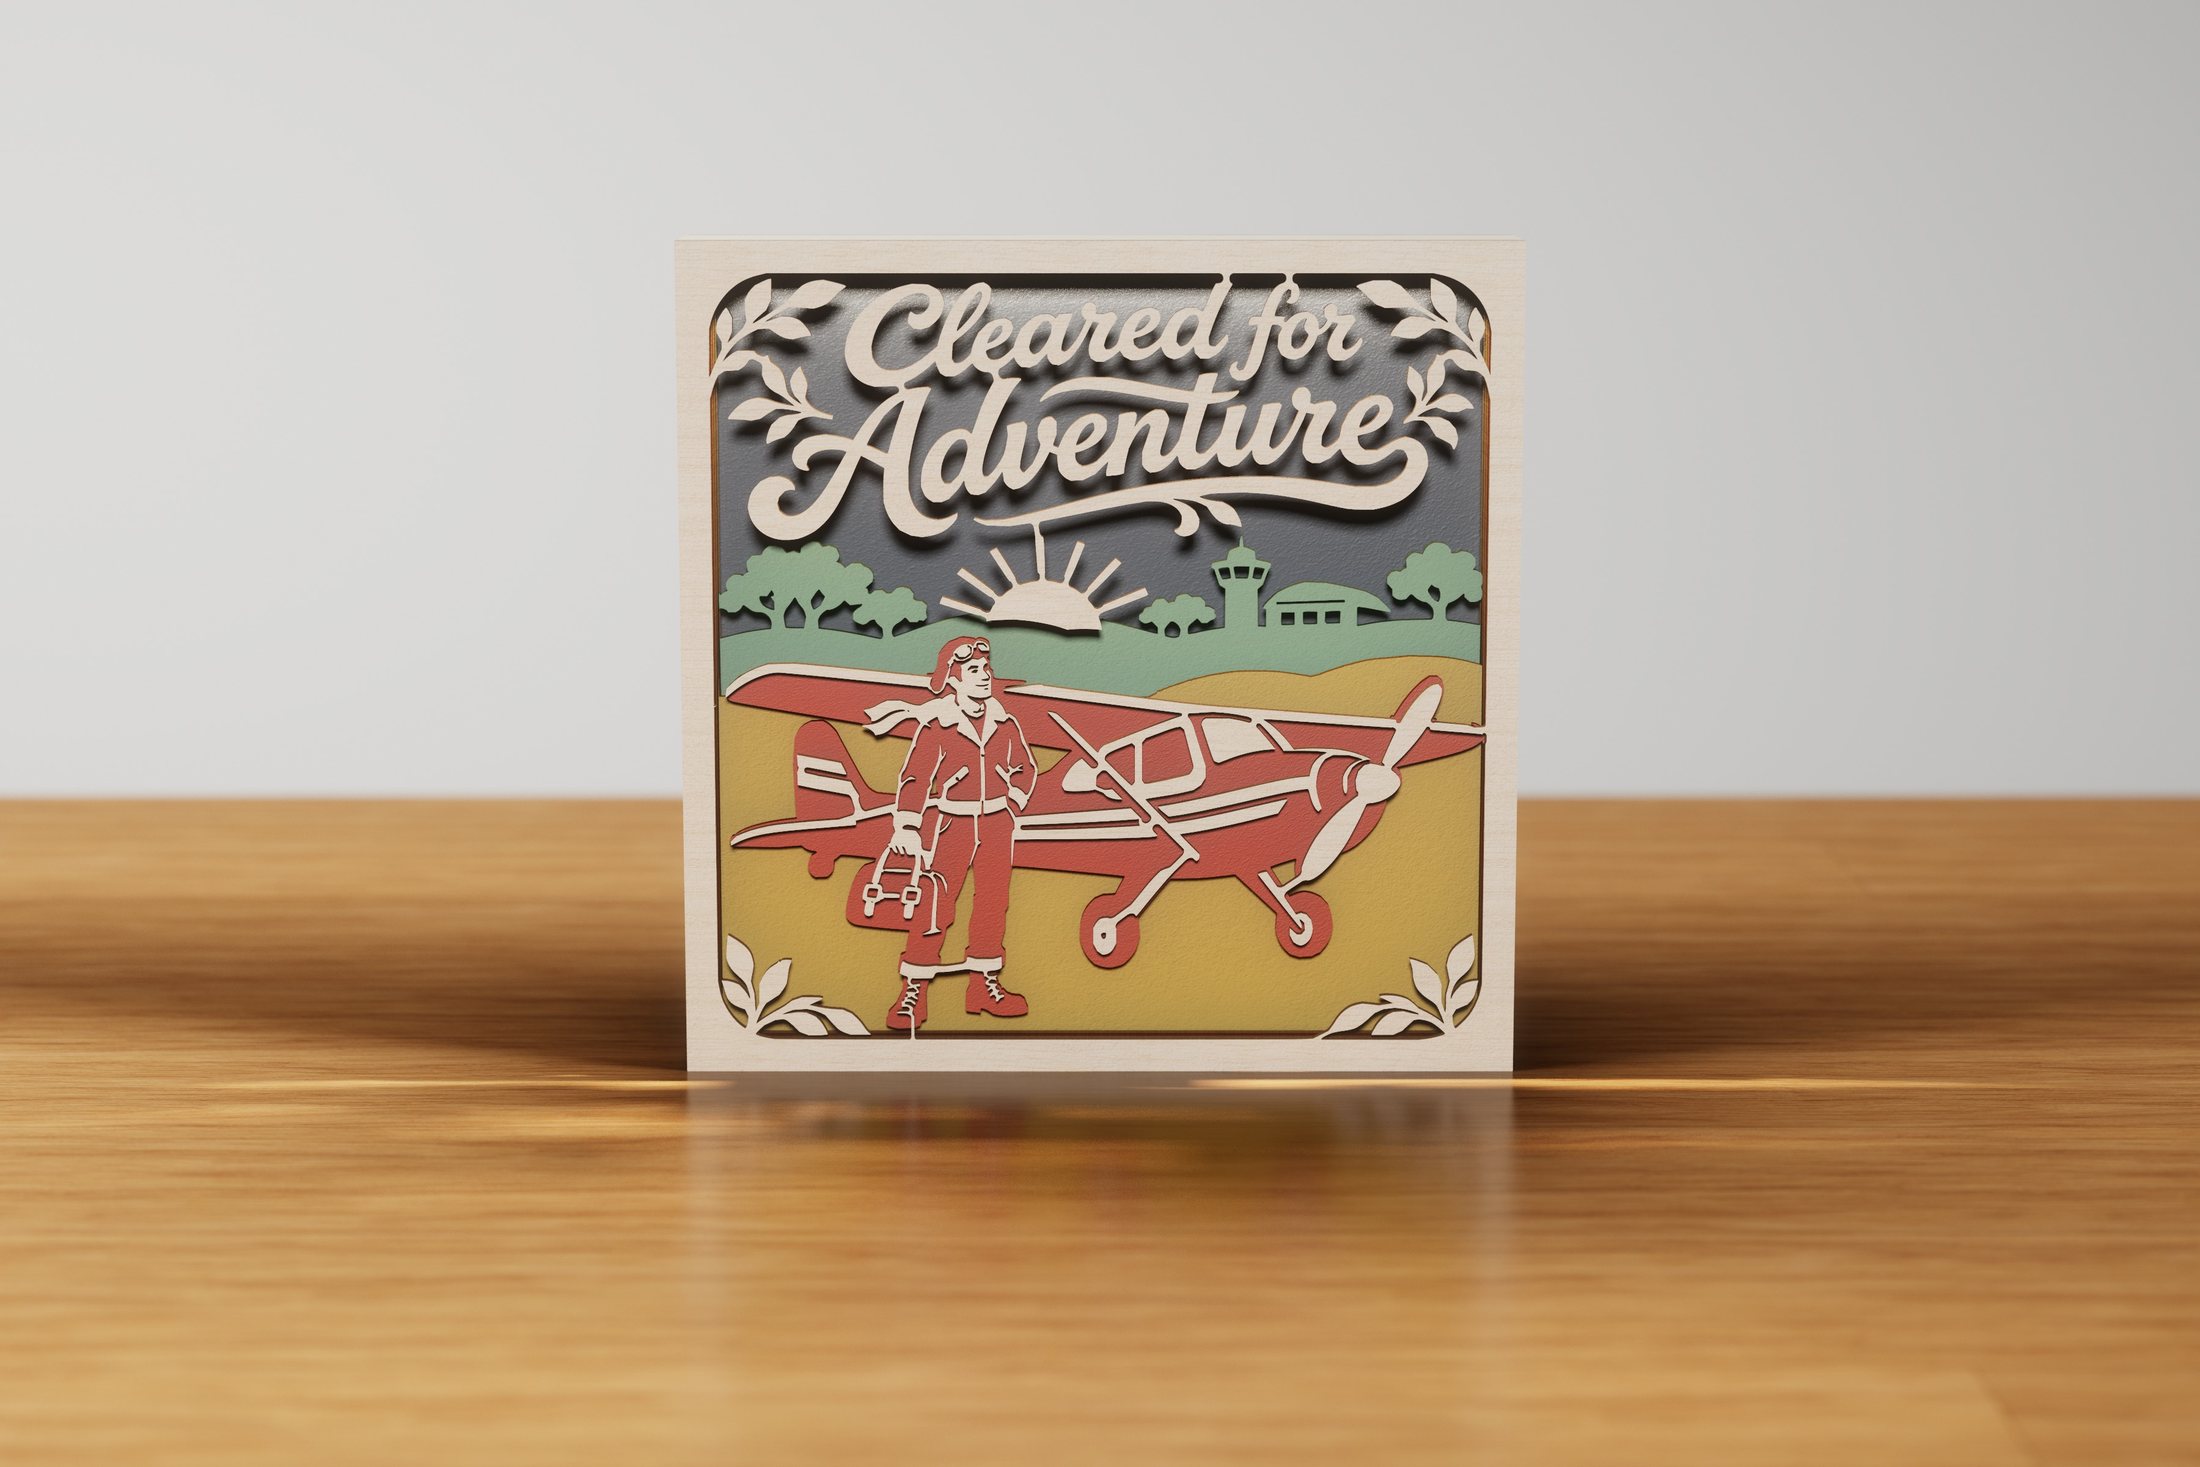 Cleared for AdventureTravel & adventure
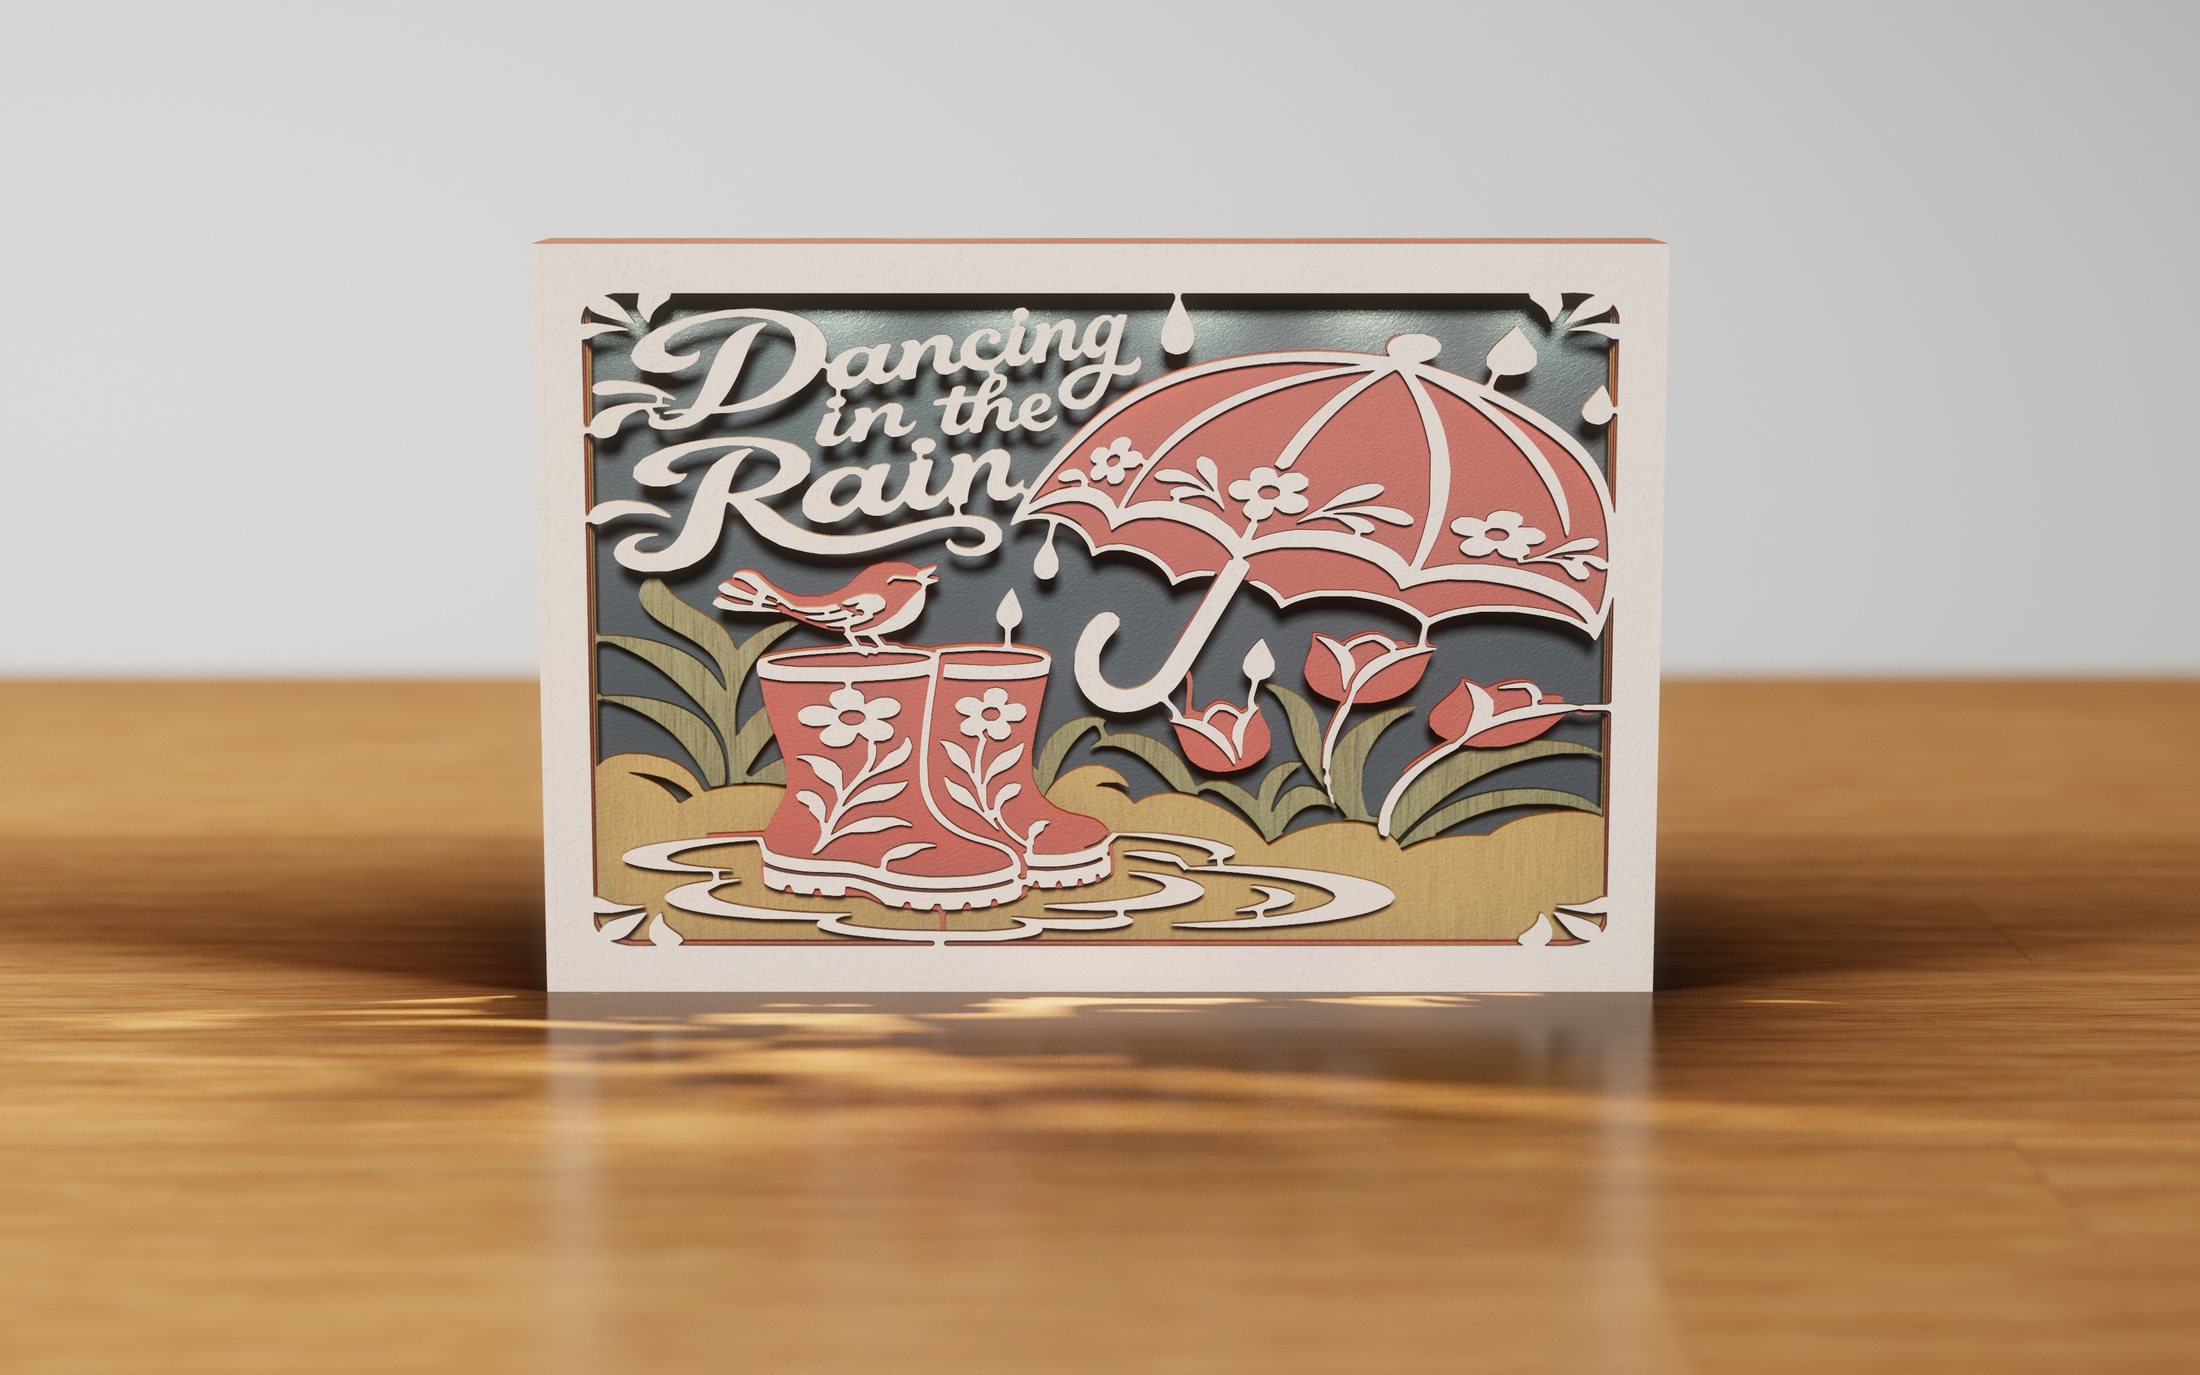 Dancing in the RainHome & heart
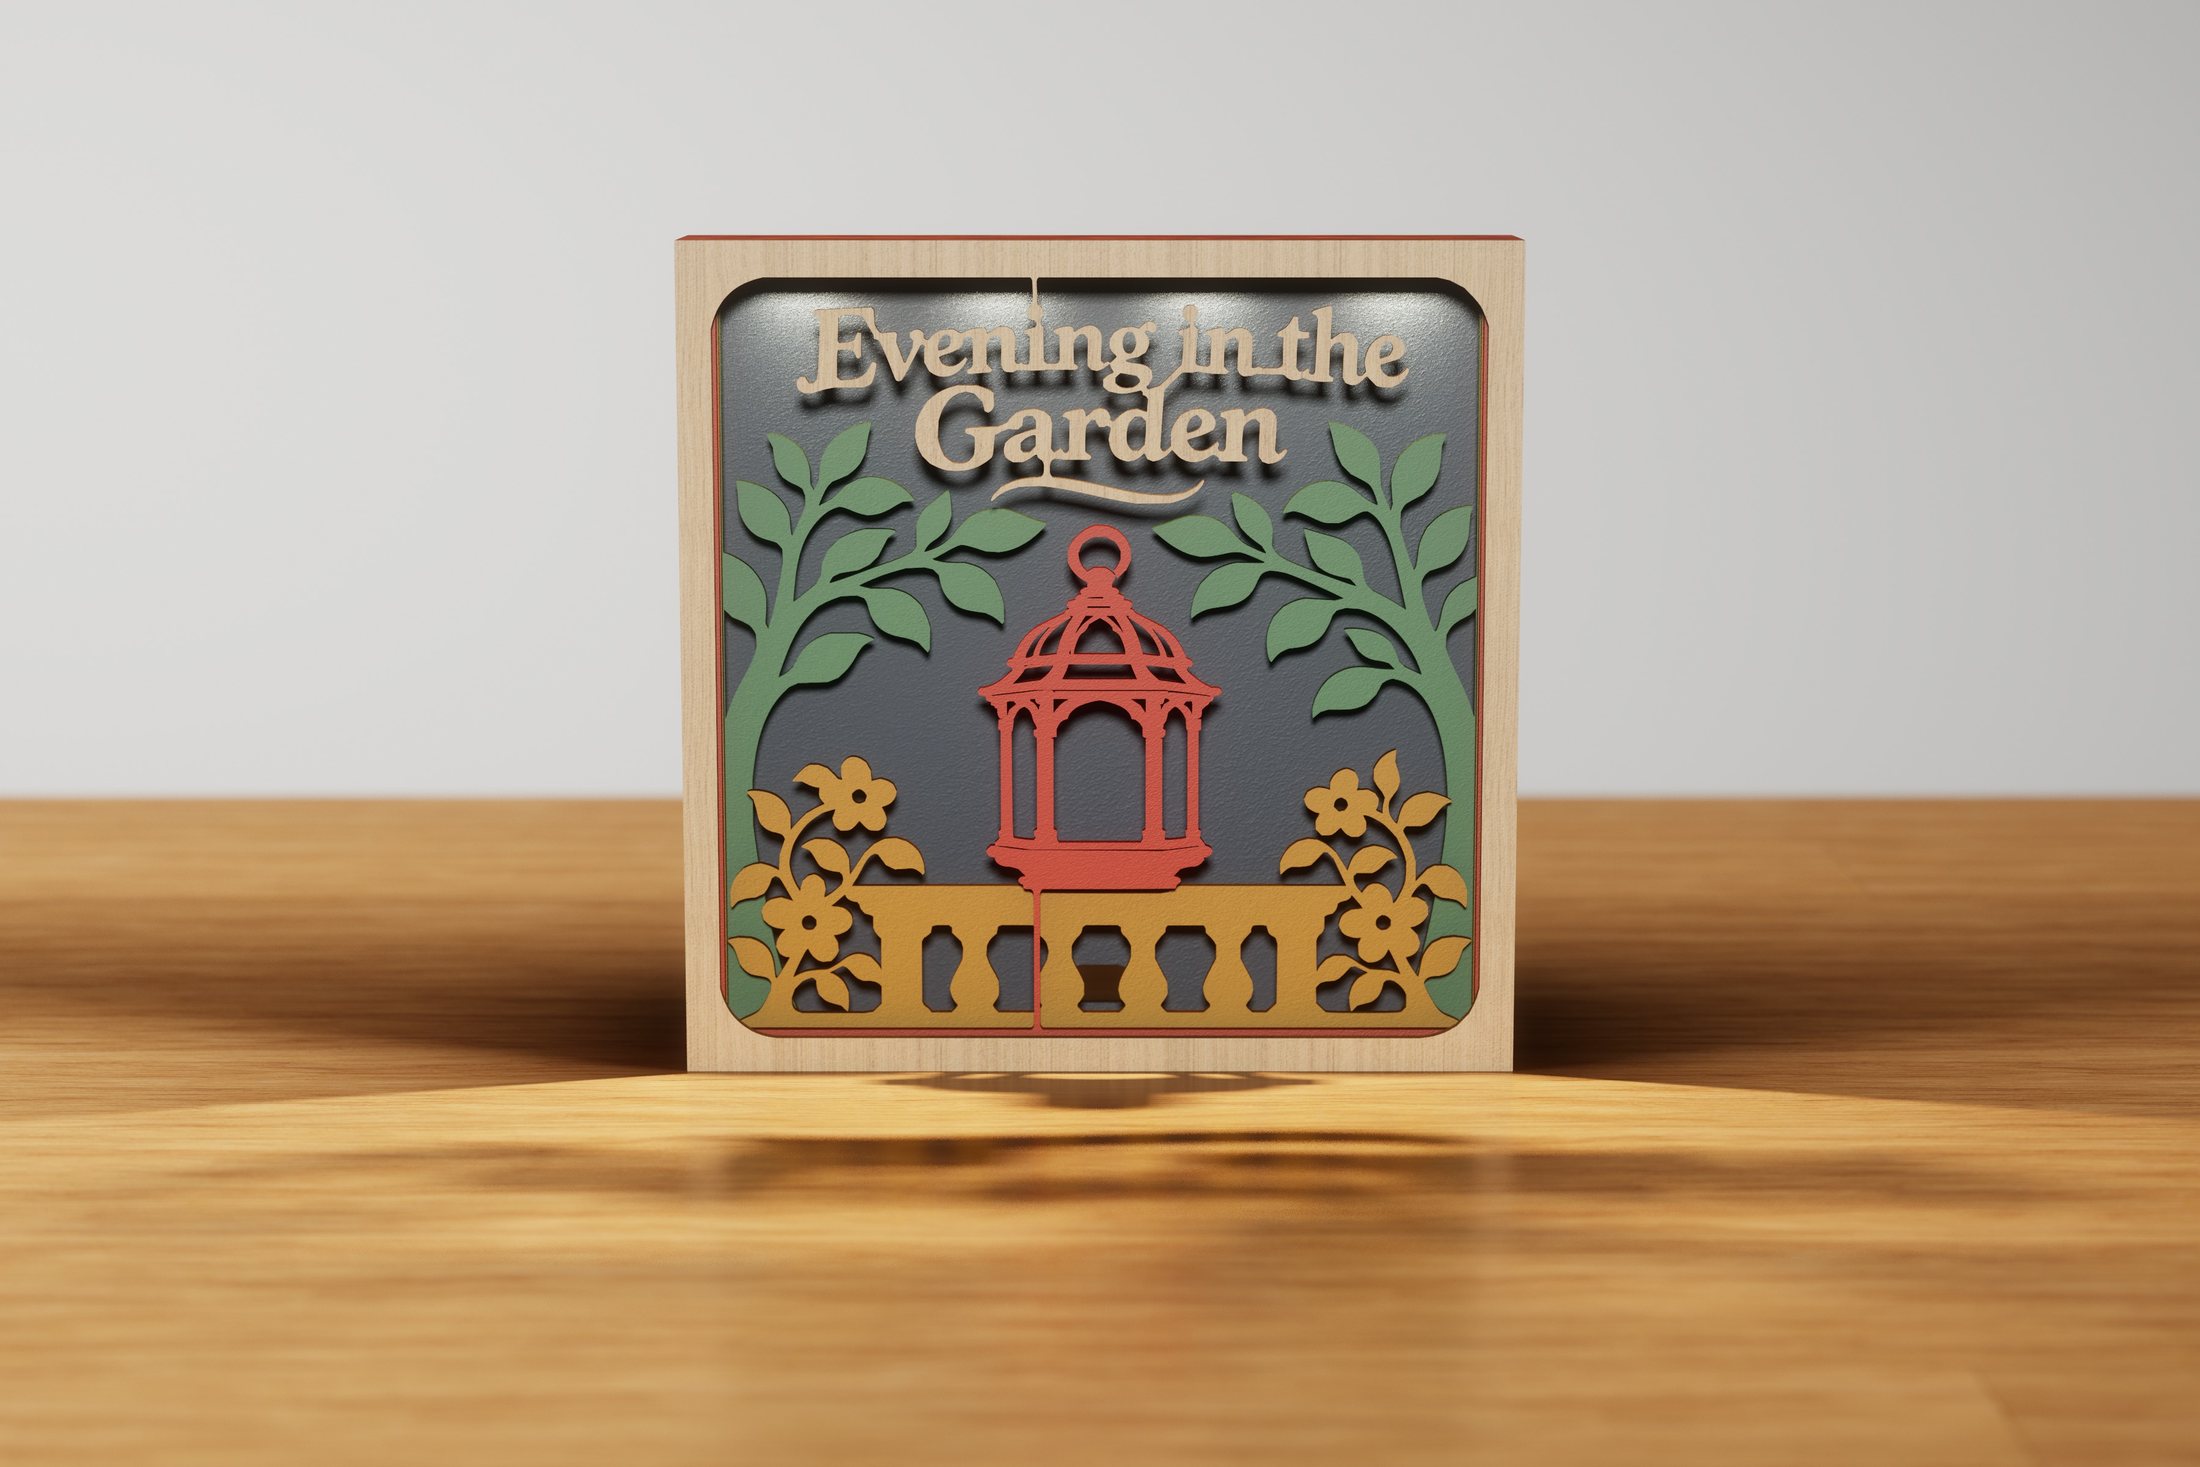 Evening in the GardenNature & gardens
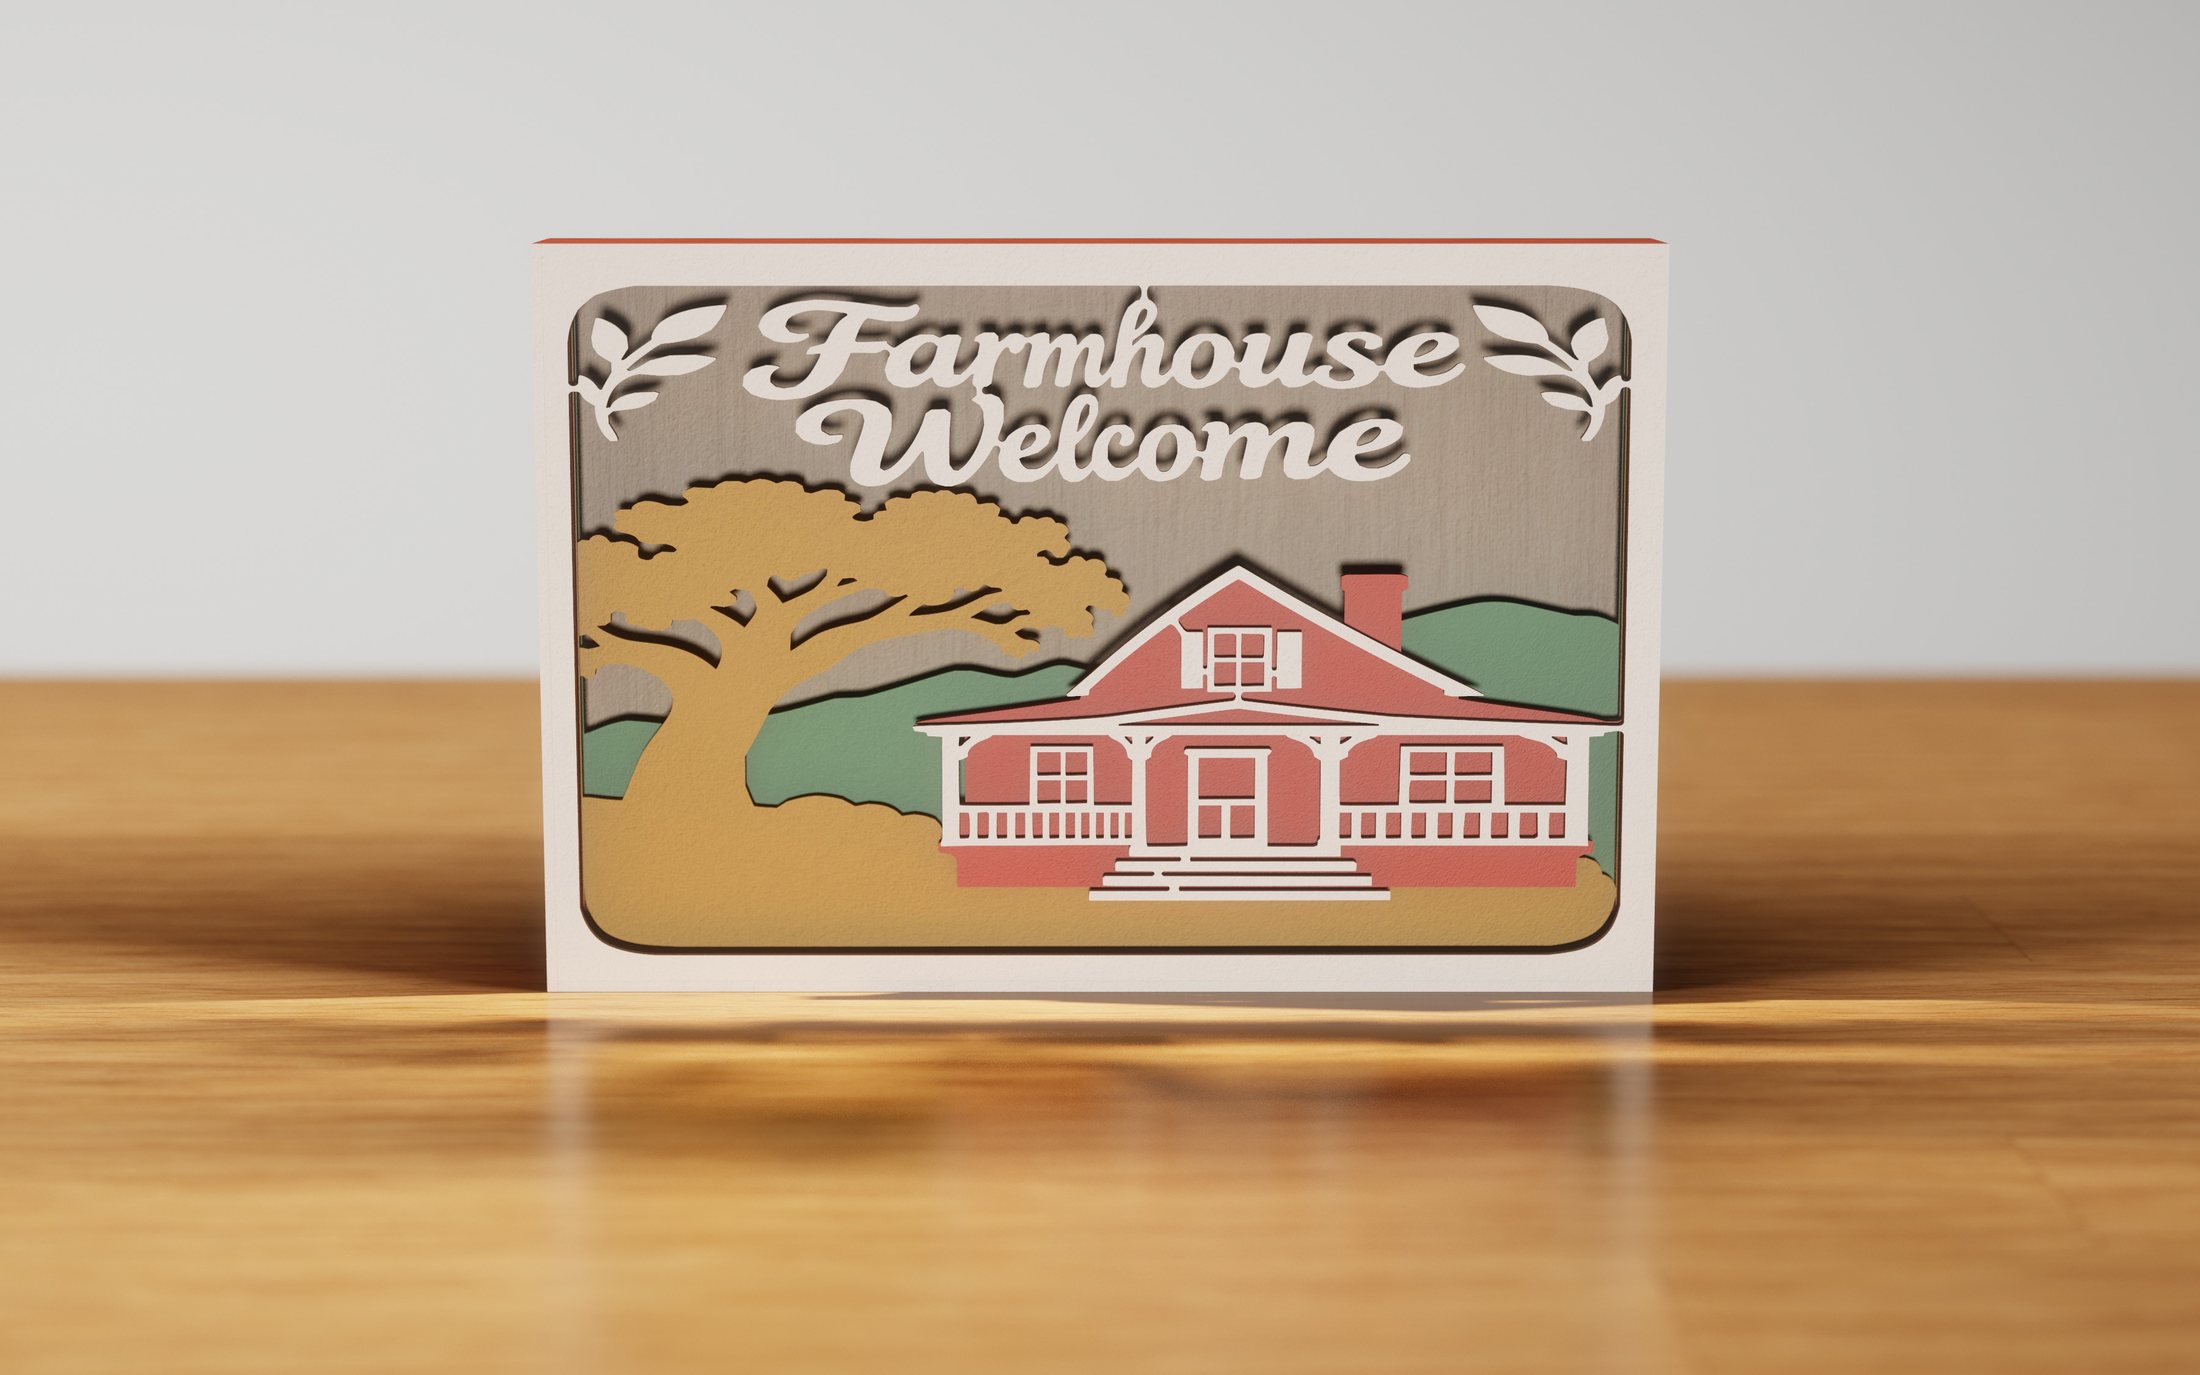 Farmhouse WelcomeHome & heart
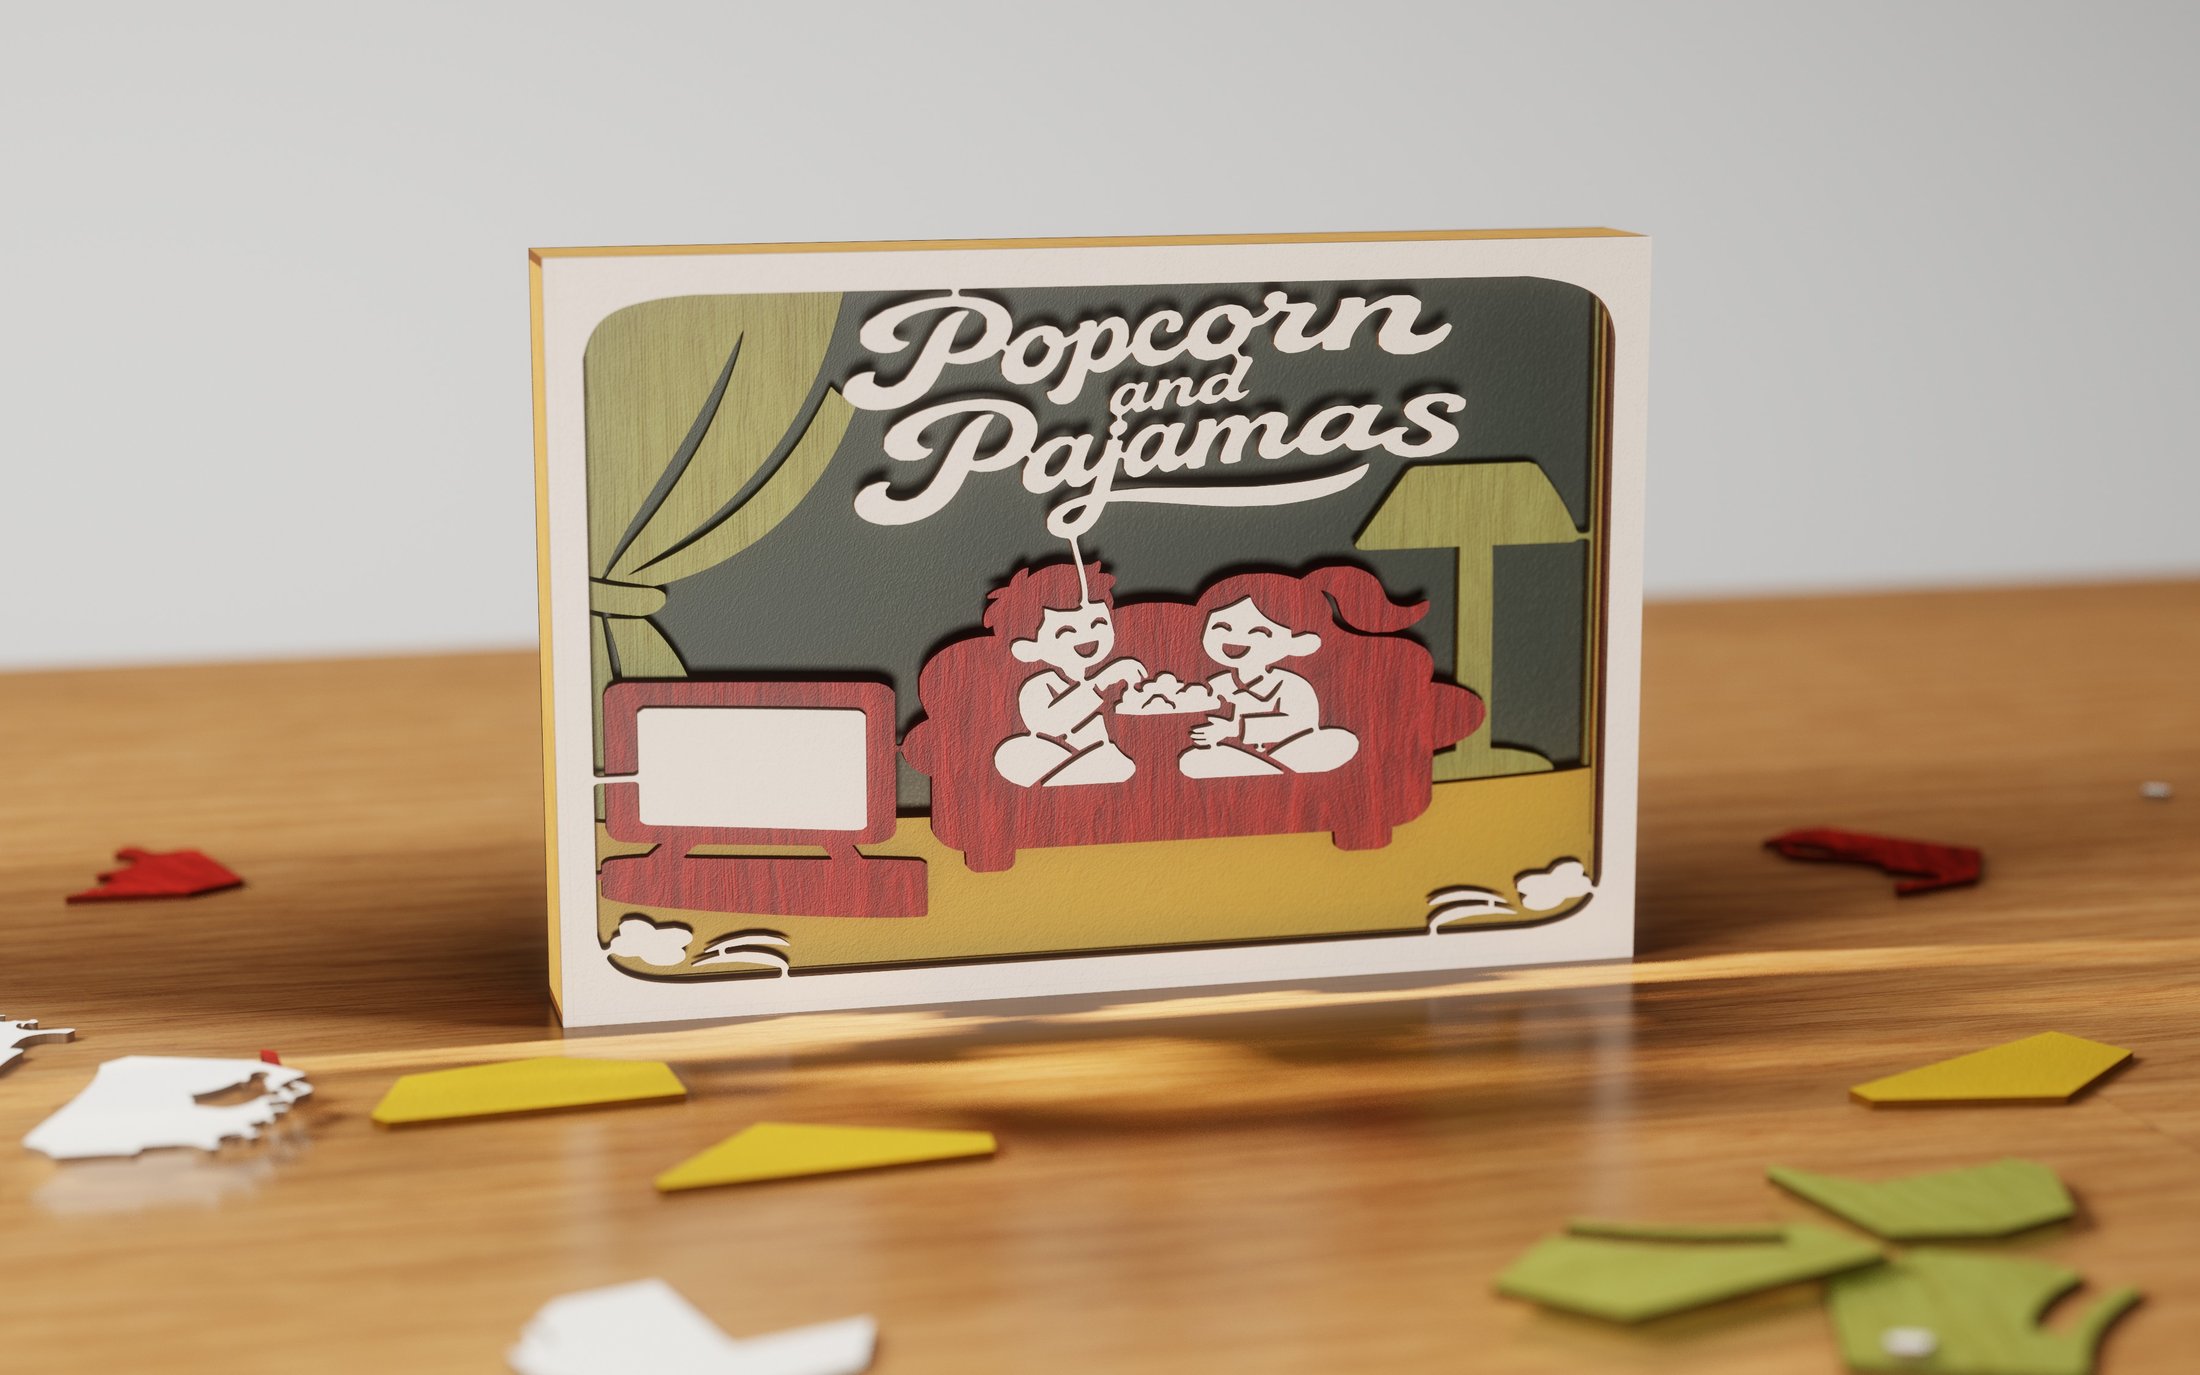 Popcorn and PajamasHome & heart
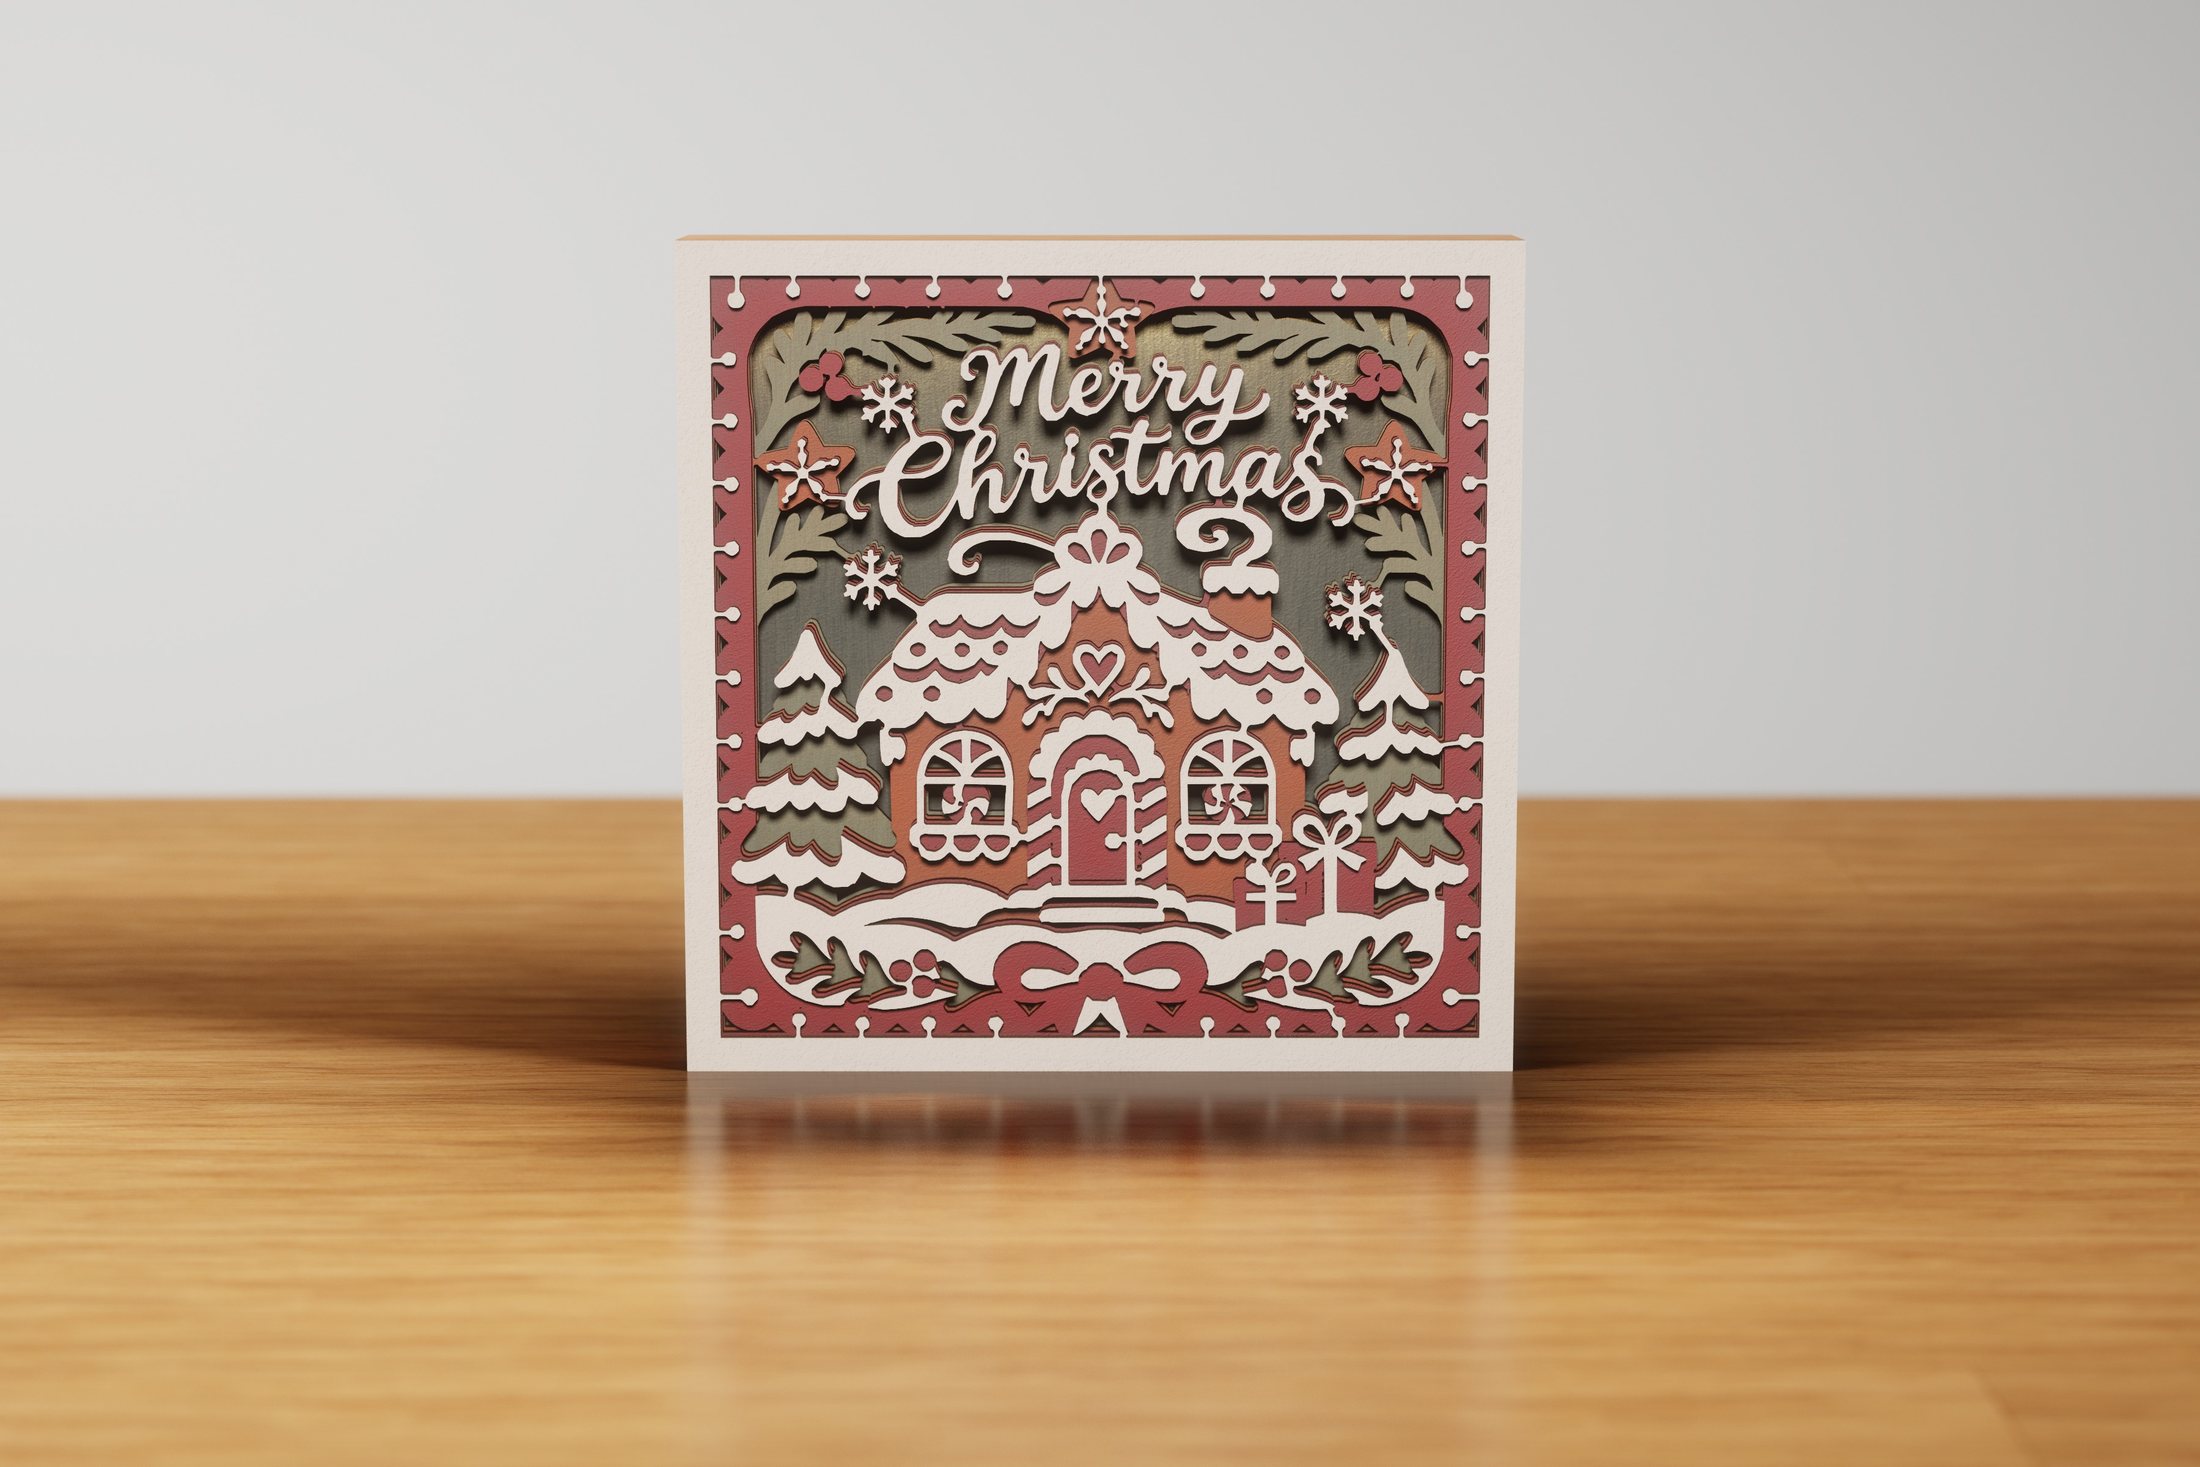 Gingerbread WishesChristmas
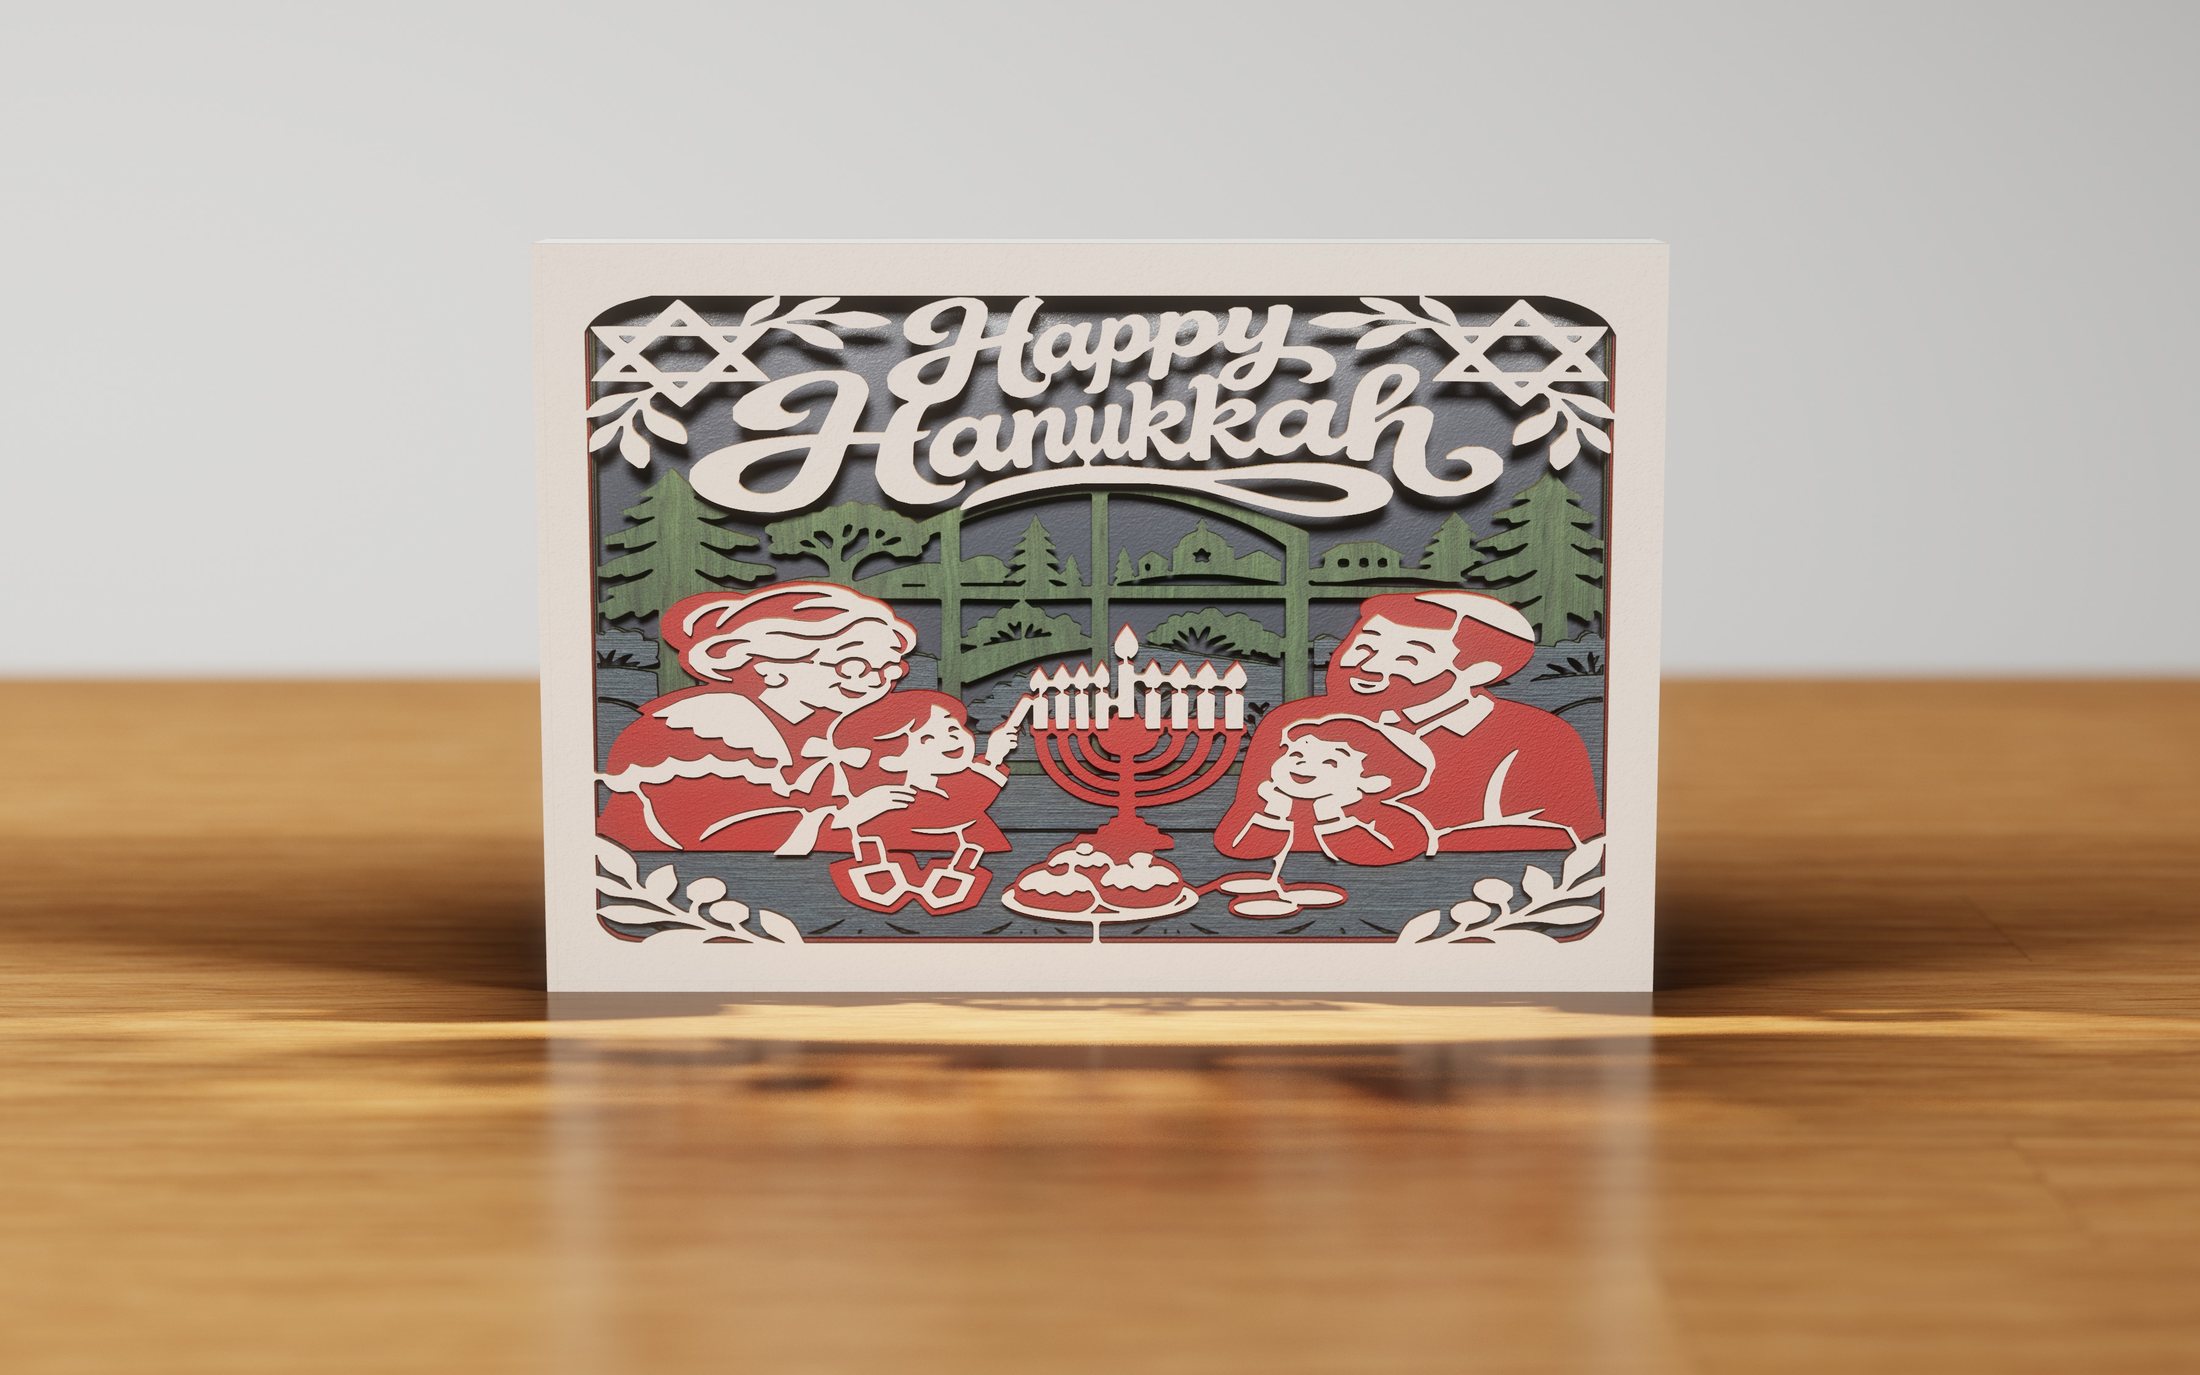 Happy HanukkahOther holidays
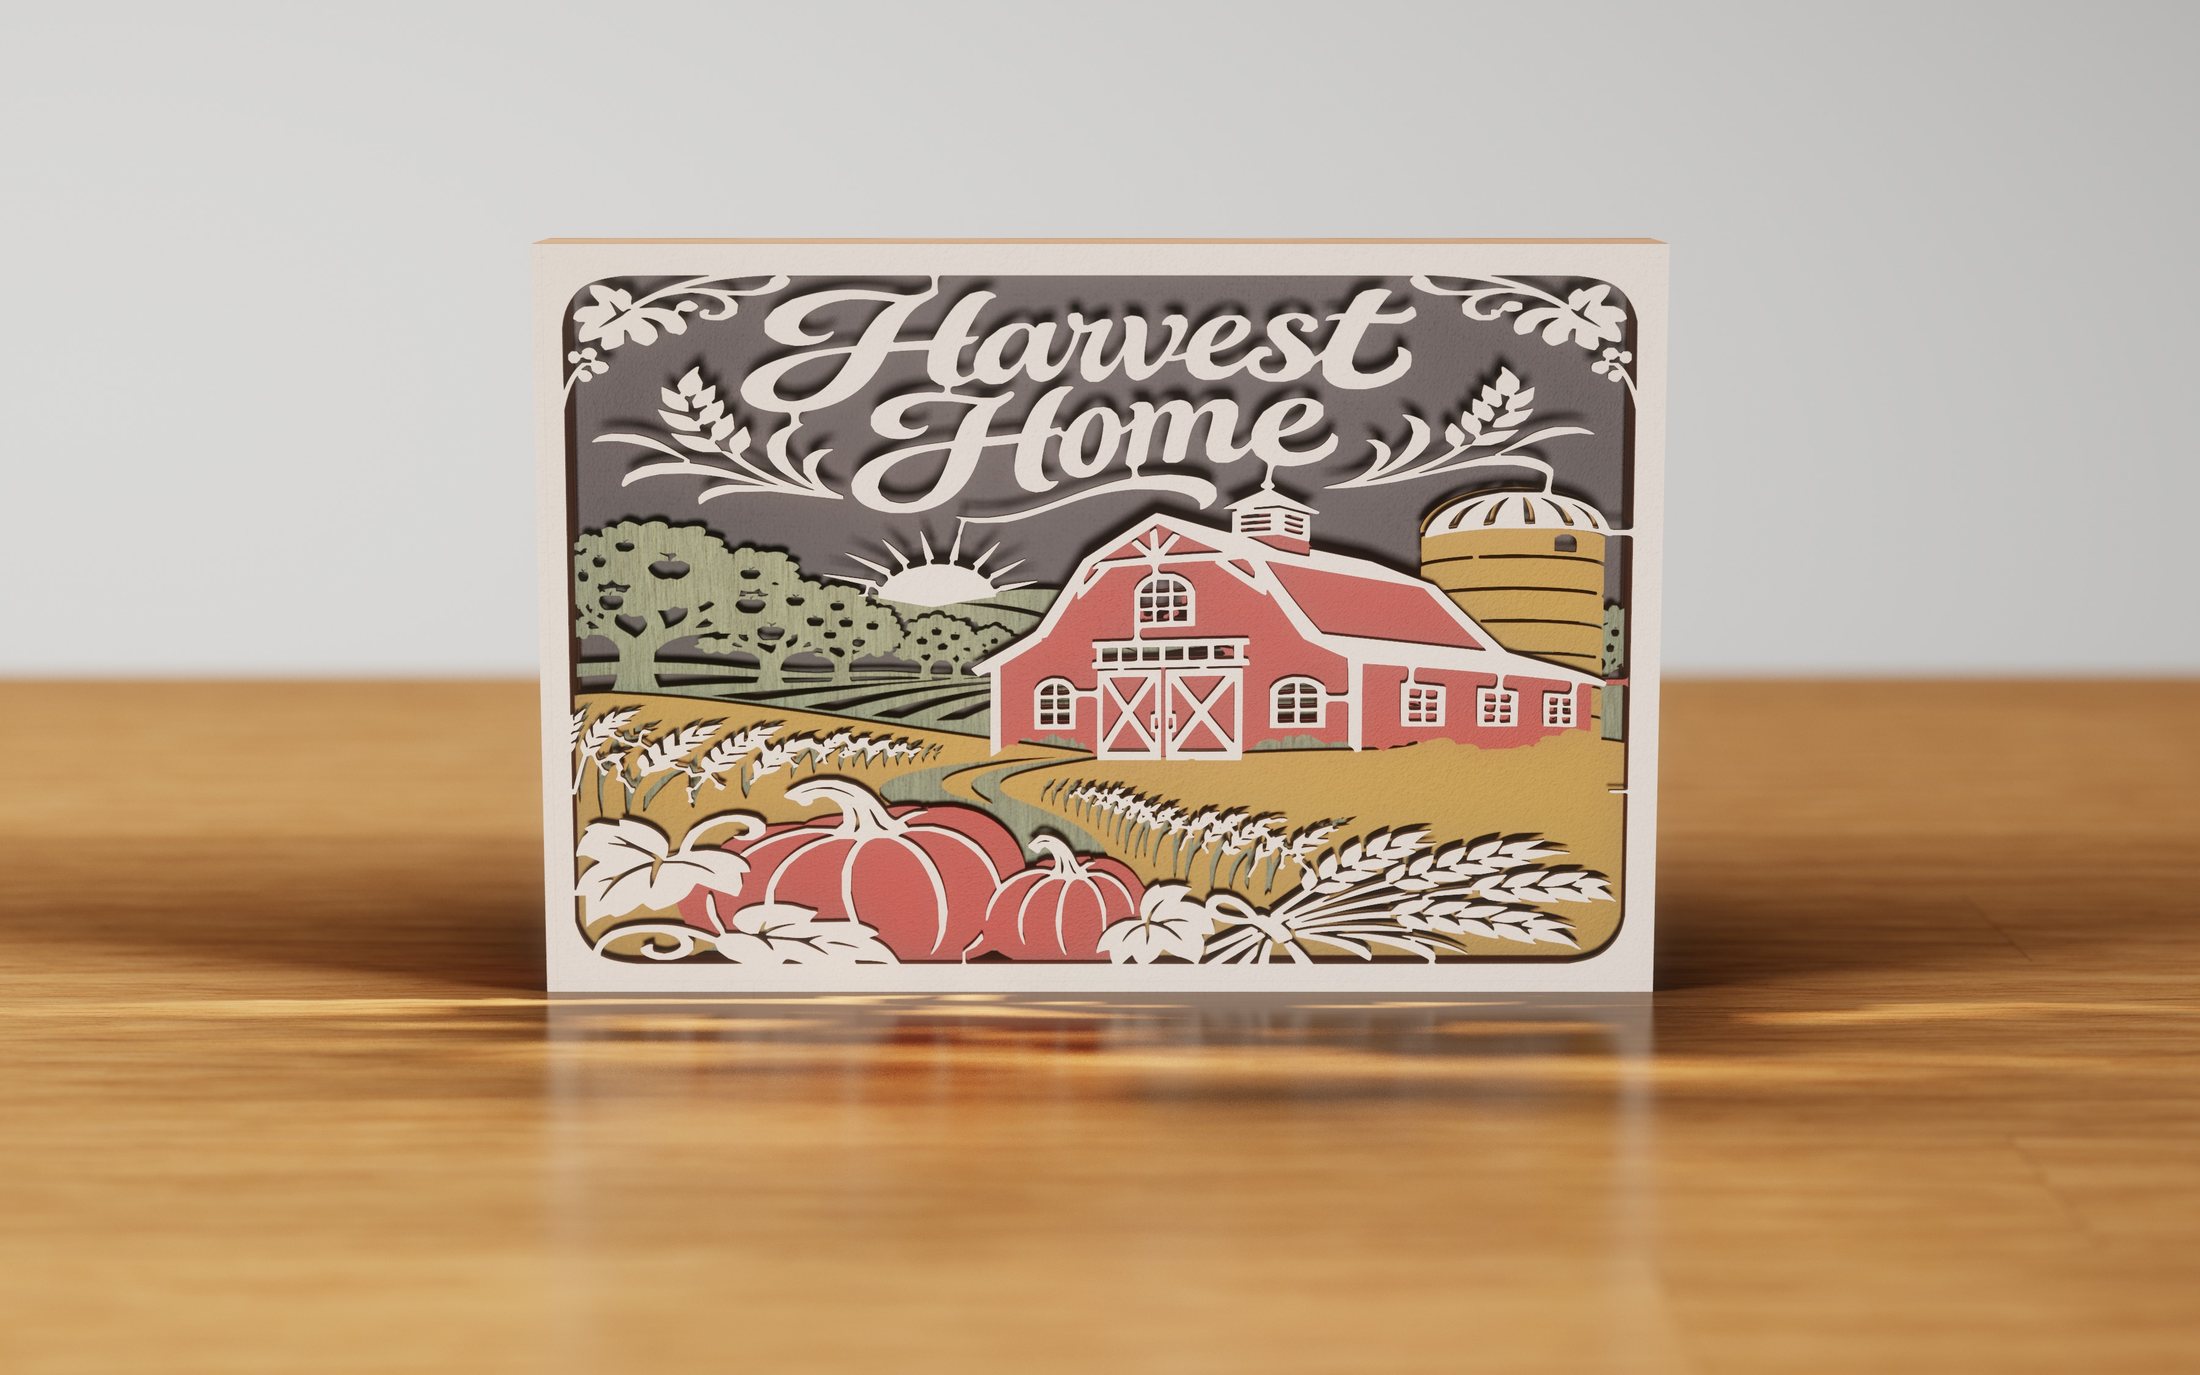 Harvest HomeThanksgiving & autumn
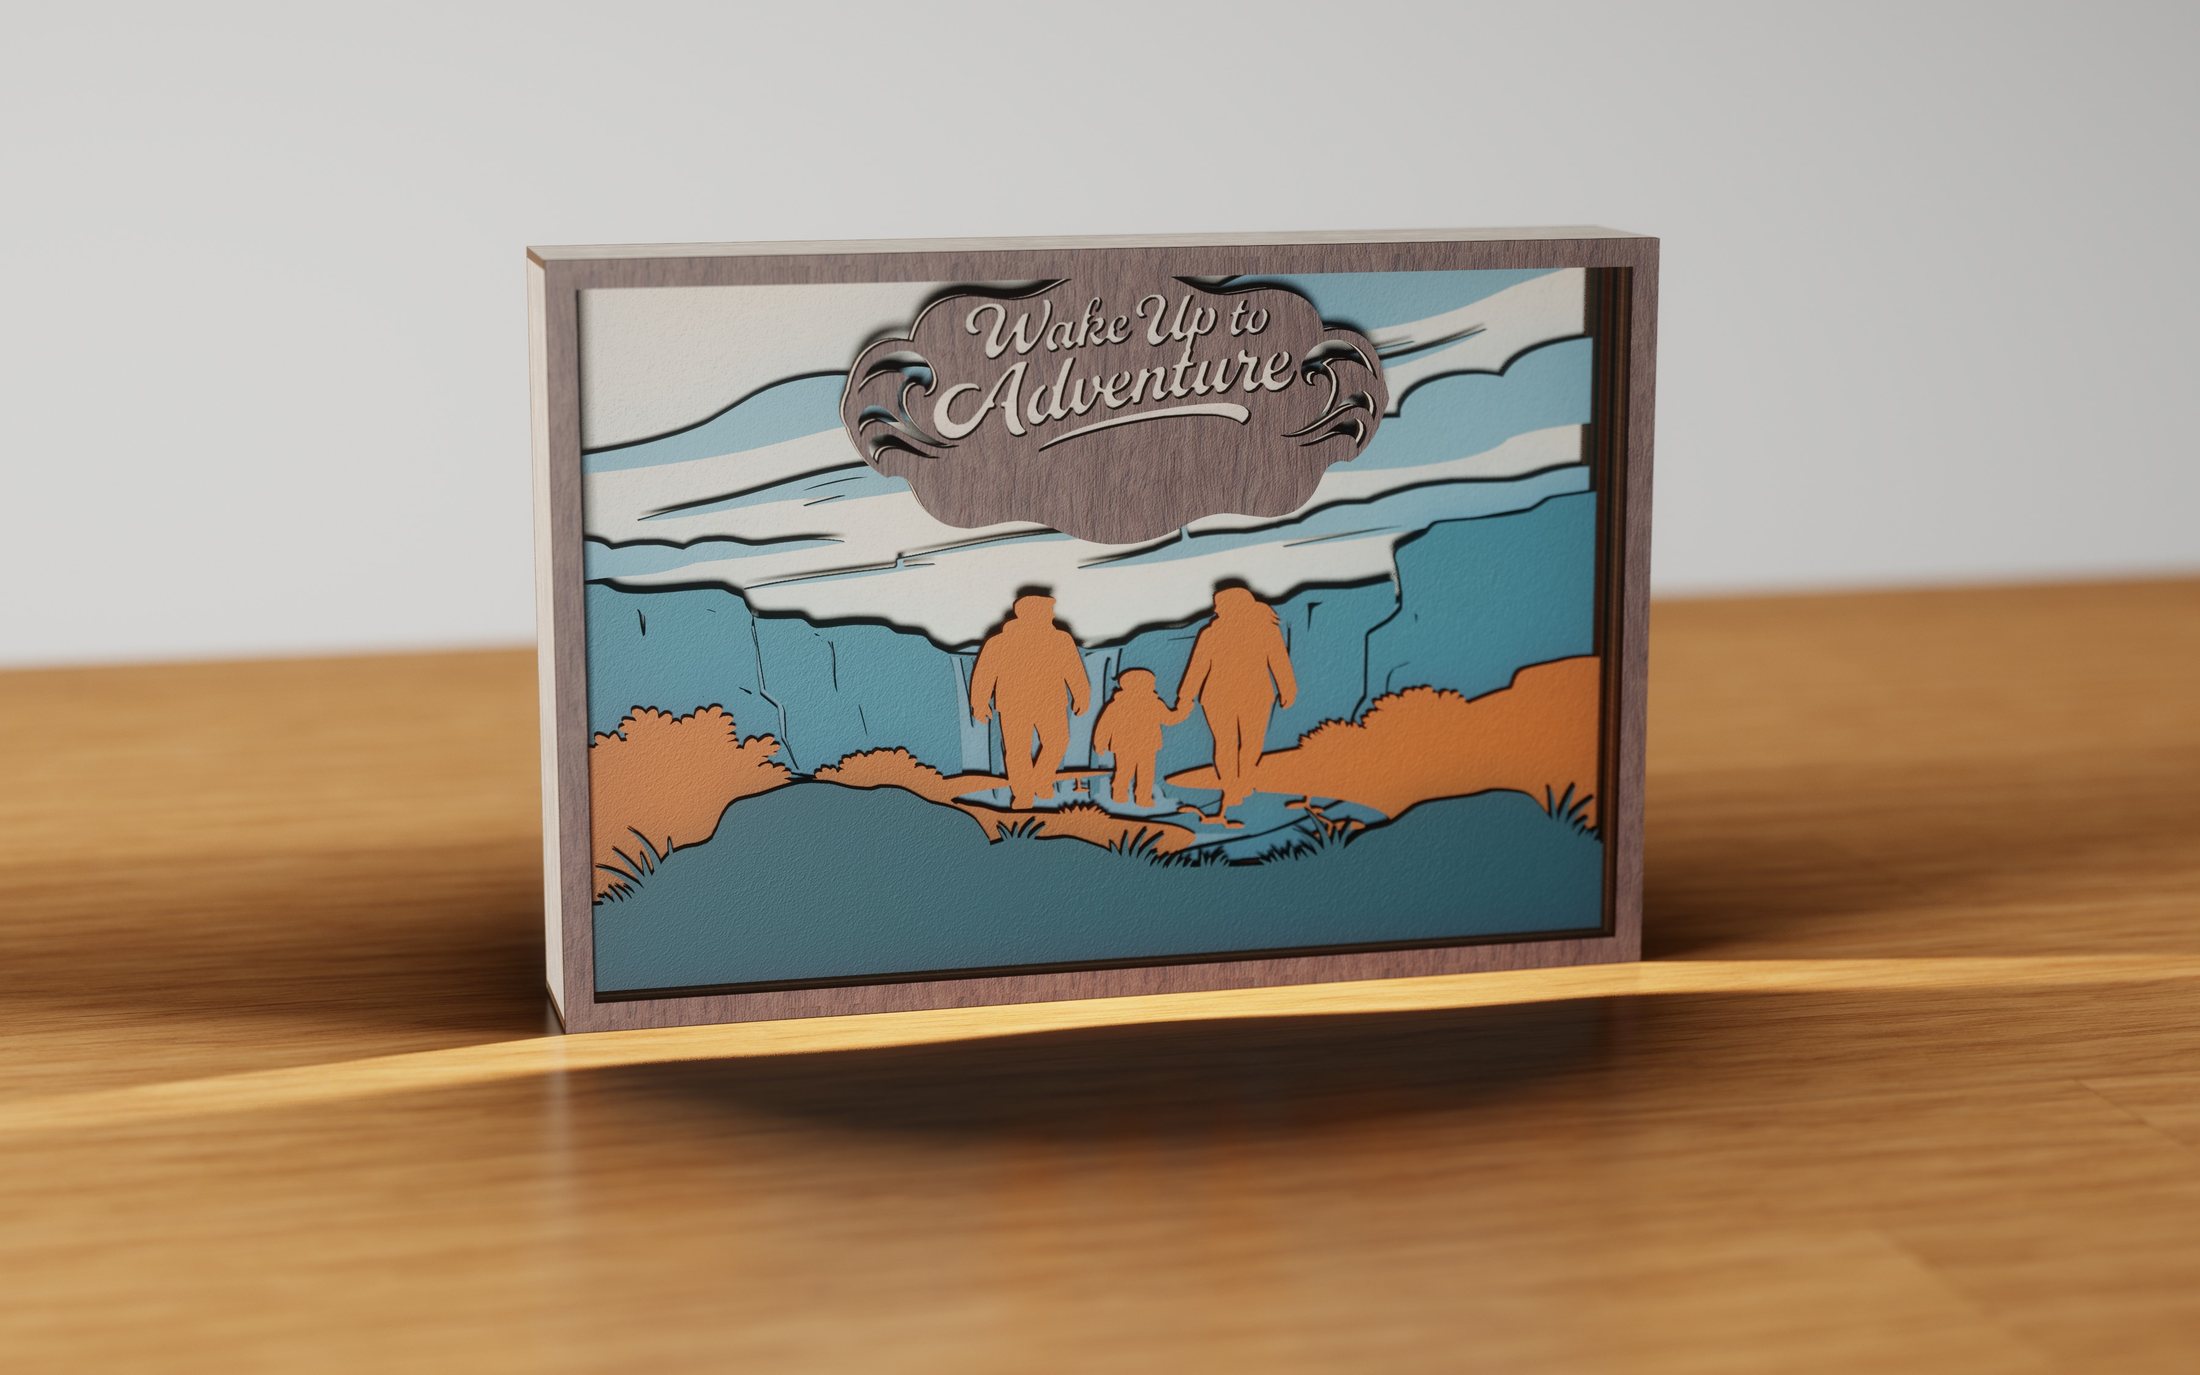 Iceland Waterfall WalkTravel & adventure
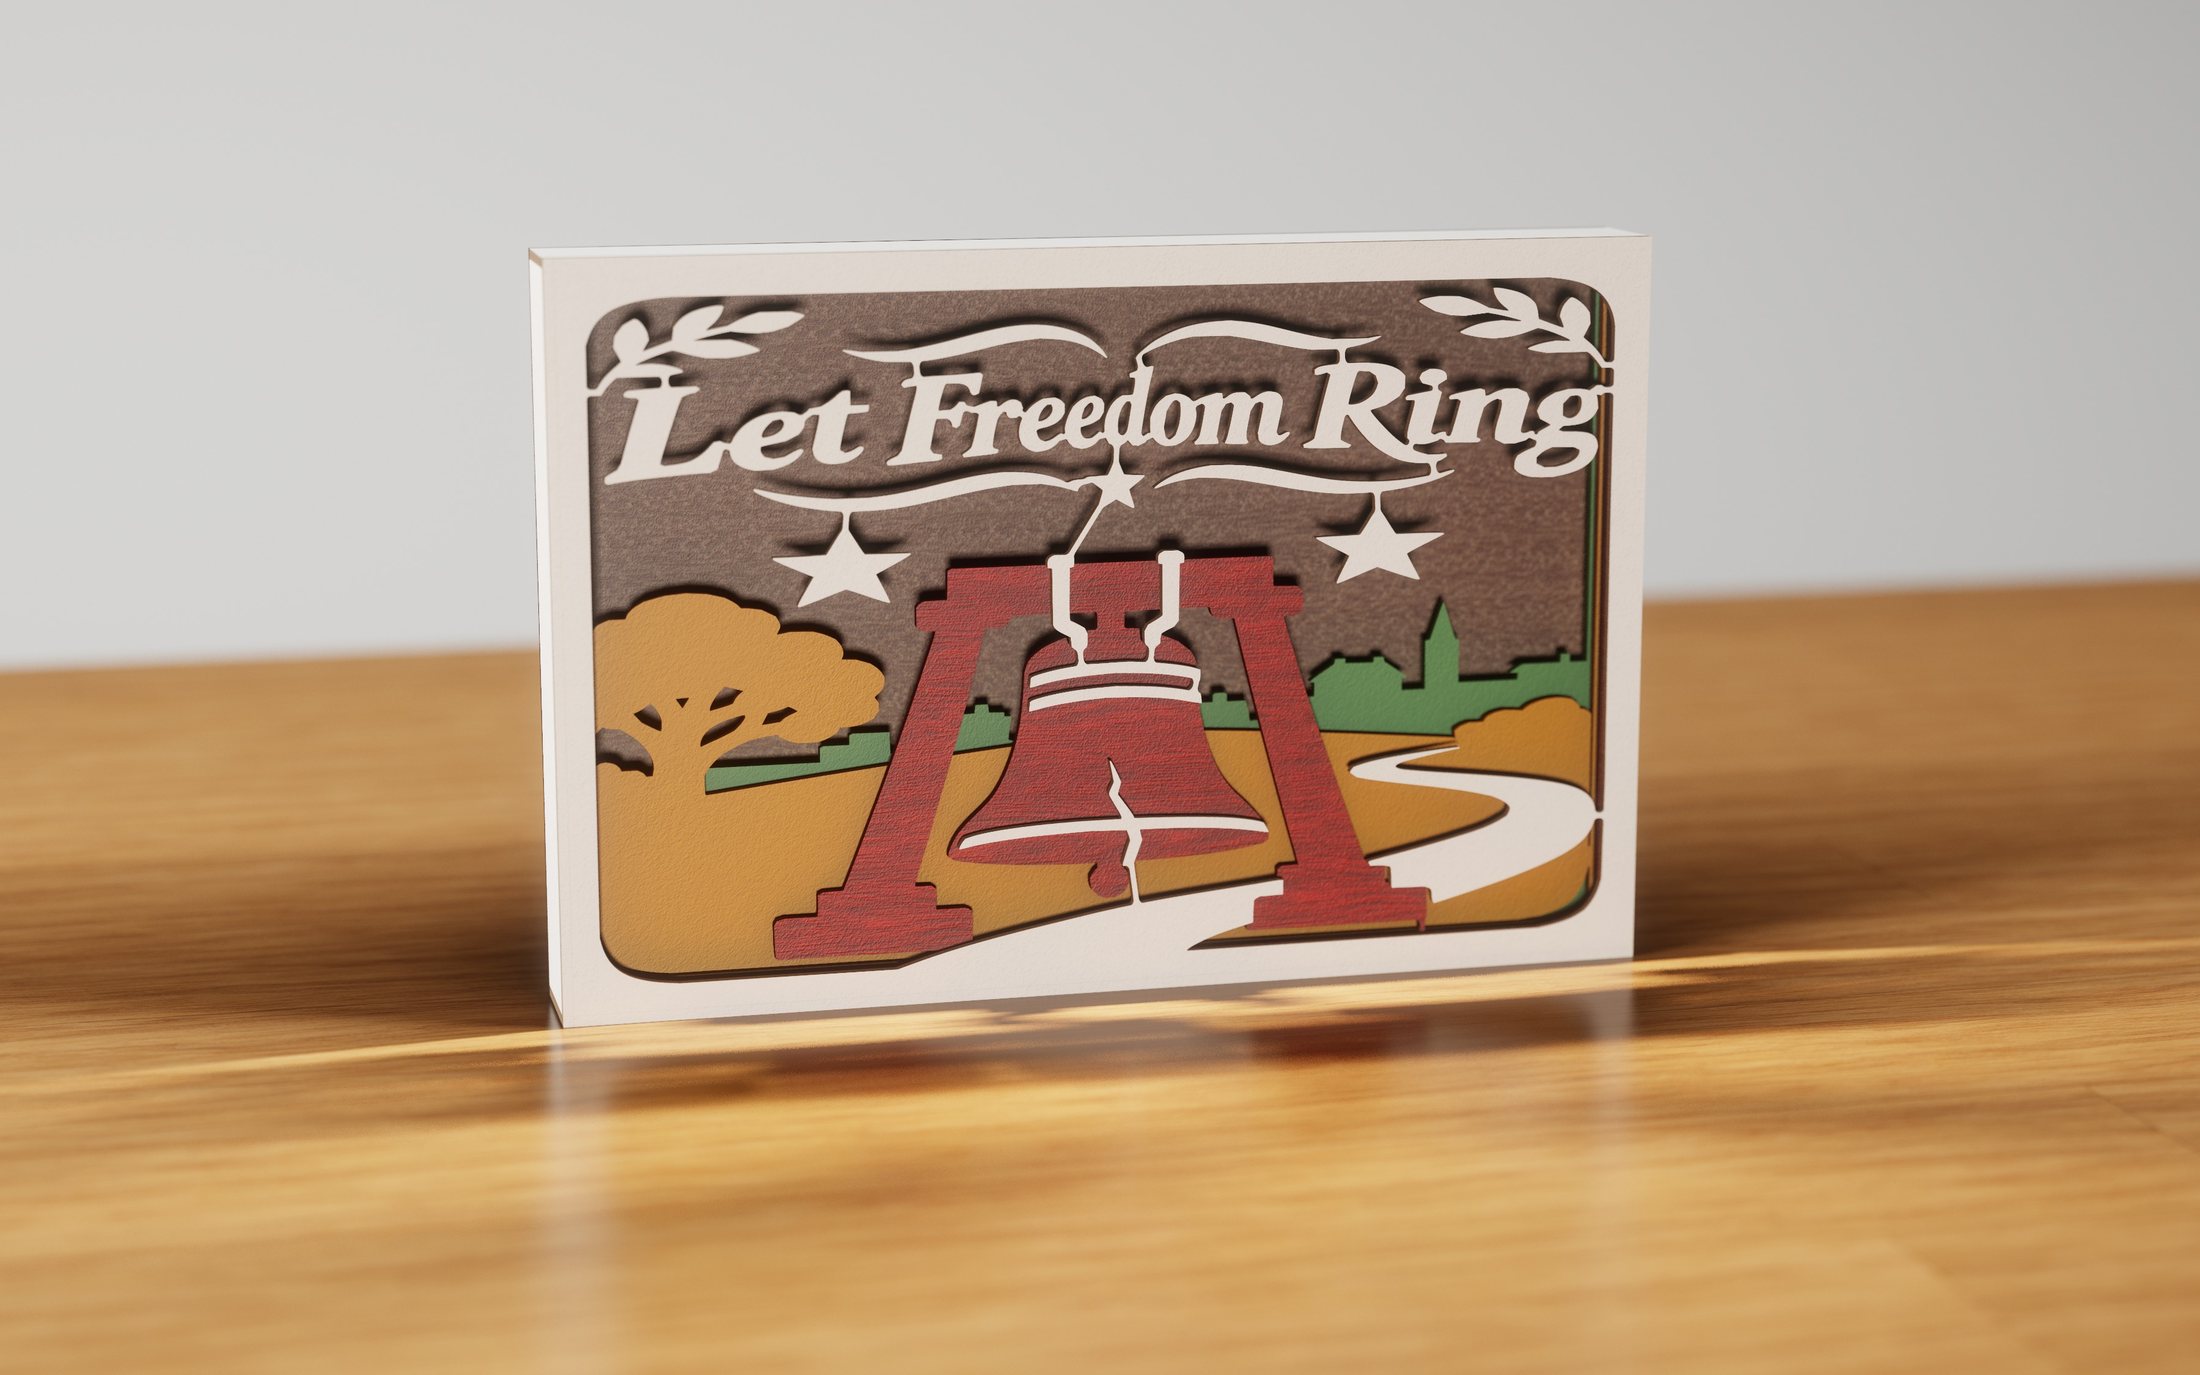 Let Freedom RingOther holidays
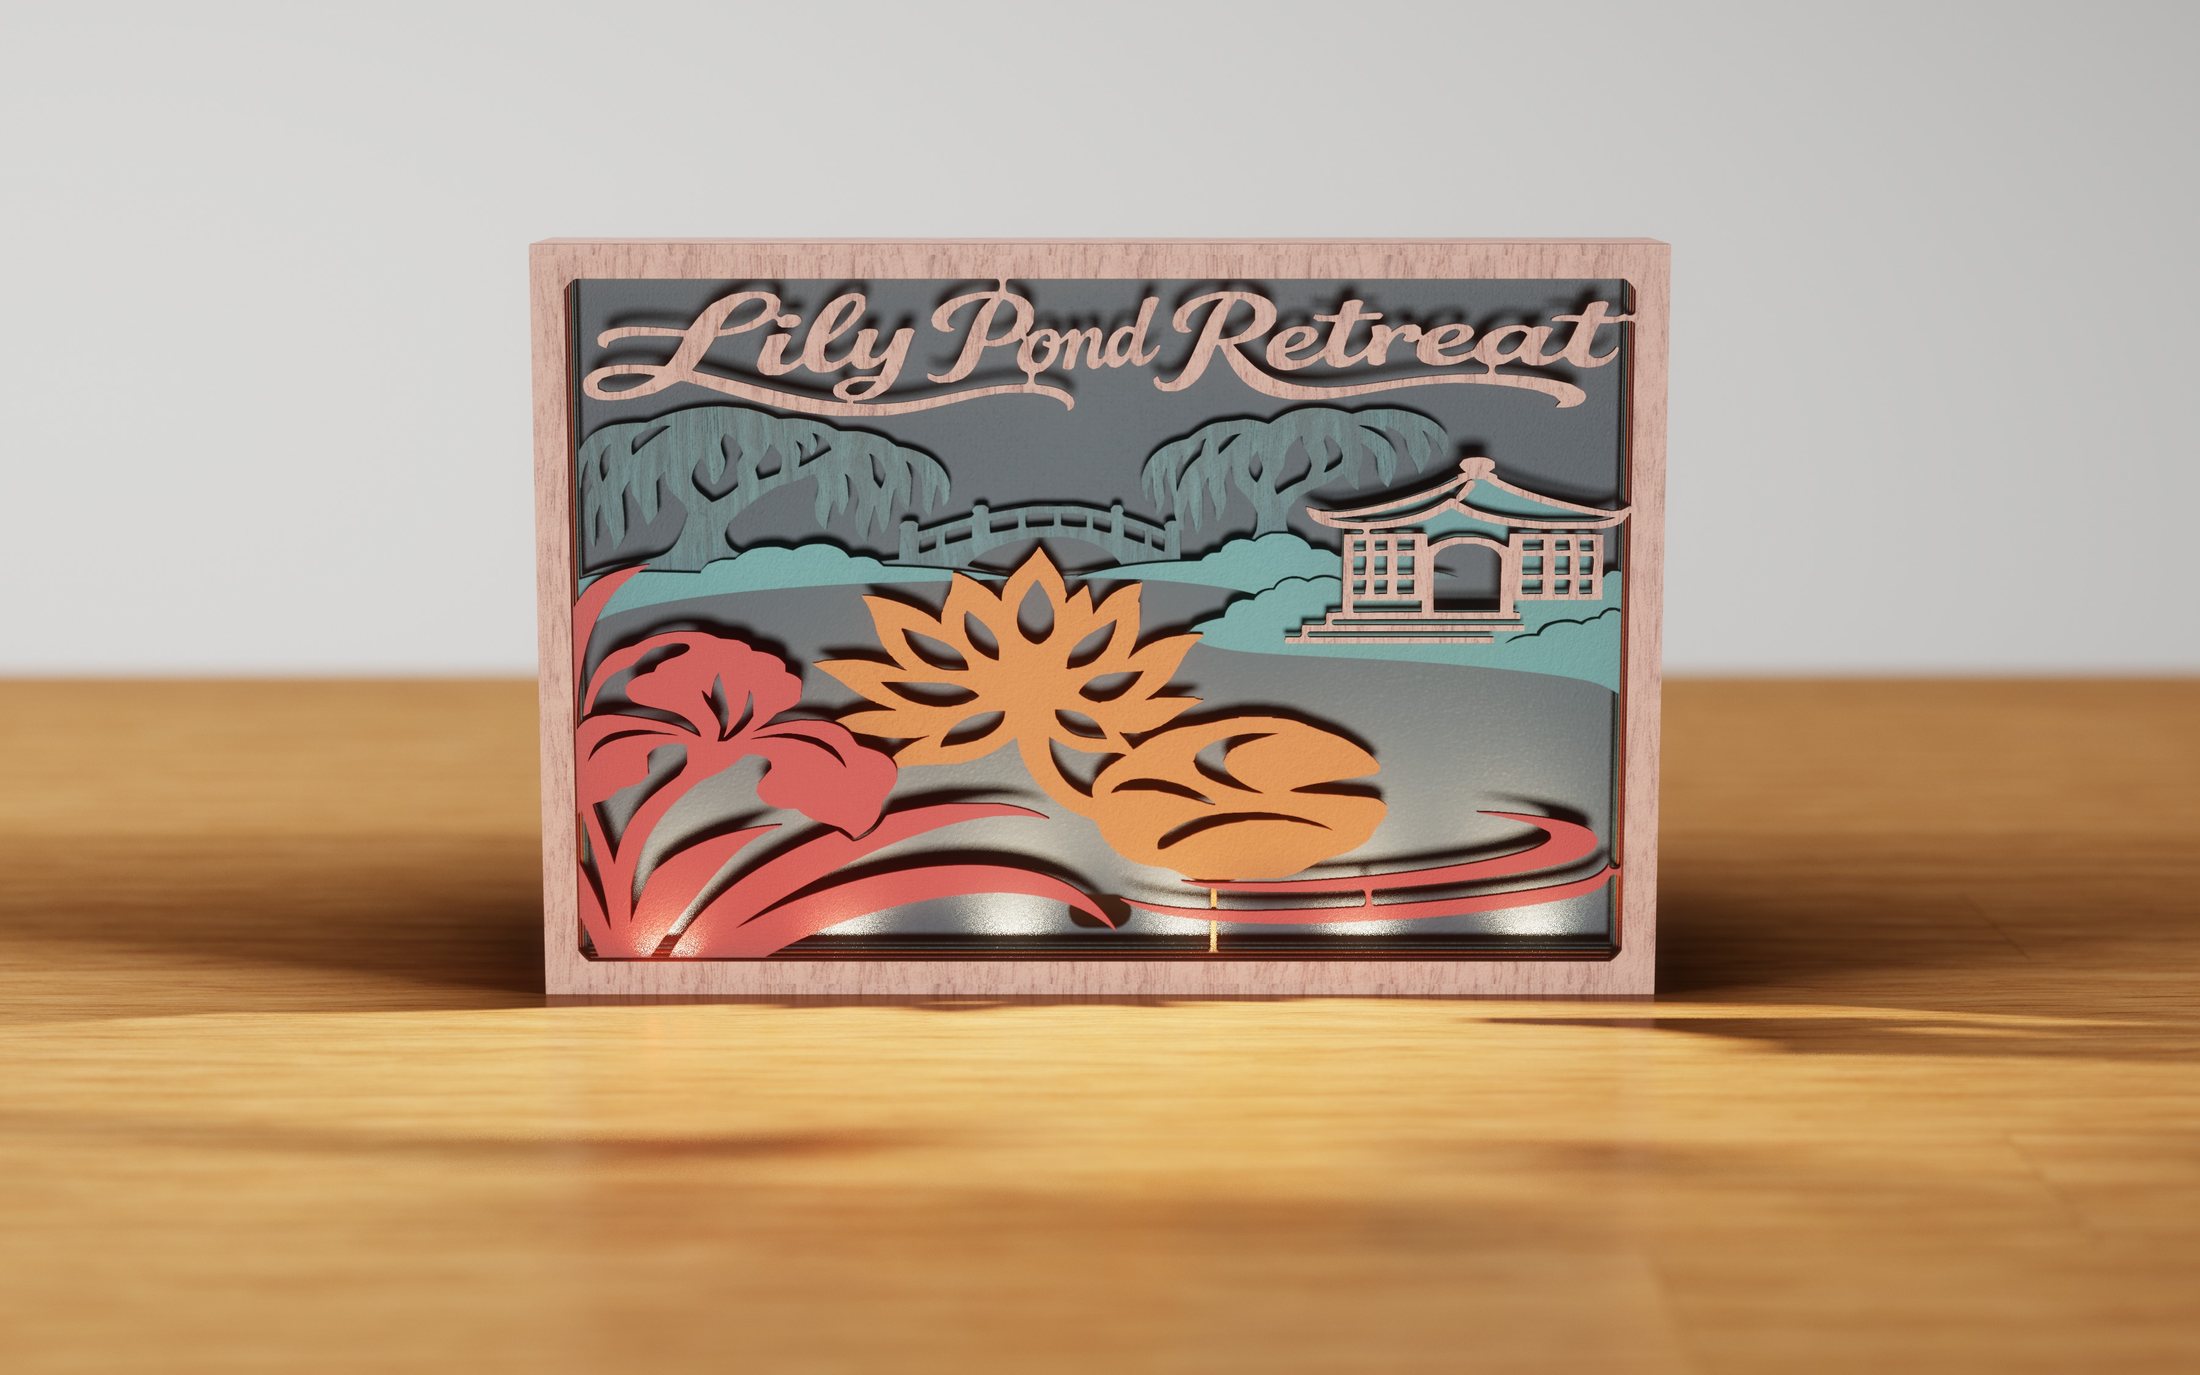 Lily Pond RetreatNature & gardens
Love Grows HereHome & heart
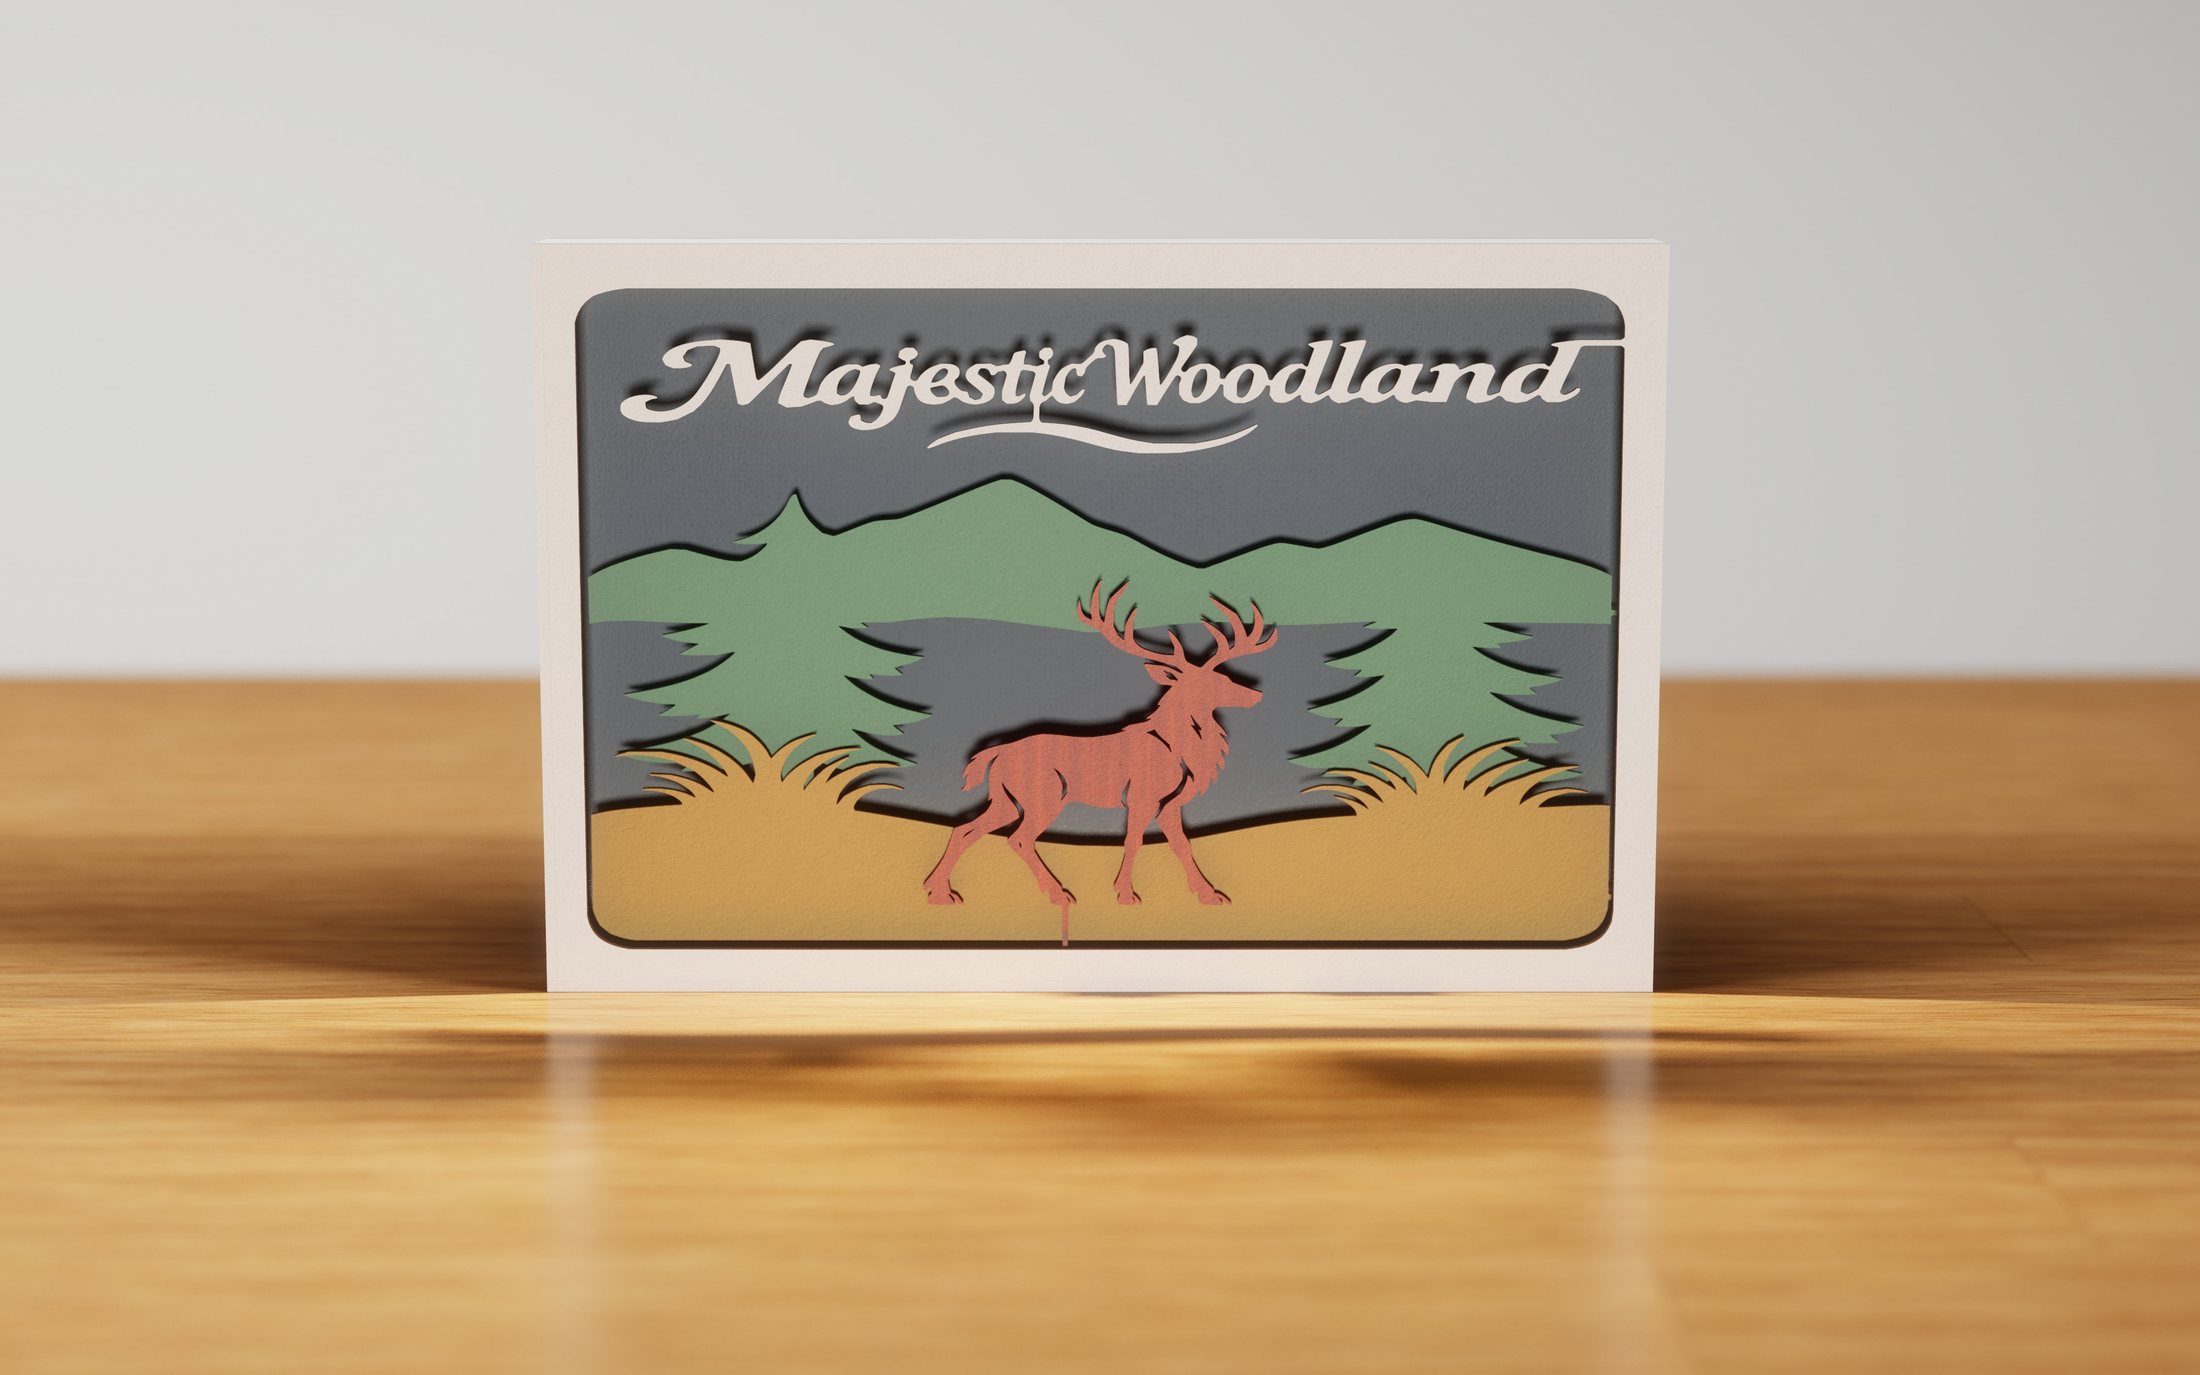 Majestic WoodlandNature & gardens
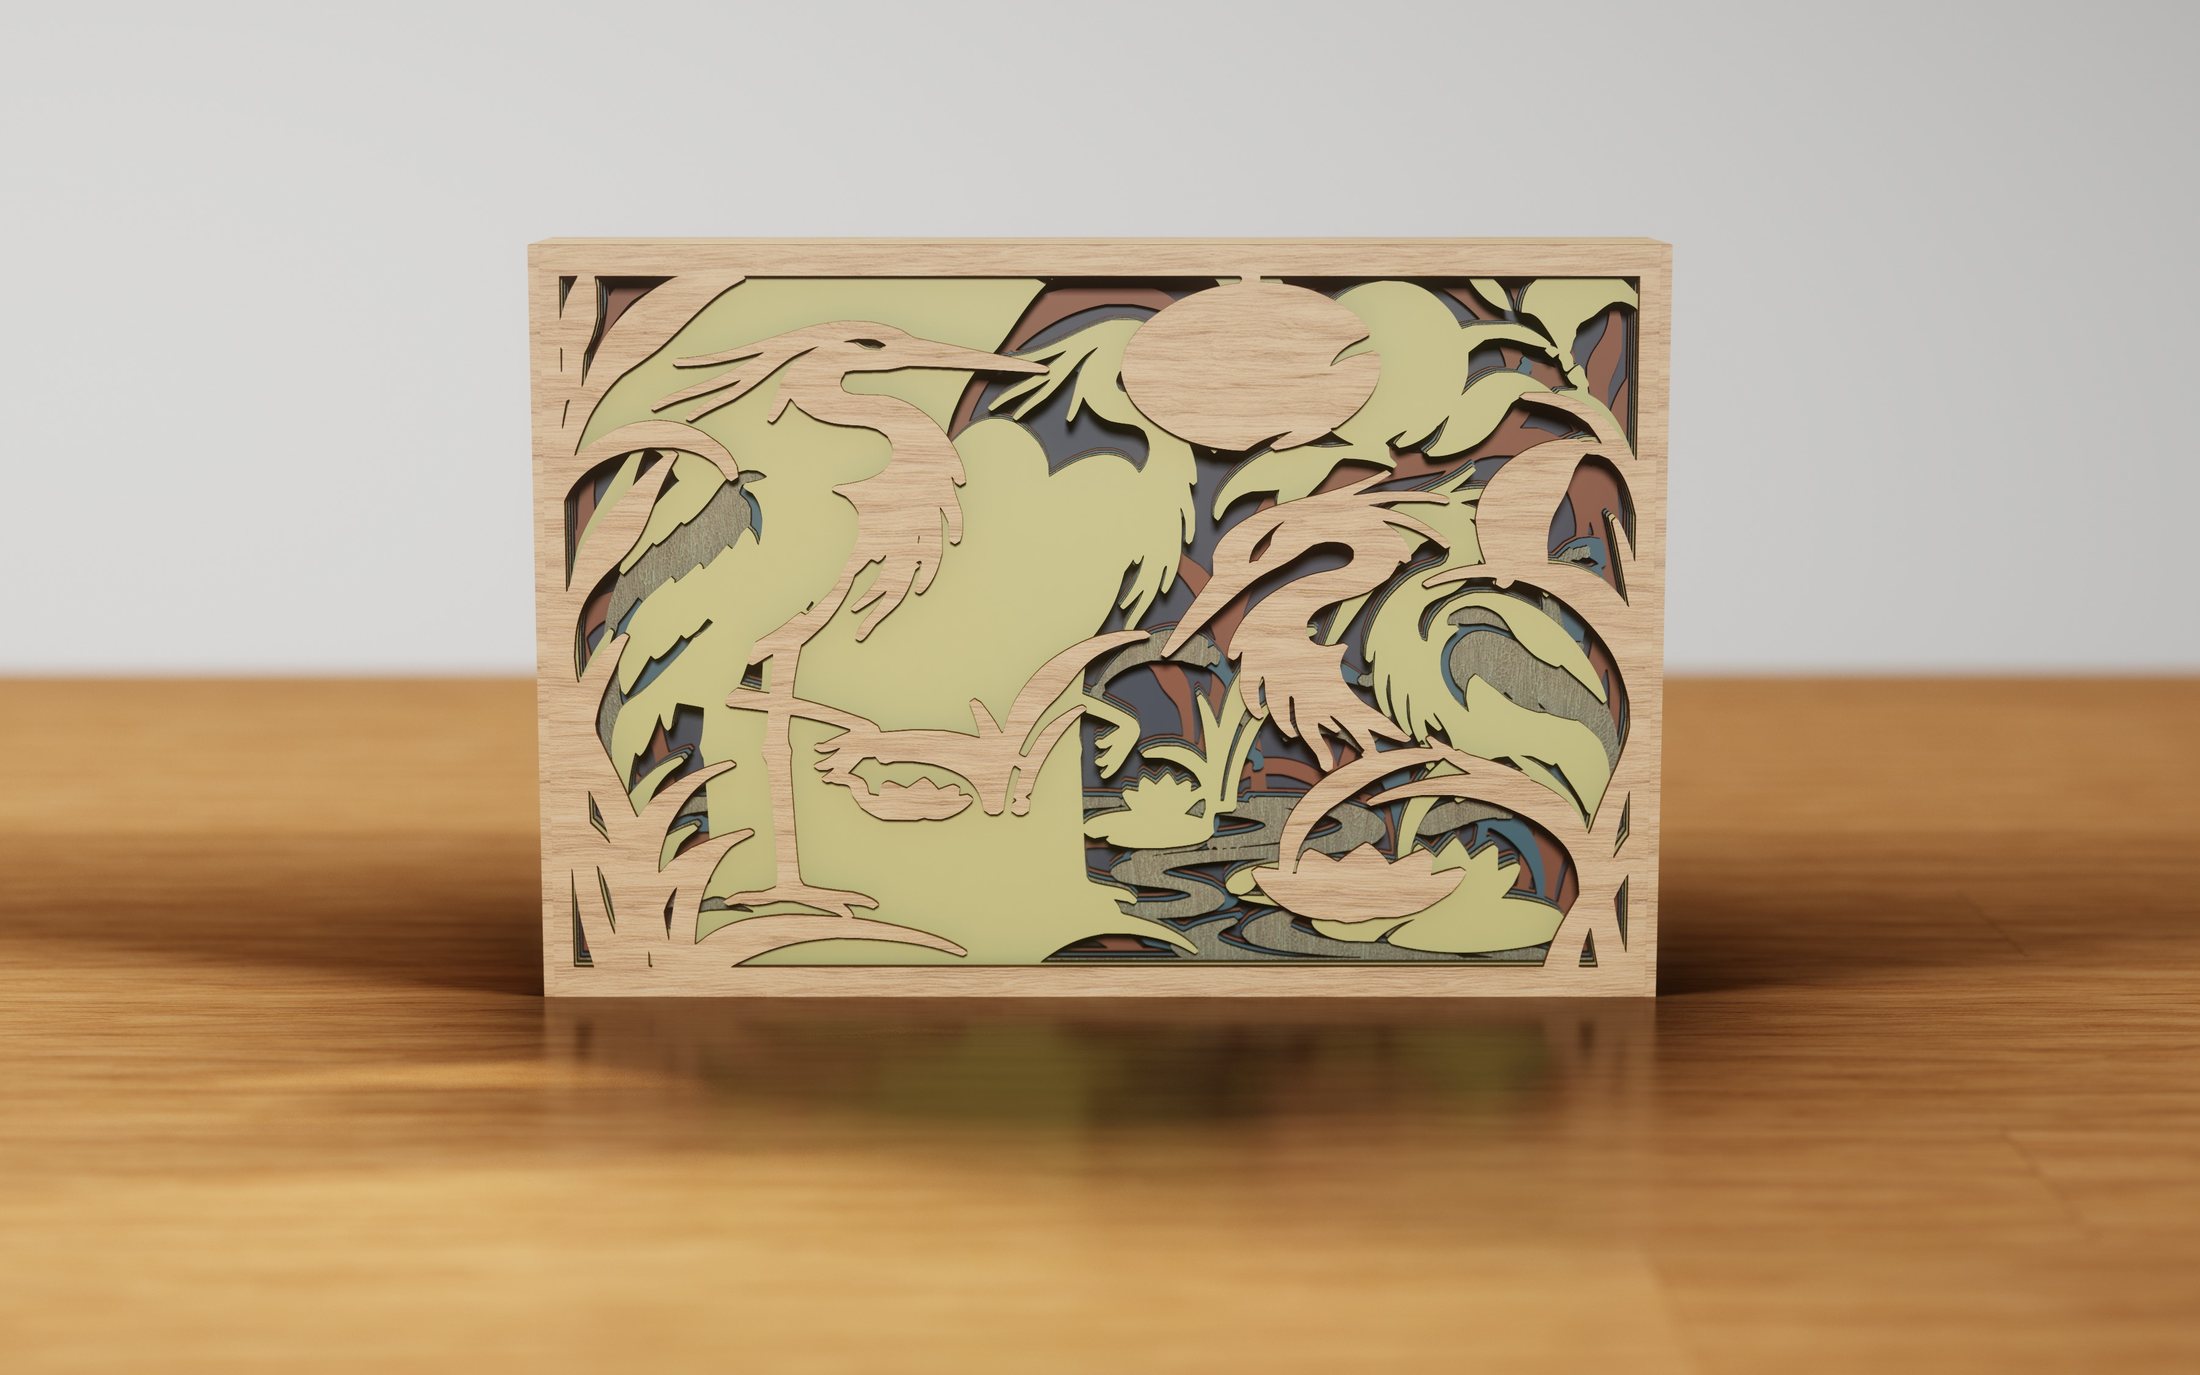 Moonlit HeronsNature & gardens
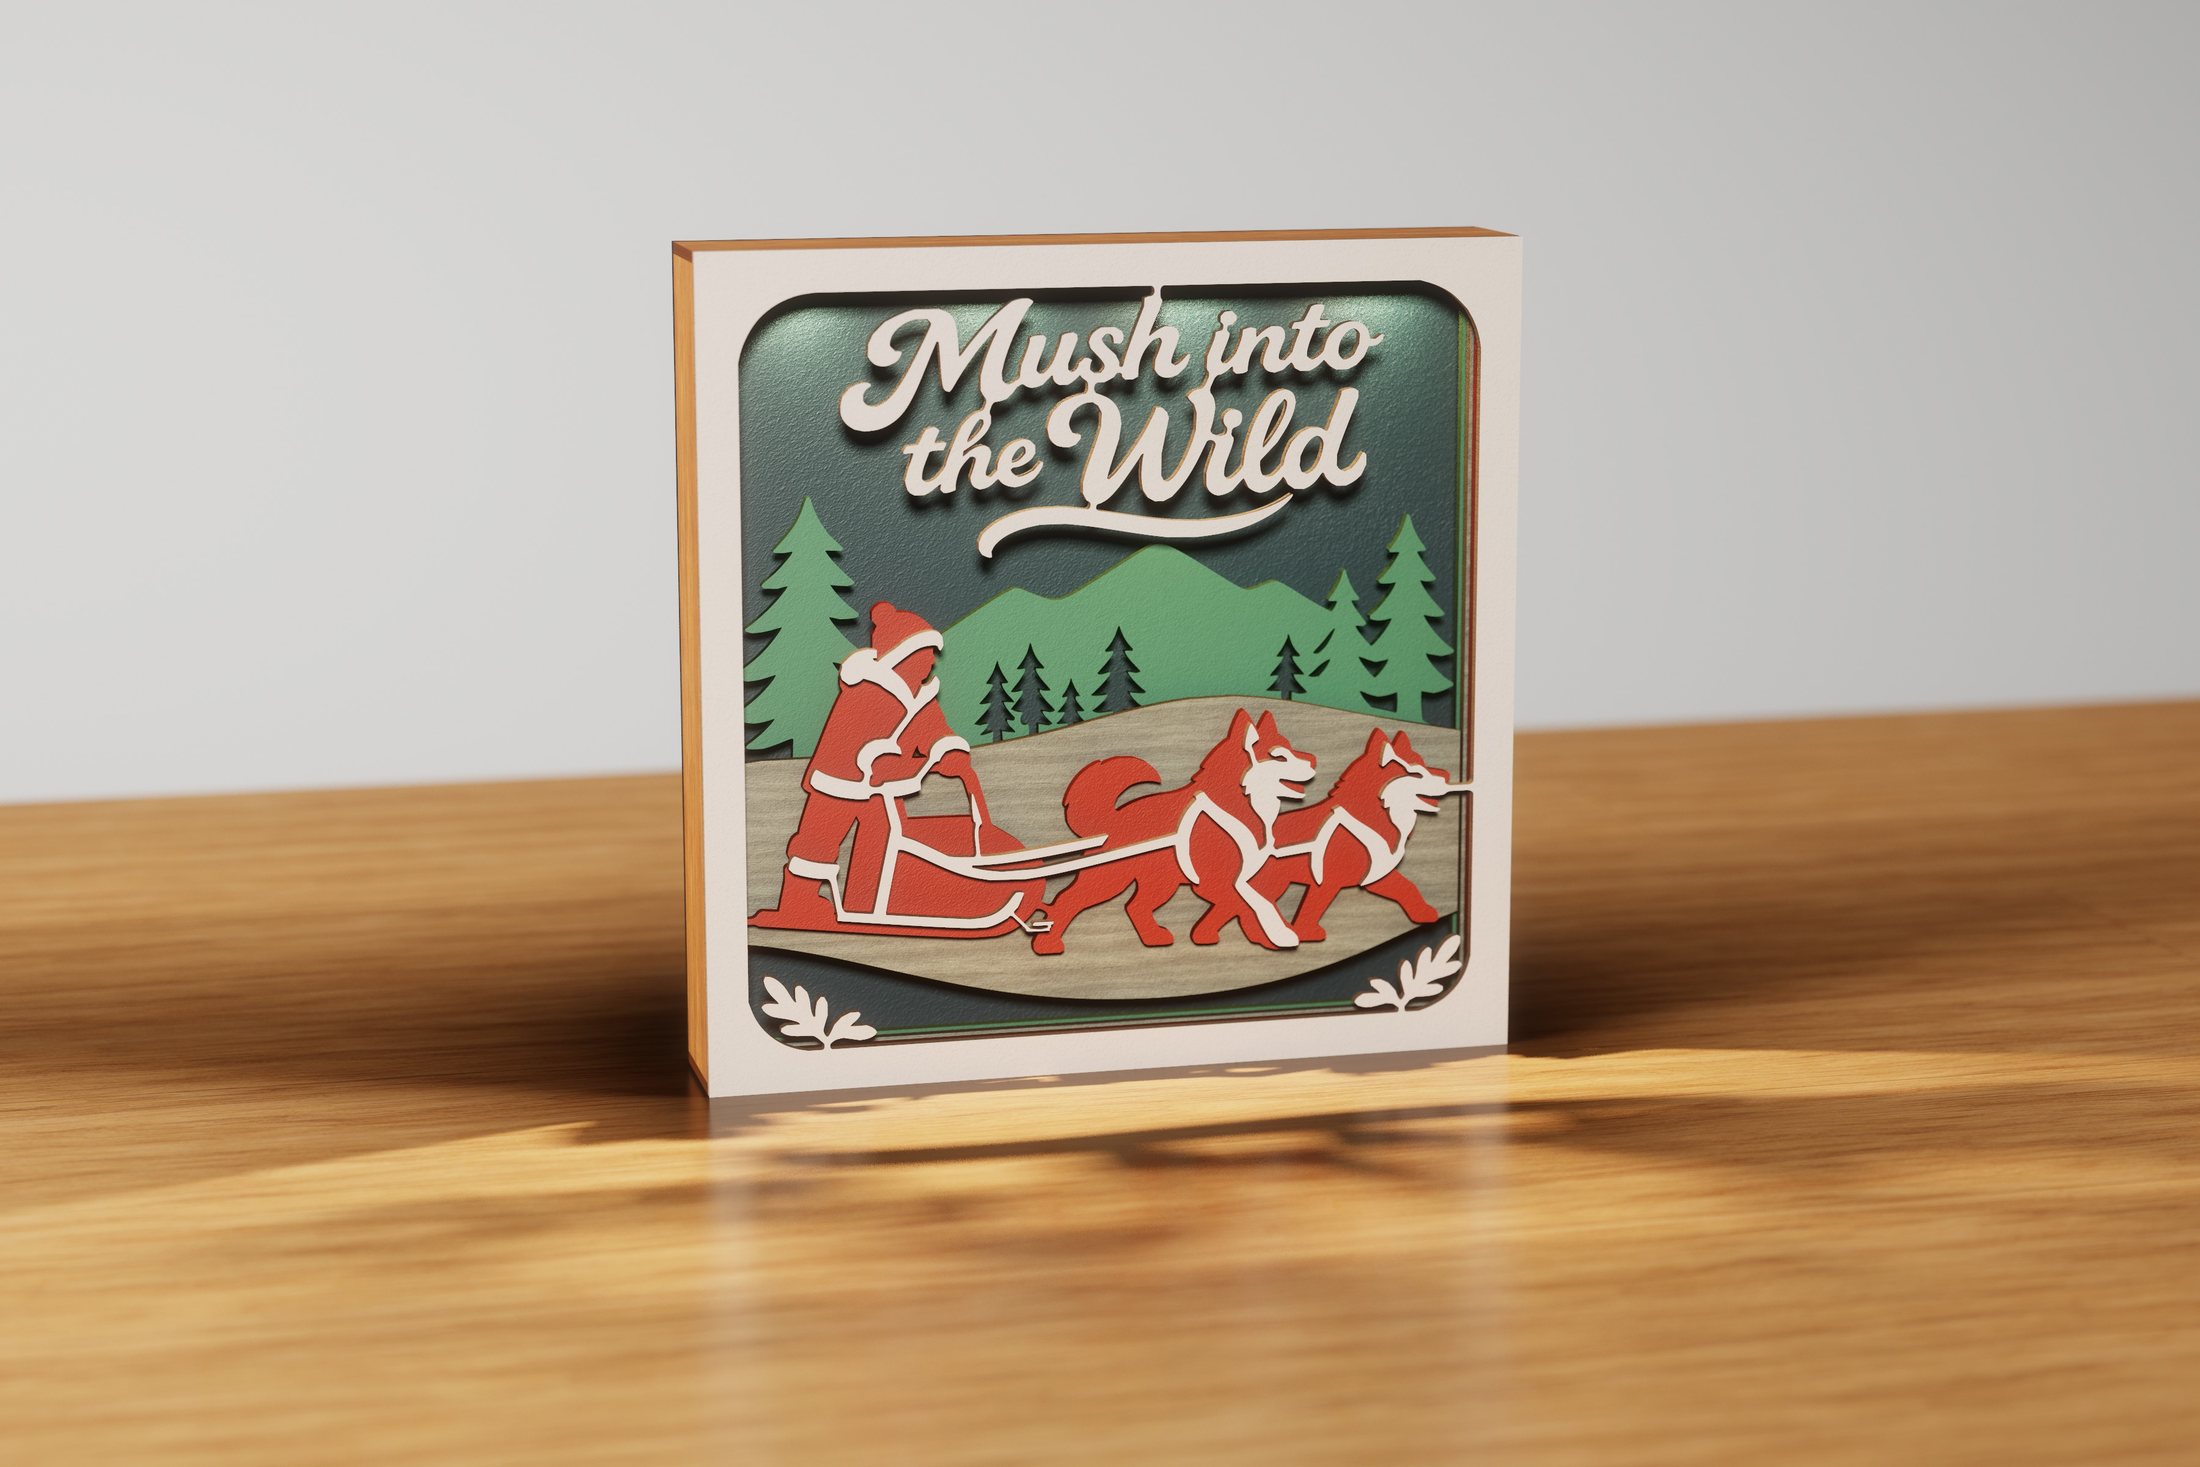 Mush into the WildTravel & adventure
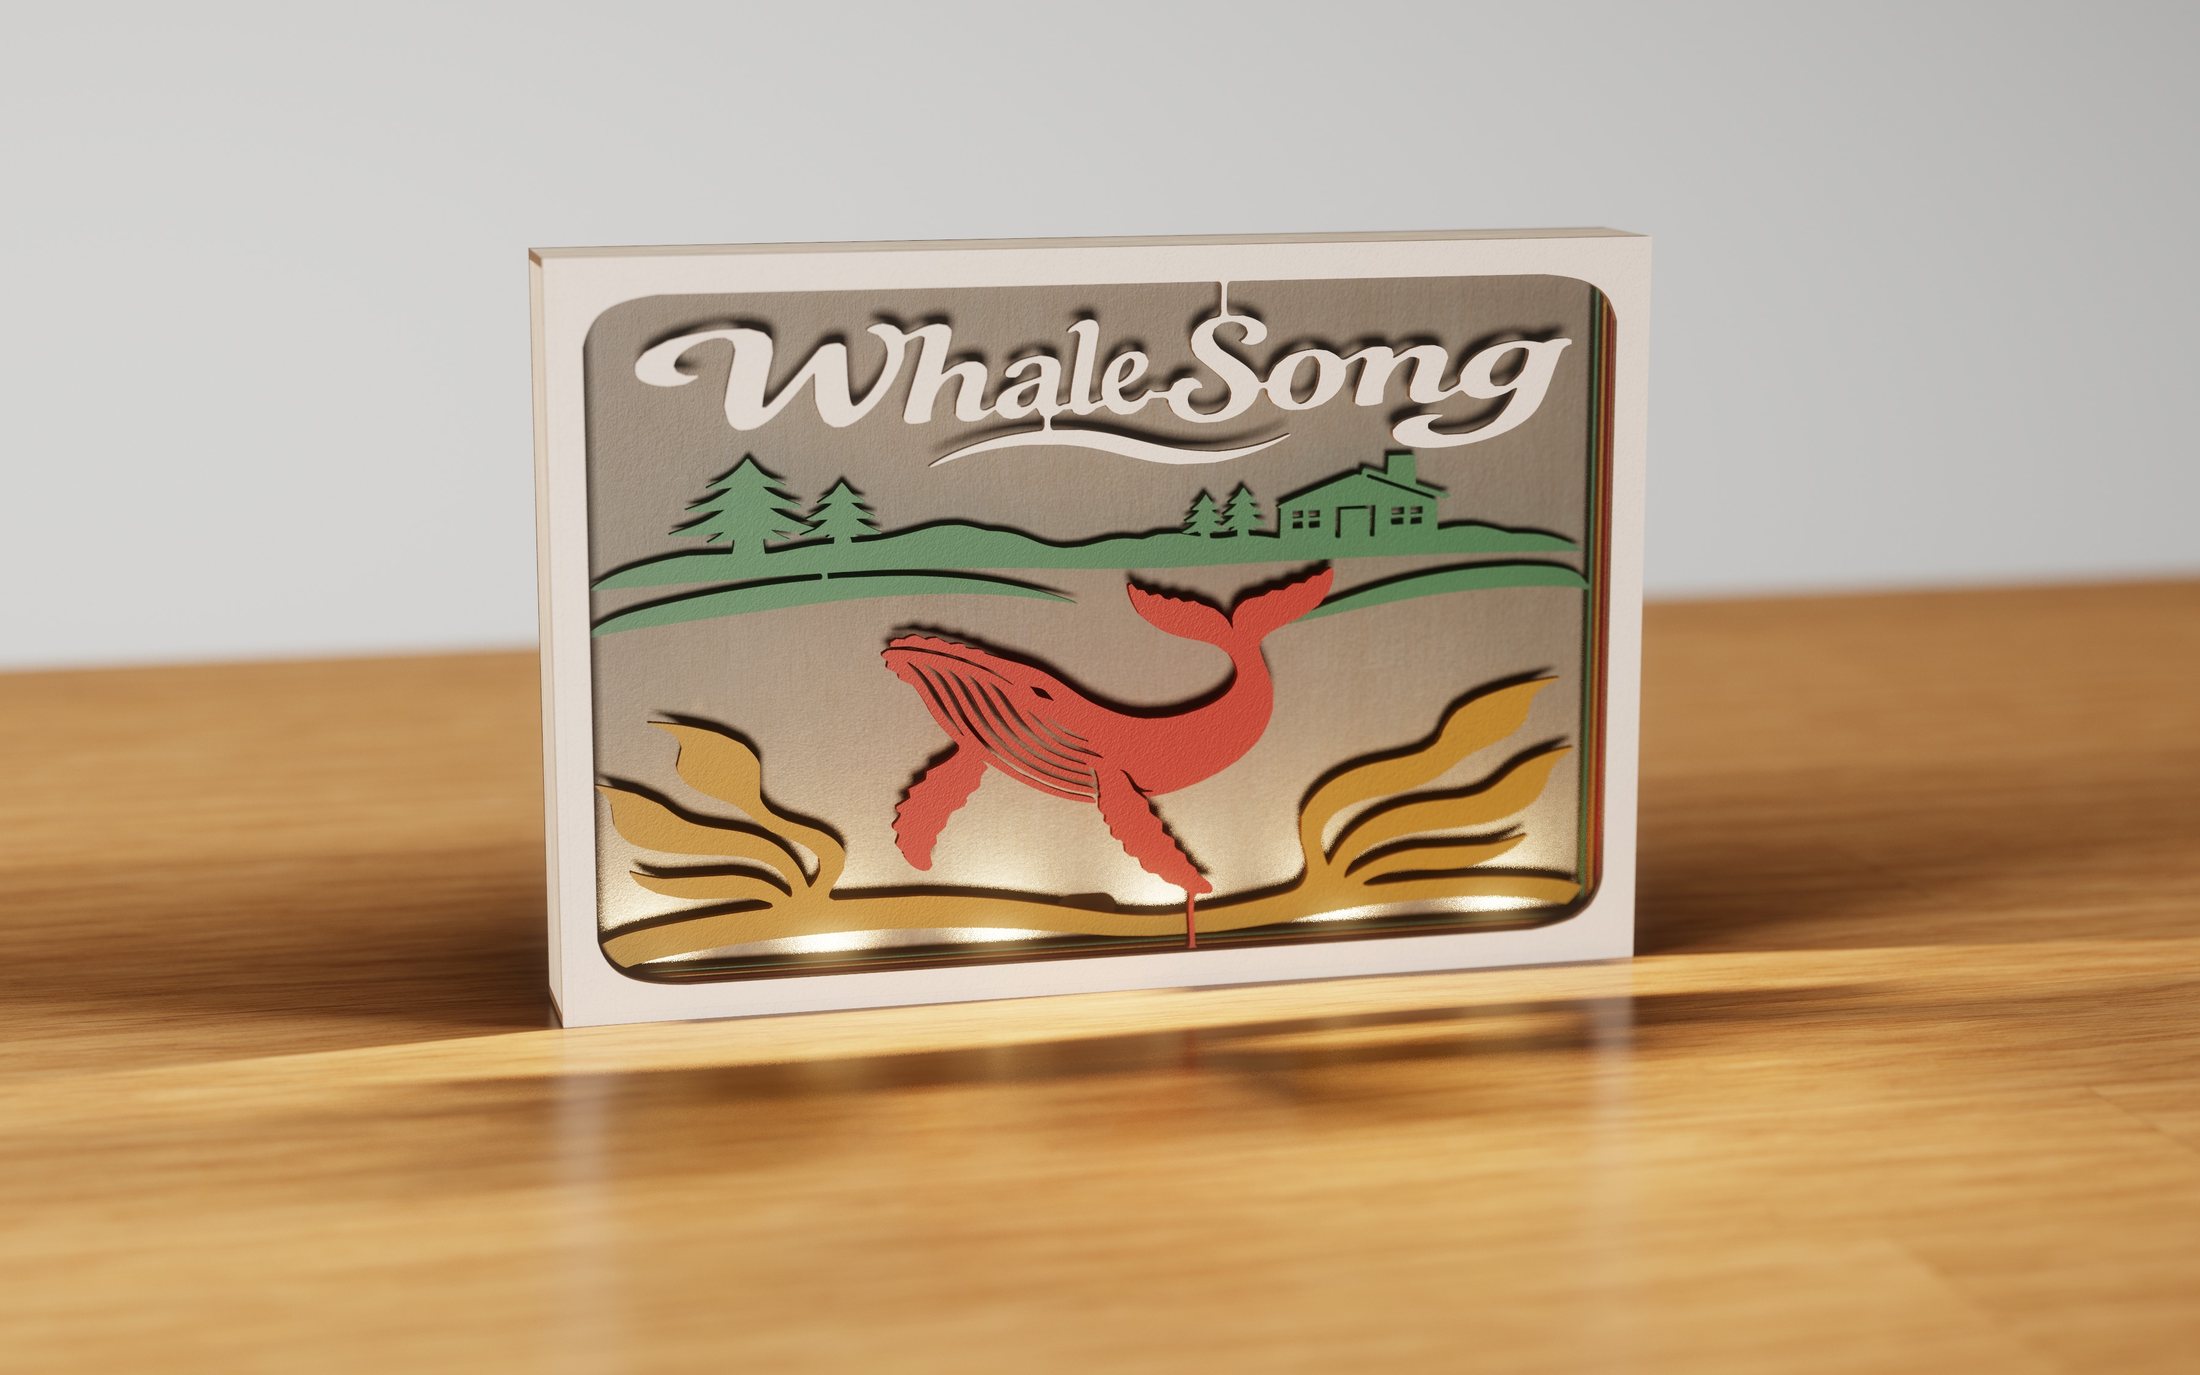 Whale SongNature & gardens
Cosmic CompanionsFantasy & space
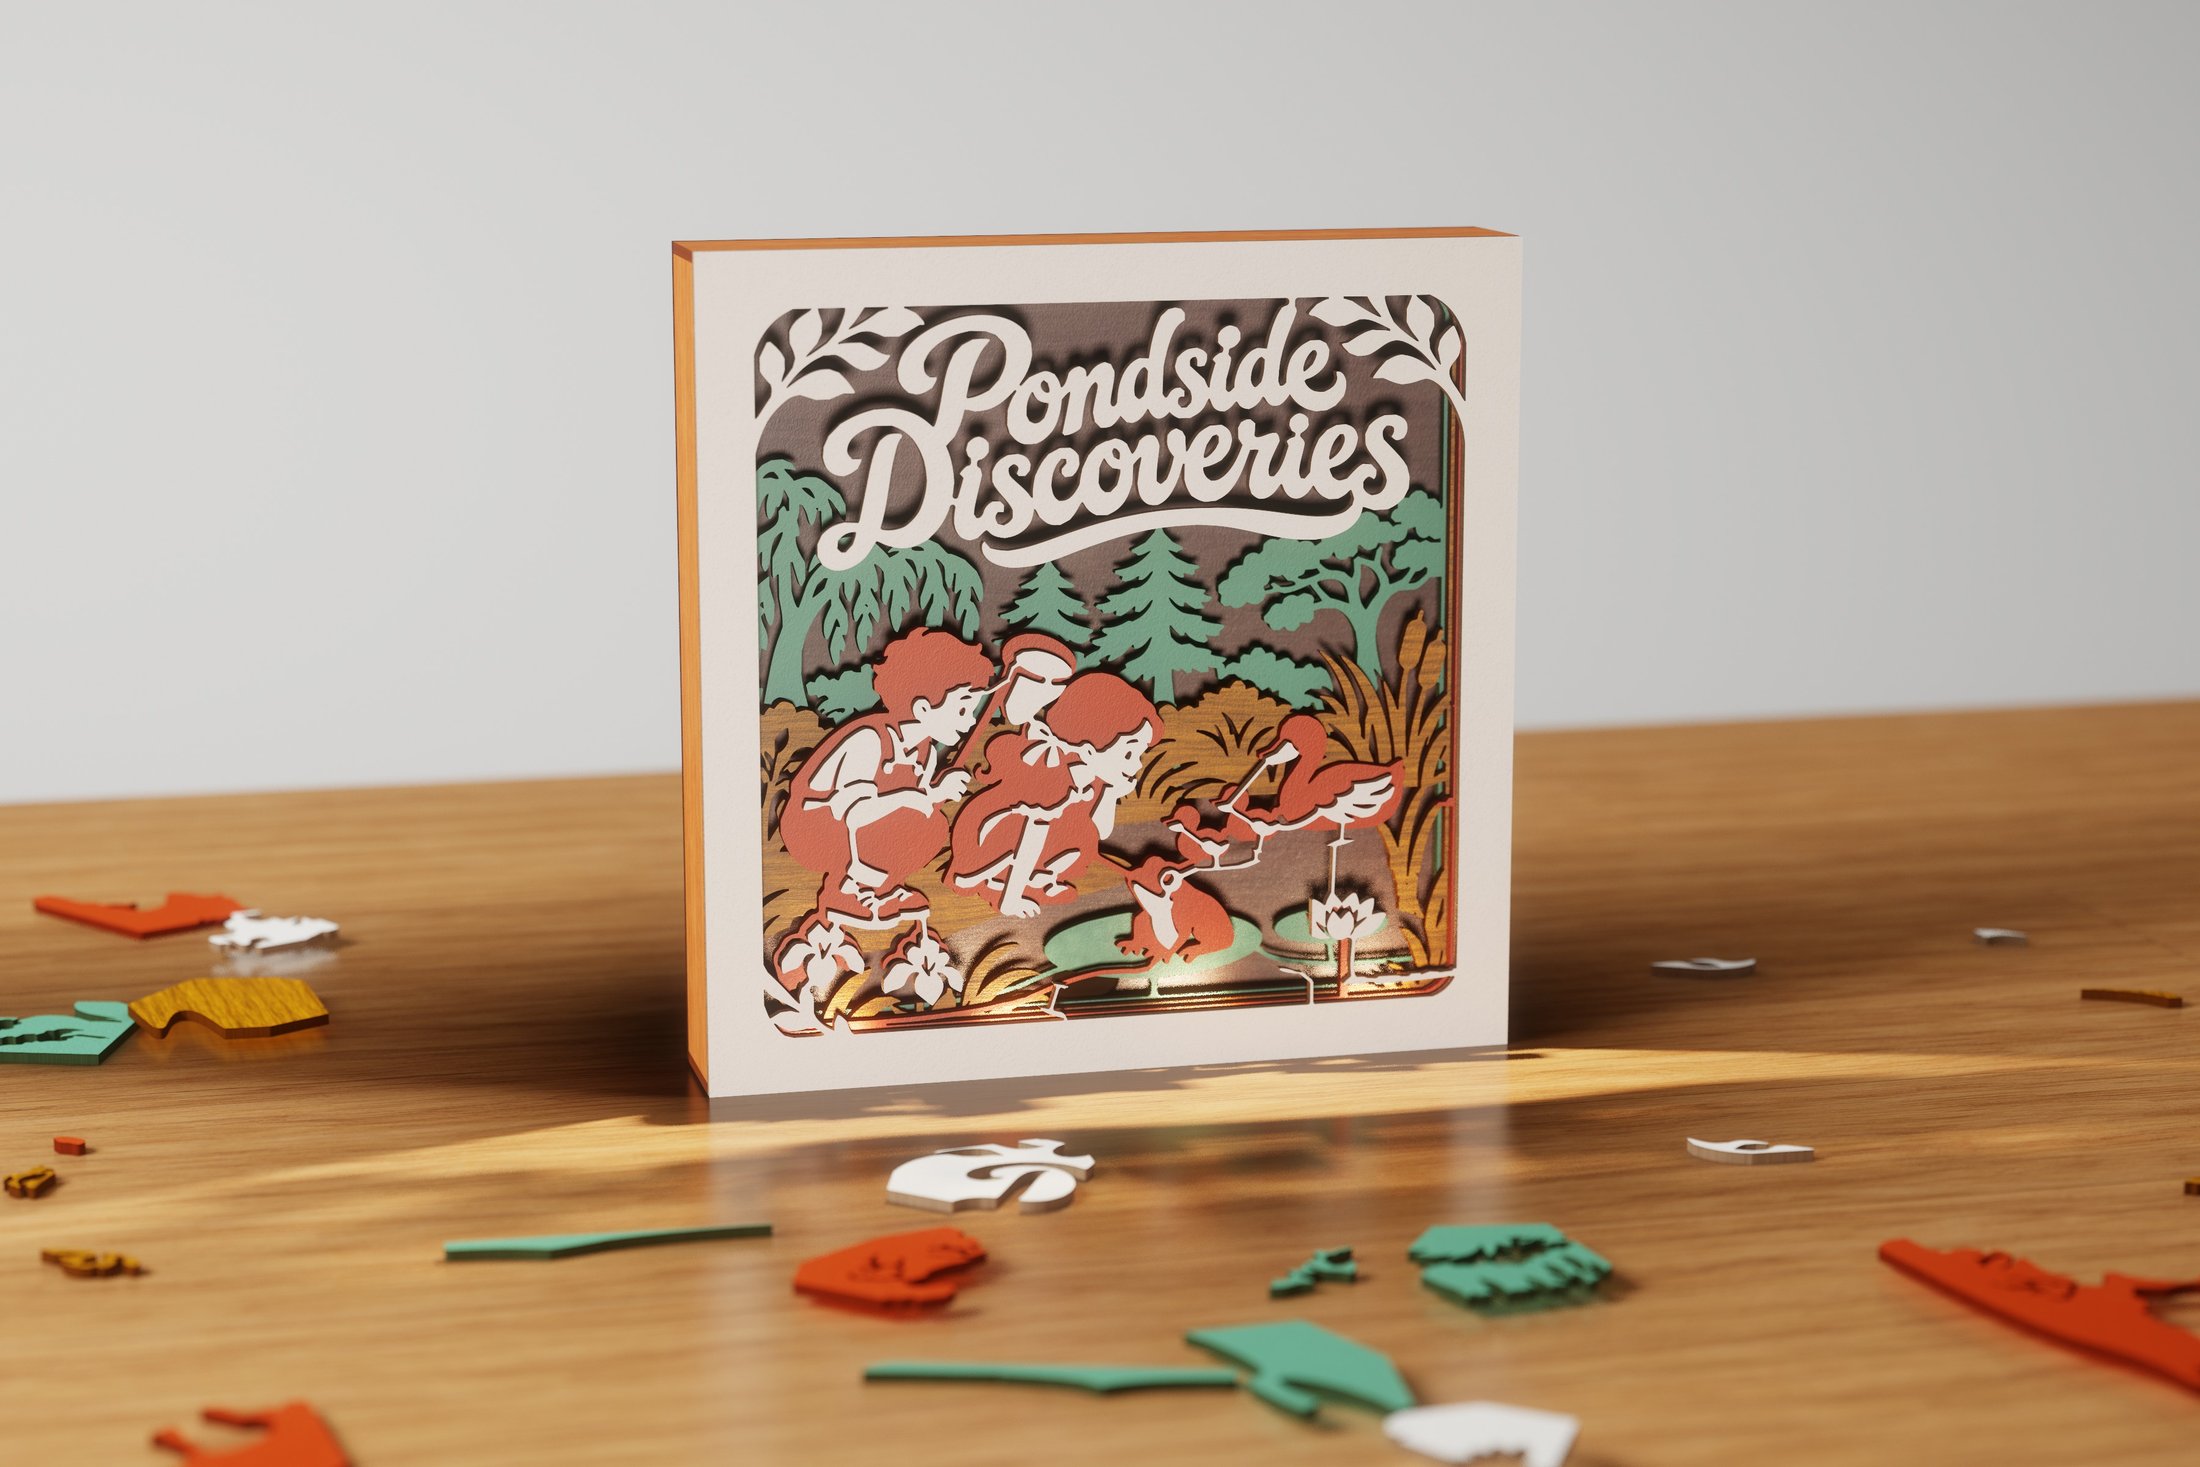 Pondside DiscoveriesNature & gardens
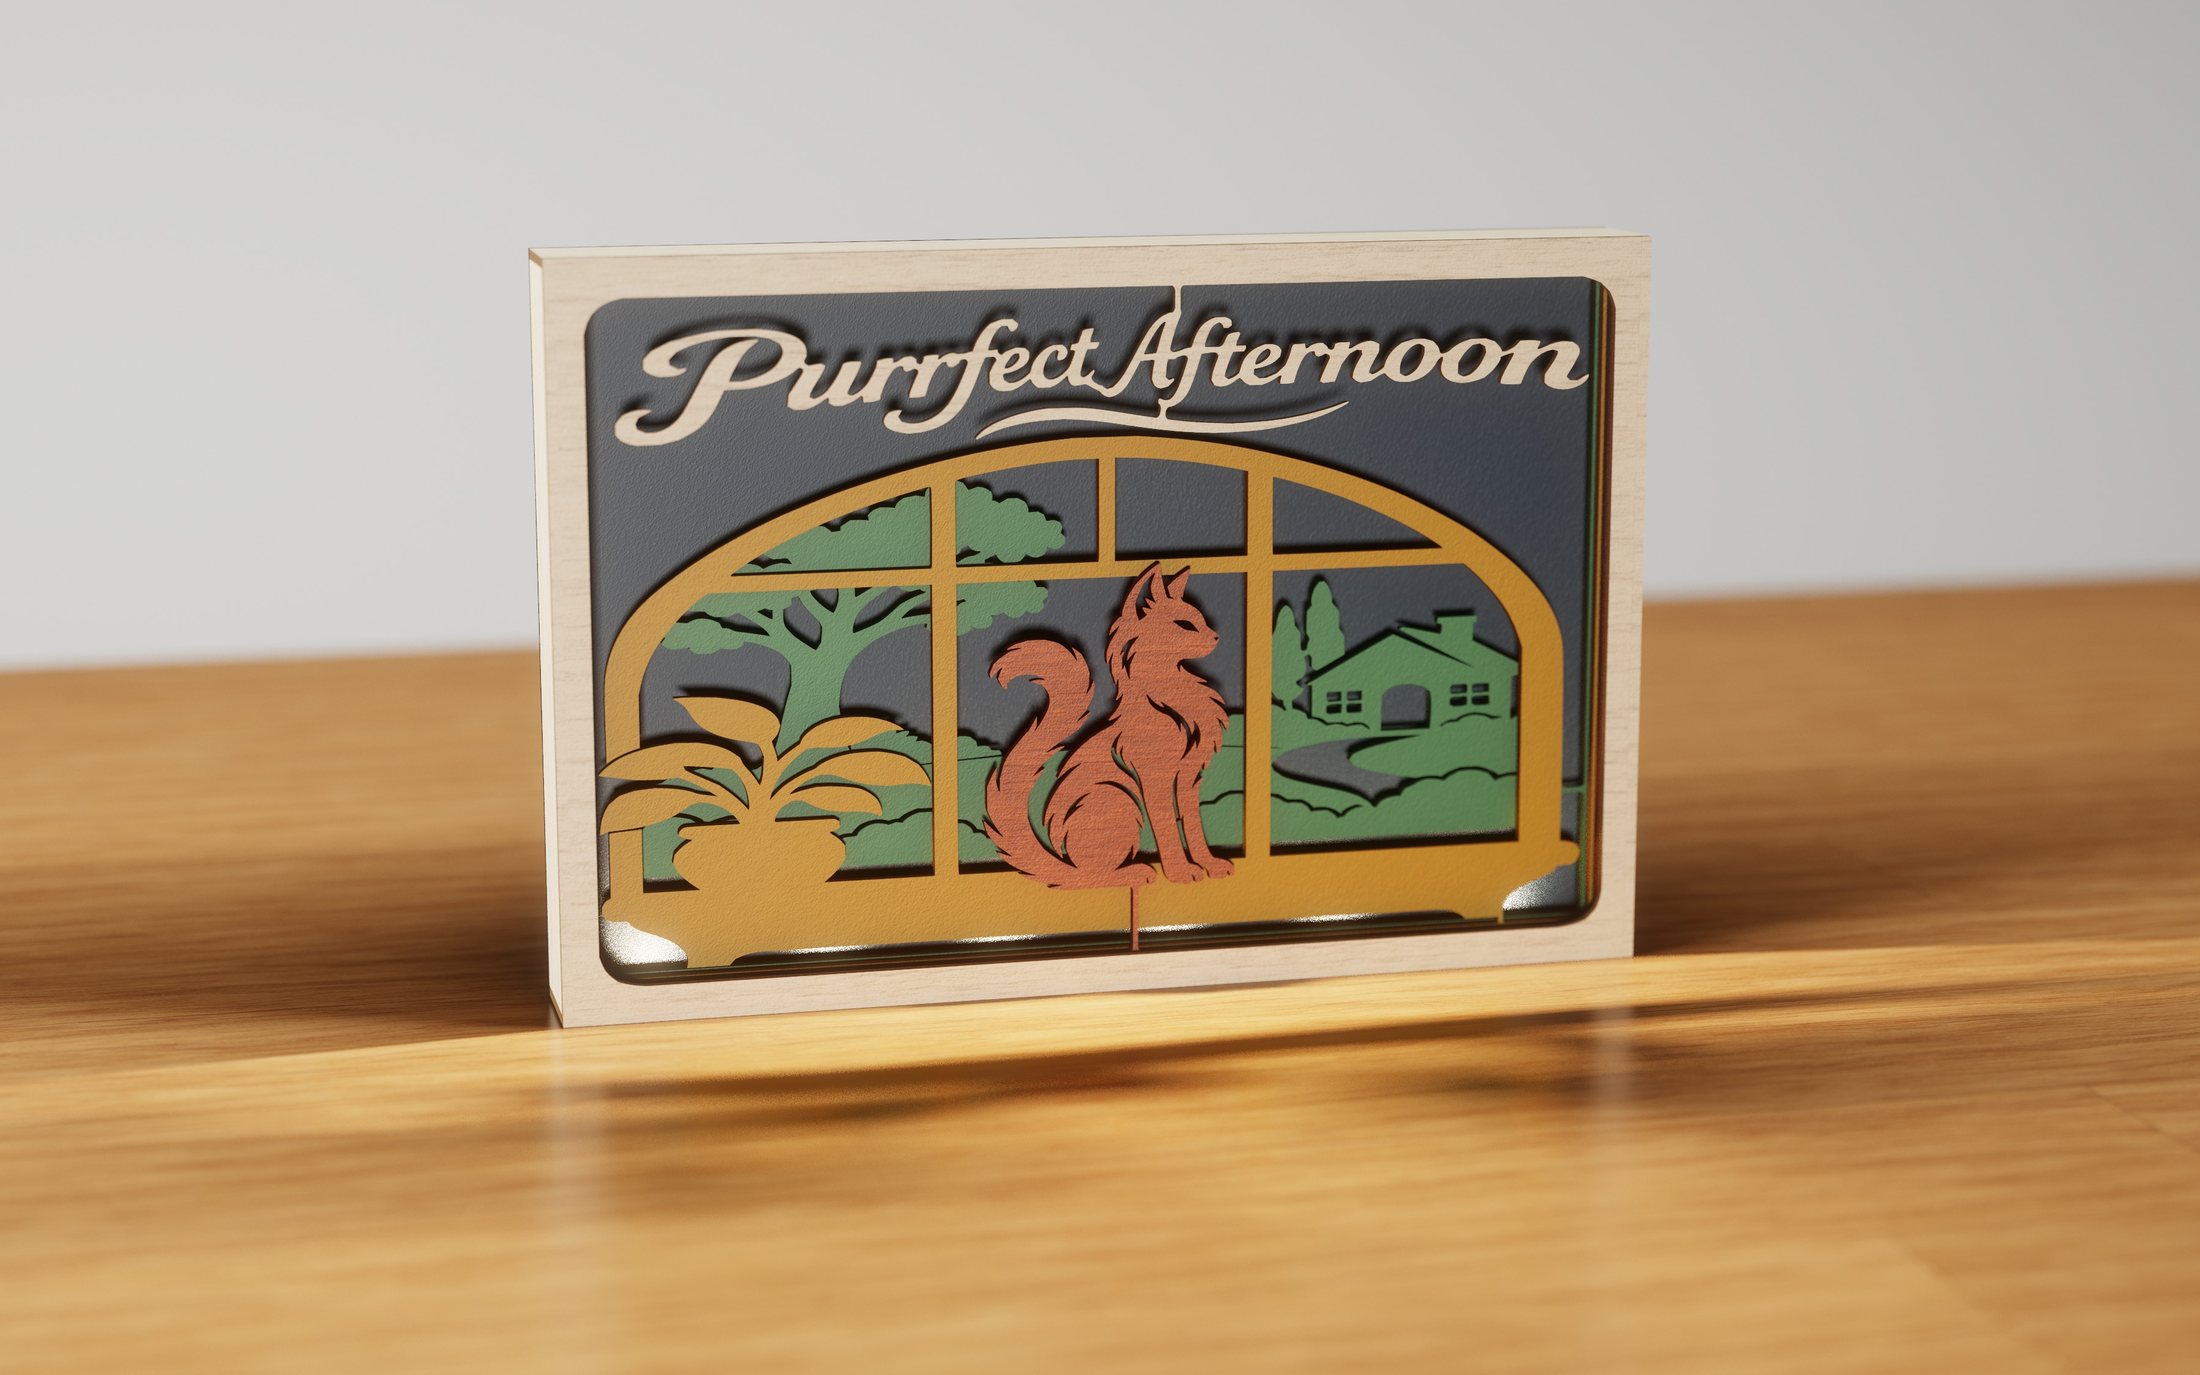 Purrfect AfternoonHome & heart
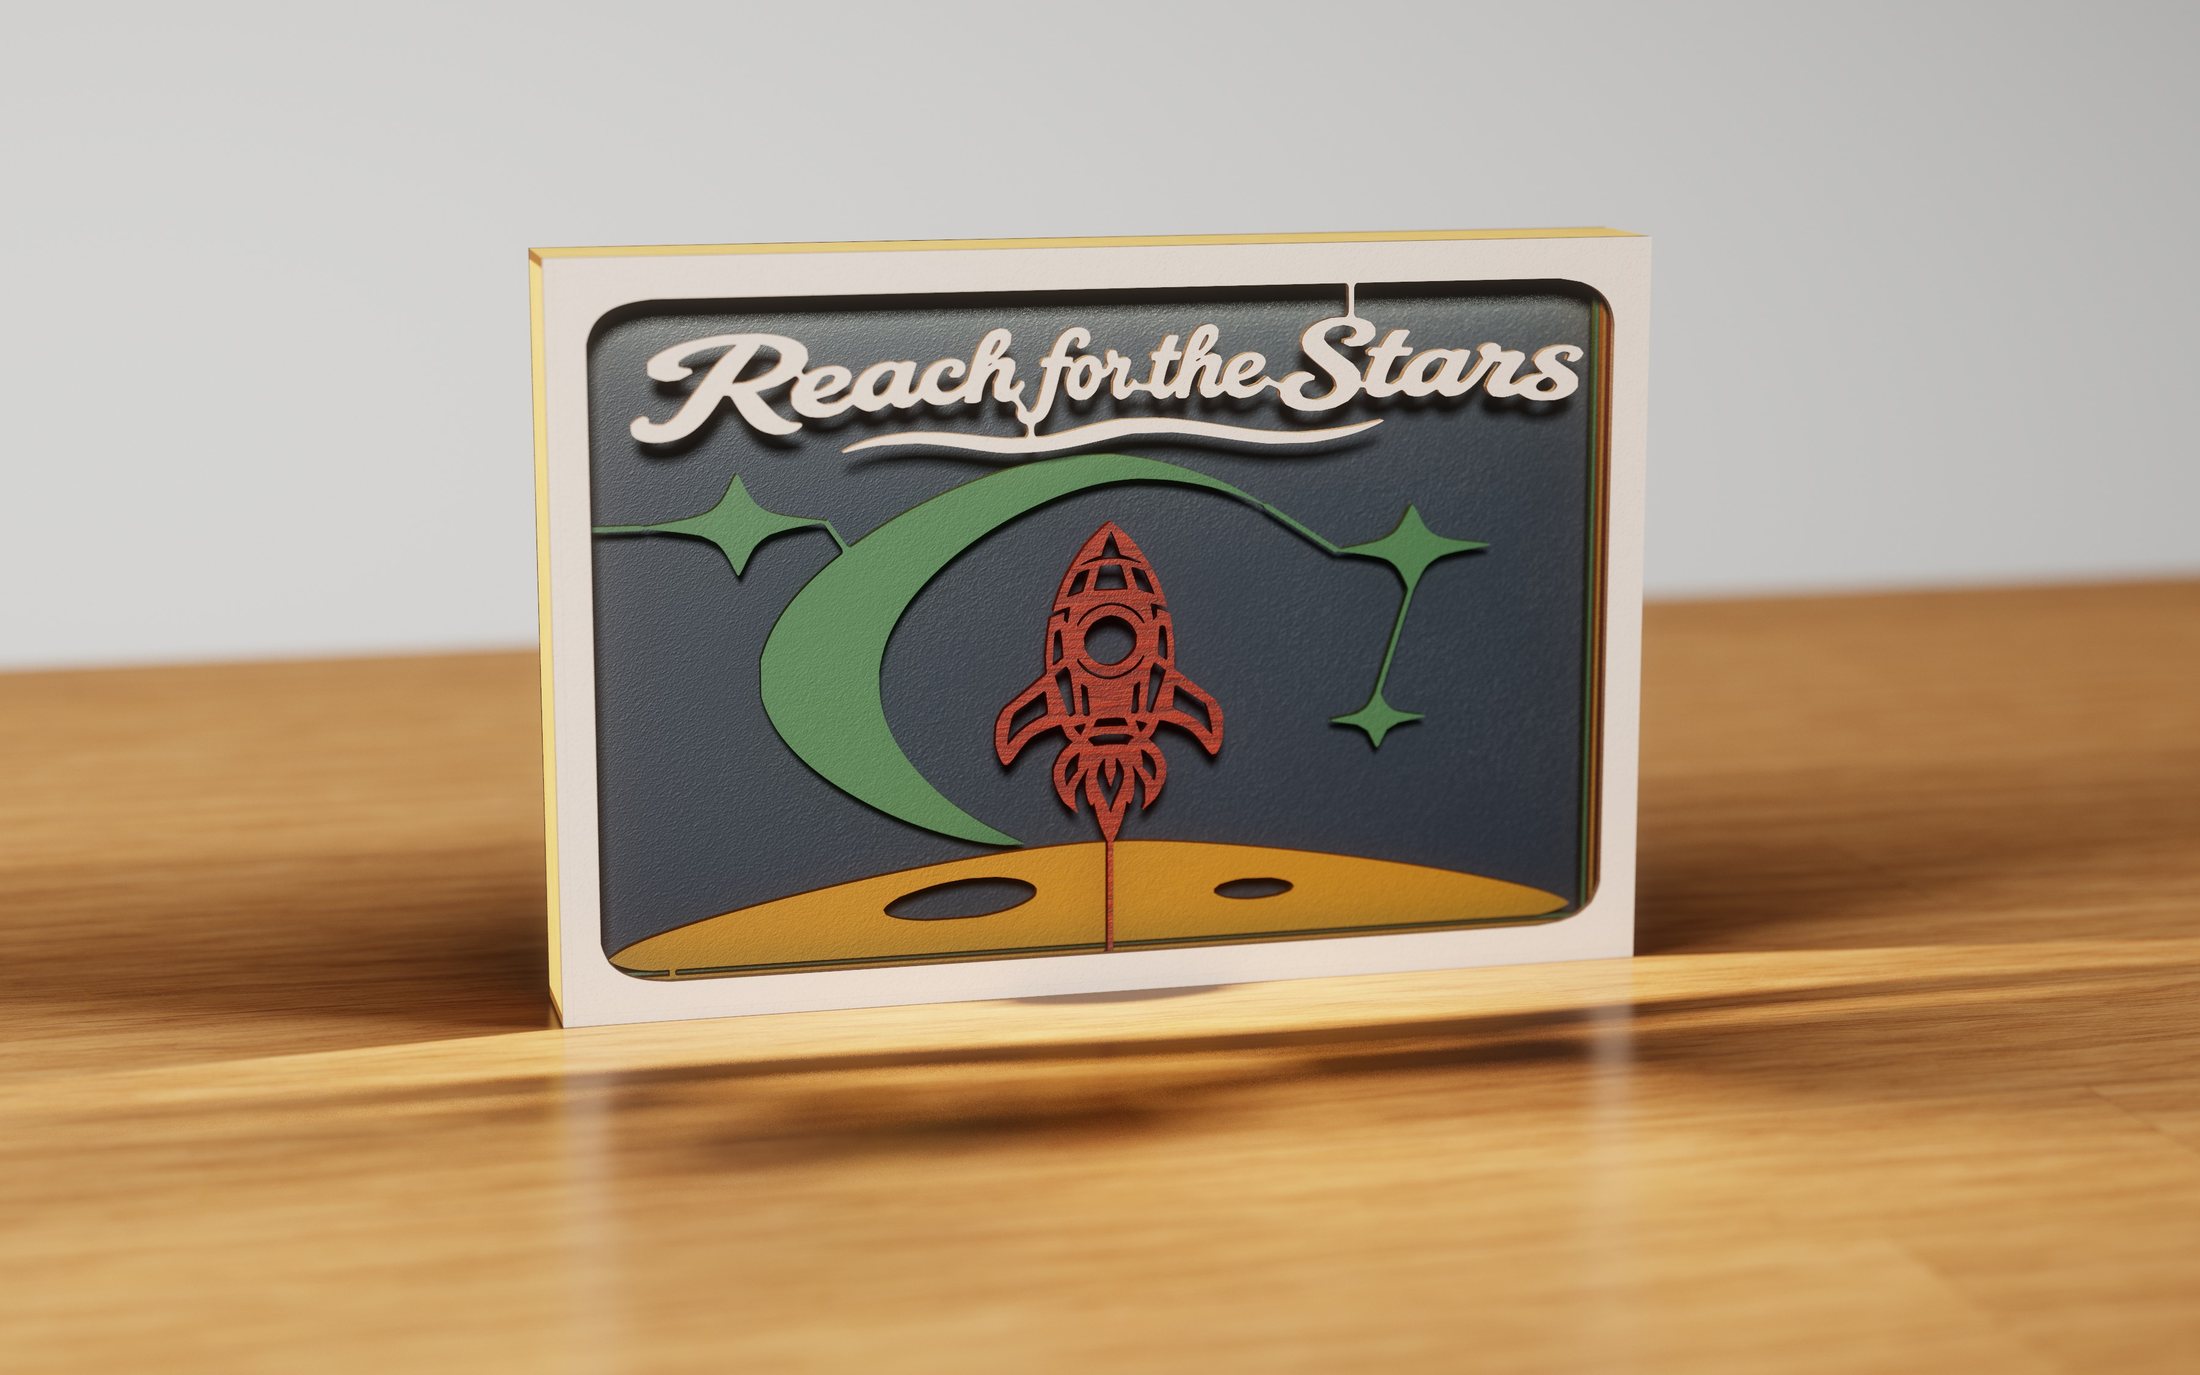 Reach for the StarsFantasy & space
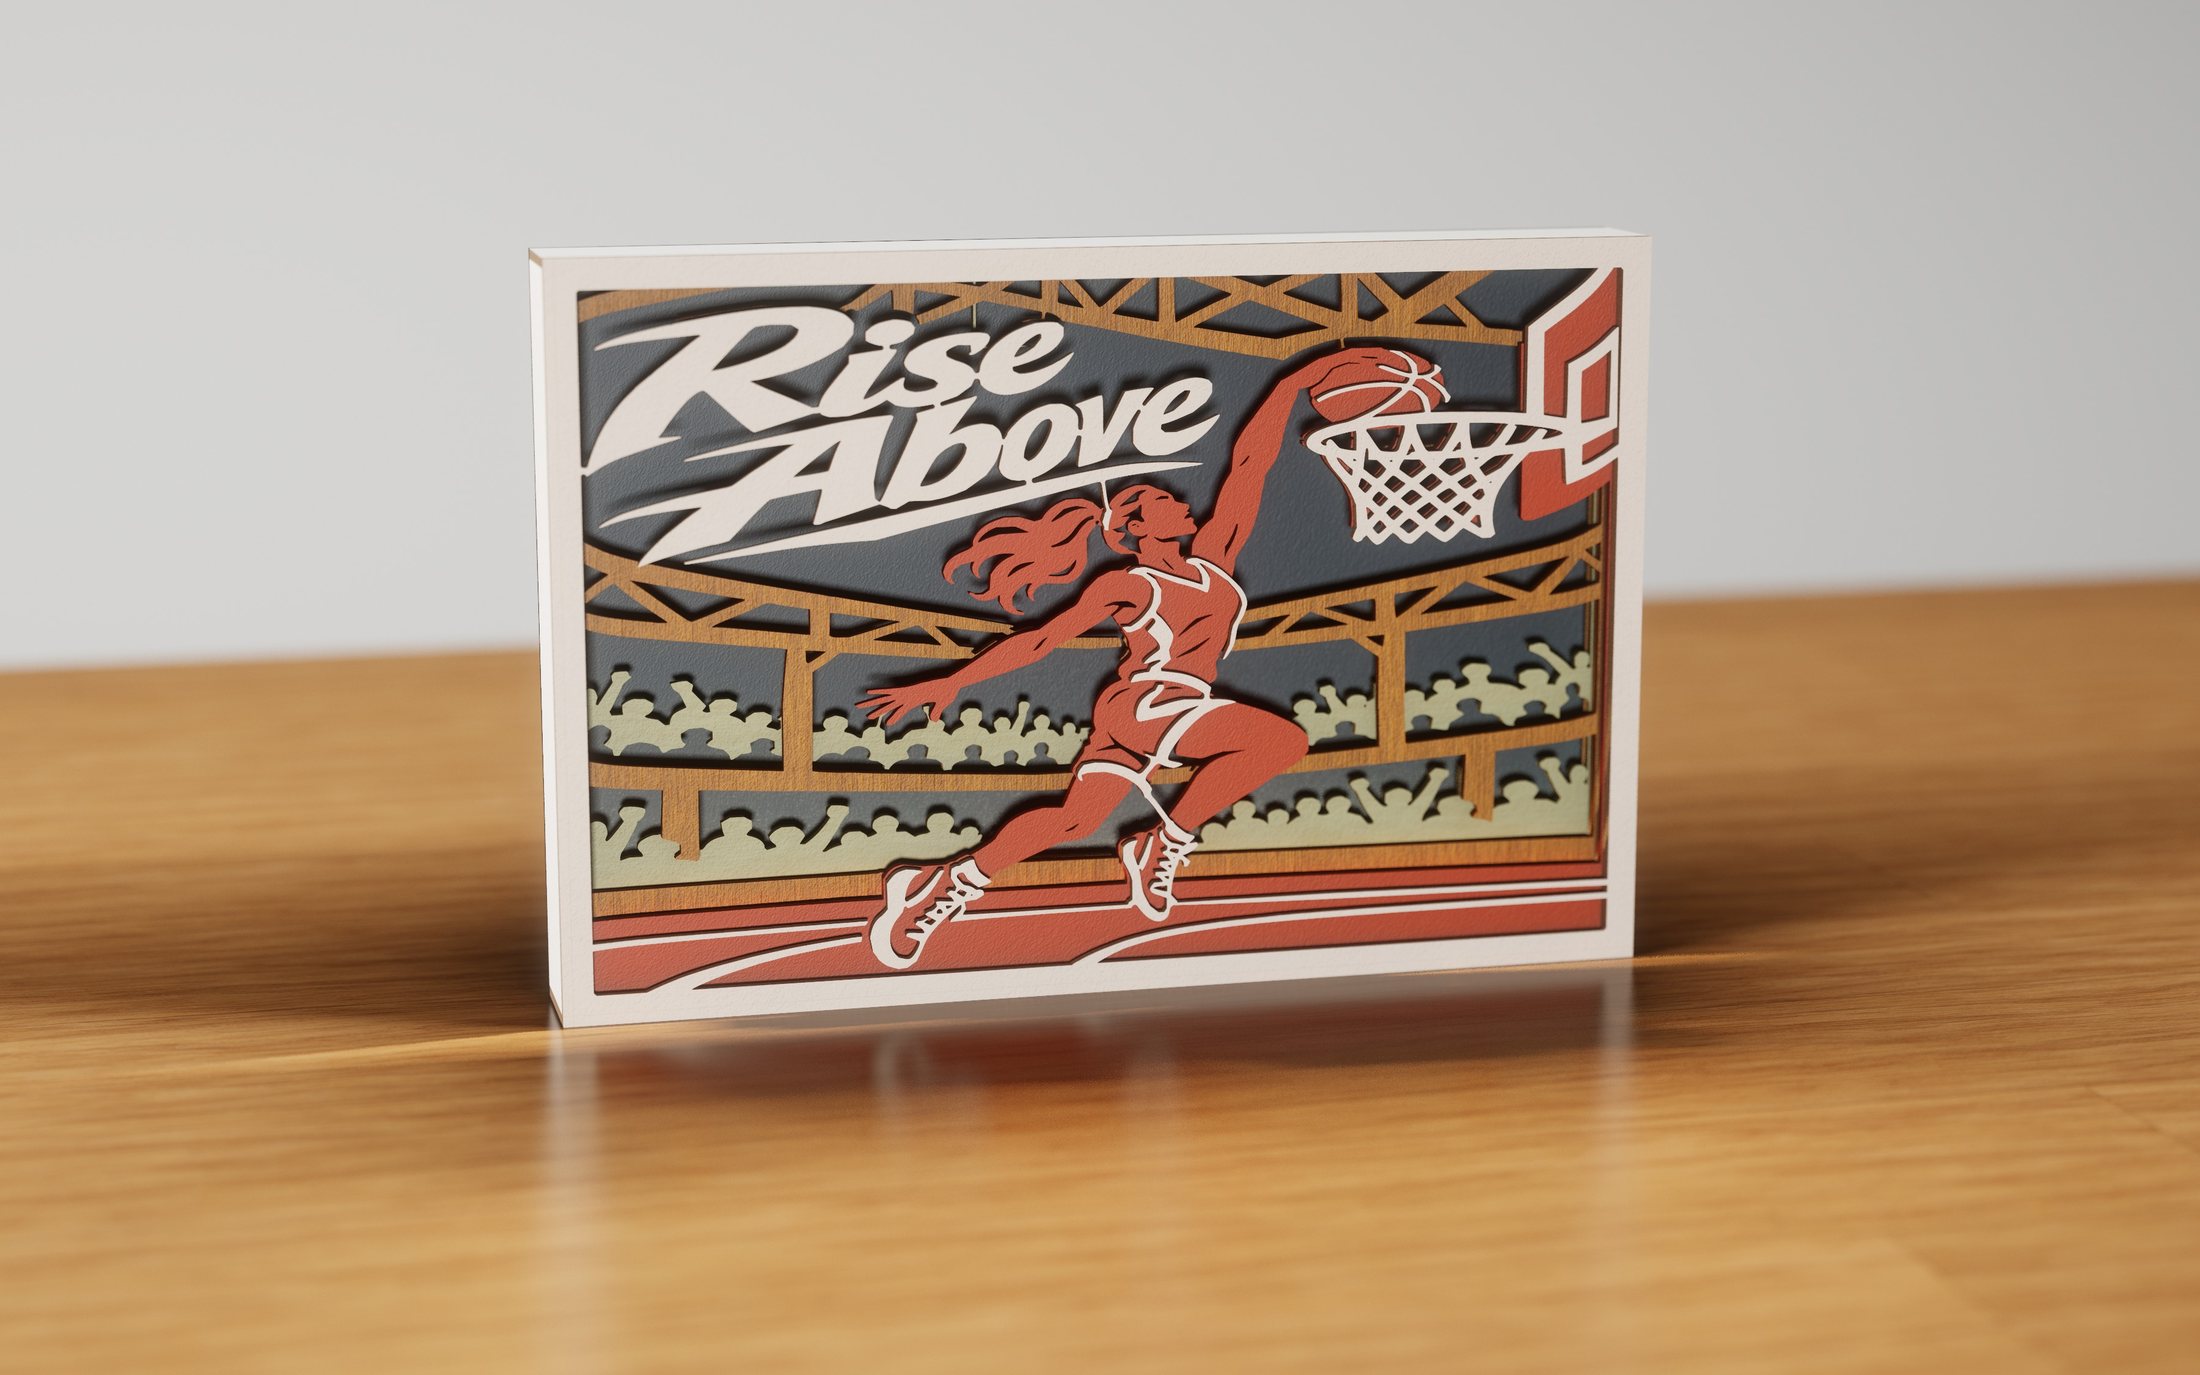 Rise Above the RimHome & heart
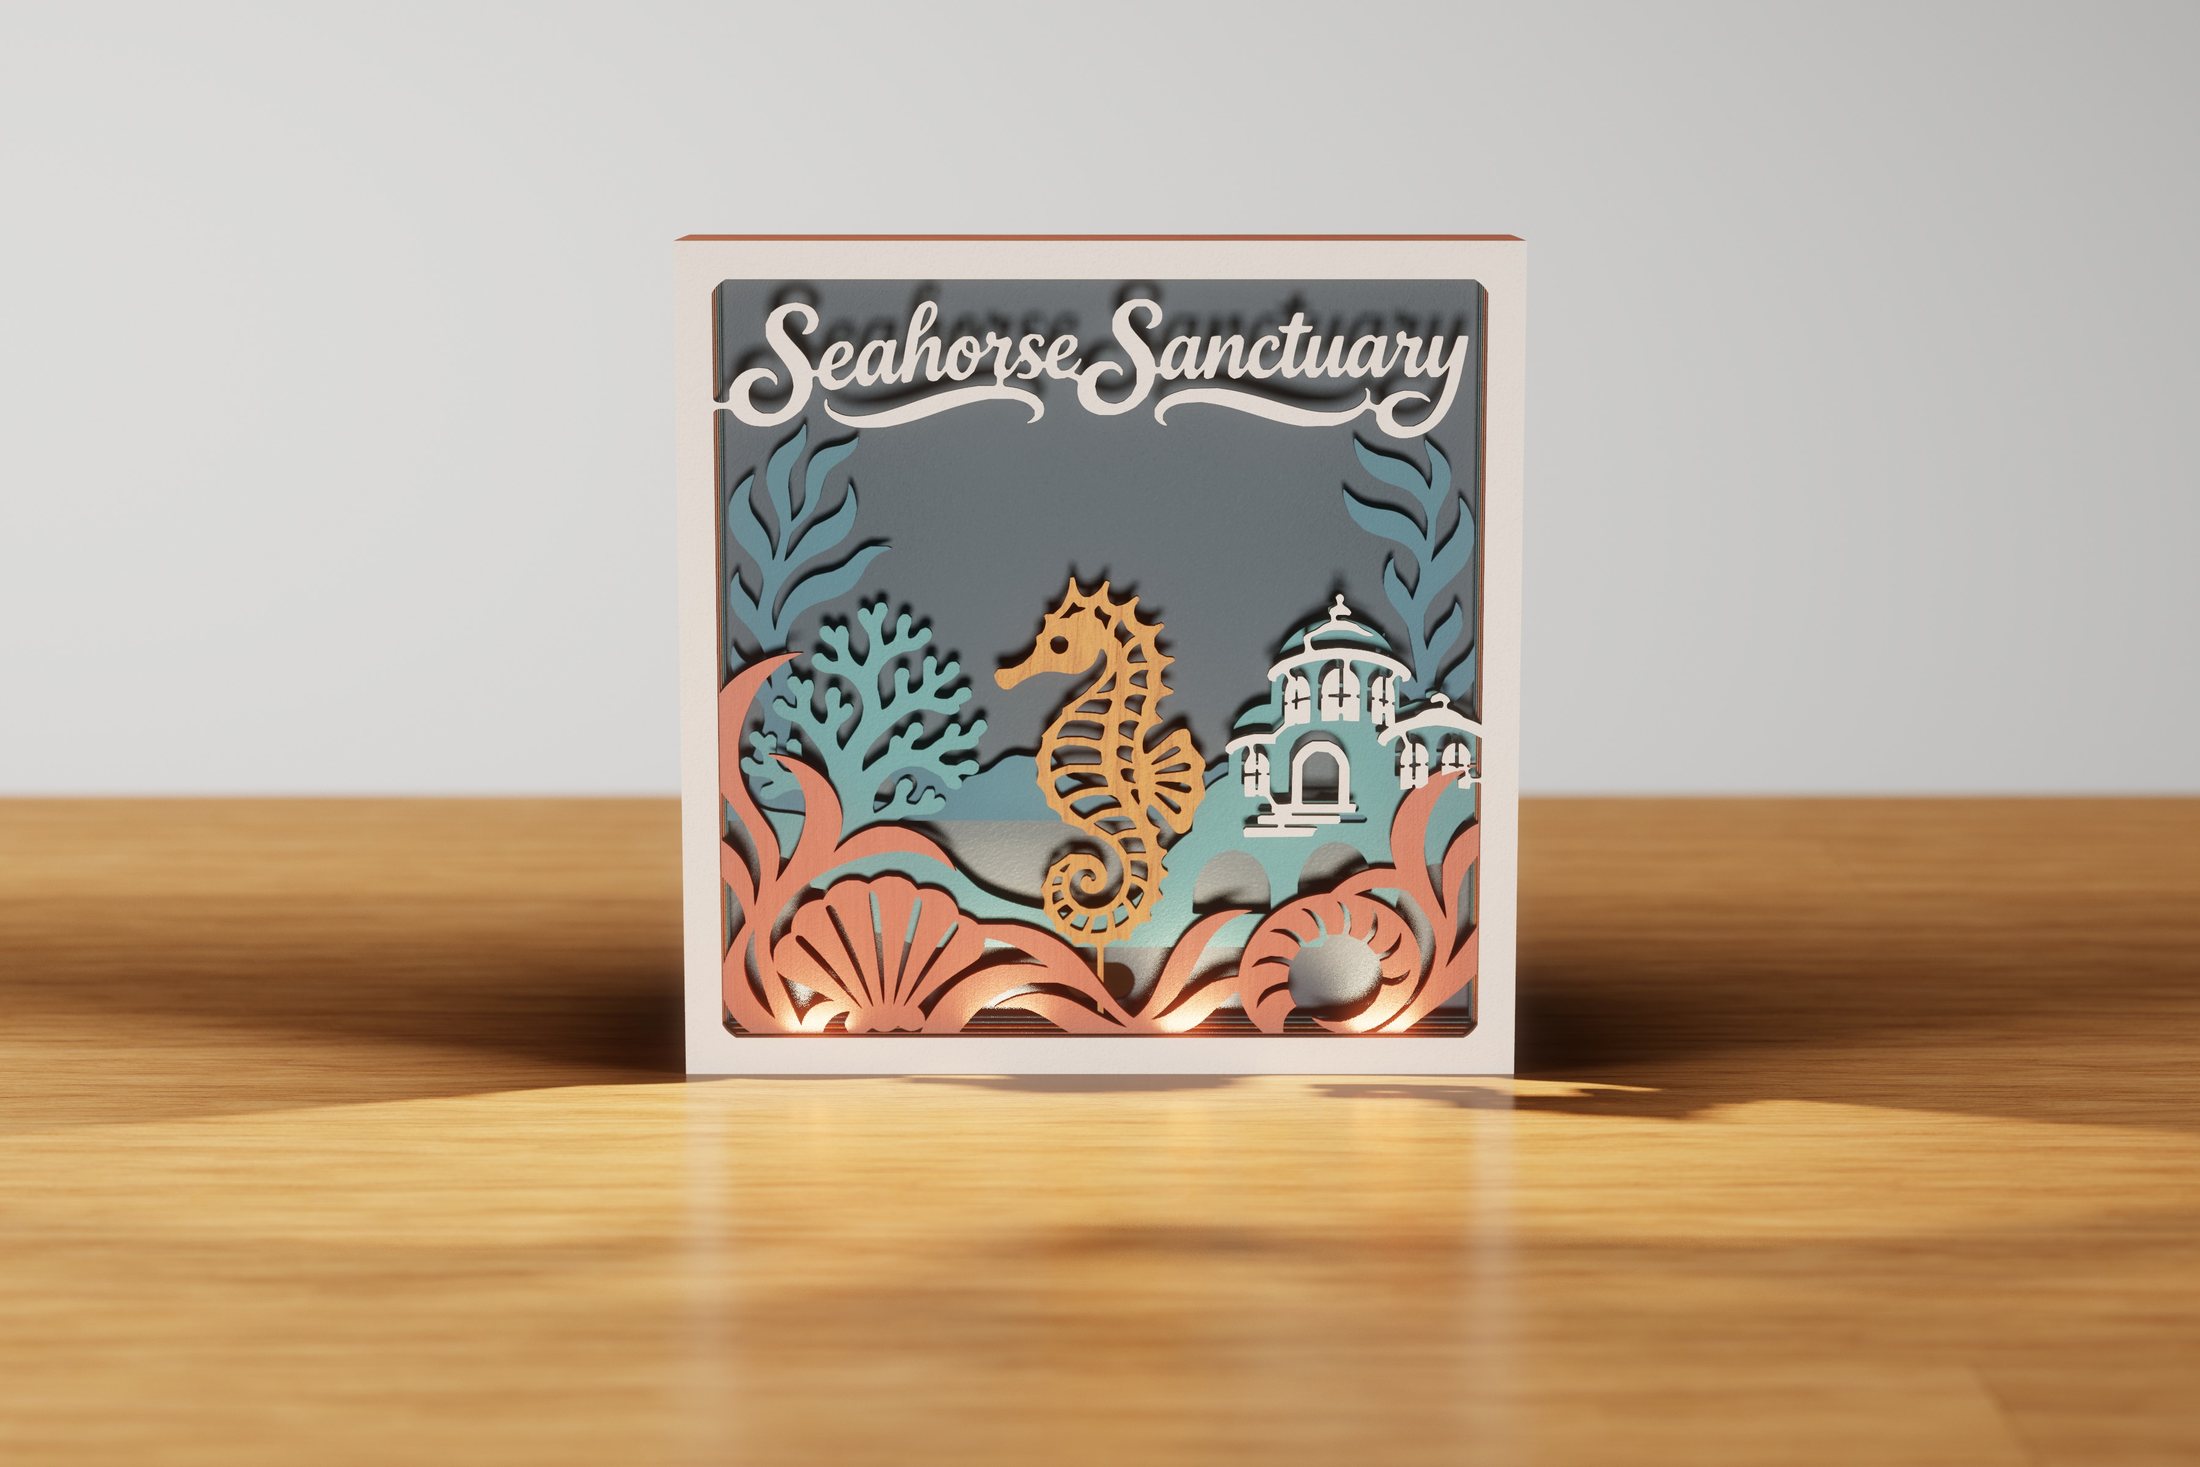 Seahorse SanctuaryNature & gardens
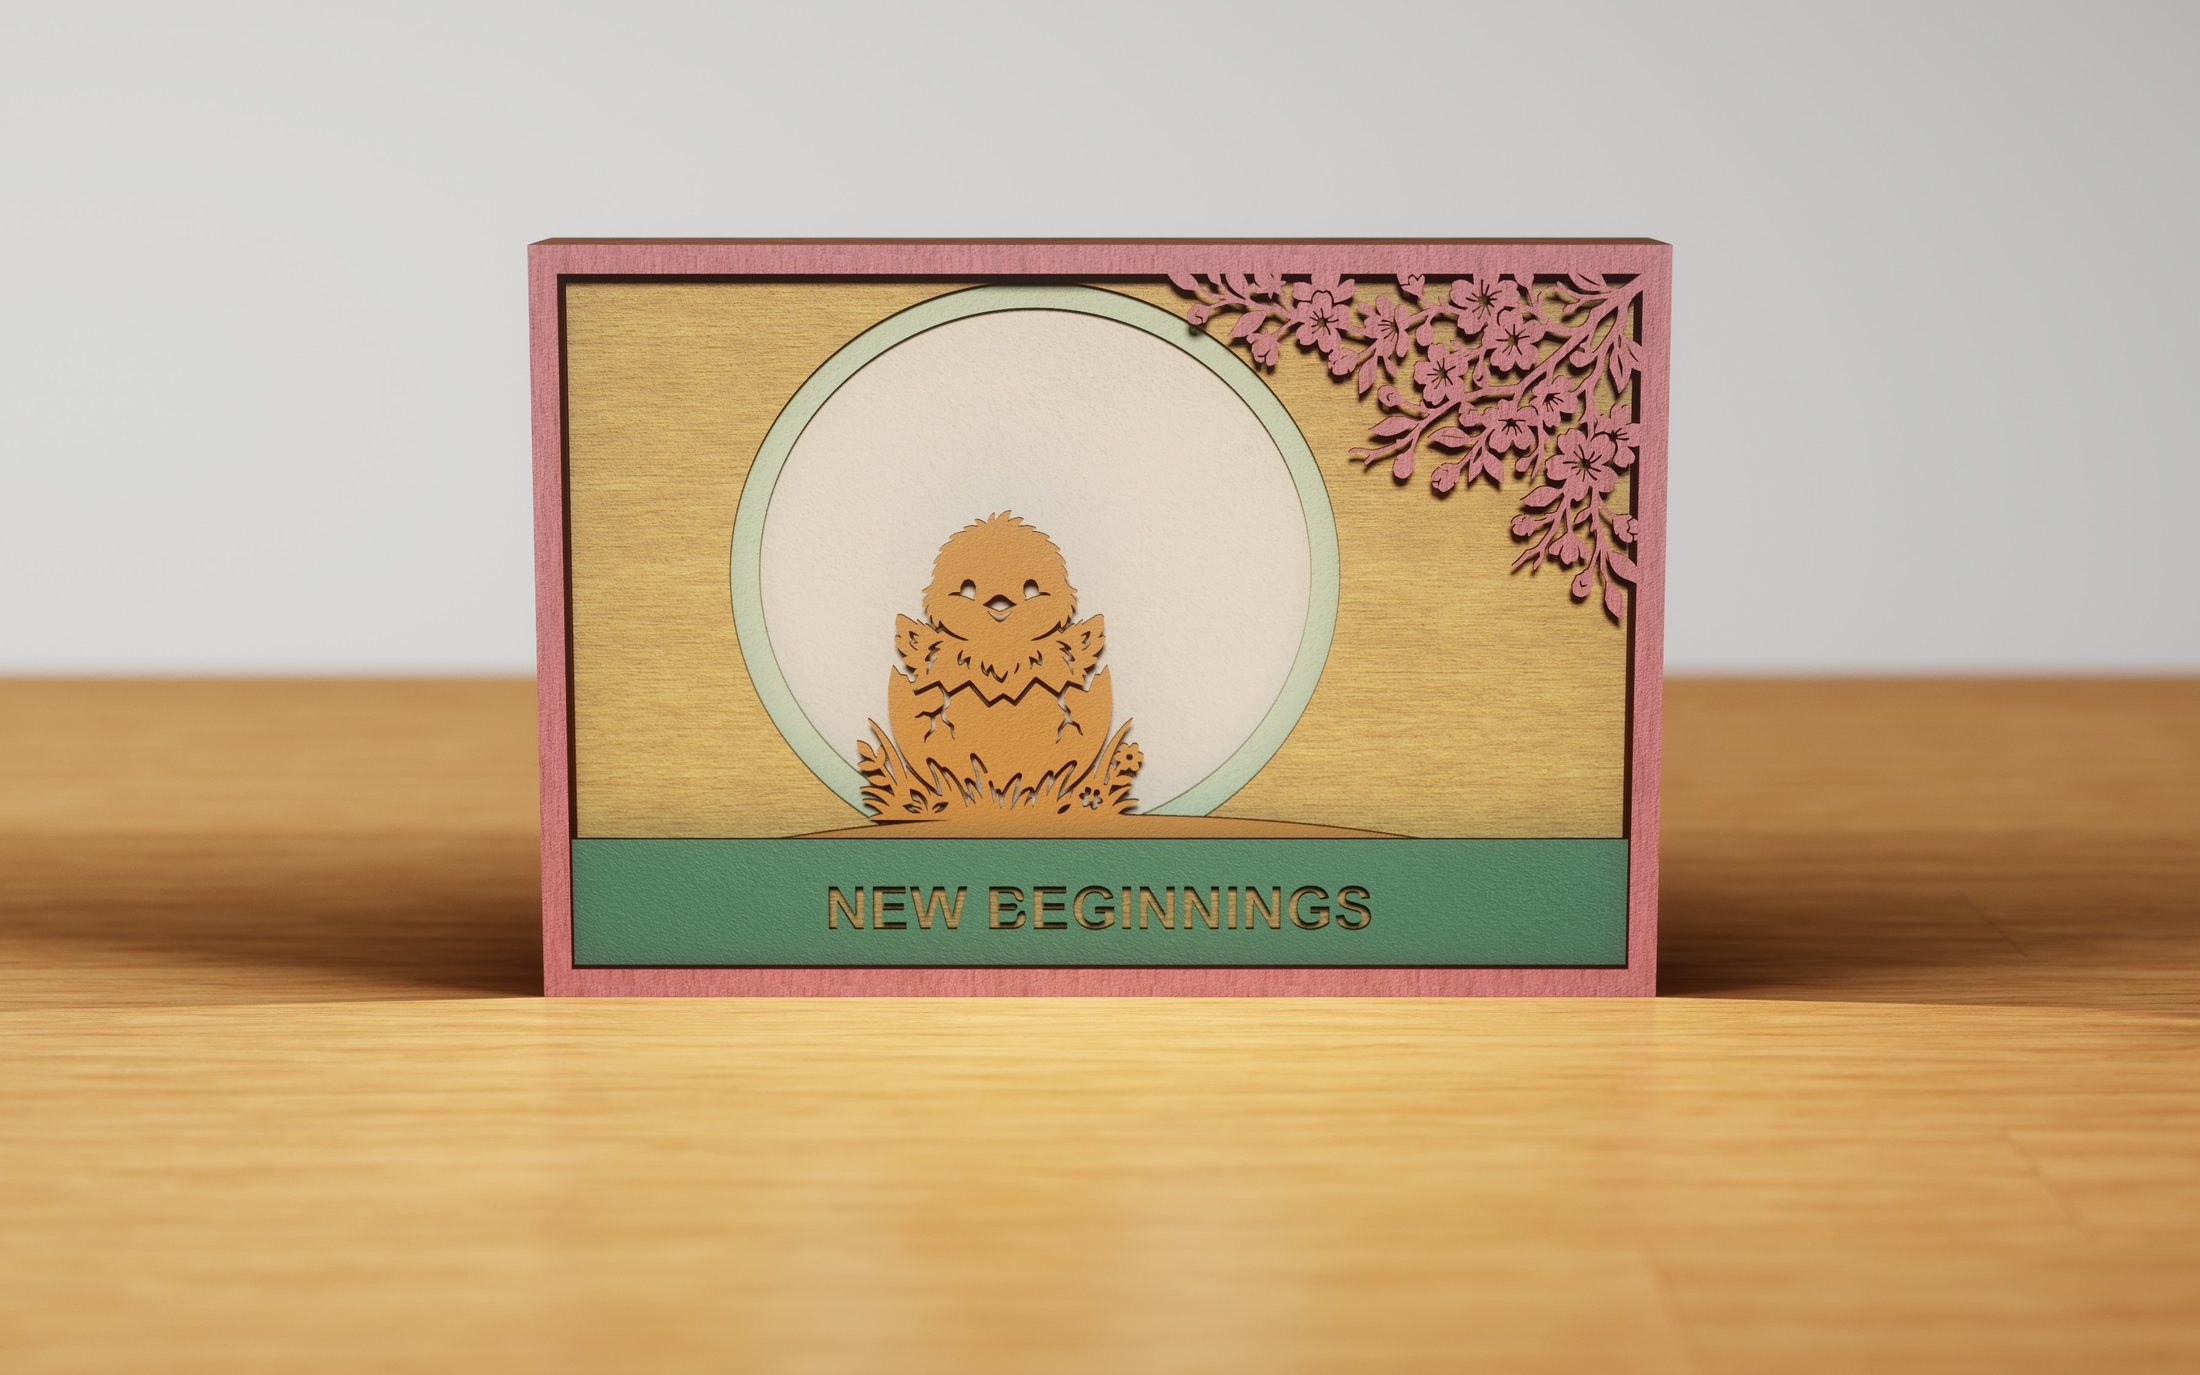 Spring ChickOther holidays
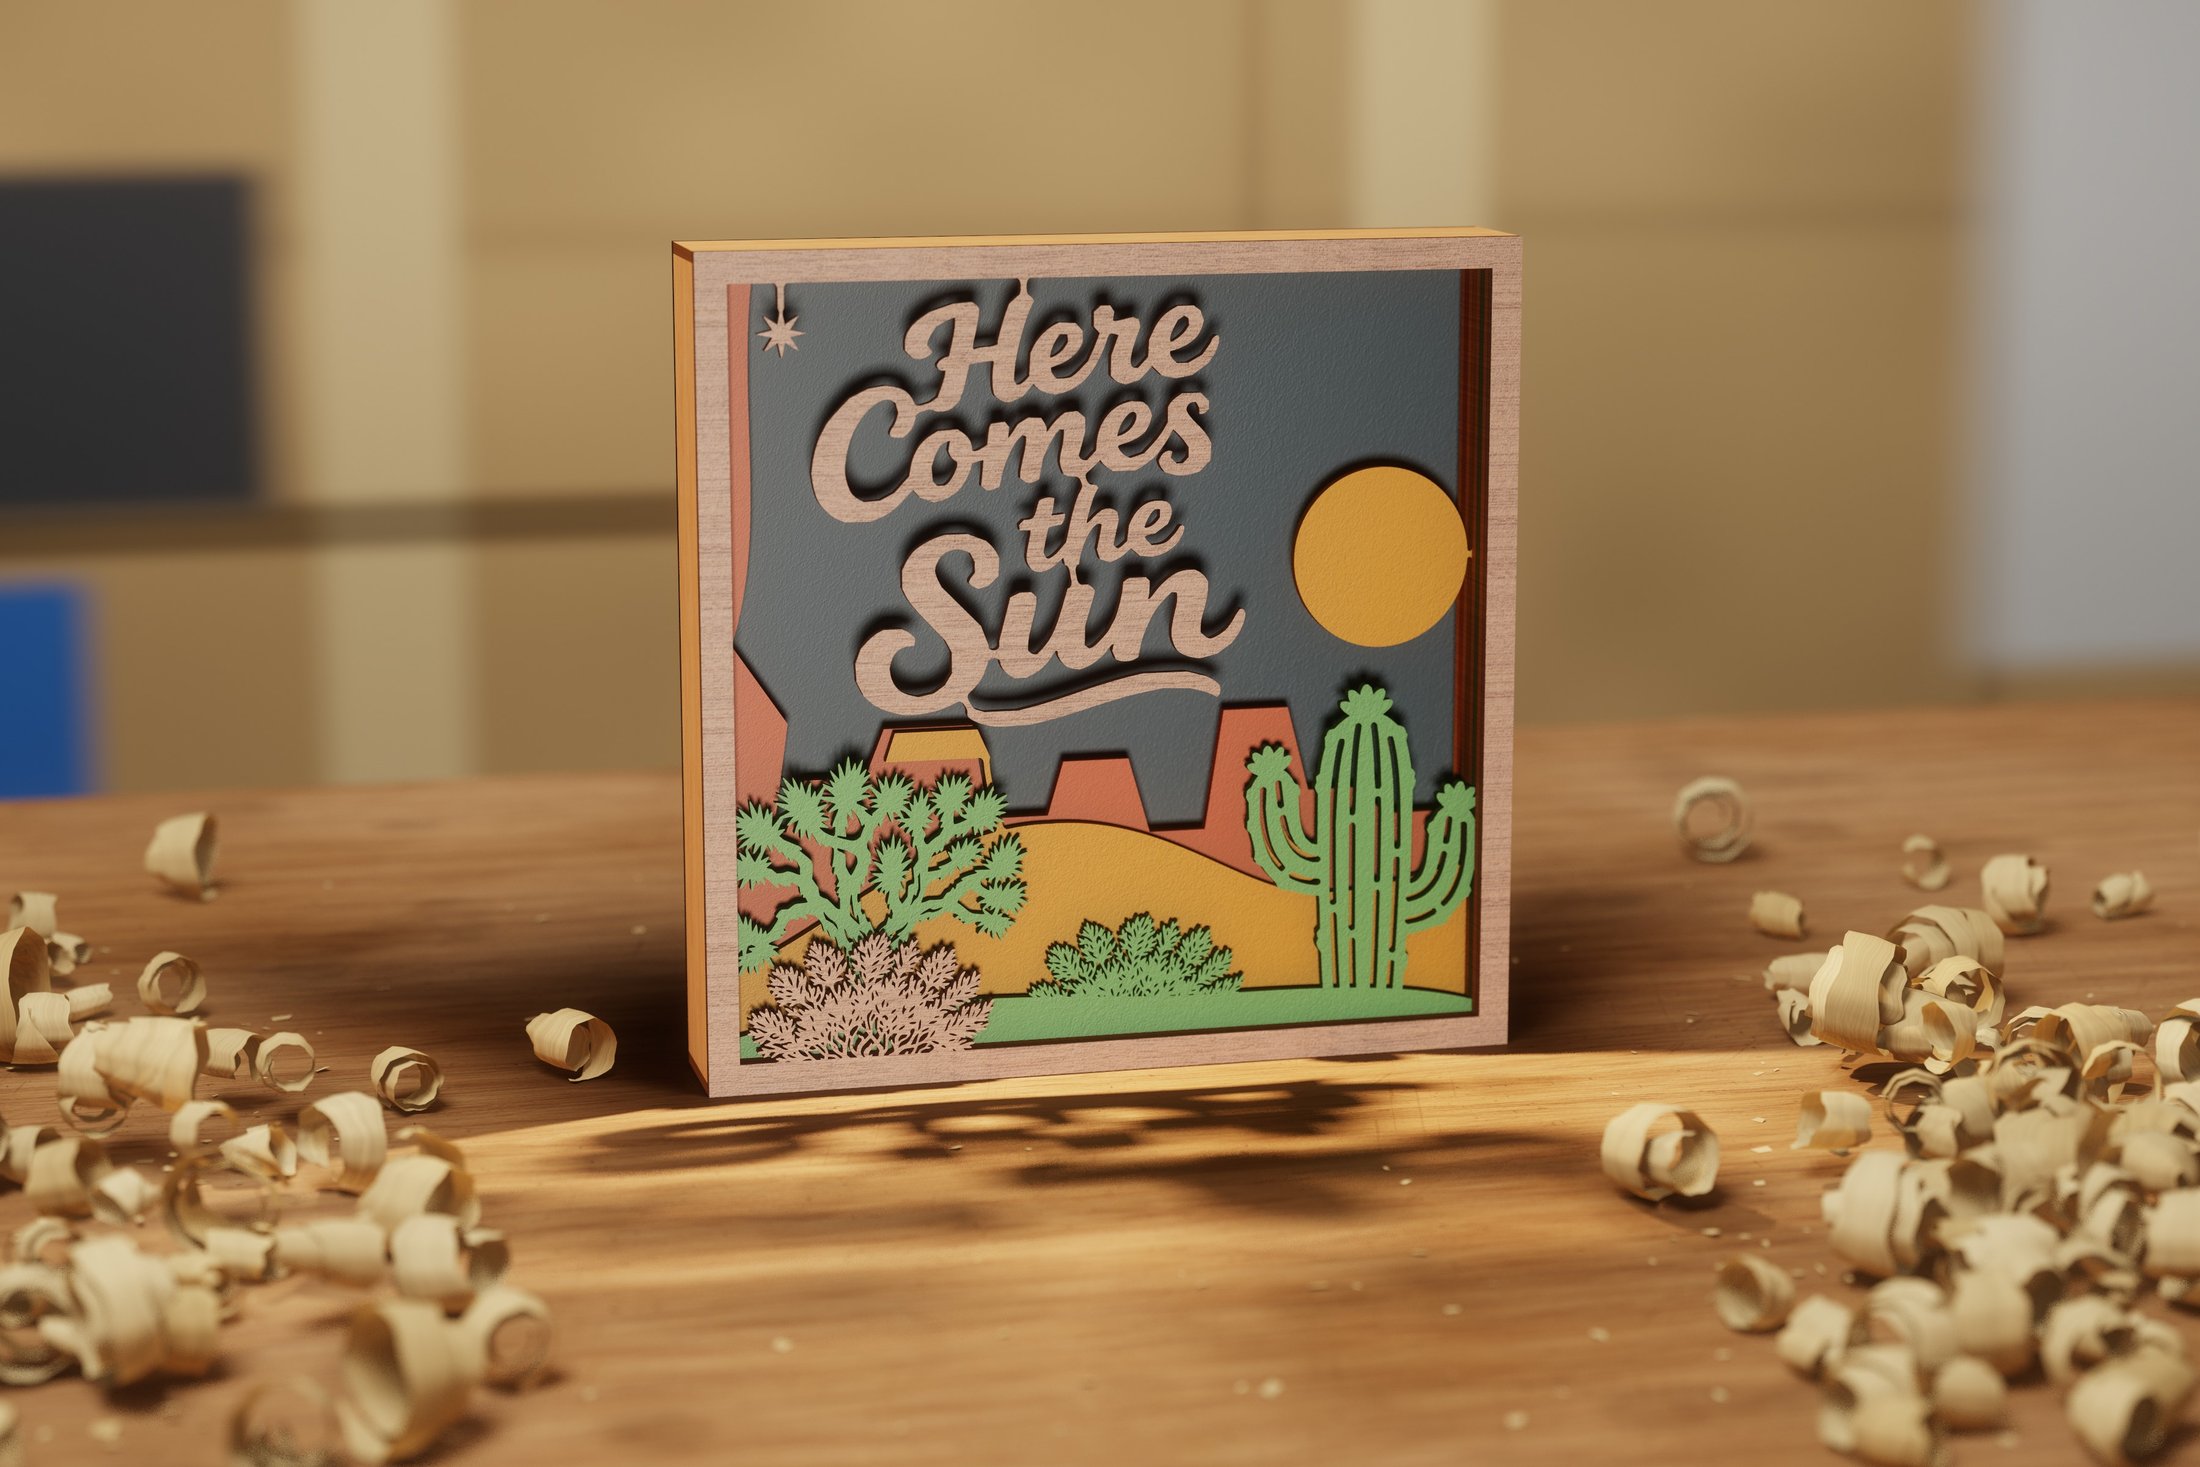 Sunlit MesaTravel & adventure
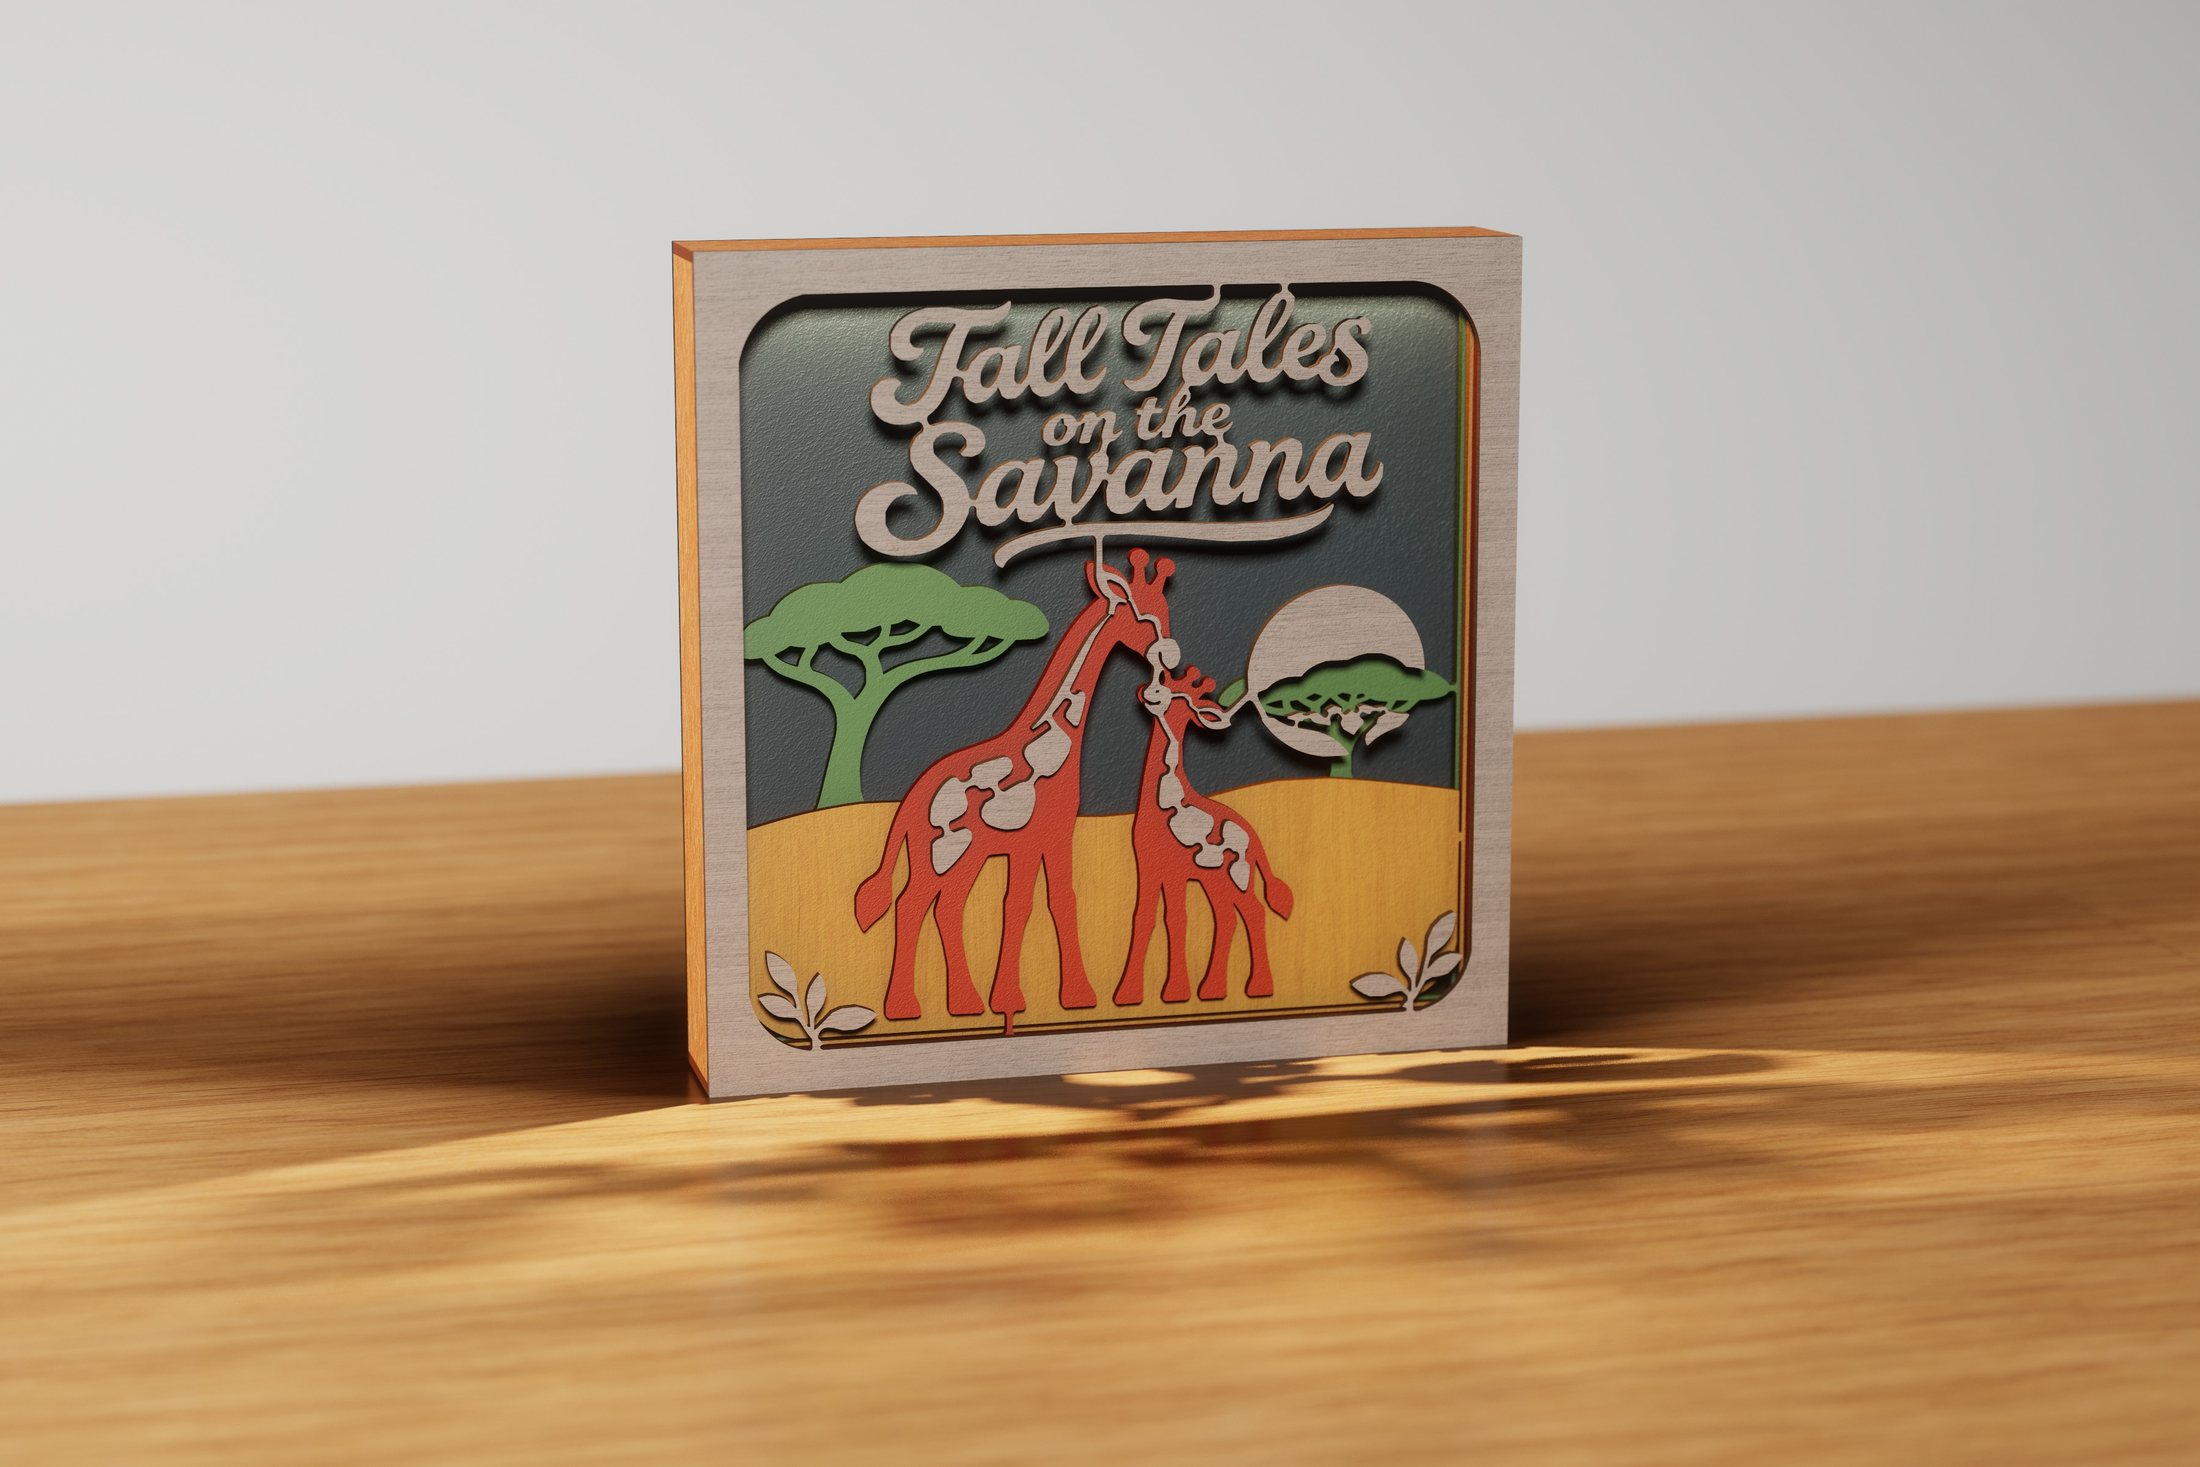 Tall Tales on the SavannaNature & gardens
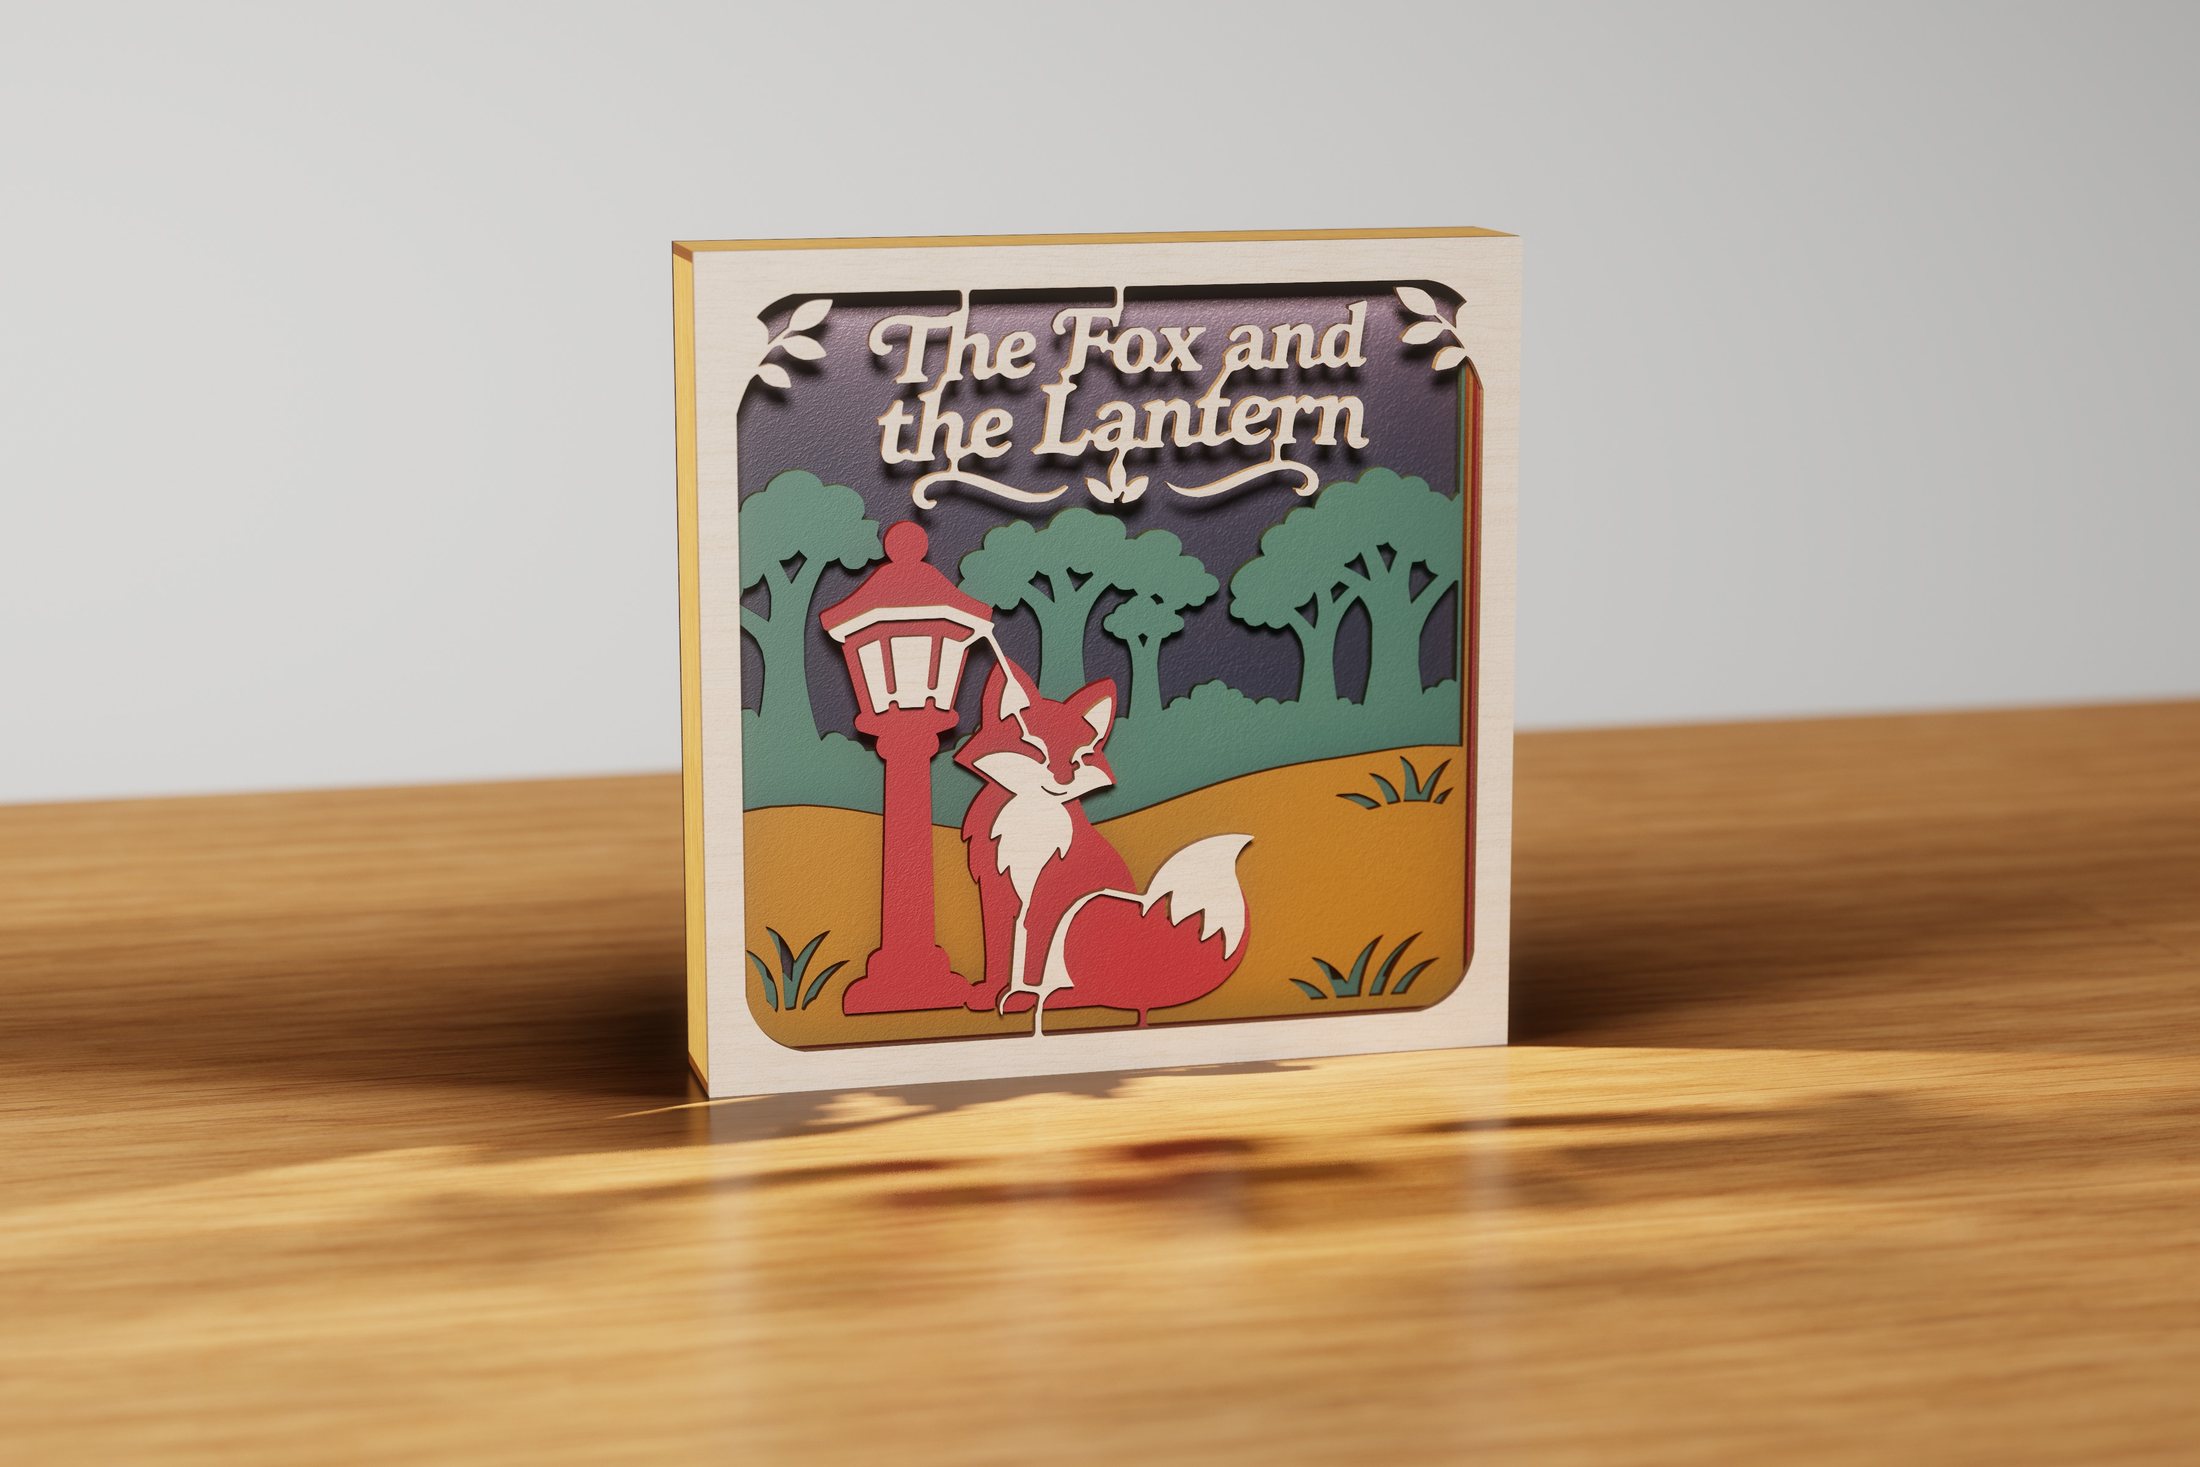 The Fox and the LanternFantasy & space
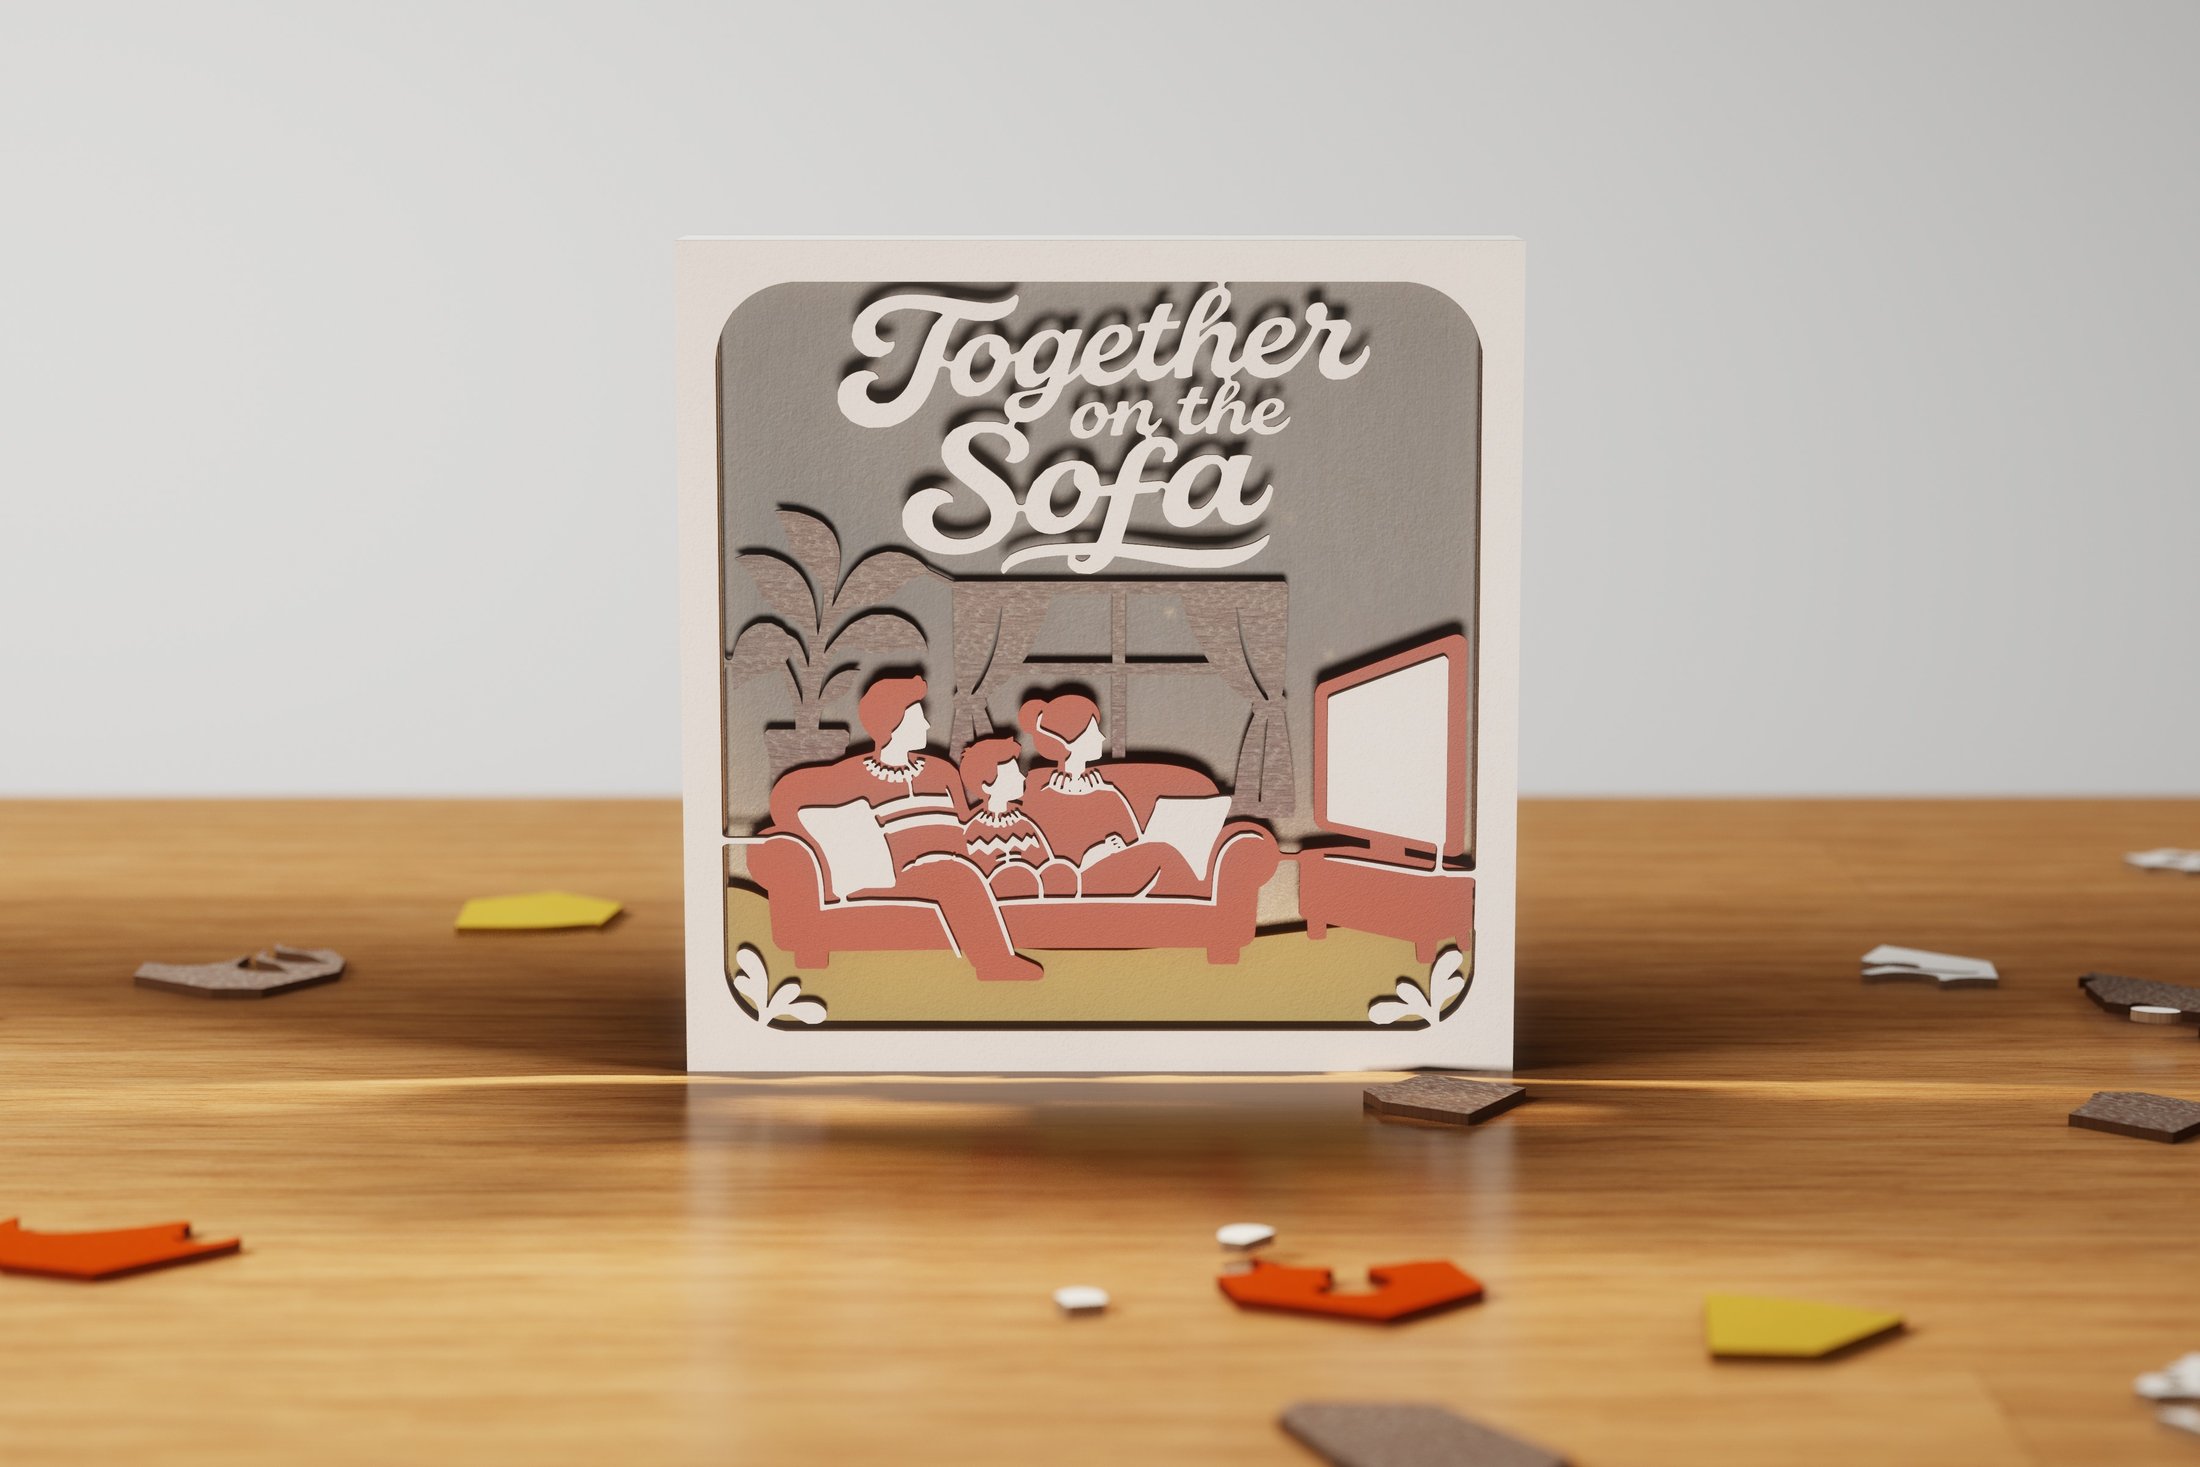 Together on the SofaHome & heart
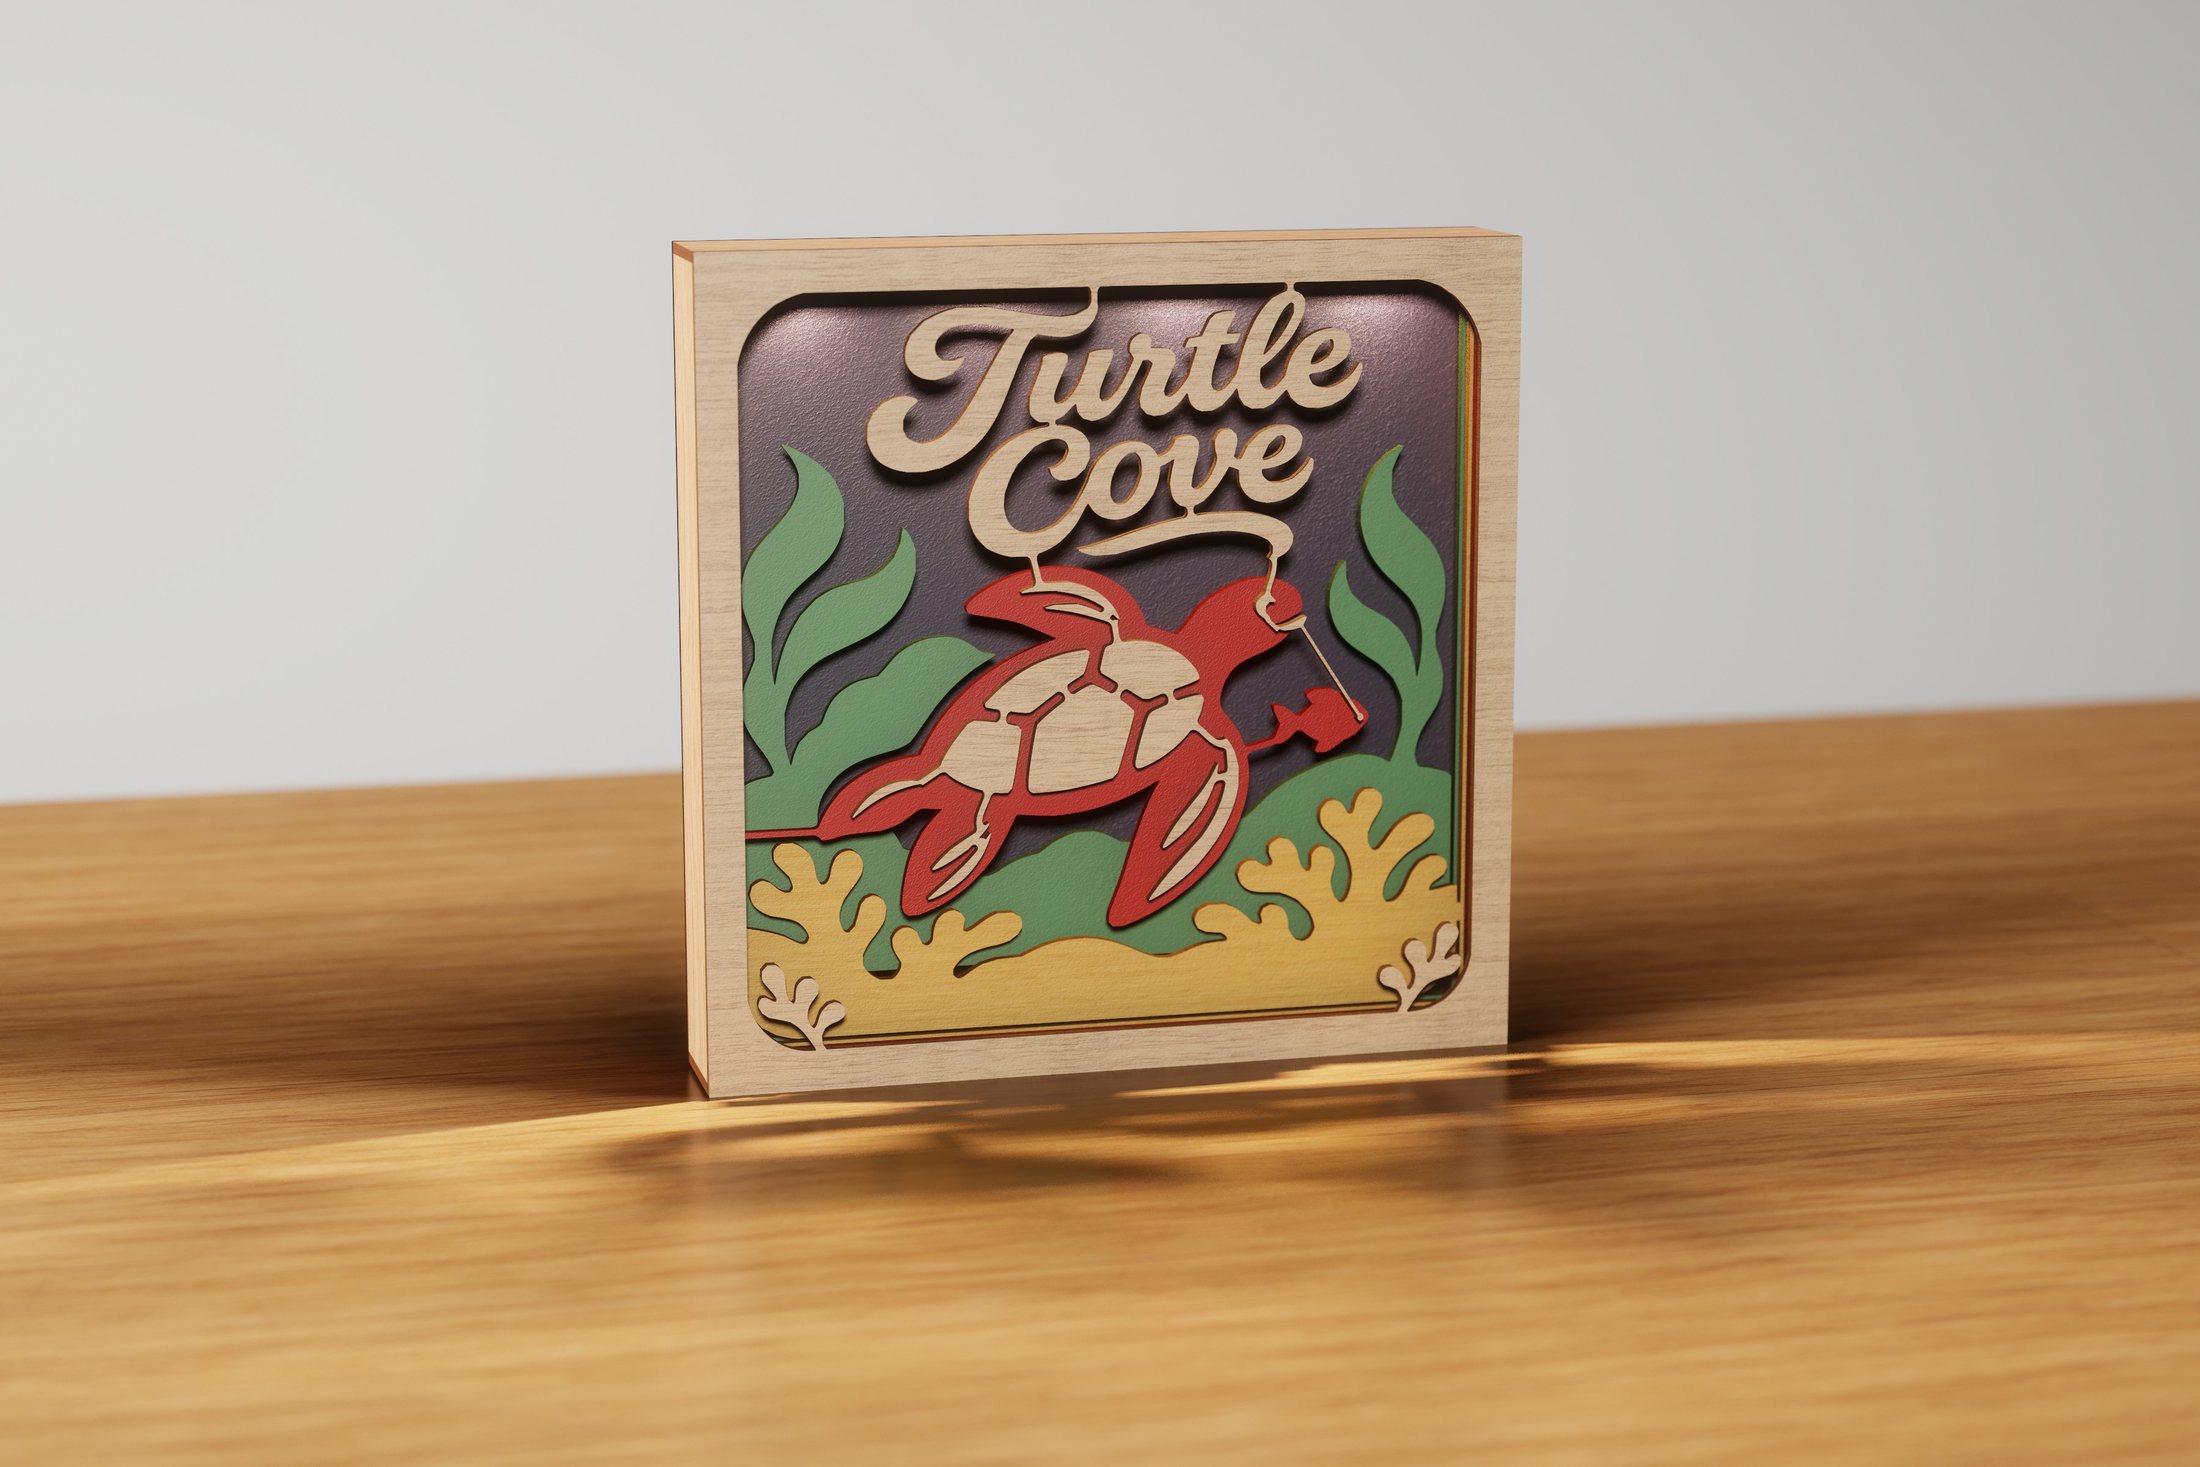 Turtle CoveNature & gardens
No examples match. Try another name or category.
Automatic bridges
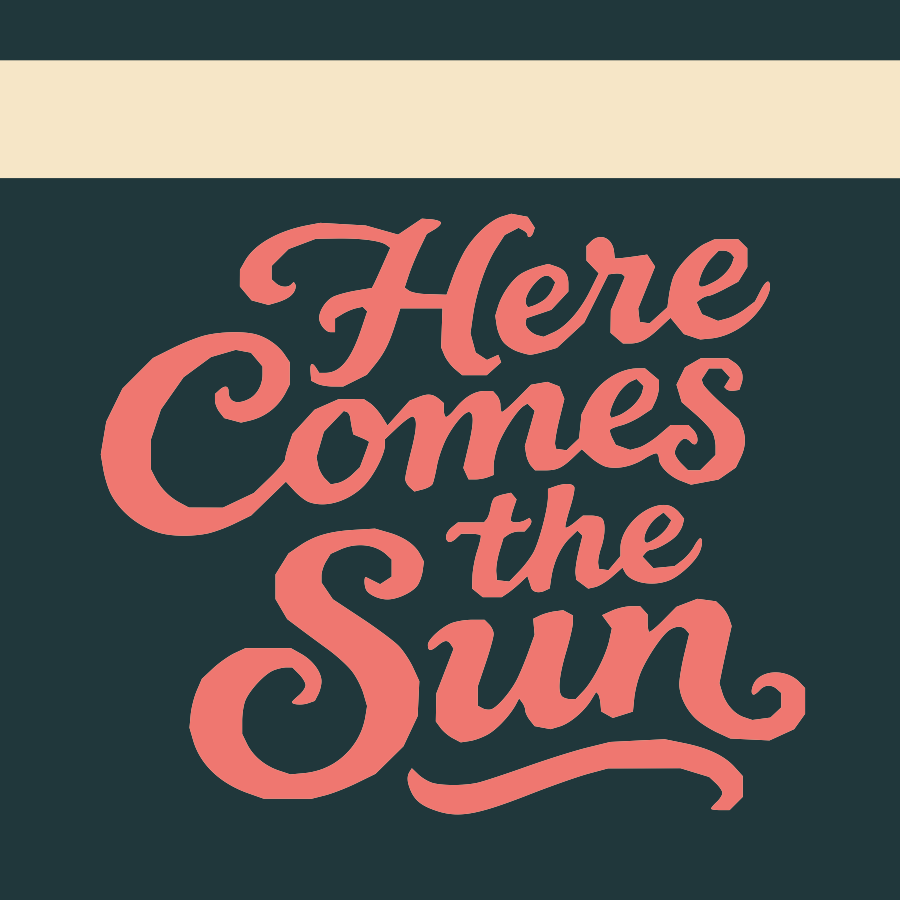
A bridge is a thin strip of material that connects a detail to the rest of a cut sheet. In Here Comes the Sun, bridges connect the words and underline to each other and to the top rim, so the lettering stays in place when you lift the sheet.
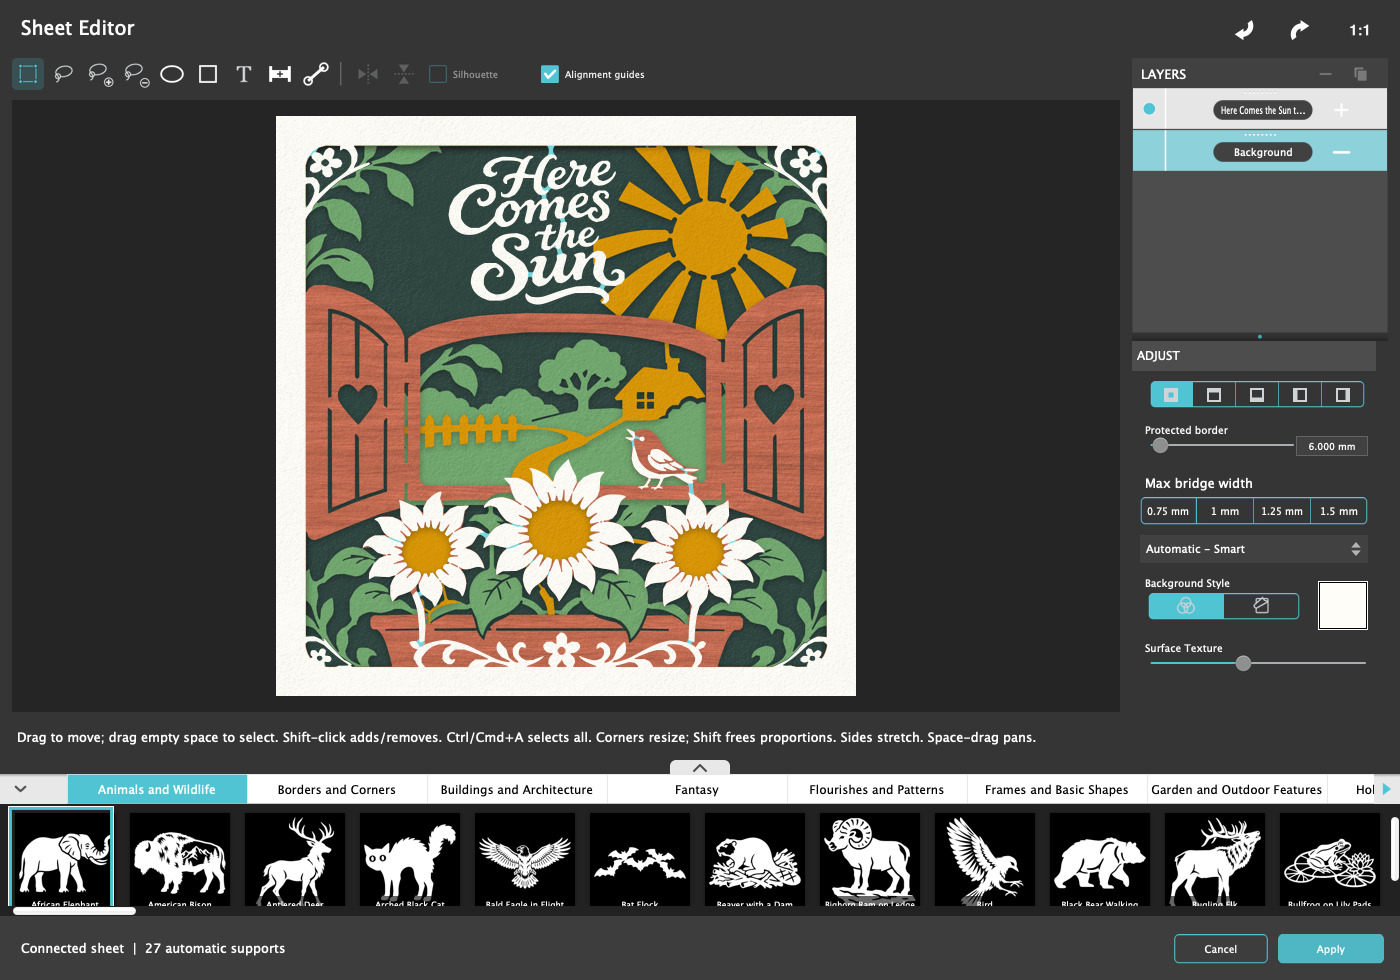
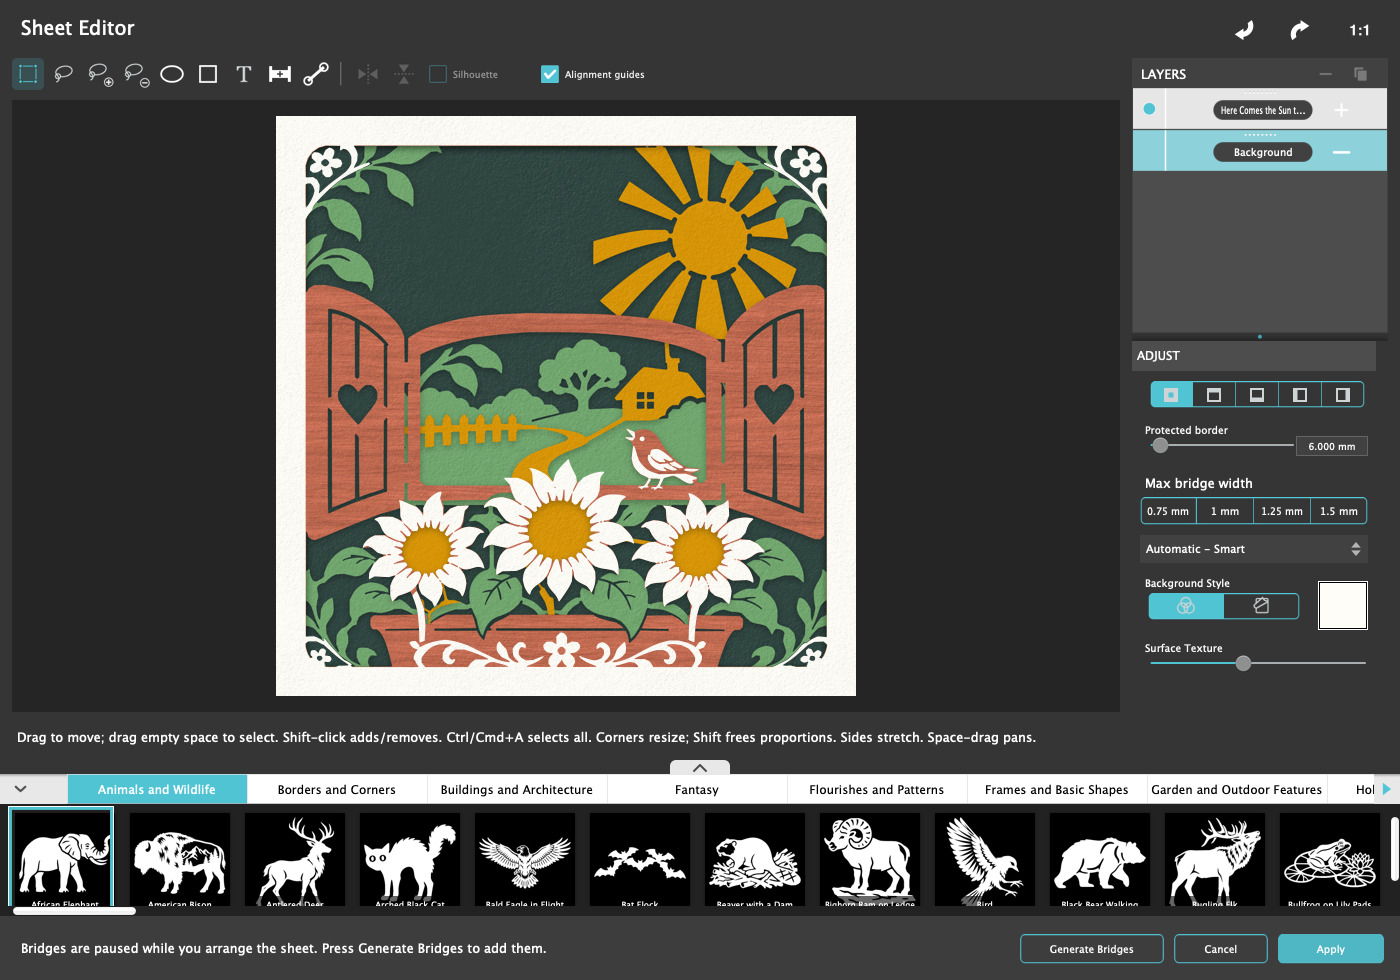
Select Background and set Bridges to Smart for fewer, shorter connections or Strong for more support. Set the bridge width for the whole scene, or open the Sheet Editor to add, move, or remove bridges on an individual sheet.
Choose None when you want separate cut pieces for a project like an iron-on transfer. The Sheet Editor highlights loose pieces in red so you can see what will come away from the sheet.
See the bridge controls in Help/FAQ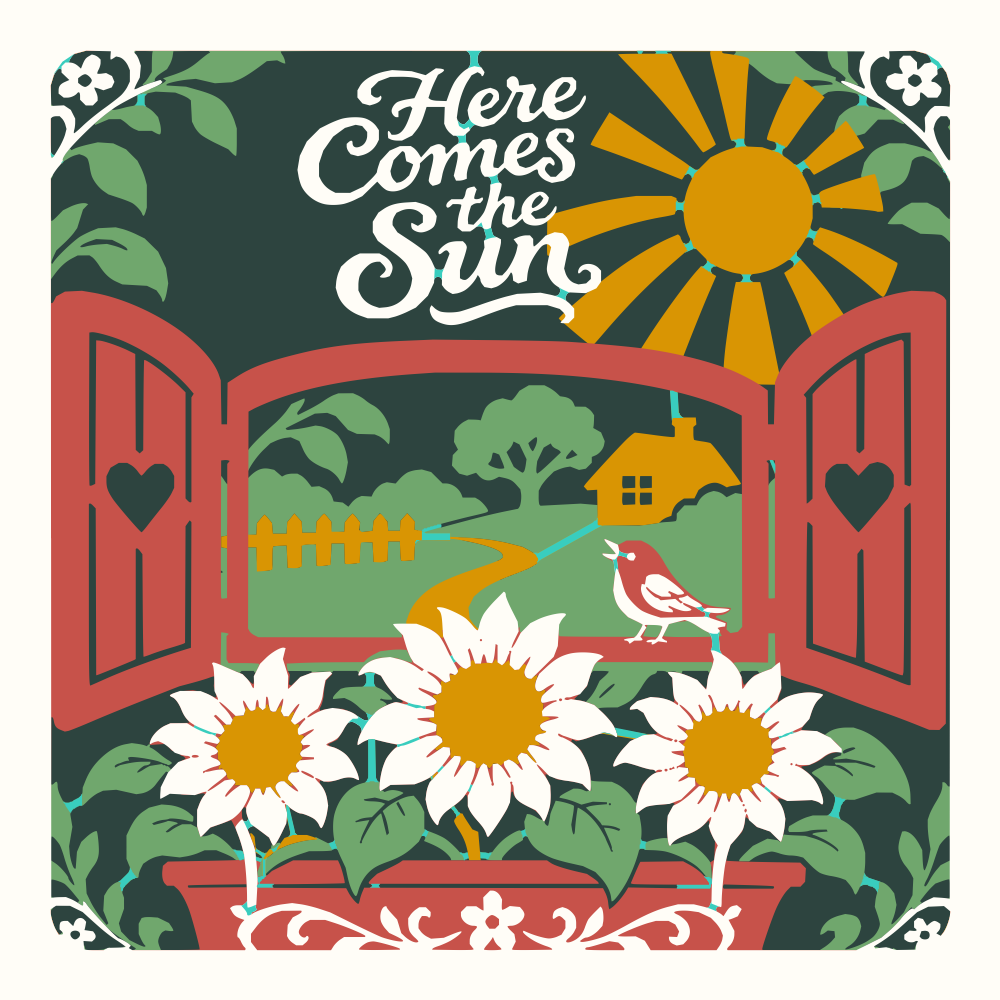

The Sheet Editor
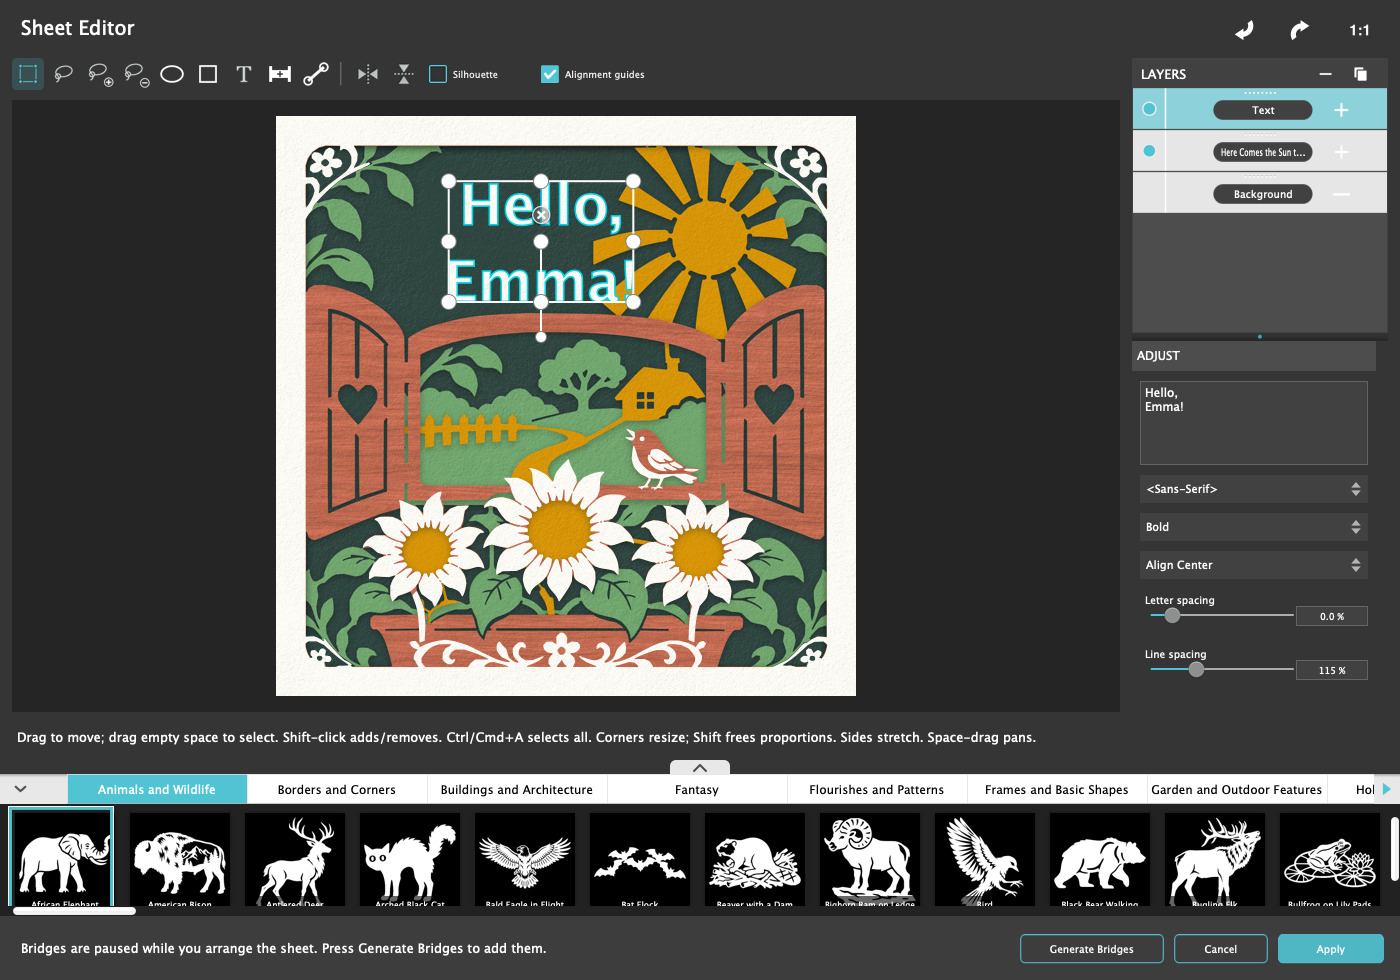
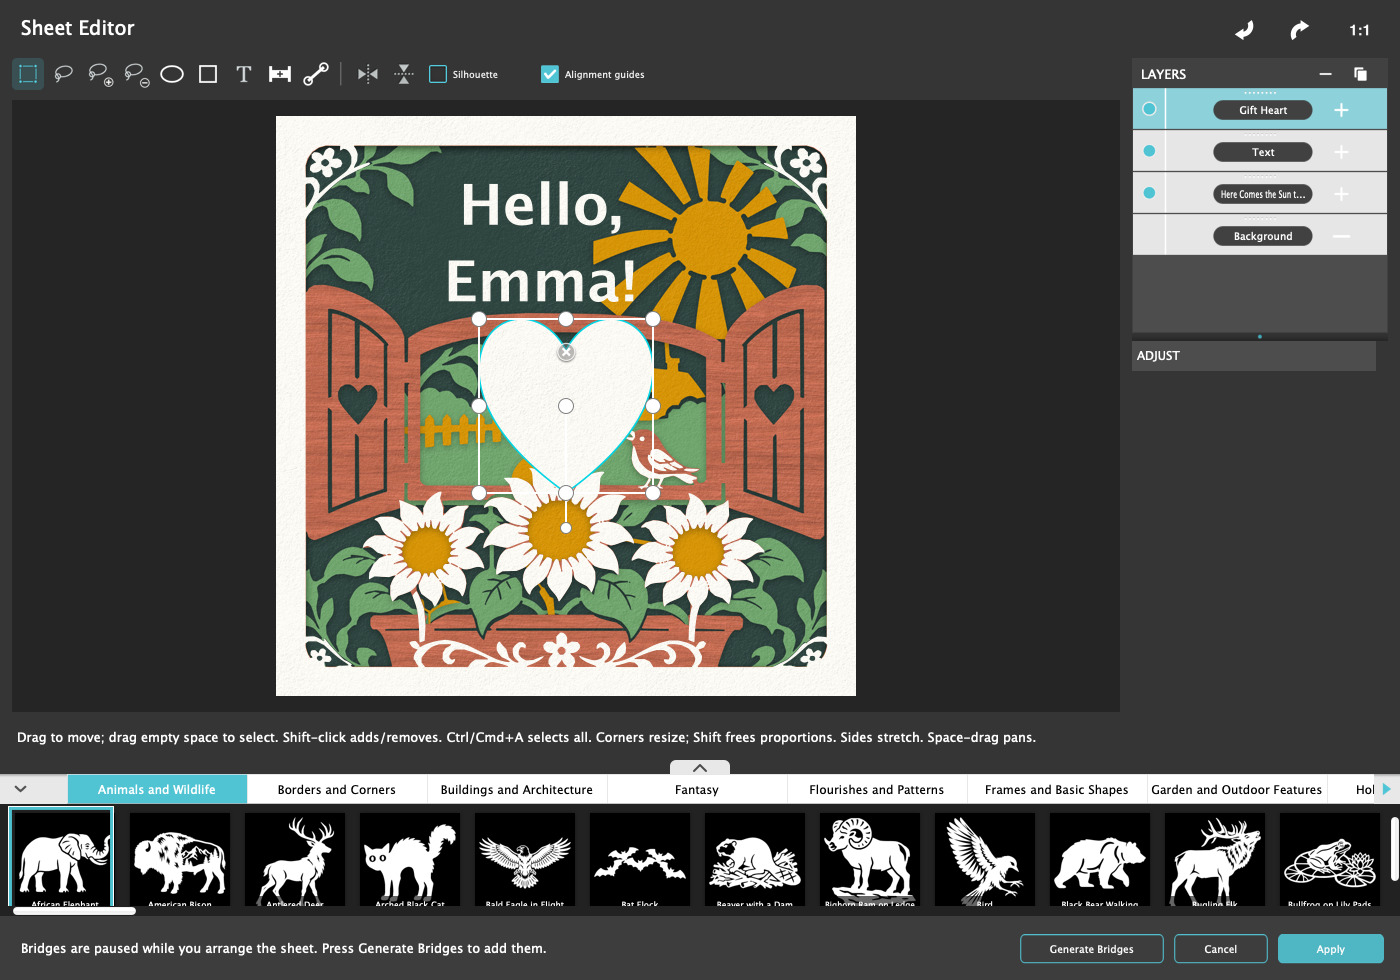
Put a family name on a gift, turn a simple sketch into a sticker, or draw a new detail for a lightbox.
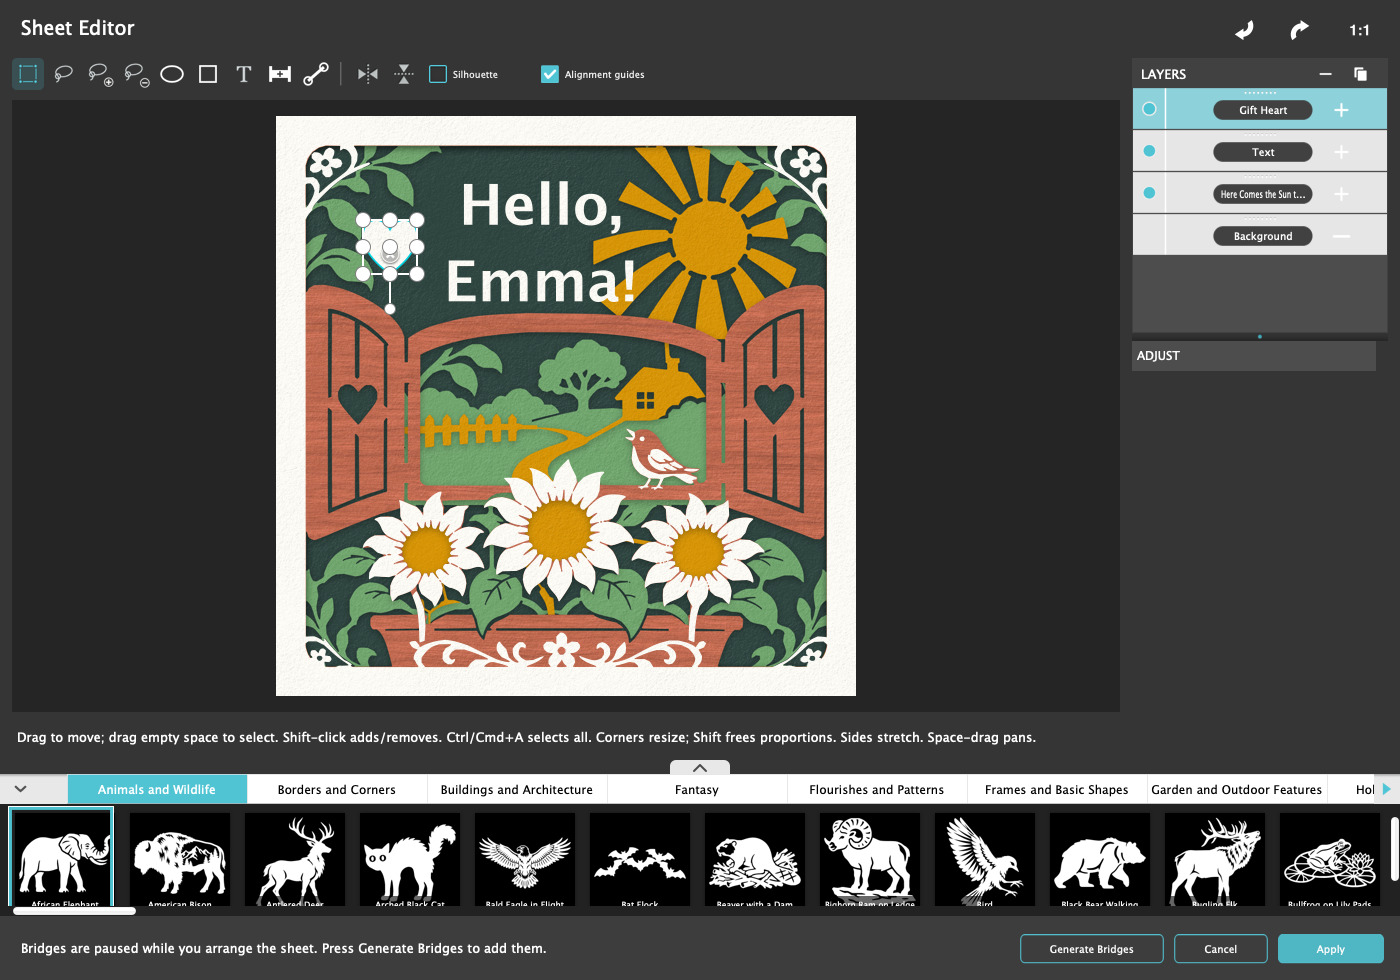
Bring in an SVG or trace a PNG, JPEG, or GIF into a shape. Save it in User Shapes and use it again in another project.
How to import and trace artworkType a name, date, or greeting with Add Text. Come back anytime to change the wording, font, spacing, or placement.
How to add and edit textDraw a shape or pick one from the library. Move, resize, and rotate it, then choose whether it adds material, cuts an opening, or engraves a detail.
Explore the drawing toolsFrom “what if” to “look at that”
Choose a starting scene or begin with a blank sheet.
Add shapes and lettering. Arrange the layers. Find your colors.
Set the lighting and shadows for a digital display, or choose a physical project. Add bridges when your cutting project needs connected sheets.
Export your chosen physical Project Style, or save a box rendering or straight-on image for a digital display.
Save & share
Use the File menu to save a digital display or prepare files for a physical project.
A few helpful answers
New to layered art? You have a creative starting point, room to experiment, and tools that make the next step easier.
No. Start with a scene preset and use the shape library to change the story. You can also create your own artwork in the Sheet Editor, import SVG files, or trace images into shapes.
Bridges are small connections that keep otherwise loose parts attached to a sheet. They help hold a lightbox layer together. Woodcut Studio can generate them automatically, with controls for the pattern and width, and tools to adjust them.
Yes. Set Bridges to None to remove supports from the Design sheets across your project. This keeps the separate pieces you want for transfers and other projects. You can return to an automatic bridge mode when you want connected sheets again.
Create a Lightbox, Image Transfer, Magnet, Edge-Lit Acrylic Sign, 3D Papercut, Sticker, or Window Cling. Choose Export Project and select the matching Project Style. Woodcut Studio prepares the project artwork and instructions; use the appropriate materials and compatible cutting, printing, or engraving equipment to make the finished piece.
Choose Export Project and select the physical Project Style you want to make. Open the exported artwork in compatible laser software or Cricut Design Space, then choose the appropriate material and cutting or engraving settings for your machine.
Yes. Save any scene entirely in Woodcut Studio for a digital display, such as a digital card or slideshow. Use File → Save Photo… for straight-on artwork. Choose File → Save As Digital Box… or File → Save As Papercut Lightbox… for a rendering with realistic lighting and shadows. See the saving guide →

Woodcut Studio by JixiPix
Create a digital display, or bring your design to life as a lightbox, sticker, or papercut.
Your next creative space
Woodcut Studio for Mac and Windows.
Apple silicon (M1 or newer) with macOS 11 or later
Intel with macOS 10.15 or later
Windows 10 or later
ARM64 or x64
For cutting projects, export SVG artwork and open it in compatible software for your laser cutter or craft cutting machine.