
Learning Video 1
Start a New Project by choosing a Background Style and a Project Size. Drag and drop images on the open application. Use the Lasso tool to create a rip by circling around on the image.
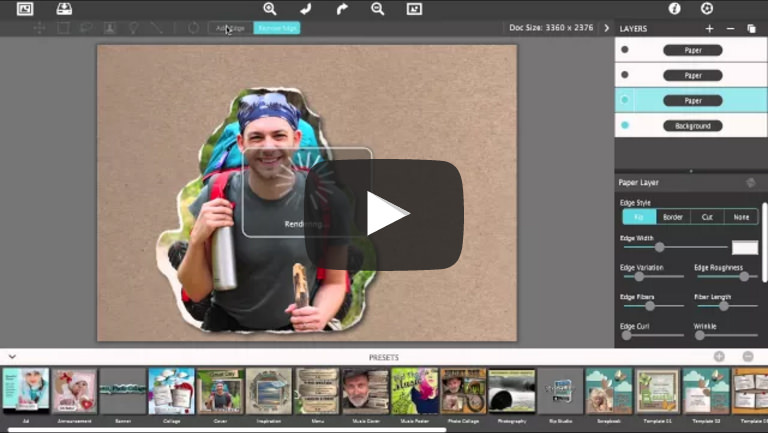
Start a New Project by choosing a Background Style and a Project Size. Drag and drop images on the open application. Use the Lasso tool to create a rip by circling around on the image.
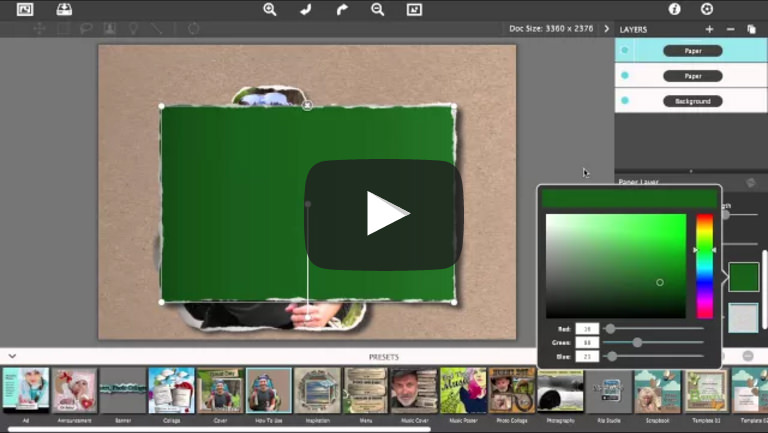
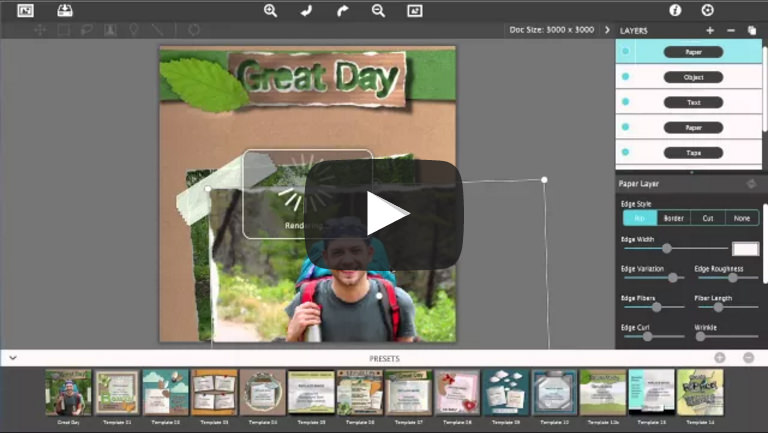
Add a Layer with the + sign on the Layer panel. Paper and Shapes can be used for images, Text brings up the editor, Tape adds a piece of tape, and Object adds staples, pins or other items. Change Background Styles by clicking on the Image/Color/Paper icons. Replace the paper with an image by choosing the Image icon then get photo through the Open Window dialog. Use Layers to reorder the elements.
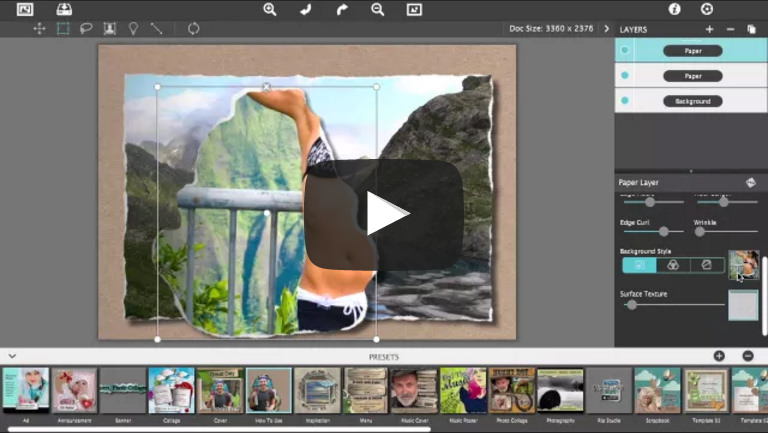
Replace an image using the Background Style, if you drag and drop a new photo onto the open app it creates a new layer. To replace an image, drag the photo into the small thumbnail box left of the Image, Color and Paper icons. You can also replace the image inside a ripped area by following the same steps. Use the Lasso rip tool to modify the edge to accommodate the new image.
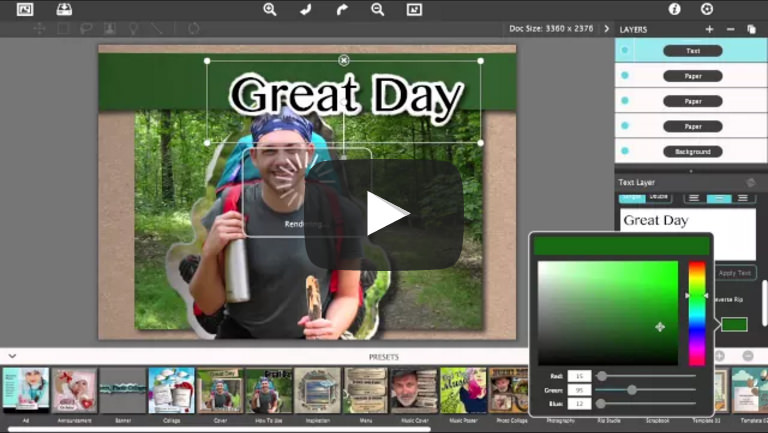
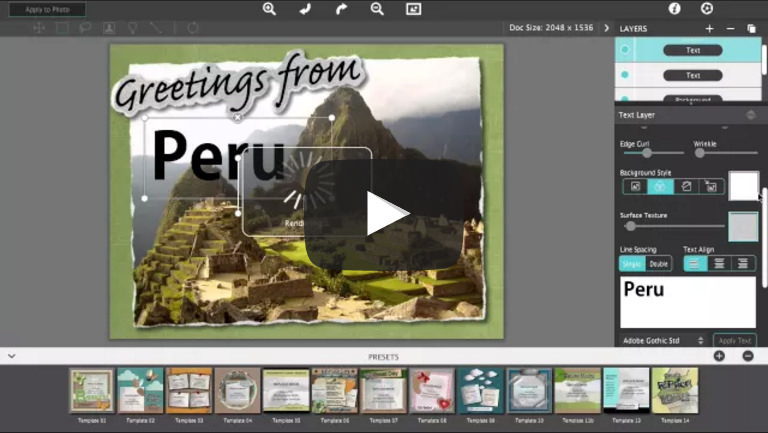
Add a Text Layer with the + sign on the Layer panel. Scroll through the controls to find the text editor. After typing use the Apply Text button to create the rip around the letters. Use the Reverse Rip check box to create a paper with text ripped out of it. Increase area around the text using the Edge Area slider. Use the Lasso rip tool to remove holes in letters.
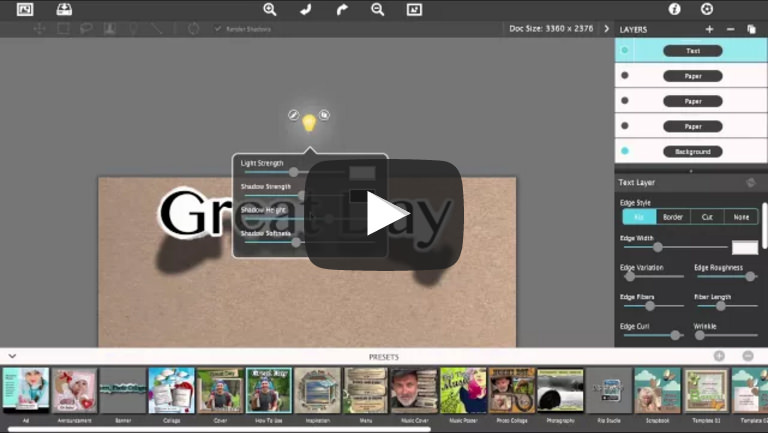
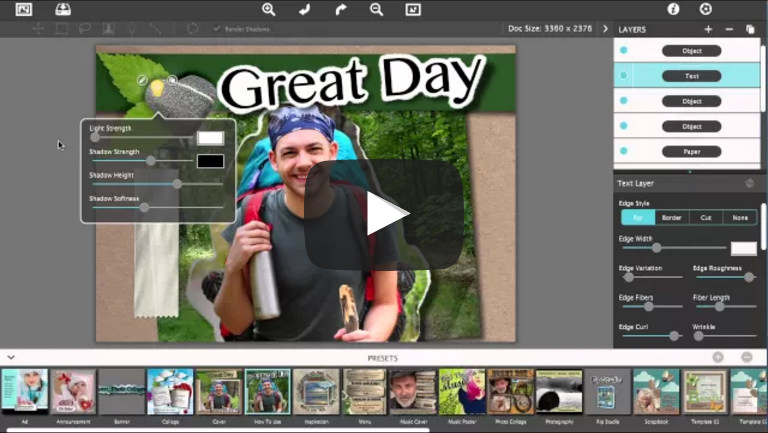
Use the Edge Curl slider to curl up the edges of text, paper and images. Select the Light icon then move the on-document light source above the curled text to change the shadow. The more you move it up, the more exaggerated it becomes. An Edit icon on the light source allows you to adjust the shadow strength and height.
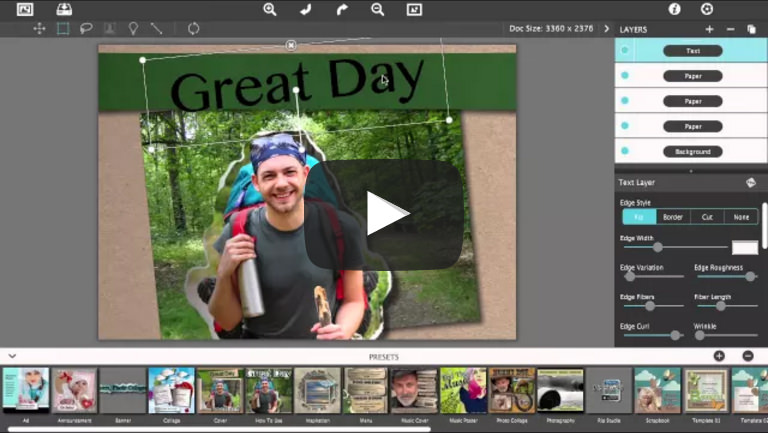
Hold down the ⌘ (Mac) or Ctrl (Windows) key while clicking on each on-document element (this technique also works on the layer panel). As you do this the box around the elements grows to include them all. To move, click inside of the selection box, or on the dots to resize and rotate.
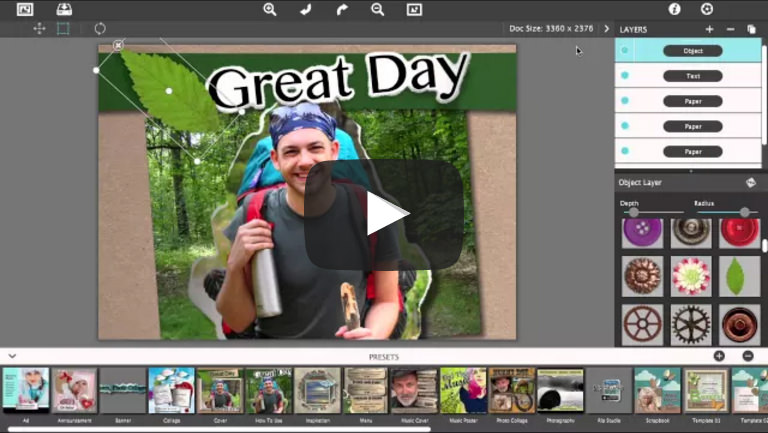
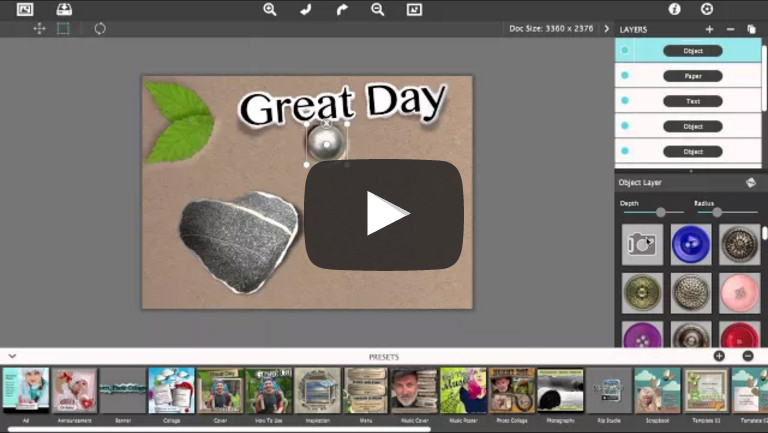
Add an Object Layer with the + sign on the Layer panel. The first object is randomly placed (clicking through the library will change it). When an object is placed, the depth for this object will effect layers below. Use the Depth and Radius slider to adjust this impression. Objects can then be moved, resized and reordered.
Files saved as a .png can be dragged onto the open application. Doing this will create a Paper Layer with options for edge style, edge width, curl and shadow. To create an object with depth, add an Object Layer using the + sign on the Layer panel. An object is randomly placed but will change once you get photo using the Camera icon on the object library. Use the Depth and Radius sliders to adjust depth then move, resize and reorder the custom object.
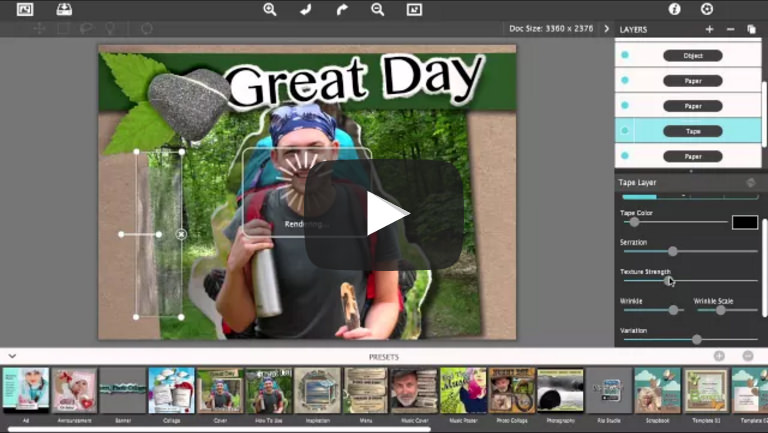
Add a Tape Layer with the + sign on the Layer panel. A piece of tape is placed on-document. Resize, rotate and use the Lasso rip tool to modify the ends for added variation. Adjust tape color, texture and wrinkle using the sliders. Create another piece of tape by either by adding a new layer, or using the Duplicate icon on the Layer panel. Change the piece into a Masking, Duct or Cloth one by toggling through the Tape Style options.
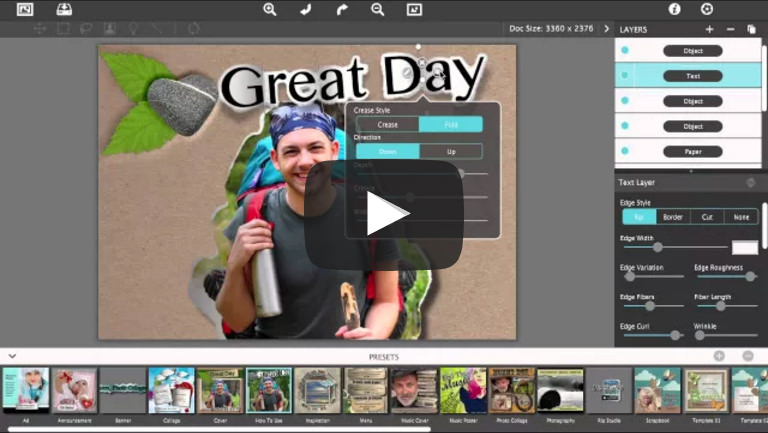
Select the text or image you want to crease. Use the Crease tool to draw a line across the area. An Edit icon on the line allows you to change the crease to a fold and adjust the fold direction up or down. Use the Duplicate icon on the line to quickly make multiple lines then move and edit them; or simply draw a single line where a crease is needed. Use the Light icon to load the on-document Light Source. Moving the light source around to change the surface lighting and shadows.
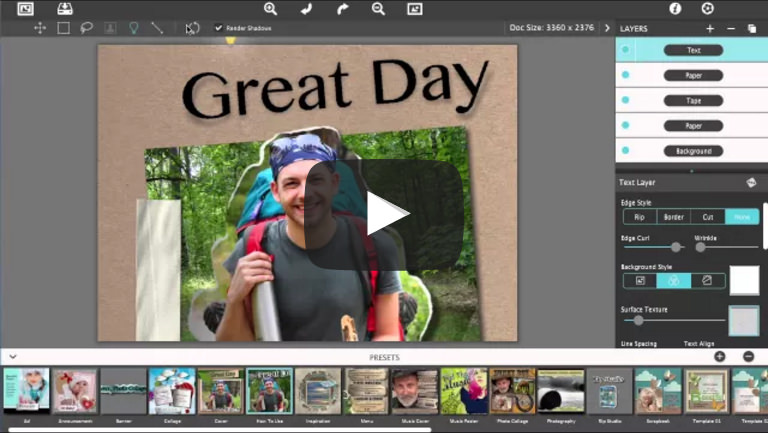
To remove paper from around the text, select the text layer then go to the control panel and choose None as the Edge Style. If you want to remove the drop shadow, select the Light icon and check off the Render Shadows option to the right of it.
Sometimes there is a need to remove surface shadows from text. To do this, select the text and go to the Light icon to load the on-document Light Source. Use edit to adjust the Light Strength slider to 0. Be careful when adjusting the light surface, when set to 0 it removes Creases, Folds and Wrinkles from the elements.
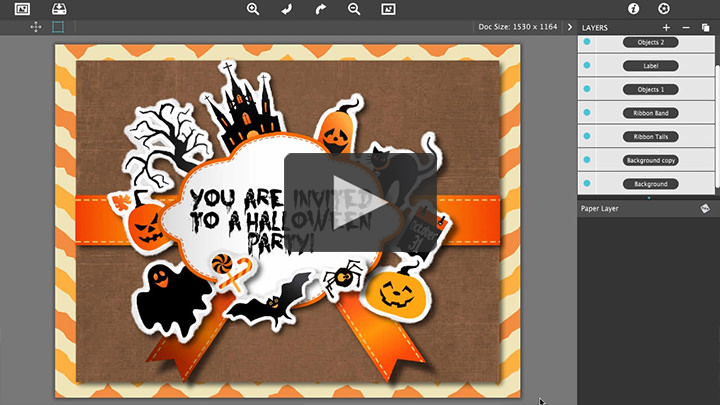
This creative tutorial shows you how to take clip art and turn it into a handcrafted Halloween Invitation with Curled, Ripped and Layered paper objects. At the end of the tutorial you will have an invitation to email your friends, or to create an event on your favorite social media site.
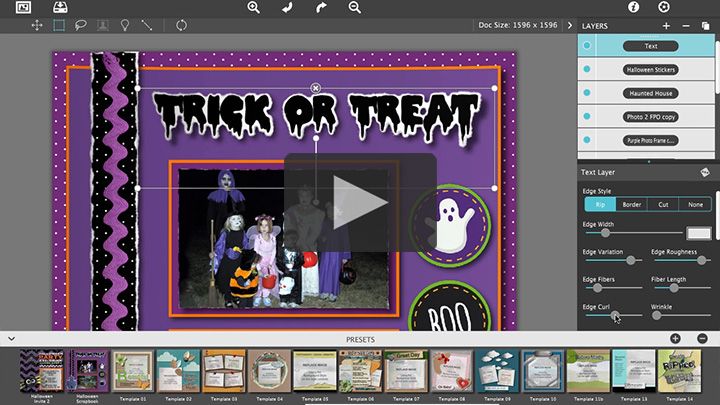
This creative tutorial shows you how to create a handcrafted Halloween Scrapbook page with all the traditional elements like: Layered Photo Frames, Ripped Images, Fabric Embellishment, Halloween Stickers and Ripped Spooky Lettering.
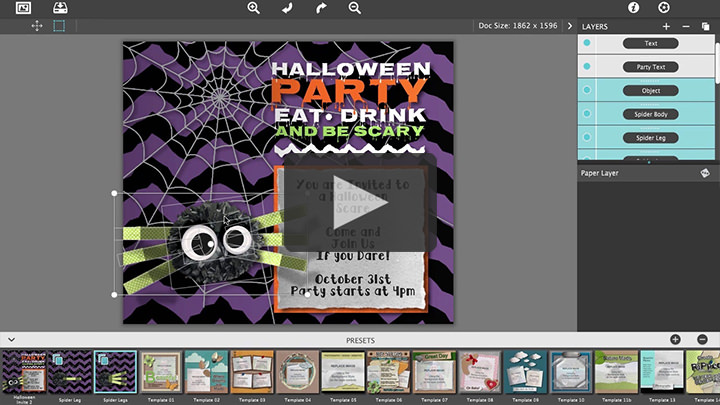
This creative tutorial shows you how to create a handcrafted Halloween Invitation with layered graphics, a pom pom spider with google eyes and folded legs. At the end of the tutorial you will have an invitation to email your friends, or to create an event on your favorite social media site.
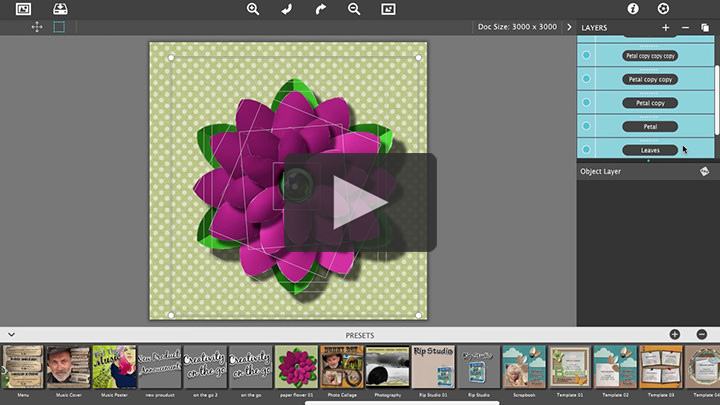
This creative tutorial shows you the power of Rip Studio by creating a 3D paper flower with leaves and petals that lift off the page. Create and arsenal of digital elements for scrapbooks, cards, ads and more.
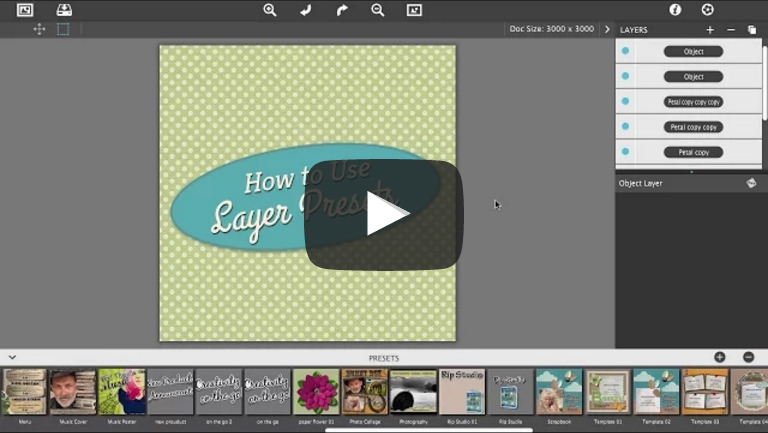
Save Layer Preset is a great new feature that allows you to make creations and add them to your compositions later. Use it to create an arsenal of cool elements so they are available when you need them.
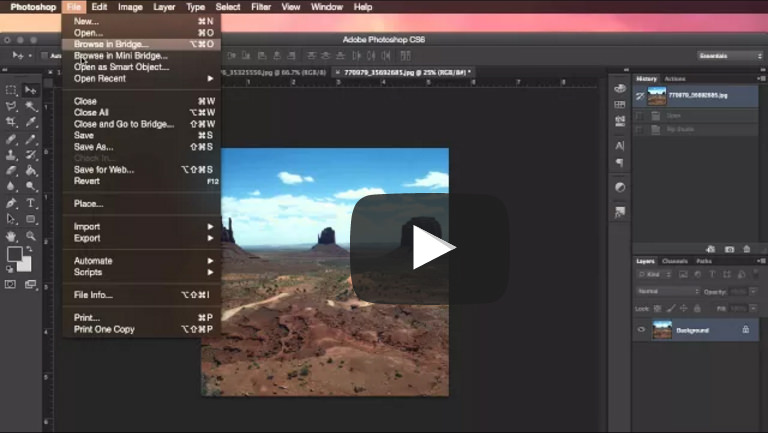
Using photoshop actions you can quickly swap the photo spot in your project preset with different images. This powerful feature allows professionals to save time with batch processing.
In this video we use Lightroom to create a postcard and show you how to save a preset and replace the image.
Learn the basics of our new app Rip Studio.
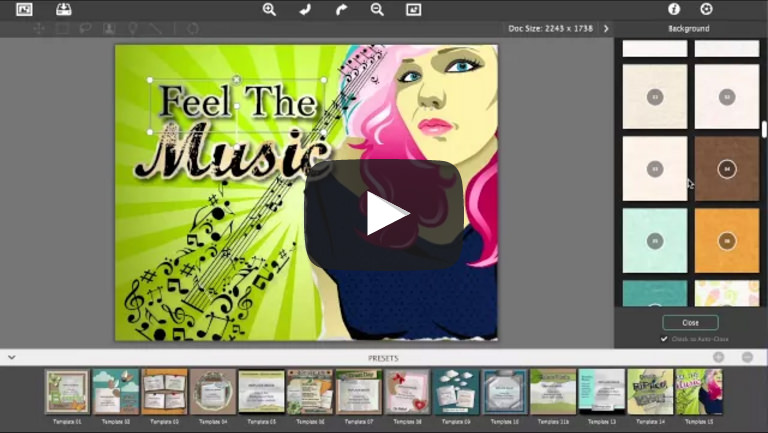
Learn how to create a music poster

Get creative this year by crafting your own beautiful photo cards. It’s the perfect way to add your own personalized touch to a holiday greeting your friends and family will love!
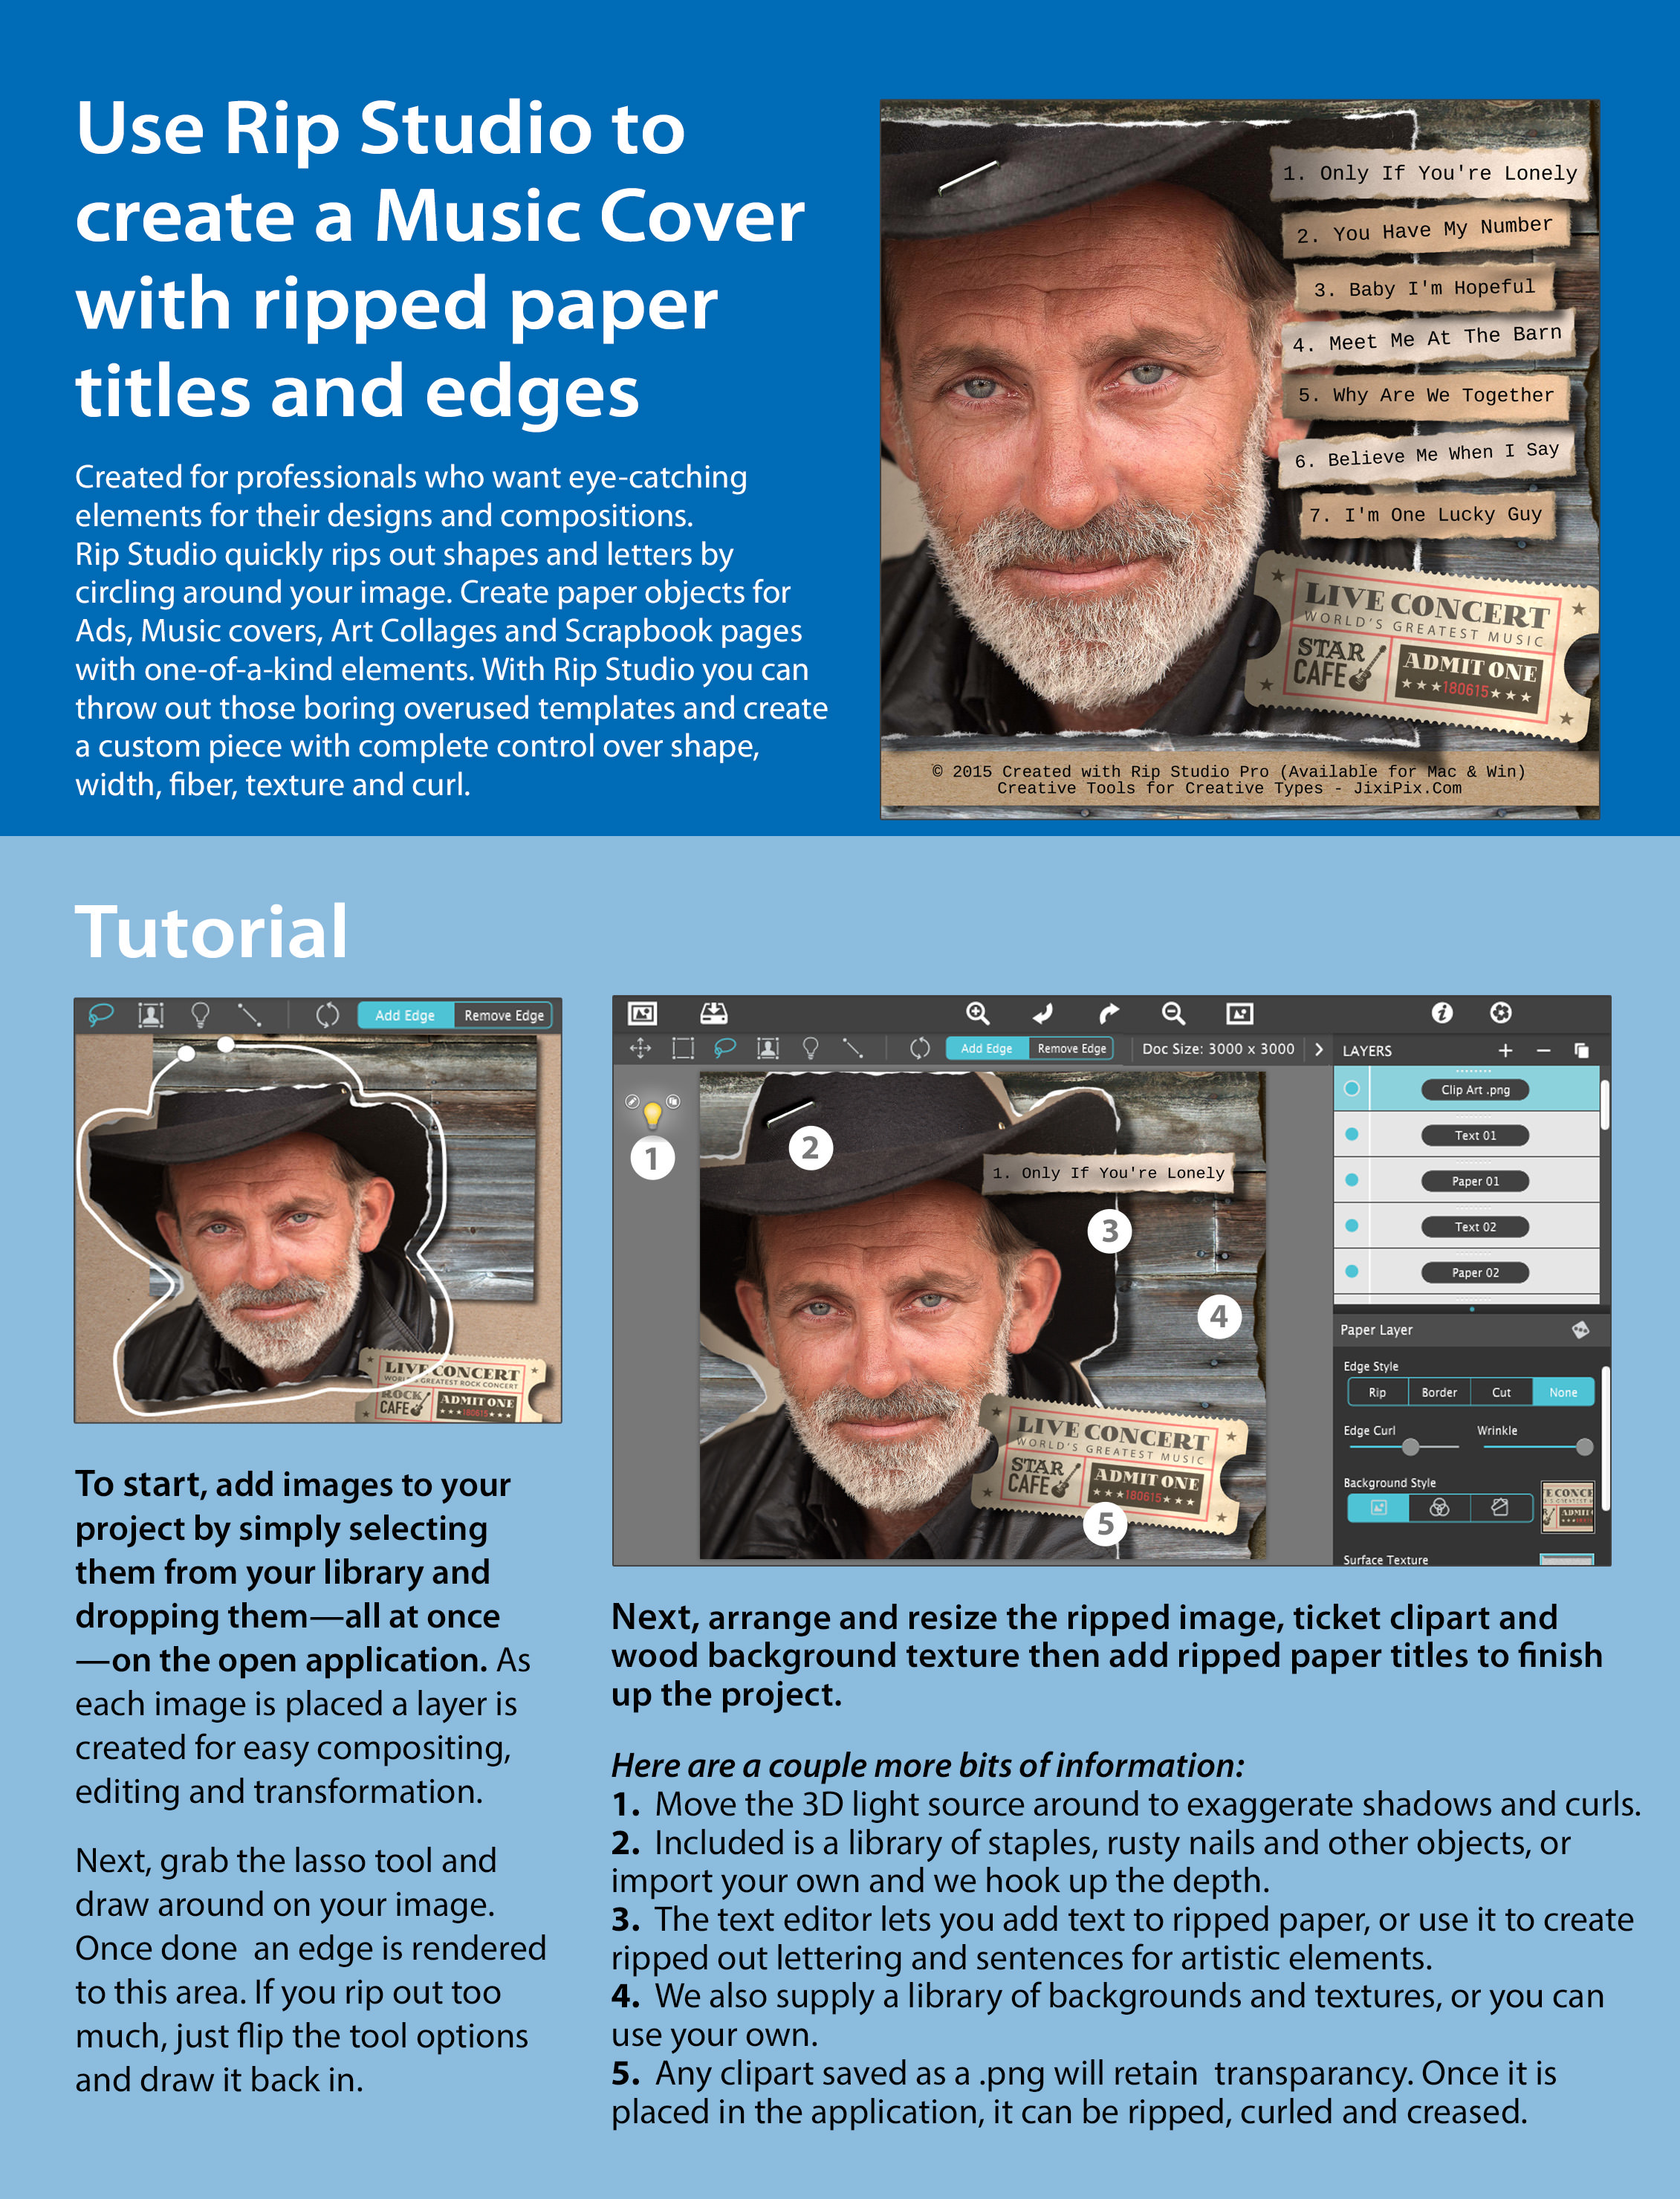
Learn how to create a music cover with Rip Studio