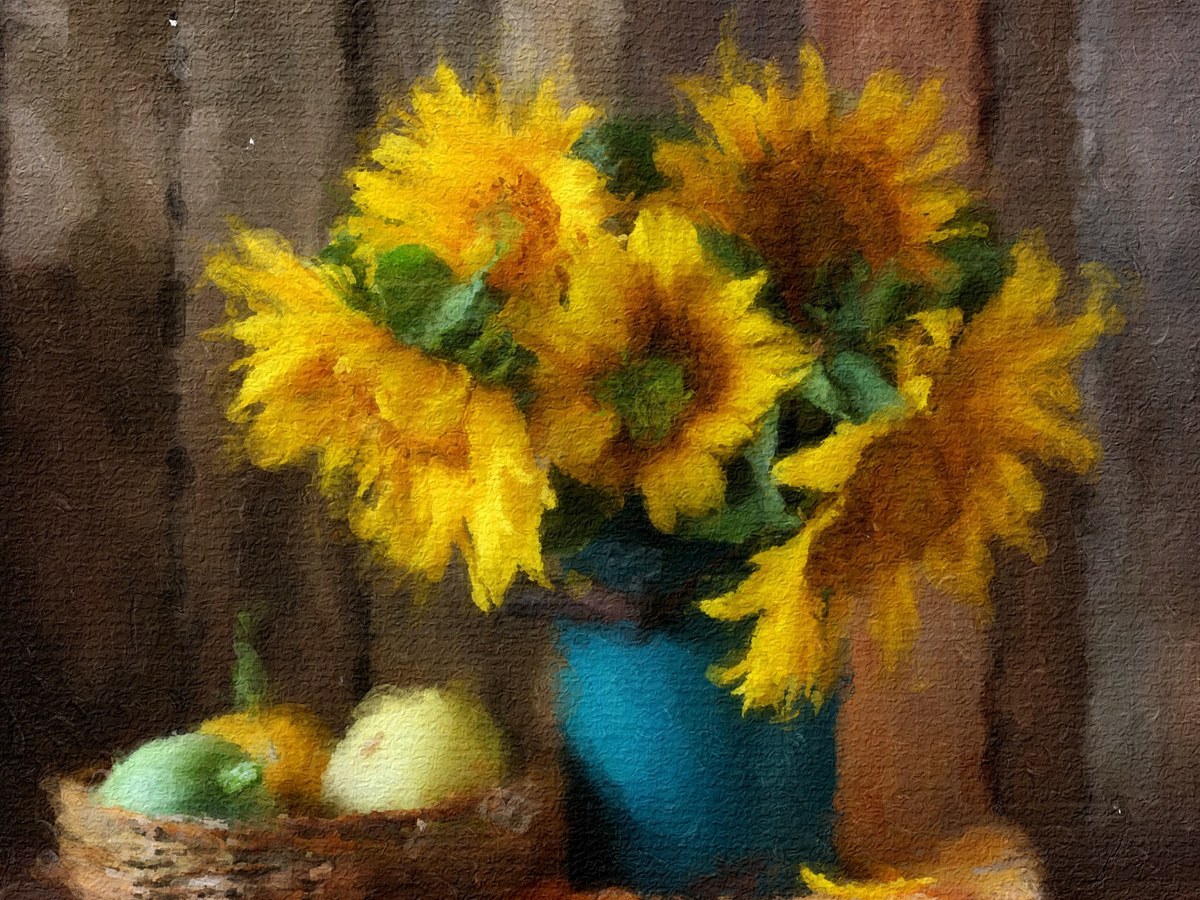
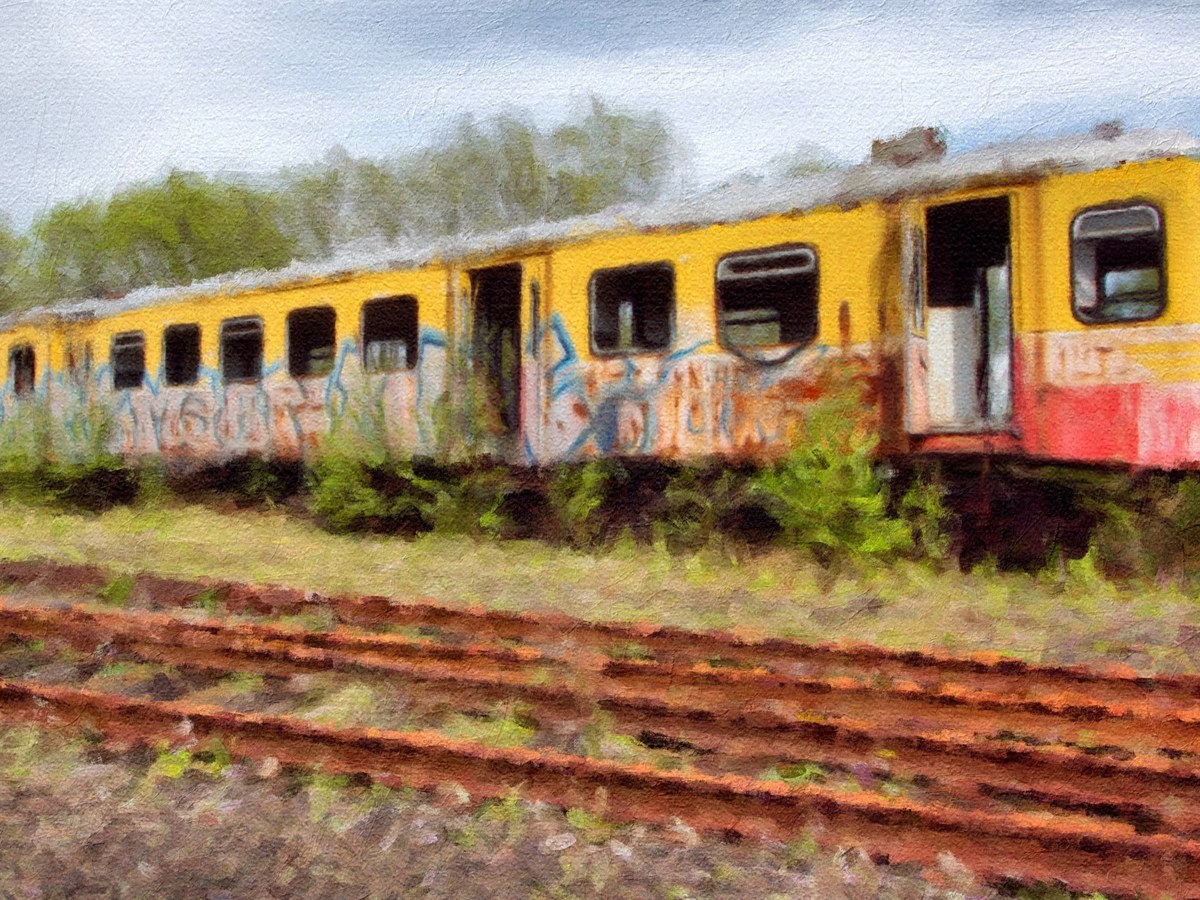
Updated October 16, 2026. Control examples show the Mac interface; plugin installation and automatic photo suggestions differ by platform. Click any screenshot or artwork to enlarge it.
No matching chapters. Try an effect name or a shorter phrase, or .
Open a photo and start by clicking the “Randomize Painting” button. Impresso Studio creates the brushwork automatically; use the style menus and layer controls to make it your own. You can save your favorite results as presets.
Click Get Photo (the picture icon at the upper left), or drag a photo into the window.
Check Photo Style for your subject and choose a Painting Style, such as Standard, Fine Detail or Rich Impasto. Click the “Randomize Painting” button at the top and wait for the render to finish.
Click a paint layer in Layers. Its controls appear in Adjust below. Try Stroke Size first, then reduce the layer’s opacity if it is too strong.
Hold the Original picture button to compare with your photograph. Release it to return to the painting.
Open the Save Photo toolbar menu and choose Save to export the finished image. To keep the look, select User Presets in the bottom browser, then choose Save Preset from that menu. Keep the original photograph too.
From photo to paint
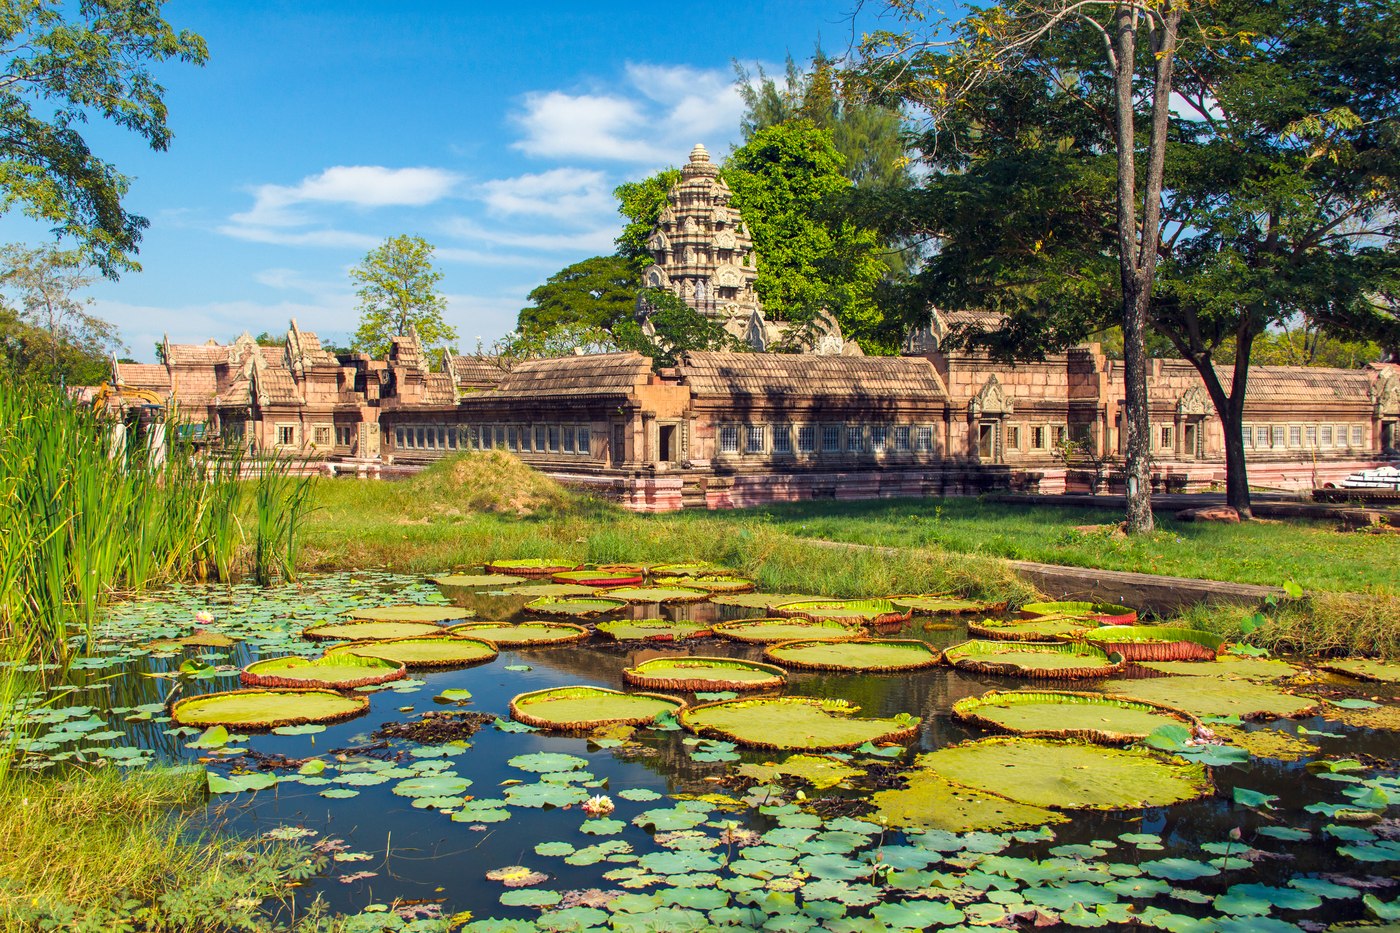
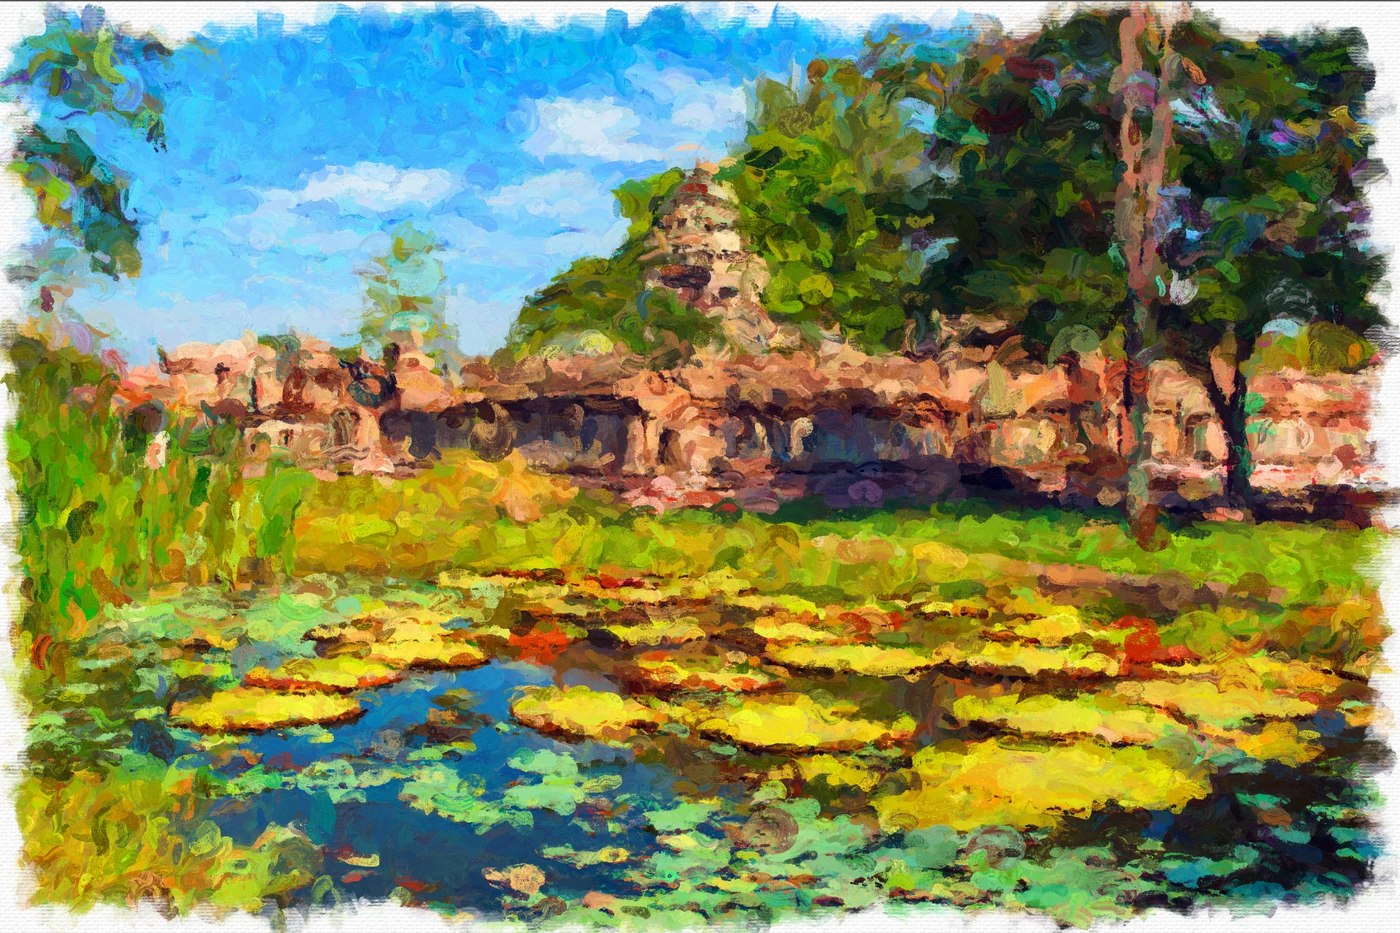
Original photograph: a temple beside a water garden. Click to enlarge.The same photo with Impressionism and Macchia paint layers. Broad strokes simplify the garden while the architecture remains recognizable. Click to enlarge.
Get Photo opens a photograph. Save Photo opens a menu with Save for the rendered image and Save Preset for the reusable look. The File menu also provides Save Photo… and Save Preset.
Crop
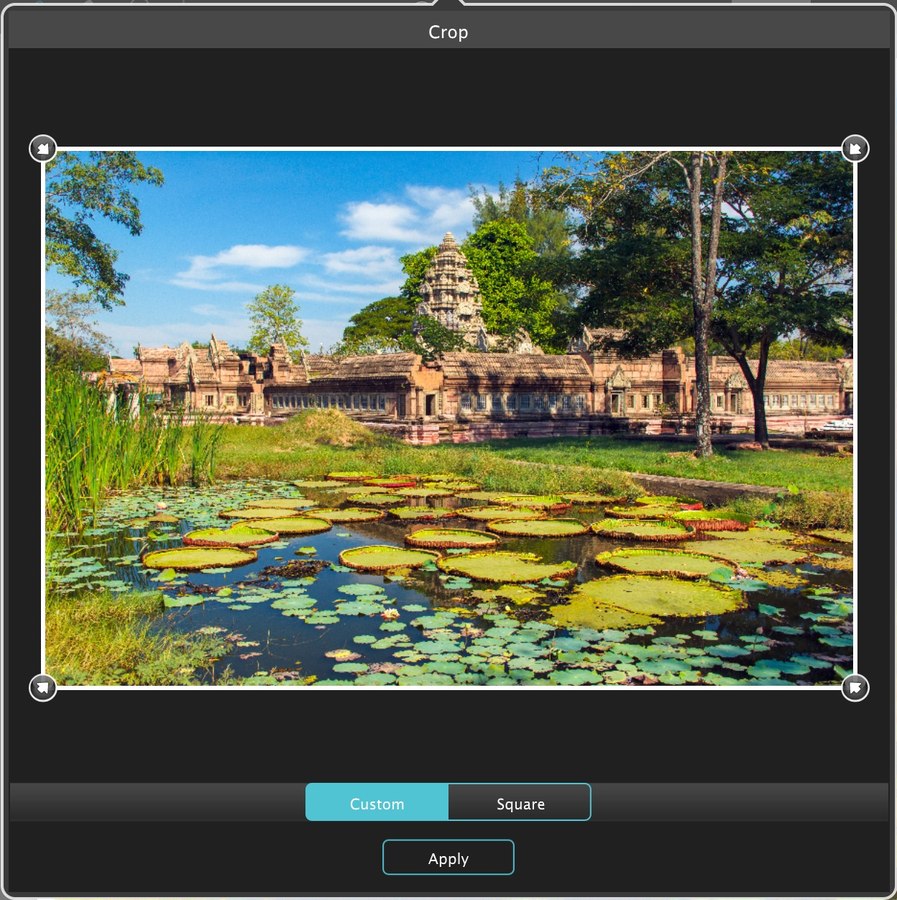
The crop symbol opens a preview where you choose the part of the photo to paint.
Zoom In / Zoom Out
Magnifying glasses change only the viewing scale. Use Fit In Window to see the whole painting.
Undo / Redo
The curved arrows move backward and forward through edits. Redo becomes available after Undo.
Original
Press and hold the picture icon near the zoom controls to temporarily show the source photo.
Randomize Painting / Photo Style / Painting Style
Click “Randomize Painting” to create a new combination of layers. Photo Style describes the subject; Painting Style sets the creative direction. Both menus guide the next click.
Layers
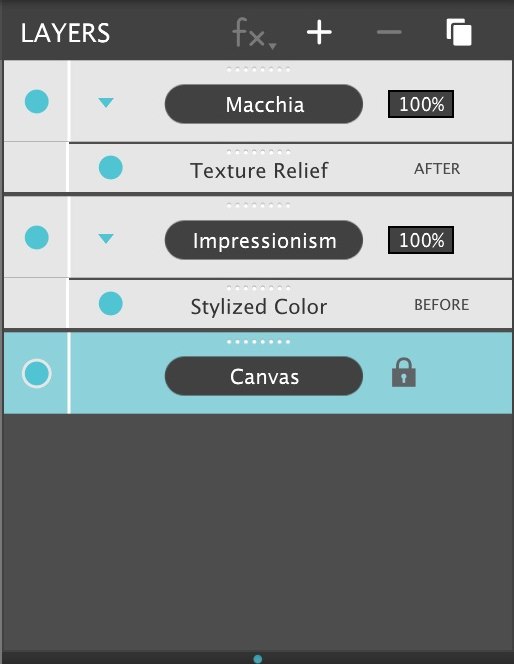
Select, show/hide, reorder, add, remove, duplicate, and blend effects. The indented rows are FX belonging to a parent layer.
Adjust
Settings for the selected layer or FX. Scroll within this panel to find controls below the visible area. The dice randomizes just the selected effect.
Tool strip
Below the main toolbar. Its brushes, lighting and placement tools change with the selected layer.
Preset browser
Store and reuse your own looks. Select User Presets to save a whole painting, or Layer Presets for selected layers. Empty categories are normal on a fresh installation. The lower + saves a preset; it is different from the + in Layers.
Panel arrows
The arrow beside Layers hides or reveals the side panel. The arrow at the left of the preset bar collapses or expands the browser.
Use File → Get Photo… or the picture button to choose an image. JPEG, PNG and TIFF are useful starting formats. You can also drag a photo onto the main window. Save the current result and a preset before replacing a photograph you want to return to.
Choose a photo with clear light, useful contrast and a recognizable subject. Very small photos leave less detail for fine strokes. Crop early so the painting’s composition is established before you refine masks and detail.
Click the Crop button.
Choose Custom for a free rectangle or Square for a square crop.
Drag the corner handles to frame the subject.
Click Apply and let the app repaint the cropped image.
Crop works on the source photograph. Custom and Square are shown below the crop preview. Click to enlarge.
Zoom changes your view, not the saved pixel dimensions. Use Cmd/Ctrl+0 to fit the painting and Cmd/Ctrl+1 for Actual Size. Hold Space to pan while another tool is active. Hold Original for a quick photo comparison.
A preset stores the settings for a look so you can apply them to another photo. Impresso Studio does not include a supplied preset collection: create a look with “Randomize Painting” or your own layers, then save it. Keep the original photo and export the finished painting separately.
Control
What it does / when to use it
Choose a look
Open User Presets, or the category containing a look you saved, and click its thumbnail. The Layers panel shows the effects it uses. Category names are folders for organizing your collection; an empty category does not indicate a missing download.
Save the whole look
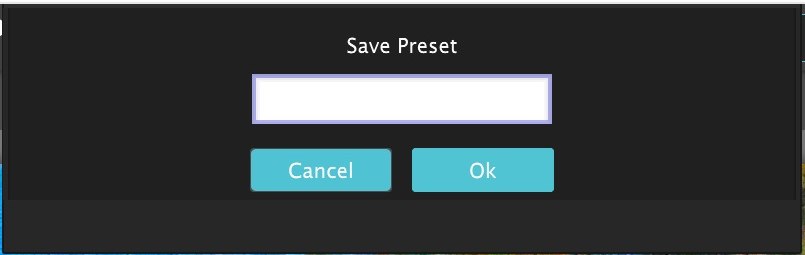
Select User Presets in the bottom browser. Open the Save Photo toolbar menu and choose Save Preset, use File → Save Preset (Cmd/Ctrl+Shift+S), or click + in the browser. Give the look a recognizable name and click Ok.
Save part of a look
Select the layer or layers you want, open the layer menu at the far right of the Layers heading, and choose Save Layer Preset.
Apply a layer preset
A layer preset adds its saved layers to the current stack. A regular painting preset replaces the current look. Use layer presets to reuse a favorite detail pass or finish.
Remove a preset
Use the browser’s − button to reveal delete icons on the preset thumbnails, then click the unwanted preset’s delete icon. This manages the library; use the − in Layers to remove an effect from the current painting.
Find the preset files
Use Help → Reveal Preset Folder to find the library for backup or file management.
Set your starting look
The layer menu’s Save Layers as Defaults stores the current stack as your starting configuration. Help → Define Current Settings as Defaults and Help → Reset Default Settings manage that configuration too.
Empty or missing thumbnails
Expand the bottom browser and select the category where you saved your look. A fresh installation has no ready-made painting presets. Create a painting and save it to User Presets to add a thumbnail.
Name a reusable look in Save Preset, then confirm with Ok. Click to enlarge.
To mark a favorite where the library offers this control, use the preset browser’s − button to expose its management icons, then click the favorite icon on a thumbnail. Favorites move toward the beginning of the list. Click − again or exit management mode when finished.
Click the “Randomize Painting” button to create a complete painting with a new combination of paint layers, settings, masks and possible finishes. Photo Style and Painting Style guide the result. Save a look you like as a preset before exploring another direction.
Open a photograph.
Check Photo Style: General, Portrait, Pets, Animals, Landscape or Still Life. On Mac, the app suggests a category when a photo opens. On Windows, choose the category yourself; it starts at General. Then choose a Painting Style for the treatment you want.
Click the “Randomize Painting” button. Let the render finish before judging the result. Click it again to explore another painting with the same style choices.
Inspect Layers. Generated names may describe a subject, background, detail or full-image role. Toggle a layer to see its contribution.
Use Undo if you prefer the previous version. Save a preset when you find a useful direction.
Control
What it does / when to use it
The large Randomize Painting button
Creates a complete painting using both Photo Style and Painting Style as guidance.
The dice beside Adjust
Varies the settings of the single selected layer or FX. It keeps that effect type. Select one row; multiple selections do not give the dice a single target.
Stroke Variation
Changes the arrangement of the strokes within a paint effect. It is a useful small exploration after settling on a brush size.
Palette circular-arrow button
In Stylized Color FX, generates a new palette of 5–12 colors. Save a preset or save the palette before replacing colors you want to keep.
Generate New Edge / Generate Wear Mask
Creates a new edge or wear pattern within its own effect. These are focused variations, not a new painting.
Photo Style describes your subject. Painting Style sets the creative direction. Choose both menus beside Randomize Painting, then click the button to create a painting.
Photo Style: choose the subject
Control
What it does / when to use it
General
A broad mix of treatments for photos that do not fit one subject category.
Portrait
Favors recognizable facial structure and finer painted detail.
Pets
Emphasizes the pet and fine features such as eyes and fur.
Animals
Keeps attention on the animal while allowing broader brushwork.
Landscape
Favors broader marks and room for looser scenery.
Still Life
Emphasizes object forms and painted texture.
Painting Style: choose the treatment
Control
What it does / when to use it
Standard
Explore the usual range of painting combinations.
Colorful
Favor stronger color and saturation with moderate variation between strokes.
Artistic Colors
Use stronger color with greater variation between strokes for a more expressive treatment.
Rich Impasto
Build on an impasto foundation with stronger raised paint, sheen and shadows.
Soft & Airy
Favor gentler relief, quieter color and a softer Impressionism treatment.
Loose & Expressive
Use broader marks, looser structure and less emphasis on fine detail.
Fine Detail
Favor finer brushwork and more painted detail to describe the subject.
The stack is processed from the bottom upward. The locked Canvas is the foundation. Paint and finishing layers above it build the final image; an opaque upper layer can conceal the work below.
Click + in the Layers heading and choose an effect. The new layer is placed above the selected layer.
Click its row to select it. Adjust now shows that effect’s settings.
Click the visibility circle at the left to compare the image with and without the layer.
Use the percentage control on the row to change the layer’s opacity and blend it with the result below.
Drag the small dotted handle at the top of a layer row to reorder it. Click its name to rename it.
Use Cmd/Ctrl while selecting rows when you need multiple layers. Return to a single selection to edit its controls.
A paint layer can own BEFORE color FX and AFTER finishing FX. Canvas remains at the bottom. Click to enlarge.
Control
What it does / when to use it
+
Add a new top-level effect. The Impresso Pro and Impasto submenus contain the paint families.
−
Remove the selected layer or FX. Canvas is locked.
Layer menu (overlapping squares)
Duplicate Layer, Reset Layers, Save Layer Preset, and Save Layers as Defaults.
Duplicate Layer
Make a copy, then try another mask, size or opacity. Duplicating a parent also carries its attached FX.
Reset Layers
Return the stack to its starting/default configuration. Use this when you want to start the layer arrangement again.
Disclosure arrow
Collapse or expand attached FX. Collapsing does not disable them.
Drag an FX row
Reorder it among the children of its own parent. Dragging across another paint layer does not transfer ownership.
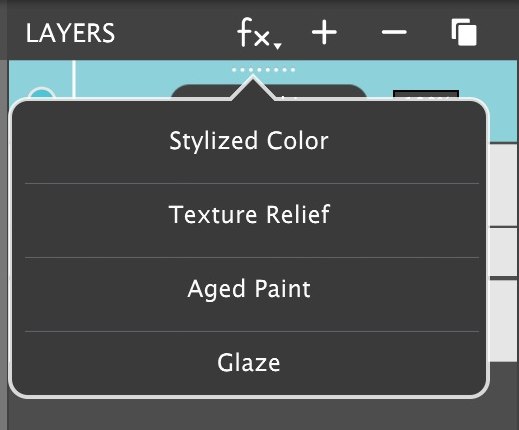
Select a paint layer and open fx in the Layers heading. These adjustments belong to that one parent. The menu offers only FX compatible with the selected layer.
The FX menu: Stylized Color prepares the source; Texture Relief, Aged Paint and Glaze finish the parent’s paint. Click to enlarge.
Control
What it does / when to use it
BEFORE — Stylized Color
Recolors the image that this paint layer samples. The brushwork is then built from those colors. Other painting layers keep their own sources.
AFTER — Texture Relief
Adds surface texture to the parent’s paint and can wear its raised areas. It respects the parent’s coverage.
AFTER — Aged Paint
Adds cracks to the parent’s paint. As a local FX, source-sensitive cracks are disabled.
AFTER — Glaze
Adds brush relief to the parent’s painted surface.
Main + menu vs fx menu
A top-level finish works on the accumulated painting below it. An attached finish works on its parent before the parent is blended into the stack.
Parent opacity
Blends the finished parent, including its FX, into the result below. Local finishes remain confined to that parent’s painted coverage.
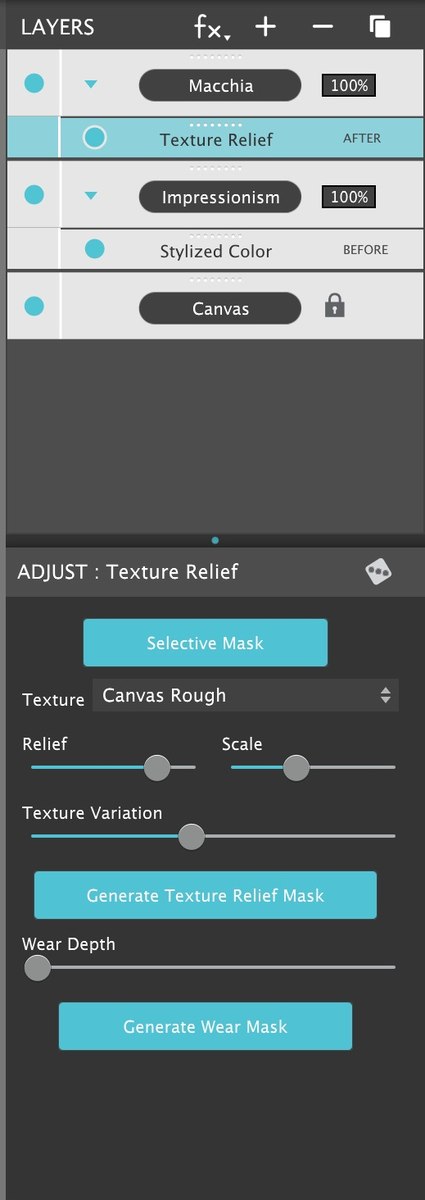
Texture Relief selected as an AFTER FX beneath Macchia. Click to enlarge.
For a textured subject on a softer background, mask the subject’s paint layer and attach Texture Relief to that layer. For a uniform final surface over the whole painting, add a top-level Texture Relief above the paint layers.
Choose a paint layer to reveal its context tools. Most paint effects offer Full, Blank and Selective Mask under Fill Style.
Control
What it does / when to use it
Full
Automatically paint the whole image. Start here to understand a style.
Blank
Start without automatic coverage and add paint where you want it with the brush.
Selective Mask
Restrict the automatic painting to a selected area. Open the Selective Mask editor to define that area.
Paint / restore brush
Adds strokes or restores the selected effect. Paint layers sample the source photo (including their BEFORE FX); you do not need to choose each stroke’s color.
Eraser
Removes the selected layer’s contribution so the layers below show through. It does not erase the source photo.
Brush Size
Controls the interactive brush footprint. This is separate from Stroke Size in Adjust, which changes the automatic paint marks.
Brush Dabs / brush opacity
Tool options depend on the effect. Brush Dabs changes the interactive dab count; opacity changes how strongly a brush operation is applied where available.
Reset / Fill / Clear / Invert
Available brush actions depend on the selected effect. Reset clears manual changes; Fill and Clear change full-image coverage; Invert reverses coverage. Use Undo after an unwanted operation.
Detail ellipses
On effects that provide a detail tool, move and resize an ellipse over an area needing smaller strokes. Add more ellipses or remove them with the adjacent controls.
Select the paint layer, choose Selective Mask under Fill Style, then click the Selective Mask button.
The editor shows the source photograph. Brush over areas to include; use the eraser to remove unwanted areas.
Adjust Brush Size for broad areas or small edges. Where available, Auto Select Subject supplies an initial subject selection.
Use Invert to swap selected and unselected areas. Randomize Mask offers an alternative generated selection.
Click Apply to return to the painting and inspect the result. Reopen the editor to refine it.
Control
What it does / when to use it
Paint brush / Eraser
Include an area in the selection or remove it.
Brush Size
Use a larger brush for broad areas and a smaller brush near edges.
Reset
Clear the current mask edits so you can begin again.
Auto Select Subject
Create an initial subject selection where available, then refine it manually.
Randomize Mask
Generate a different selection pattern.
Invert Mask
Swap selected and unselected regions.
Apply
Return to the painting with the edited selection.
Clip to Mask keeps painted strokes inside the mask boundary. Leave it off for complete strokes that can extend beyond the selection; turn it on when a cleaner boundary matters.
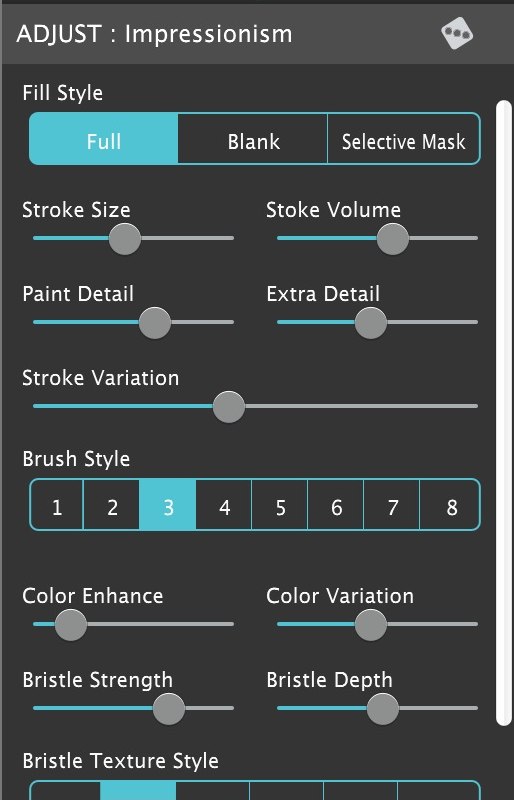
Related effects share controls, but each exposes only the ones relevant to its style. Start with brush size and style, then adjust color and relief. Scroll down the Adjust panel for the remaining settings.
Control
What it does / when to use it
Stroke Size
Smaller strokes describe more fine structure; larger strokes simplify forms and make the brushwork more obvious.
Stroke Volume (shown as “Stoke Volume” in some panels)
Changes the amount/thickness of paint coverage. Increase it when the canvas shows through more than you want.
Paint Detail / Extra Detail
Where available, refine the structures described by the painting. Lower detail gives a looser result; excessive detail can make a photo look busy.
Brush Style / brush library
Choose a different stroke shape. Some effects use numbered styles; others open a thumbnail library.
Stroke Variation
Rearranges the strokes without requiring a different photo. It changes the pattern rather than acting as a strength control.
Conform Strokes
Where shown, makes strokes follow image boundaries more closely. Macchia exposes this control; several other styles intentionally omit it.
Color Enhance
Enriches the painting’s color. Start low if the source is already strongly saturated.
Color Variation
Introduces differences among individual stroke colors. It adds lively broken color; it does not simply increase saturation.
Bristle Strength
Emphasizes the bristle texture at stroke edges.
Bristle Depth
Increases the dimensional relief of the paint. High values can dominate fine facial features.
Bristle Texture Style
Changes the character of the relief where the effect offers multiple texture styles.
Canvas Strength / Artistic Finish
Canvas Strength brings the canvas texture into the paint. Artistic Finish adds mottled light and color; click its thumbnail to change the finish.
Wetness
Where available, new paint picks up color underneath. Zero keeps the strokes dry.
Gloss / Shadow
Gloss adds a wet sheen to raised paint; Shadow strengthens the shadows cast by the relief.
Follow Contours
Joins strokes along the natural flow of the image. Use it for flowing forms rather than separate dabs.
Blend Across / Relief Fusion
On fusion effects, Blend Across pulls color between neighboring strokes. Relief Fusion joins their raised surfaces and reduces visible seams.
A useful adjustment order is Stroke Size → Brush Style → coverage/detail → color → Bristle Depth → lighting → opacity. Change one control at a time and compare at both Fit In Window and Actual Size.
Effects with a lightbulb tool allow you to shape the lighting on the raised paint. Select the layer, choose the light tool and drag the on-image light to change the direction of highlights and shadows.
Use the light’s contextual controls, where offered, to edit, duplicate or remove lights. A reset-light control restores the default lighting. Lighting changes surface shading; it does not move the sun in the original photograph.
Control
What it does / when to use it
Relief seems flat
Raise Bristle Depth or Relief a little, then move the light. A light needs surface height to reveal.
Paint looks too shiny
Reduce Gloss on an impasto effect. Then check Bristle Depth and the light direction.
Dark ridges dominate
Reduce Shadow or Bristle Depth. On fusion effects, Relief Fusion can soften the seams between strokes.
Texture Relief lighting
The light controls apply to Texture Relief style. Wear Through is a paint-removal treatment.
Stylized Color recolors the source sampled by the selected painting layer.
Layers fx → AFTER
Texture Relief, Aged Paint, and Glaze finish the selected parent. Only compatible FX appear.
Canvas
Already at the bottom of the stack. Select it to change its surface, color and edge.
Use Layers + for a new effect, then select its row to adjust it. The reference below covers the styles available in the current desktop menus. Paint styles share the painting controls; coverage and manual tools are explained under Paint & erase.
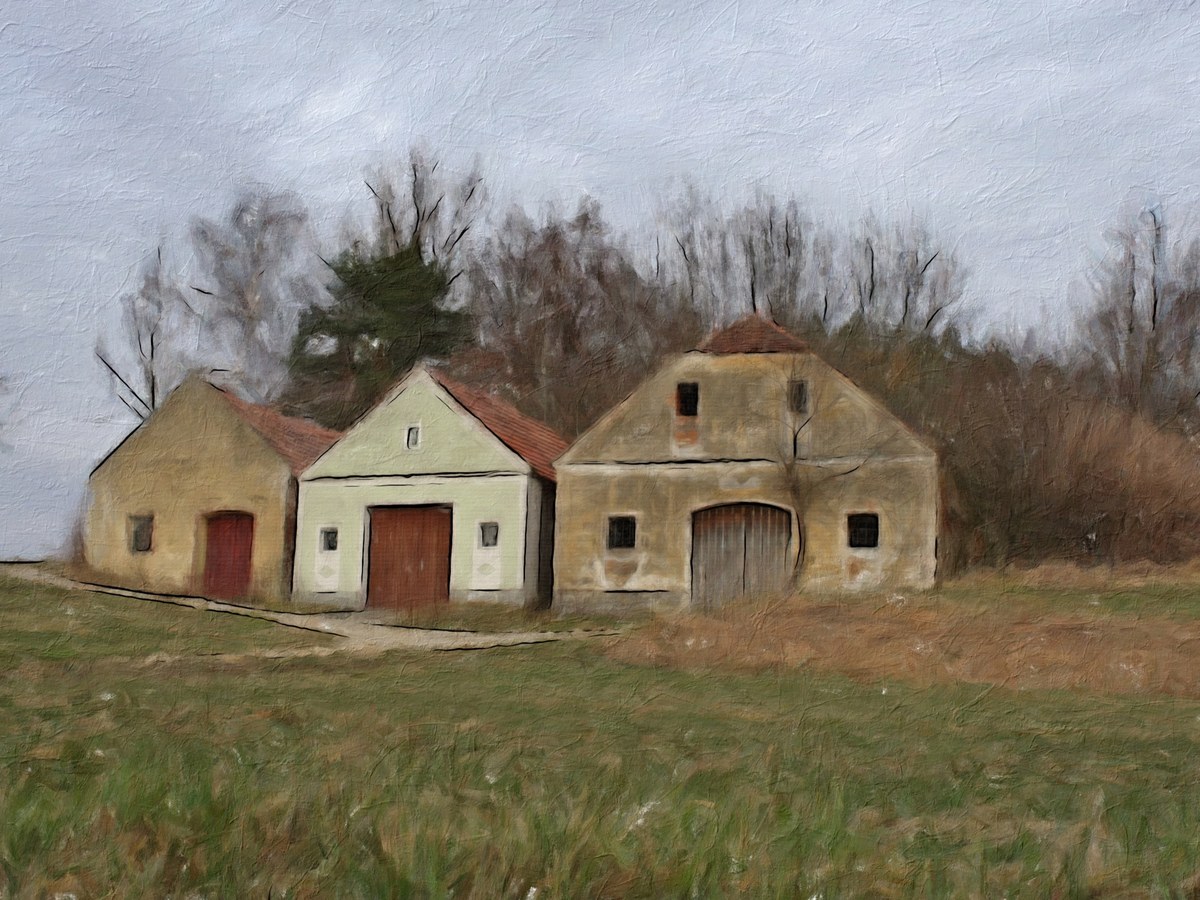
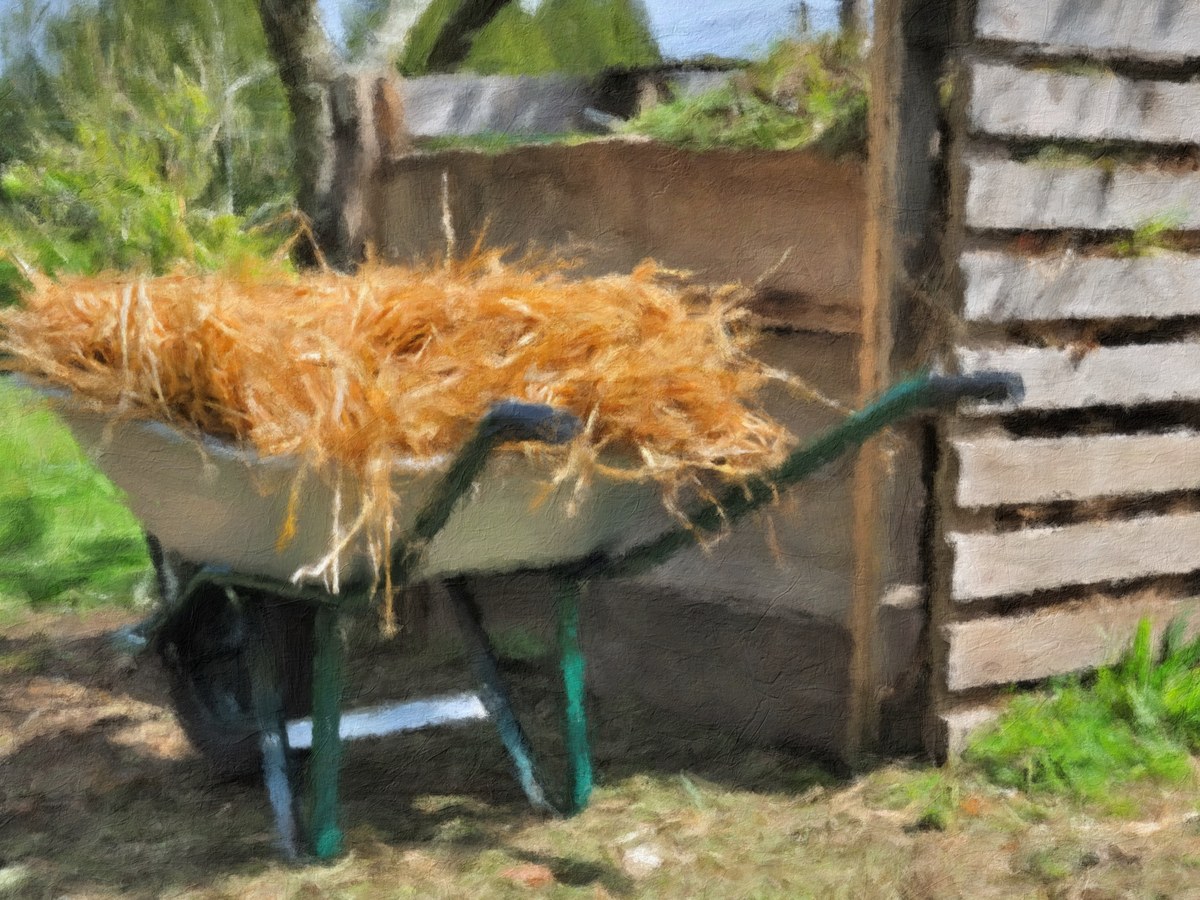
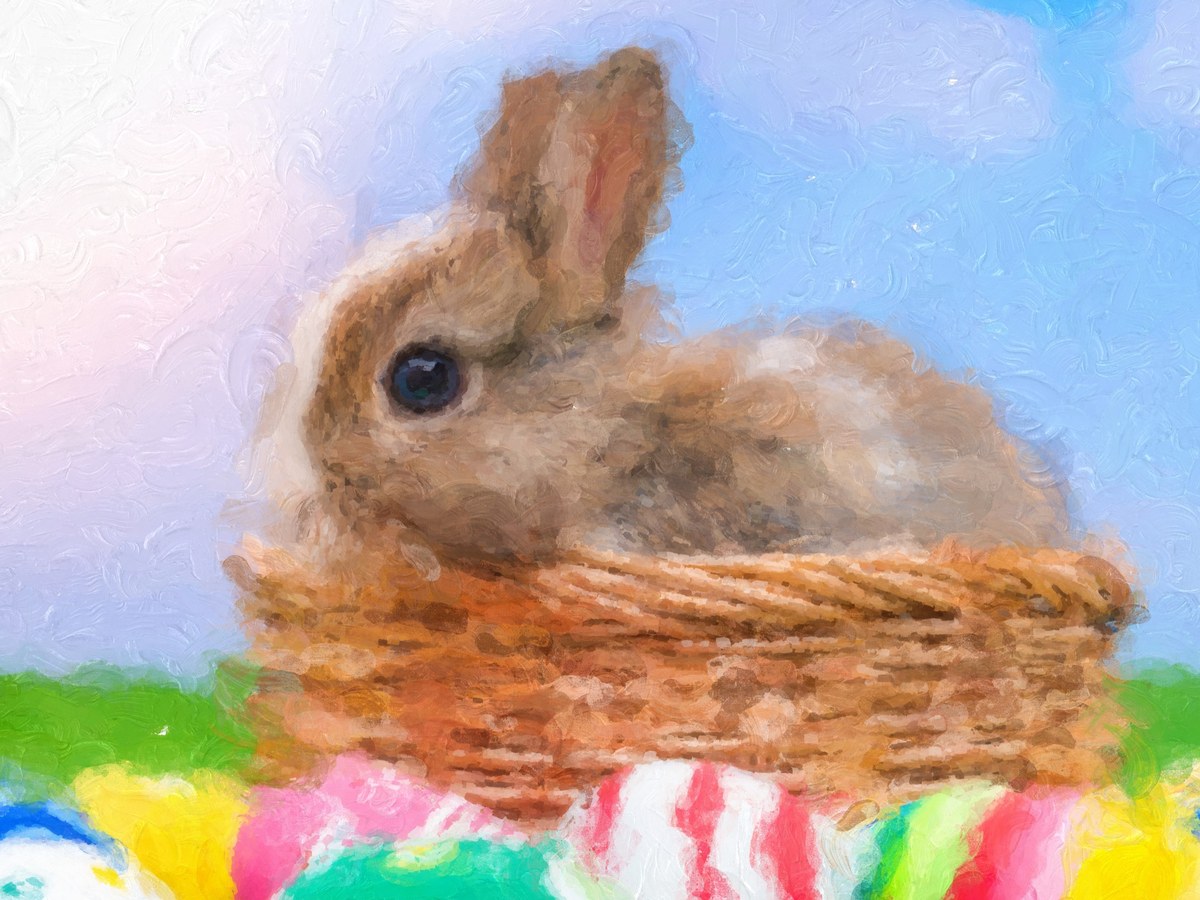
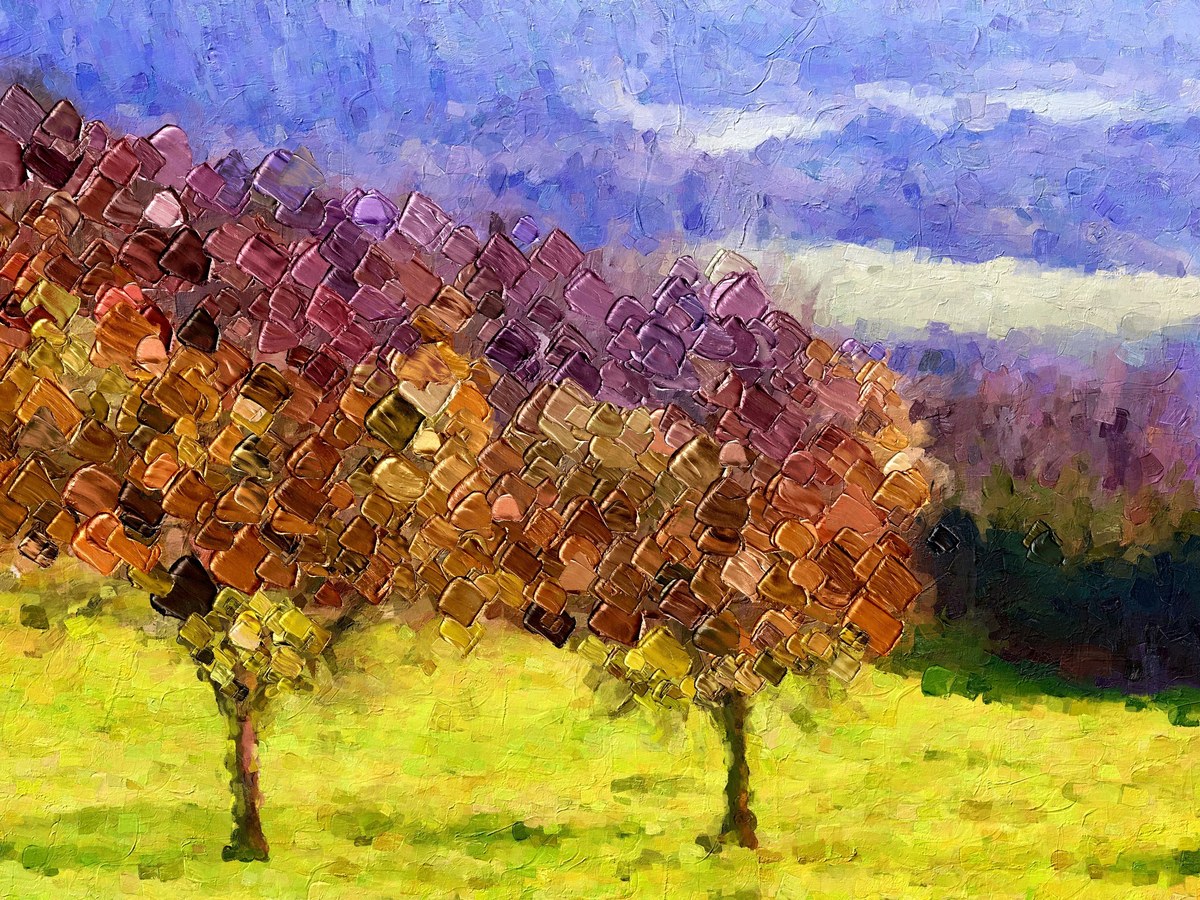
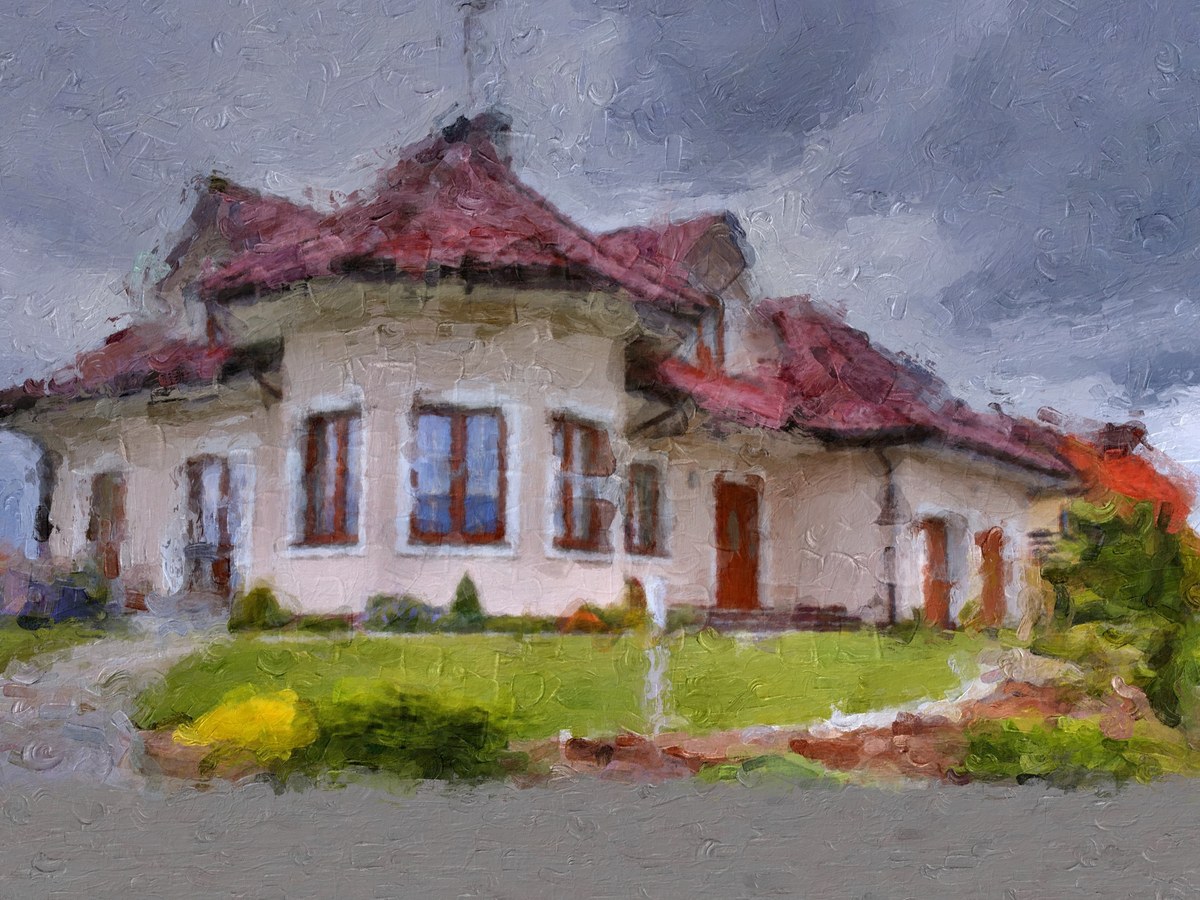
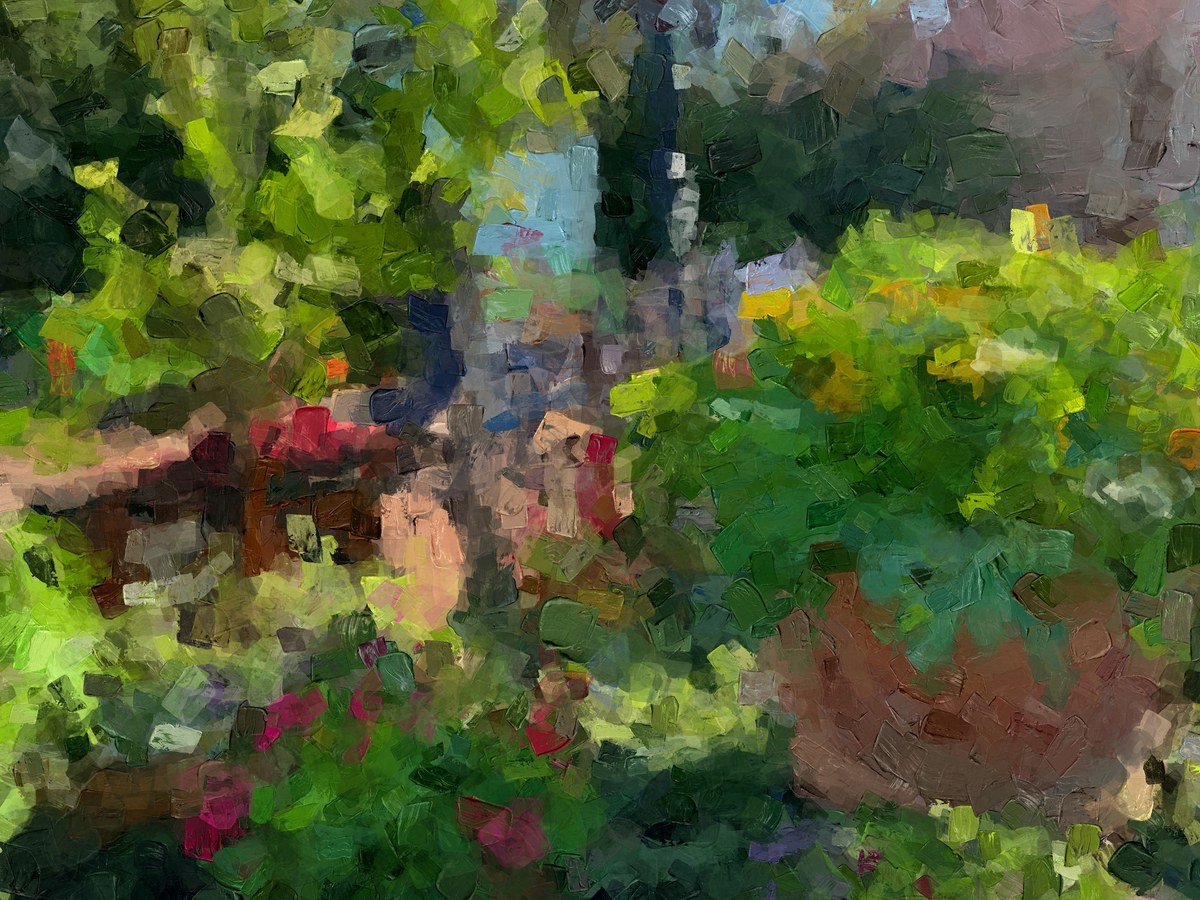
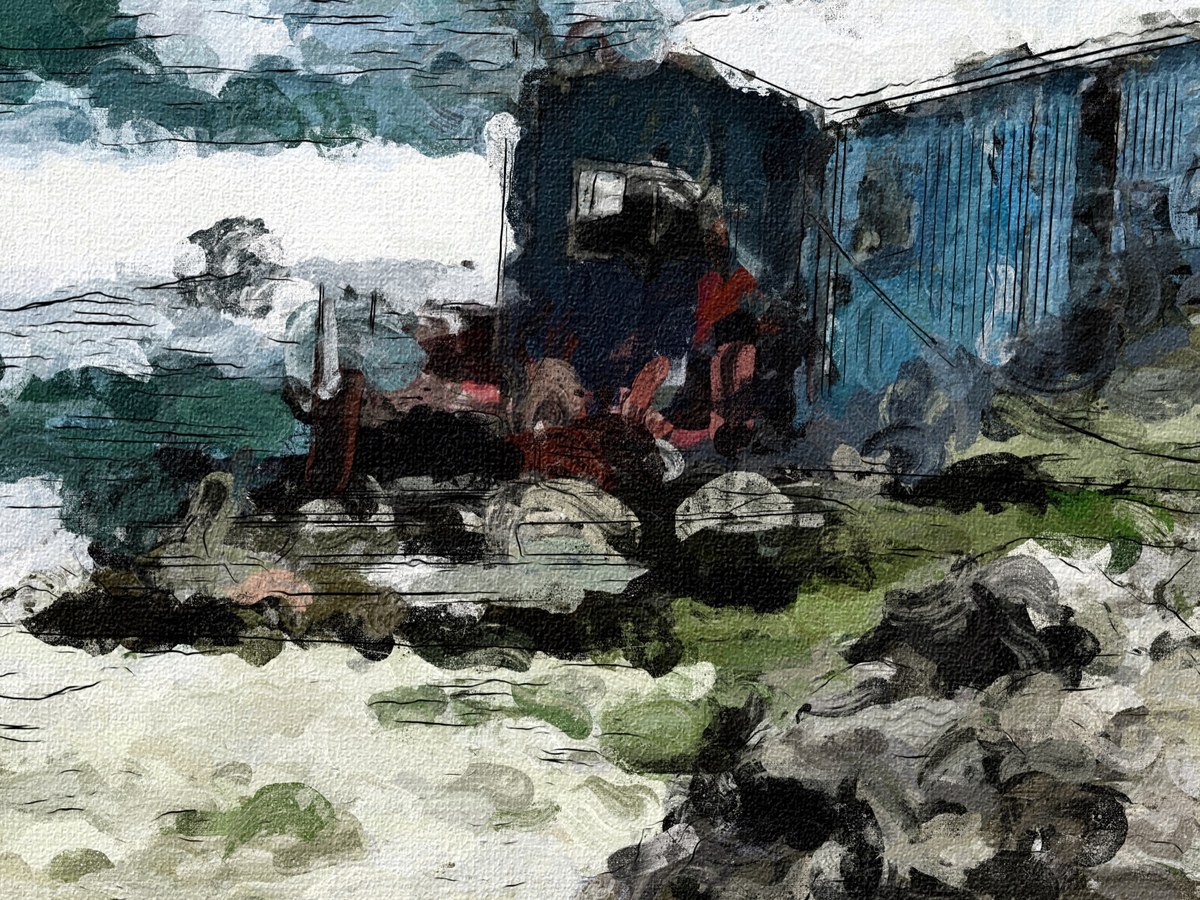
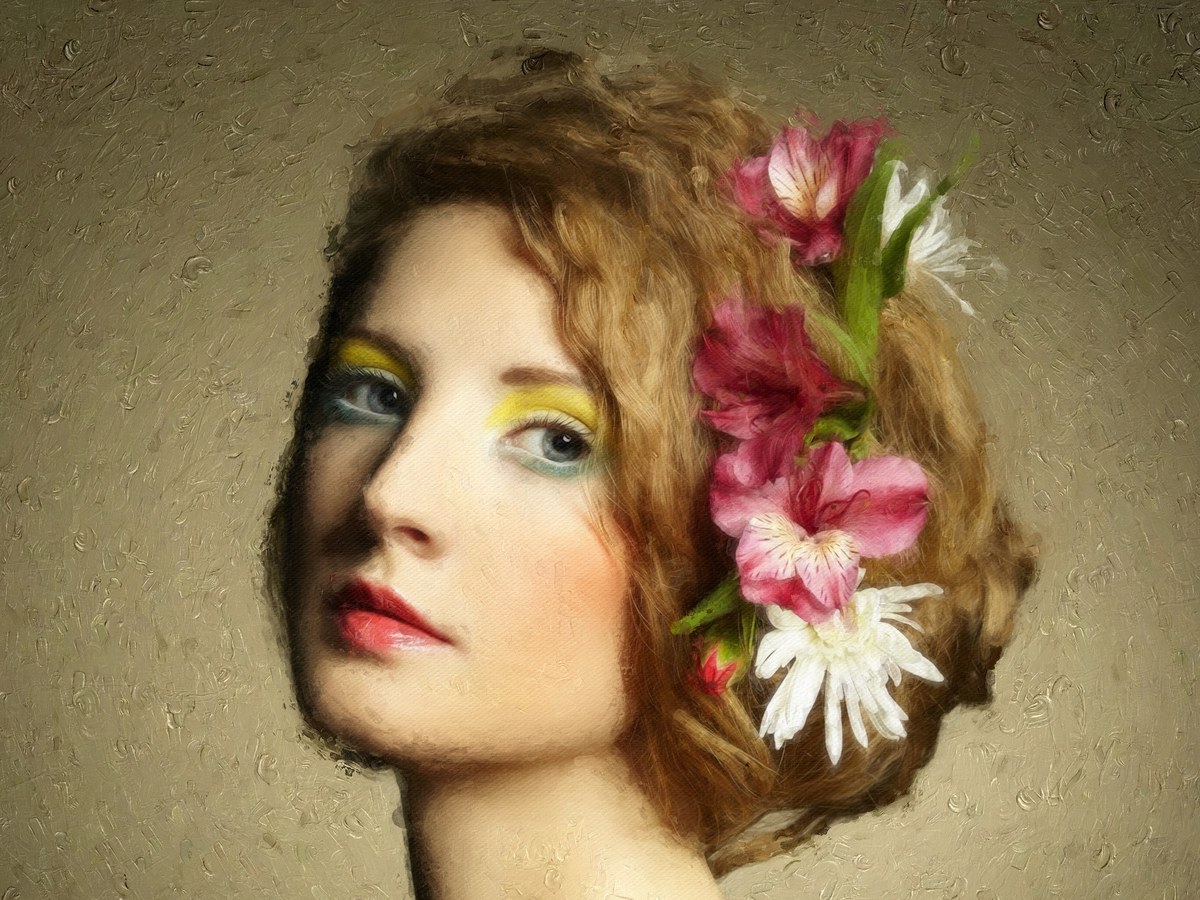
The artwork details in this reference are examples from the Impresso Studio sample gallery. They show creative possibilities in composed paintings; they are not controlled, isolated-effect comparisons. App screenshots show actual controls and results. A given result also depends on its photo, settings and other layers.
Creates a direct, expressive brushed painting with visible individual marks. It is a useful general-purpose starting style for loose landscapes and lively portraits.
Try it: Begin with medium strokes, then lower Stroke Size around a subject that needs clearer definition.
Gallery example • Alla Prima — detail from a composed painting. Click to enlarge.
Find it: Layers + → Impresso Pro → Alla Prima.
Control
What it does / when to use it
Fill Style
Use Full for an automatic painting, Blank for manual application, or Selective Mask to limit coverage.
Stroke Size / Stroke Volume
Set the size of the marks and the amount of paint coverage.
Brush Style / Stroke Variation
Choose a mark shape and vary its arrangement.
Color Enhance / Color Variation
Enrich the source colors and vary the colors between strokes.
Bristle Strength / Bristle Depth
Control bristle character and dimensional paint relief.
Canvas Strength / Artistic Finish
Blend surface texture and mottled light/color into the brushwork.
Brush library
Click the brush thumbnail to explore the available brush shapes.
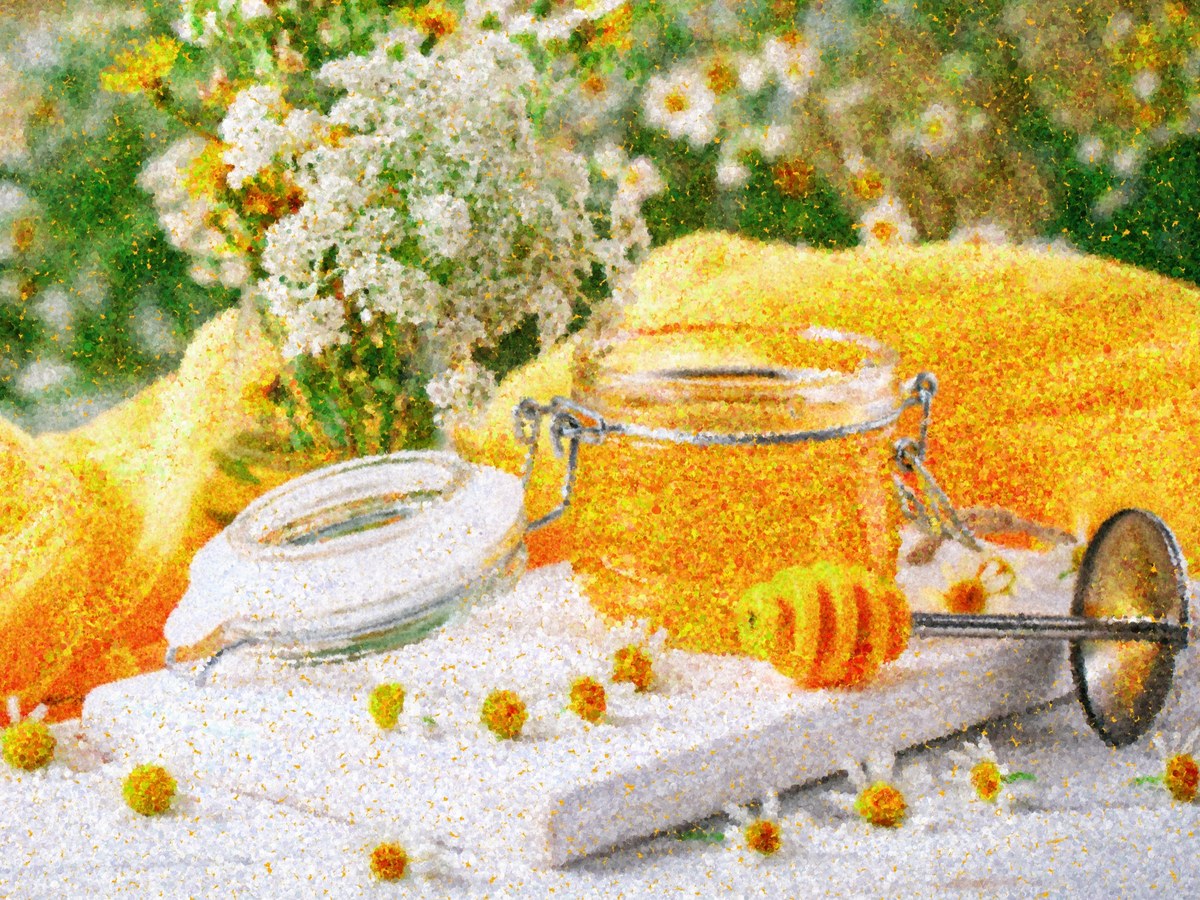
Rebuilds the image with discrete dot-like or small dab marks. Exposed canvas and differences between neighboring colors are part of the look.
Try it: Try a small Stroke Size and moderate Color Variation. Increase the size until the dots are visible at your intended viewing scale.
Gallery example • Pointillism — detail from a composed painting. Click to enlarge.
Find it: Layers + → Impresso Pro → Pointillism.
Control
What it does / when to use it
Fill Style
Use Full for an automatic painting, Blank for manual application, or Selective Mask to limit coverage.
Stroke Size / Stroke Volume
Set the size of the marks and the amount of paint coverage.
Brush Style / Stroke Variation
Choose a mark shape and vary its arrangement.
Color Enhance / Color Variation
Enrich the source colors and vary the colors between strokes.
Bristle Strength / Bristle Depth
Control bristle character and dimensional paint relief.
Brush Style 1–4
Changes the point/dab shape. Style 4 is a larger, elongated variant of the third style.
Canvas
The canvas color is visible between the marks. Fresh pointillism paintings generated by Randomize Painting use a white canvas; you can edit it afterward.
Adds small painted marks that recover recognizable structure without returning an area to a smooth photograph. It is a detail pass with a fine stroke-size range; Bristle Depth remains adjustable from 0–100%.
Try it: Place it above a broad painting and mask it to eyes, facial features, or the focal object.
Gallery example • Macchia Detail — detail from a composed painting. Click to enlarge.
Find it: Layers + → Impasto → Macchia Detail.
Control
What it does / when to use it
Fill Style / Selective Mask
Choose full-image detail or confine the pass to a subject.
Detail Size
Changes the fine stroke size. Even its largest setting remains a detail stroke.
Bristle Depth
Adjusts the raised paint from 0–100%. Start low for subtle facial detail.
Layer opacity
Blend the pass down if it makes the whole painting too literal.
Brings a softened, photo-based contribution into the painting. It can recover recognizable facial structure or soften an area that has become too broken up.
Try it: Use low layer opacity and paint it only into the parts that need clearer structure.
Gallery example • Soft Paint — detail from a composed painting. Click to enlarge.
Find it: Layers + → Soft Paint.
Control
What it does / when to use it
Soft Paint
Changes the softness of the photo-based treatment.
Color Enhance
Enriches its colors.
Brush / eraser
Reveal or remove this contribution in selected areas.
Fill / Clear / Invert
Fill the coverage, remove it, or reverse it using the tool controls.
Layer opacity
Blend with the painted layers below; a high opacity can make the area look more photographic.
Canvas is the locked foundation of every painting. Select it to adjust the surface, background color and painted edge.
Control
What it does / when to use it
Canvas Style
Choose Canvas or Linen.
Canvas Strength / Canvas Scale
Set how strongly the texture appears and the size of its weave.
Canvas Color
Choose the background color with the swatch and its strength with the slider.
Edge Style: None
Remove the special painted-edge treatment.
Edge Style: Square Edge
Use a rectangular painted-edge treatment.
Edge Style: Oil Study
Use a broken painted perimeter with underpainting visible through the edge.
Generate New Edge
Create new edge geometry while keeping the chosen colors.
Underpainting / Underpainting Style
In Oil Study, choose the ground pigment, strength and blend treatment. Soft Light and Overlay mingle it with the image; Multiply darkens, Screen lightens, and Color emphasizes pigment. Other styles produce more unusual interactions.
Edge Stroke Size
Change the size of the marks around the painted edge.
Edge Blend
Control the blending of the painted perimeter with the canvas.
Placement tool / reset
Use on-image handles to place the painted edge. Reset returns the placement to its starting position.
Provides two related surface treatments: Texture Relief embosses a texture into paint, while Wear Through removes paint to reveal the work underneath.
Try it: For tactile texture without paint loss, choose Texture Relief and set Wear Depth to zero.
Gallery example • Texture Relief — detail from a composed painting. Click to enlarge.
Find it: Layers + → Texture Relief.
Control
What it does / when to use it
Style: Wear Through
Wears holes into the paint, revealing the lower layers.
Style: Texture Relief
Adds a repeating raised surface and can wear its high points.
Texture
Select the surface pattern.
Relief / Scale
Control its height and the size of the pattern.
Texture Variation
Vary the surface between full and shallow relief. Zero produces a more uniform height.
Generate Texture Relief Mask
Change the distribution of the relief variation.
Wear Depth
Plane down raised tips. Zero disables wear and paint loss while retaining texture variation.
Generate Wear Mask
Change the wear pattern and its coverage.
Light tool
Set highlight and shadow direction in Texture Relief style.
Local AFTER FX
Attached Texture Relief stays in Texture Relief mode and is confined by the parent’s coverage. Its Style switch is hidden. Add a top-level Texture Relief layer to choose Wear Through.
Add Oil Contours from the Layers + main menu to describe the photo’s outlines with fine oil brush marks. It uses the source photograph for the contours and paint colors, so it can add definition over an existing painting.
Try it above a soft or broadly brushed painting. Start with a small Detail Size and lower the layer opacity until the contour marks support the subject.
Control
What it does / when to use it
Contour Detail
Adjust how much structure in the source photo guides the painted contours.
Contour Width
Change the width of the contour guide. This is separate from the size of the brush marks.
Detail Size
Set the brush footprint from 2–20. Smaller marks describe finer edges; larger marks make the contours more painterly.
Bristle Strength
Adjust the bristle texture within each contour stroke.
Bristle Texture Style 1–6
Choose the surface texture of the oil marks.
Vary Brush Strokes
Reshuffle the brush marks while retaining the contour guide, size, color and bristle settings.
Layer opacity / paint and erase tools
Blend the contour pass with the painting and refine its contribution where needed.
BEFORE → Stylized Color
Recolor the contour paint while retaining the outline derived from the original photograph.
Select a paint layer, click fx in the Layers heading, and choose Stylized Color. It appears as a BEFORE FX: the parent builds its brushwork from the recolored photograph. Other paint layers keep their own source colors.
Control
What it does / when to use it
Style → Colorized Photo
Recolor the image while retaining a photographic character.
Style → Flat Poster
Simplify the image into stronger areas of flat color.
Style → Ink Illustration
Use a more illustrative color treatment with outlines.
Simplification
Smooth small details into larger areas of color.
Texture
Retain more of the source shading and photographic detail.
Strength
Blend the stylized treatment with the incoming source photo.
Palette Color
Edit the palette swatches. Use the palette’s color-history controls to store and recall colors.
Palette circular-arrow button
Generate a new palette of 5–12 colors, including light and dark accents.
FX visibility / opacity
Compare the recoloring with the original source and blend its contribution before the parent paints.
For a quieter result, reduce Strength or keep more Texture. To recolor only a subject, put that subject on a masked paint layer and attach Stylized Color to it.
Use File → Save Photo… or Cmd/Ctrl+S, or open the Save Photo toolbar menu and choose Save. The app renders the final image before the save dialog, so large images and complex stacks can take longer than an interactive preview.
Finish the painting and check its detail, edge and signature.
Choose File → Save Photo… or Save Photo → Save, and allow the final render to complete.
Choose a new filename, destination and image format in the save dialog. Use a separate filename when you want to retain the original.
Use JPEG for an easy-to-share opaque image, or PNG/TIFF when you need a format that can preserve transparency. Transparency also requires transparent areas in your layer stack.
Open the saved file to check it. Save a preset separately to reuse the settings.
Control
What it does / when to use it
JPEG
Does not support transparent pixels. Transparent areas are flattened onto white when exported as JPEG.
PNG / TIFF
Can carry transparency; an opaque Canvas or other full-coverage layer still makes the result opaque.
Save Preset
Saves a reusable painting configuration rather than the finished image file.
Print
File → Print (Cmd/Ctrl+P) renders the image for the print workflow.
Activation prompt
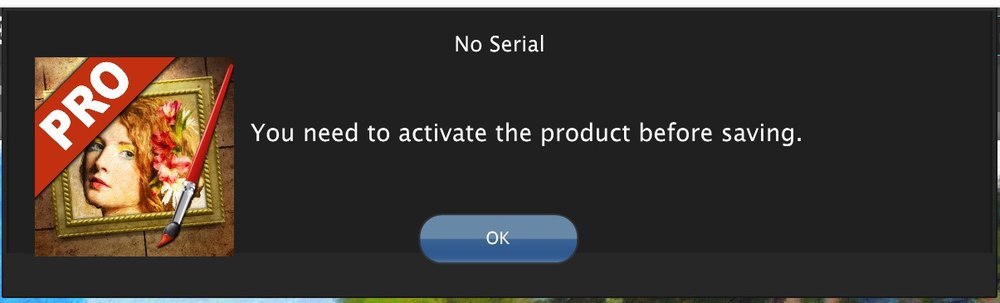
The website edition requires activation before saving. If “You need to activate the product before saving” appears, complete registration with your own license and retry.
The website edition prompts for activation before saving an image if it is not registered. Click to enlarge.Back to contents ↑
The standalone app can open and save photographs without another editor. A compatible host can also send an image to Impresso Studio and receive the processed result.
On Mac, open File → Photoshop/Affinity Plugin… in Impresso Studio to see the installation options for your edition.
Use Install / Update for Photoshop’s shared plugin folder and detected Affinity locations, or Choose Folder for a custom location. Open Affinity once before installing so its folders exist. Show Included Plugin reveals the plugin bundled with the app.
Restart the host after installing or updating its plugin copy. In Affinity, configure the plugin search folder if you used a custom destination.
Open your image in the host and run the installed Impresso Studio filter.
Create the painting in the plugin window, then use Apply to Photo to return the result to the host. Save the final host document there.
After updating Impresso Studio, run the plugin installation/update command again to update the host’s copy. If the filter opens the wrong app or cannot find it, check that the plugin copy was installed from your current Impresso Studio app. Installation dialogs and host setup differ by platform.
Start with Impressionism or Alla Prima across the full image.
Use broader strokes in the base painting.
Add Macchia Detail above it and mask the detail to the building, boat or tree you want people to notice.
Use Canvas → Oil Study for a broken perimeter, then add a subtle finish.
A textured portrait with gentle facial detail
Choose Portrait in Photo Style and Fine Detail or Soft & Airy in Painting Style, then click the “Randomize Painting” button.
Inspect the generated subject and detail masks.
Use Oil Detail or Macchia Detail for the eyes and facial structure. Keep Bristle Depth modest.
If a region still needs photographic structure, add a lightly blended Soft Paint pass only there.
A bold palette with a local finish
Add Oil Fusion or Macchia Fusion.
Select it and attach fx → Stylized Color before the paint. Choose Colorized Photo, Flat Poster or Ink Illustration, then edit Palette Color and adjust Strength.
Attach Texture Relief after that same paint layer. Start with Wear Depth at zero.
Reduce parent opacity or mask its coverage to combine it with a quieter layer below.
Wait for rendering to finish. Check that you selected the intended layer, that its visibility is on and opacity is above zero, and that it has coverage. A full-coverage layer above it may hide the change. Temporarily toggle upper layers to identify the cause.
Why are the controls missing?
Select exactly one layer or FX. Scroll inside Adjust for controls below the fold. Some controls appear only for certain Fill Styles or effect modes; detail effects intentionally offer fewer controls. Use the panel arrow or Tab if the side panel is hidden.
Why did Randomize Painting change all my layers?
It creates a new painting arrangement. For a smaller change, select one layer and use the dice in Adjust. Use Undo to recover an earlier generated result and save good variations as presets.
Why did changing Photo Style or Painting Style not change the image?
Both menus guide the next painting. Choose the subject in Photo Style and the treatment in Painting Style, then click the “Randomize Painting” button. Loading a new photo resets Painting Style to Standard.
Why does my face look too abstract?
Reduce Stroke Size, refine the subject mask, or add a masked Oil Detail/Macchia Detail pass. A low-opacity Soft Paint layer can restore some source structure. Avoid adding strong relief over eyes and mouths.
Why do strokes extend outside my mask?
Whole brush marks can cross the selection boundary. Enable Clip to Mask in the paint layer’s Selective Mask controls if you need a tighter boundary.
Why is my layer blank?
Check Fill Style. Blank requires manual paint; Selective Mask requires a selection. Switch temporarily to Full to confirm the effect is working, then return to your chosen coverage.
Why did collapsing the FX arrow not remove the effect?
Collapse only hides child rows. Use the FX row’s visibility circle to disable its processing.
Why can’t I drag an FX to another paint layer?
FX rows stay attached to their parent. Reorder within that parent, or select another paint layer and add its own FX.
Why does the paint look too shiny or heavily embossed?
Reduce Bristle Depth, Gloss, Shadow or Texture Relief’s Relief. Move the light and compare again. Multiple finishes can accumulate, so toggle each one to find the strongest contributor.
Why are holes appearing in the paint?
Inspect Texture Relief/Wear Through, manual erasing and masks. Wear Through reveals lower layers. In Texture Relief style, set Wear Depth to zero to retain relief without wear-related paint loss.
Why are there no preset thumbnails?
Impresso Studio does not ship with ready-made presets, so an empty browser is normal. Start by clicking “Randomize Painting.” To add a thumbnail, select User Presets and use Save Photo → Save Preset. If you already saved a preset, expand the browser and check the category where you saved it.
Why does a preset look different on another photo?
Its strokes, colors and masks are applied to the new photo’s content and proportions. Subject-aware generated masks may adapt to a new subject. Other saved masks and manual edits may need adjustment.
How can I protect a palette while exploring?
Save the painting or selected layer as a preset before using the palette circular-arrow button or the Adjust dice. Use the palette’s save/load controls to keep color sets too. To refine brushwork while keeping the color FX, select the parent paint layer and adjust its controls.
Why does saving show an activation message?
The website edition checks activation before saving. Register using your own license, then retry Save Photo. This is separate from choosing an output format.
Why does export take longer than changing a slider?
Export renders the final image at output size. More pixels, more layers and complex paint or finishing effects can require more work than the preview. Let the render complete.
Can I reopen a JPEG and edit its original layers?
An exported image is flattened. Keep the original photograph and save the look as a preset to reconstruct and continue the treatment. This build does not expose project-save controls.
Where can I get more help?
Click the in-app information button or choose Help → Product Tips to replay the guided tour. For more help, visit JixiPix support. Include your platform, app edition/version, the effect involved and the steps that reproduce the problem.
Open File → Preferences to change save-location defaults, tooltips and the background color.
Control
What it does / when to use it
Use Image Location
Start the save dialog in the folder containing the source image.
Last Saved Location
Start the save dialog in the folder used for your previous save.
Show Tooltips
Show short explanations when you pause over a control.
Background Color
Choose the background color and transparency used by the application. The Canvas layer has its own separate color controls.
Rebuild Default Presets
This shared maintenance command does not add ready-made painting presets to Impresso Studio. An empty User Presets category is normal until you save a look. Back up your saved presets through Help → Reveal Preset Folder.
Use Help → Reveal Preset Folder to locate the library. Help → Define Current Settings as Defaults, Help → Reset Default Settings, and Save Layers as Defaults in the layer menu control the initial layer arrangement. Save a regular preset too when you want a named look you can easily return to.