In this tutorial we will show you how to create a realistic portrait using Background Paint, Soft Paint & Painted Edge Layers. Detailed instructions below explain everything happening in this video.
Download a demo version of Impresso Pro: Mac | Windows
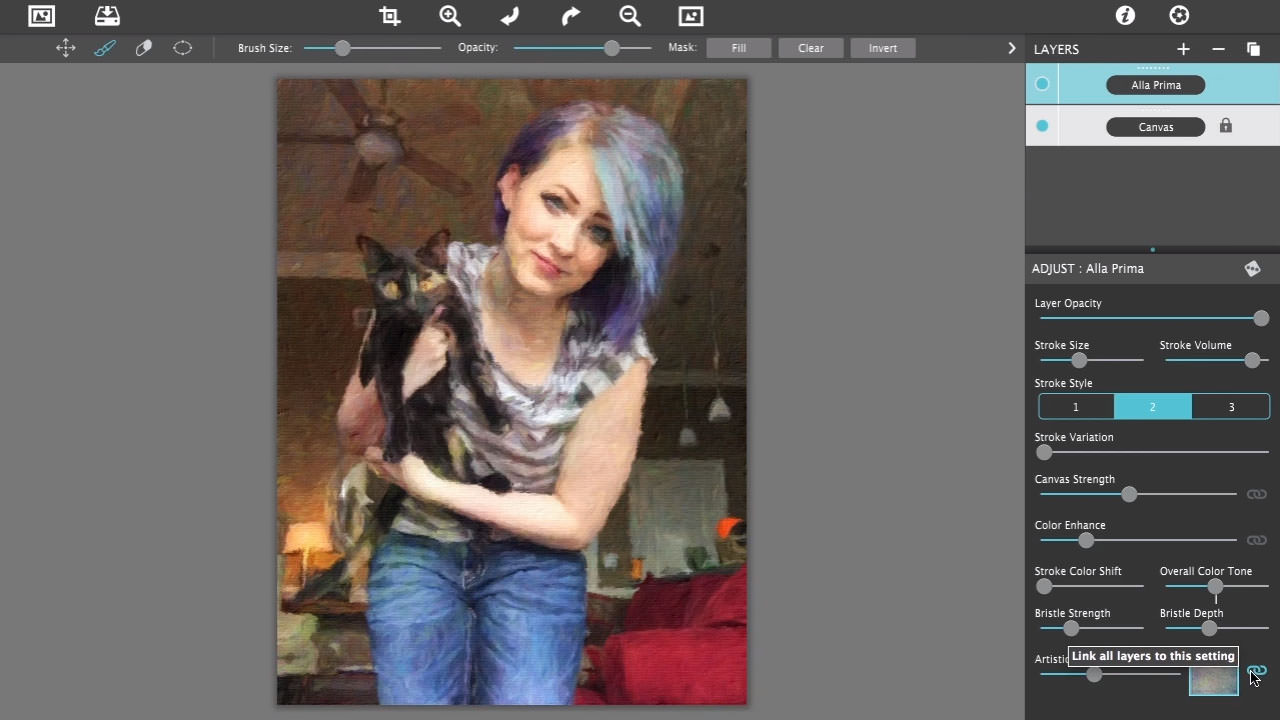
To start, drag and drop a photo on the open application of Impresso Pro. When a photo is placed, it will automatically render into a painting using the Alla Prima paint style. If you look on the Layers Palette to the right, you will see both the Alla Prima paint style and the Canvas on their own individual layers. To adjust the paint style, click on the layer named Alla Prima and watch as the settings load below on the adjust pane. There you can change stroke size and style along with other options specific to this effect.
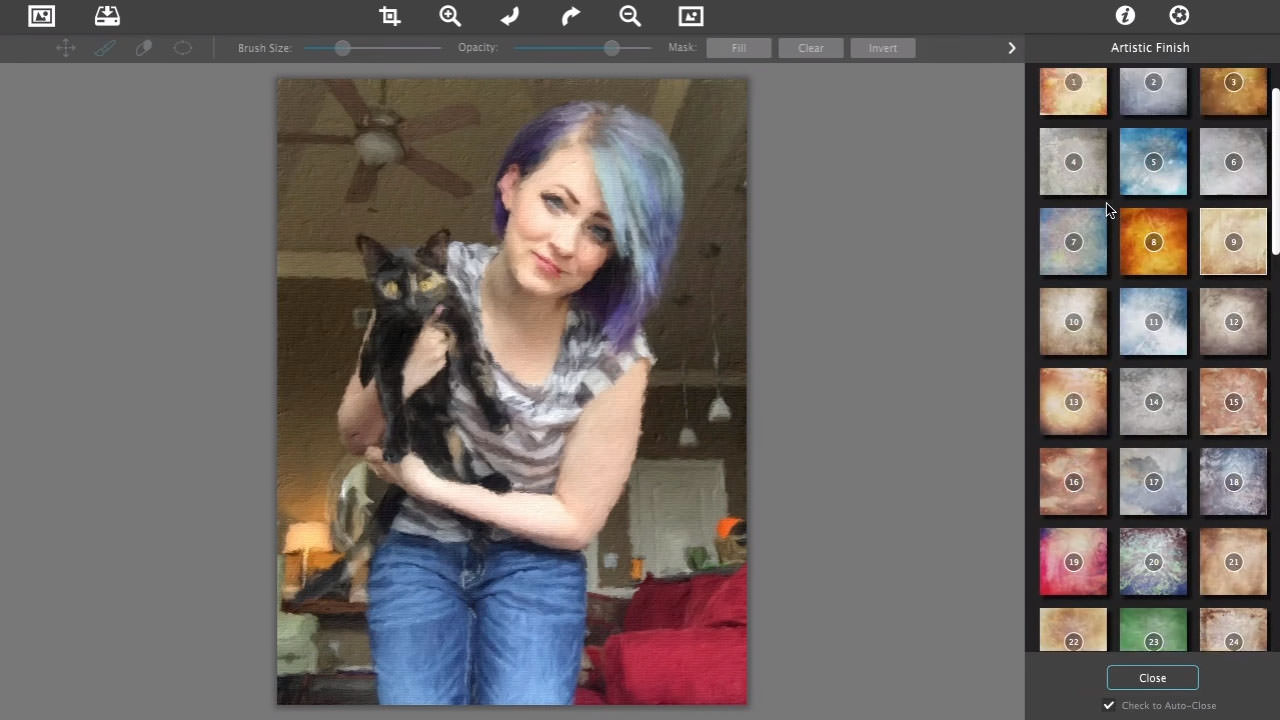
Artistic Finish—How to Add
Adding an artistic finish is a great way to add mottled light and color to the brush strokes. You can do this by going to the Artistic Finish slider on the adjust panel, then add the finish in by moving the slider right.
Artistic Finish—Link to Unify Color
To unify the Artistic Finishes across all the paint layers, click the Link icon on.
When a link is set to on the artistic finish globally changes all other paint layers to it. If you want to return the paint layer finishes back to the way they were, just turn the link off and they will change back. You can do this with any finish on any layer by repeating the process and all layers will change to the one you set…also any new layers you add will also link to that finish…this feature makes it easy to unify color or keep the finishes separate.
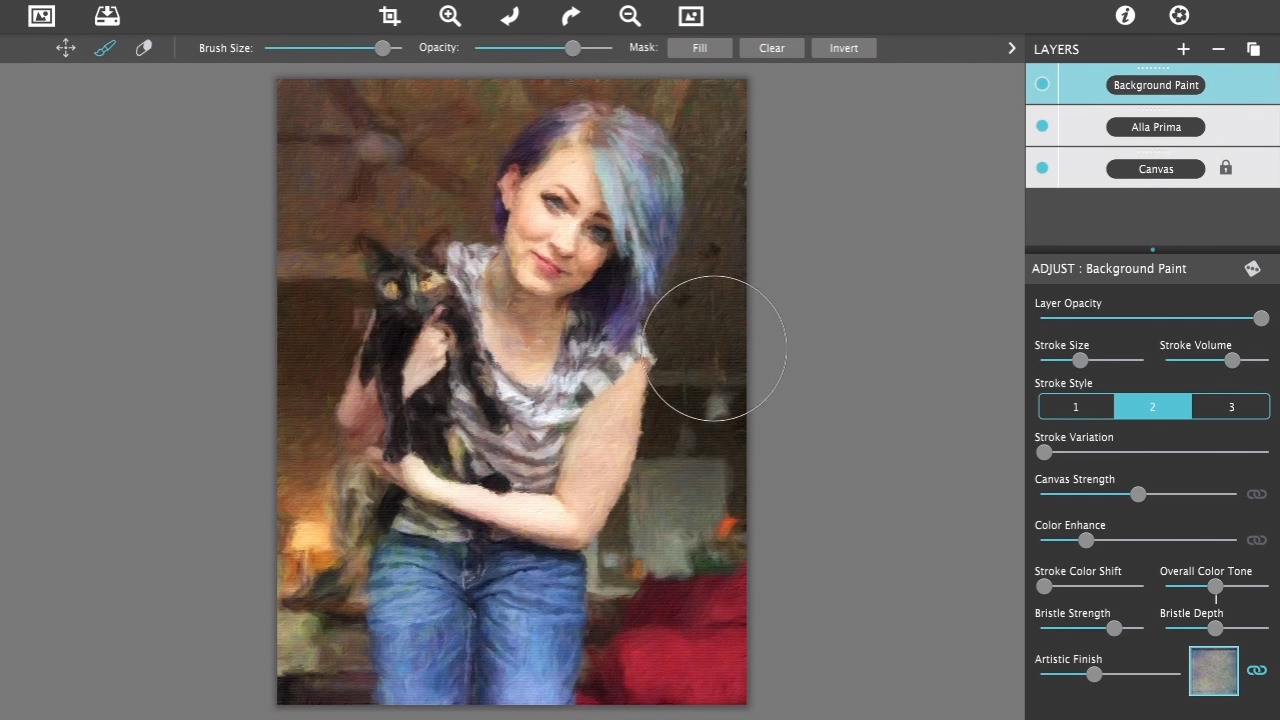
Use the Background Paint style to create distances in a painting by knocking down detail in the scenery and background elements. To use the Background Paint, go to the top of the Layers Palette, click on the ( + ) plus sign, and choose the Background Paint style from the menu.
Background Paint—How it Works
The Background Paint style works differently then the Alla Prima and En Plein Air ones because it requires a brush to paint on the effect. Once the Background Paint layer is added brush over the background scenery with a large brush size to see the effect. This is quick work and very forgiving so don’t worry if you soften the wrong areas, you can quickly correct them by changing the brush tool to the eraser one and paint the details back in. Once brushed, adjustments can be made to the background paint by going to the adjust panel to edit the stroke size, stroke style and brush depth or to change the artistic finish.
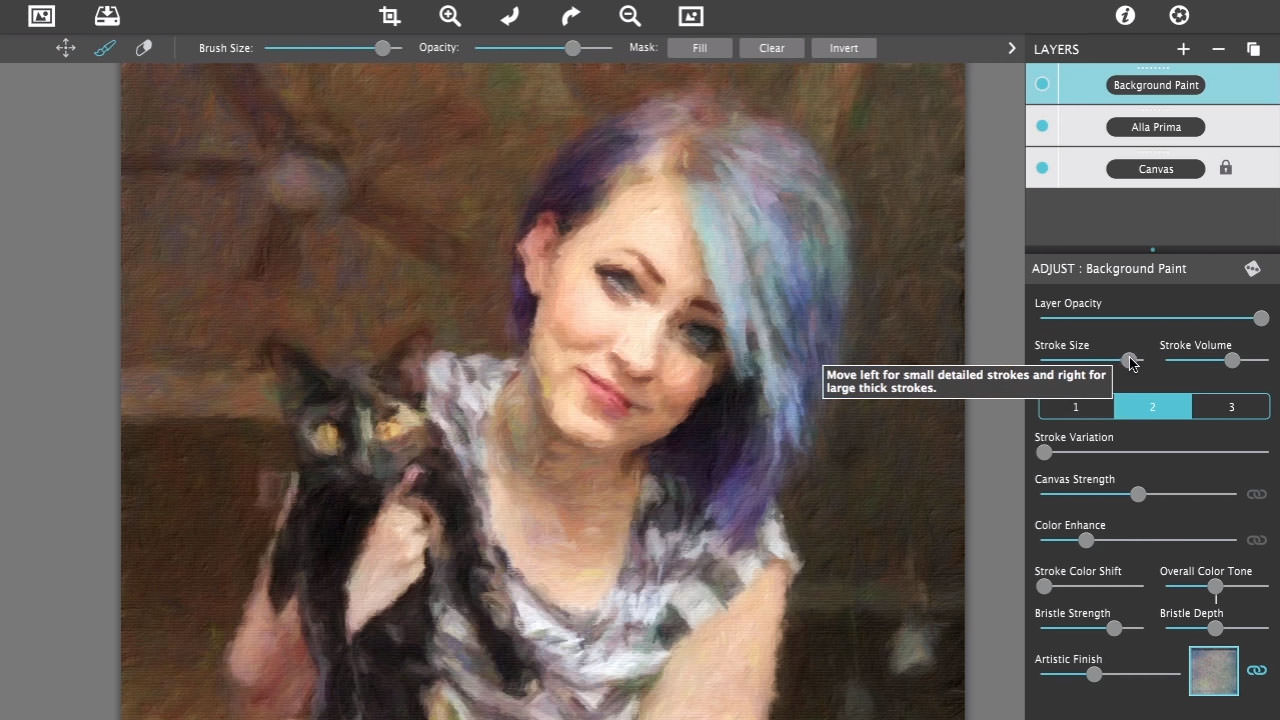
Stroke Size
Use Stroke Size to adjust the thickness of the outlines, move left for small strokes or right for large and loose strokes
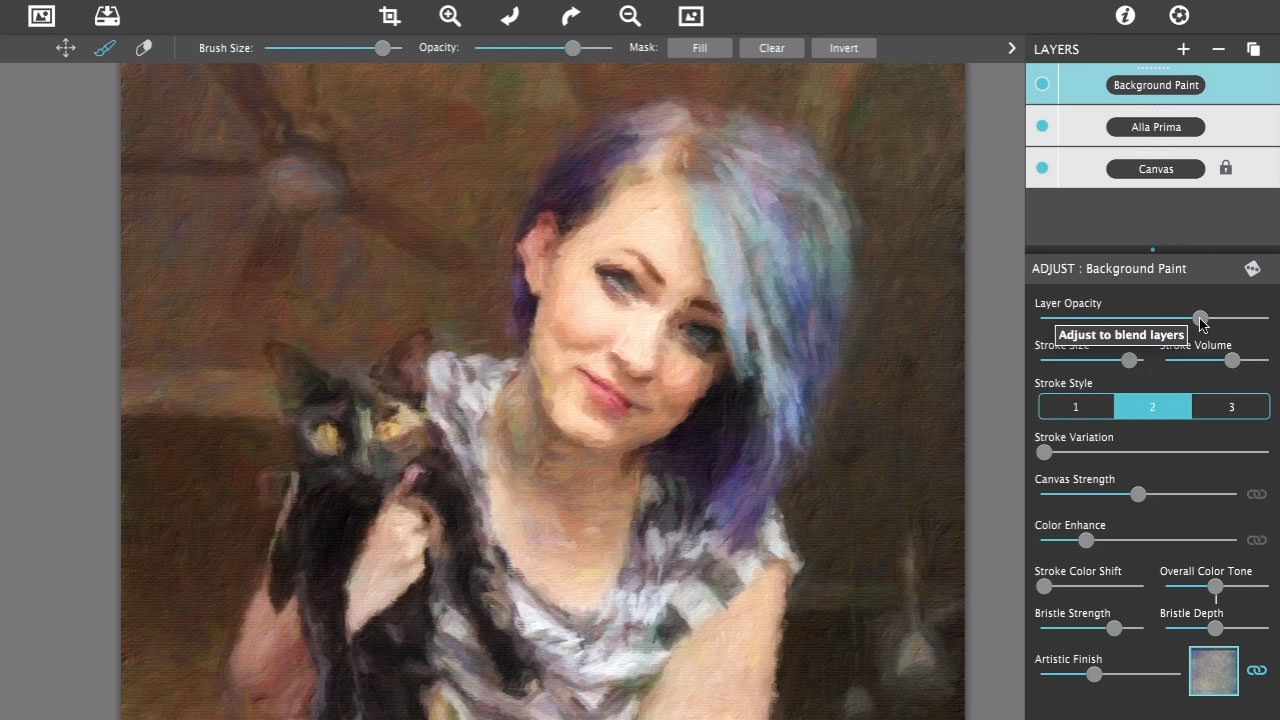
Layer Opacity
Move the Layer Opacity slider left to decrease the strength of the layer allowing more of the layers below to be seen.
Soft Paint
Add detail to the foreground using the Soft Paint effect, to add a Soft Paint layer, go to the layers palette and click on the ( + ) plus sign to drop down the menu layer styles and choose Soft Paint. When adding detail Zoom into the area using the magnifying glass on top with plus sign or use keyboard (command +) for Mac or (control +) for Windows.
Soft Paint—How it Works
This paint style like the background paint requires a brush to paint it on, and again, brush on quickly to the areas where detail is needed. For elements in the middle of the scene try reducing the brush Opacity Slider for a softer detail when brushed.
Painted Edge Layers
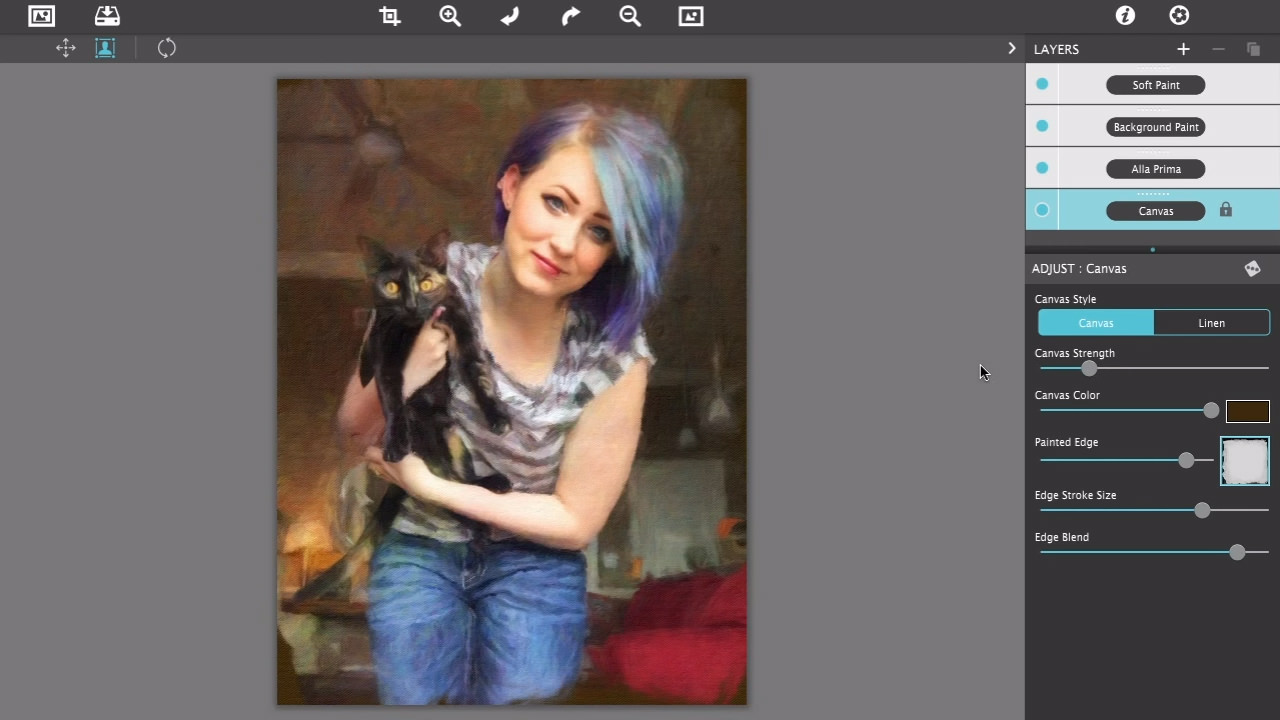
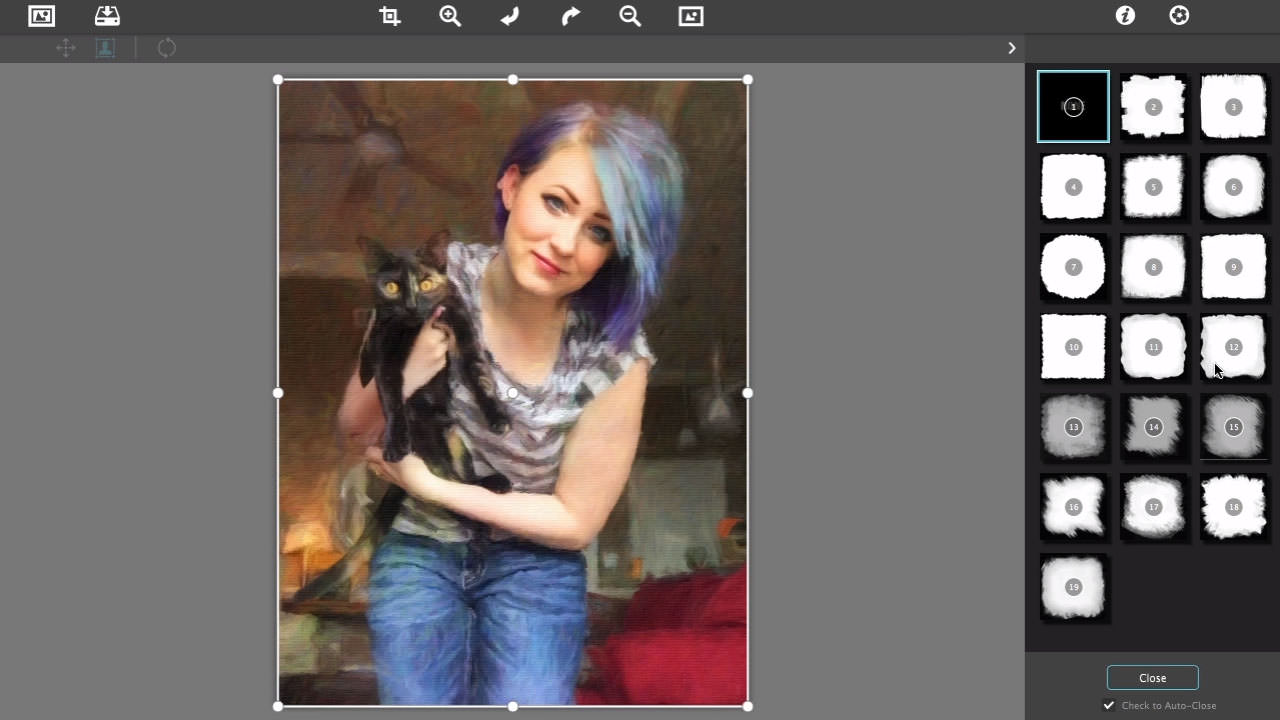
To add an Edge, go to the Layers Palette and select the Canvas to see all the settings for this layer.
Once the canvas layer is selected add an edge by clicking the thumbnail right of the Painted Edge slider, this will open the Library of Edges. Once an edge is picked use the selection box dots around it to resize and position it.
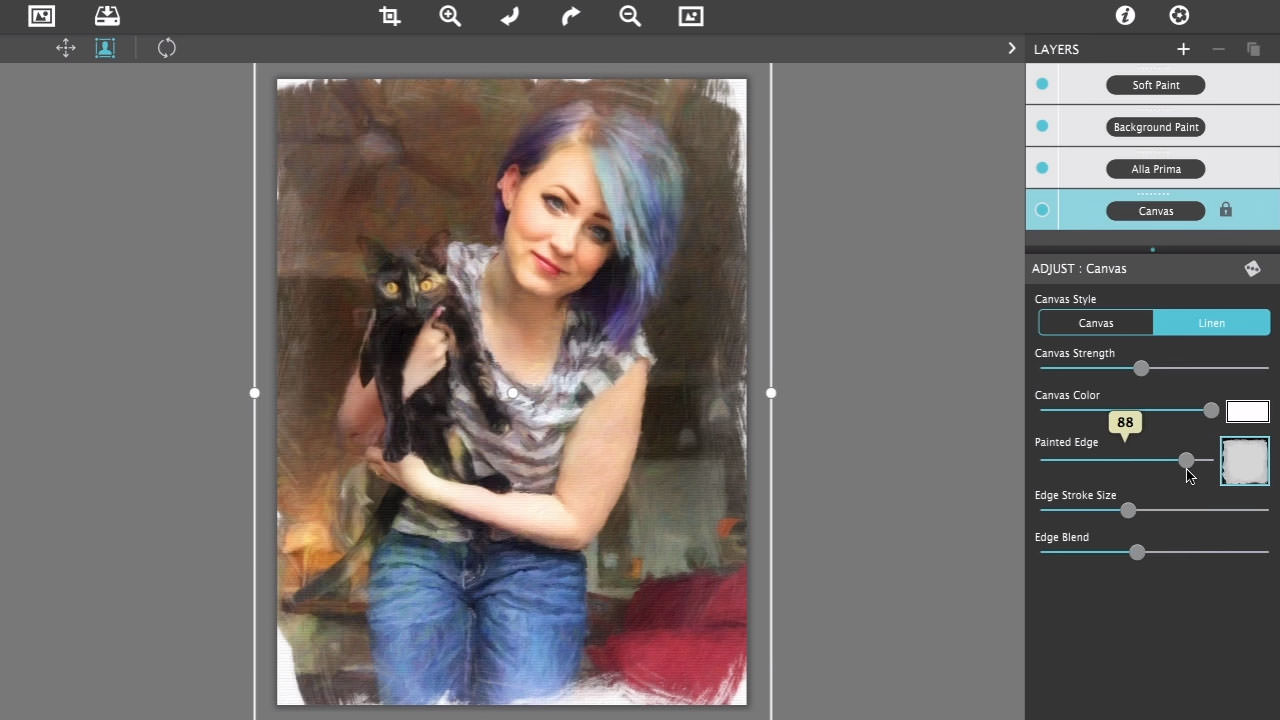
Painted Edges—Hard and Painted Edges
Use the edges from the library as is, or change them to paint with the Painted Edge slider. The Painted Edge slider creates a hard edge when moved left, or adds soft brush strokes when moved right with these options: Edge Stroke Size slider changes the size of the brush strokes, and Edge Blend softens and blends the paint in to canvas.
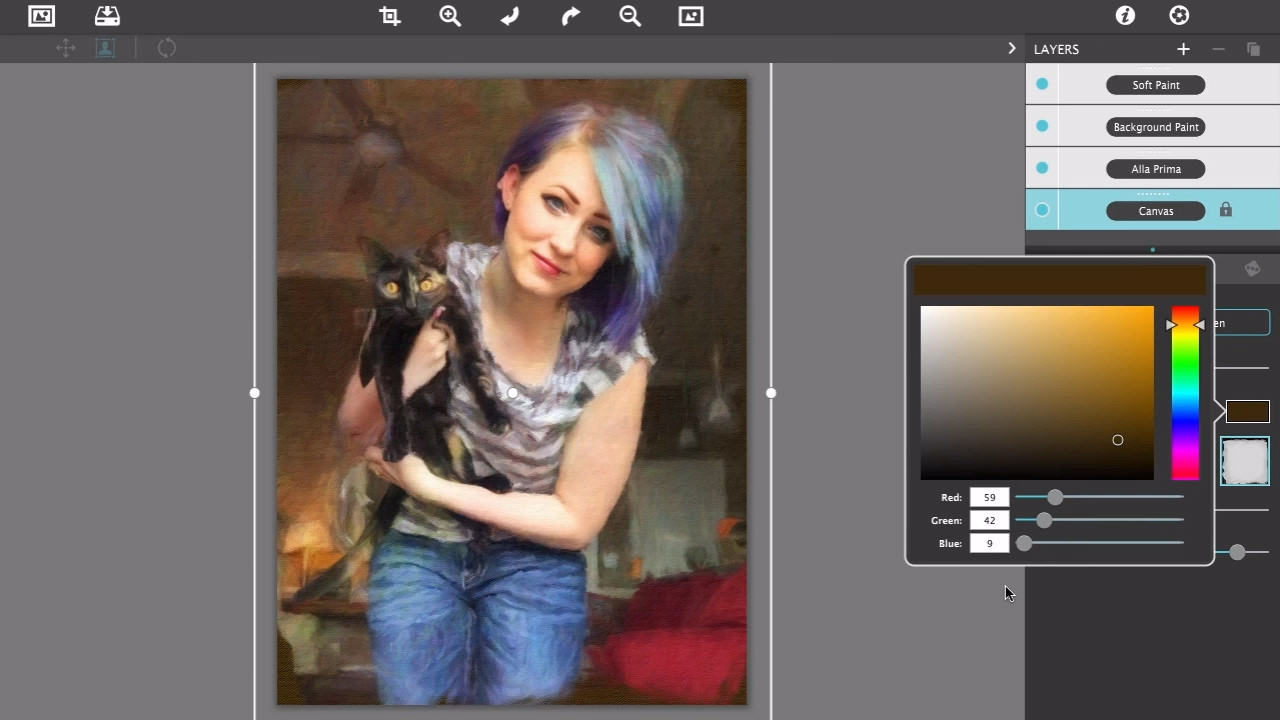
Painted Edges—Edges and Canvas Color
A way to enrich the painted edge is with the Canvas Color. To do this, select the Canvas Layer and to the right of the Canvas Color slider click the box to open the color picker. A good way to decide what color to use color is by picking the prominent one in the painting and then adjusting the color to a darker or lighter value.
Feedback
We hope you enjoyed this tutorial. Have any tutorials that you would like to see in later posts? Feel free to tell us and show us your creations on our Facebook and other social networks.